Skip to main content
Skip to primary sidebar
A Mummy Too
menu icon
Recipes
Dietary
Holidays
E-mail
Facebook
Instagram
subscribe
search icon
Search
Recipes
Dietary
Holidays
E-mail
Facebook
Instagram
×
Home
sweet
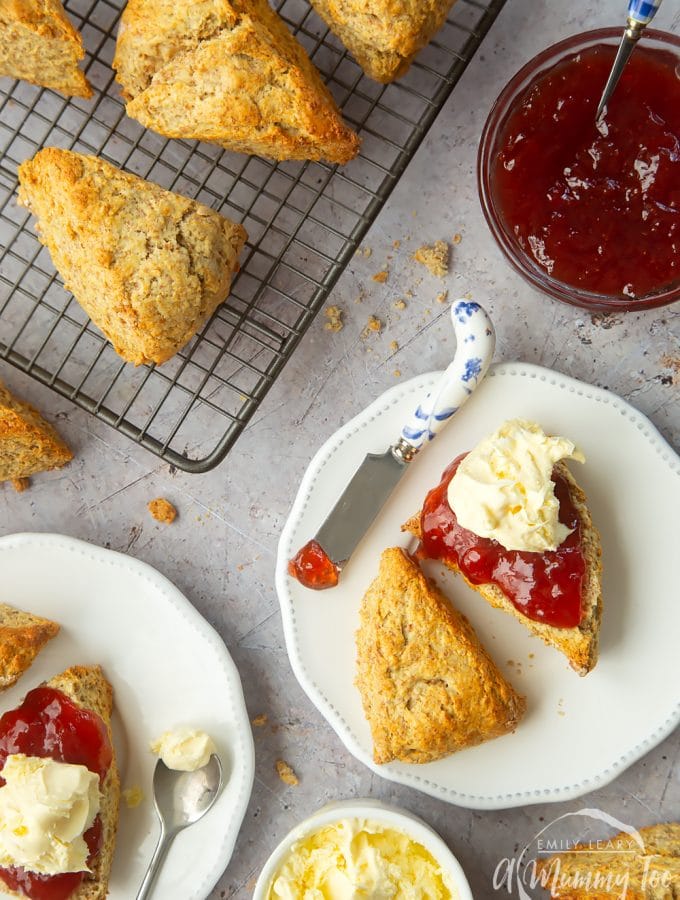
Wholemeal scones - perfect recipe for afternoon tea
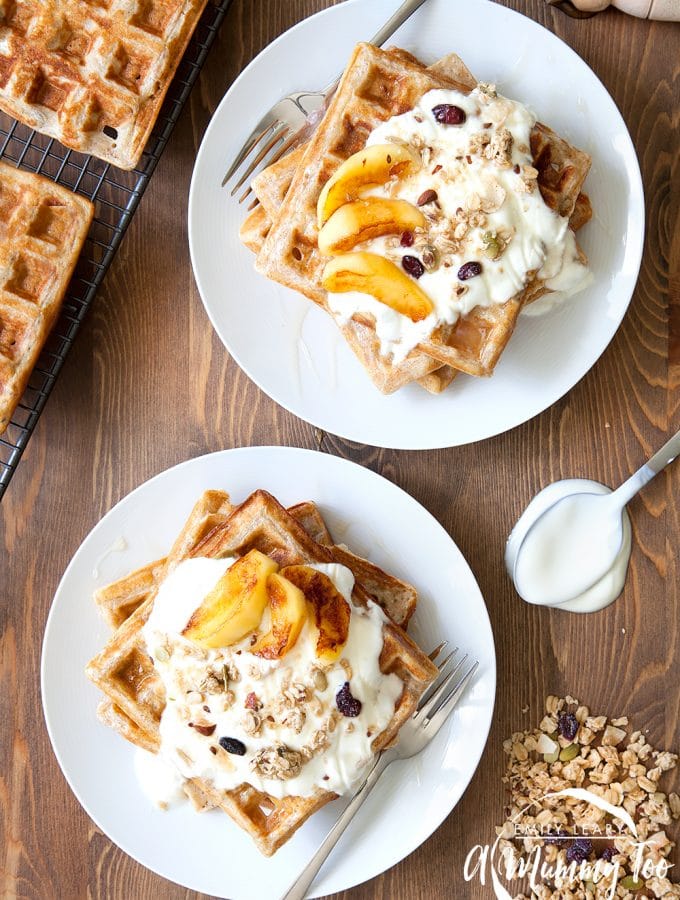
Granola waffles with coconut fried apples