Skip to main content
Skip to primary sidebar
A Mummy Too
menu icon
Recipes
Dietary
Holidays
E-mail
Facebook
Instagram
subscribe
search icon
Search
Recipes
Dietary
Holidays
E-mail
Facebook
Instagram
×
Home
cheesecake
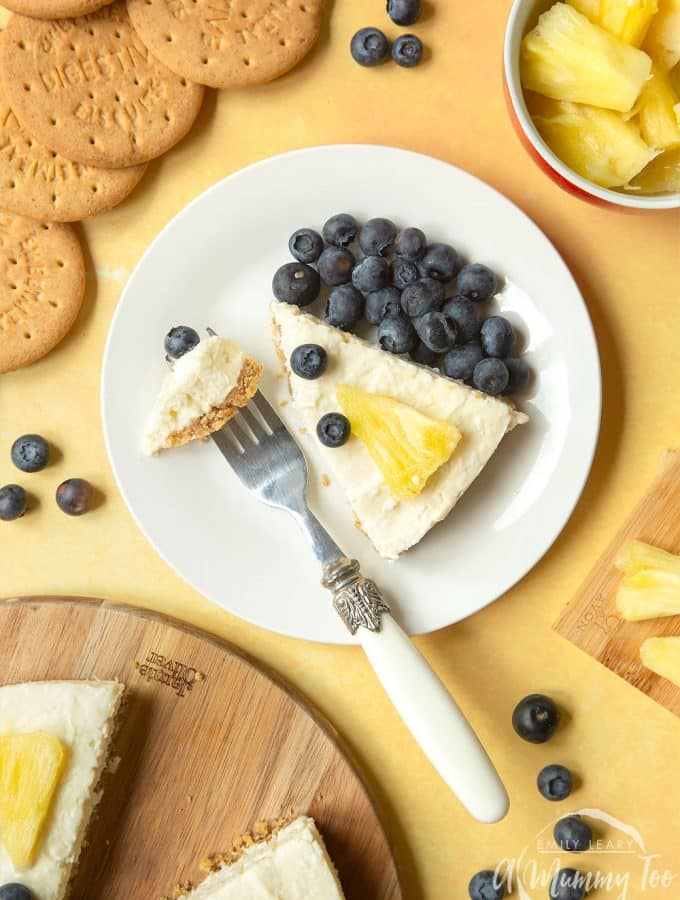
Extra special no-bake coconut cheesecake
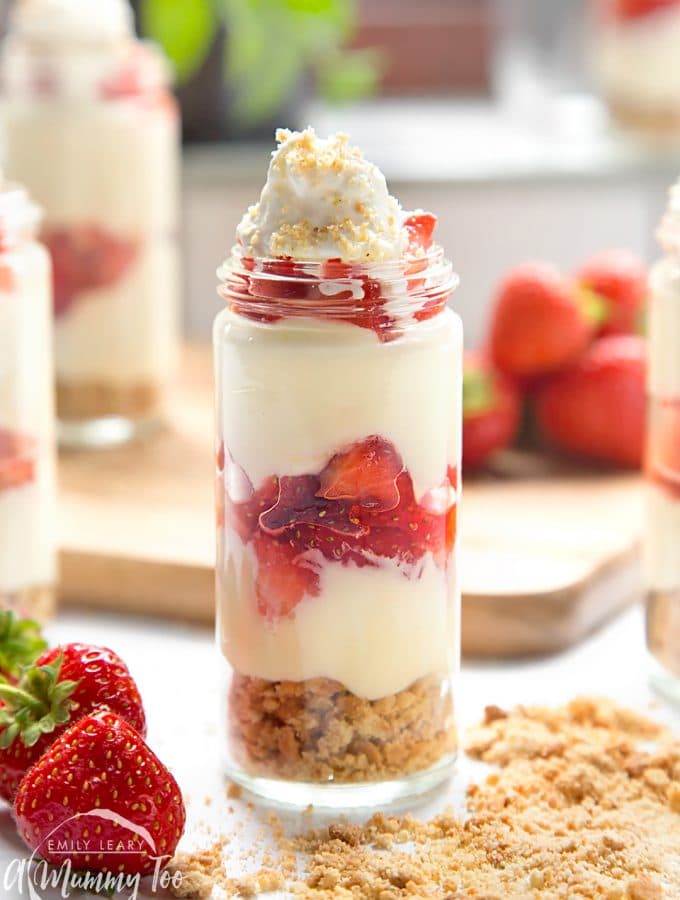
Strawberry no-bake cheesecake shots
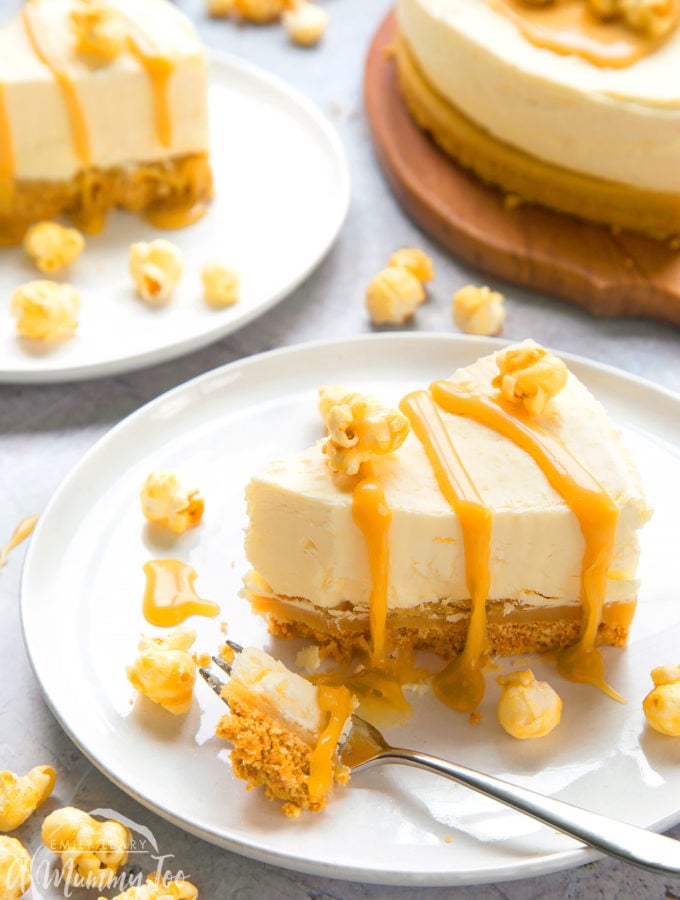
Ultimate no-bake salted caramel cheesecake
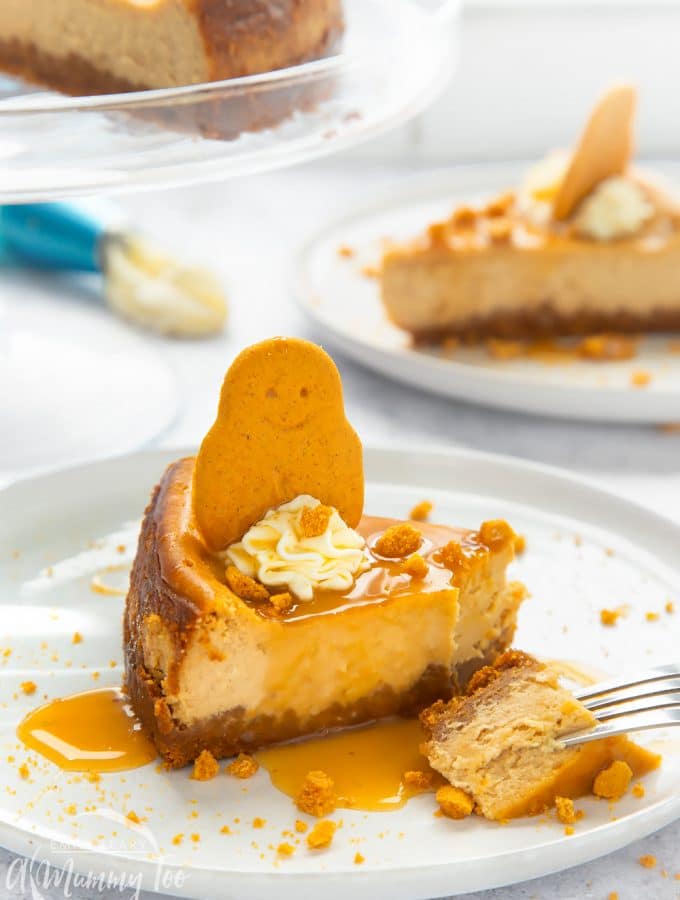
Gingerbread cheesecake