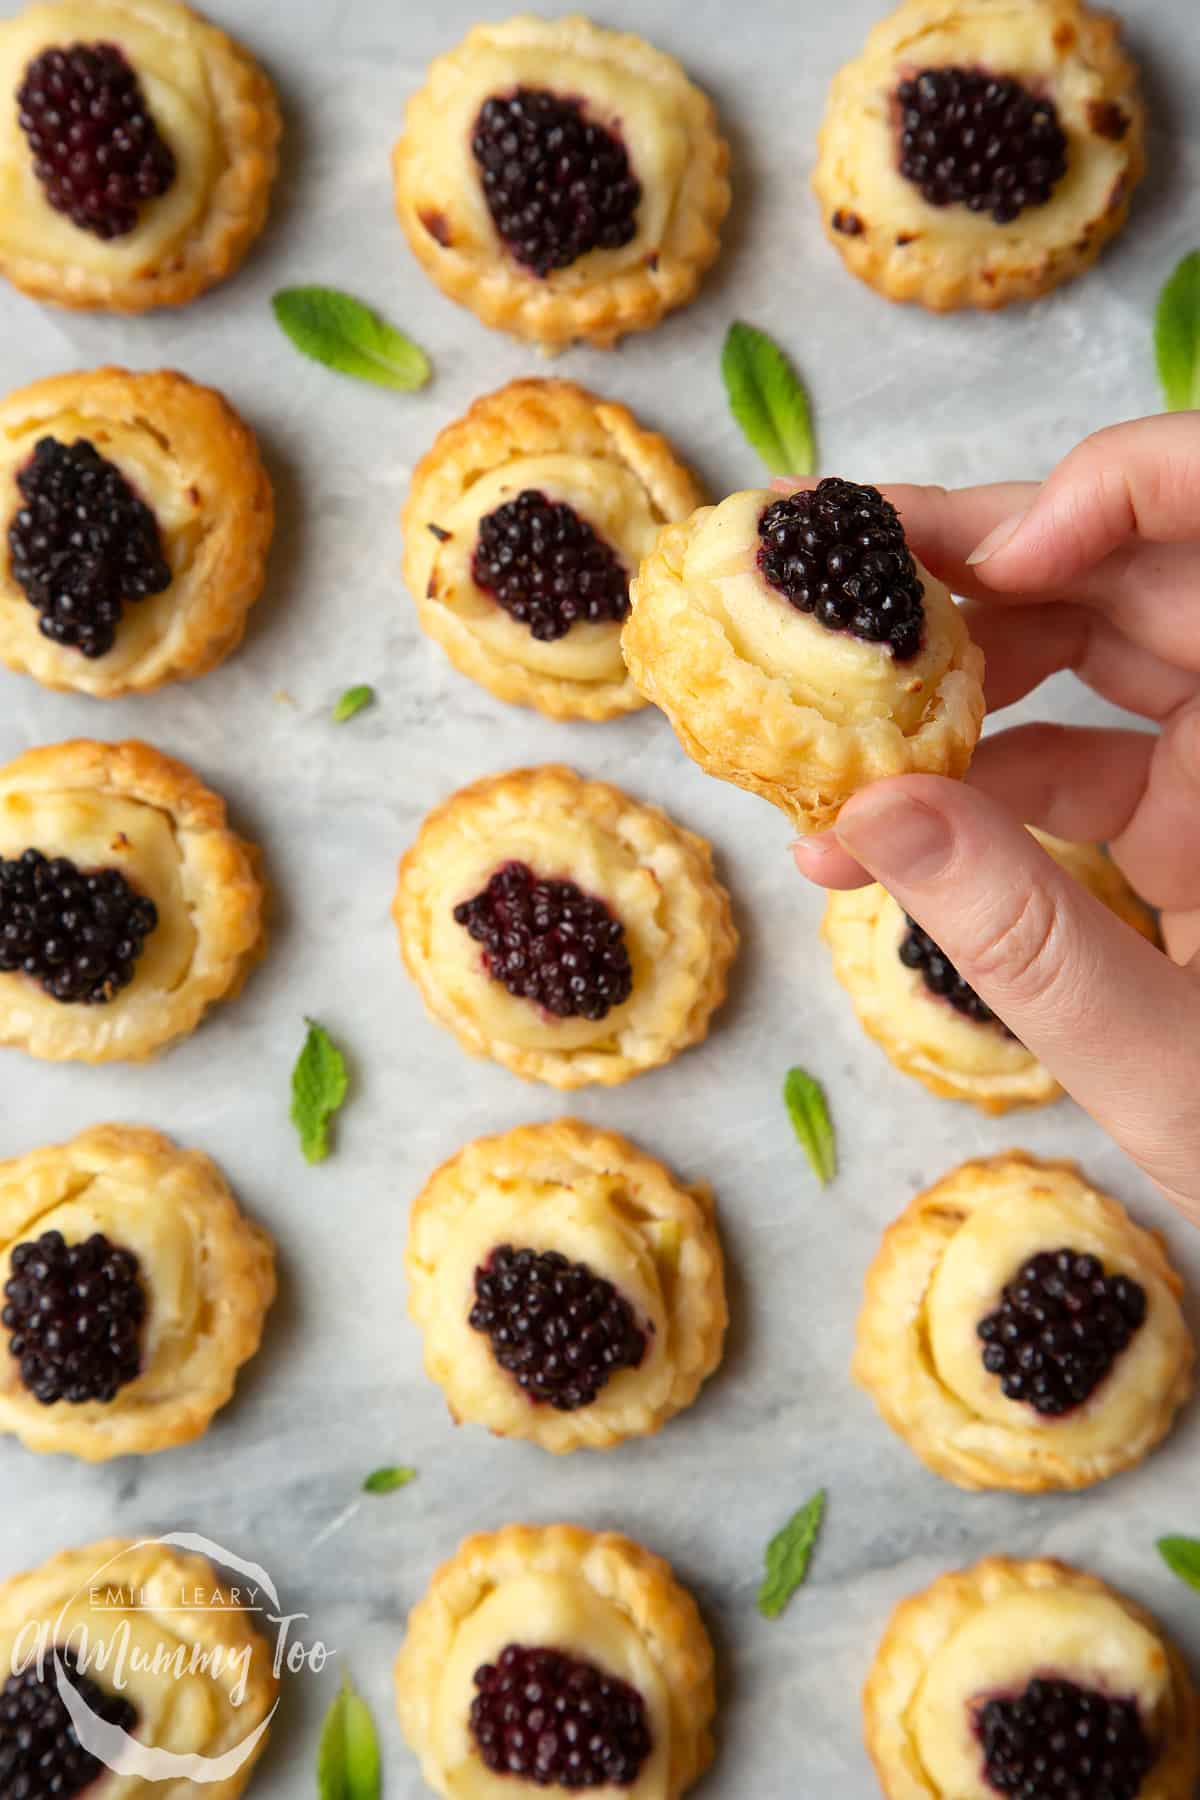
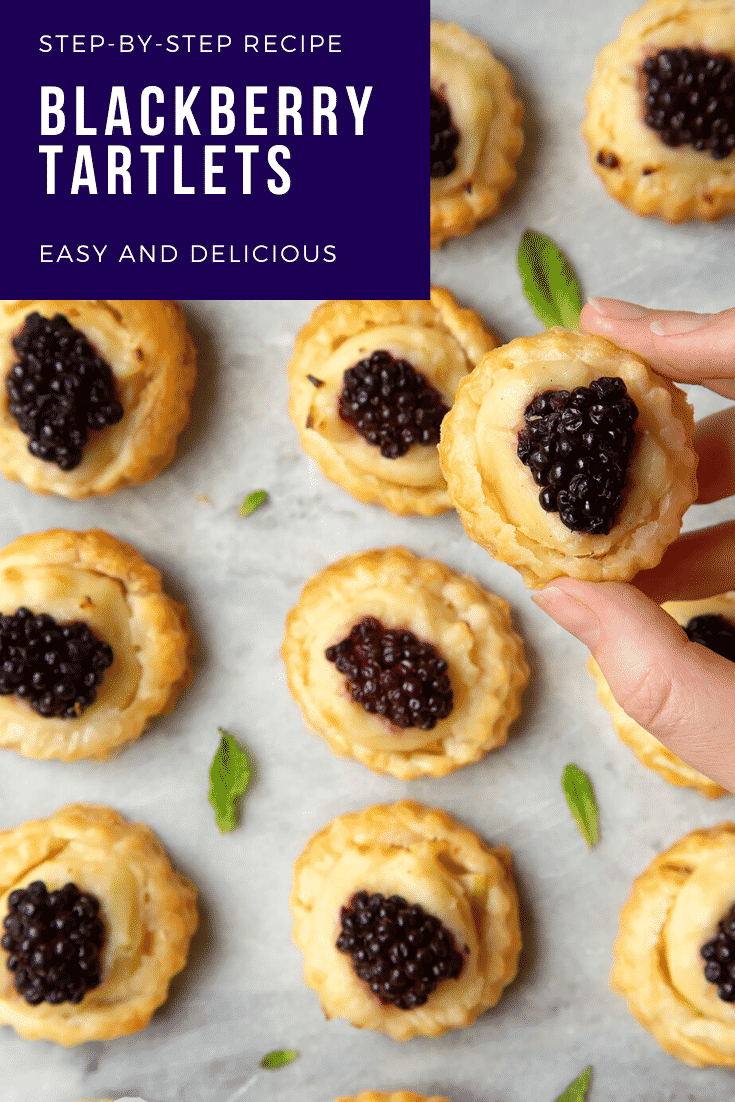
With flaky puff pastry bases, crisp apple slices, sweet pastry cream and juicy blackberries, I think they're just about the cutest, tastiest blackberry tartlets you can make!
Never heard of pastry cream? You'll sometimes see it referred to as creme patissiere and it's essentially a really easy custard made by warming milk and combining it with eggs, flour, vanilla and sugar.
It only takes a matter of minutes to make pastry cream and the results are a thick, stable custard that's perfect for spooning or piping into all sorts of pastries.
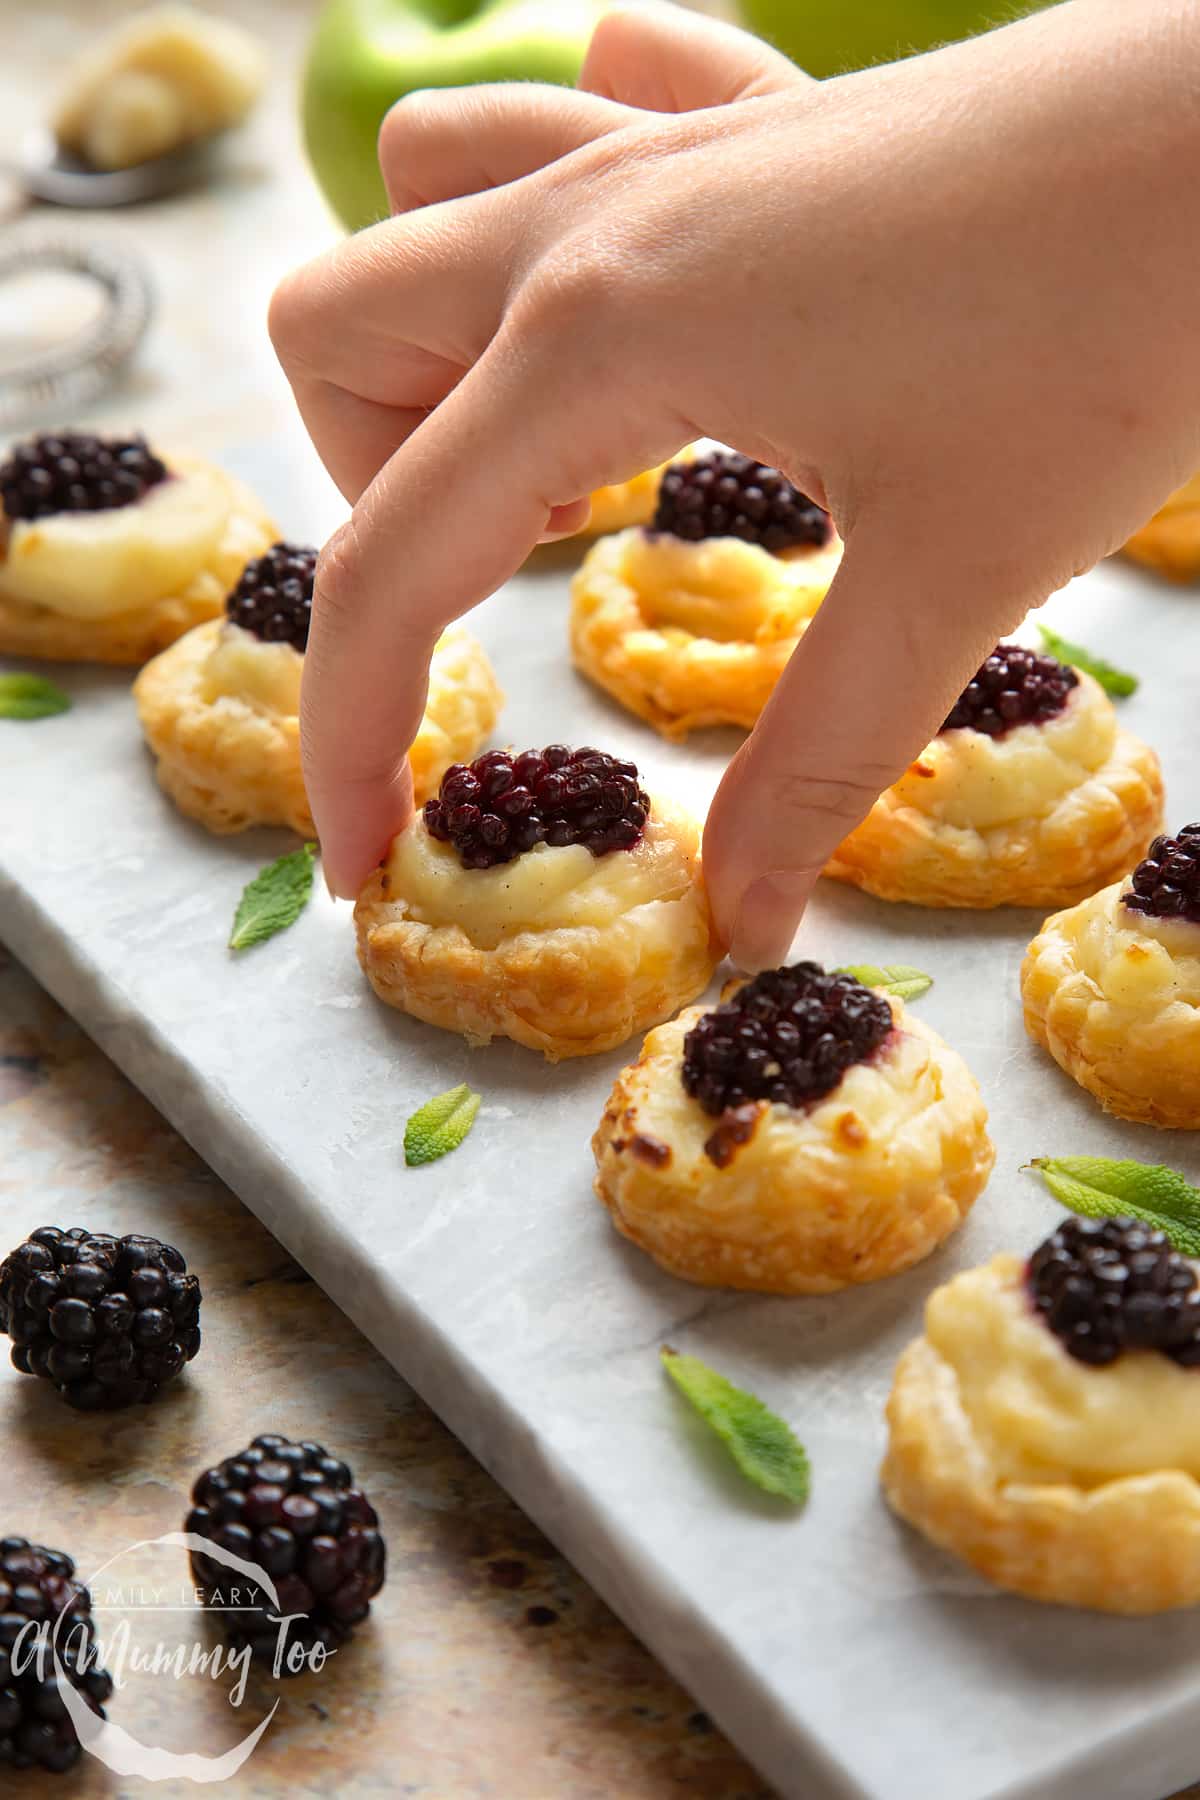
Let's make these beautiful, tasty little treats!
Ingredients
For the pastry cream
- 2 medium free range eggs
- 40 g (1.4 oz) plain white flour (all purpose flour)
- 60 g (2.1 oz) white caster sugar (superfine sugar)
- 265 ml (9 floz) whole milk
- 1 tsp vanilla extract
For the cases
- 320 g (11.3 oz) ready-rolled puff pastry
For the fruit filling
- 1/2 apples
- 8 (16) blackberries halved
Instructions
Make the pastry cream
Put the eggs, flour, sugar and vanilla in a large mixing bowl.
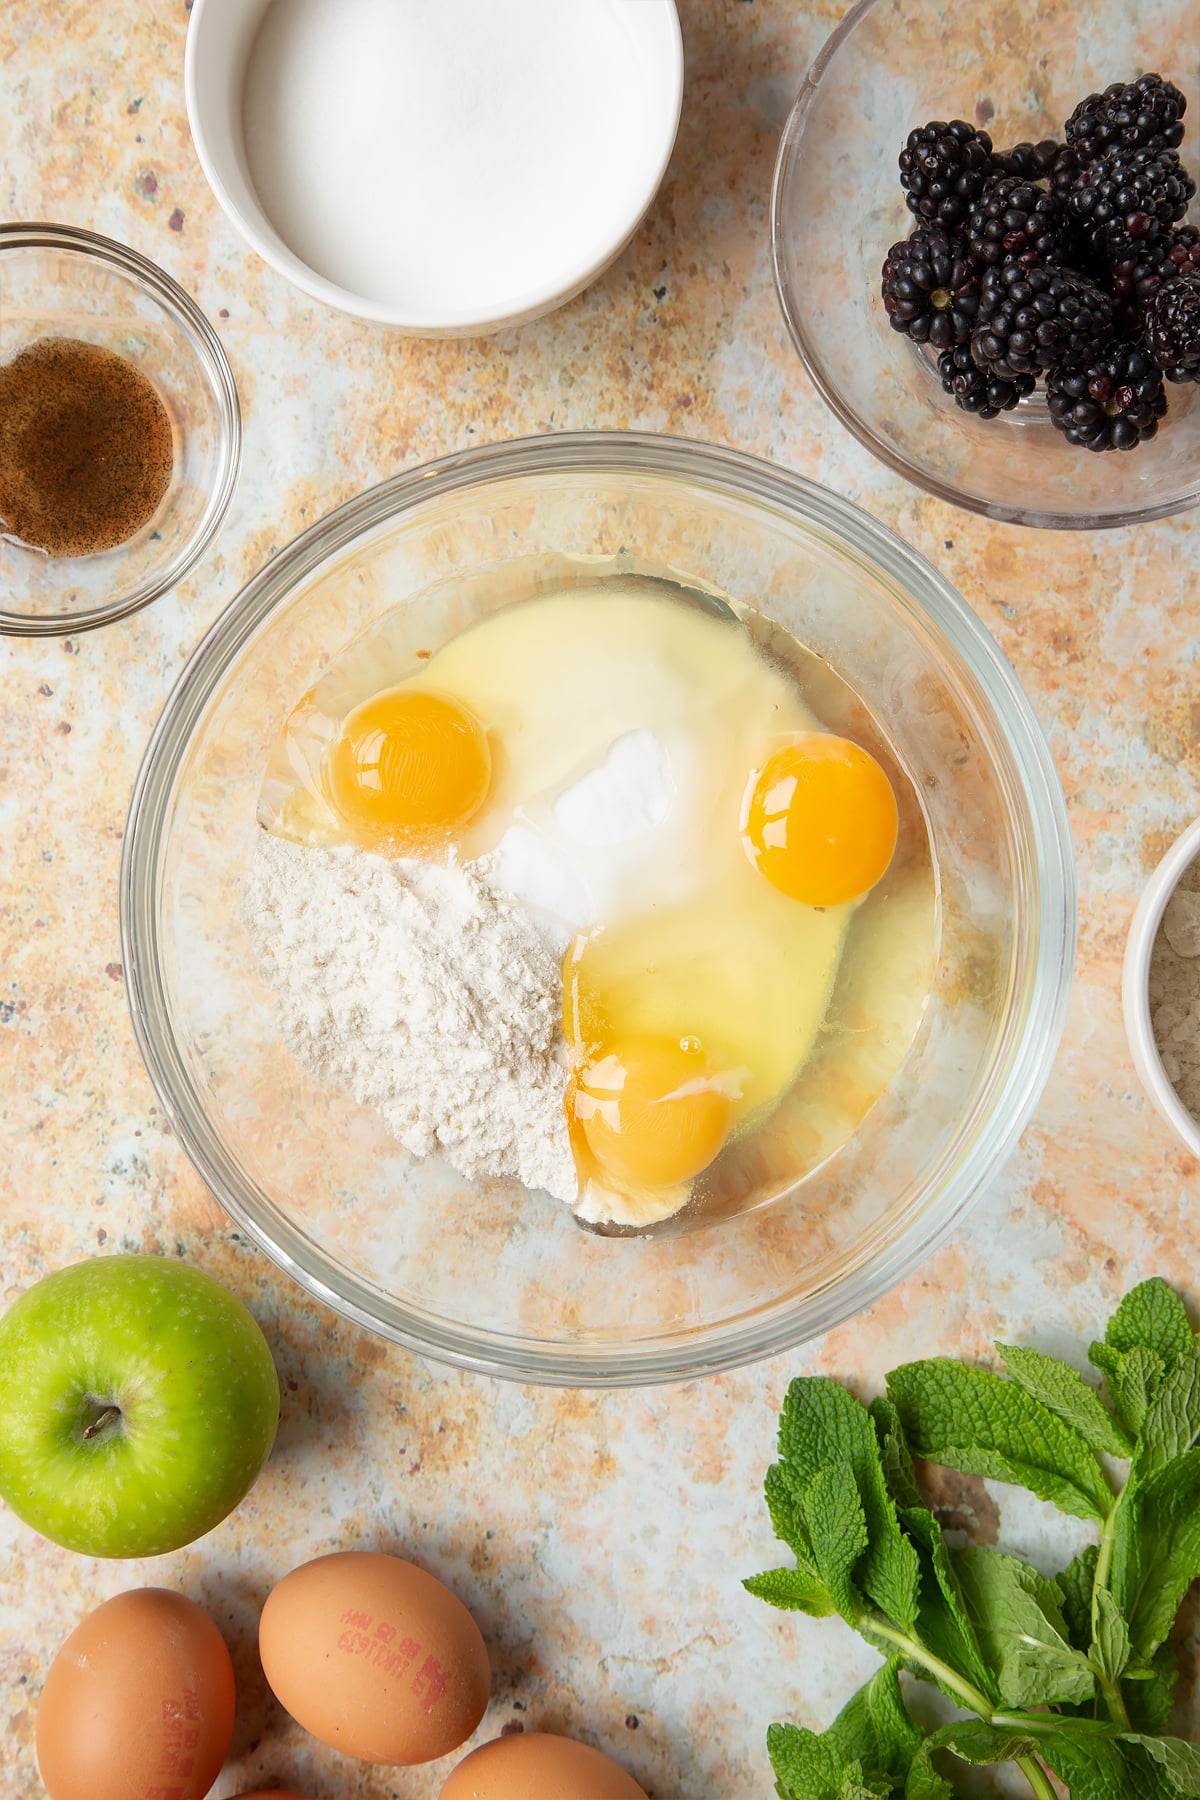
Measure out the milk and add just a splash to the bowl.
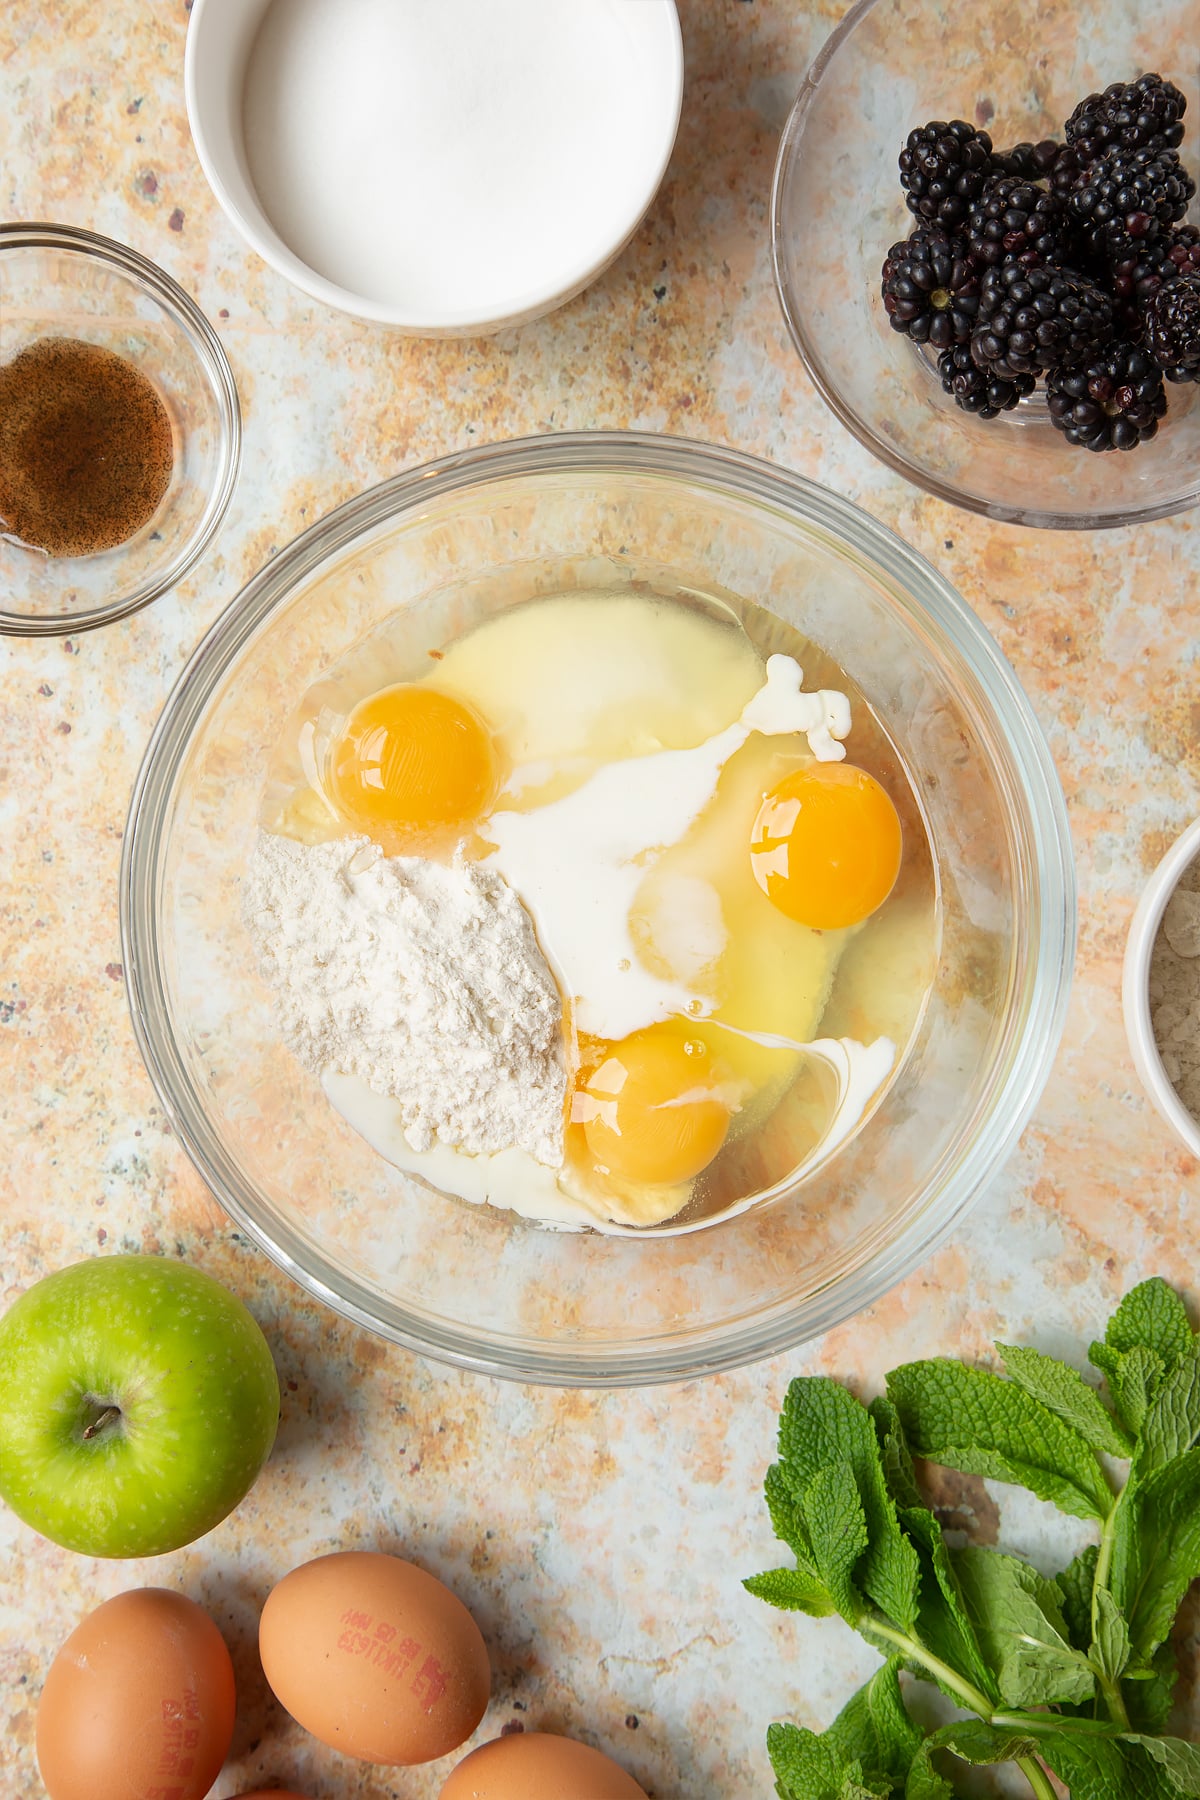
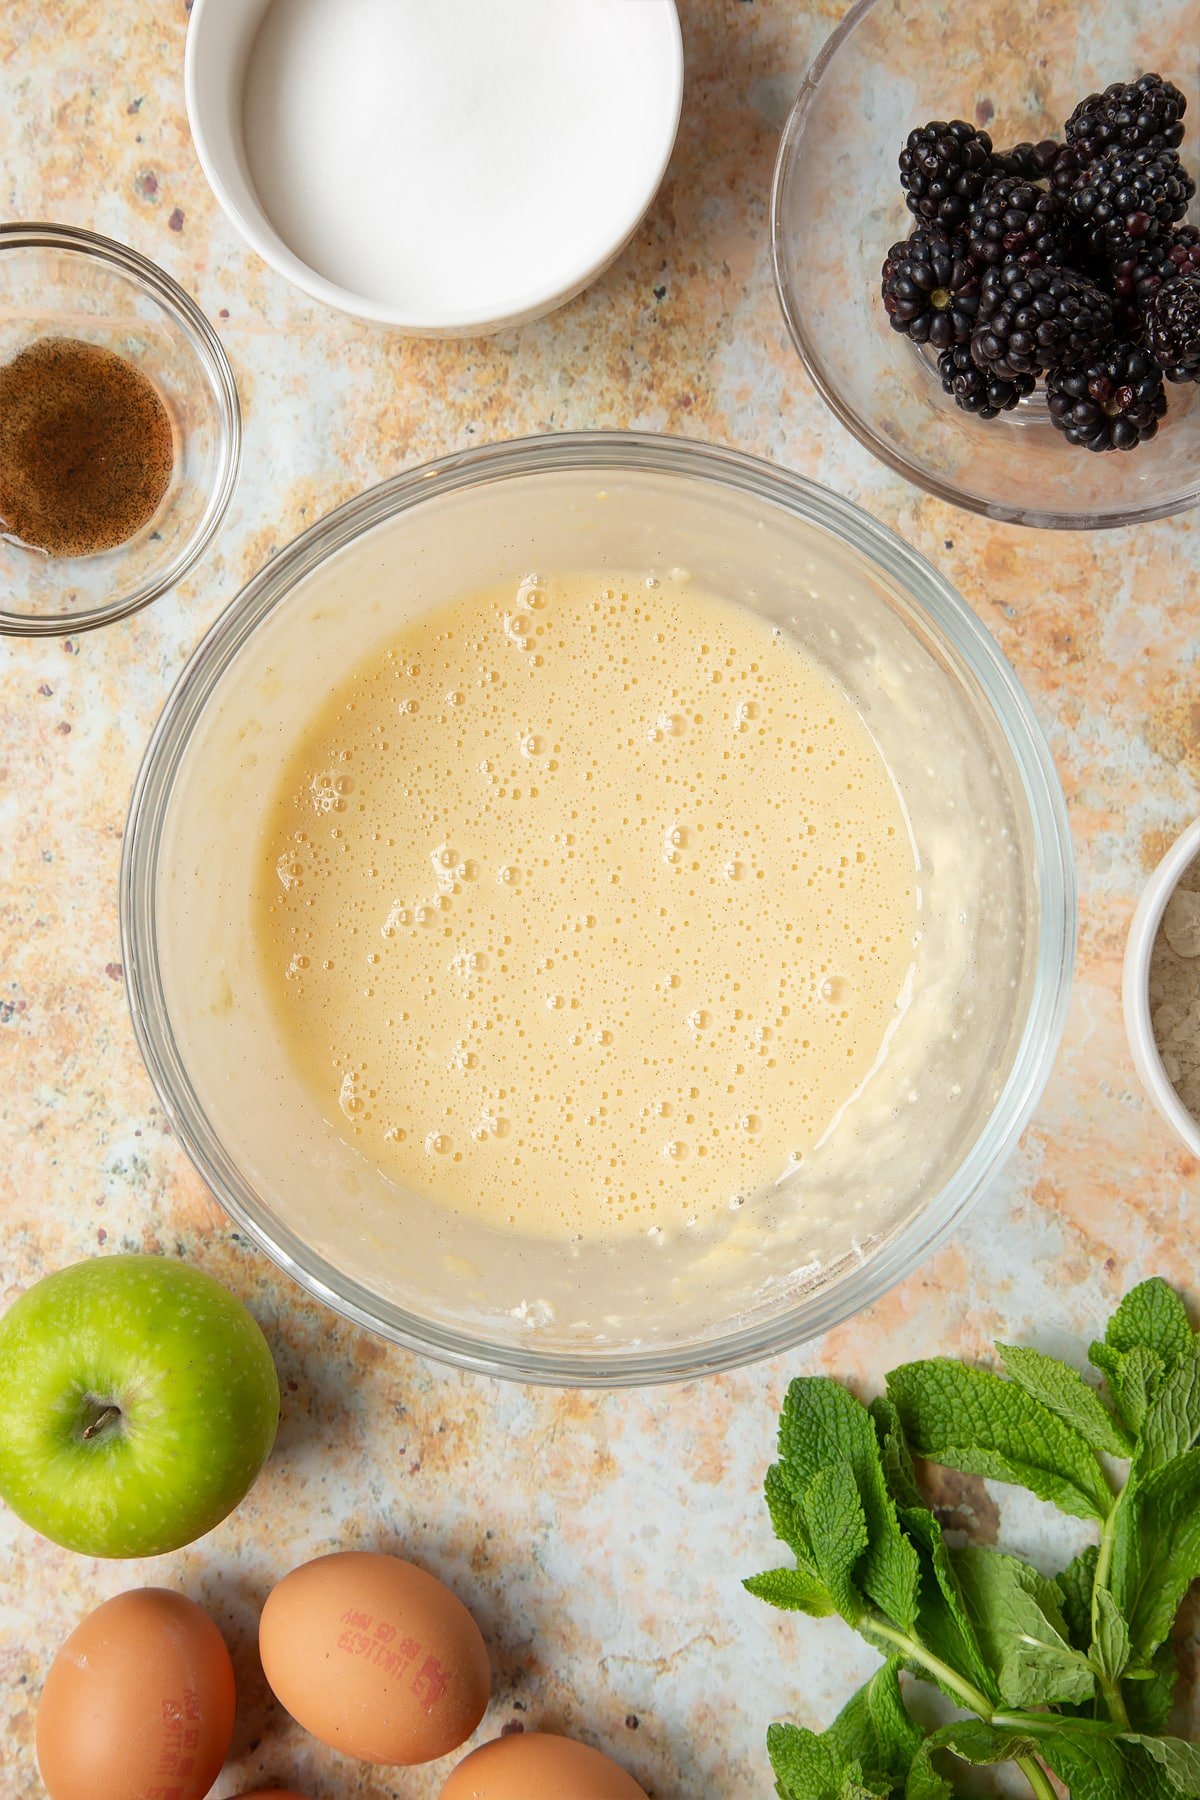
Mix until smooth and set aside.
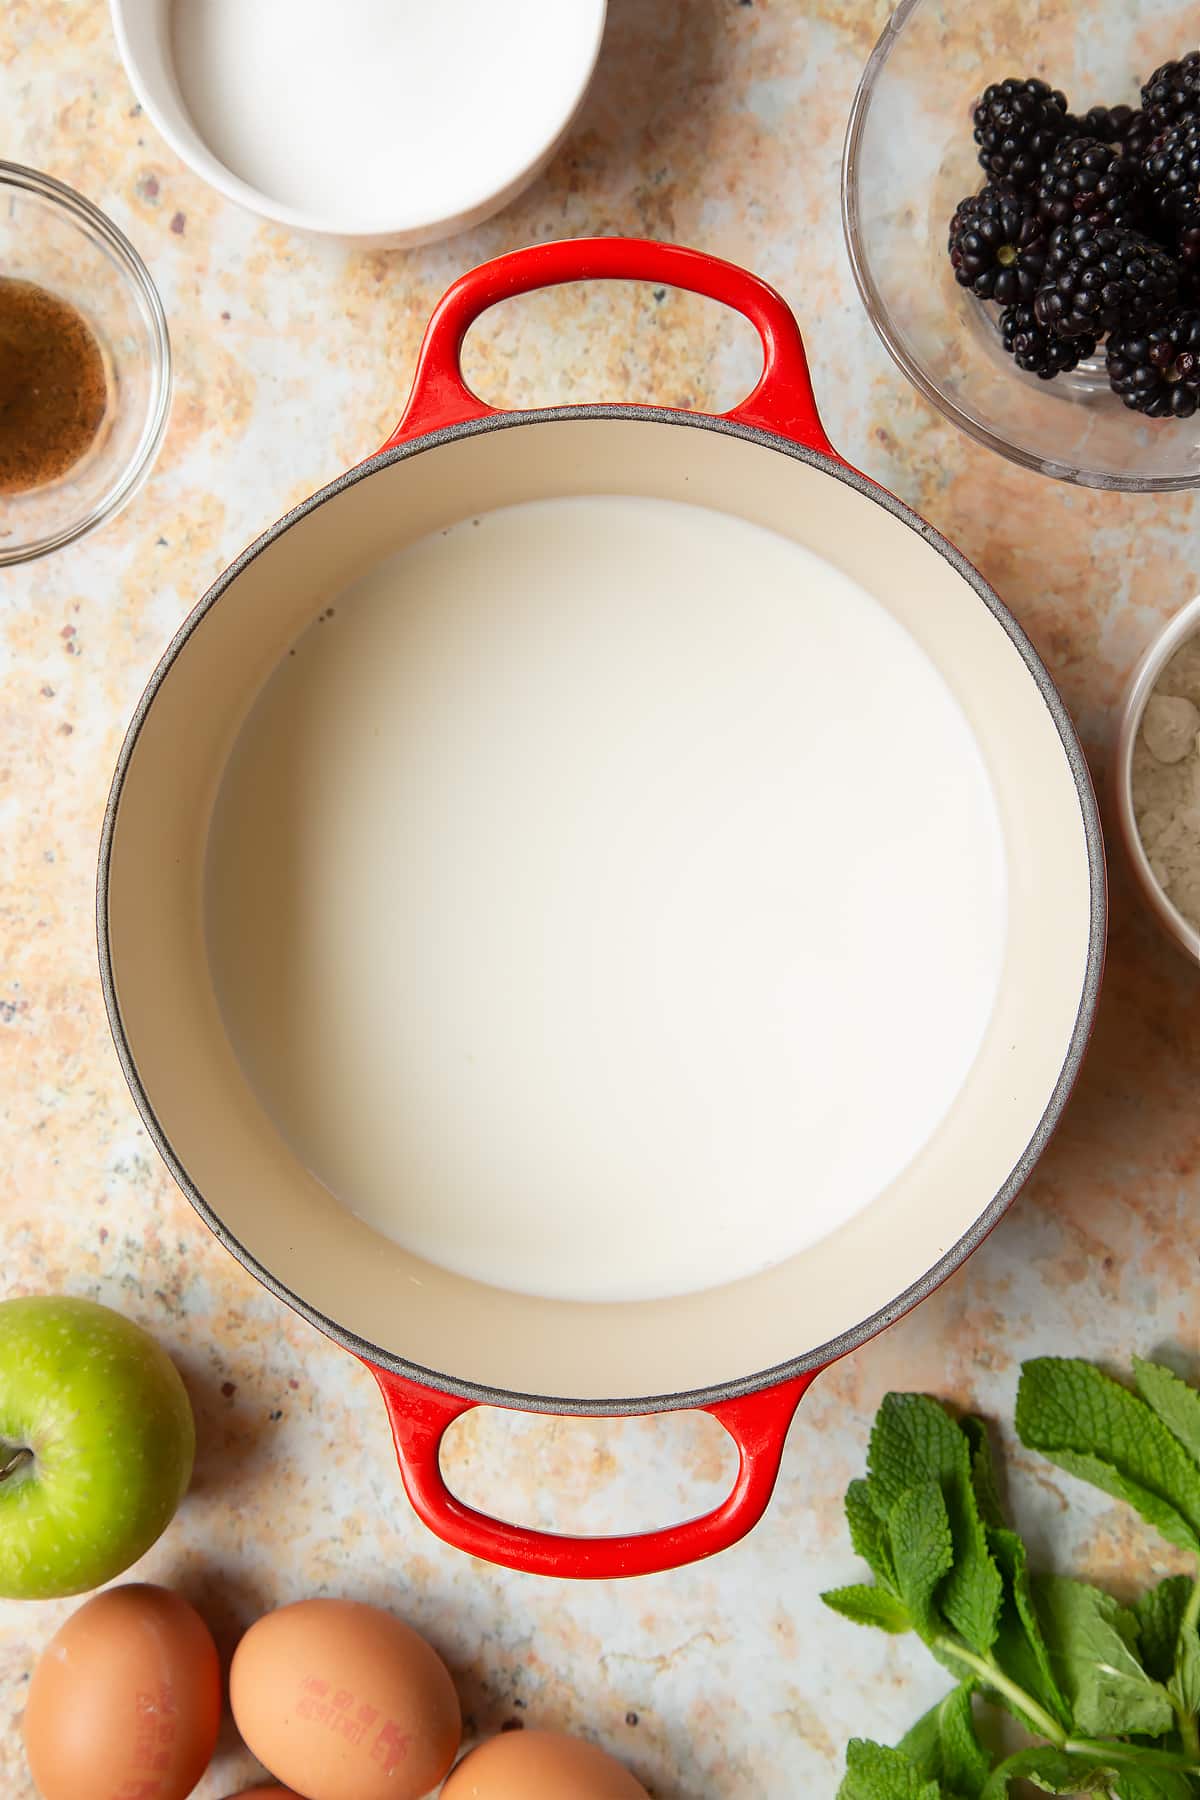
Warm the rest of the milk in a saucepan to almost boiling.
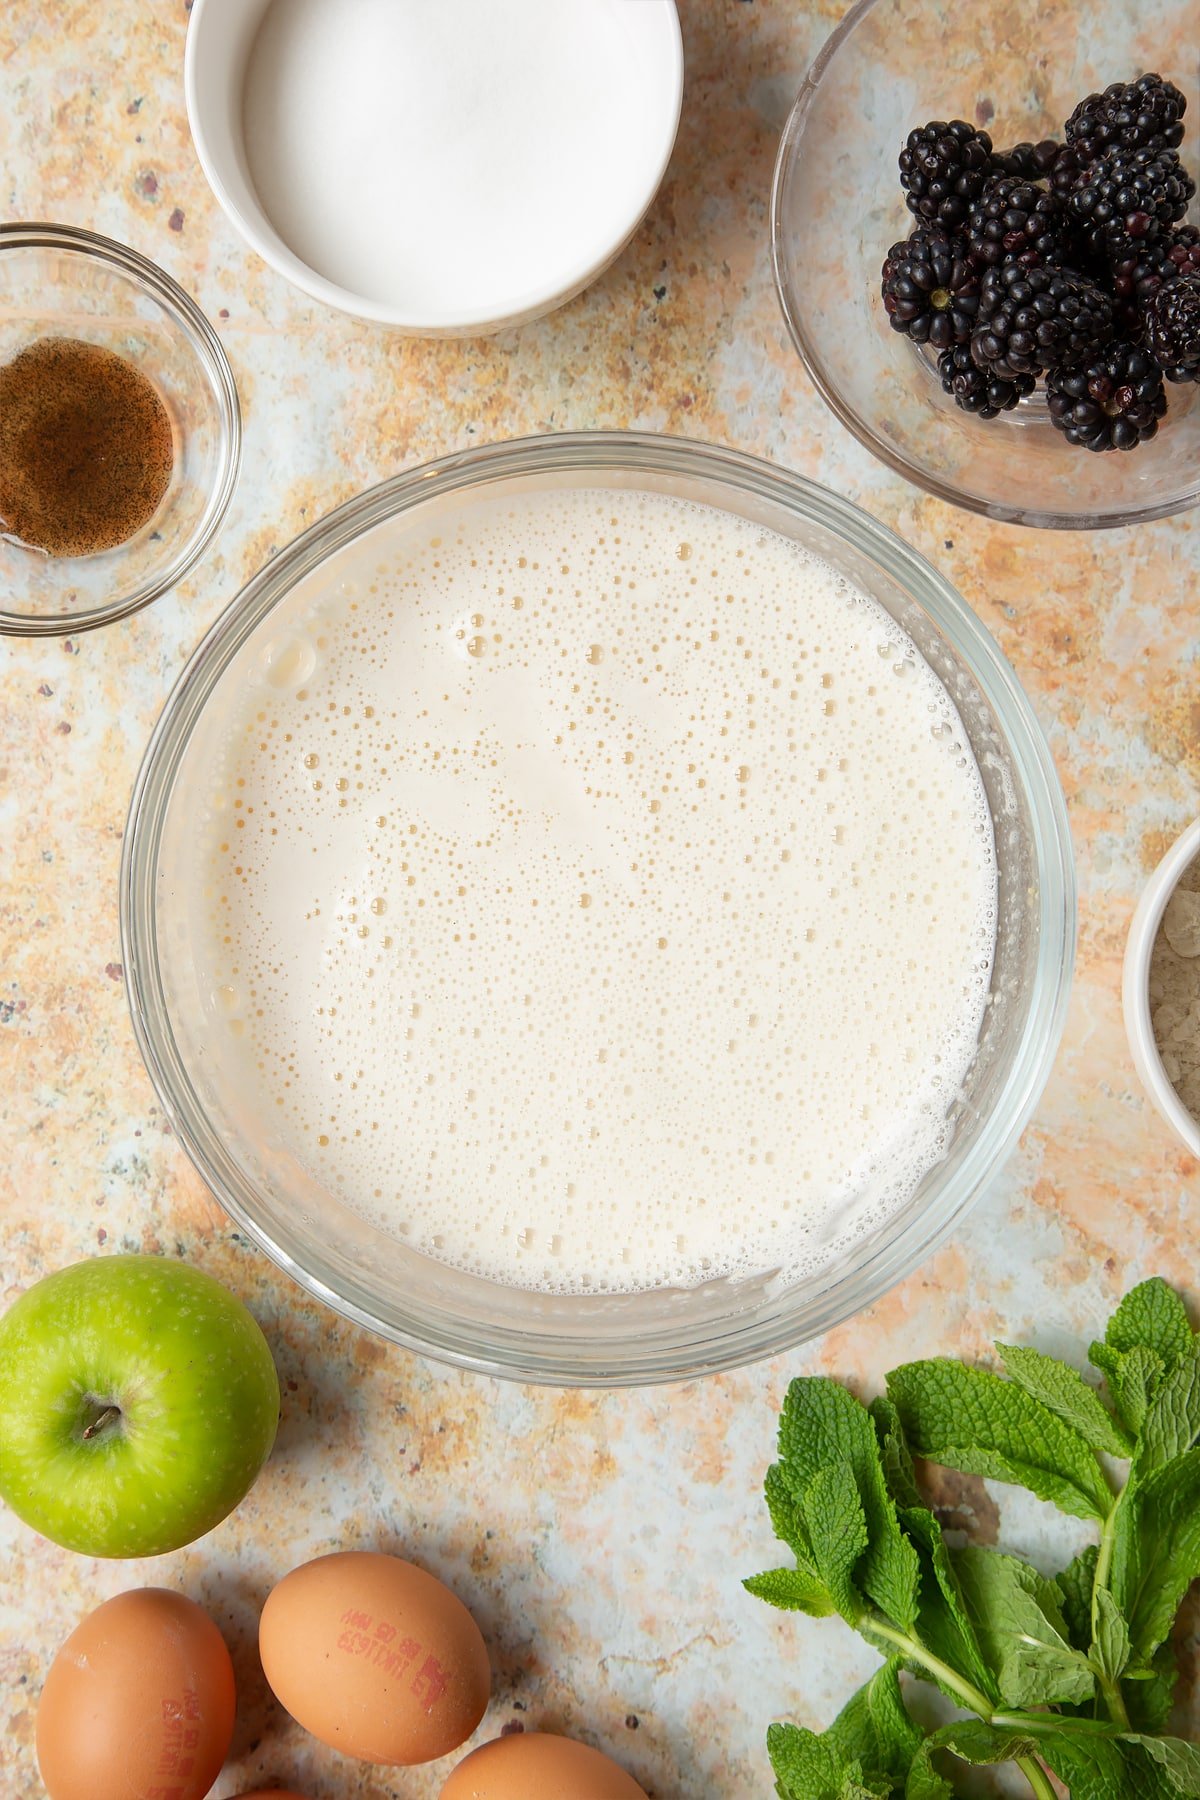
Pour the hot milk into the bowl with the egg mixture, stirring vigorously.
Wash out the pan if it has any scolded milk in it, then return the mixture to it.
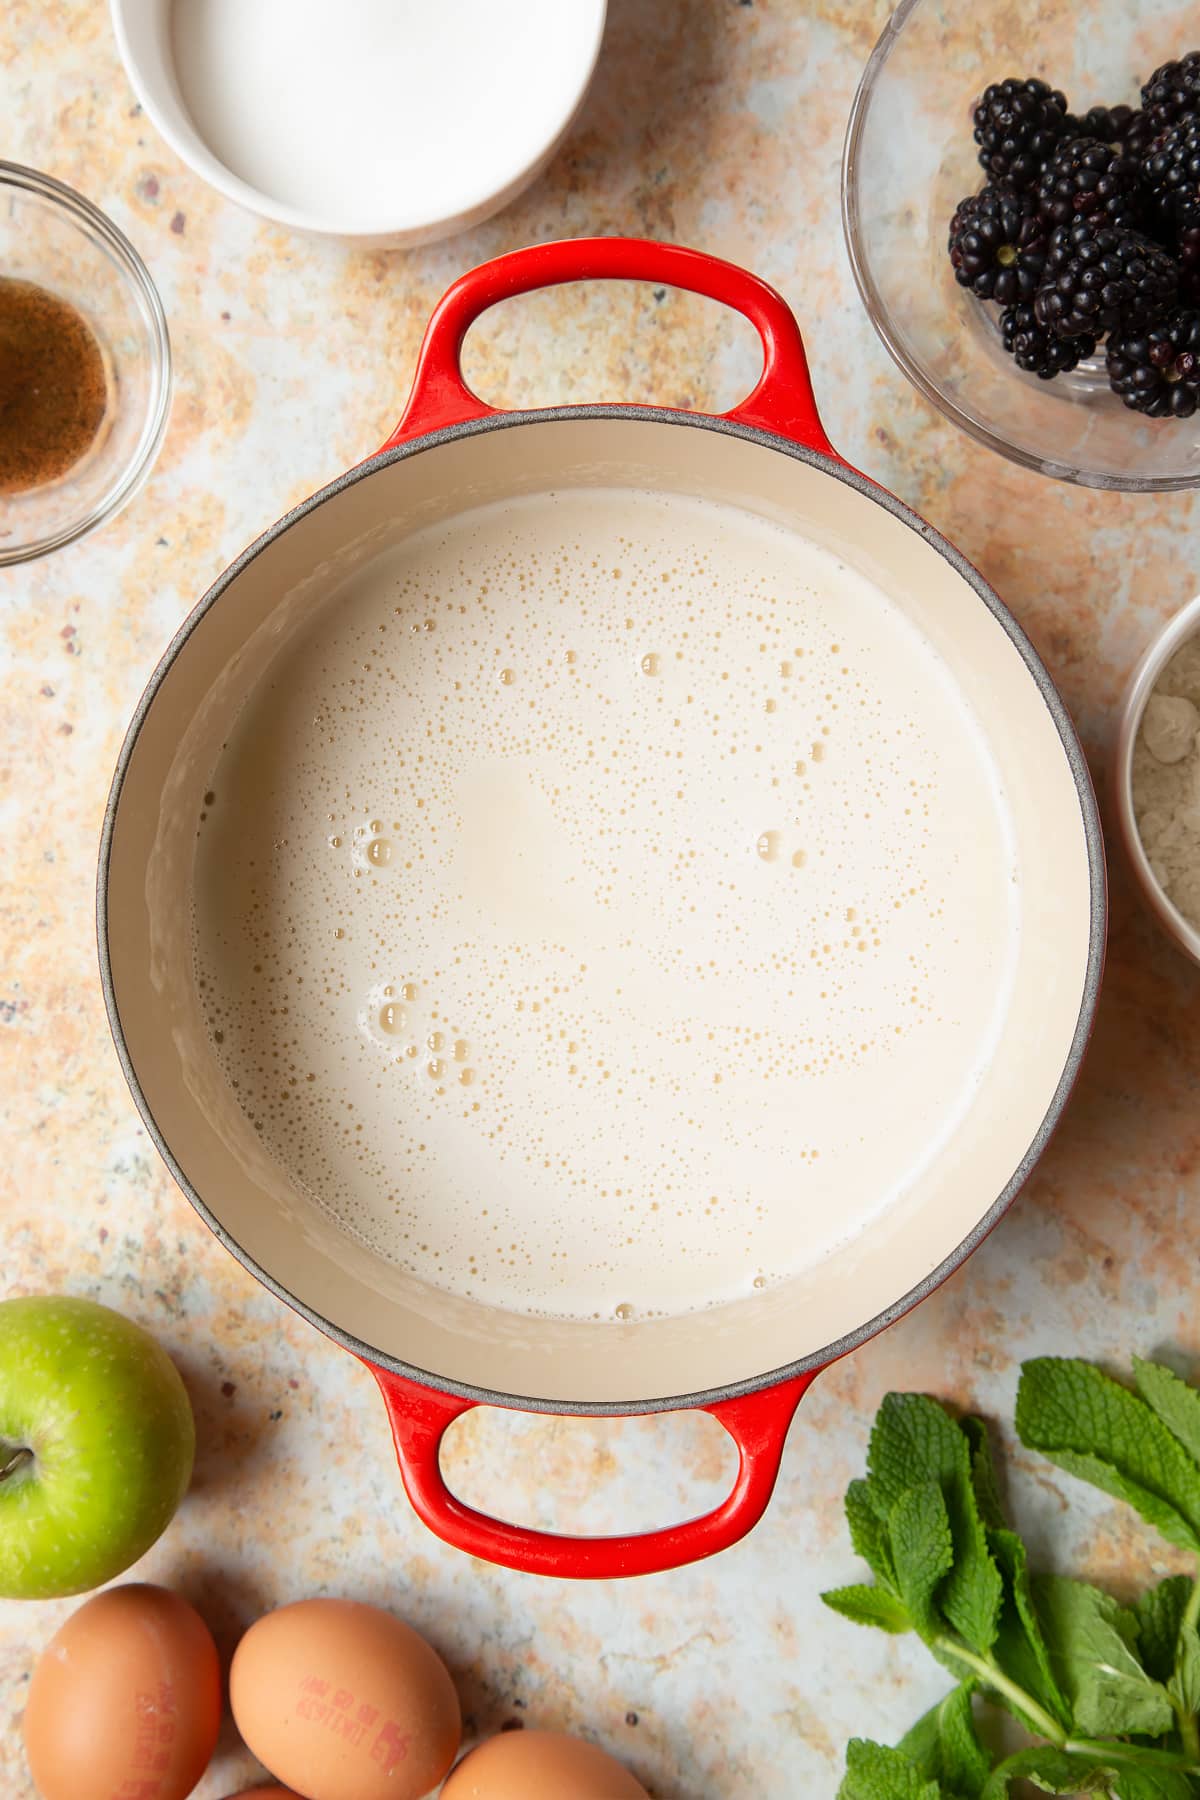
Heat gently until thick, stirring continuously with your whisk. It should only take a couple of minutes to thicken up. Taste to make sure the flour is cooked out.
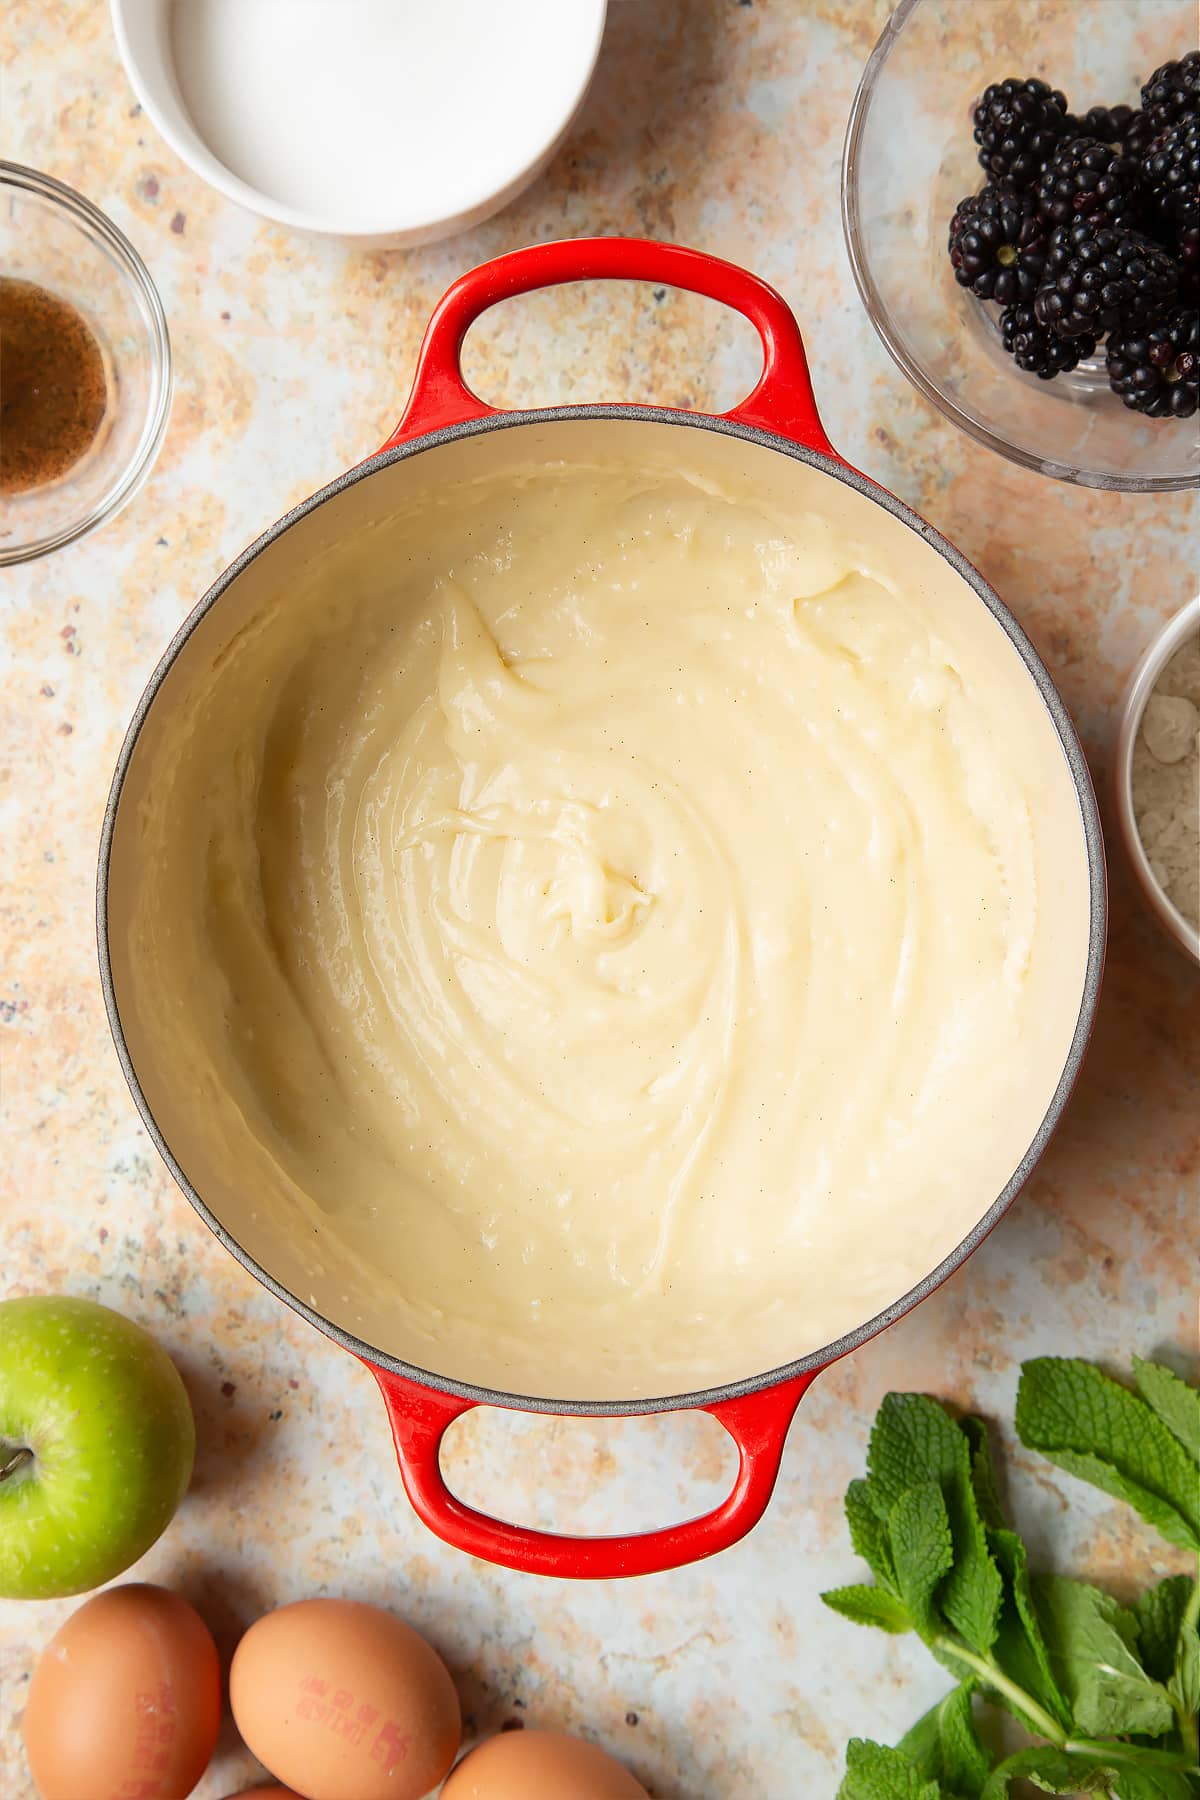
Pour into a clean bowl, cover and leave to cool.
Make the bases
Preheat the oven to 200C (180C fan).
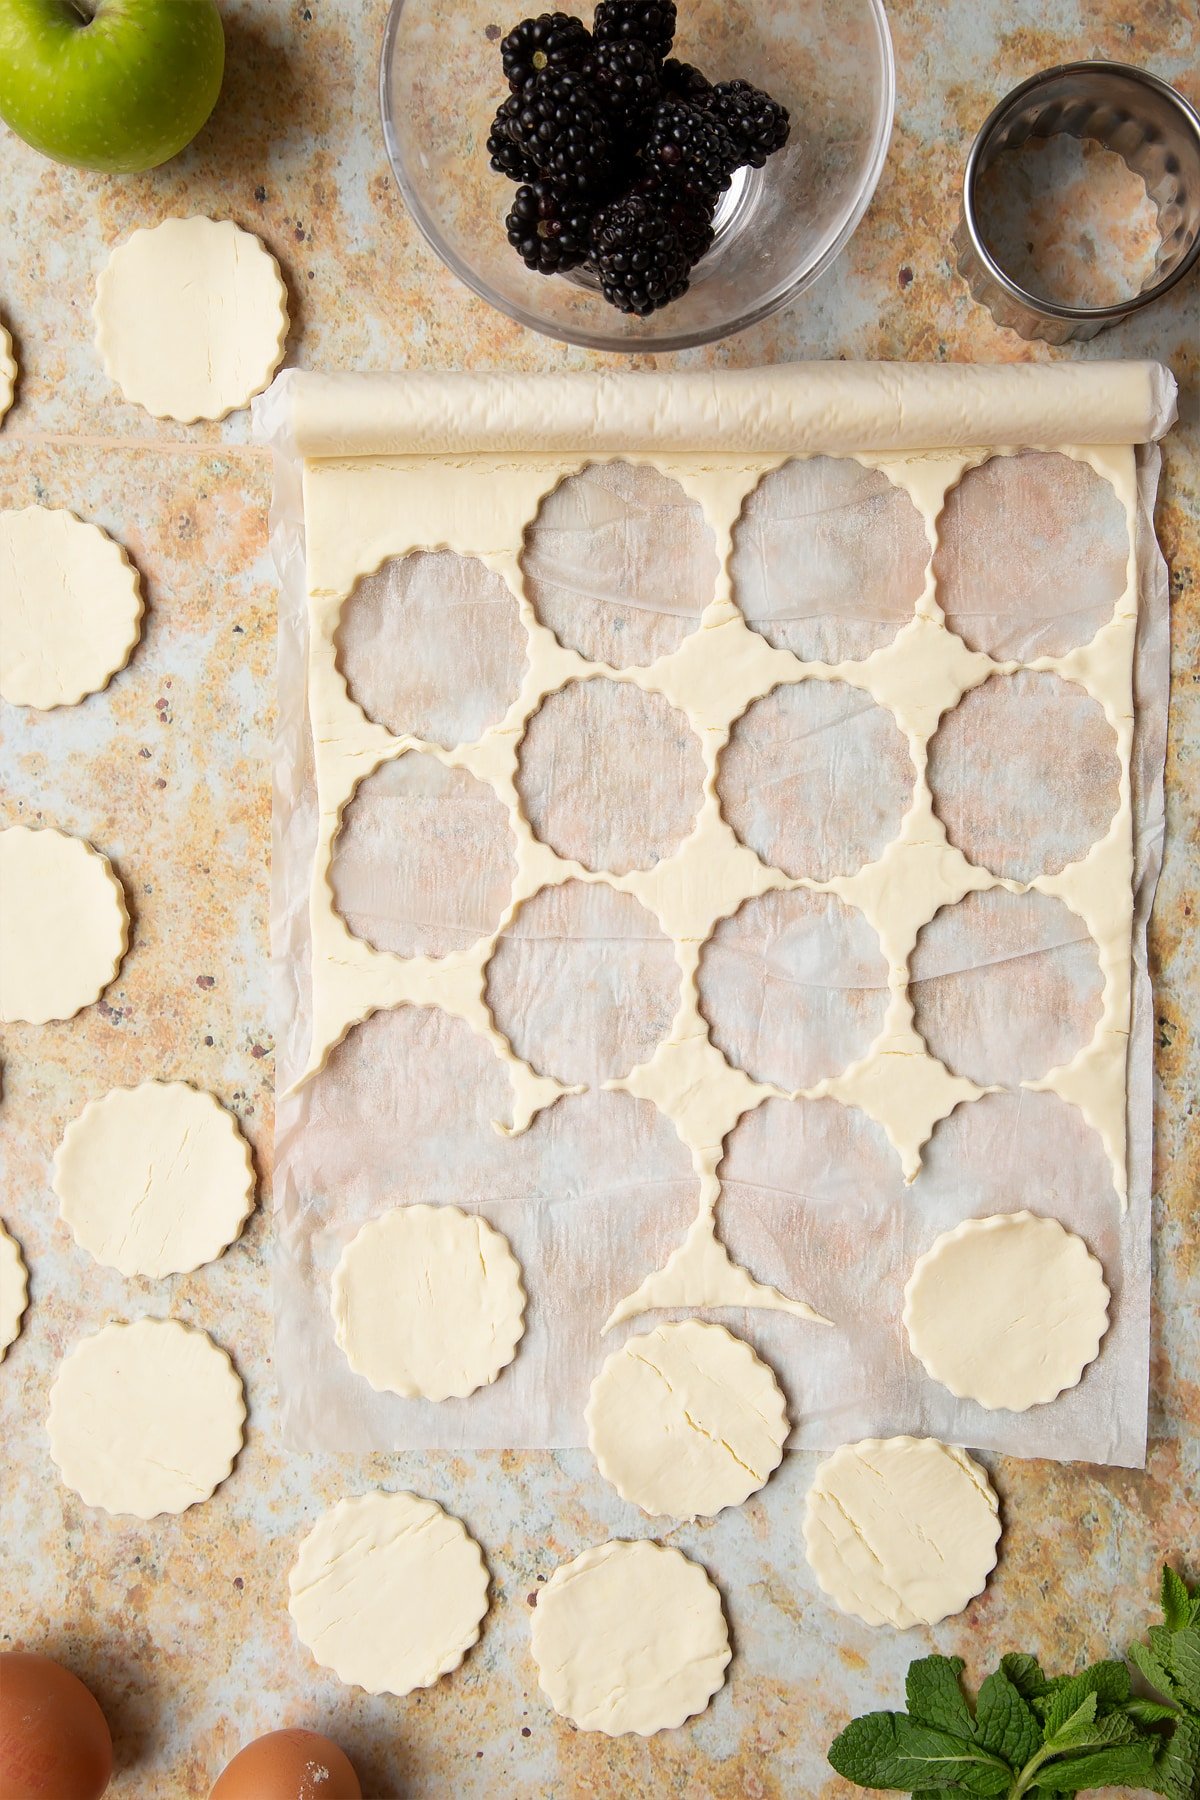
Cut the pastry into sixteen 6cm discs, positioning your cuts close together to get the most out of the pastry.
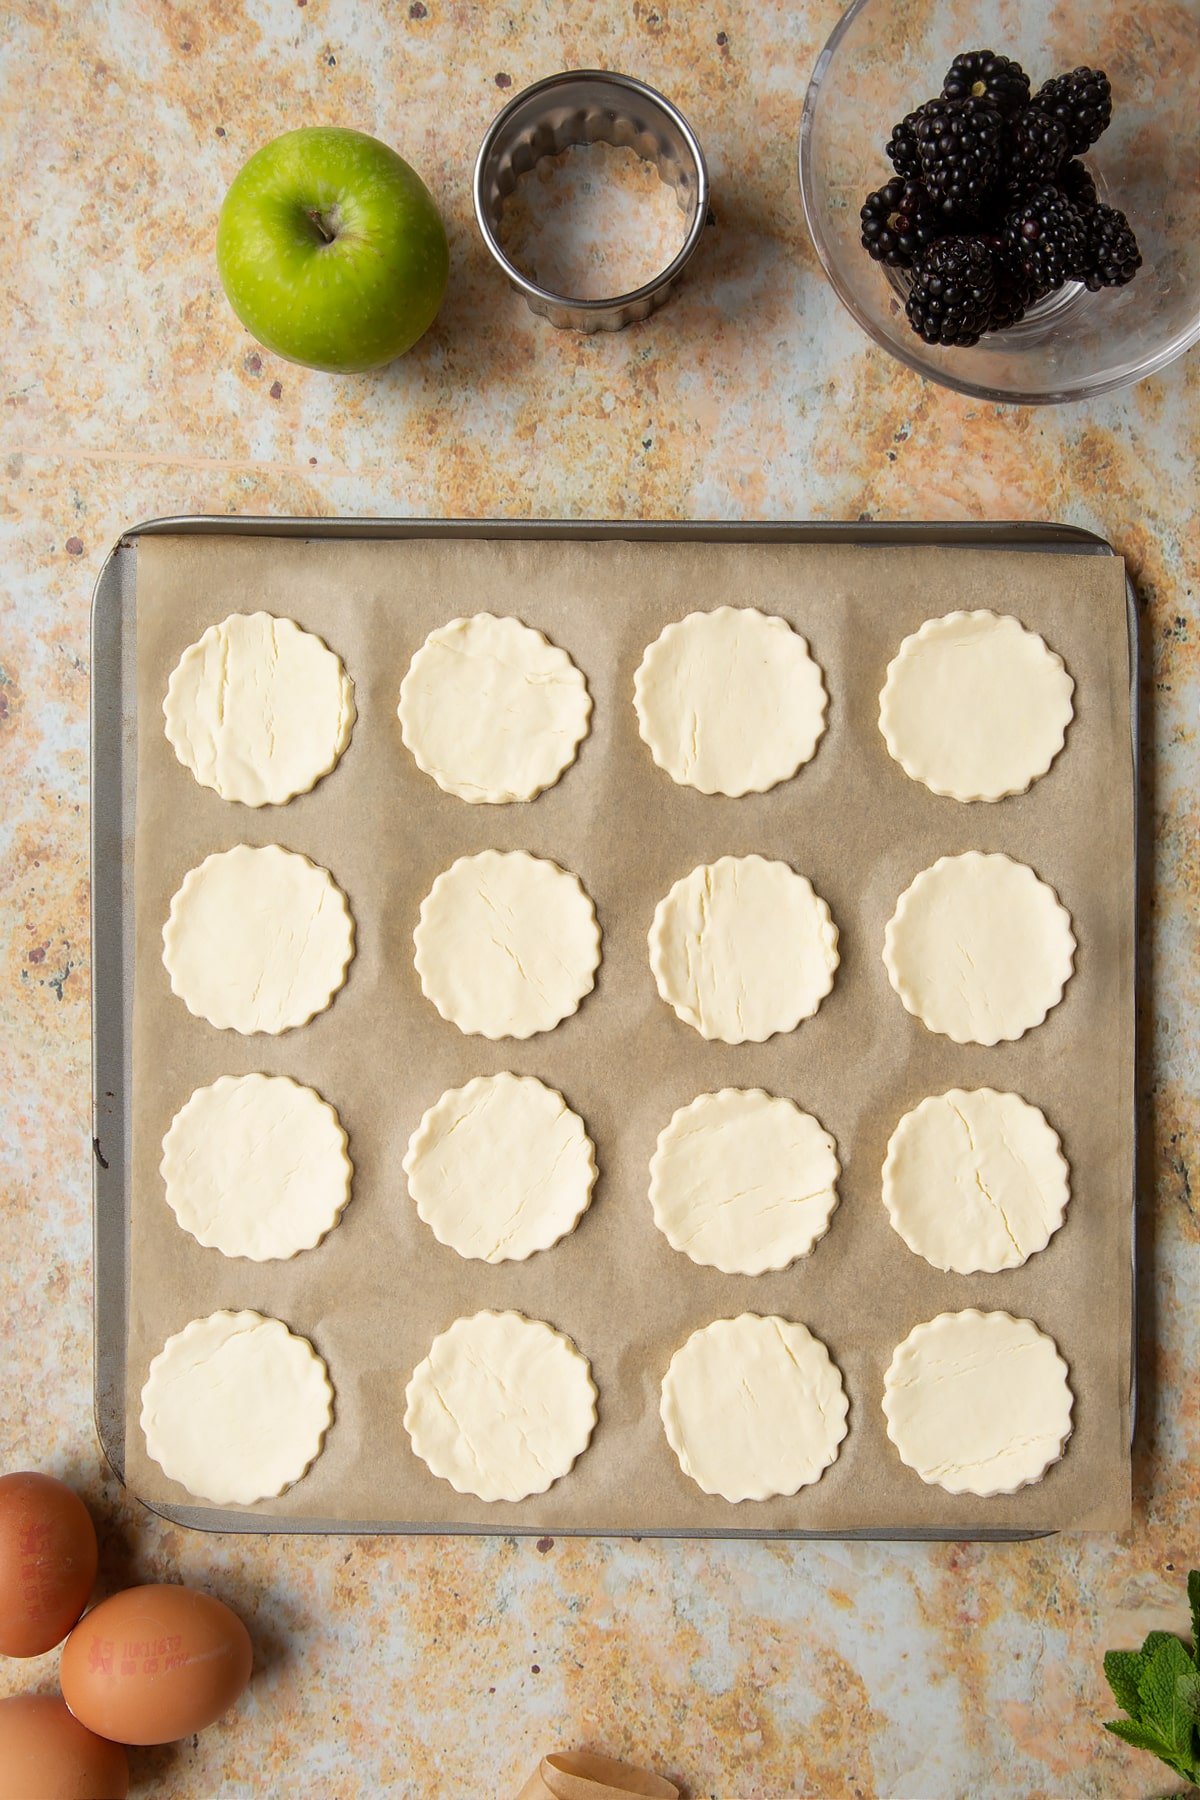
Place the pastry discs onto a baking tray lined with greaseproof paper.
Bake for 6 minutes or until the pastry has puffed up, but before it has started to take any colour.
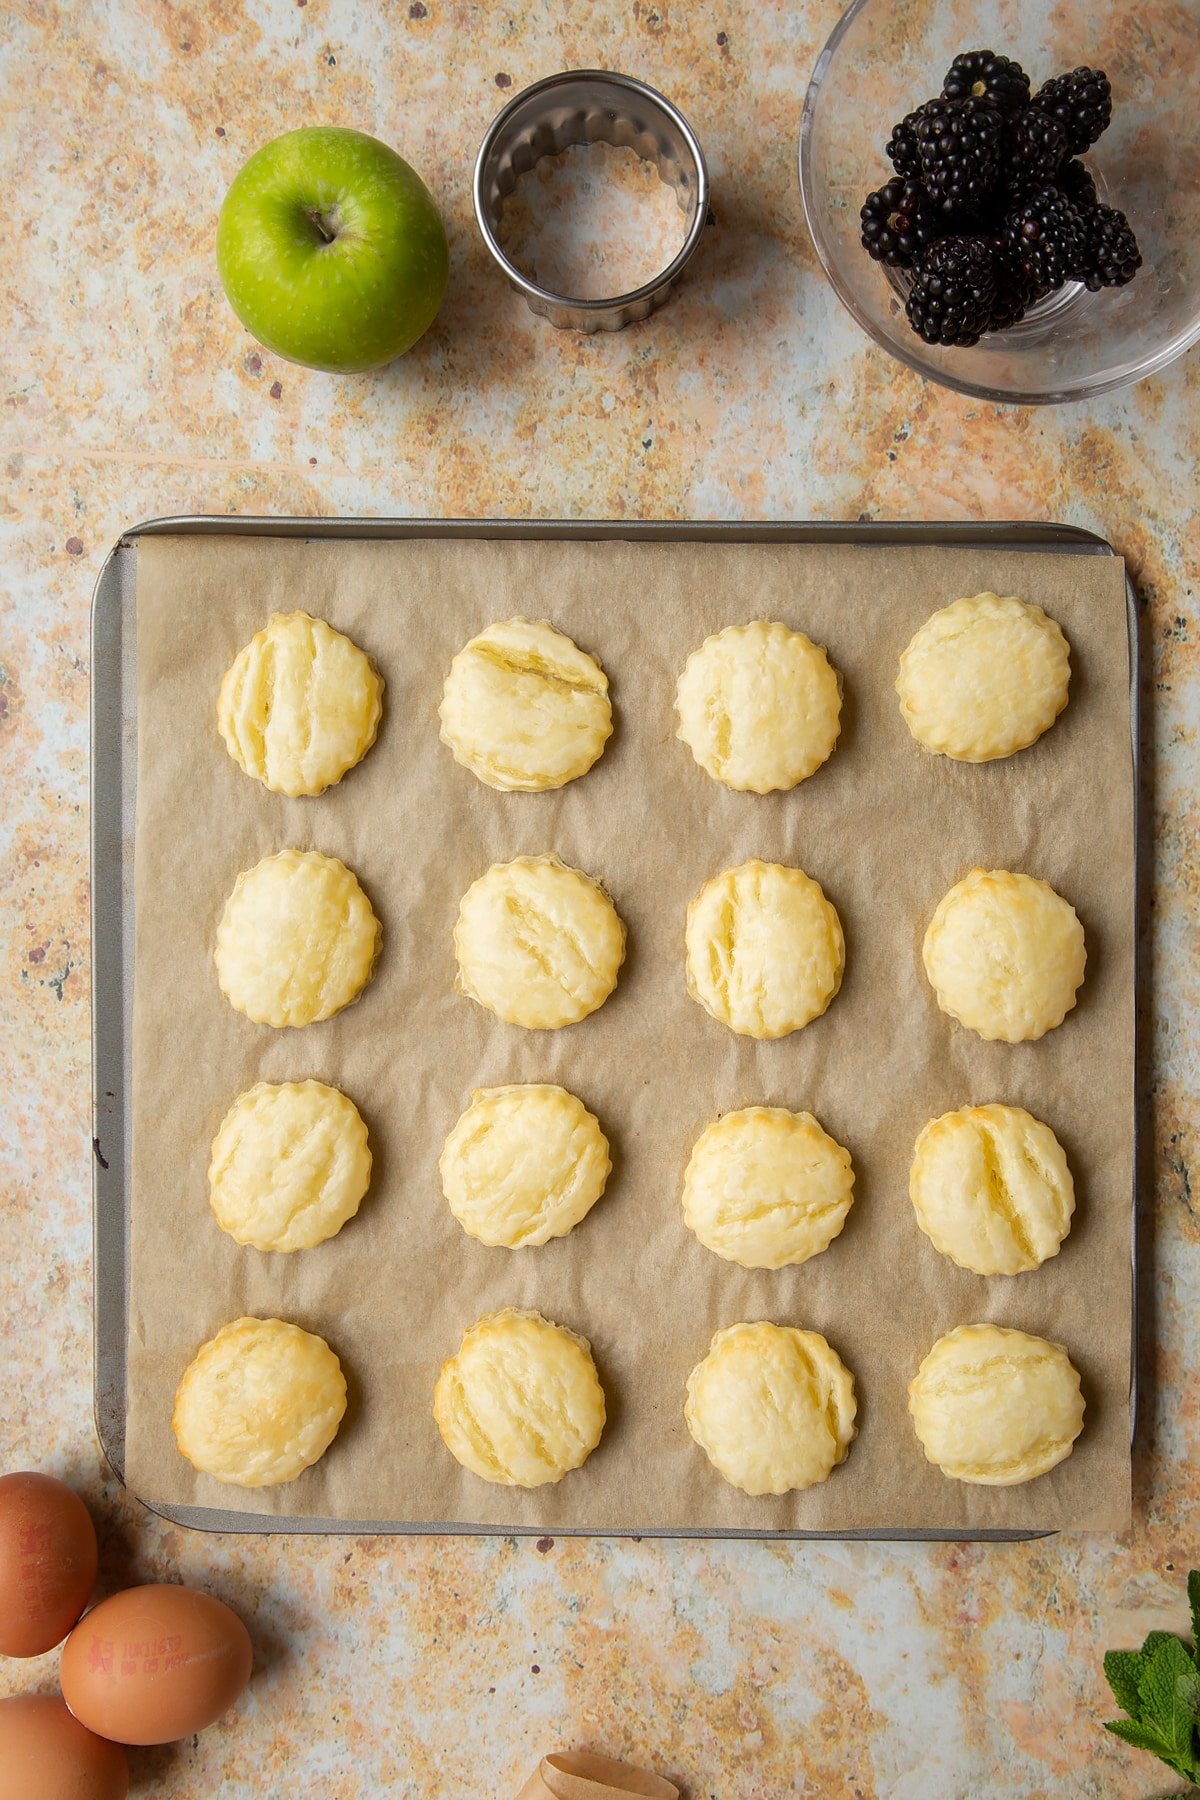
Press down the middle of each disc to create space for filling (the bottom of a shot glass will work well).
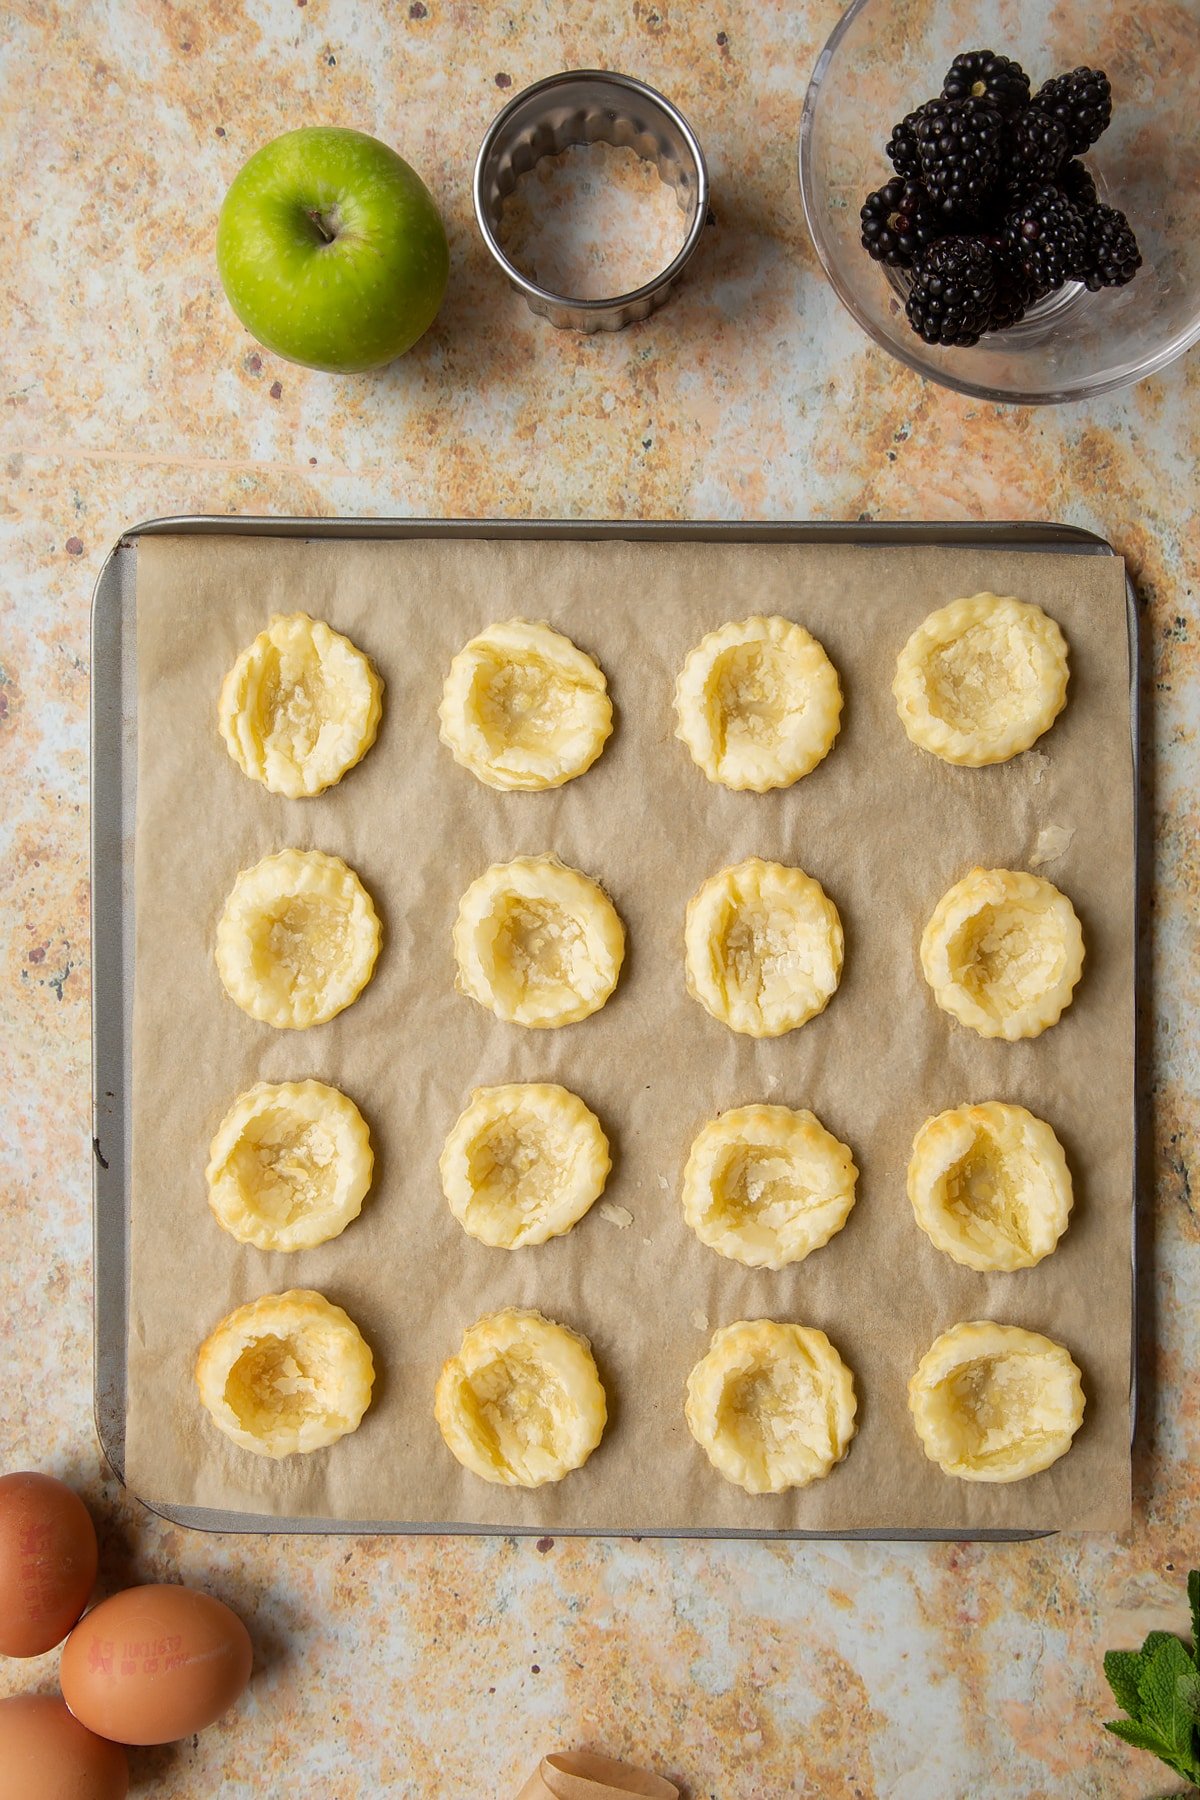
Make the tarts
Thinly slice the apple and cut each slice into quarters.
Pop a piece into each pastry case.
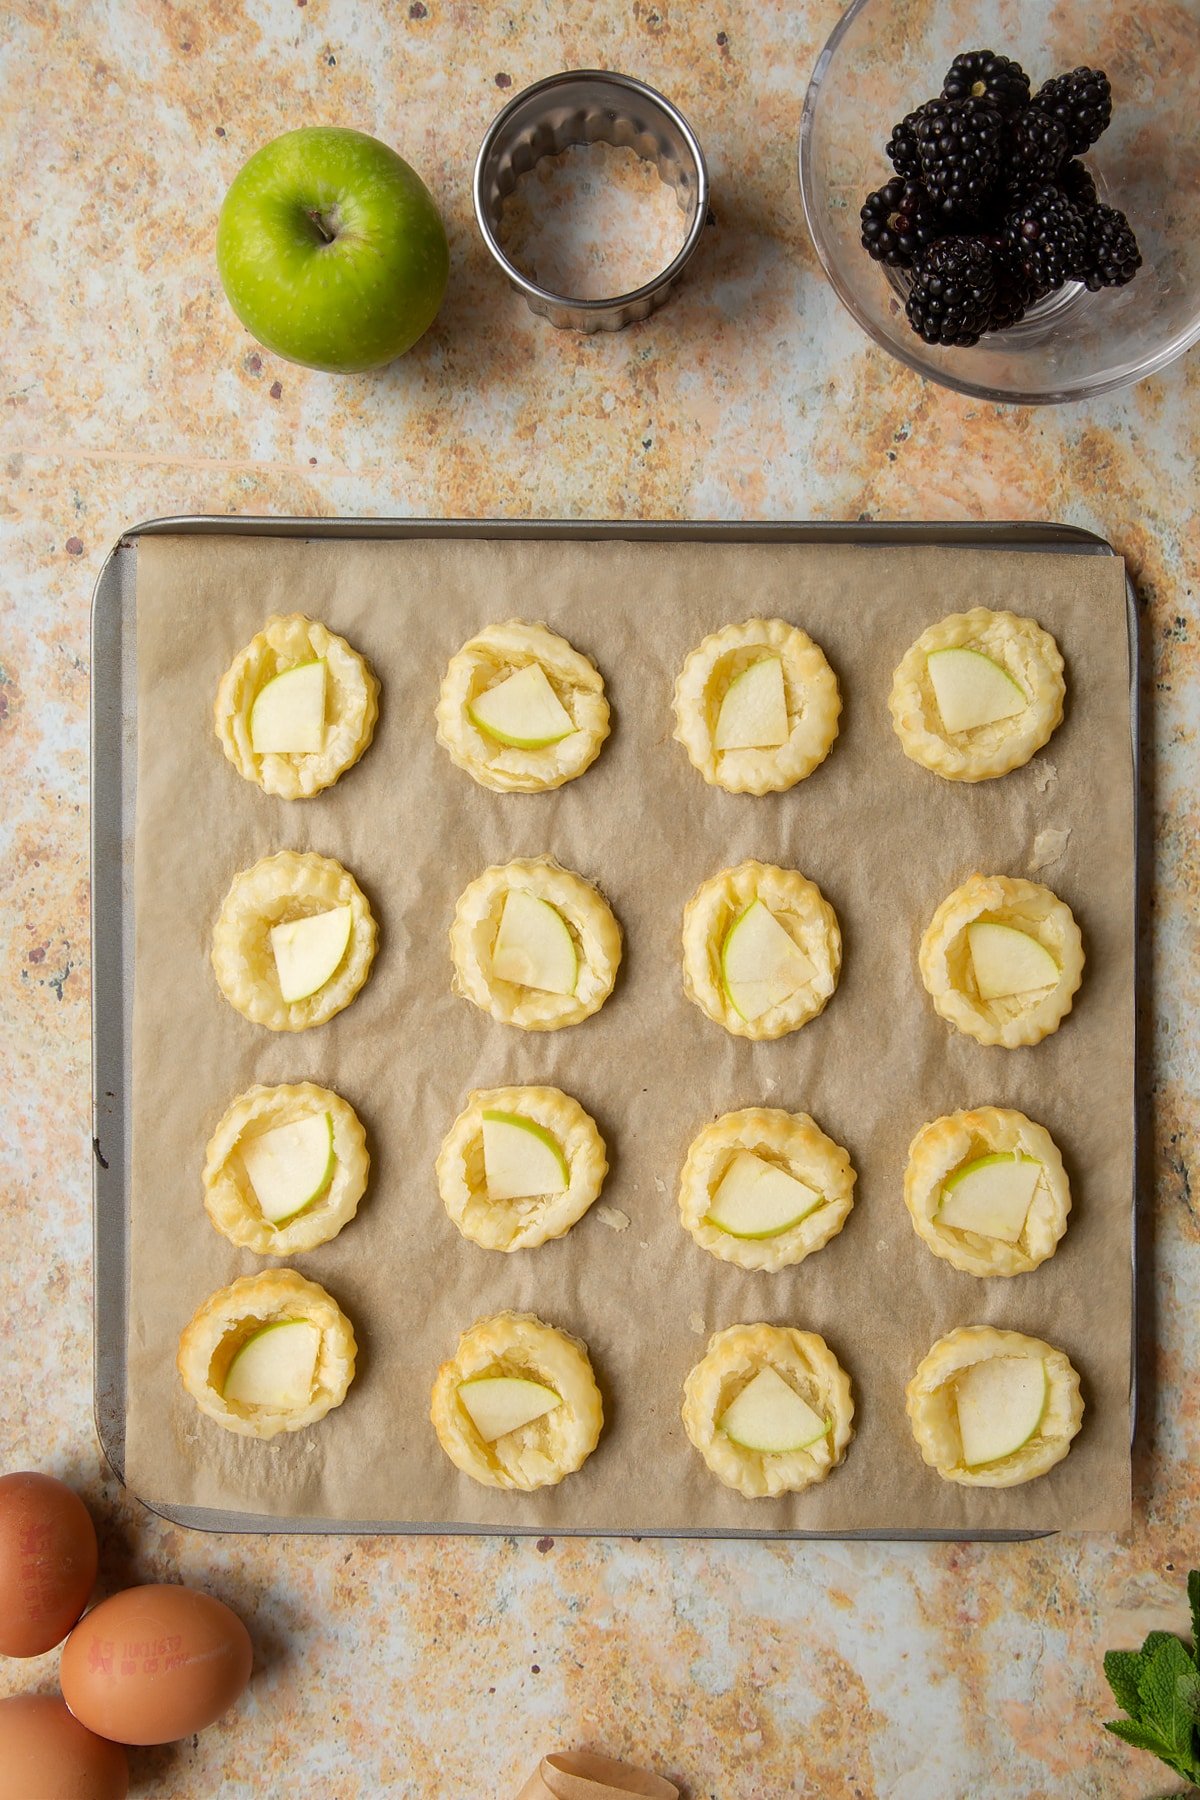
Spoon a teaspoon full of pastry cream into each pastry case.
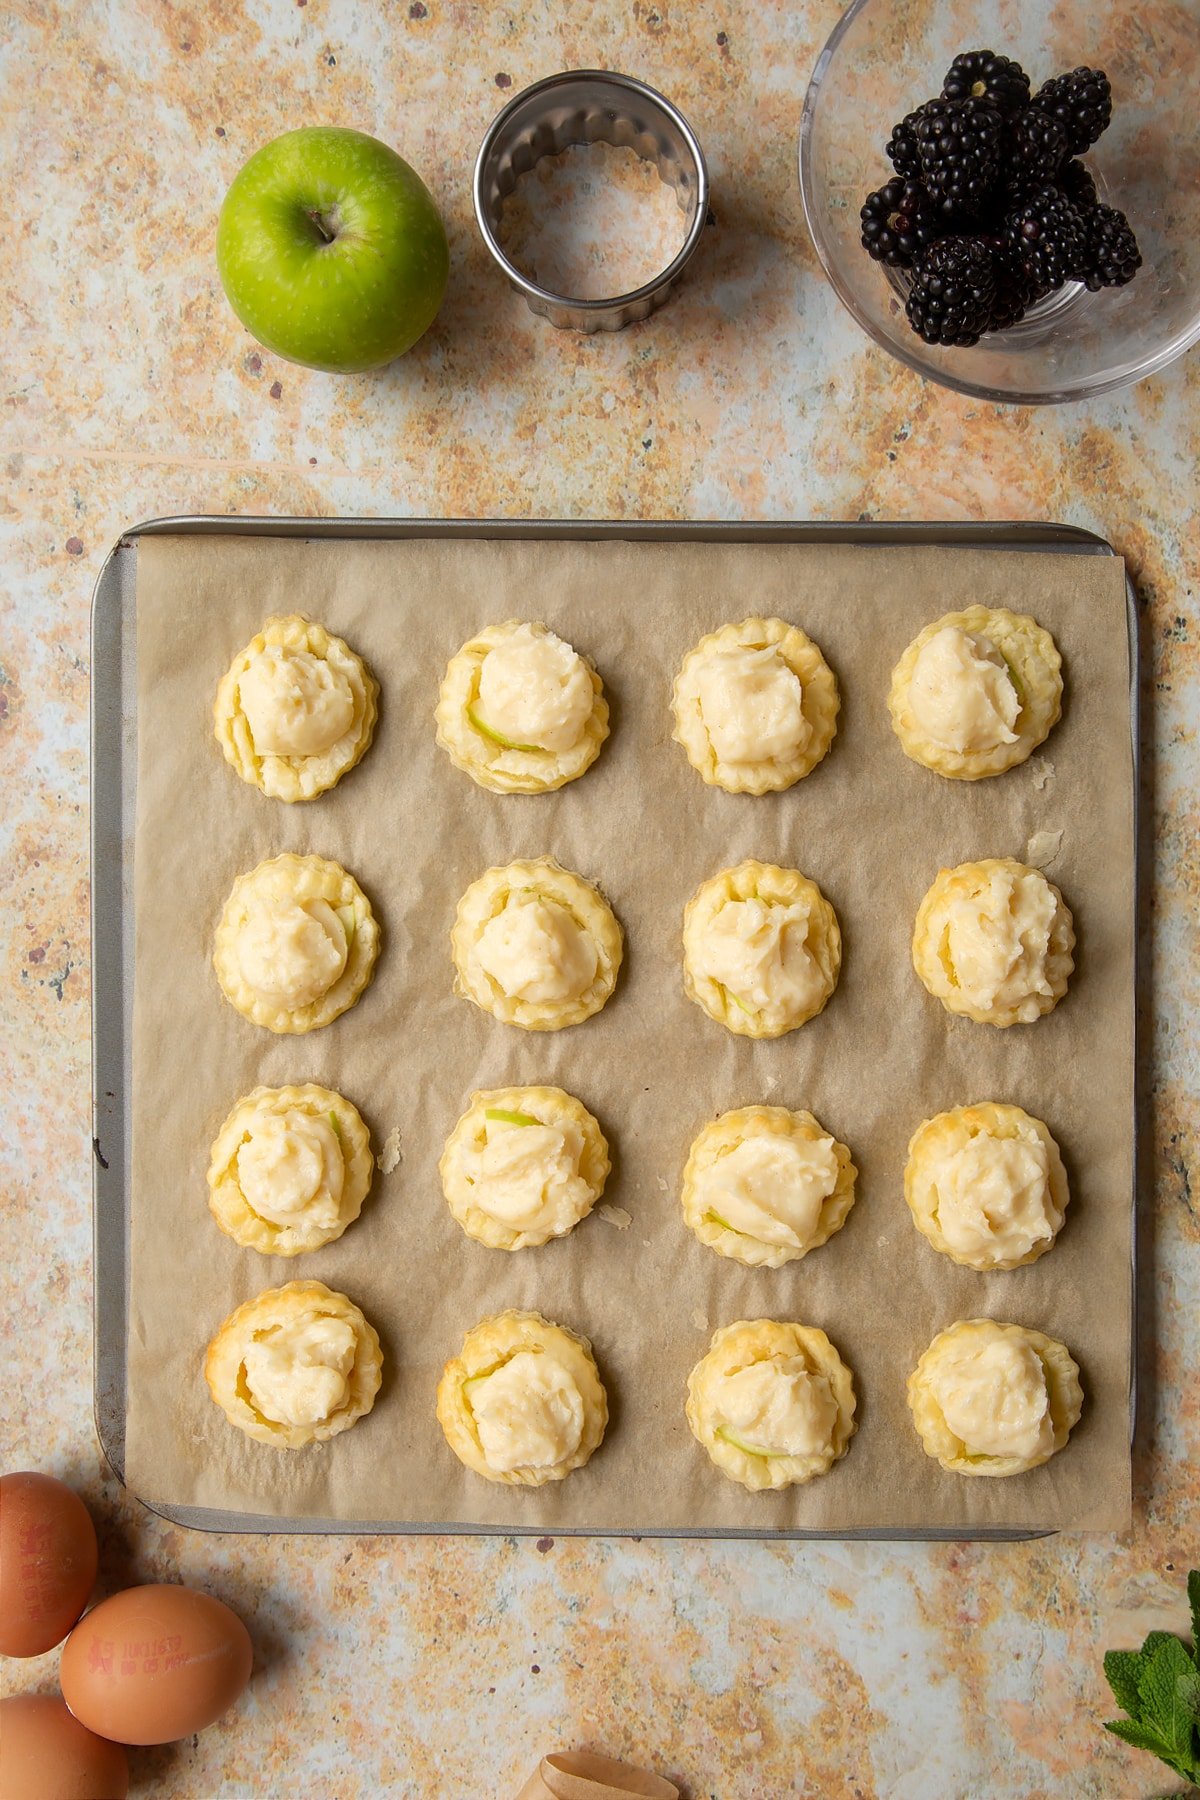
Pop a blackberry half on top of each tart.
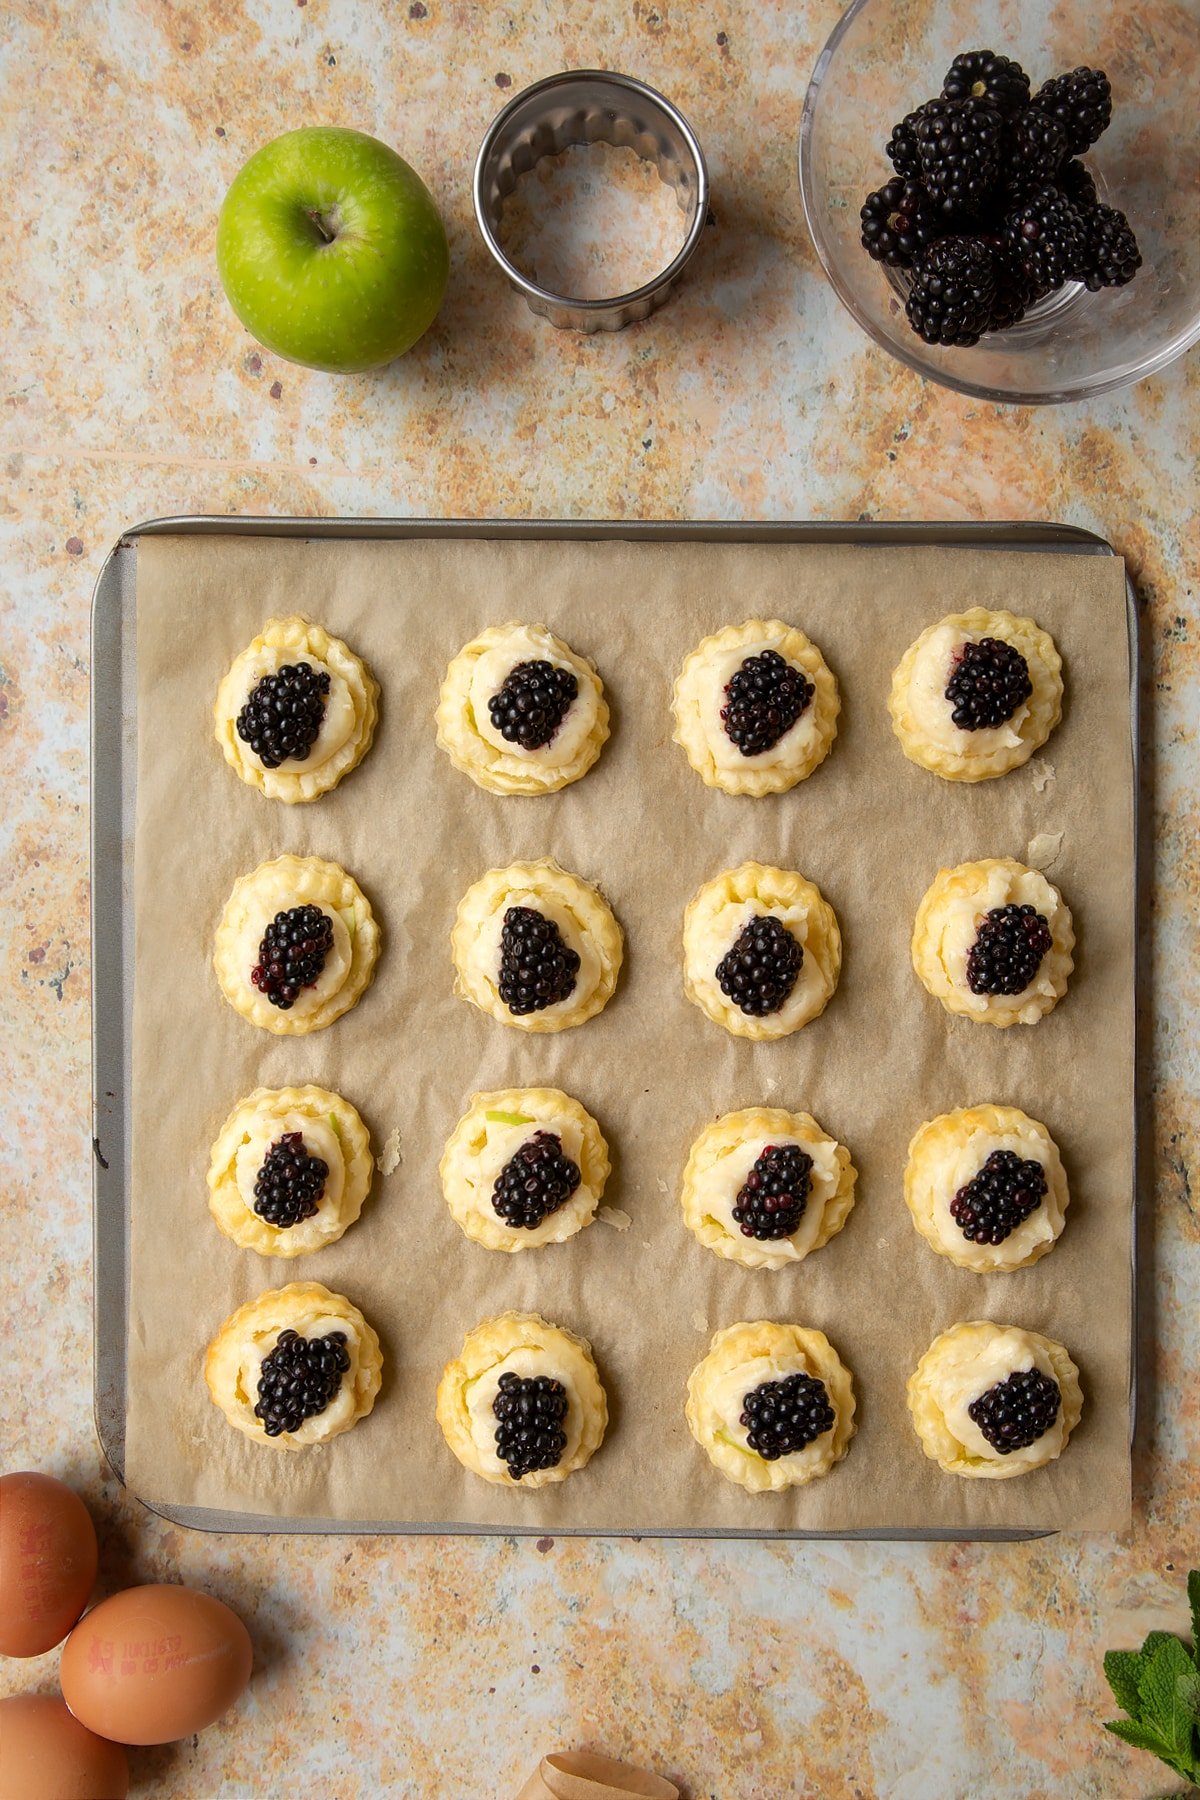
Return the tray to the oven for further 10-15 mins until the pastry is golden. Keep an eye on the tarts to avoid burning the pastry.
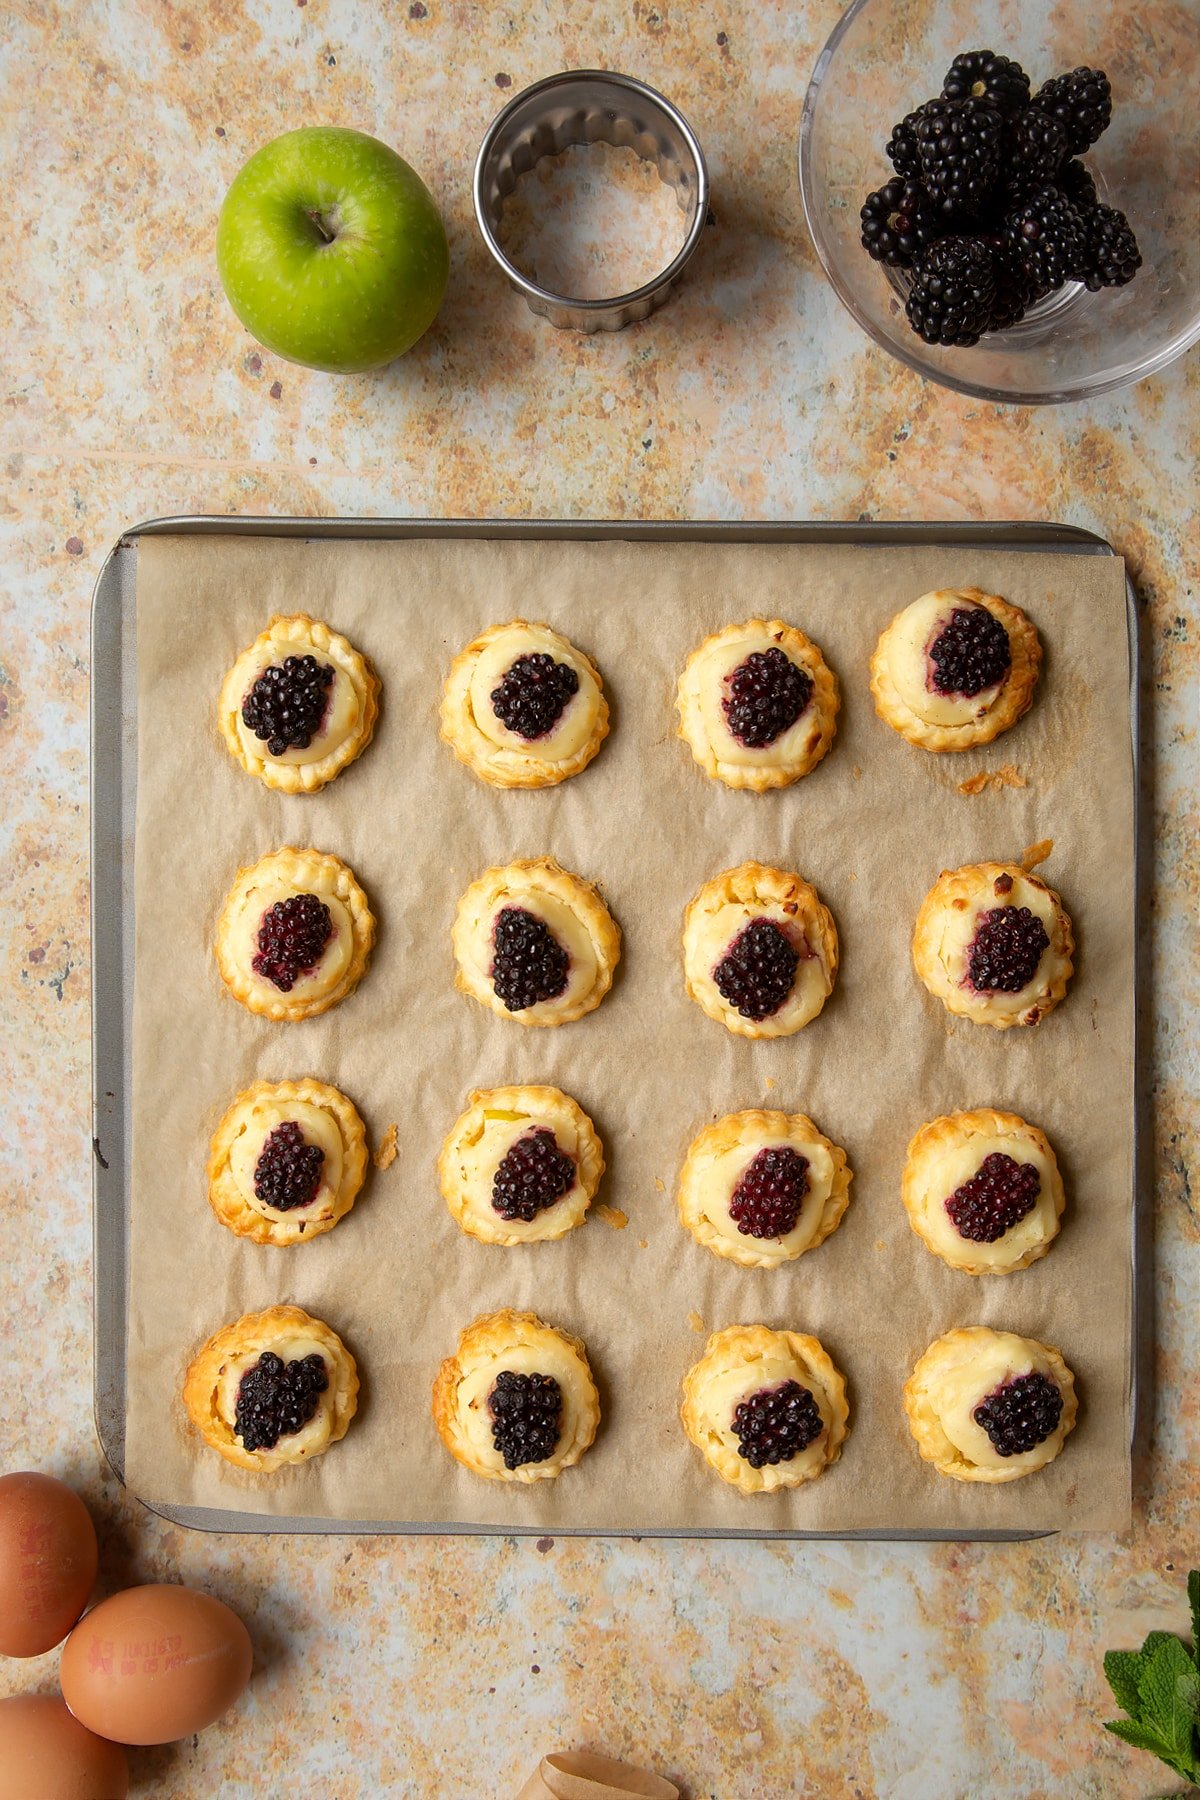
Make sure that the underside is full cooked and golden.
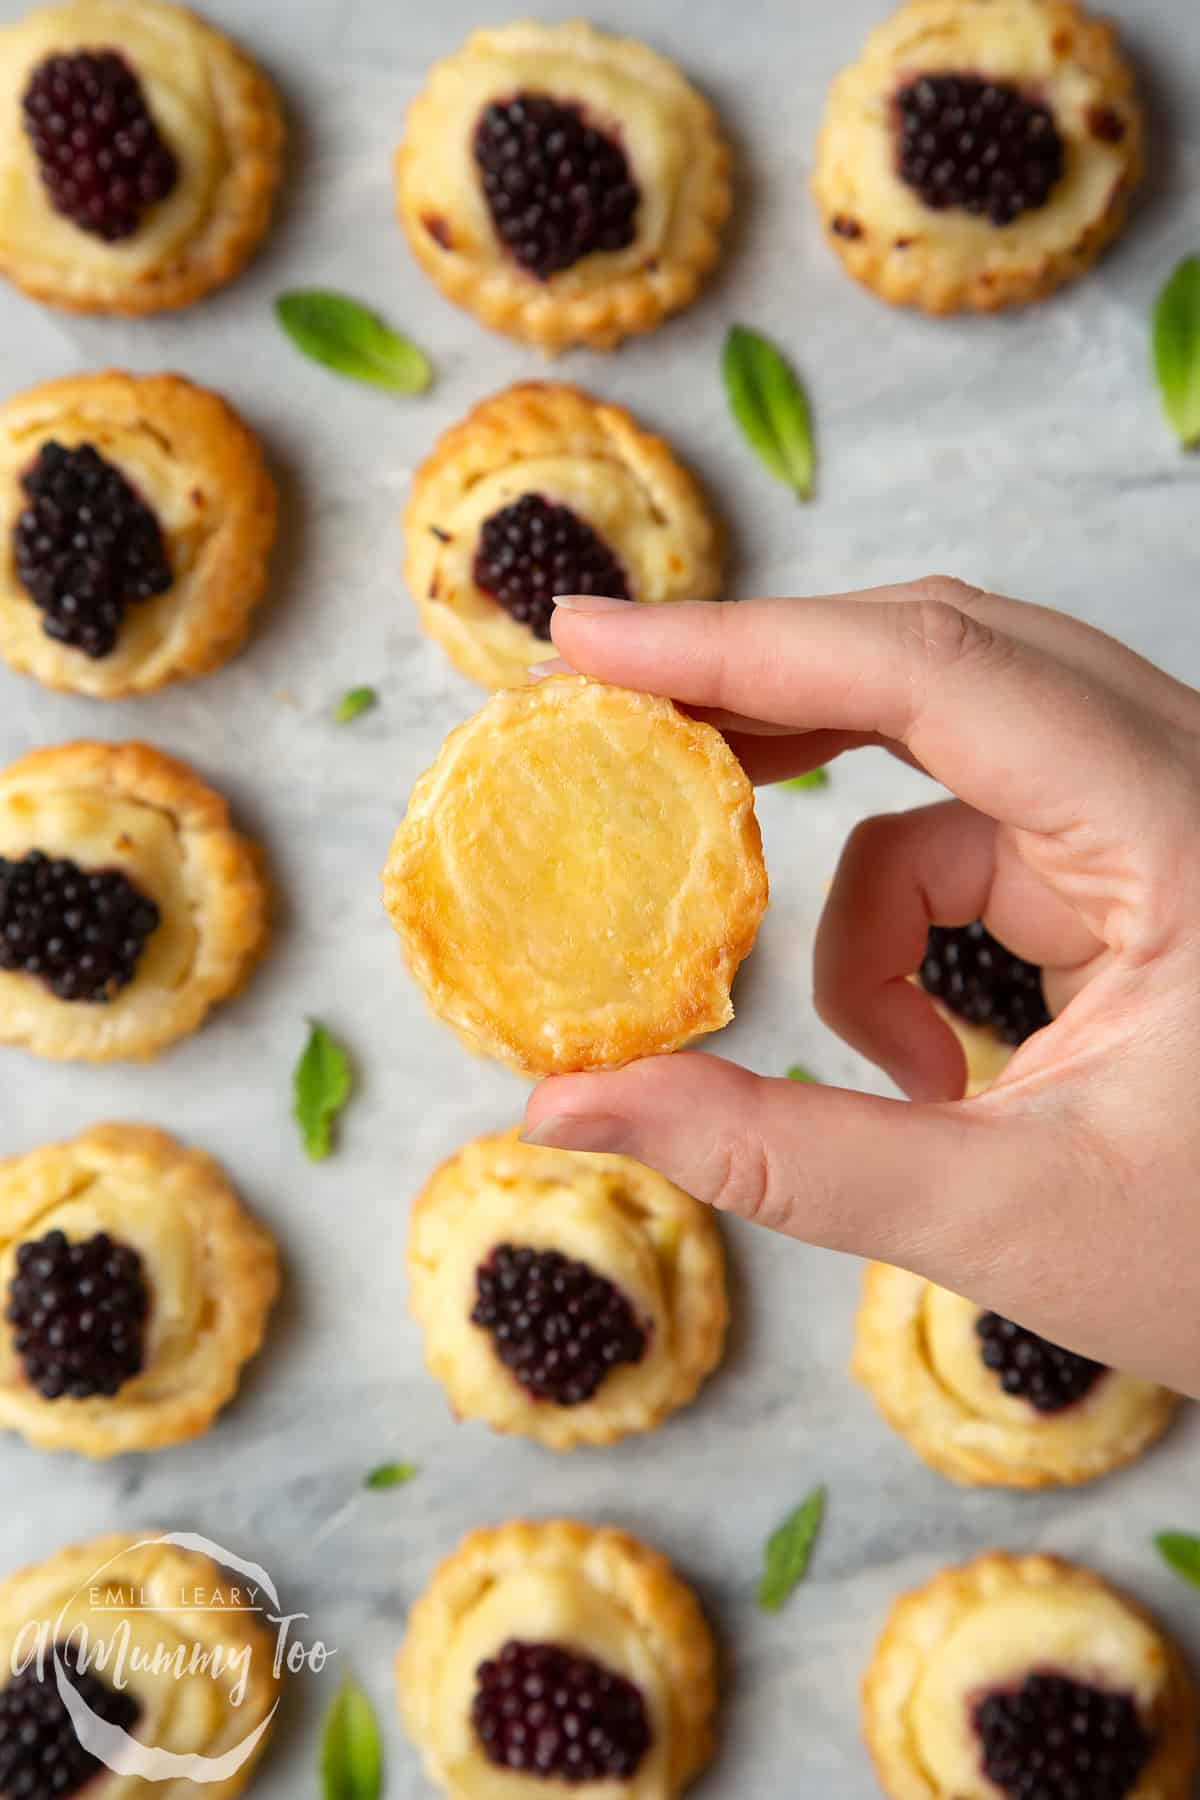
Allow to cool completely, then serve.
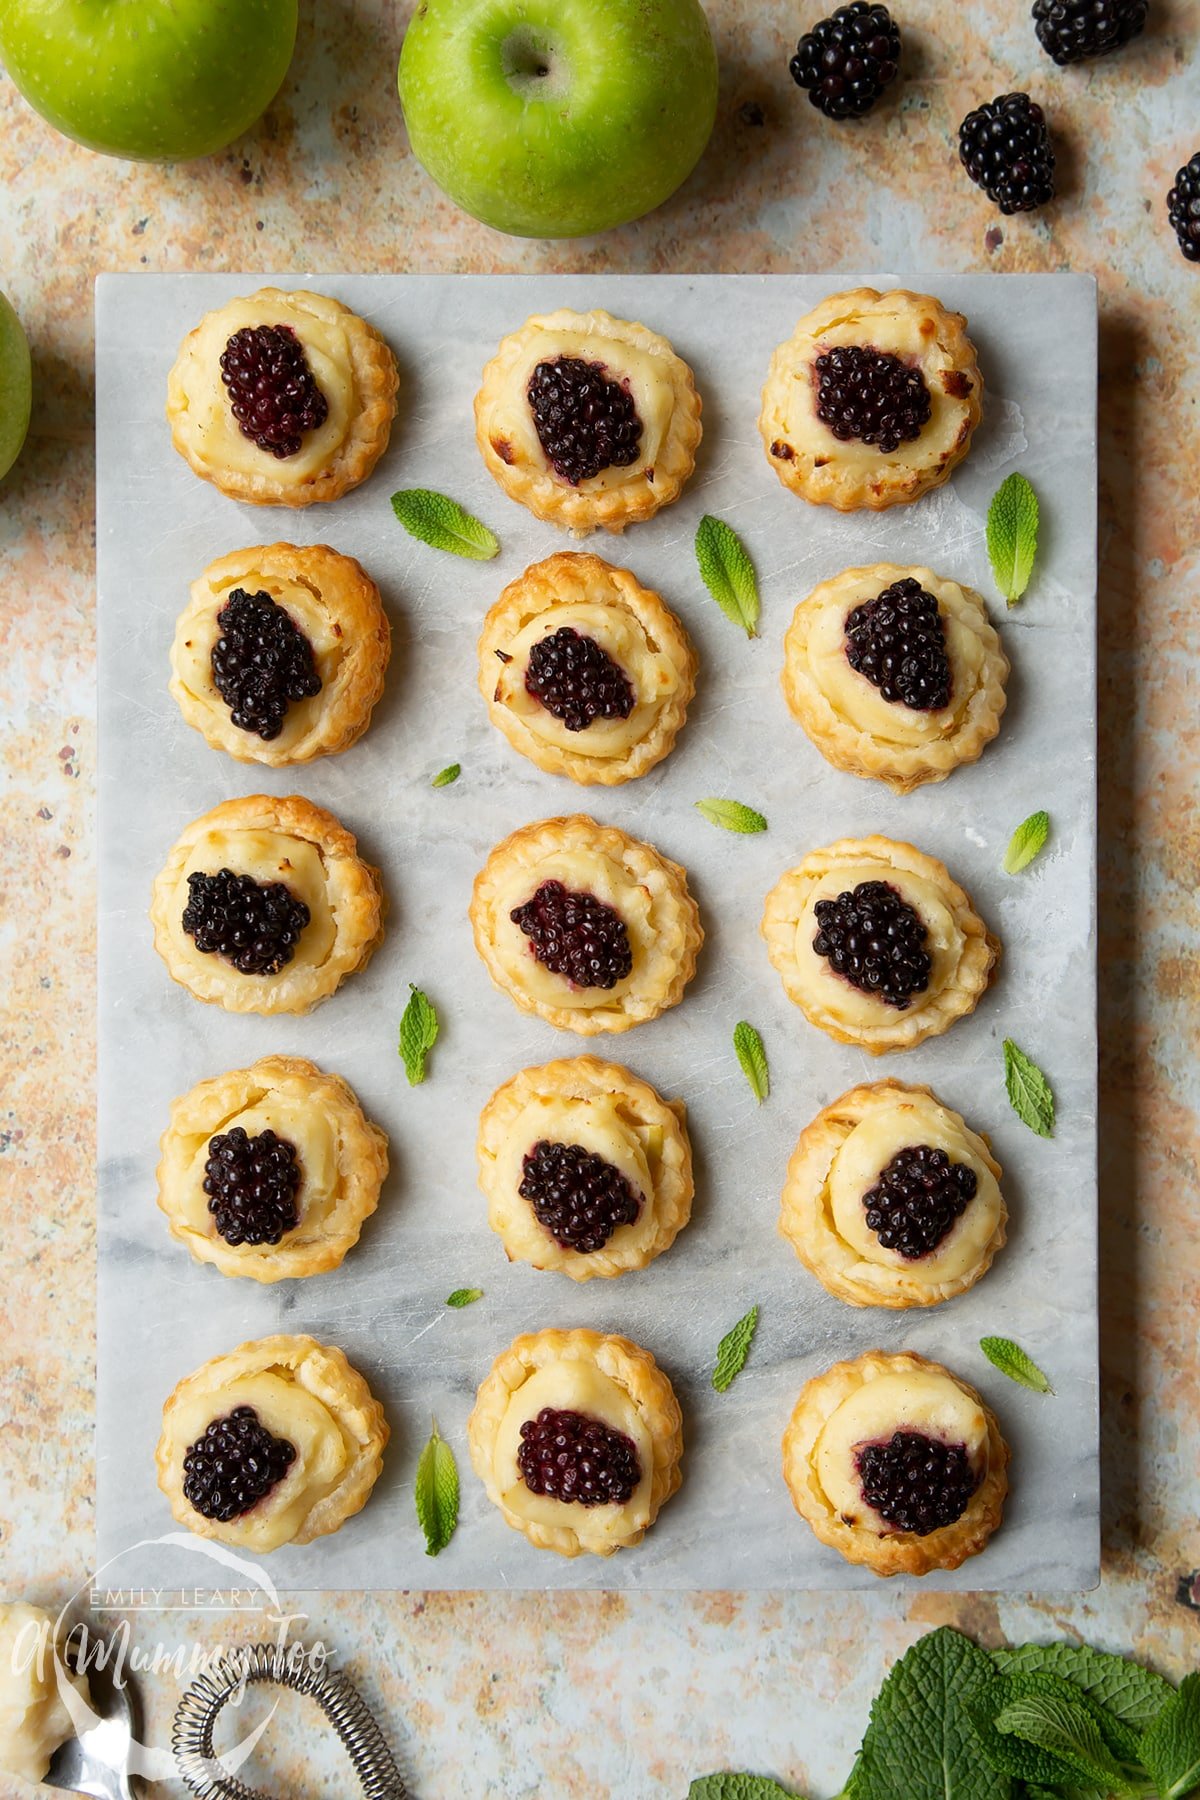
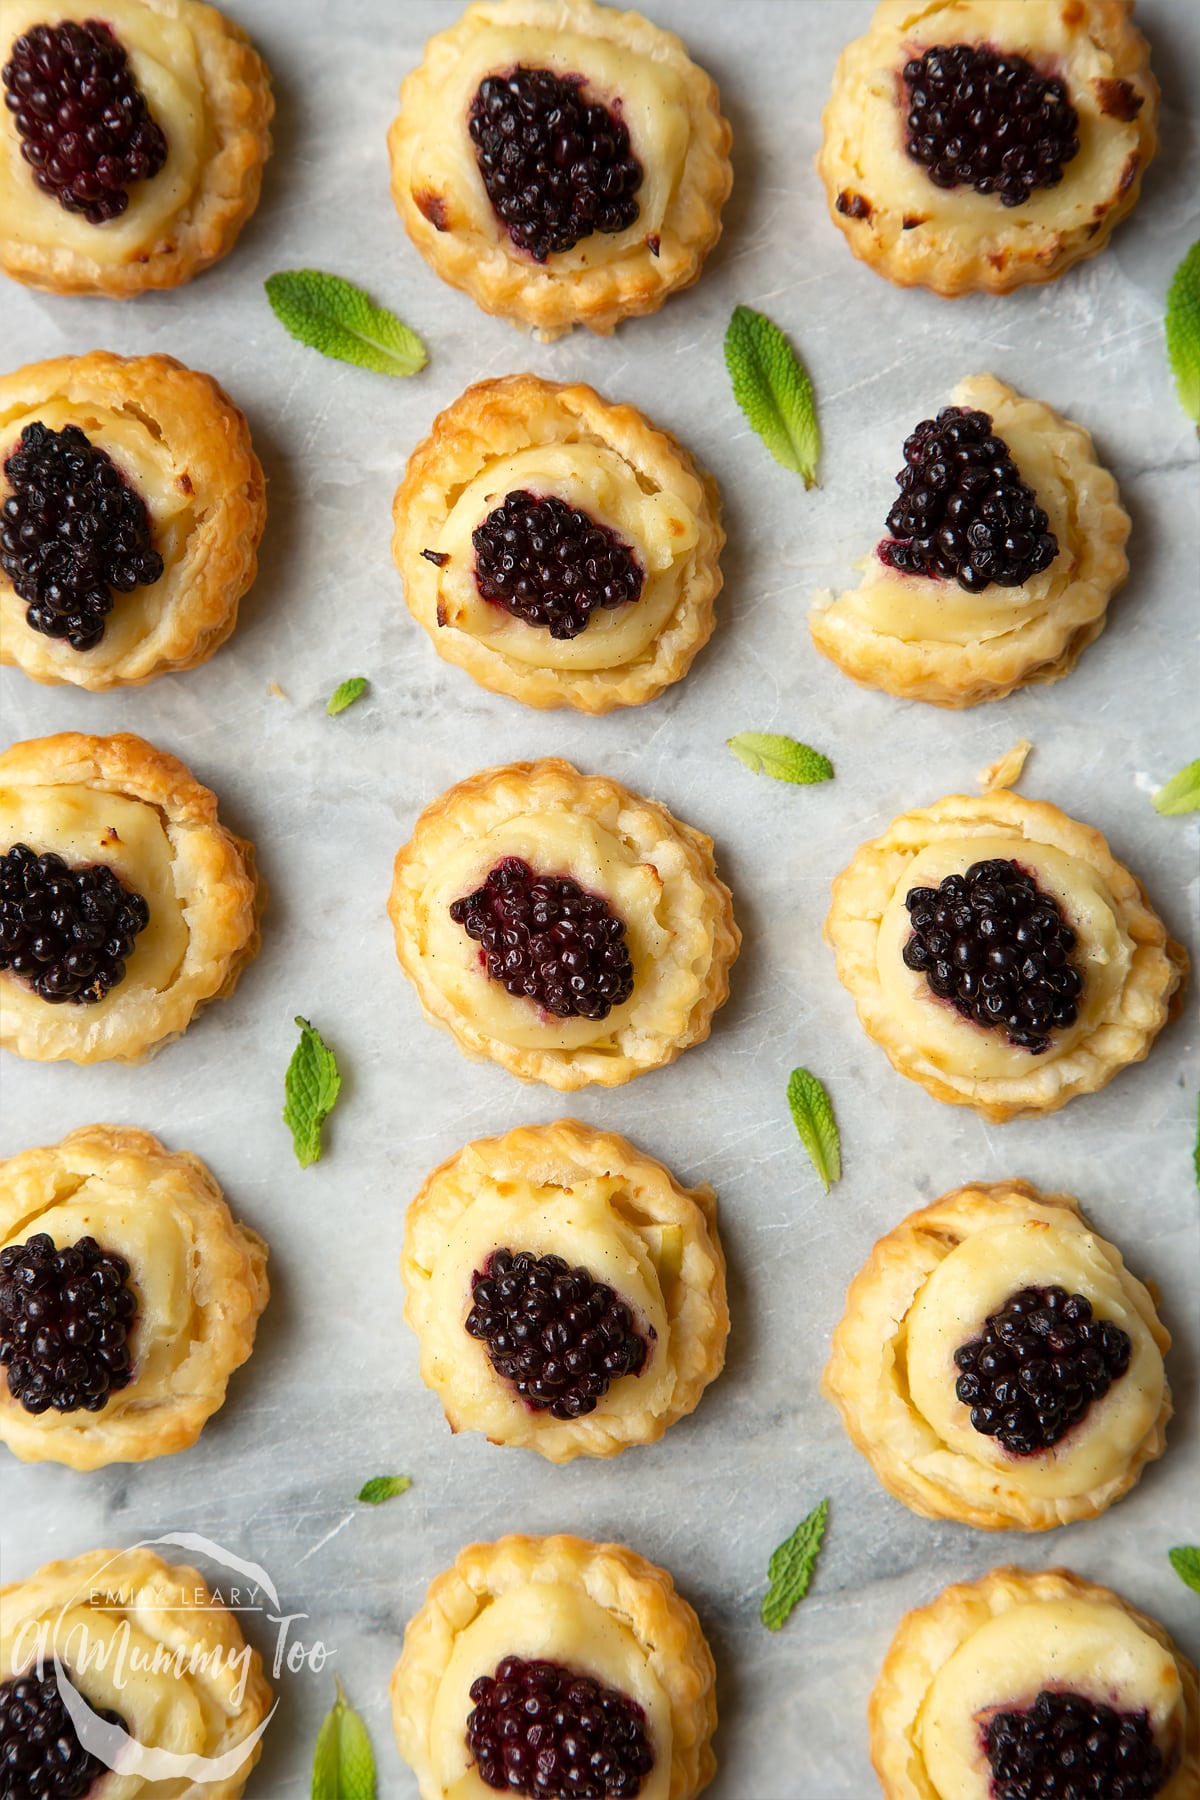
They're pretty, don't you think? They're bitesize, so they'd make great canapés for a gathering or party.
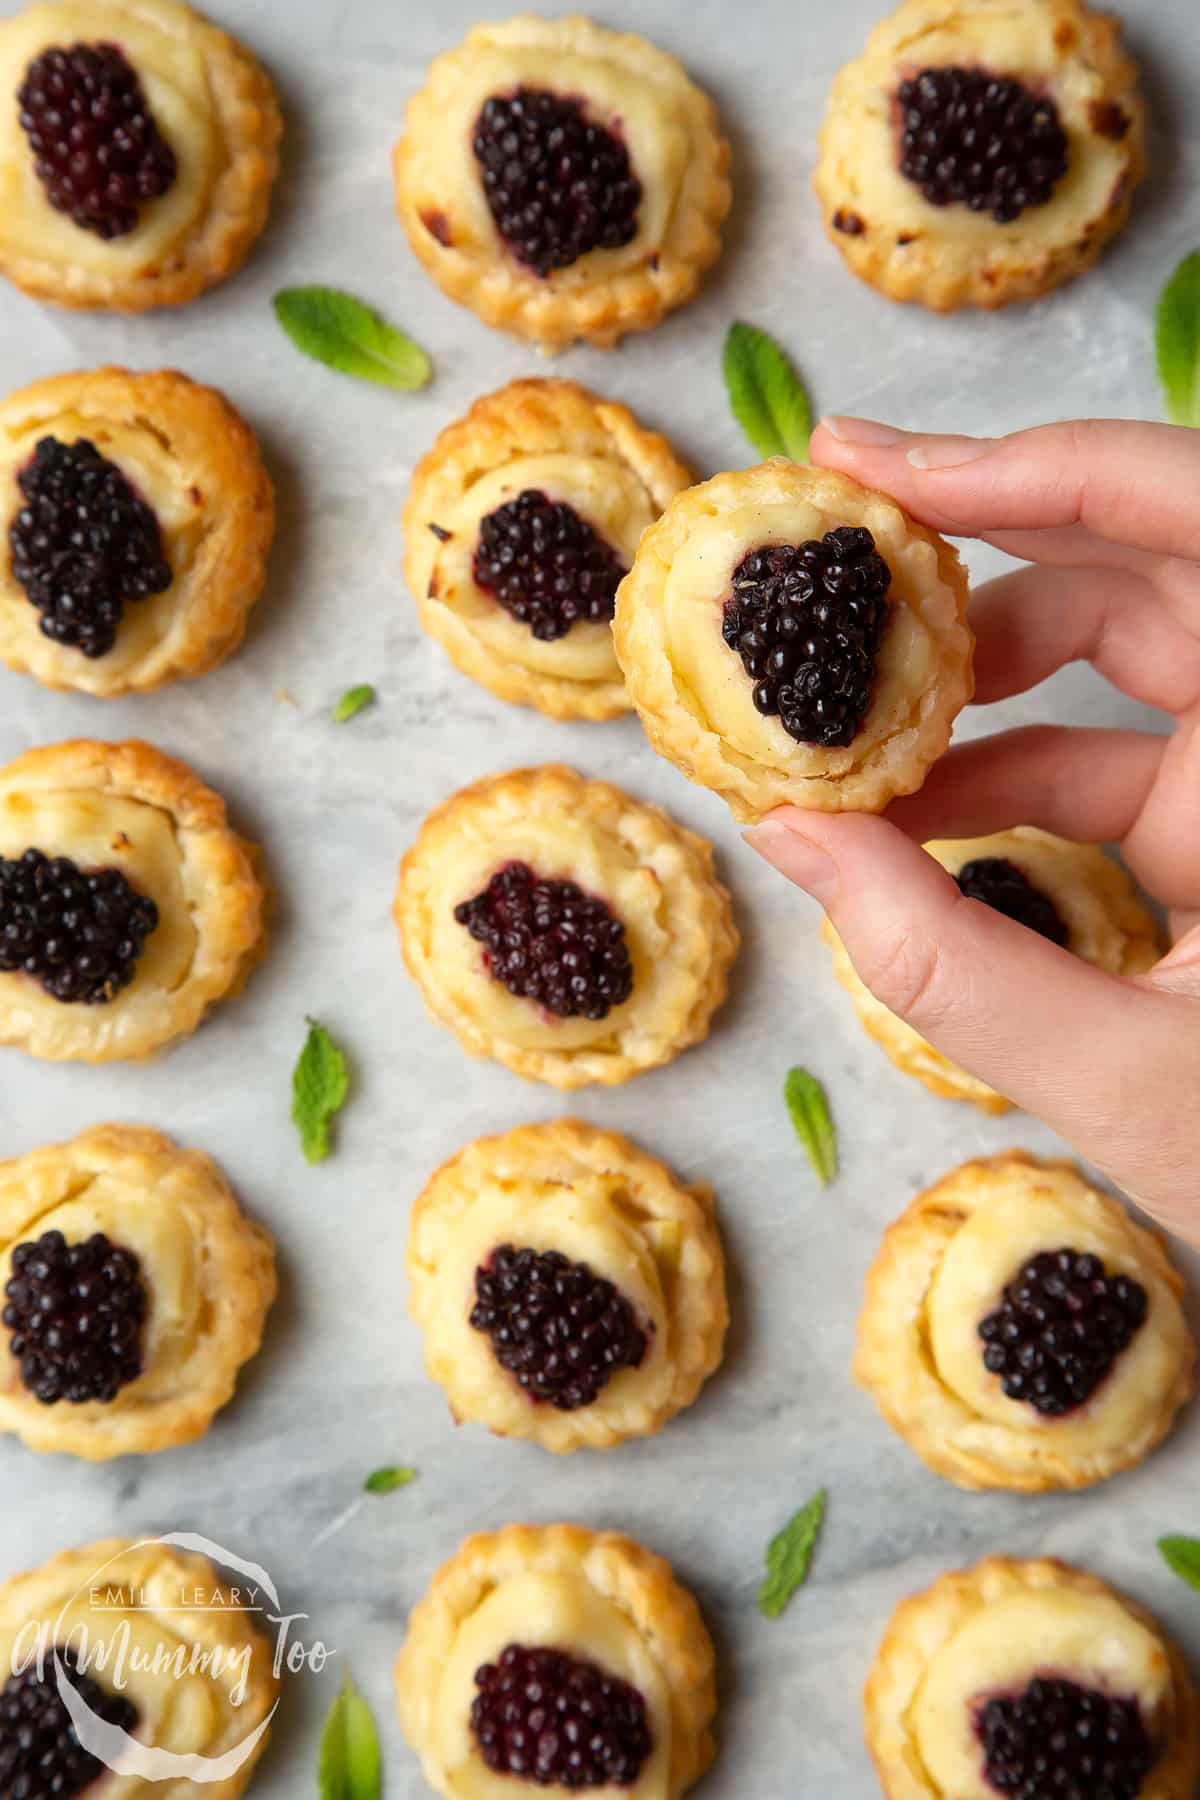
Biting into them is an absolute joy.
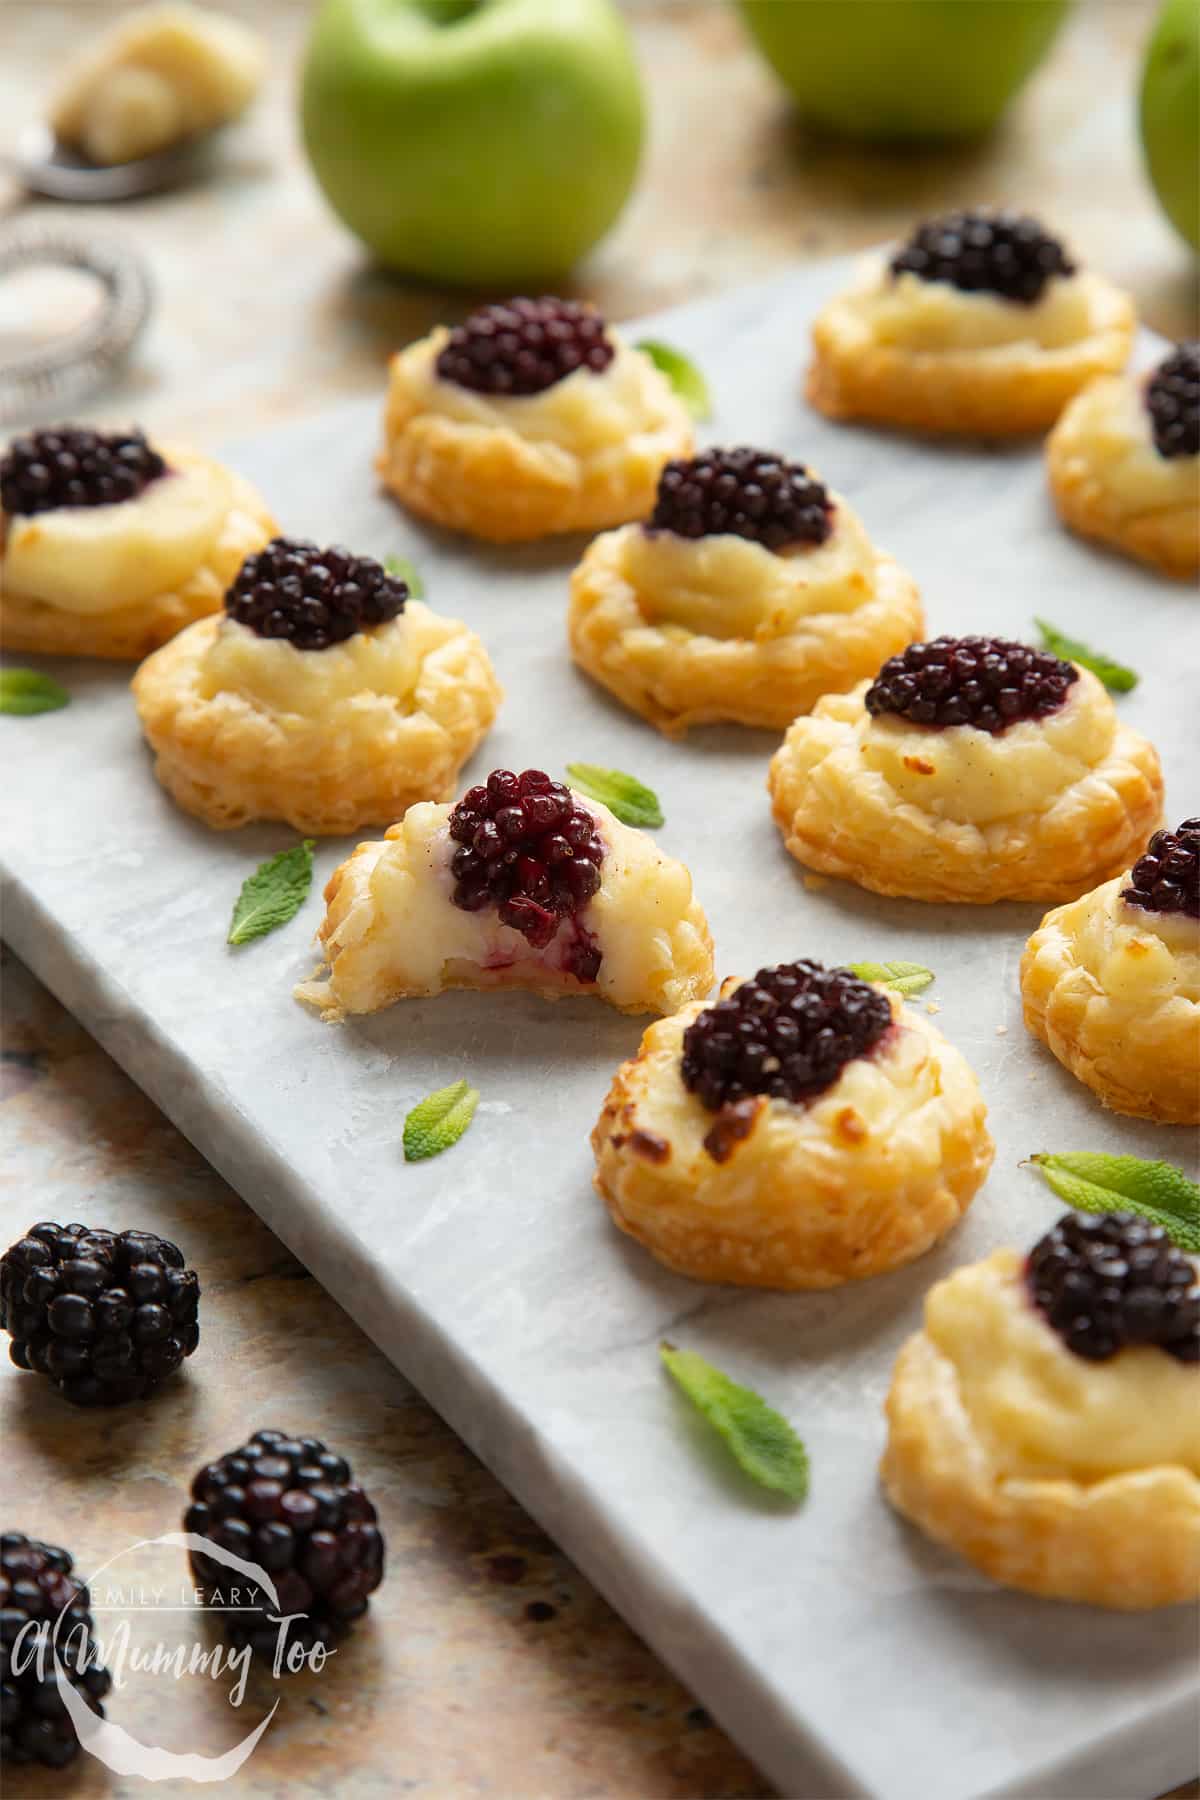
You get crispness, creaminess, sweetness and juiciness in a single bite!
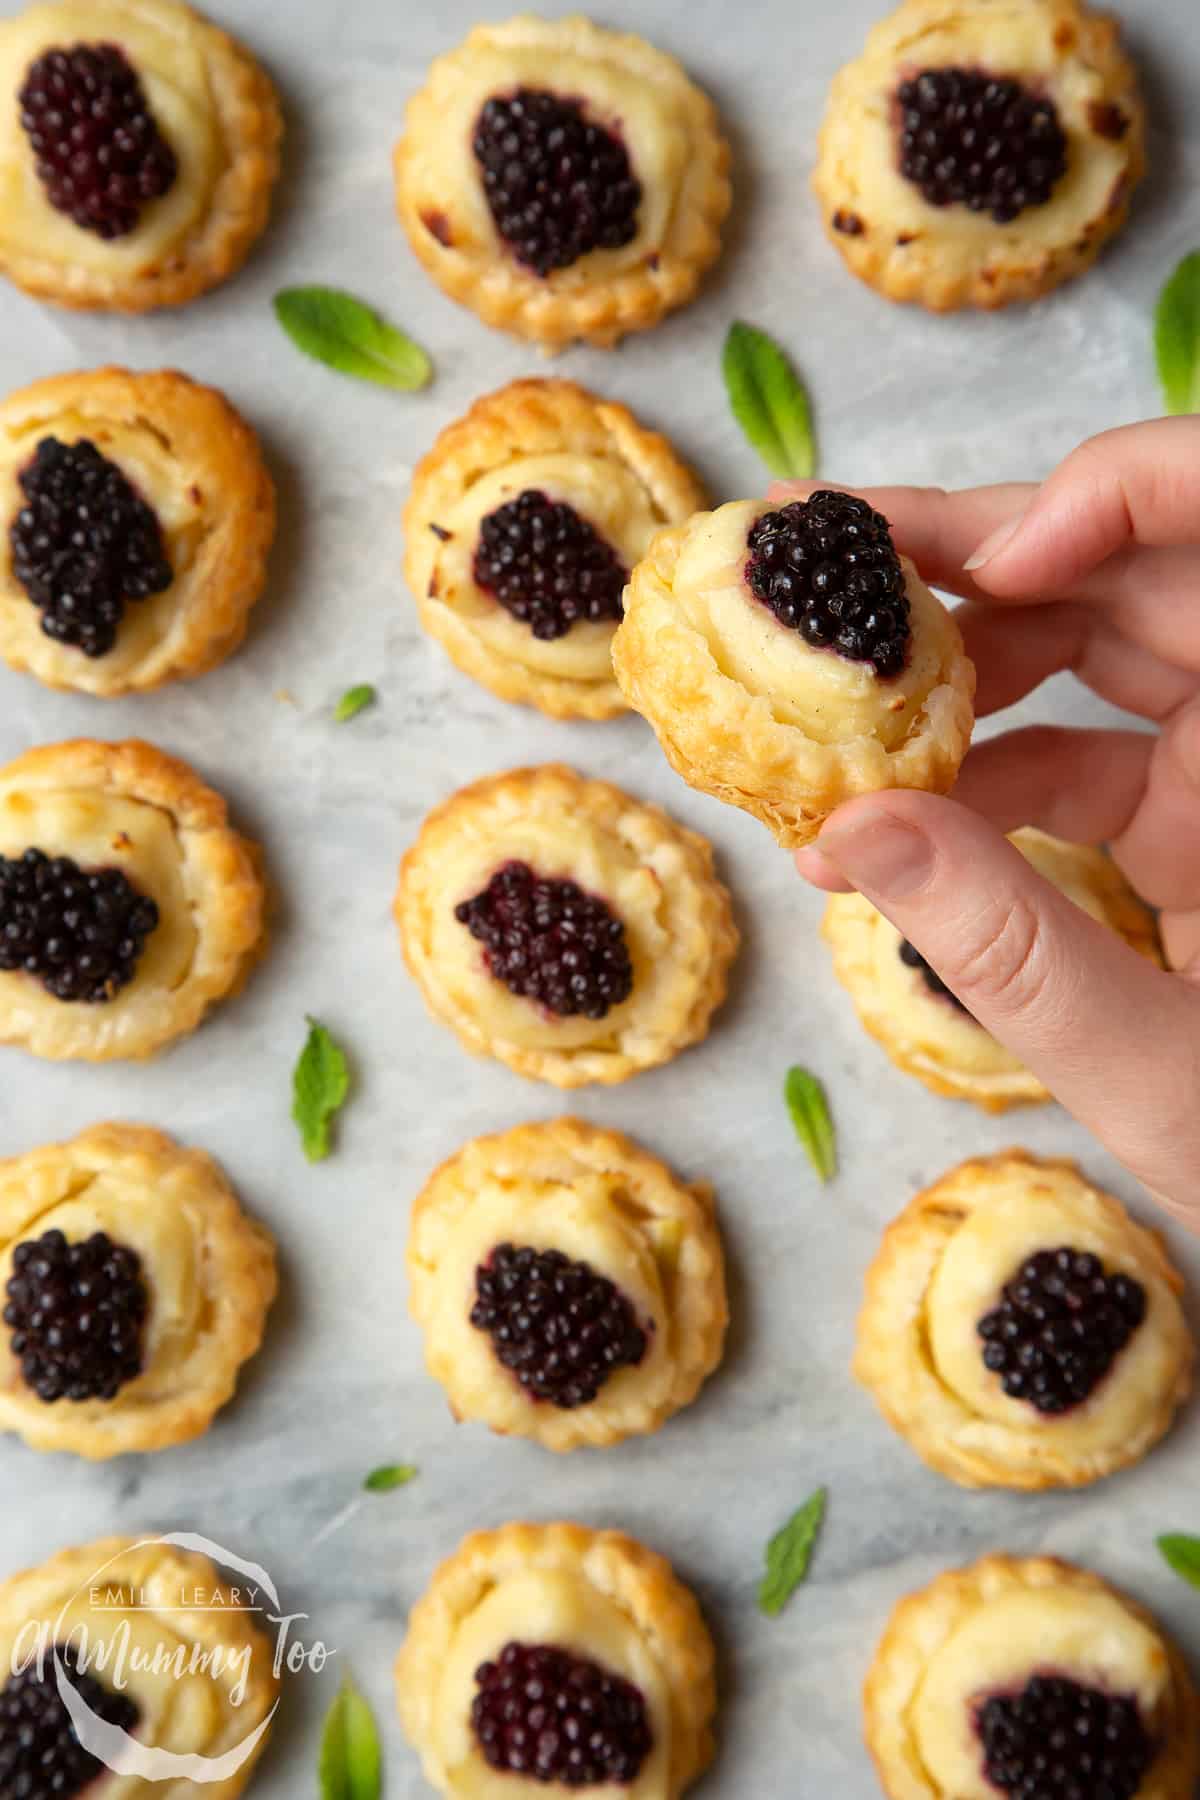
Will you give them a go? Let me know if you do!
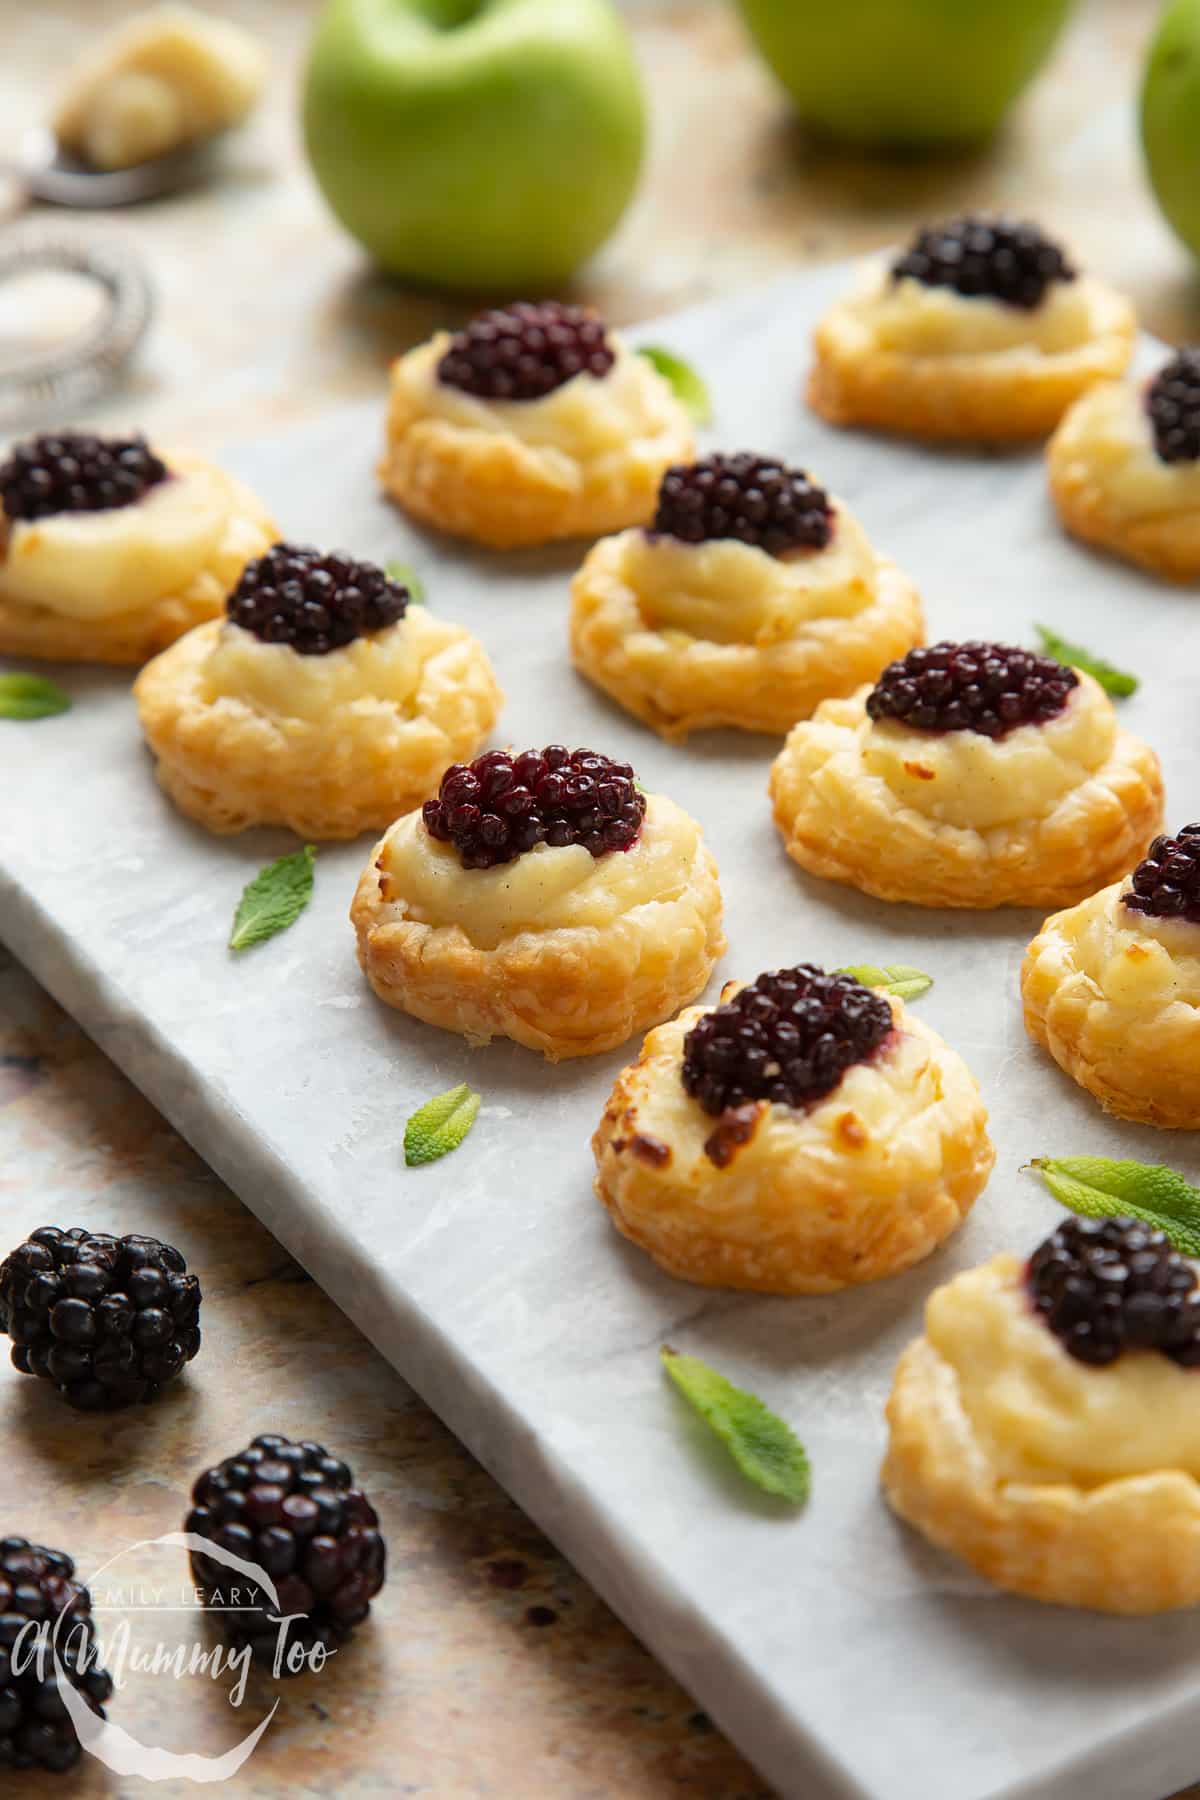
Pointers, tricks and troubleshooting tips for the perfect blackberry tartlets
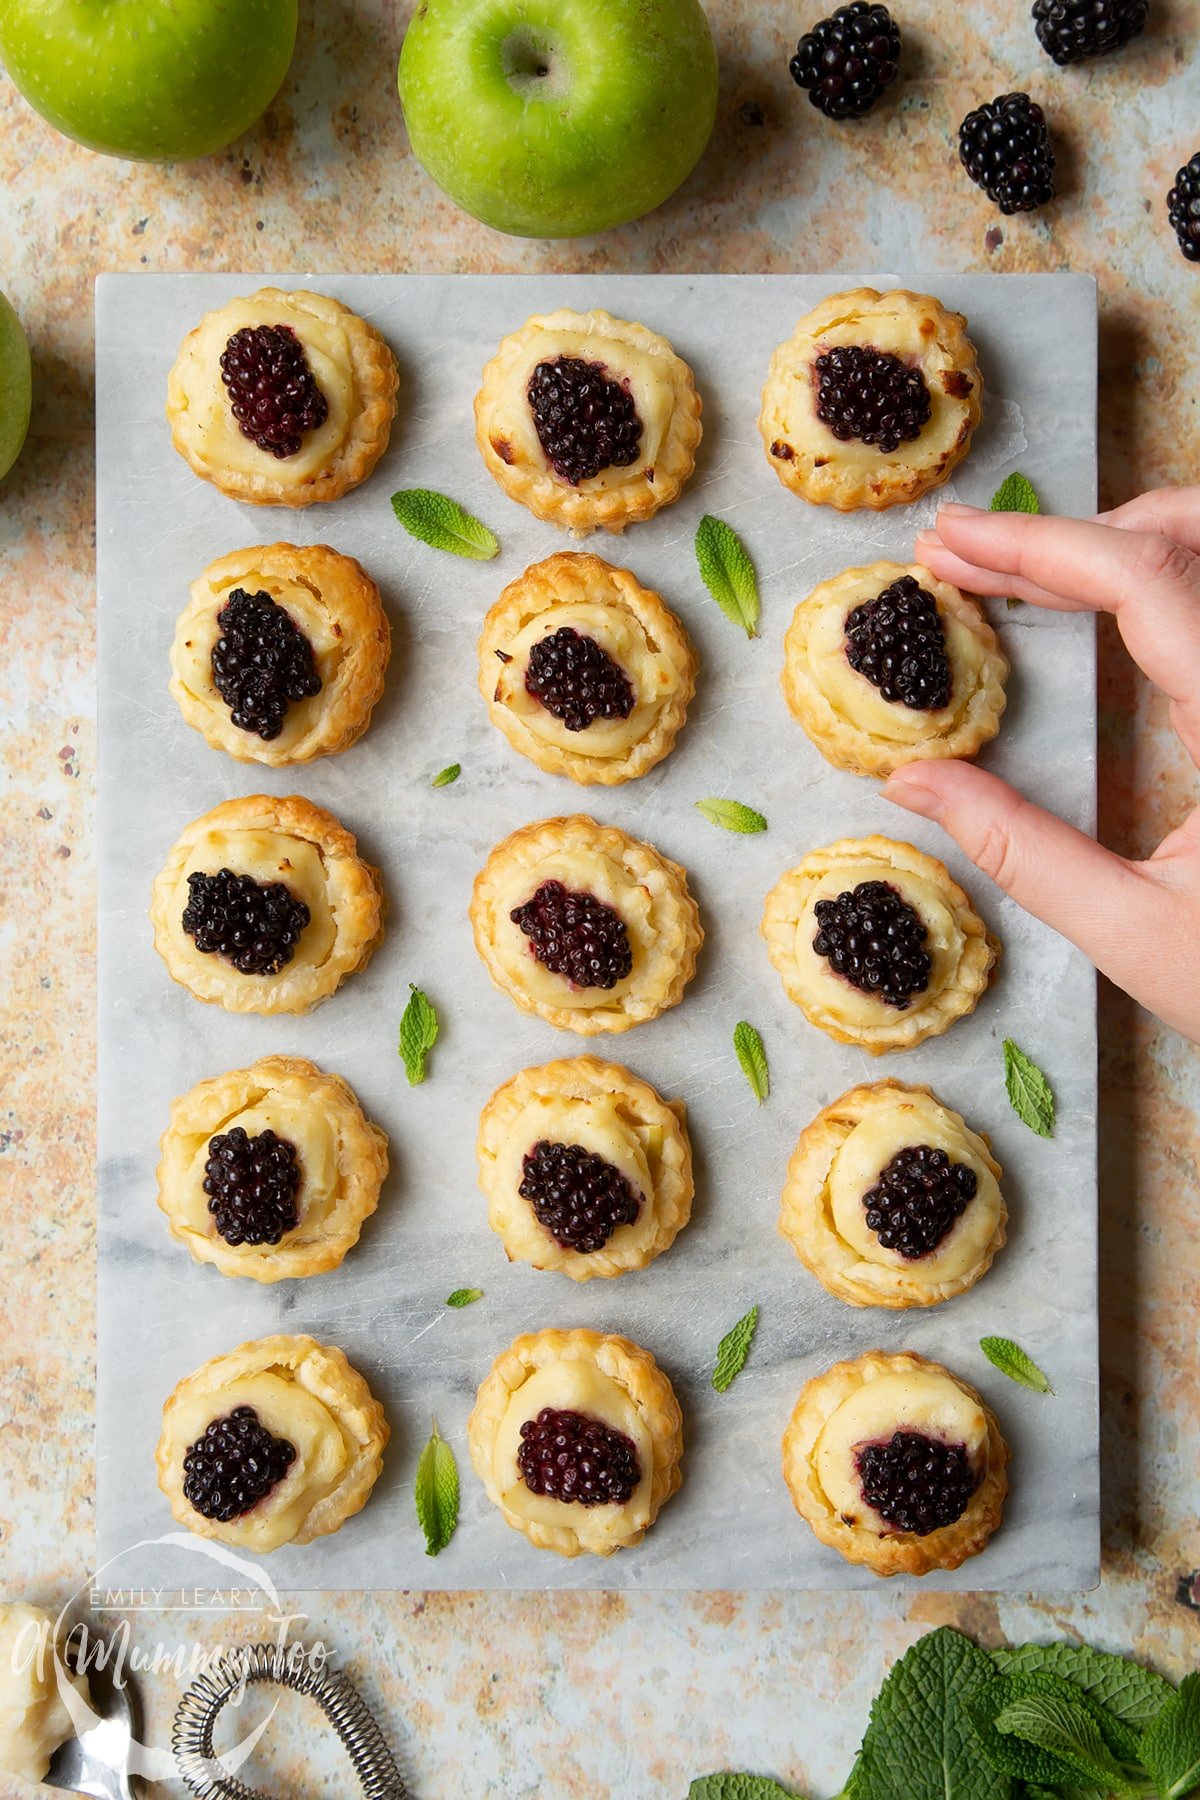
Are blackberry tartlets easy to make?
You'll be surprised how easy these little blackberry tartlets are to make. The recipe is super simple, yet so effective.
Take your time preparing each element of the tartlets and they should come together beautifully.
Cheating a little bit and using ready-made puff pastry makes things a lot easier.
Will I need any special equipment for this recipe?
You should be able to find most things you need to make these blackberry tartlets in the average kitchen: a few mixing bowls, a saucepan, measuring and mixing spoons, a baking sheet, and importantly a 6cm pastry cutter.
You can make the tartlets bigger than this if you don't have a 6cm cutter. Don't go any smaller, though, or there won't be any space for the fillings!
Where can I buy ready-made puff pastry?
You should be able to easily find a few varieties of ready-made puff pastry in the chilled aisle in the supermarket.
In the UK, ready rolled puff pastry and block puff pastry are both usually found near the butter. Alternatively, you can often find them in the freezer section - just remember they'll need time to defrost in the refrigerator overnight.
Make sure to get puff pastry rather than shortcrust because the cases need to puff up to make space to hold the filling, a bit like little vol-au-vents.
How can I tell if blackberries have gone off?
It's pretty easy to tell when blackberries have gone off. They will very quickly turn from plump juicy fruits to burst and flat, releasing all that lovely juice all over the fridge. At this point, you might still be able to use them in a quick compote or to make a full-size blackberry and apple pie, but they will probably be too soft for this recipe.
Blackberries that have gone mouldy or turned very wet should be discarded.
You can keep blackberries in the fridge. Supermarket ones usually last for about a week but check the best before date. If you've picked them yourself, they might not last as long because wild blackberries will be a different strain than commercially grown ones.
If you have a glut of blackberries, they do freeze well, but they do have a tendency to burst and release their juices when frozen, so again, won't be suitable for this recipe but would be wonderful in some blackberry and apple parcels.
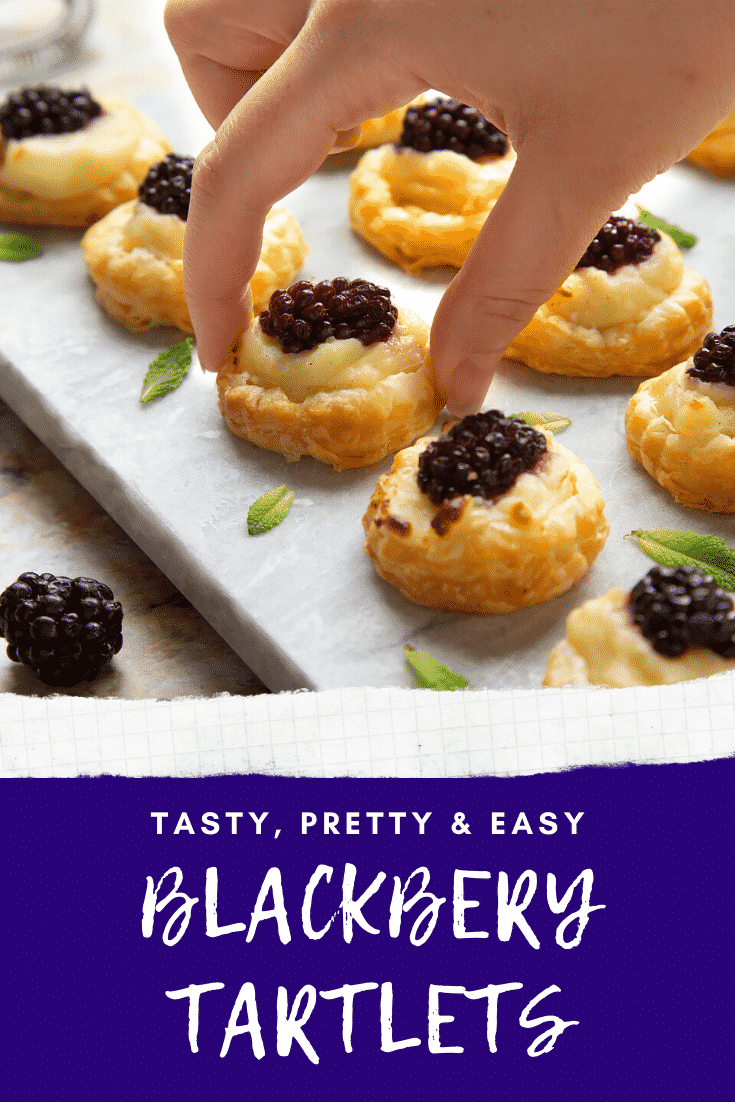
When are blackberries at their best?
Blackberries are a classic British berry which can be seen in abundance in hedgerows, often just out of reach so only the birds can enjoy them.
They're generally in season from August to October, but depending on the weather, they can come into season from as early as June or July.
If you are picking your own blackberries on a country walk, make sure to have the landowner's permission and check up on any restrictions with the local authority. Unfortunately, it's not just a case of finders-keepers. I'd also recommend avoiding blackberries growing near areas with busy traffic, since pollution will be high.
Are blackberry tartlets suitable for vegetarians?
Yes, these delightful little tartlets are suitable for vegetarians as they contain no meat, poultry or fish.
Are blackberry tartlets suitable for vegans?
This recipe contains dairy in the pastry cream, and potentially in the puff pastry so would not be suitable for a vegan.
If you want to try making vegan blackberry tartlets, it's quite straight forward. A lot of ready-made puff pastry is accidentally suitable for vegans as it's made with vegetable fat rather than dairy butter. Just be sure to check the ingredients on the packet to make sure.
The pastry cream in this recipe could be replaced with this rich vegan custard. Be sure to make it nice and thick so that it doesn't ooze out of the pastry cases.
Are blackberry tartlets gluten-free?
For these blackberry tartlets, the recipe calls for ready-made puff pastry, which is made with wheat-based flour and so isn't suitable for someone who needs to avoid gluten in their diet.
Most supermarkets in the UK sell gluten-free ready-made puff pastry, so you could give that a try. I haven't tried using gluten-free pastry for this recipe but I tend to find it doesn't puff as well as the wheat kind, so you may find it trick to form the vol-au-vent like structure. If you try it, do let me know how you get on.
There is also wheat flour in the pastry cream, but you could swap that for gluten-free flour or cornflour.
Don't forget to check the labels on all the other ingredients, even the ones you might not expect to contain gluten.
Is this recipe safe to eat while pregnant?
There is nothing in this blackberry tartlet recipe that should present a risk to pregnant people if the ingredients are in good condition and have been stored correctly, and the recipe is cooked hygienically and safely.
Egg safety varies from country to country and you should always seek country-specific advice. The NHS has a great resource that will help review the latest advice regarding foods that are safe to eat while pregnant in the UK.
A Mummy Too does not offer medical advice. You should always seek advice from your health professional.
Can I make blackberry tartlets without apple slices?
These blackberry tartlets will still work without the apple, so it's fine to leave out if you want.
I really enjoy the crisp texture they bring to these little tartlets and the flavour nod to apple and blackberry pie.
You could try using sliced pear instead, or how about thin banana slices with blueberries on top instead of blackberries.

Can I add extra fruit to these blackberry tartlets?
As these are such little bite size tartlets there isn't really room for anymore fruit but you could serve them with extra apple slices and blackberries on the side, if you like.
Alternatively, you could make larger tarts by cutting out bigger pastry circles so that you have more room for extra fruits.
How should I store blackberry tartlets? Do I need to keep them in the refrigerator?
These blackberry tartlets need to be kept in the fridge when they are not being served or eaten, and shouldn't be left out on the counter. Keep them in a single layer as not to damage them. You could keep them on a plate covered with food wrap, or pop them into a sealed container.
How long do blackberry tartlets keep?
These blackberry tartlets will keep in the fridge for up to 2 days. They are best enjoyed fresh as the pastry will go soft over time in the fridge.
Can I leave blackberry tartlets out on the counter?
No, blackberry tartlets shouldn't be left out on the counter. They contain dairy and fresh fruit, which will not keep if left out on the side.
Obviously your tartlets will need to be brought out for serving, but shouldn't be out of the fridge for any longer than 2 hours total.
Can I make this recipe ahead?
As you can serve these blackberry tartlets warm or cold, you could make them a day ahead. However, I really recommend making them on the day if you can, so that the pastry and fruits are at their best.
If you want to save time without losing out on texture, you could make the pastry cream the day before and keep it in the fridge until you are ready to make the tartlets. Cover the bowl with clingfilm so that the film touches the surface of the pastry cream - this will prevent it from developing a skin.
Breaking up the recipe in this way can really save time, and will make it really quick to finish making the tarts the next day.
Can I freeze this recipe?
This recipe isn't really suitable for home freezing once the tartlets have been made because the pastry cream has a tendency to split when it's frozen. That said, you can freeze some of the individual elements before they've been made into tartlets.
Ready-made pastry is usually fine to freeze before it's been cooked, just check the packet for instructions.
If you've frozen your pastry cream on its own and are worried it will split, don't worry, you should be able to revive it. Once thawed in the fridge overnight, put the split pastry cream into a pan, including any liquid that has separated, and gently heat on low whisking as it warms.
You might need to add a tablespoon or two of extra milk, keep whisking and the pastry cream should eventually come back together. This isn't foolproof and doesn't always work but it's worth a try to save you the effort of making more pastry cream and not wasting leftovers.
What is the best way to reheat this recipe?
Once cooked, I'd suggest eating these little tartlets cold rather than trying to reheat them.
If you would need to reheat them its best to do so in the oven, as microwaving will make the pastry go soggy. Pop them onto a lined baking sheet and put them in the oven for about 5 minutes at 200C(180C fan).
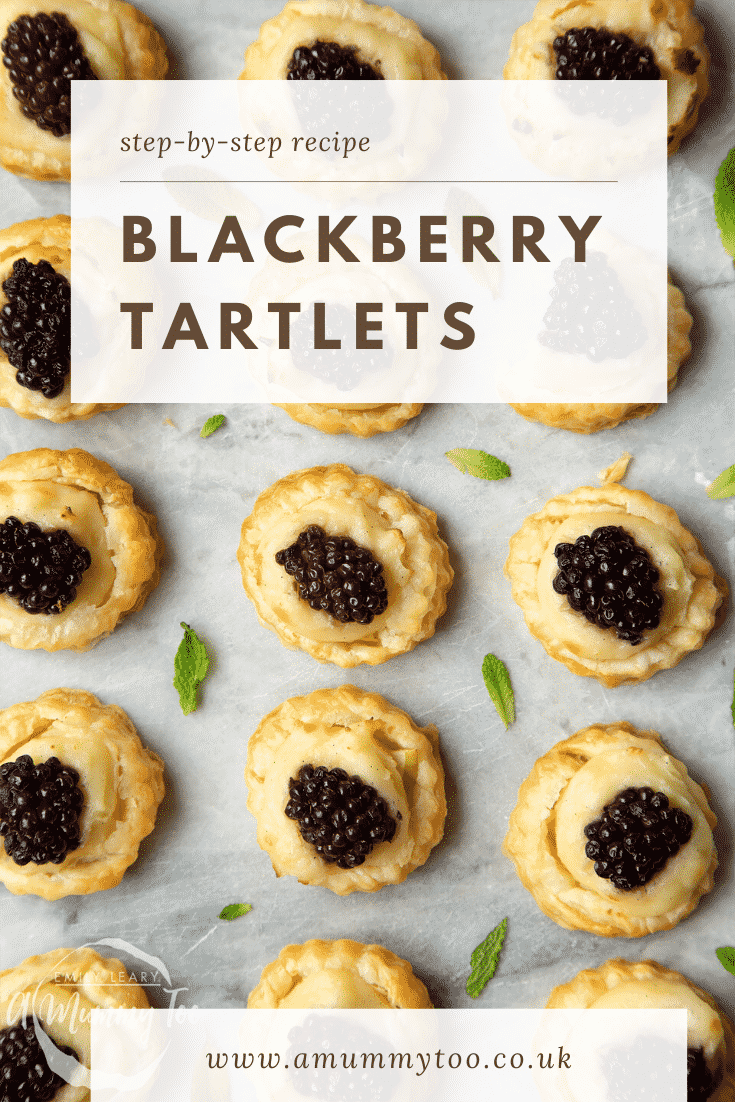
Can I make blackberry tartlets in a different quantity?
It's really easy to make more or fewer of these delightful little blackberry tartlets.
Simply head down to the recipe card below where you'll find the yield. Click or hover over the servings number and a slider will pop up that you can adjust to get the number you want to make. The ingredients will update automatically so you're ready to go.
If making in large quantities, try not to use more than two oven shelves at once as overcrowding the oven can affect the temperature and air circulation, meaning your pastries may not cook evenly.
Can I make my blackberry tartlets a different size?
This recipe makes super cute bite-size tartlets. If you would like to make them slightly larger then go right ahead.
All you need to do is use a larger pastry cutter (say, 10cm) to cut out your circles. Keep in mind that using a larger cutter will mean you'll get fewer circles from your pastry sheet.
If you decide to use extra pastry so that you still get 16 tarts, don't forget that you'll need to make extra pastry cream and fruit to fill your larger tart cases.
What is pastry cream, and how do I make it perfectly?
Pastry cream is also known as creme patissiere. It's basically a thick custard made with a mixture of eggs, flour or cornflour, milk and sugar. It's typically flavoured with vanilla, lemon or sometimes chocolate and is used to fill all sorts of pastries.
Pastry cream is a versatile element that can immediately take your baking to the next level, so it's well worth taking the time to learn how to make it.
Everyone makes pastry cream slightly differently. My preferred method uses a pan, a bowl and minimal fuss.
First, mix the flour, eggs, sugar, and vanilla with a splash of the milk in a large mixing bowl, whisking really well so that it's totally lump free.
Next, put the rest of the milk in a pan and heat on the stovetop until nearly boiling. Be careful with this step as it can boil over rapidly.
When milk is hot, pour it into the bowl with the flour and eggs mixture, whisking well until everything is smooth.
Next, transfer everything back into the pan and put back on the heat to thicken up.
Keep stirring over a low heat until you have the desired thickness. This should only take a few minutes. Give it a taste to make sure the flour taste has been cooked out. Pour or spoon into a clean bowl to cool, it will continue to thicken slightly as it cools.
It's really important that you follow this method. Don't be tempted to put all of the milk, eggs, flour or cornflour, milk and sugar into the pan at the start and heat together - you'll end up with a lump, split mixture.
Can I make pastry cream with an electric hand whisk or stand mixer?
You can use an electric hand whisk or stand mixer like a KitchenAid to bring together the eggs, flour, sugar, vanilla and splash of milk. And again to combined the warmed milk with the rest of the ingredients.
Be careful if using an electric hand whisk in a pan as the whisk attachments are usually metal so may scratch or mark nonstick or enamelled pans. I like to use a silicon whisk when I need to do any whisking in a pan so that I don't have to worry.
Why do I need to bake these blackberry tartlets twice?
When the puff pastry discs go into the oven for the first 5-8 minutes, the beautiful layers puff up. This allows you to push the centres back to create space to hold the filling. The bottom of a shot glass is a good size for this, or a small measuring spoon depending on its shape.
However, at this point the pastry is only part cooked, so once you've added the fillings, the tartlets go back into the oven for another 10-15 minutes to cook through. Delicious!
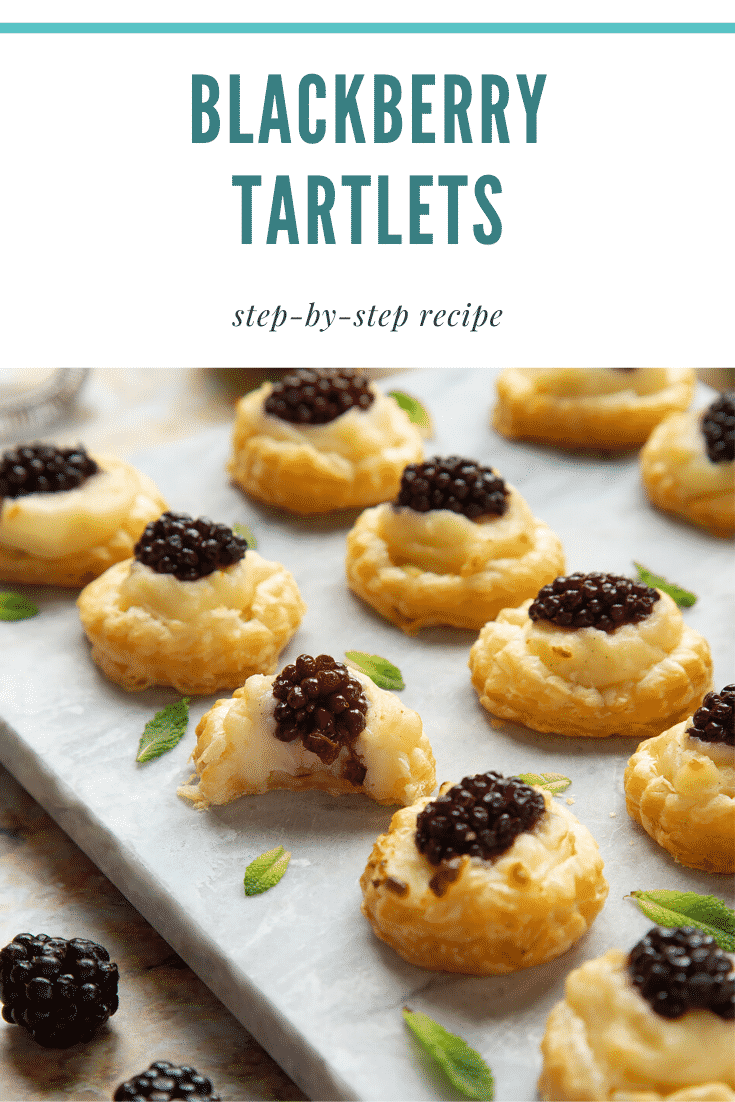
Why didn't my pastry puff up very much?
Ready-made puff pastry is a delicate thing and should be handled with care. If the pastry has been pressed down onto before going into the oven it won't puff up evenly. You also can't re-roll any edge bits so try and cut your discs as close together as you can to get as many as you can.
It's important to pre-heat the oven when baking these blackberry tartlets because instant heat is required to get the pastry to rise. If the oven isn't hot enough when your discs go in, the pastry won't puff up.
Some oven dials aren't a true indicator of the actual temperature of the oven and can be out by up to 20 degrees. You can use an oven thermometer if you want to be super accurate.
If you need to check the pastry as its cooking, do this through the glass. Don't be tempted to open the door before the time is up as this will cause the temperature in the oven to drop rapidly and can affect the rise.
How can I make sure these blackberry tartlets are perfectly cooked?
You'll know these tartlets are cooked when the pastry has started to go golden brown, and the blackberry on top has just started to bubble slightly around the edge. Carefully pick up a tartlet from the middle of the tray and give the bottom a tap, it should be firm and crisp.
So that you're not rushed and everything is ready in the right order when you need it, it's a good idea to start by making the pastry cream. The oven can be warming up whilst you make it and then your finished cream will have a bit of time to cool and thicken up while you make the pastry cases.
When you cut out your pastry cases, be careful not to handle the pastry too much as its quite delicate. You can use a palette knife, if you like, to help transfer them onto the baking sheet.
If your kitchen is very hot, the puff pastry sheet may become overly soft, making it difficult to cut neat discs. If so, pop it back in the fridge for 10 minutes to firm up before cutting out your discs.
Set a timer when you put the cases into the oven, and keep an eye on them through the oven door. They should be puffed up but still pale in colour when you take them out the first time. Don't worry if some are more puffed up than others, they won't all rise uniformly - the beauty in home baking is in the uniqueness of each pastry.
Whilst the pastry cases are cooking you can prepare the fruit, thinly slice the apple, and cut each slice into quarters. Halve the blackberries if they are particularly big ones.
When the pastry is ready to come out of the oven, use the base of a shot glass or teaspoon to carefully press in the middle, making space for the filling but still leaving a rim of tall pastry around the edge.
Layer in the apple slice, a teaspoon of pastry cream and finish off with a blackberry, then pop them back into the oven for 10-15 minutes to finish baking. Again, set a timer, and keep an eye on them through the oven door.
Once baked, you can set these mini tartlets on a wire rack to cool, they are delicious served still warm or just as yummy cold.
Why did my blackberry tartlets turn out burnt?
This could be a number of things like the oven was too hot, or they were in the oven too long.
You need to pre-heat the oven before putting the pastry cases in for their first bake. The oven needs to be hot enough for the pastry to puff. Not hot enough and the pastry will just sweat and go slimy, too hot and it will burn before it has had a chance to puff up properly.
Set a timer when you put the pastry in for its first cook, checking after 5 minutes to see how they are doing. You can do this through the oven door, and should be able to tell at this point if they need more time to puff up. Be sure to take them out of the oven before the pastry has started to change colour.
When you put the filled tartlets back into the oven, set a timer again. Check them after 10 minutes to see how they are getting on.
Why did my blackberry tartlets turn out wet with soggy bases?
If the oven isn't hot enough to cook the pastry properly, your tartlets may turn out wet and soggy. Be sure to preheat the oven - it needs to be up to temperature before you put the tarts in.
Line your baking sheet with parchment paper to stop the tartlets sticking to the baking sheet.
Don't be tempted to skip the first stage and just bake the pastry once - it needs to bake halfway before being pressed down and filled, then baked again. If you skip a step, your pastry will be undercooked.
If your fruit is particularly juicy you can dab it with some kitchen towel to take away some of the moisture before assembling your tartlets.
Why did my pastry cream spread, melt or come out of the pastry?
If your pastry cream spread, it will probably be because it wasn't thick enough - compare it with the step-by-step pictures before filling your cases.
When you make the pastry cream, it should be really thick. It should feel almost stiff to stir and only slowly drop off the back of a spoon rather than running off smoothly. Remember, it's a pastry cream, not a custard.
Give your pastry cream plenty of time to thicken up as you whisk it in the pan. It will all of a sudden become really thick so be patient and keep stirring until it does.
The pastry cream will thicken up a bit more as it cools, so you can make this element ahead and cool in the fridge for a few hours before making your tartlets if you like.
How can I add or change the flavours of blackberry tartlets?
You can play around with different fruits, such as thin slices of banana with blueberries, or slices of pear with raspberries.
The flavour of pastry cream can also be changed. If you want a lemon flavour, simply put the finely grated zest of one lemon into the pastry cream mixture instead of the vanilla extract.
You can also use other flavouring extracts instead of vanilla but do so sparingly as they are often strong and can easily overpower.
What is the origin of this recipe?
Blackberry and apple is a classic late summer, early autumn flavour combination. These mini blackberry tartlets take those delightful flavours and turn them into bite-size morsels. It's hard to just eat one!
Blackberry Tartlets Recipe
Ingredients
For the pastry cream
- 2 medium free range eggs
- 40 g (1.4 oz) plain white flour (all purpose flour)
- 60 g (2.1 oz) white caster sugar (superfine sugar)
- 265 ml (9 floz) whole milk
- 1 tsp vanilla extract
For the cases
- 320 g (11.3 oz) ready-rolled puff pastry
For the fruit filling
- 1/2 apples
- 8 (16) blackberries halved
Instructions
Make the pastry cream
- Put the eggs, flour, sugar and vanilla in a large mixing bowl.
- Measure out the milk and add just a splash to the bowl.
- Mix until smooth and set aside.
- Warm the rest of the milk in a saucepan to almost boiling.
- Pour the hot milk into the bowl with the egg mixture, stirring vigorously.
- Wash out the pan if it has any scolded milk in it, then return the mixture to it.
- Heat gently until thick, stirring continuously with your whisk. It should only take a couple of minutes to thicken up. Taste to make sure the flour is cooked out.
- Pour into a clean bowl, cover and leave to cool.
Make the bases
- Preheat the oven to 200C (180C fan).
- Cut the pastry into sixteen 6cm discs, positioning your cuts close together to get the most out of the pastry.
- Place the pastry discs onto a baking tray lined with greaseproof paper.
- Bake for 6 minutes or until the pastry has puffed up, but before it has started to take any colour.
- Press down the middle of each disc to create space for filling (the bottom of a shot glass will work well).
Make the tarts
- Thinly slice the apple and cut each slice into quarters.
- Pop a piece into each pastry case.
- Spoon a teaspoon full of pastry cream into each pastry case.
- Pop a blackberry on top of each tart.
- Return the tray to the oven for further 10-15 mins until the pastry is golden. Keep an eye on the tarts to avoid burning the pastry.
- Make sure that the underside is full cooked and golden.
- Allow to cool completely, then serve.
Video
Notes
Nutrition
Pin this recipe for later
More blackberry recipes to try
Have you got my book?

'This is a great kids cookery book. Emily is a star' - Simon Rimmer
'The book I'd like to force into any mother's kitchen' - Prue Leith
"A fab book with a plan." - Jane Devonshire, 2016 Masterchef UK winner
'Emily has managed to combine her mummy knowledge and passion for food to make a truly helpful and brilliant cookbook' - Priya Tew, RD, BSc (Hons), Msc
Get Your Kids to Eat Anything is an achievable 'how to' for parents in the battle to overcome picky eating and 'make new the norm'. Emily Leary's unique 5-phase programme looks at the issue of 'fussy eating' in a holistic way that links imagination with food, and which situates parents alongside - not in opposition to - their children.

Leave a Reply