
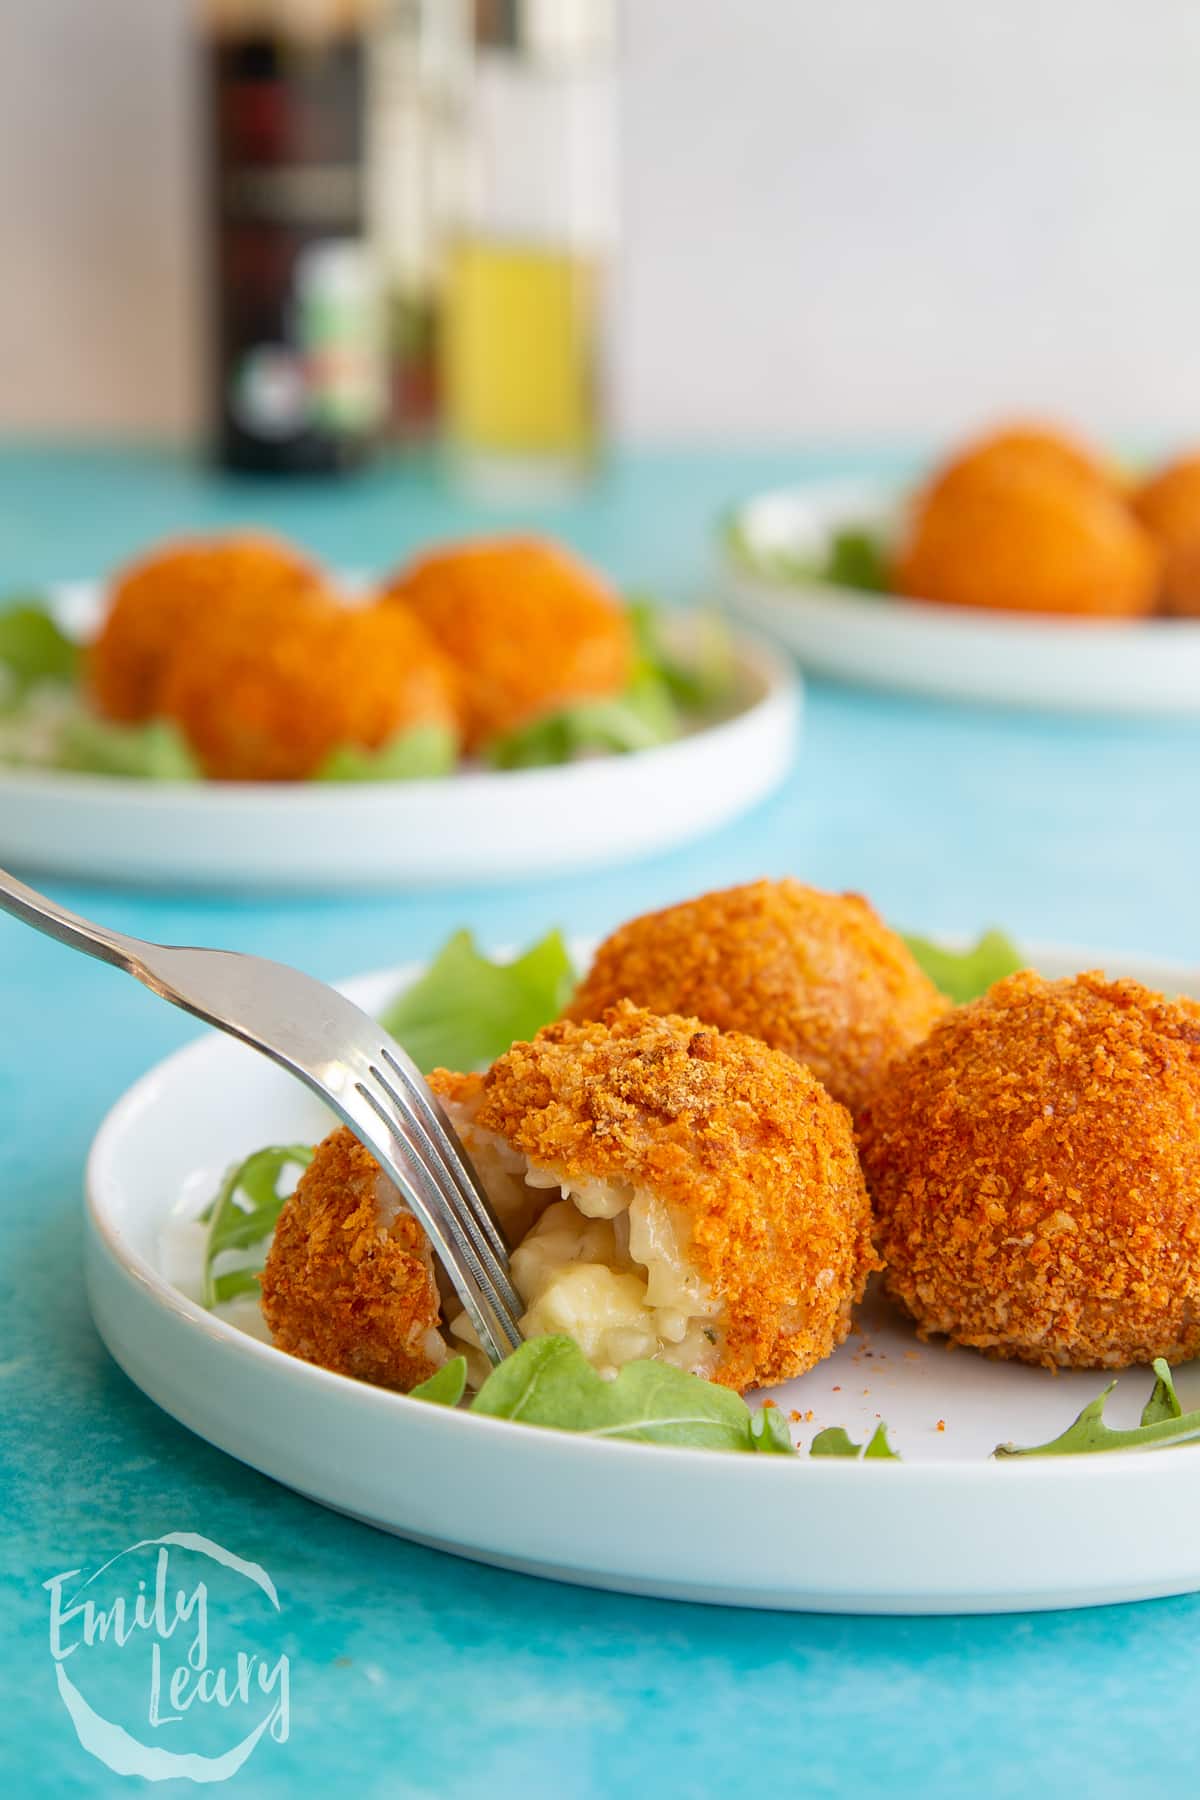
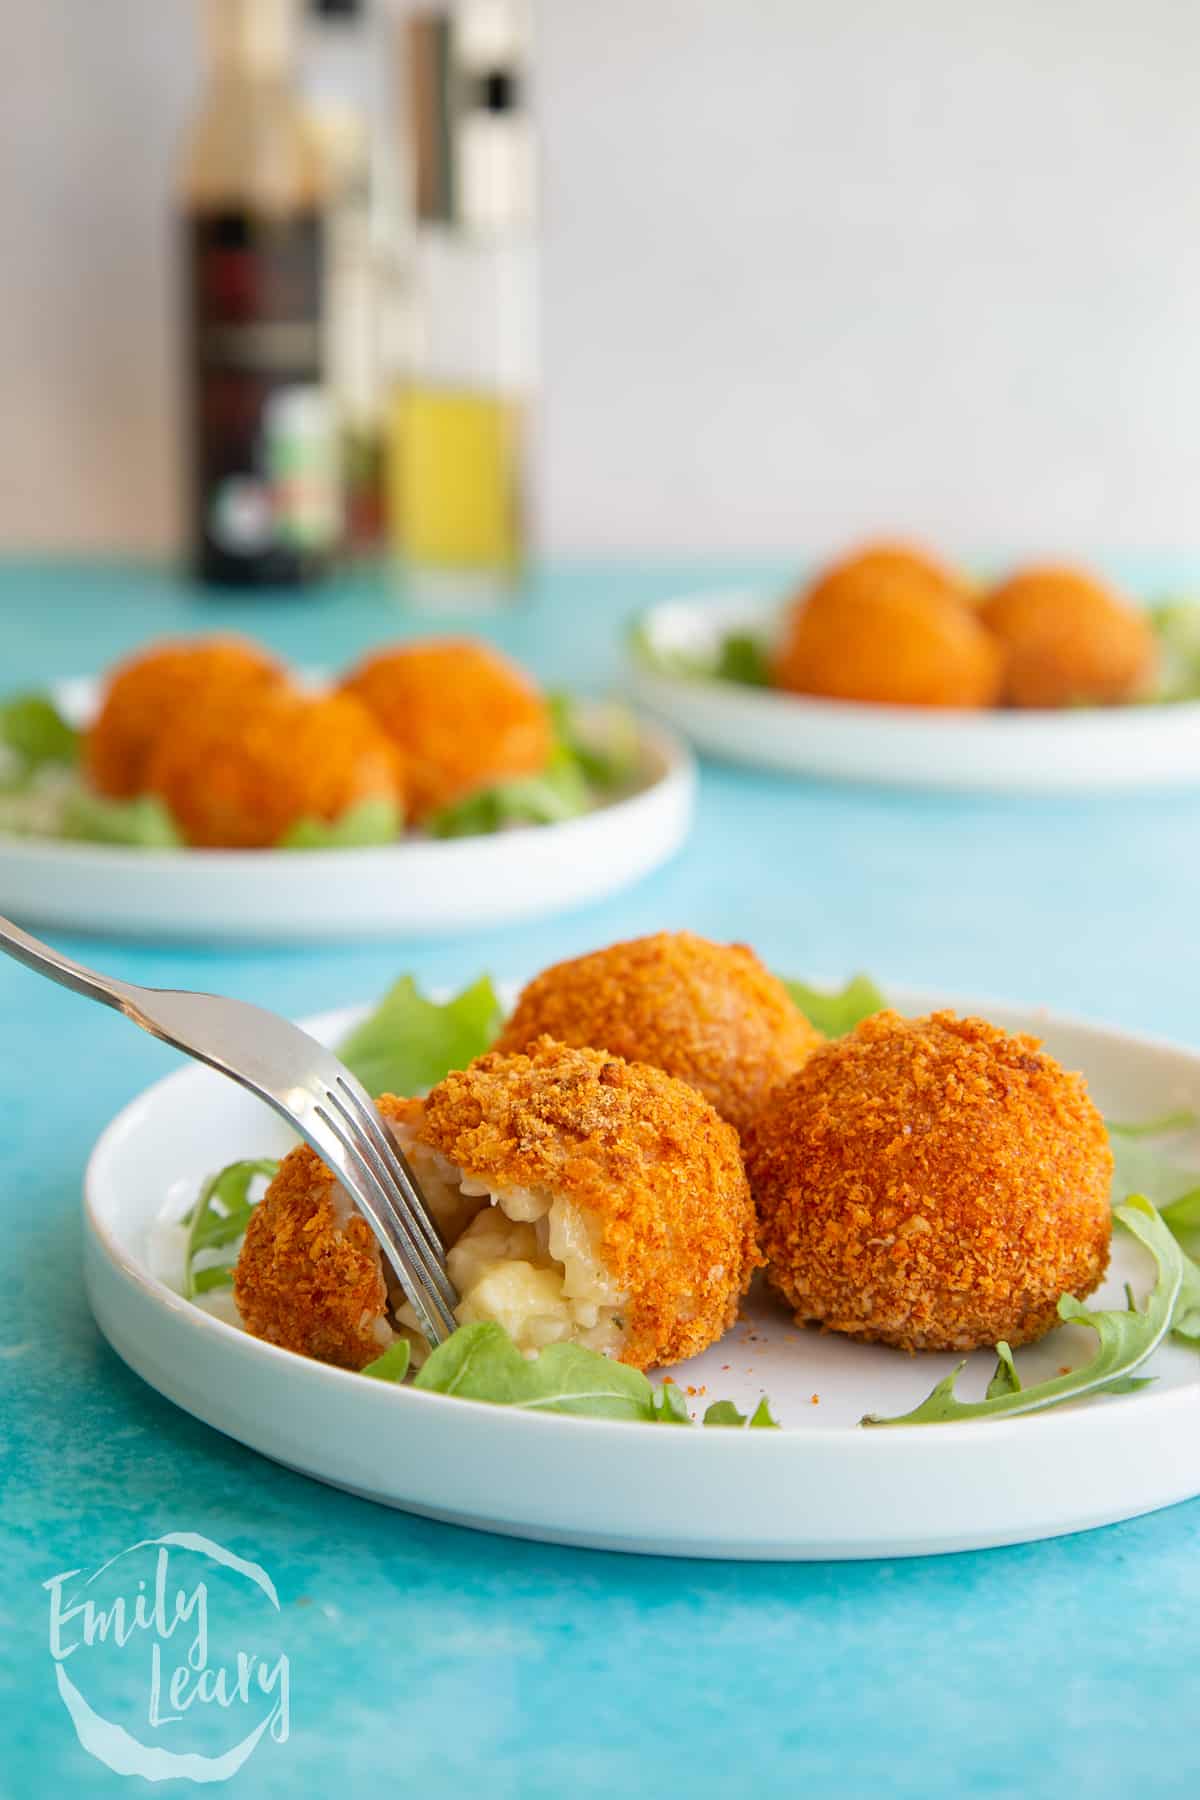
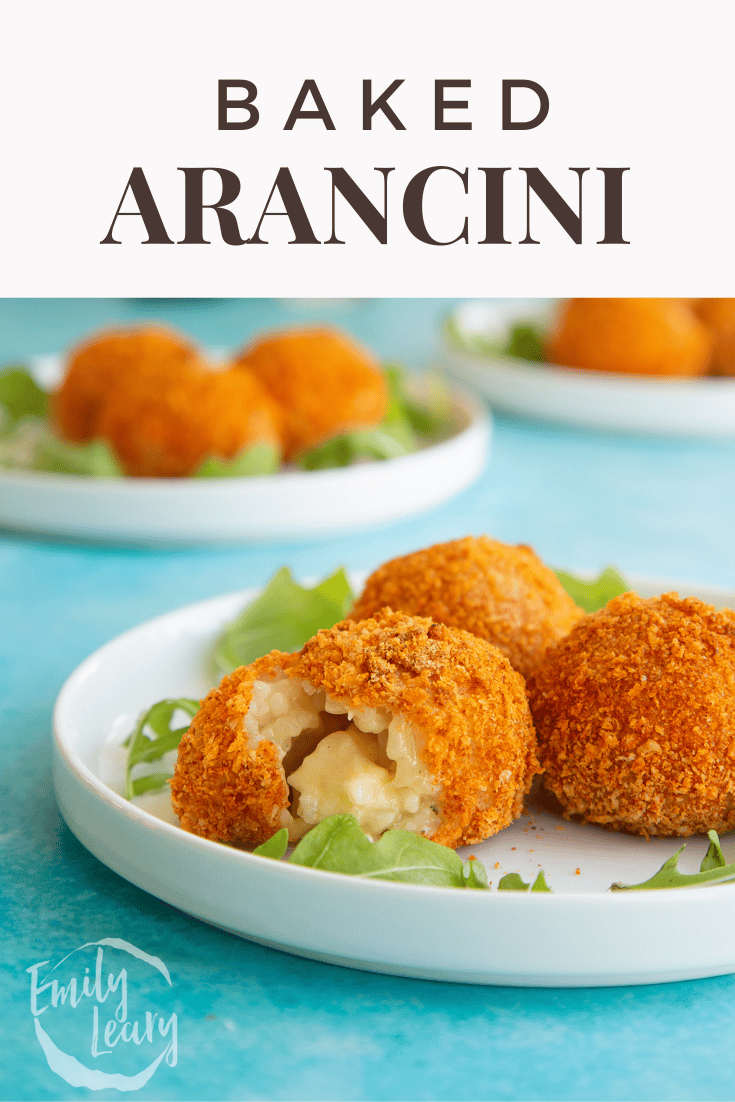
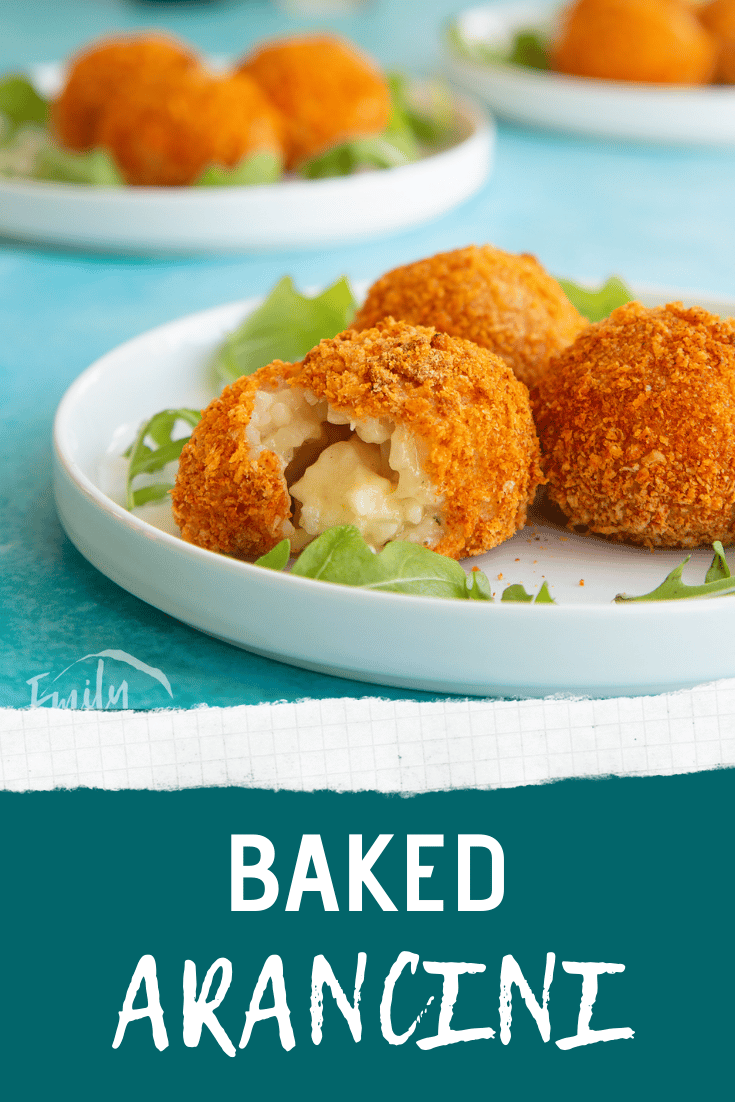
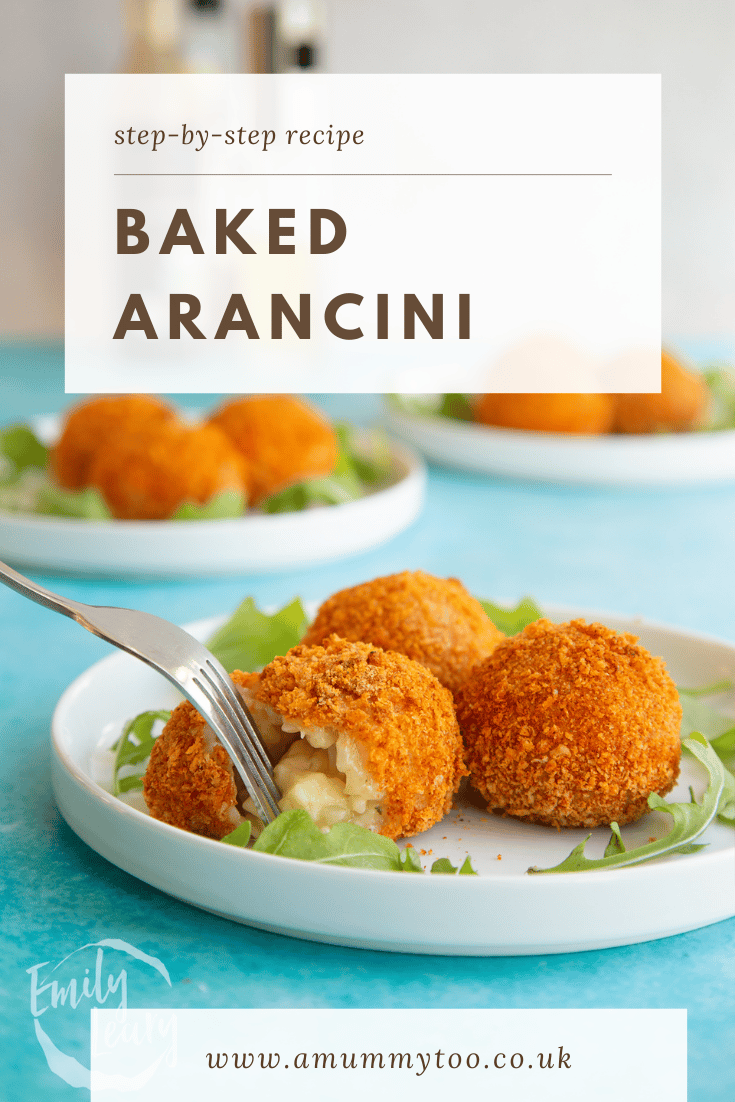
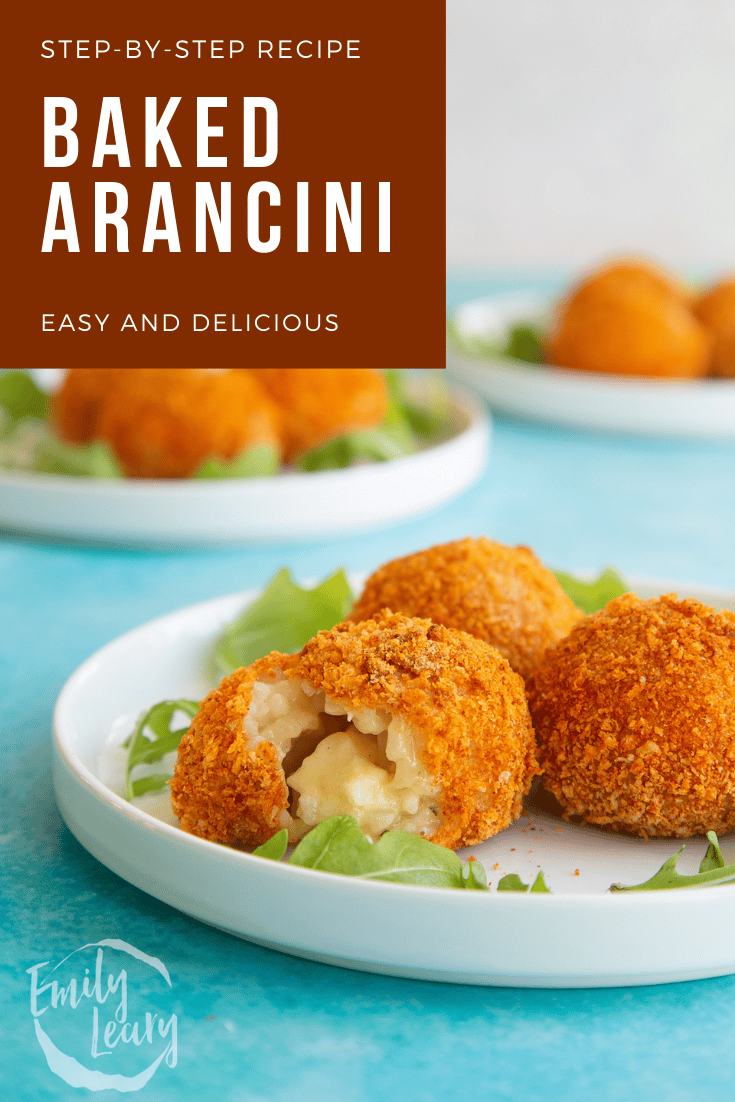
These baked arancini boast an oozy cheese centre surrounded by creamy, perfectly cooked risotto and in a crisp paprika crumb.
They're light enough to serve as a starter before your main meal, or as a lunch with salad.
You might think it sounds like a lot of work to make arancini from scratch since you have to make risotto and then turn them into breaded balls.
And while it's fair to say there are a few steps, it's actually a very simple and rewarding process and not too tricky at all. So stick on a podcast and get out your best wooden spoon.

When I make these arancini, I like to whip up the risotto on day one - it takes less than 30 minutes - and then pop it in the refrigerator, ready to turn into arancini the next day.
What I love most about these arancini is that they're baked, not fried. This not only lowers the saturated fat content, but it also means that you can cook the whole batch in the oven in about 20 minutes, rather than having to heat oil and then fry the arancini in batches.

Taking the time to wrap the little cubes of mature/sharp cheddar in the centre of each baked arancini is an absolute must.
When you pick up a paprika-hued arancini ball and crunch through the breadcrumb shell, sink into the creamy risotto and hit the oozing cheese centre, the sensory experience - taste, texture, sound, aroma and sight - is just heavenly.
I'm really proud of these baked arancini. I think they tick every single box.
The full recipe is below, complete with photographs for every single step. Do give it a go and let me know how you get on.
Ingredients
For the risotto
- 2 tbsp oil
- 3 cloves garlic finely chopped
- ½ onion finely chopped
- 1 litre vegetable stock
- 250 g (8.8 oz) Arborio rice
- 100 g (3.5 oz) hard cheese finely grated
- salt and black pepper to taste
For the filling
- 100 g (3.5 oz) cheddar cheese diced
To bread
- 100 g (3.5 oz) plain white flour (all purpose flour)
- 2 medium free range eggs
- 100 g (3.5 oz) fresh breadcrumbs
- 2 tbsp smoked paprika
- salt and black pepper
- Spray oil
Instructions
Make the risotto
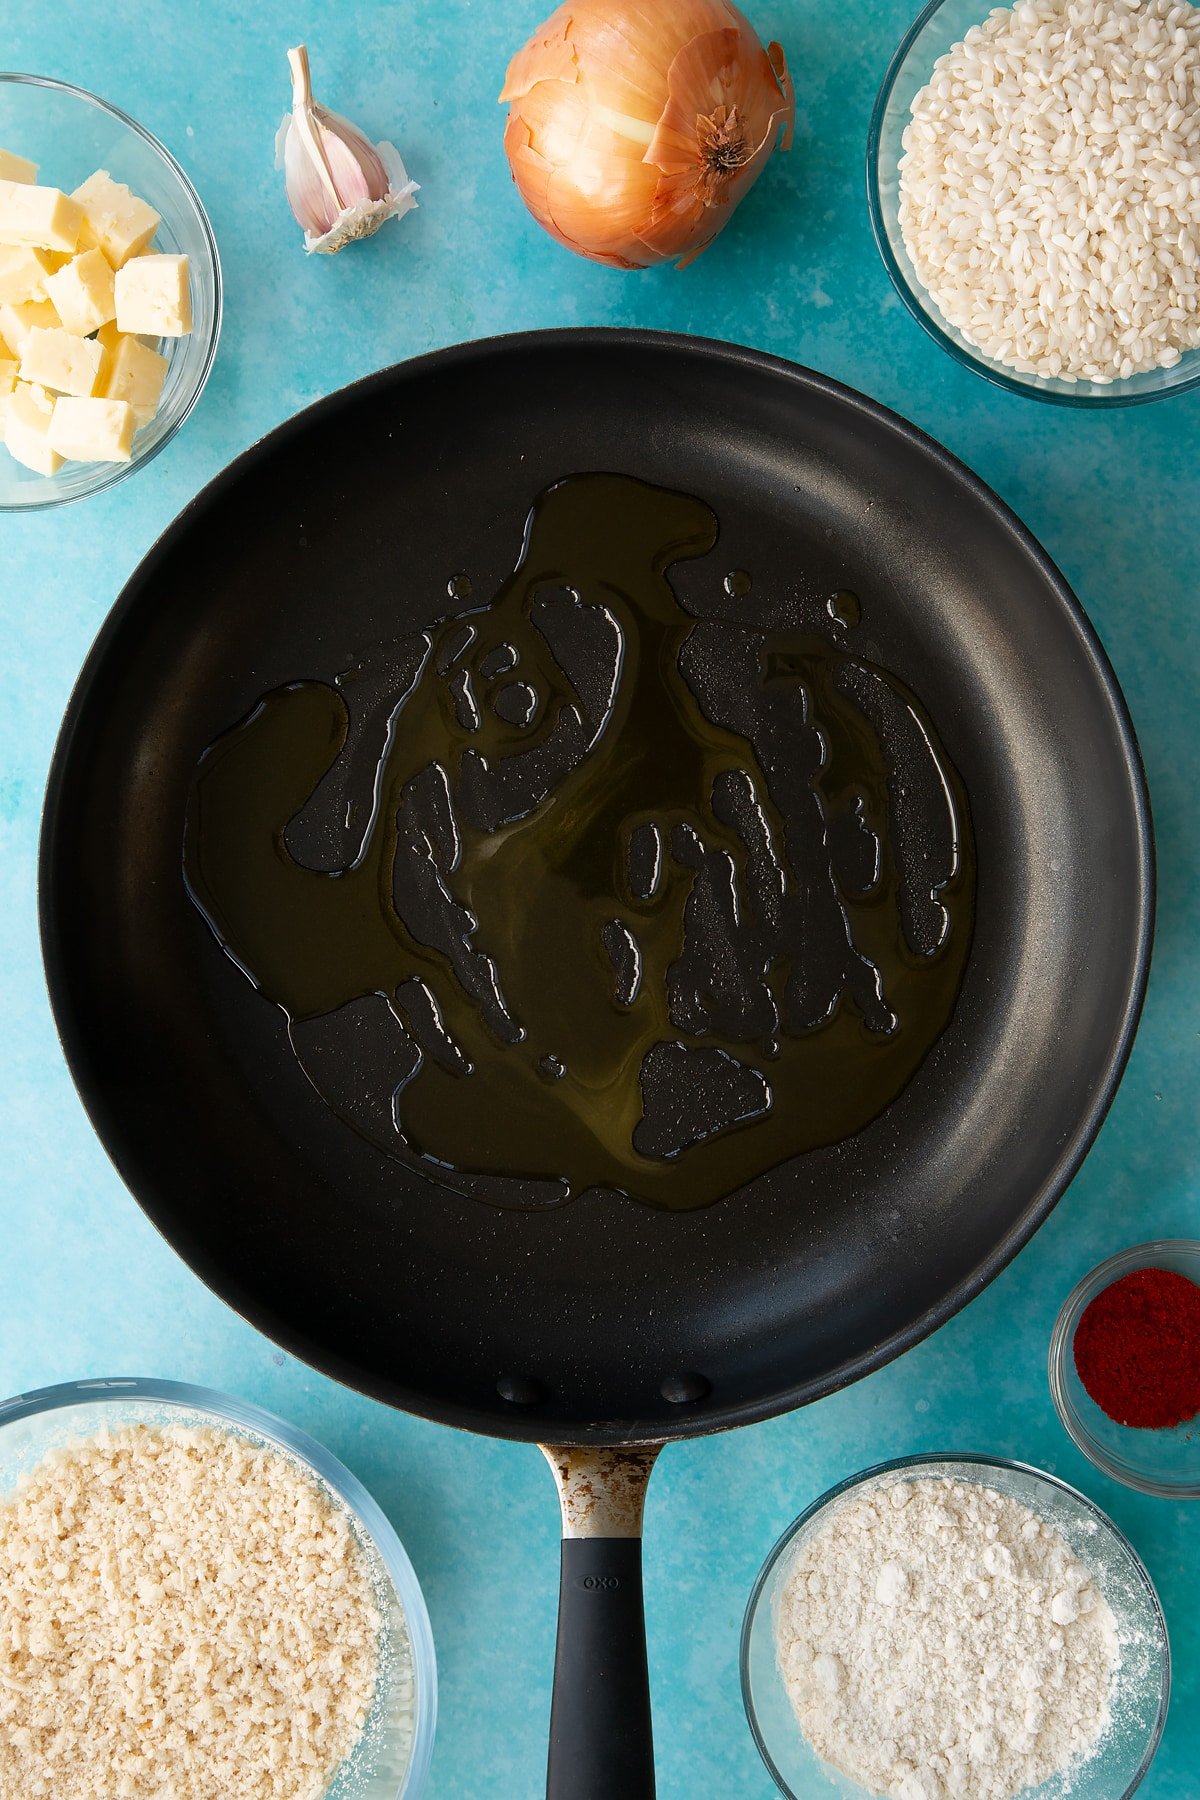
Warm the oil in a large non-stick pan over a medium heat.
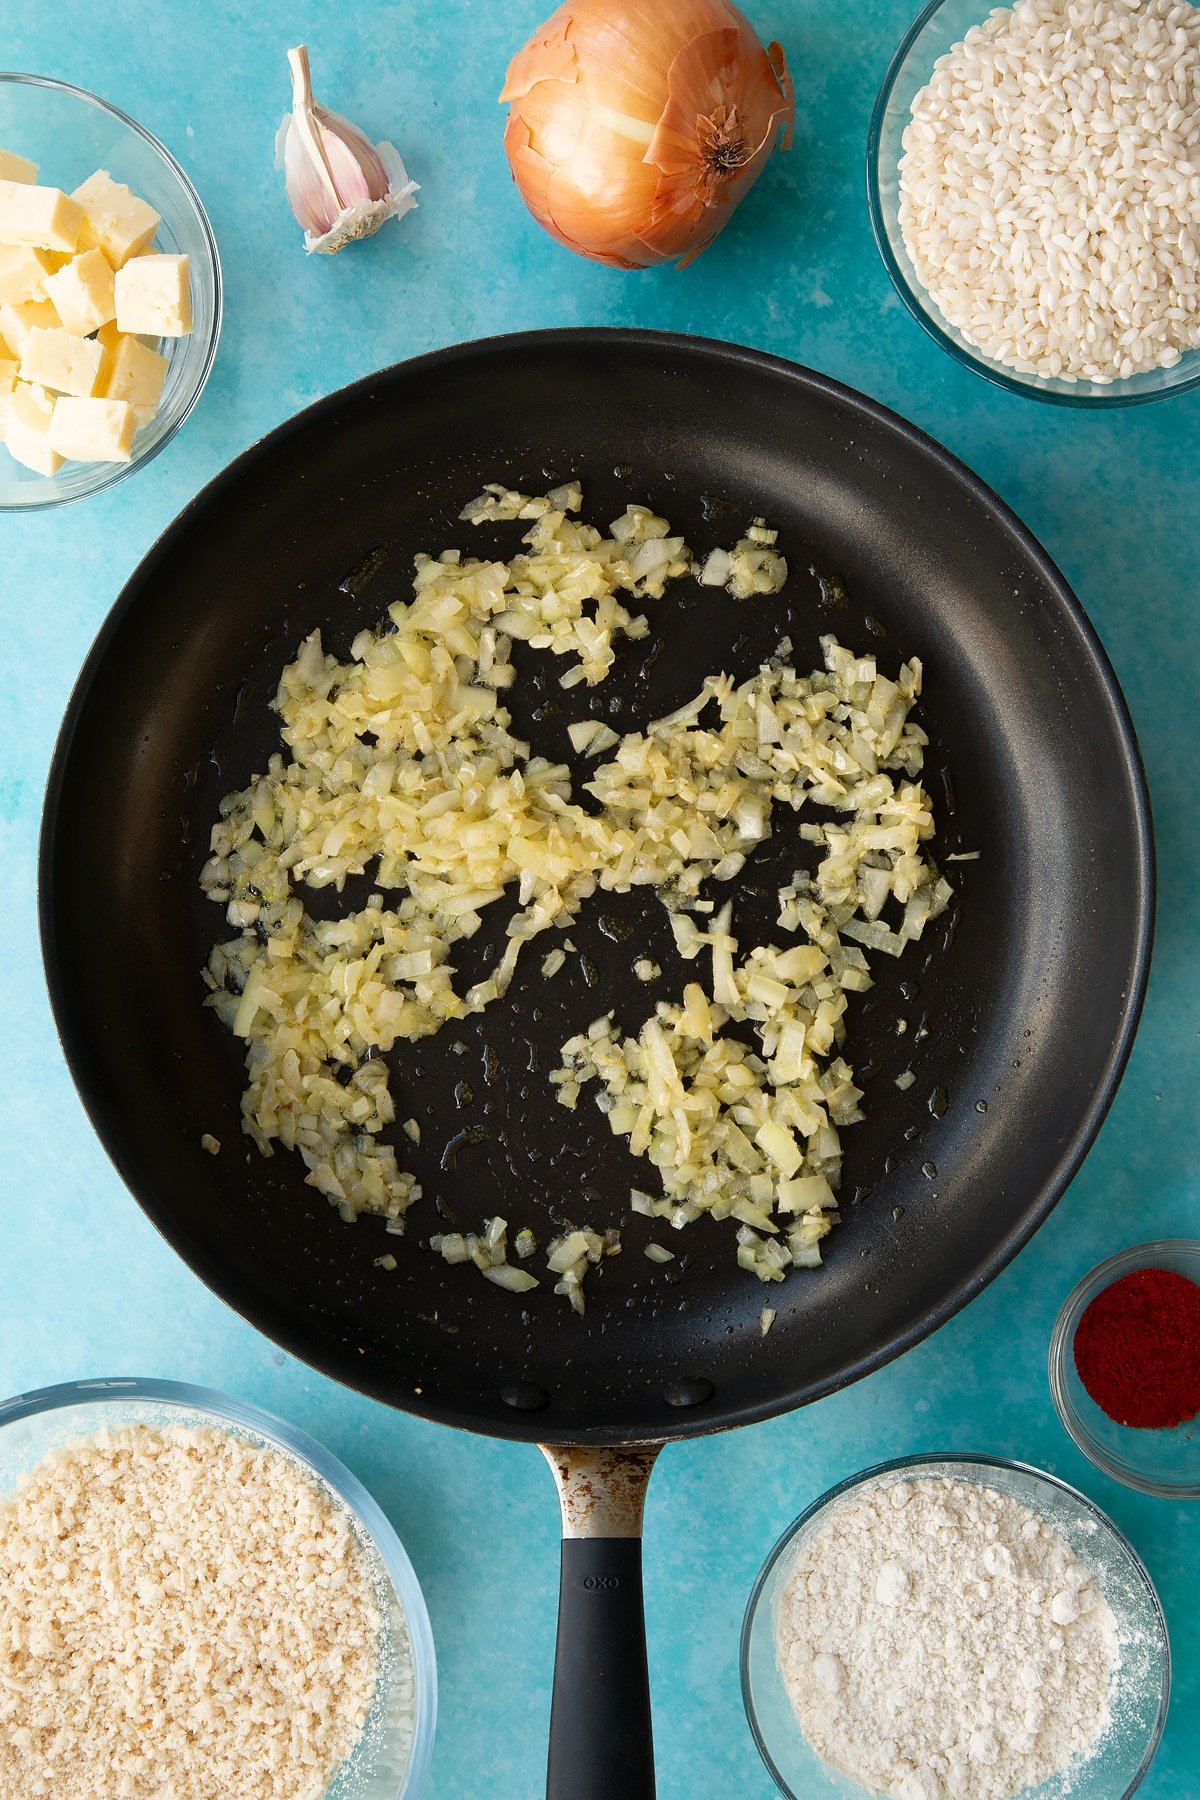
Add the onion and garlic and a pinch of salt and pepper.
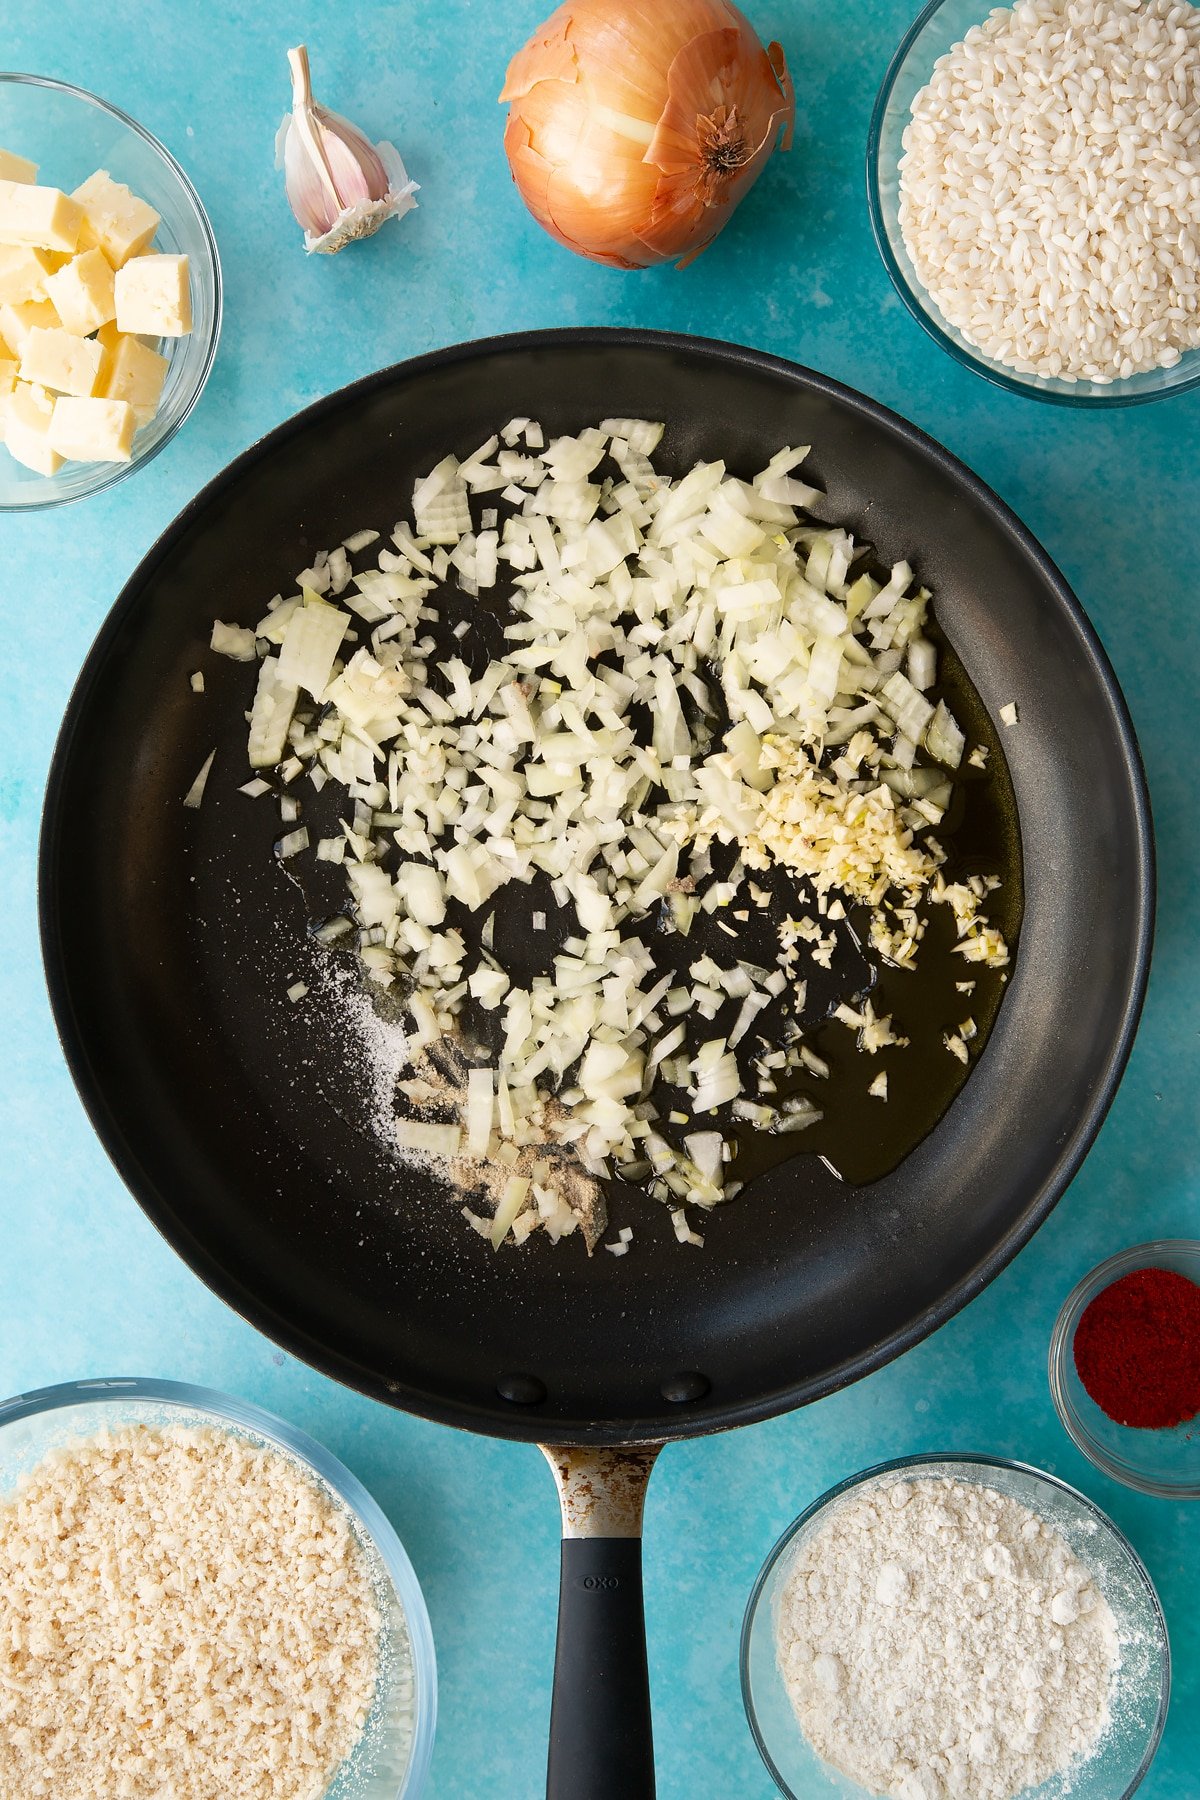
Fry for 3-5 minutes until softening.
Add the rice.
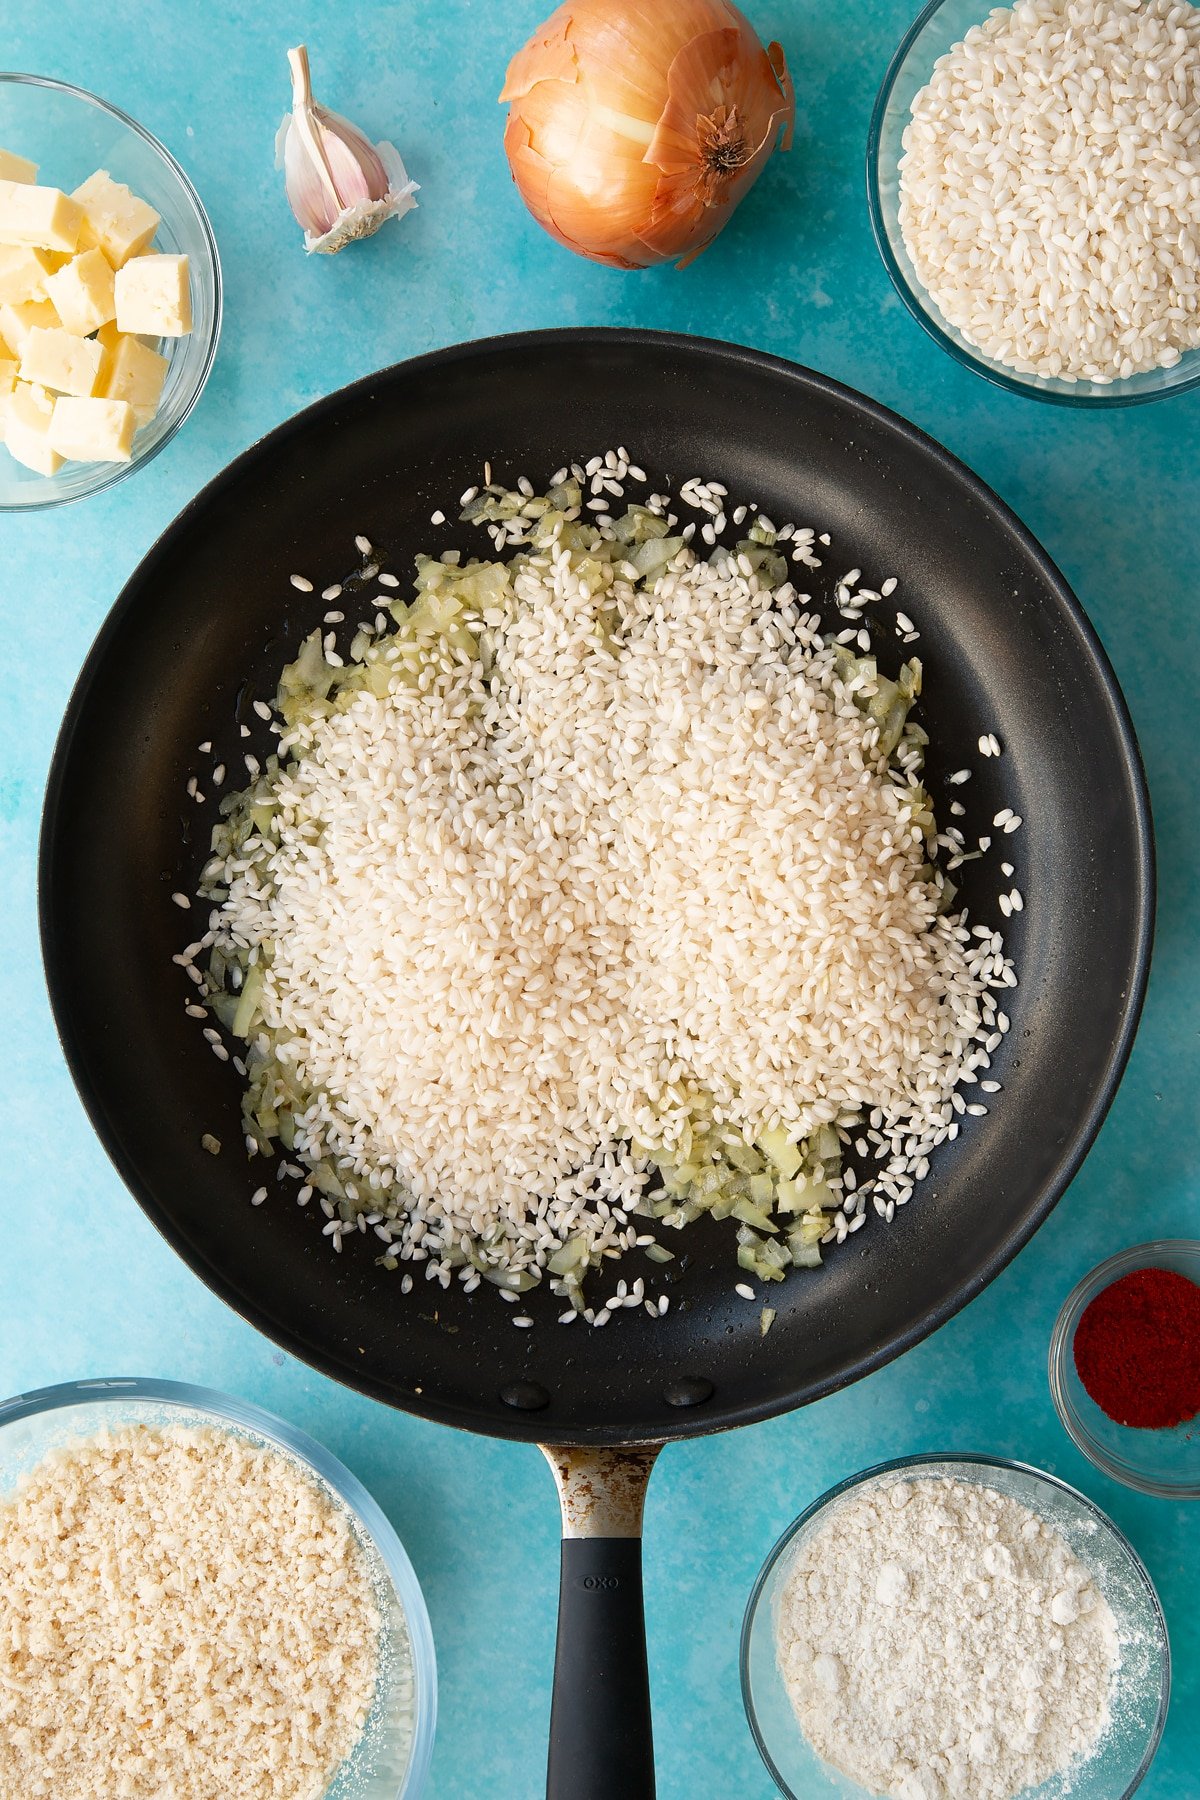
Stir for a minute or so until glossy
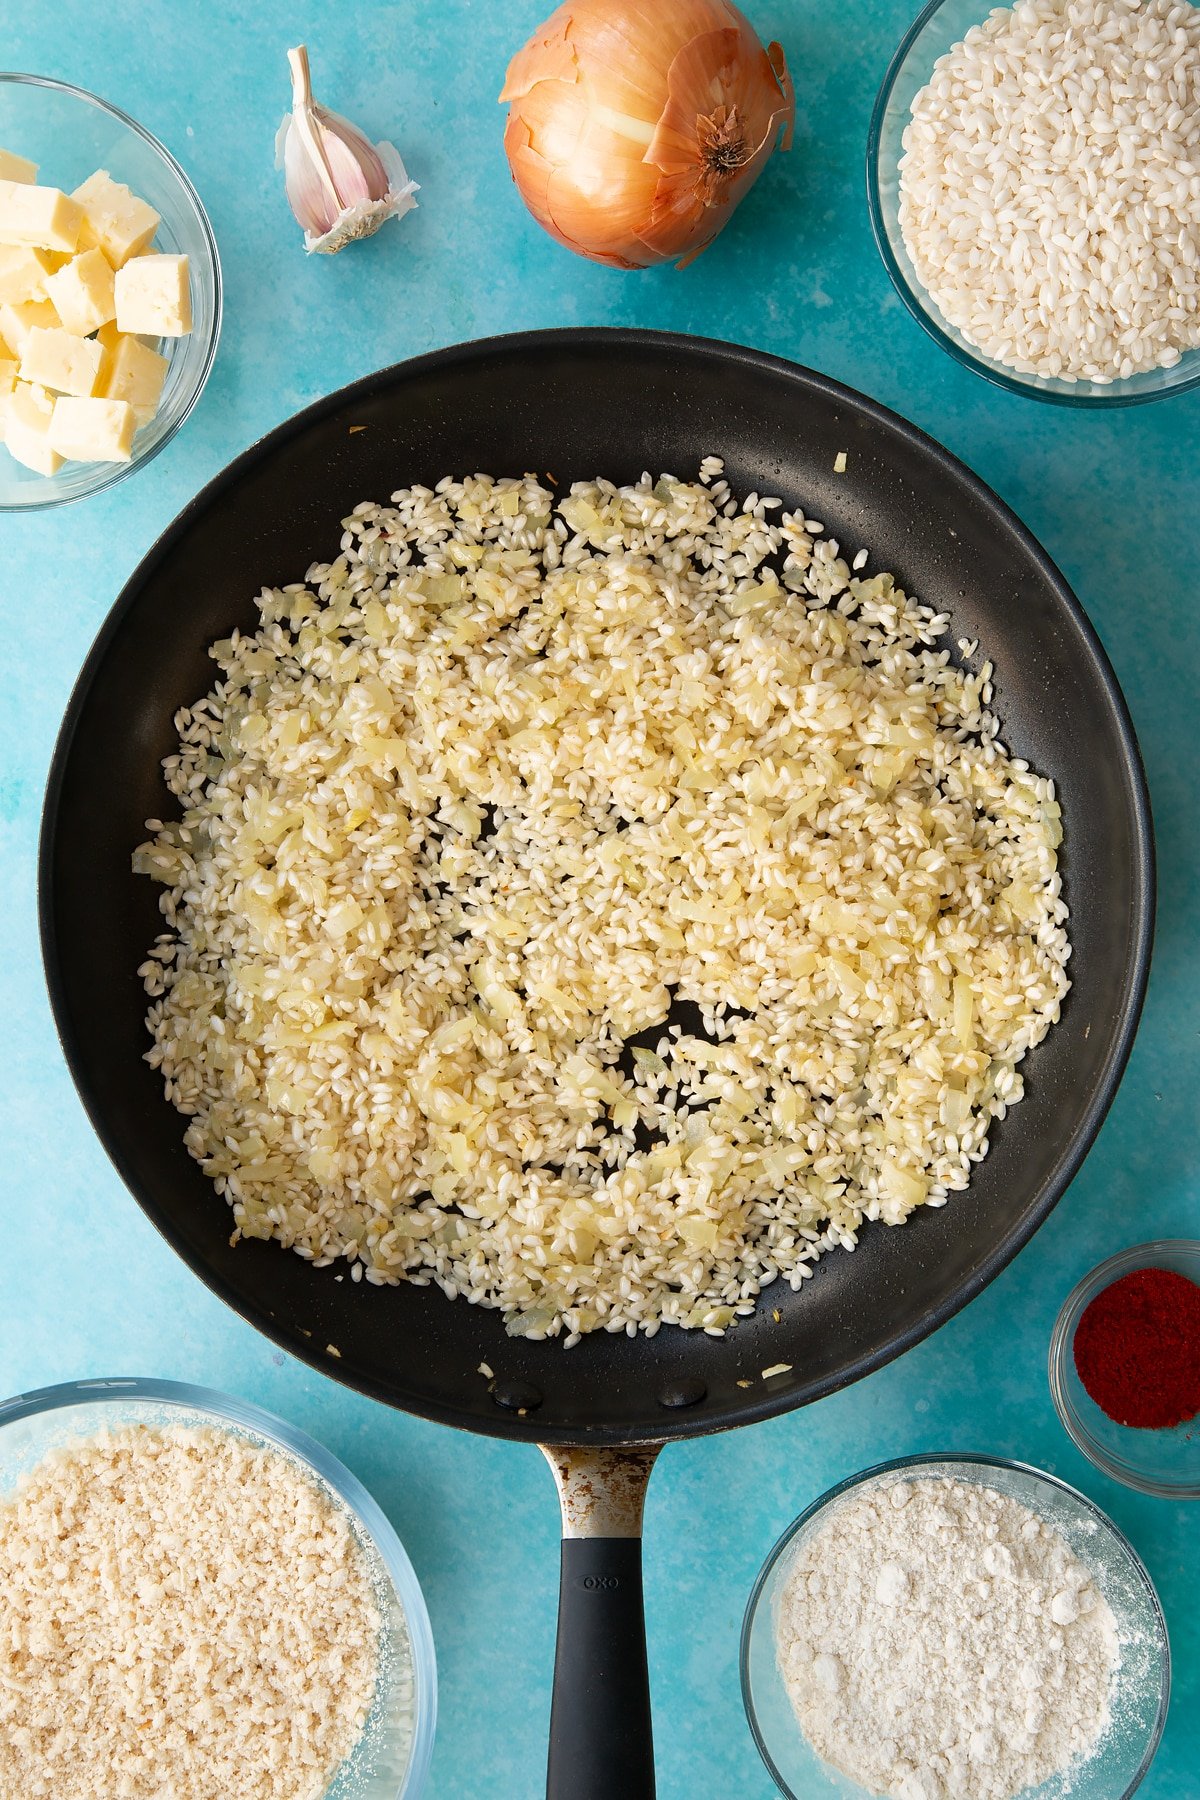
Add quarter of the stock.
Cook gently while stirring.
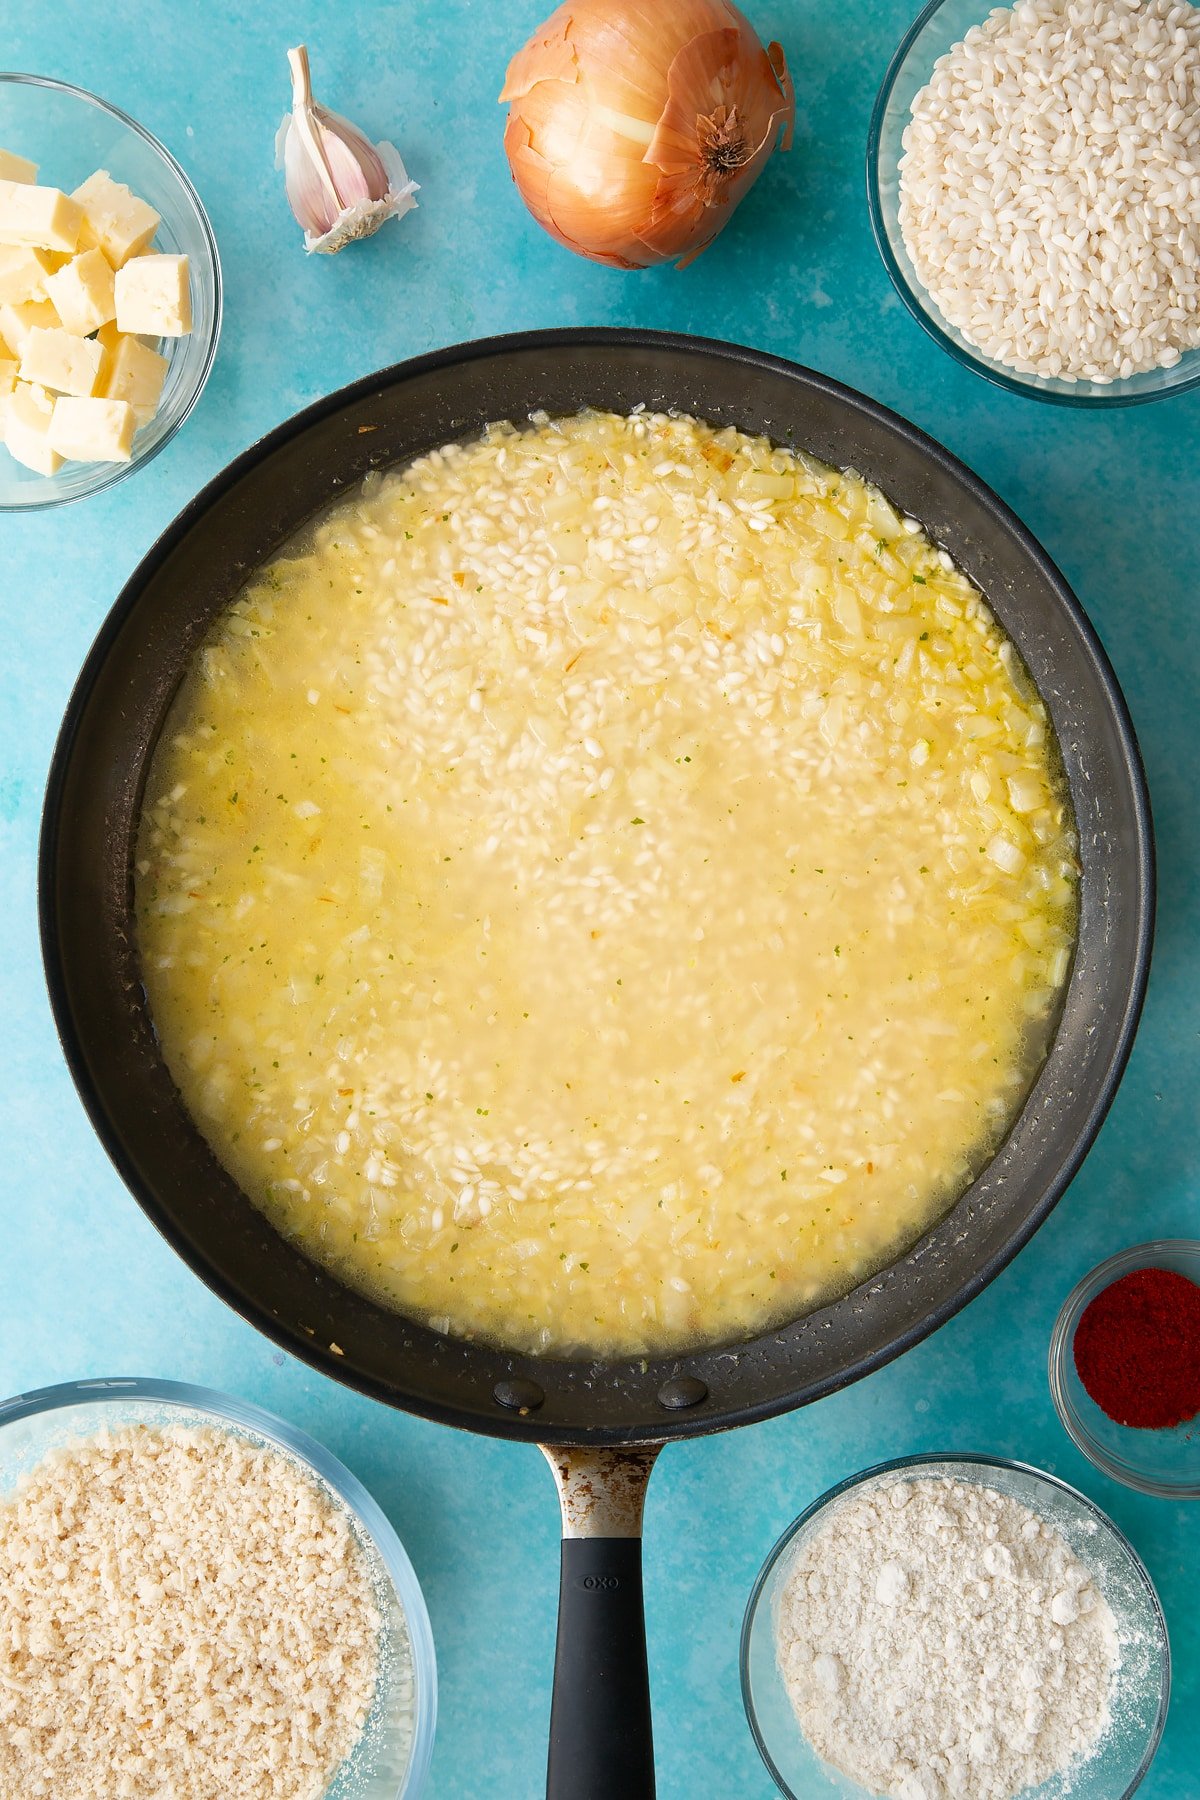
When the liquid has absorbed, add another ladleful of stock. Keep stirring and adding until the rice tastes cooked and the liquid has been absorbed.This whole process should take about 20 minutes in total.
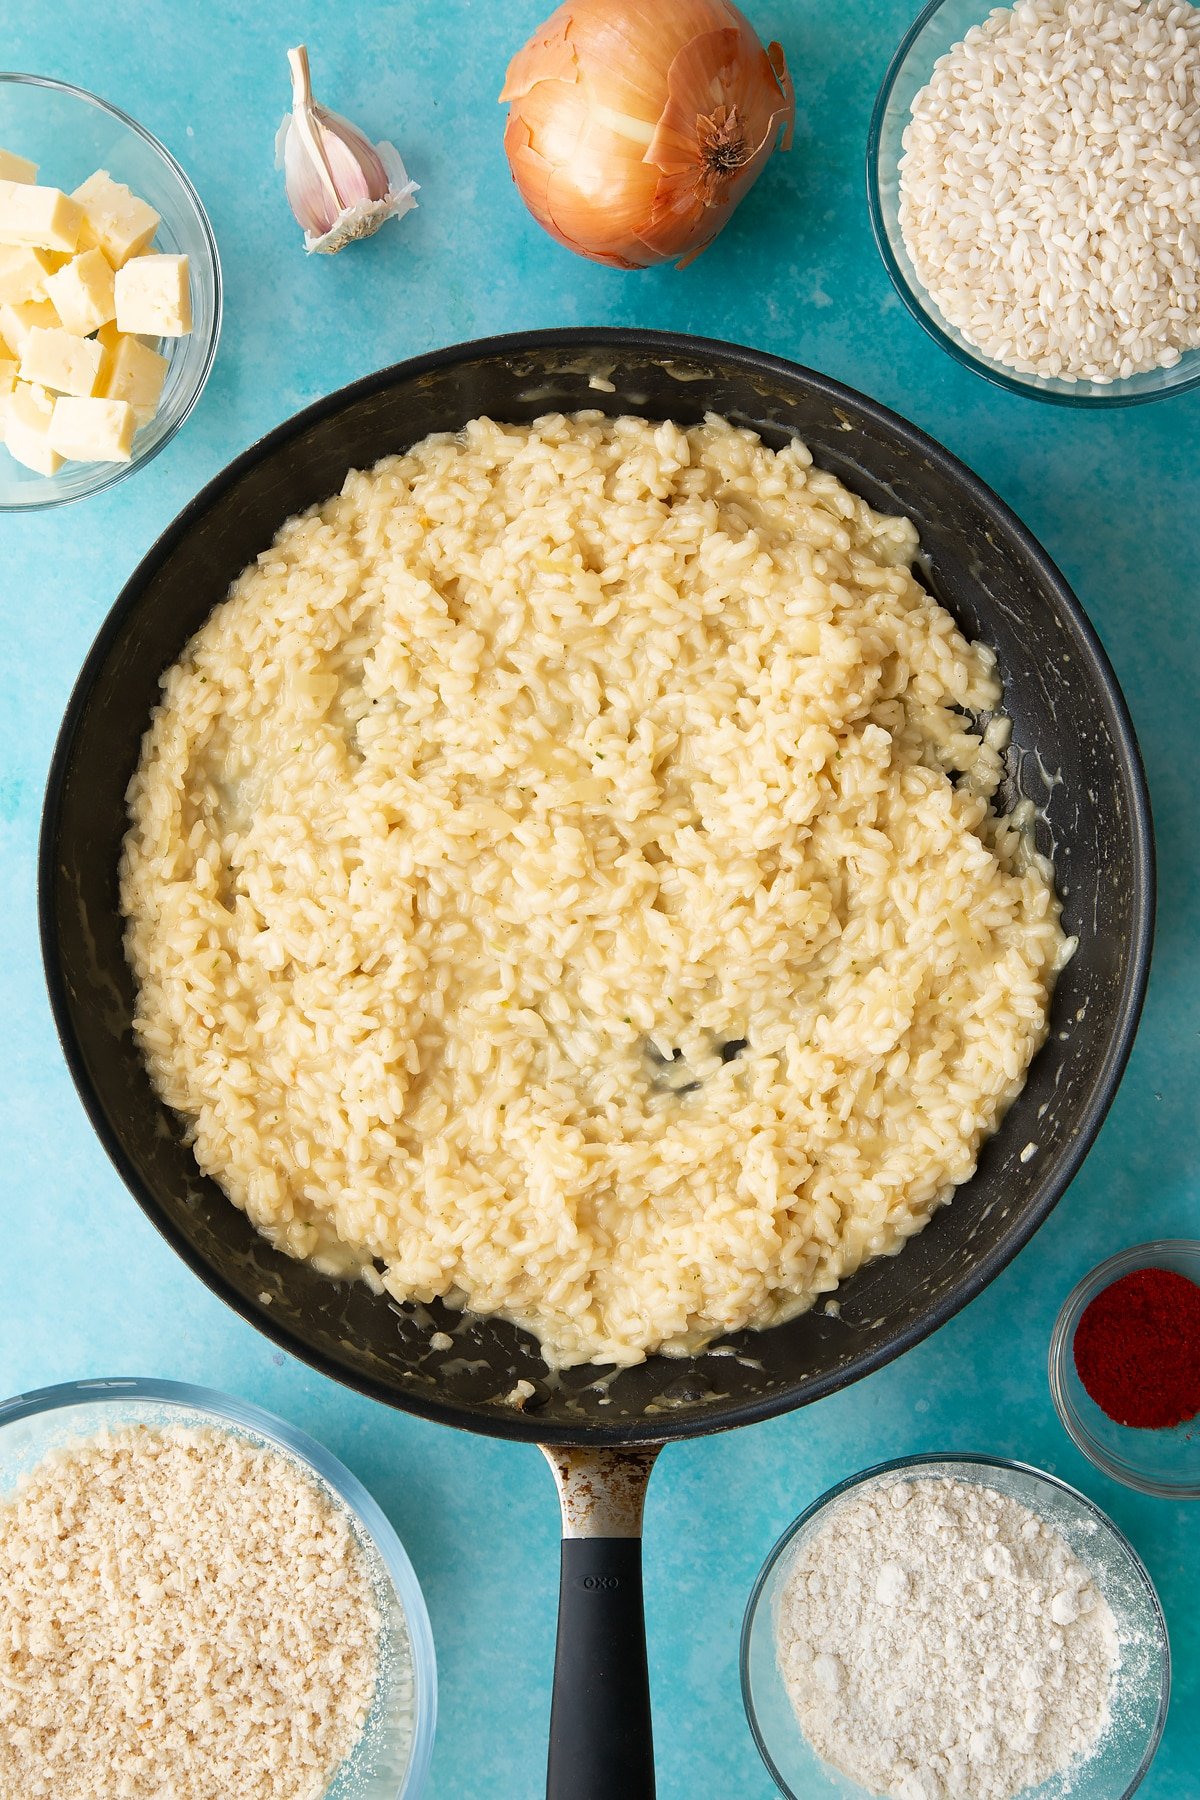
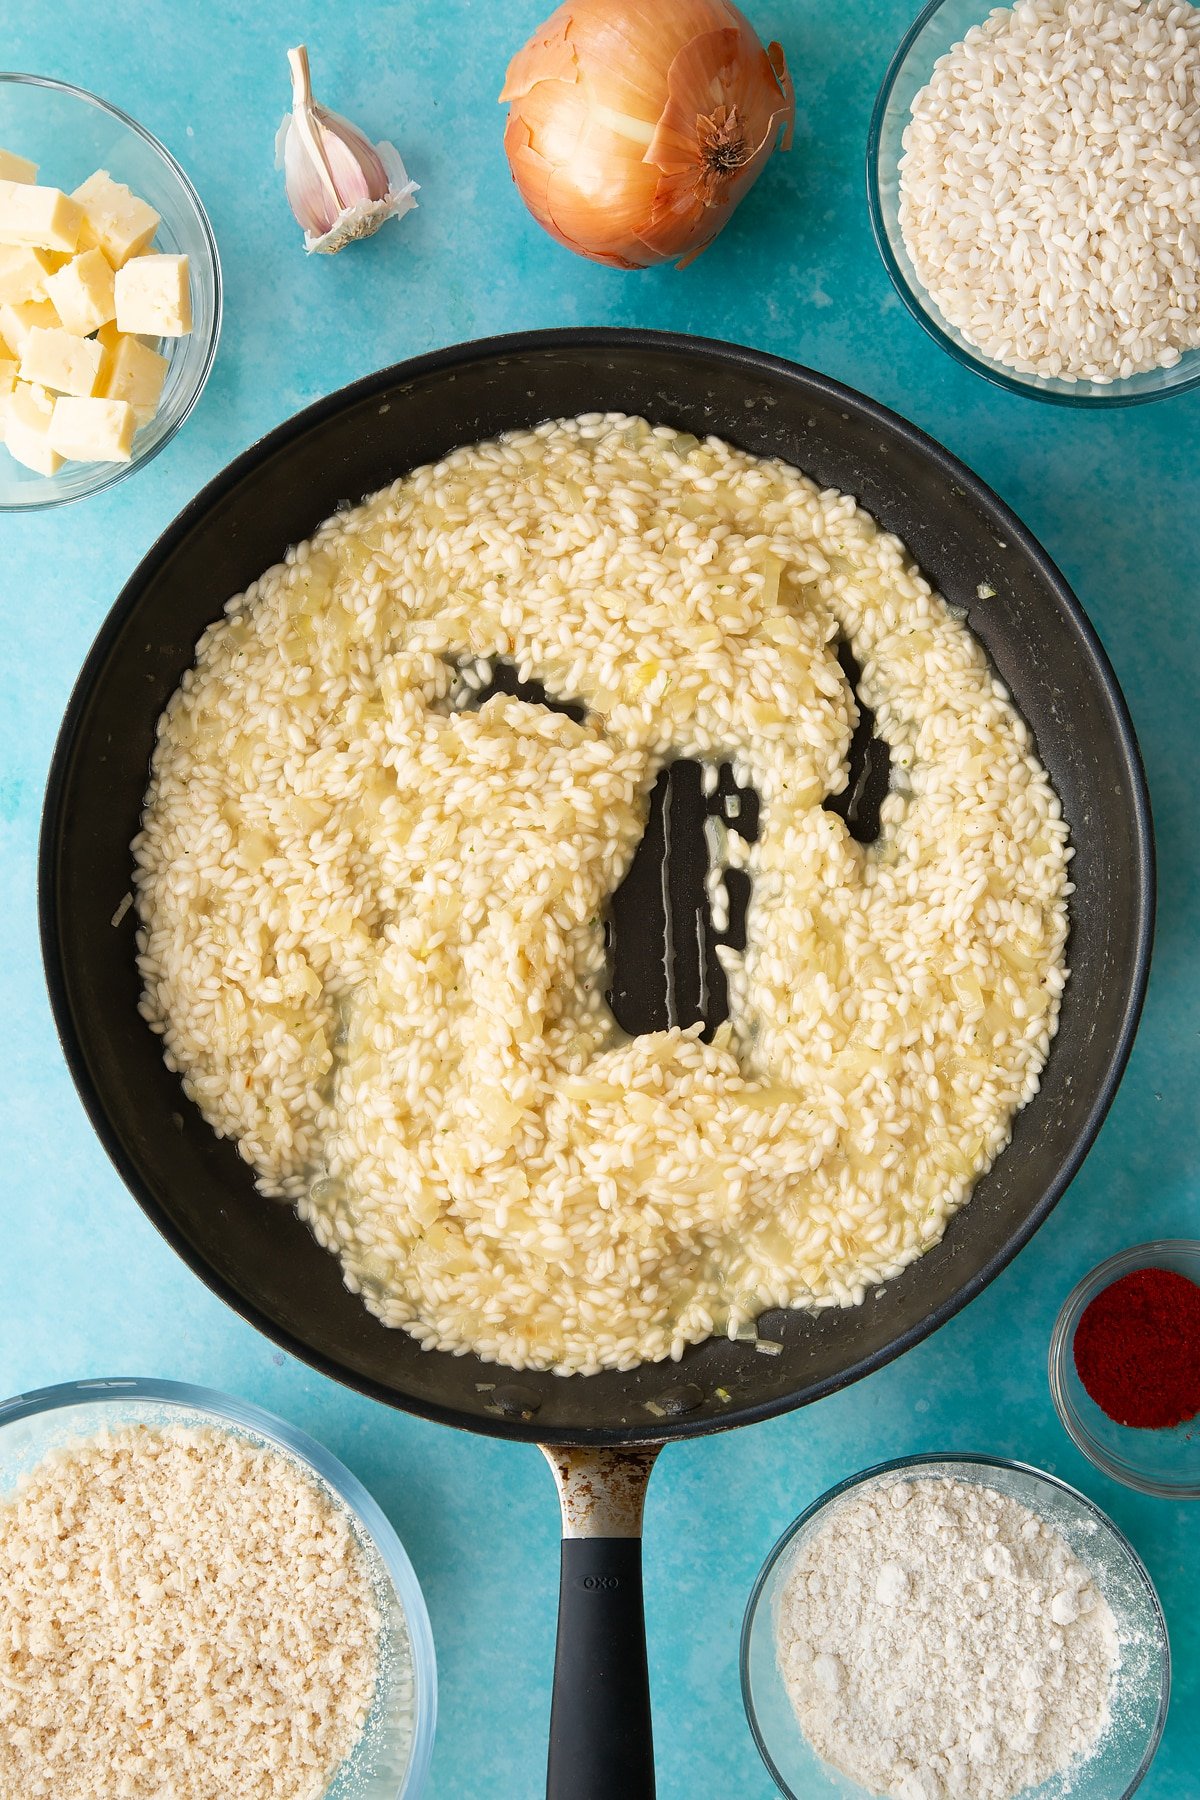
Add the hard cheese.
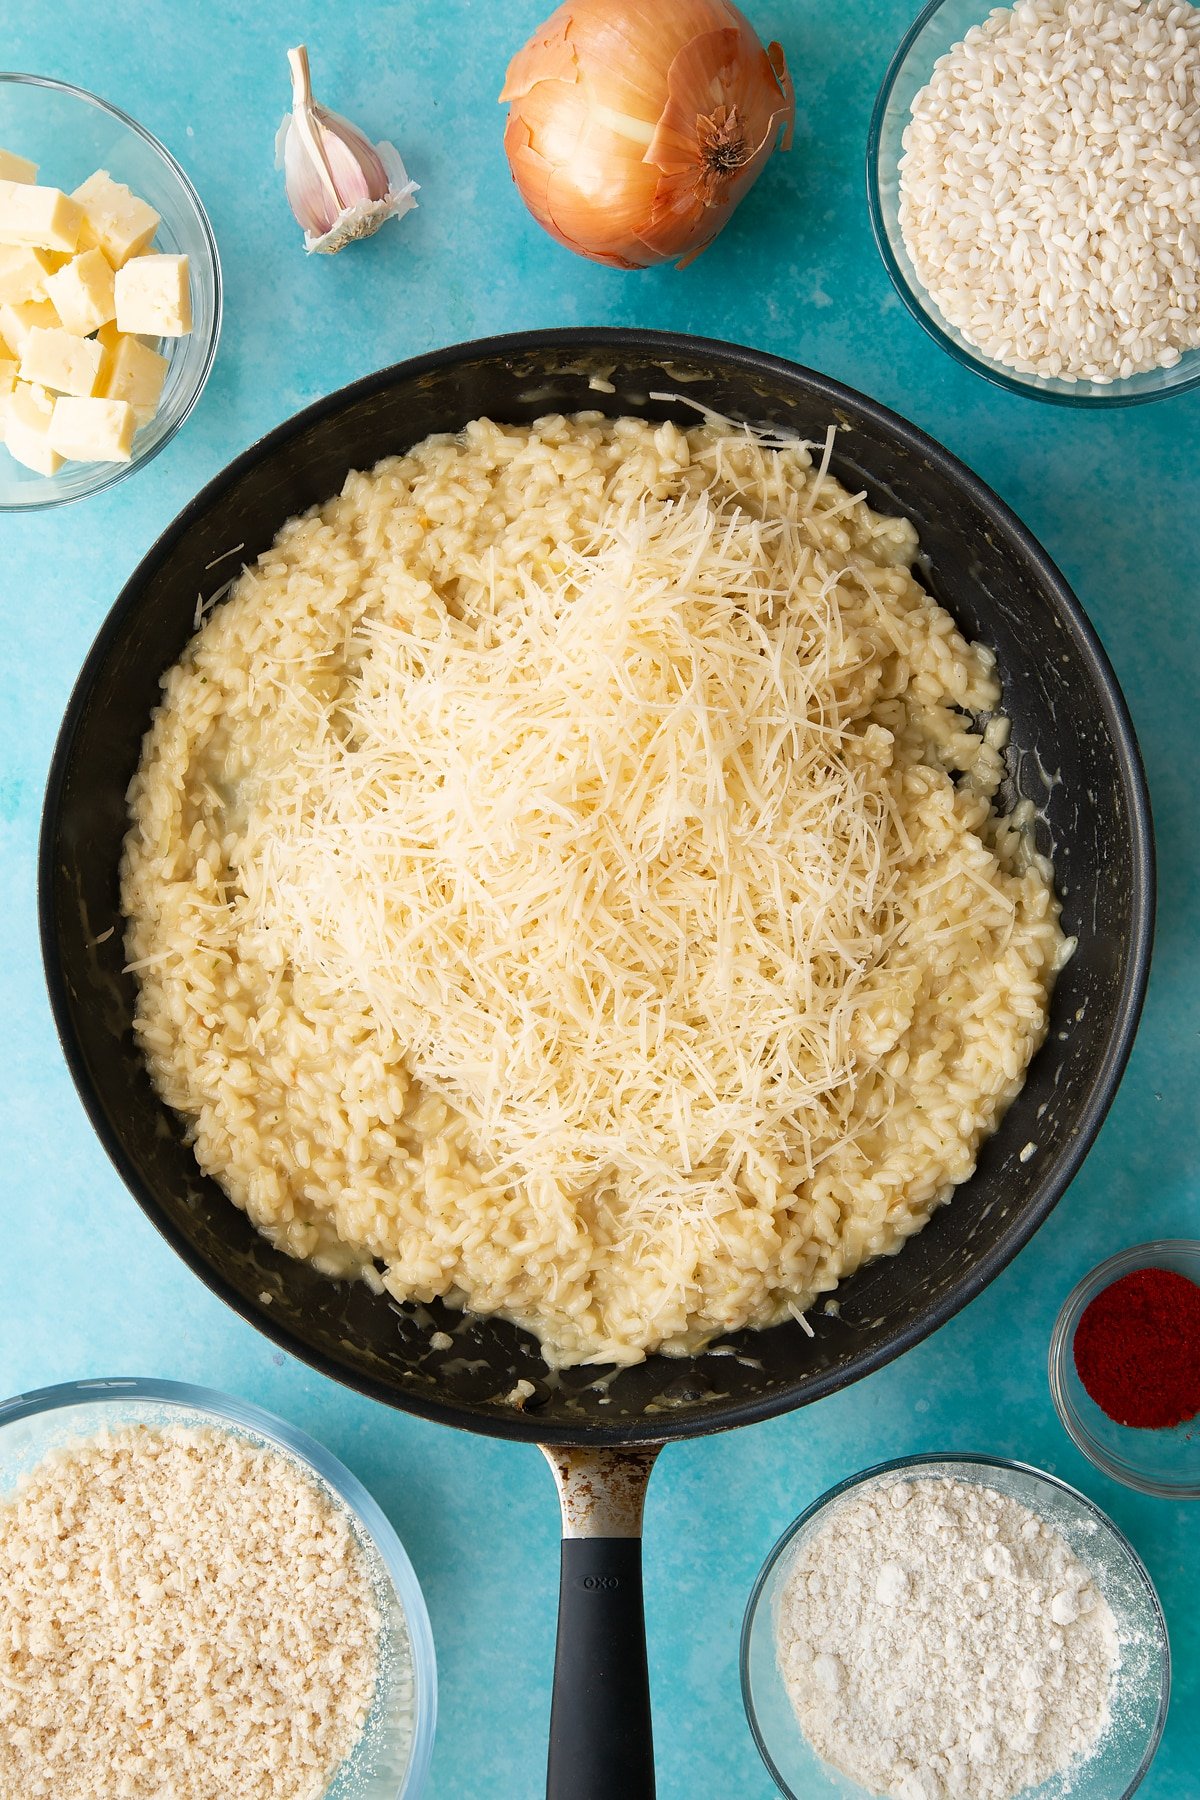
Stir through, then season to taste.
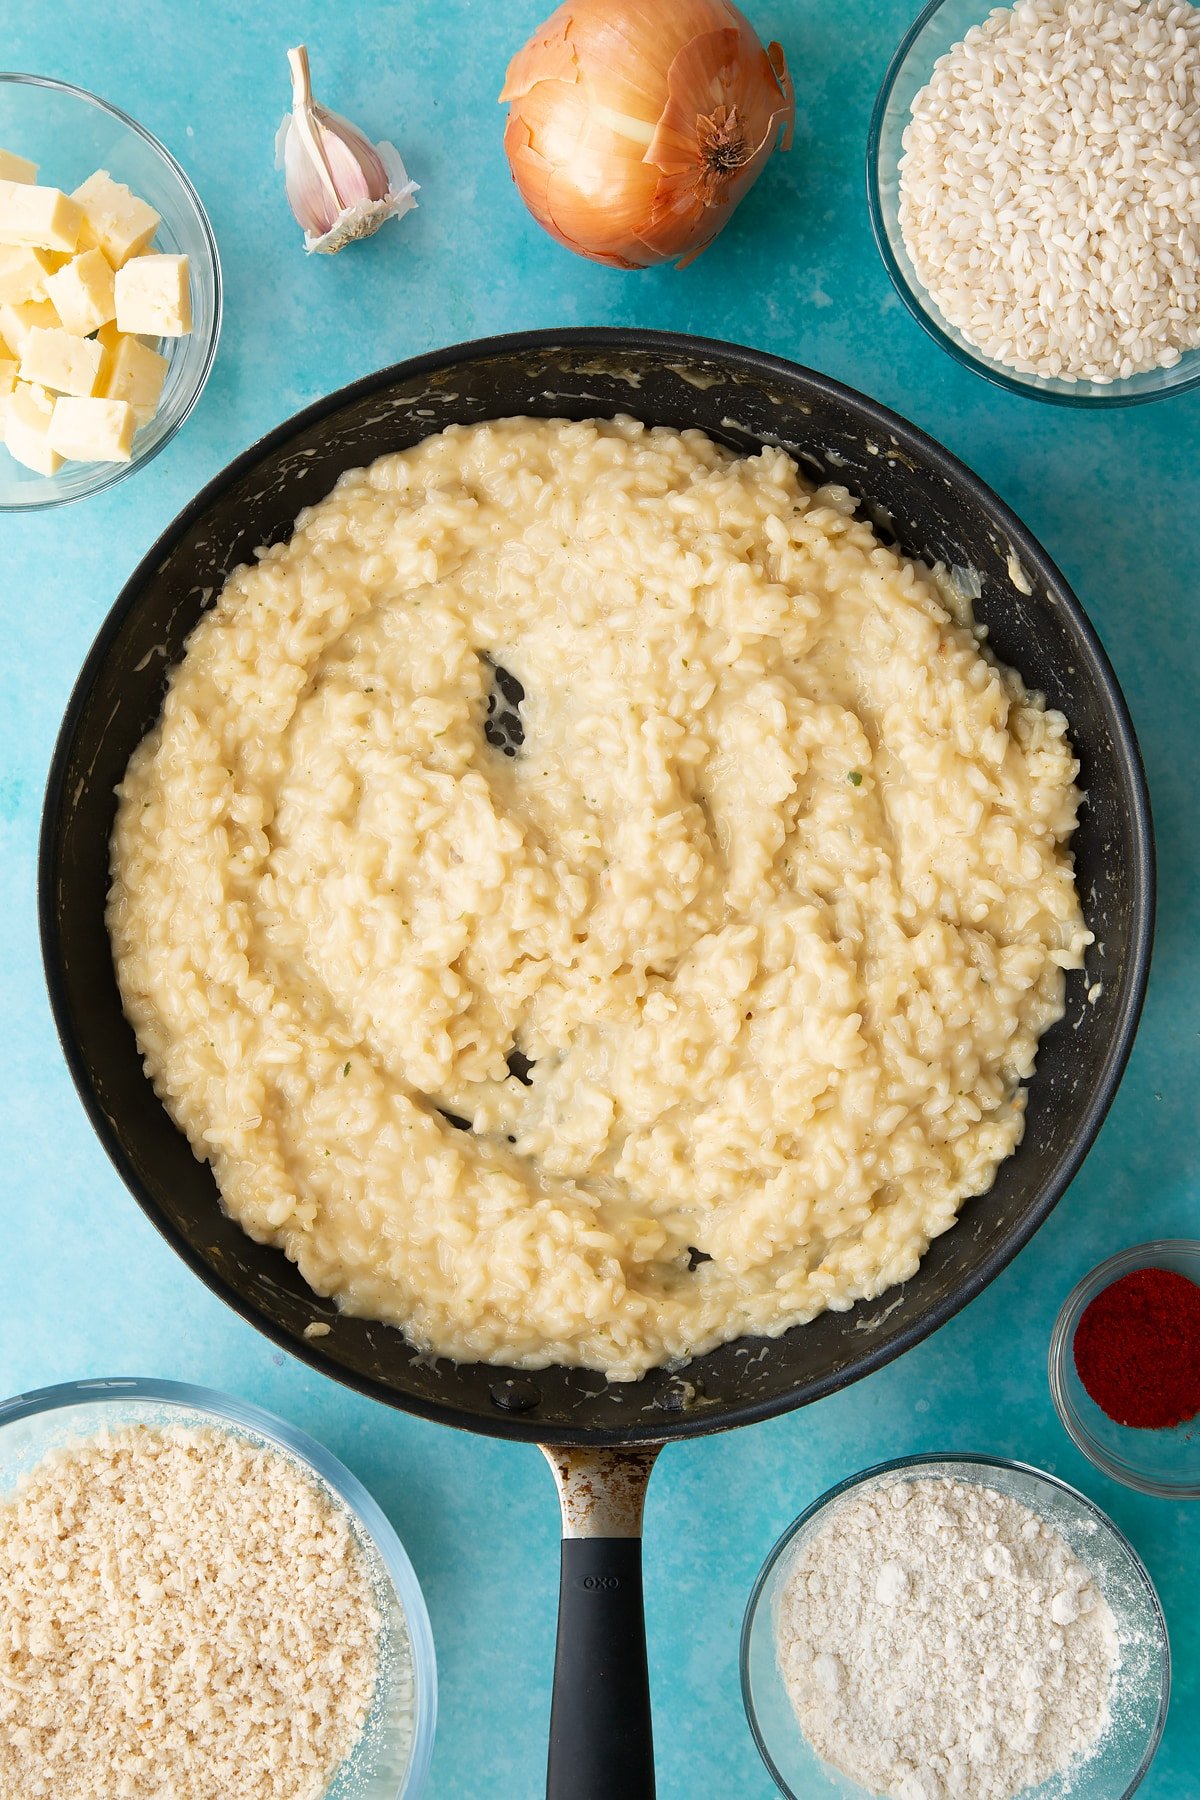
Transfer to a tray and spread out to encourage it to cool as rapidly as possible.
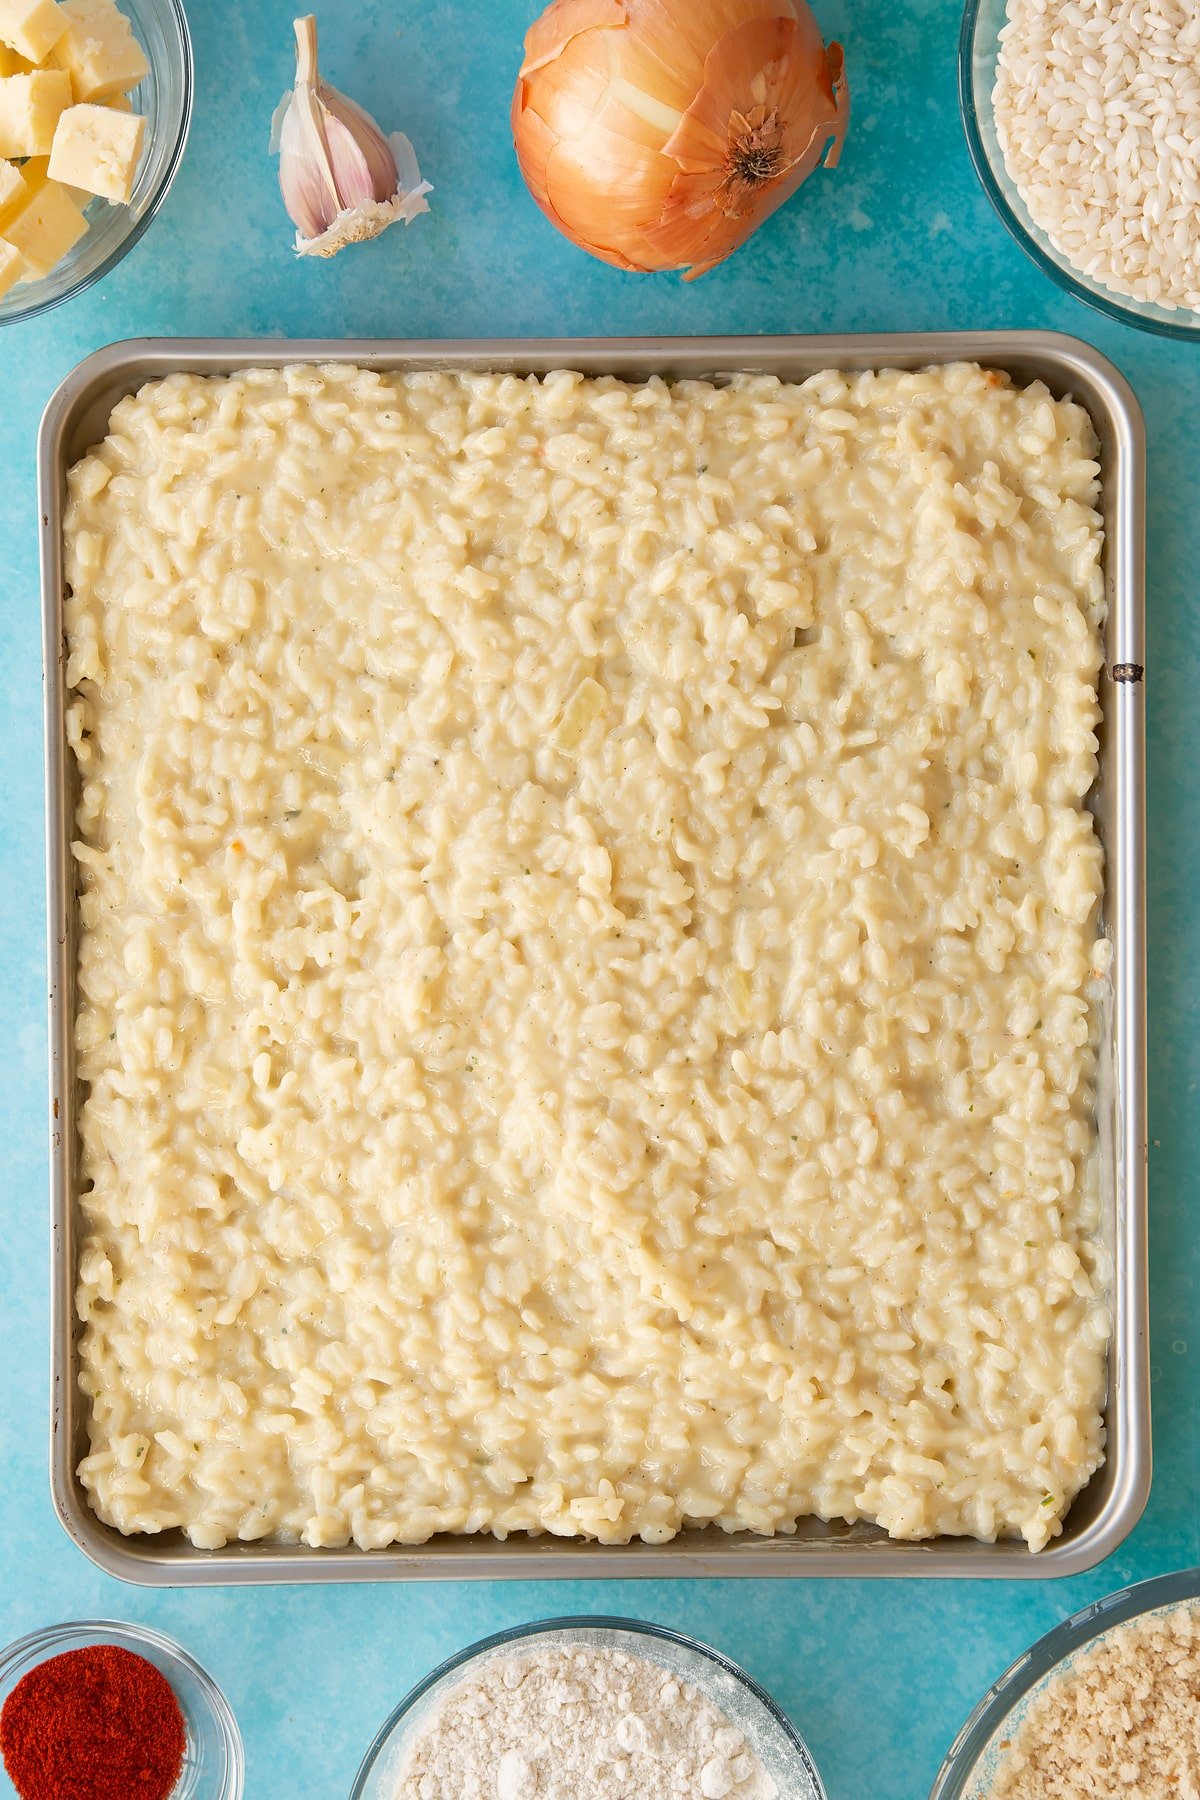
Once cool, cover and place in the fridge to chill - cold risotto is much easier to shape.
Make the arancini
Preheat the oven to 200C (180C fan).
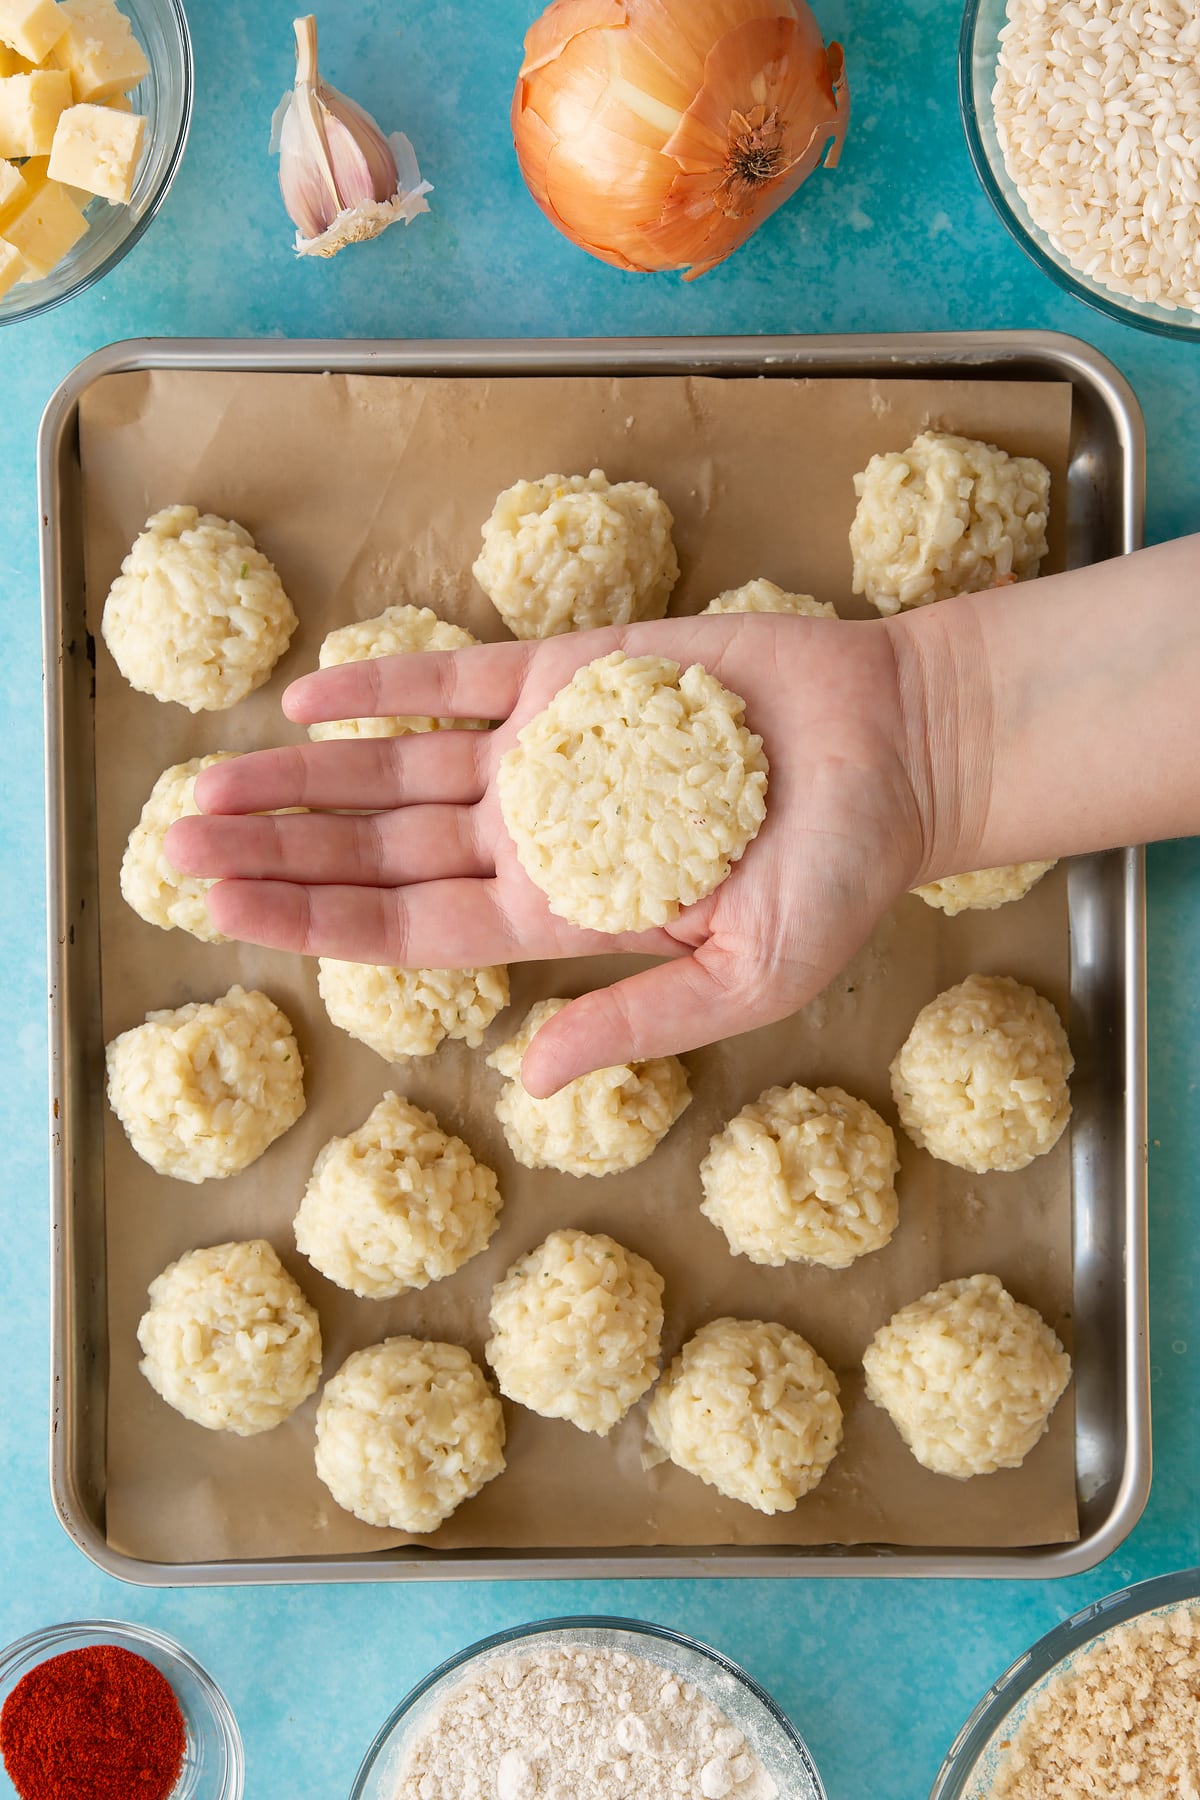
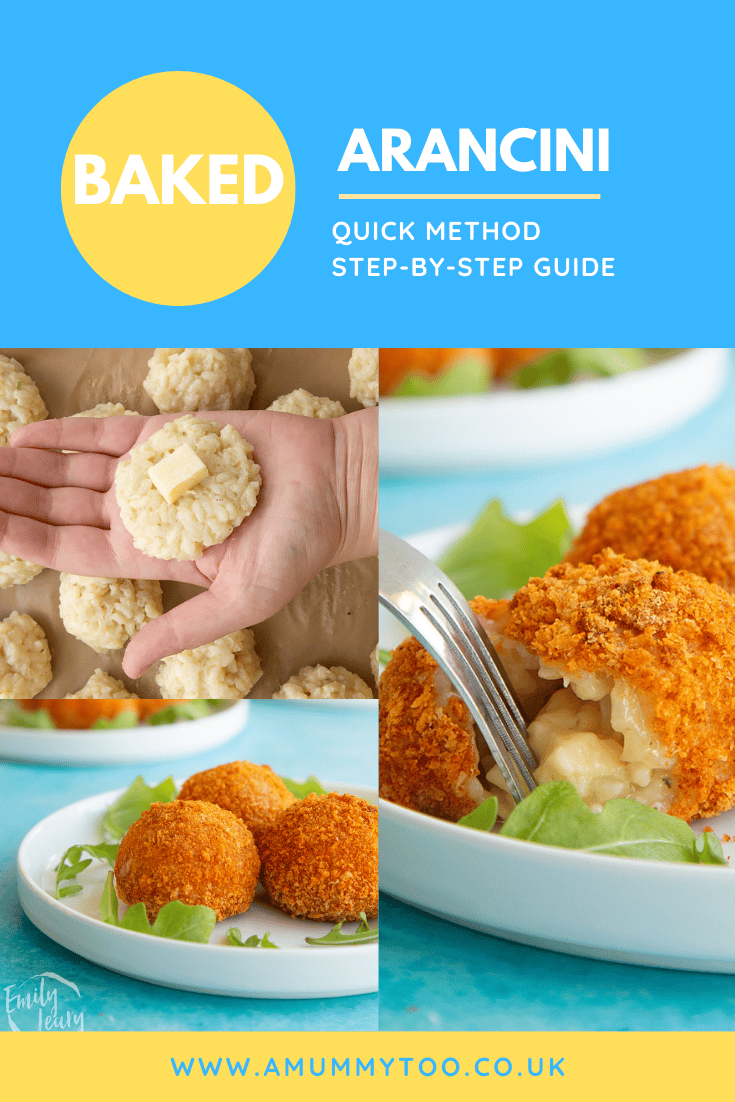
Divide the risotto mix into 20 equal portions. If you would like your arancini to be very evenly sized, you can either use an ice cream scoop, or you can weigh the risotto and then divide by 20 to work out the exact weight of each ball. This will vary slightly according to the exact amount of liquid added and absorbed - in my case, each ball weighed 45g.

Take a ball and flatten in your hand.
Place a cube of cheese in the centre.
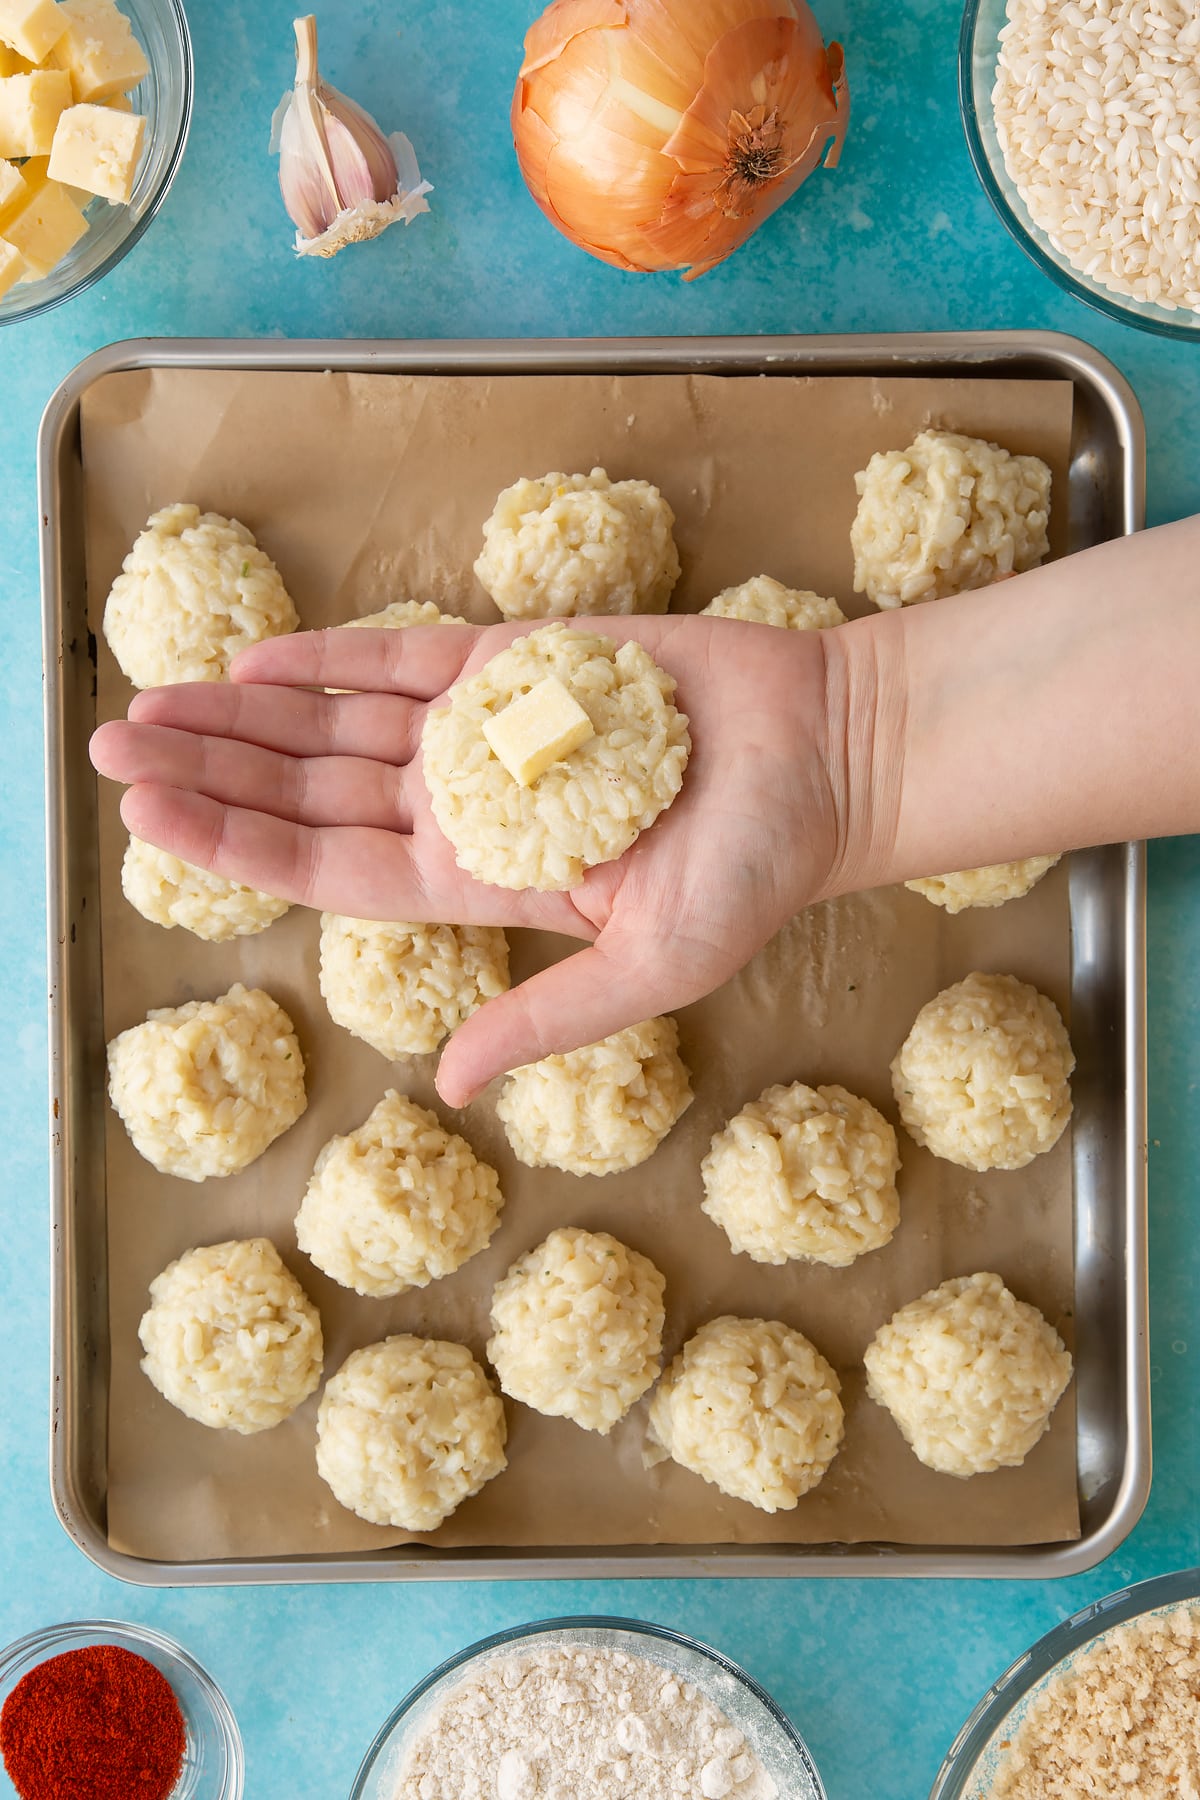
Squeeze the risotto around it. Roll in your hands to form a ball. Do your best to keep the cheese in the centre as it may cause the arancini to burst if it is near one side.
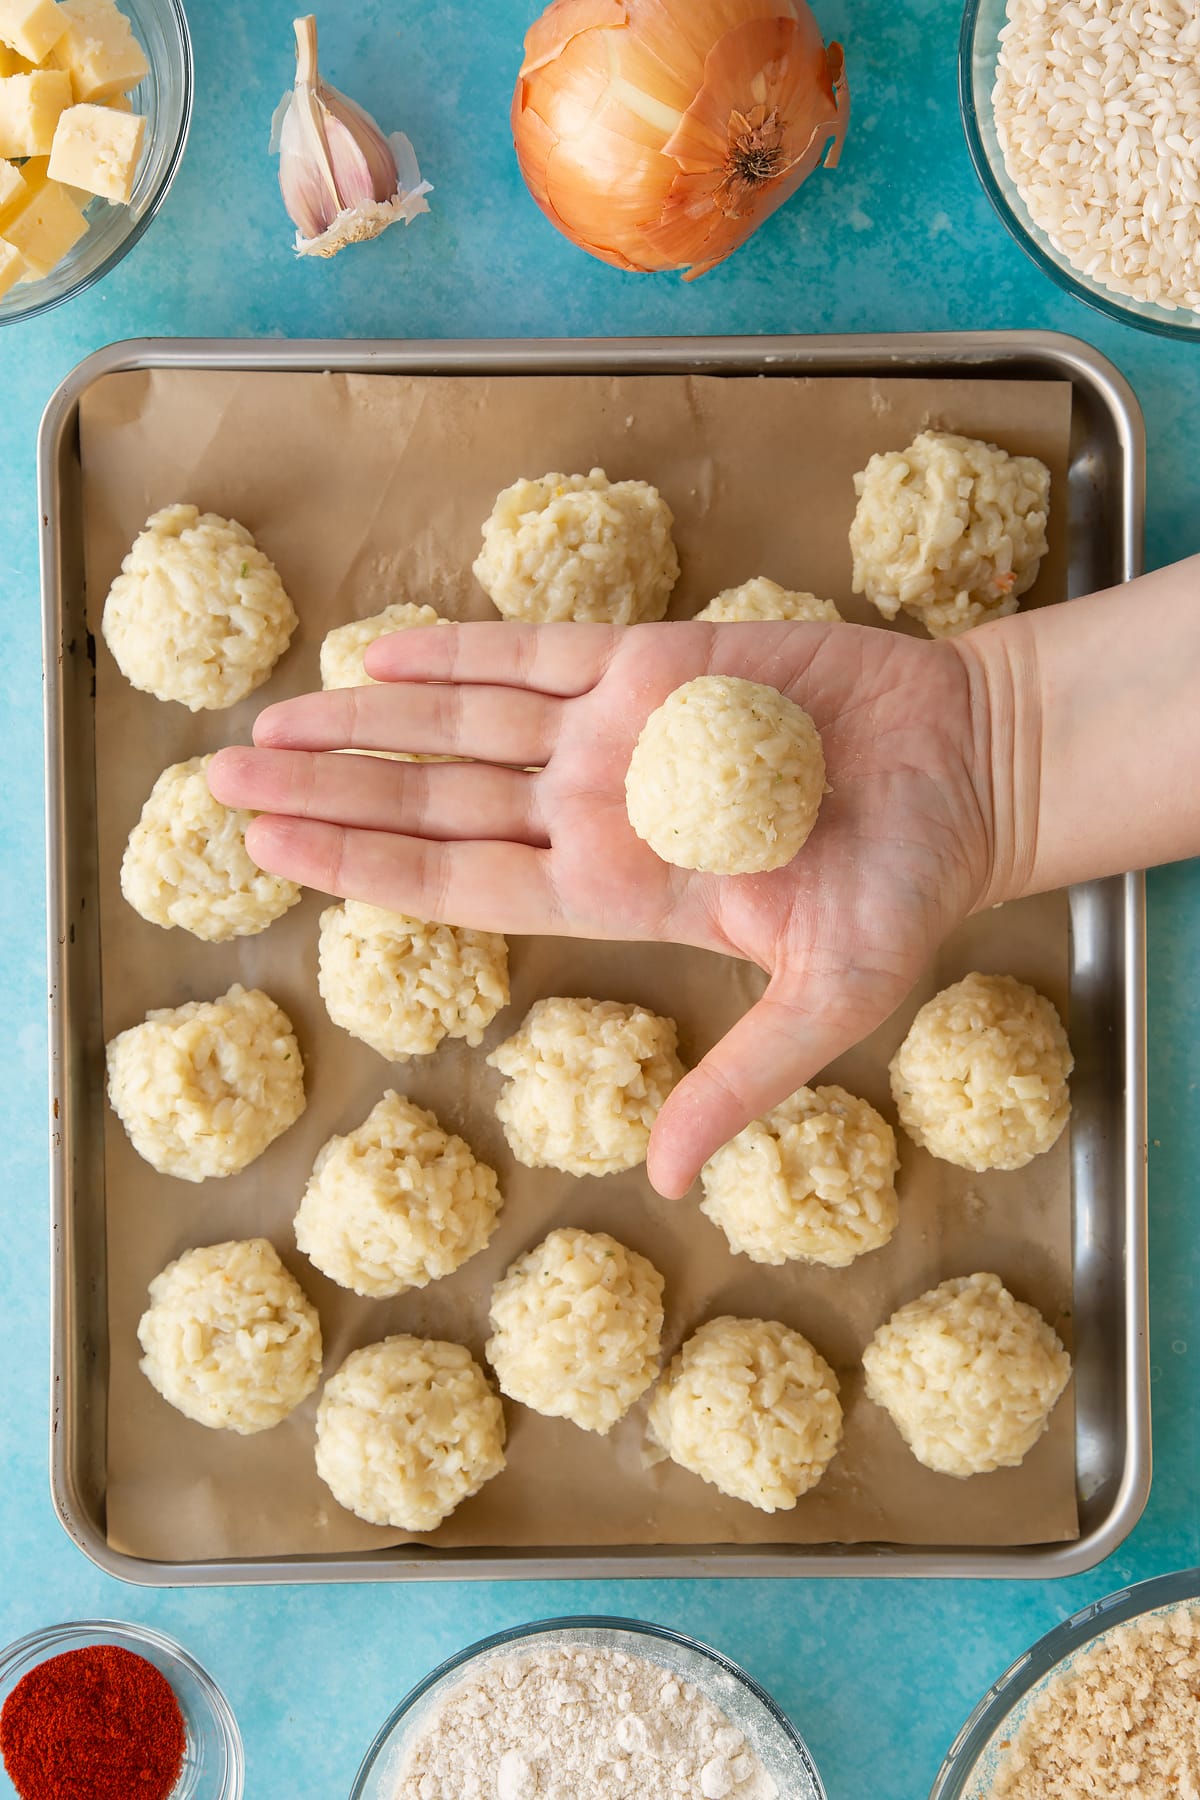
Repeat until all the risotto is used up.

Bread the arancini
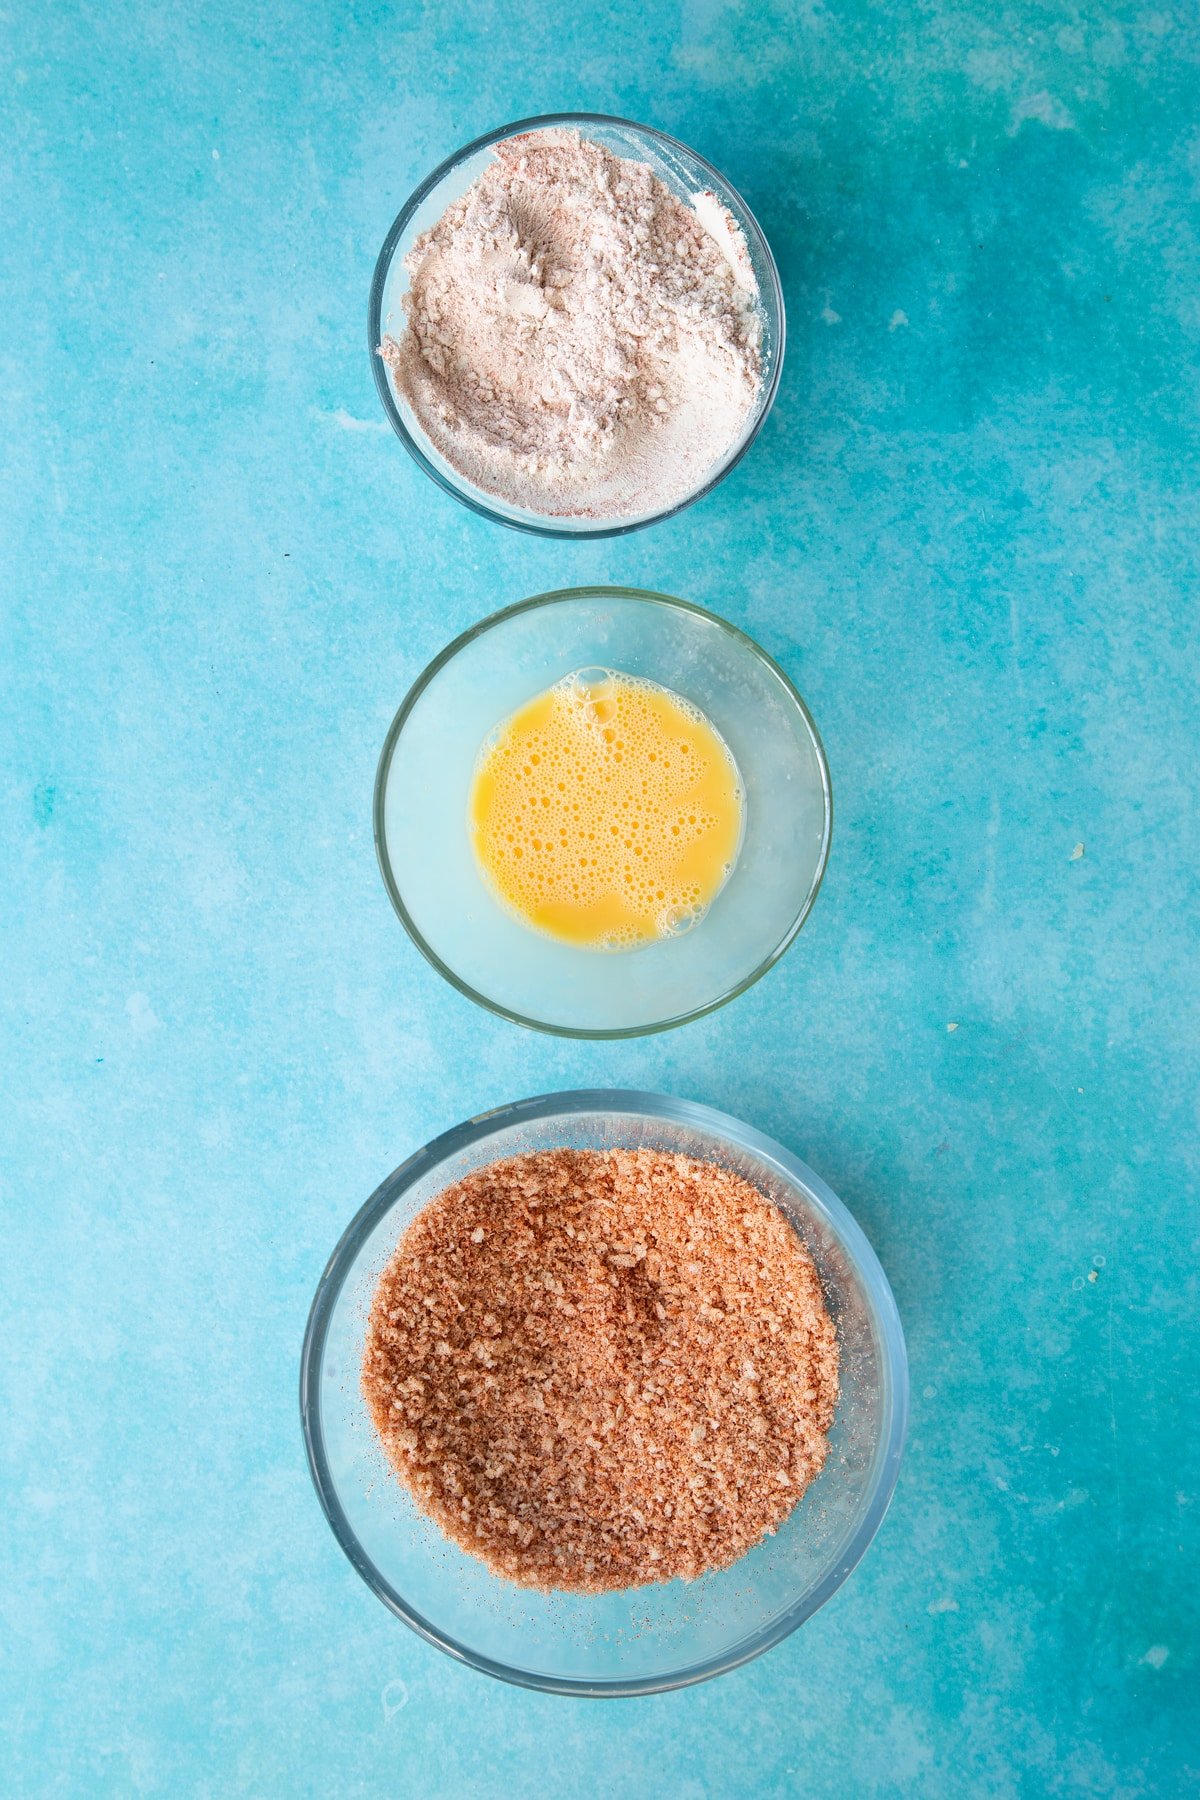
Prepare three bowls, one containing the flour, one containing the beaten egg and one containing the breadcrumbs and paprika. Season all three bowls.
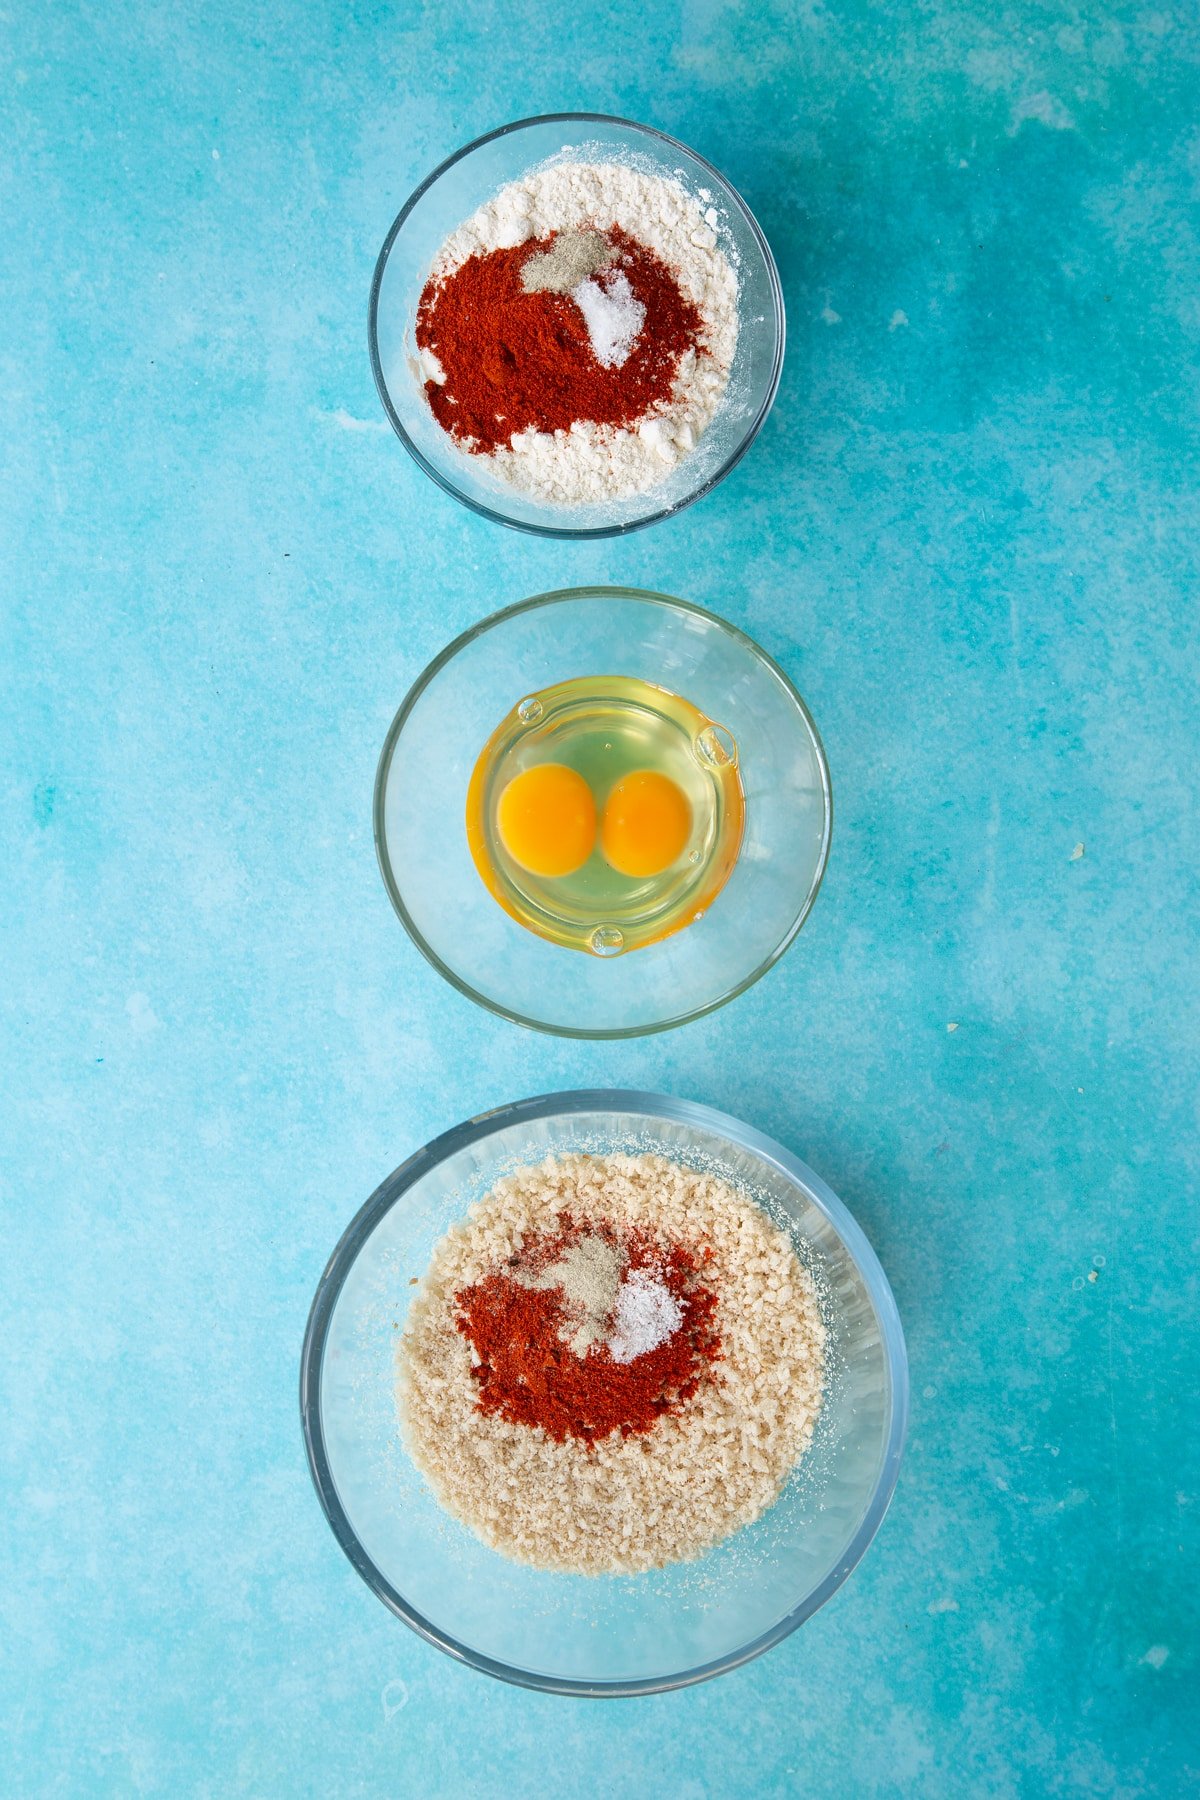
Stir in the seasonings and beat the egg.
One by one, dip the arancini first in the flour, then in hte egg, then in the breadcrumbs. Be sure to coat all over with each step.
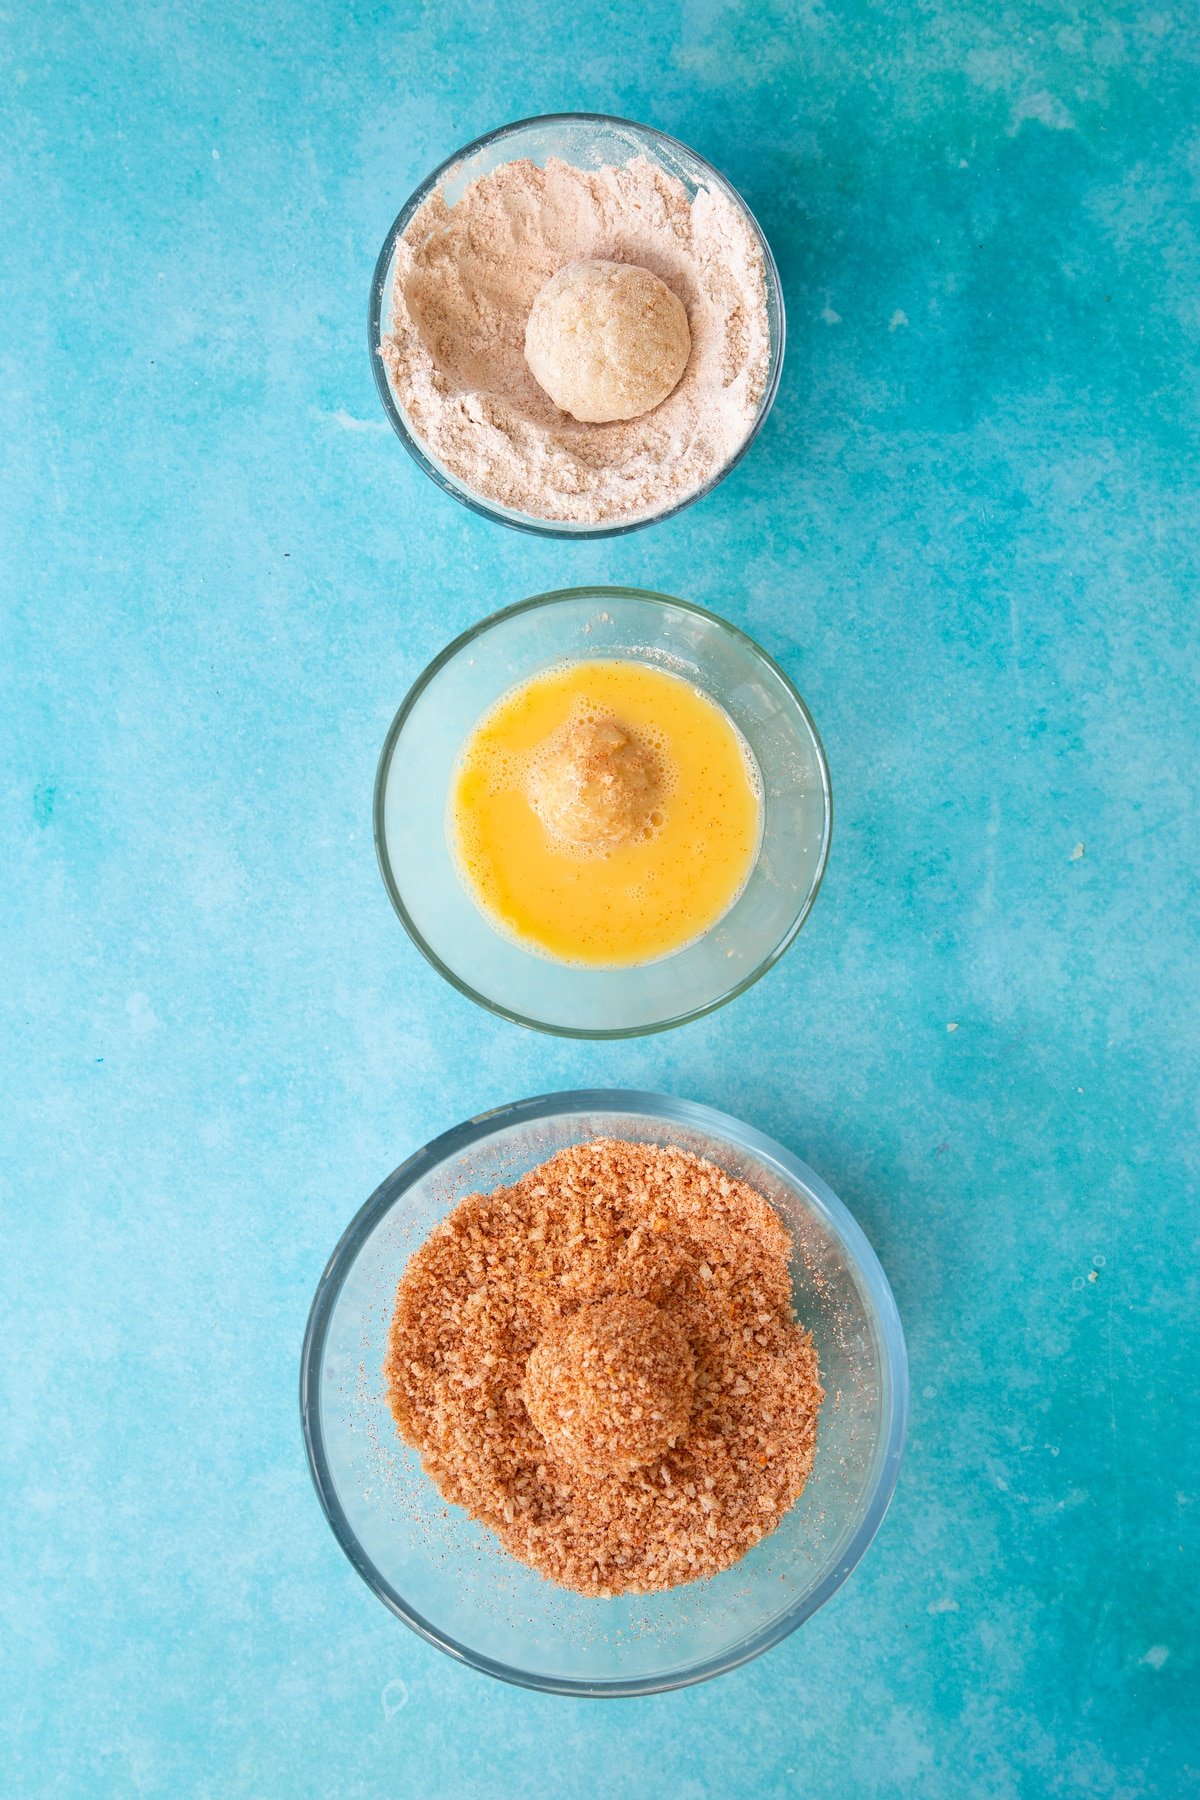
Place your arancini on a non-stick baking sheet lined with baking paper as you go, repeat until you've breaded all twenty.
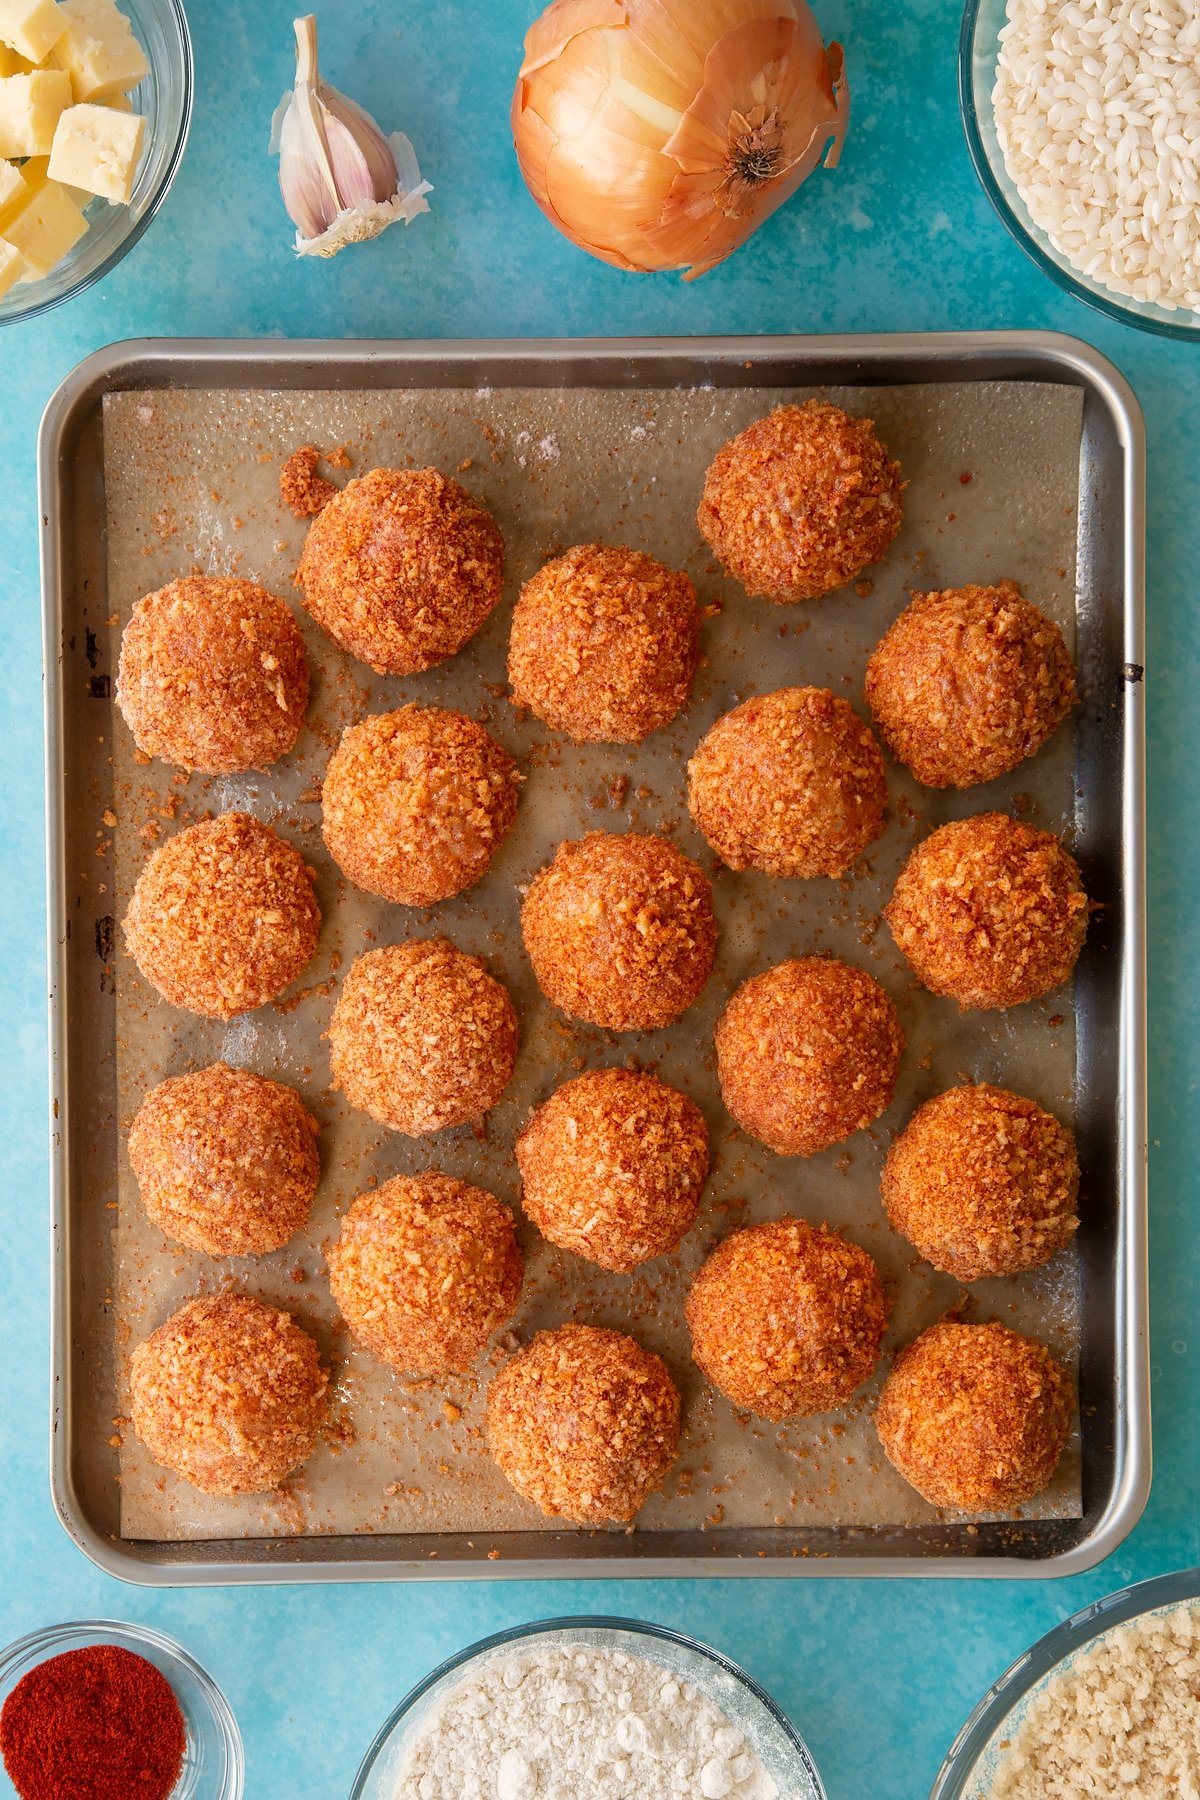
Spray generously with oil.
Bake for 20-25 minutes until golden.

Enjoy!

They’re best served hot and fresh.
Print this baked arancini recipe

Baked Arancini Recipe
Ingredients
For the risotto
- 2 tbsp oil
- 3 cloves garlic finely chopped
- ½ onion finely chopped
- 1 litre vegetable stock
- 250 g (8.8 oz) Arborio rice
- 100 g (3.5 oz) hard cheese finely grated
- salt and black pepper to taste
For the filling
- 100 g (3.5 oz) cheddar cheese diced
To bread
- 100 g (3.5 oz) plain white flour (all purpose flour)
- 2 medium free range eggs
- 100 g (3.5 oz) fresh breadcrumbs
- 2 tbsp smoked paprika
- salt and black pepper
- Spray oil
Instructions
Make the risotto
- Warm the oil in a large non-stick pan over a medium heat.
- Add the onion and garlic and a pinch of salt and pepper. Fry for 3-5 minutes until softening.
- Add the rice and stir for a minute or so until glossy
- Add quarter of the stock and cook gently while stirring.
- When the liquid has absorbed, add another ladleful of stock. Keep stirring and adding until the rice tastes cooked and the liquid has been absorbed.This whole process should take about 20 minutes in total.
- Stir in the hard cheese, season to taste, then transfer to a tray and spread out to encourage it to cool as rapidly as possible.
- Once cool, cover and place in the fridge to chill - cold risotto is much easier to shape.
Make the arancini
- Preheat the oven to 200C (180C fan).
- Divide the risotto mix into 20 equal portions. If you would like your arancini to be very evenly sized, you can either use an ice cream scoop, or you can weigh the risotto and then divide by 20 to work out the exact weight of each ball. This will vary slightly according to the exact amount of liquid added and absorbed - in my case, each ball weighed 45g.
- Take a ball and flatten in your hand.
- Place a cube of cheese in the centre, then squeeze the risotto around it. Roll in your hands to form a ball. Do your best to keep the cheese in the centre as it may cause the arancini to burst if it is near one side.
- Repeat until all the risotto is used up.
Bread the arancini
- Prepare three bowls, one containing the flour, one containing the beaten egg and one containing the breadcrumbs and paprika. Season all three bowls then stir in the seasonings and beat the egg.
- One by one, dip the arancini first in the flour, then in hte egg, then in the breadcrumbs. Be sure to coat all over with each step.
- Place your arancini on a non-stick baking sheet lined with baking paper as you go, repeat until you've breaded all twenty.
- Spray generously with oil.
- Bake for 20-25 minutes until golden.
- Enjoy! They’re best served hot and fresh.
Nutrition
Pin this baked arancini recipe

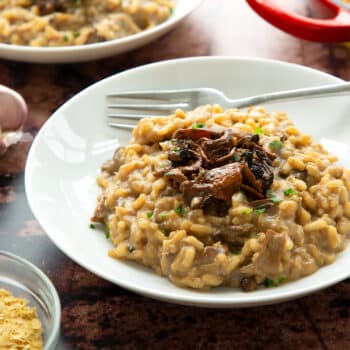
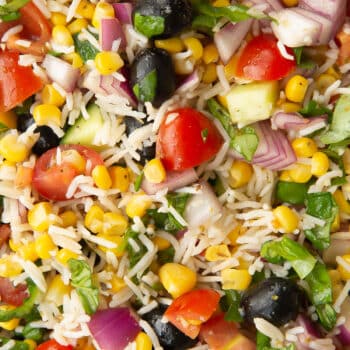
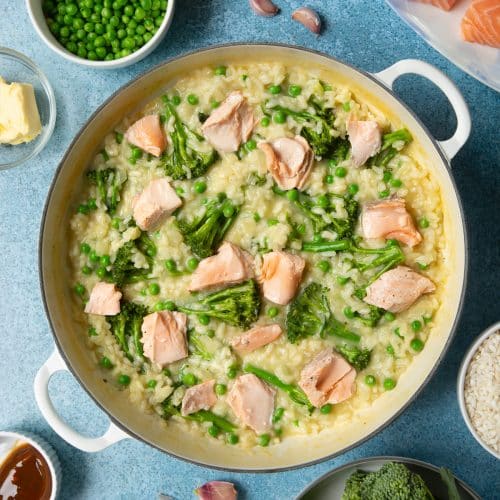
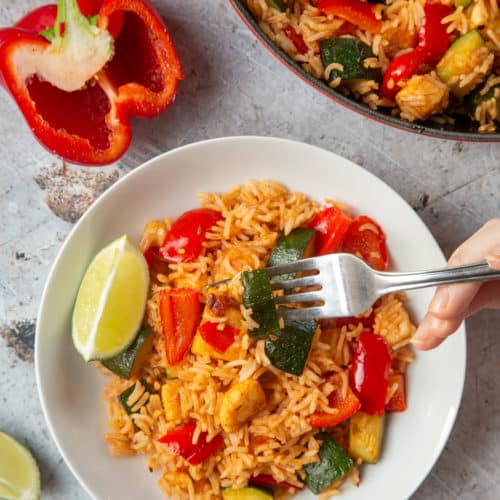
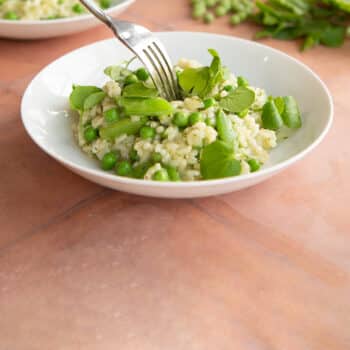
More rice-based recipes to try
Have you got my book?

'This is a great kids cookery book. Emily is a star' - Simon Rimmer
'The book I'd like to force into any mother's kitchen' - Prue Leith
"A fab book with a plan." - Jane Devonshire, 2016 Masterchef UK winner
'Emily has managed to combine her mummy knowledge and passion for food to make a truly helpful and brilliant cookbook' - Priya Tew, RD, BSc (Hons), Msc
Get Your Kids to Eat Anything is an achievable 'how to' for parents in the battle to overcome picky eating and 'make new the norm'. Emily Leary's unique 5-phase programme looks at the issue of 'fussy eating' in a holistic way that links imagination with food, and which situates parents alongside - not in opposition to - their children.
Leave a Reply