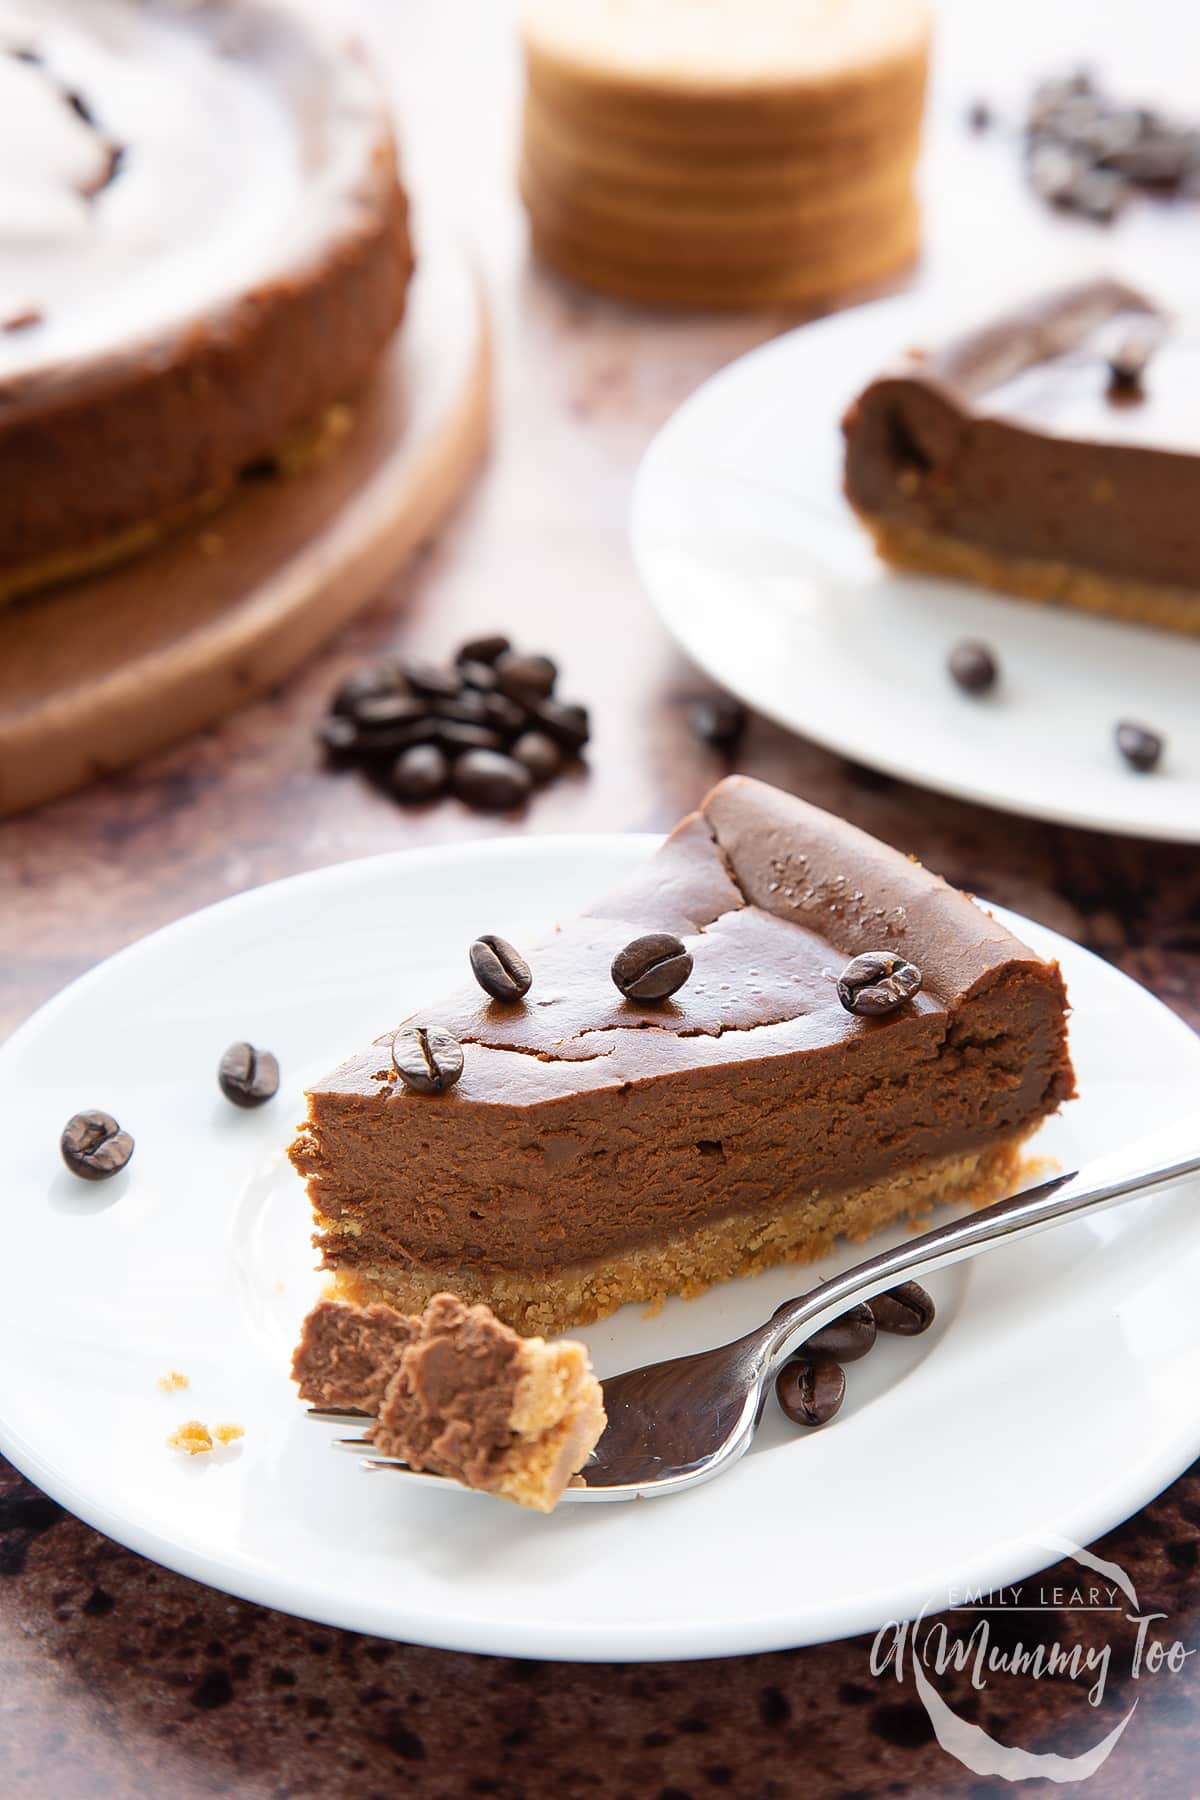
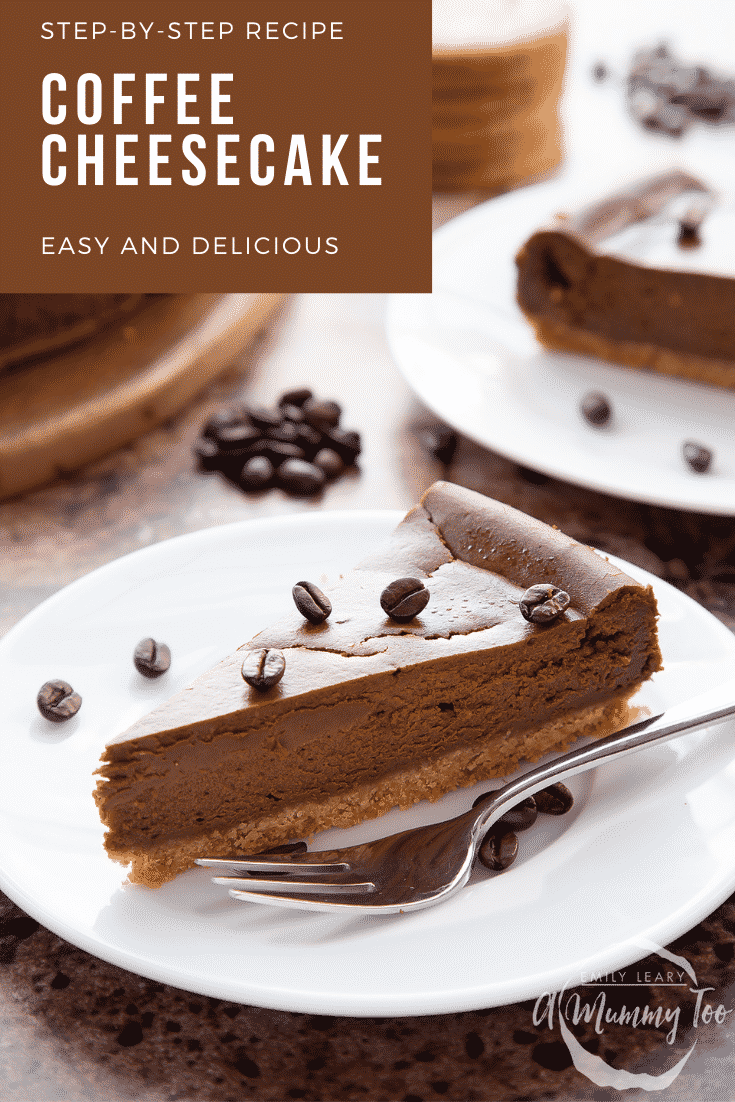
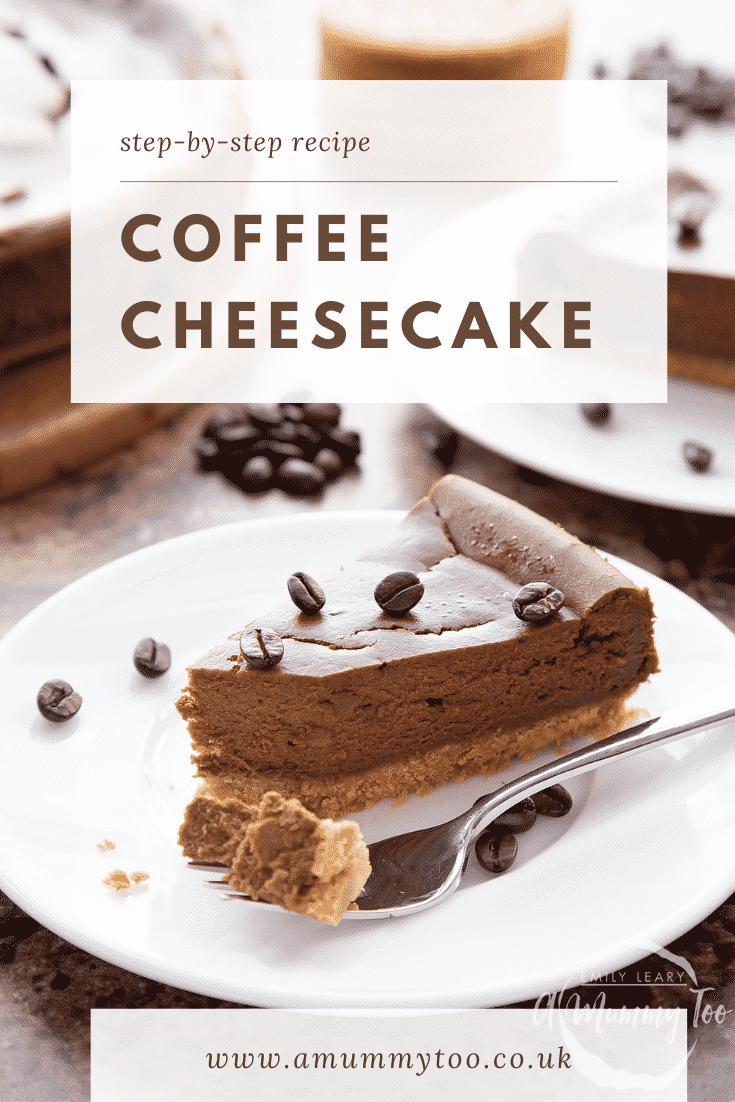
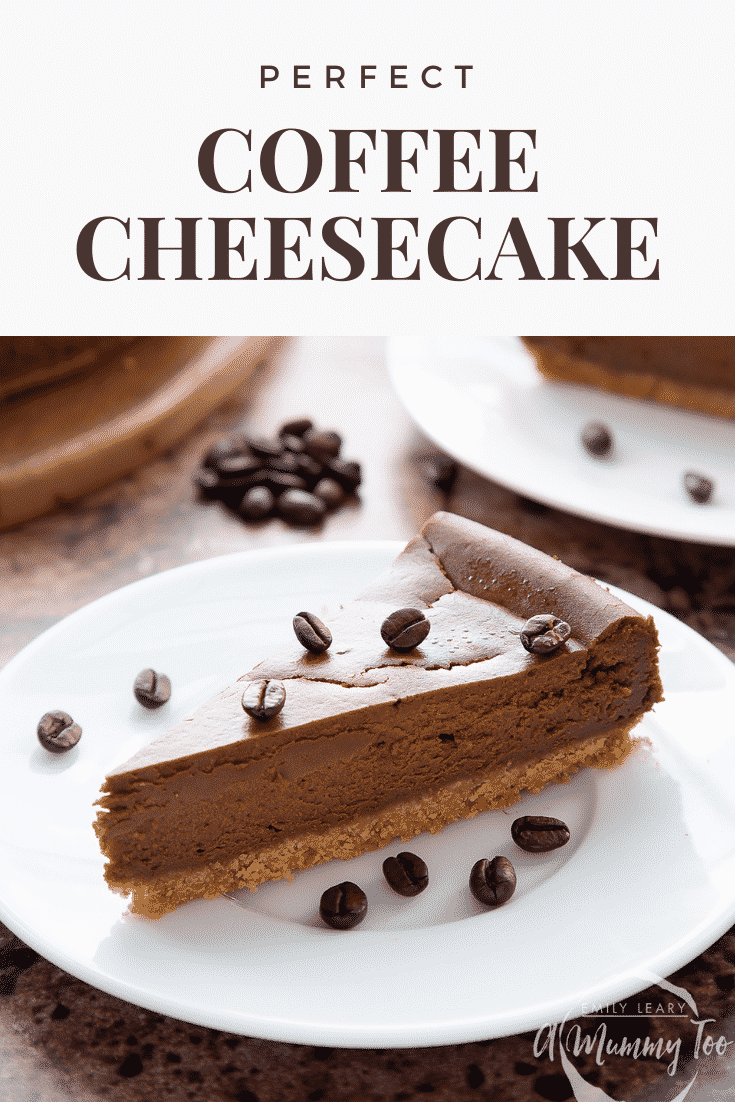
This baked coffee cheesecake is rich, chocolatey and delicious. It's easy to prepare and an absolute must for coffee lovers.
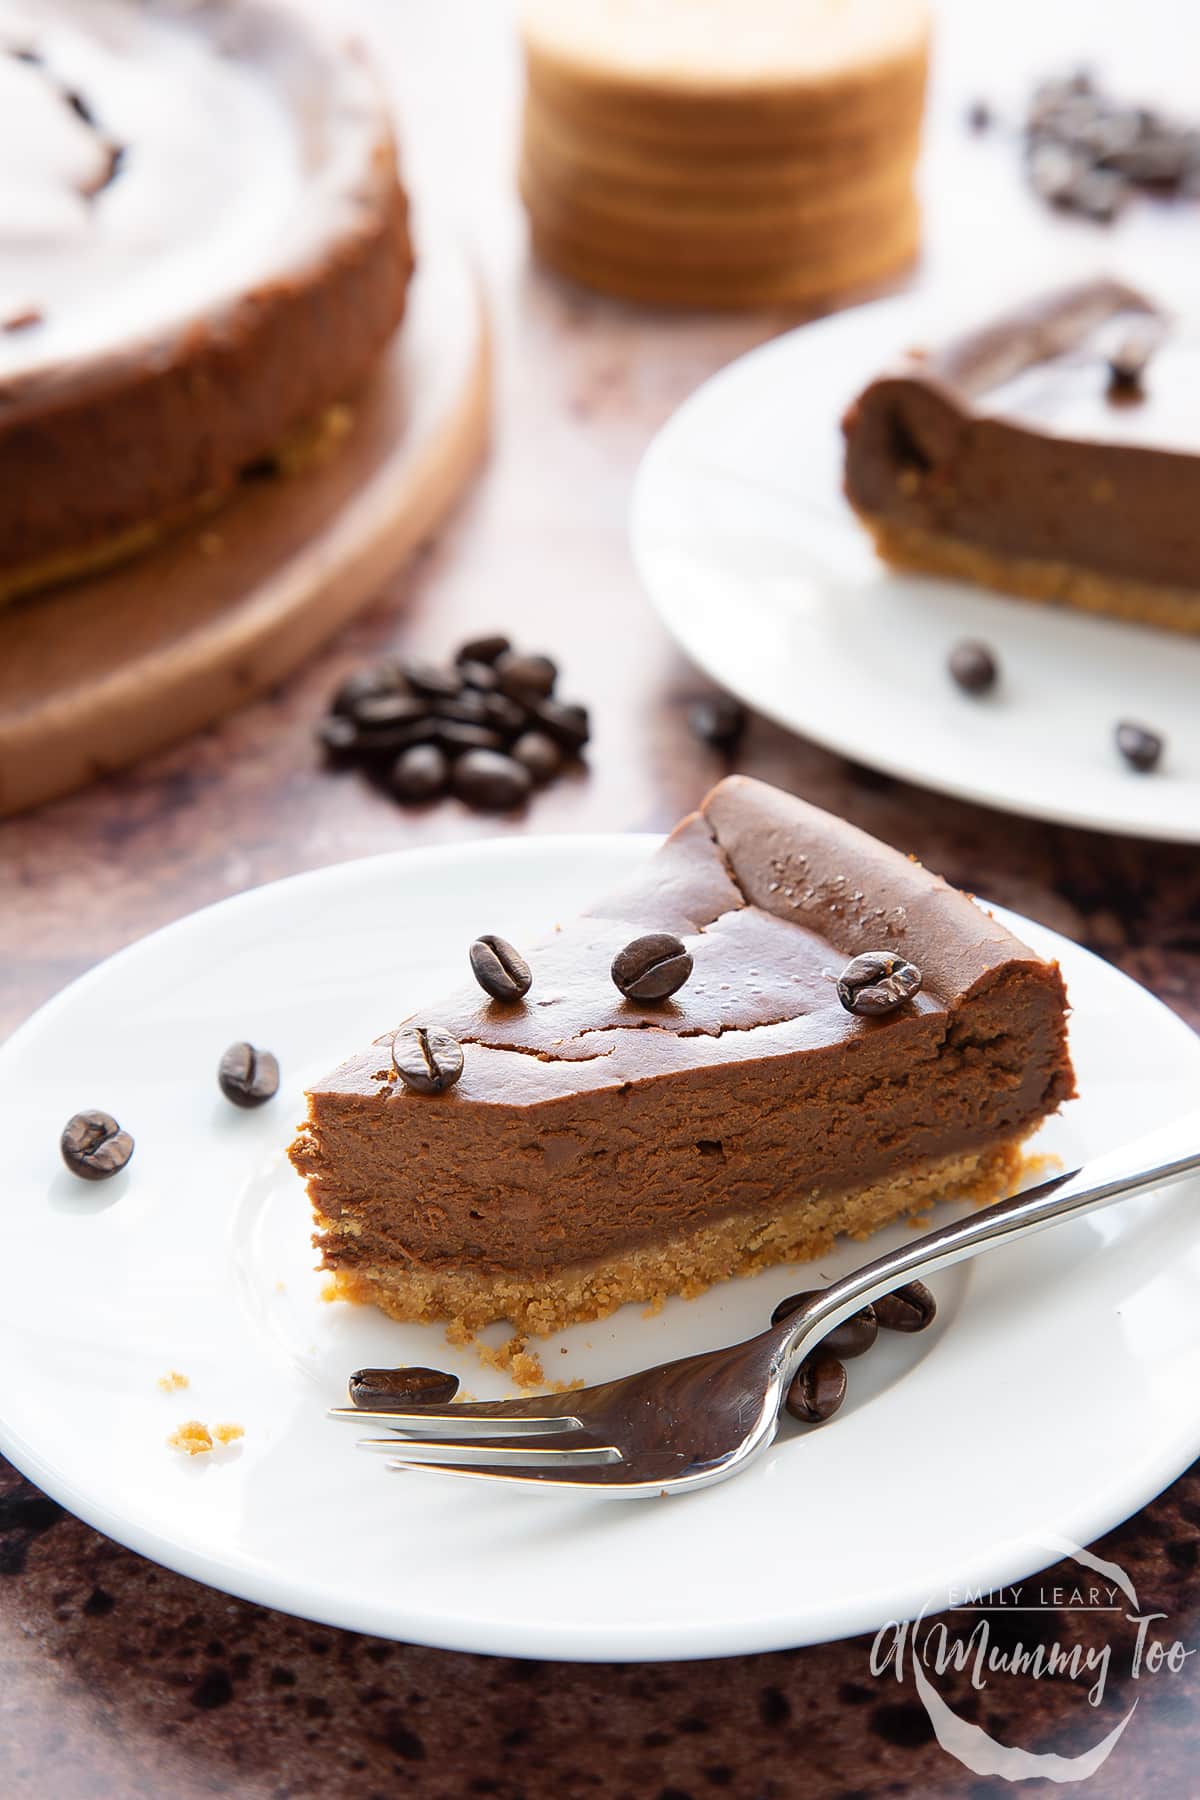
A crisp digestive biscuit base is topped with a luxurious chocolate filling made from instant coffee, dark chocolate, cream cheese, double cream, eggs, sugar and a dash of flour.
The whipped filing is piled onto the base and baked until just set, giving an impossible creamy, delicious result.
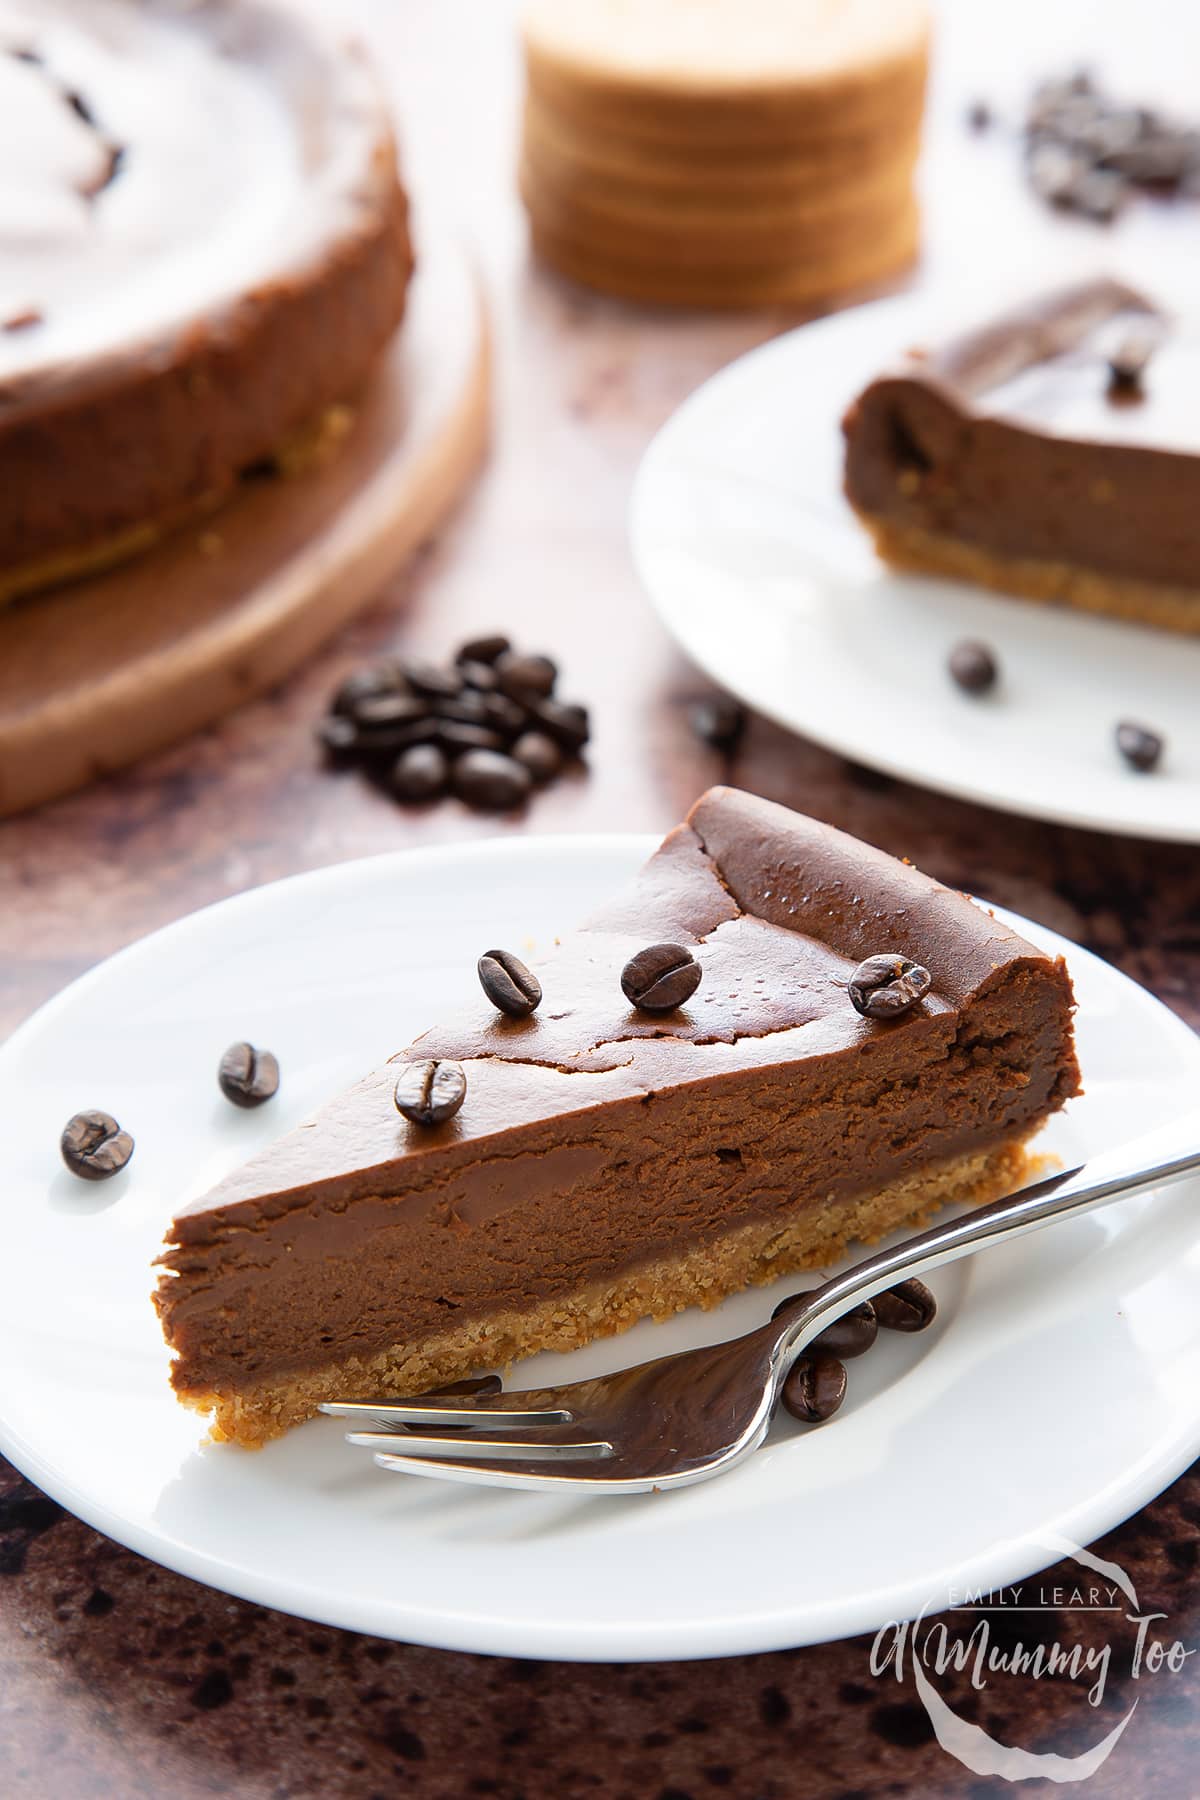
If you love coffee, you will be in heaven with this baked coffee cheesecake. Here's how to make it.
Ingredients
For the base
- 150 g (5.3 oz) digestive biscuits (graham crackers)
- 70 g (2.5 oz) unsalted butter
For the filling
- 400 g (14.1 oz) light cream cheese
- 4 tbsp instant coffee
- 100 ml (3.4 floz) double cream (heavy cream)
- 120 g (4.2 oz) white caster sugar (superfine sugar)
- 100 g (3.5 oz) dark chocolate (bittersweet)
- 2 medium free-range eggs
- 20 g (0.7 oz) plain white flour (all purpose flour)
To garnish
- 25 g (0.9 oz) roasted coffee beans
Equipment
- Round loose-bottomed 23cm (9") nonstick cake tin
Instructions
Make the base
Set the oven to 180C (160C fan).
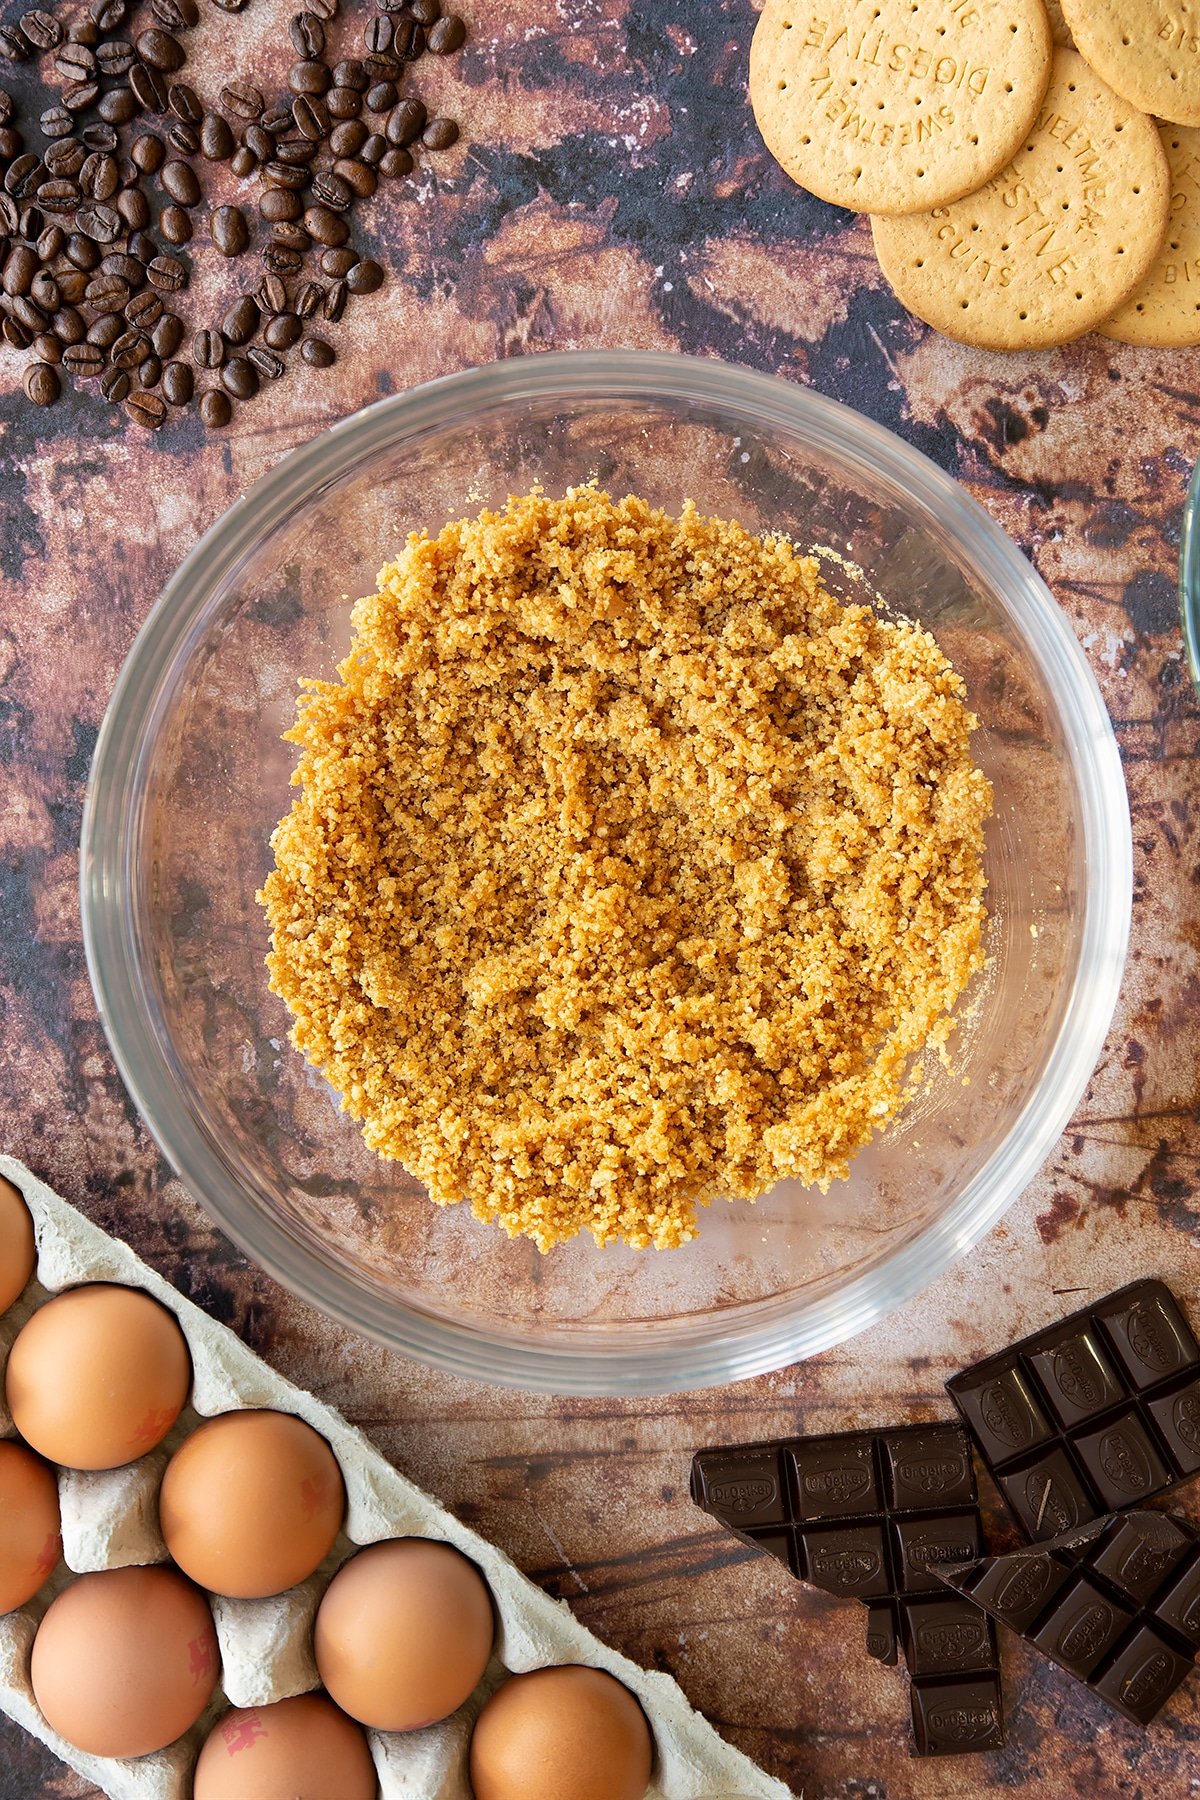
Crumble the biscuits until sandy. It's quickest to do this in a food processor, but you can also do it by putting the biscuits in a ziplock bag and bashing with a rolling pin.
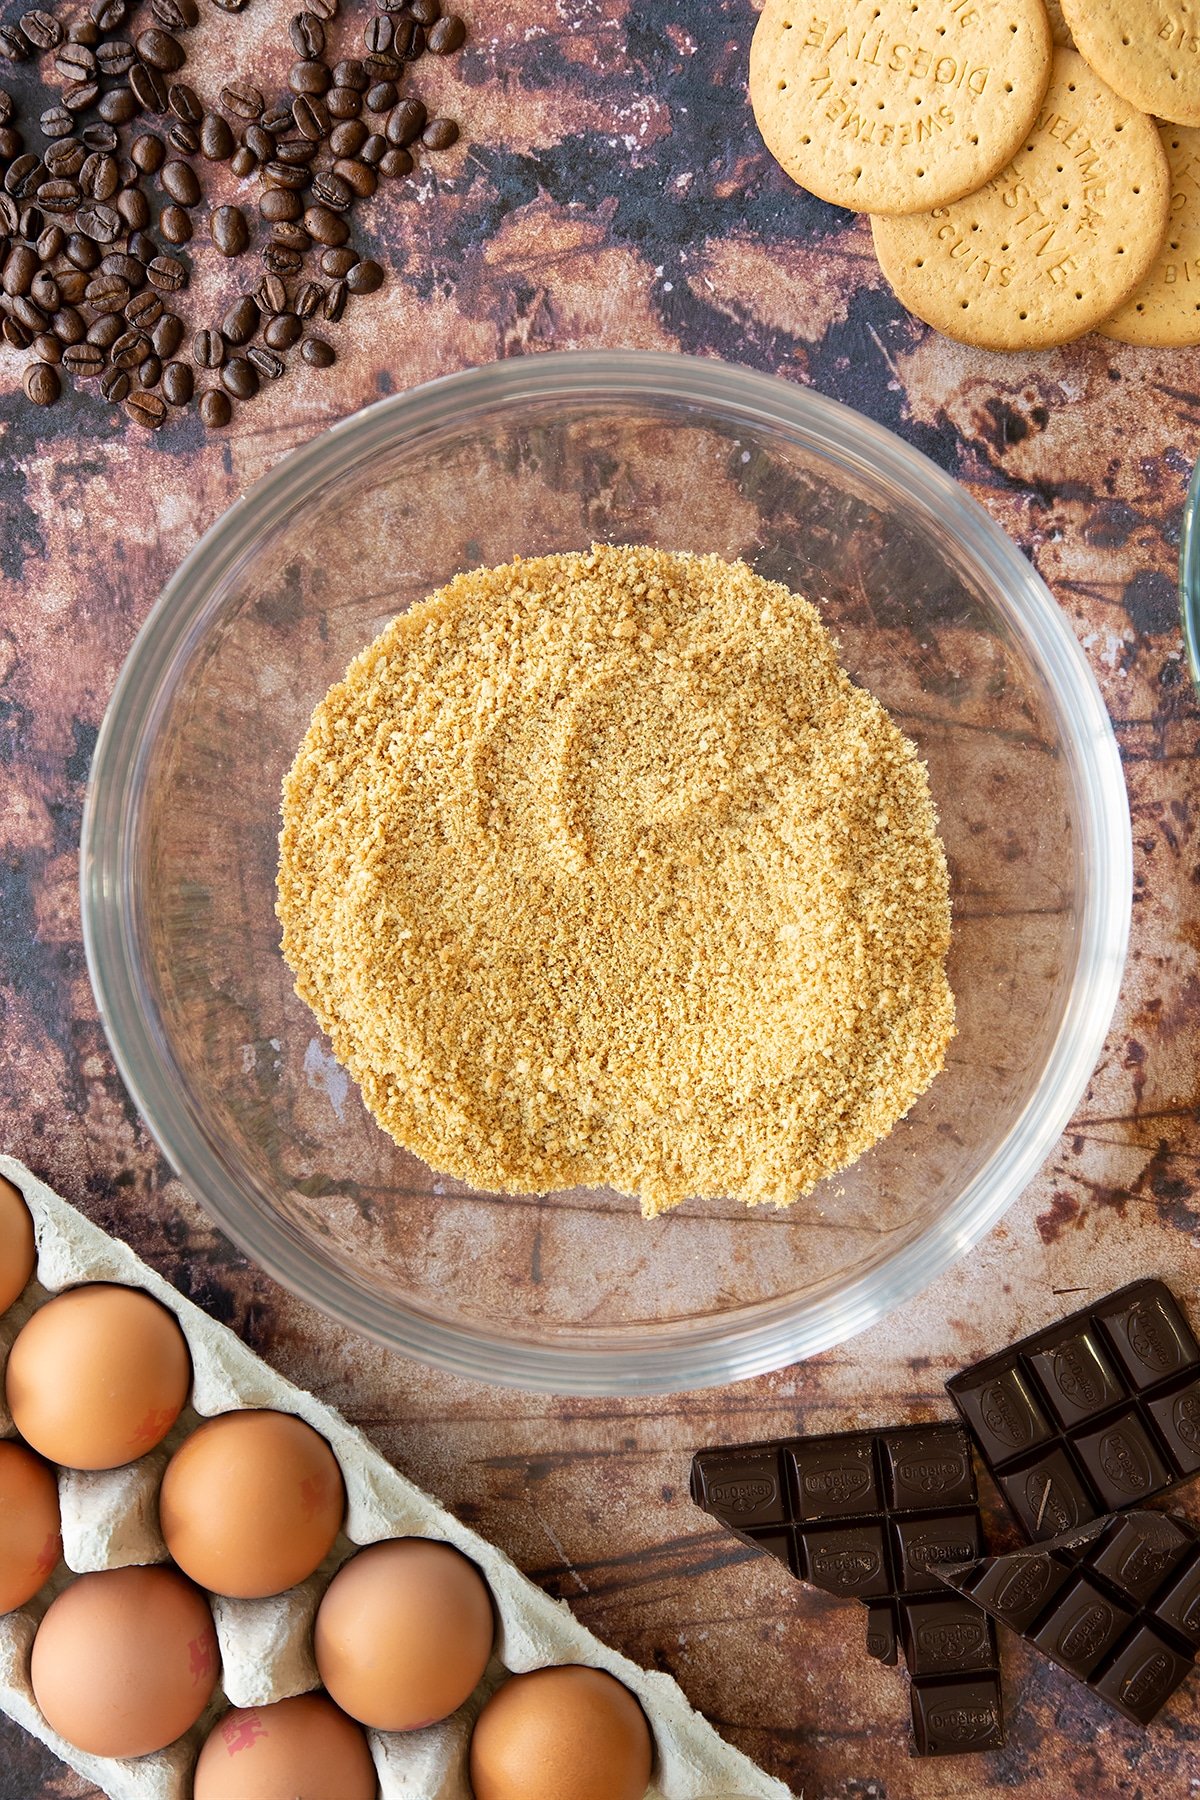
Pour in the melted butter.
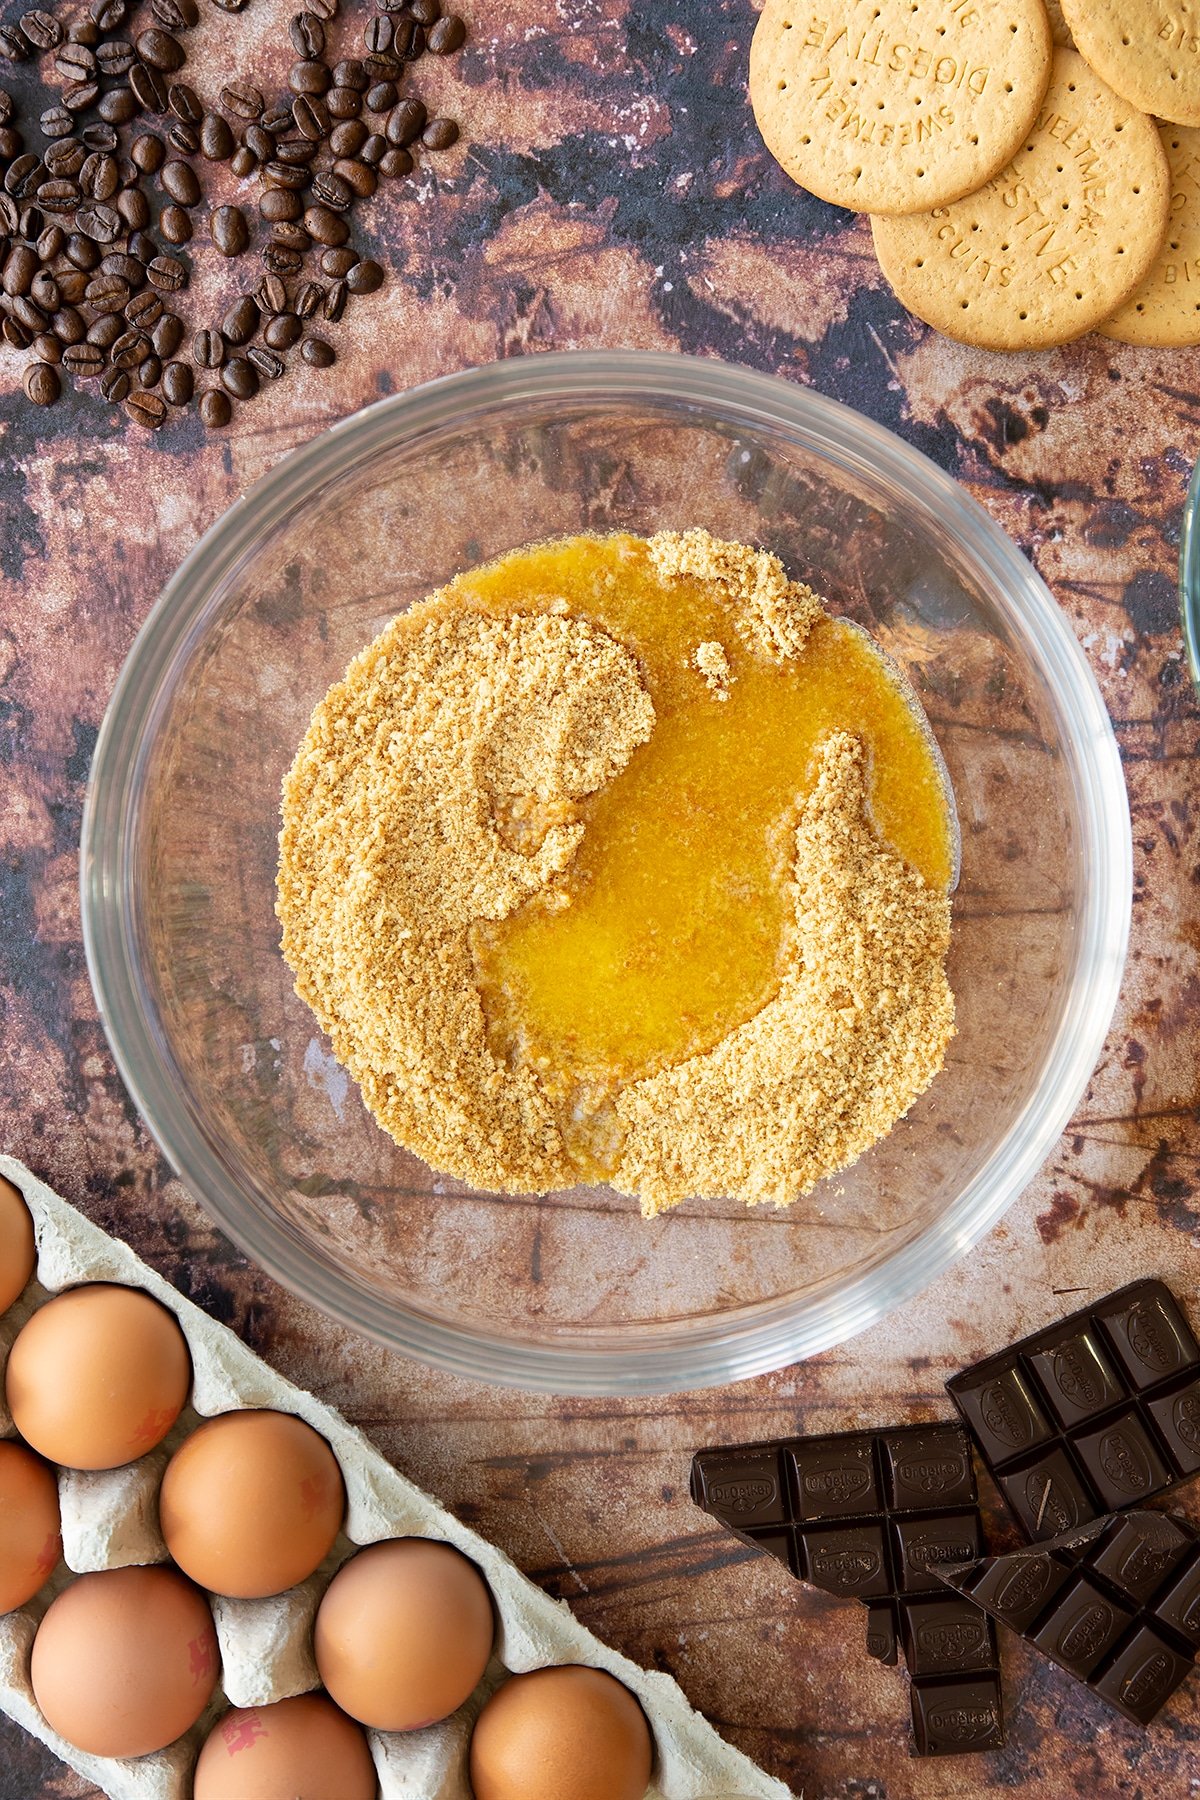
Mix.
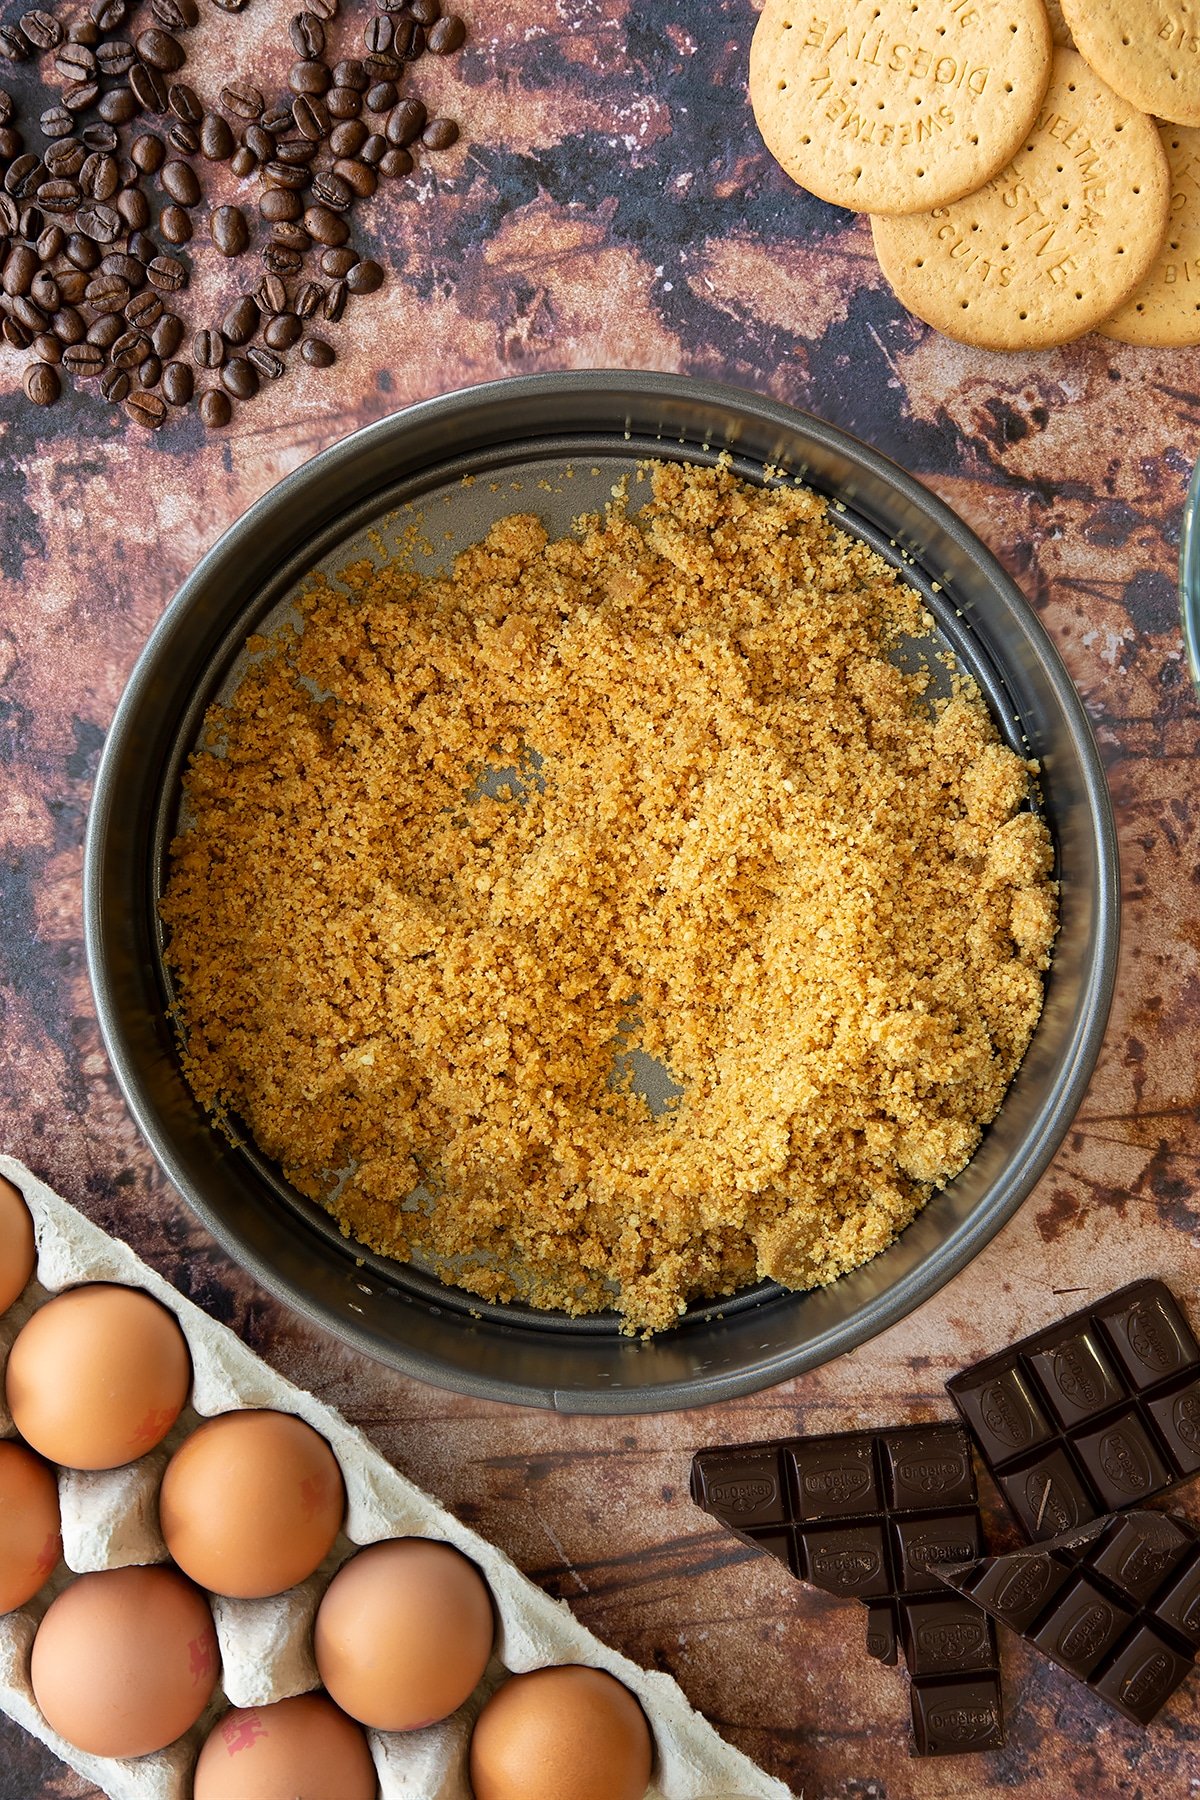
Empty the mixture into a loose-bottomed nonstick tin. I used a 23cm tin here to give a shallow cheesecake. A narrower tin will work fine if you prefer a taller cheesecake.
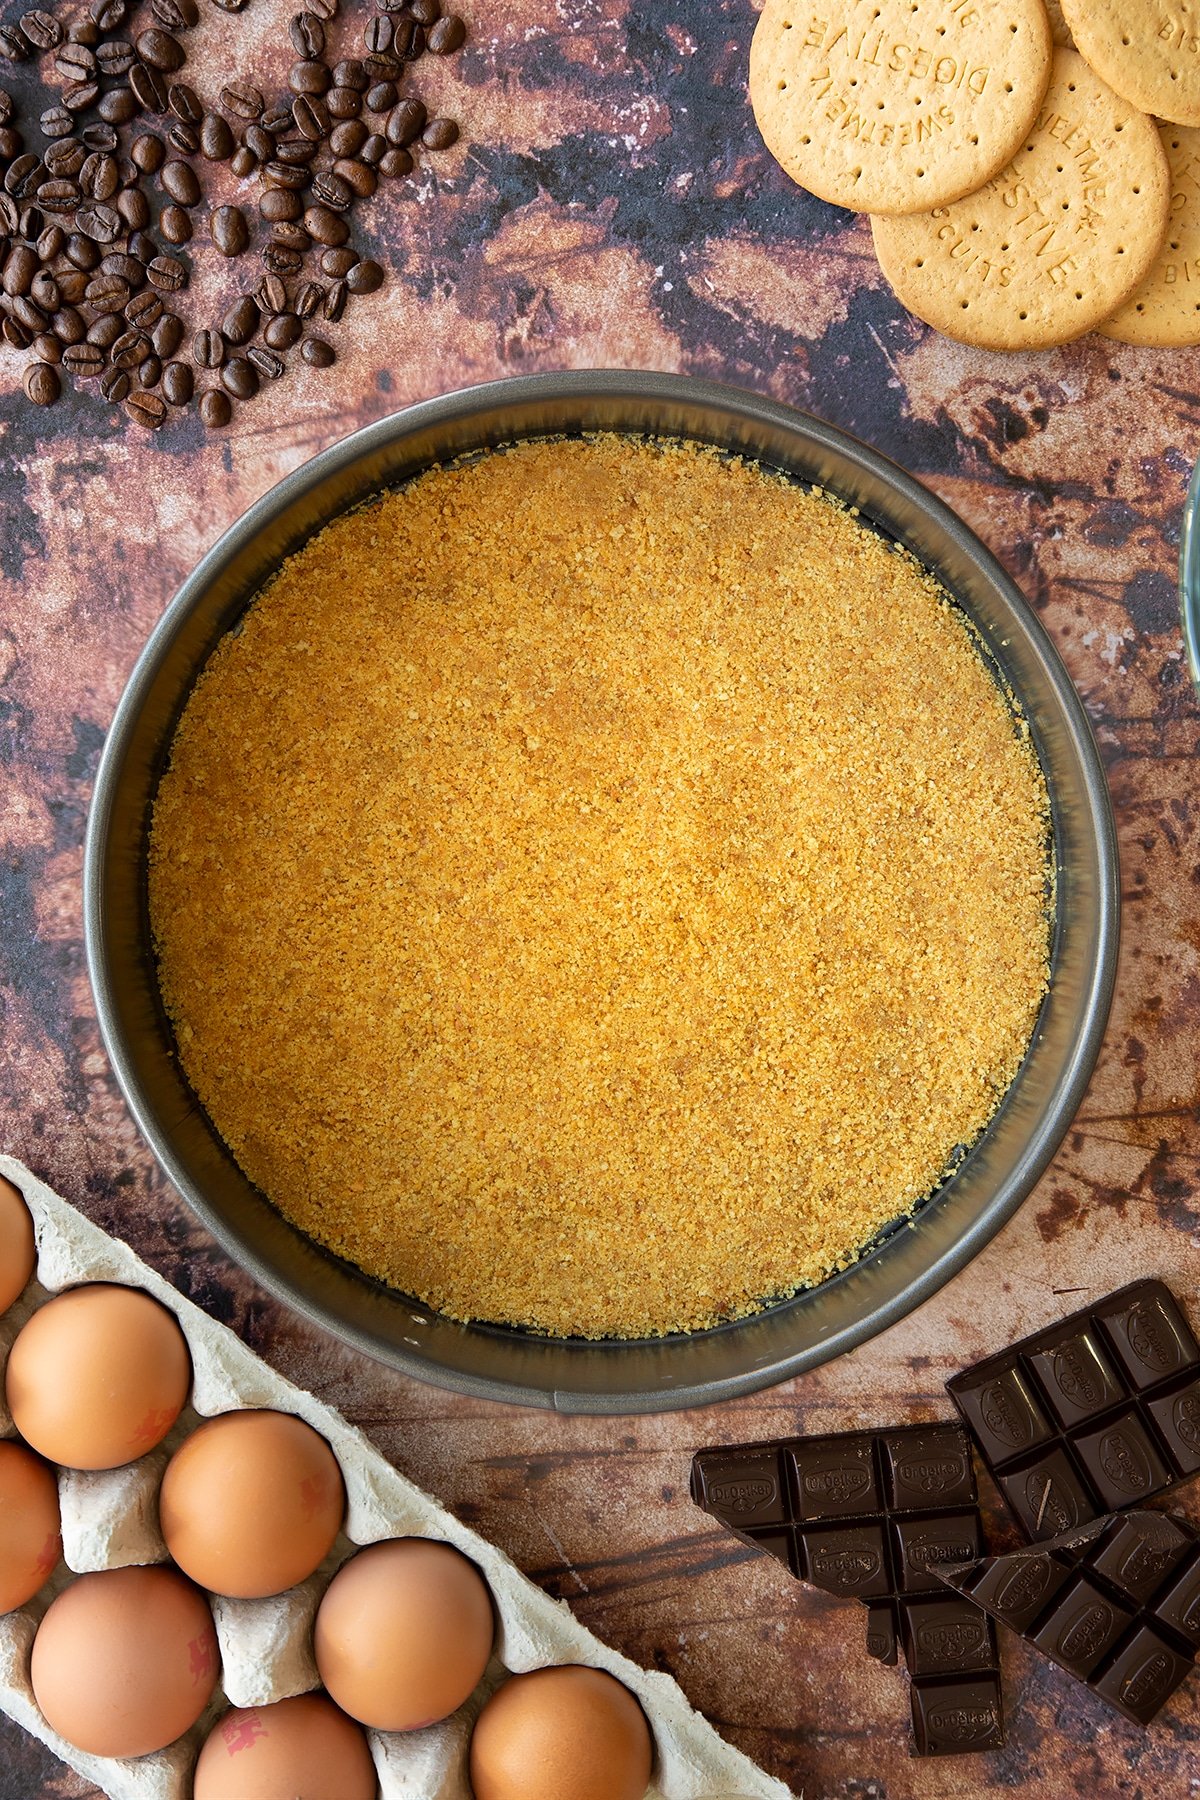
Press down with the back of a spoon until even and firm. Cook in the oven for just 5 minutes. Take it out of the oven and set it aside.
Make the filling
In a heatproof bowl, melt the chocolate in the microwave in 30-second blasts. Set aside to cool.
Put the cream cheese, instant coffee, cream and sugar in a large bowl.
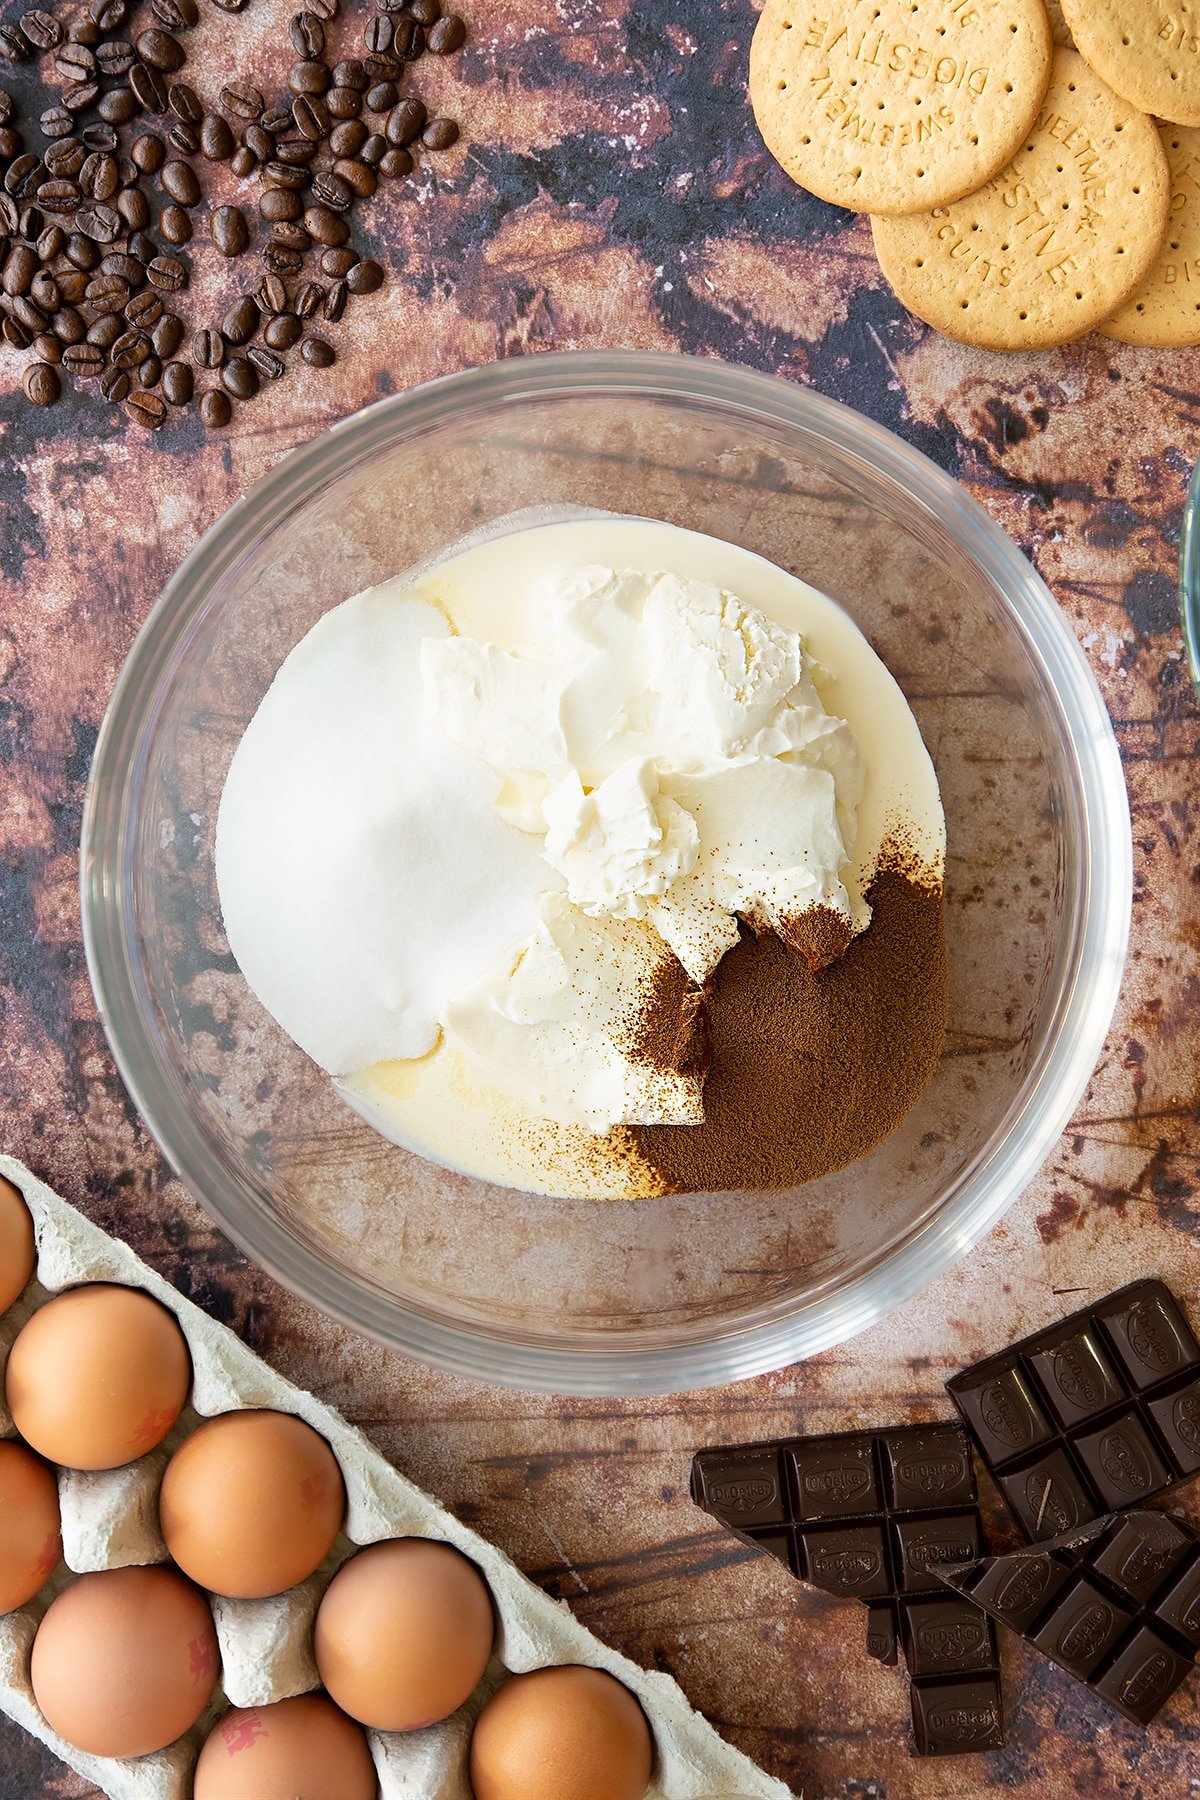
Whisk until smooth.
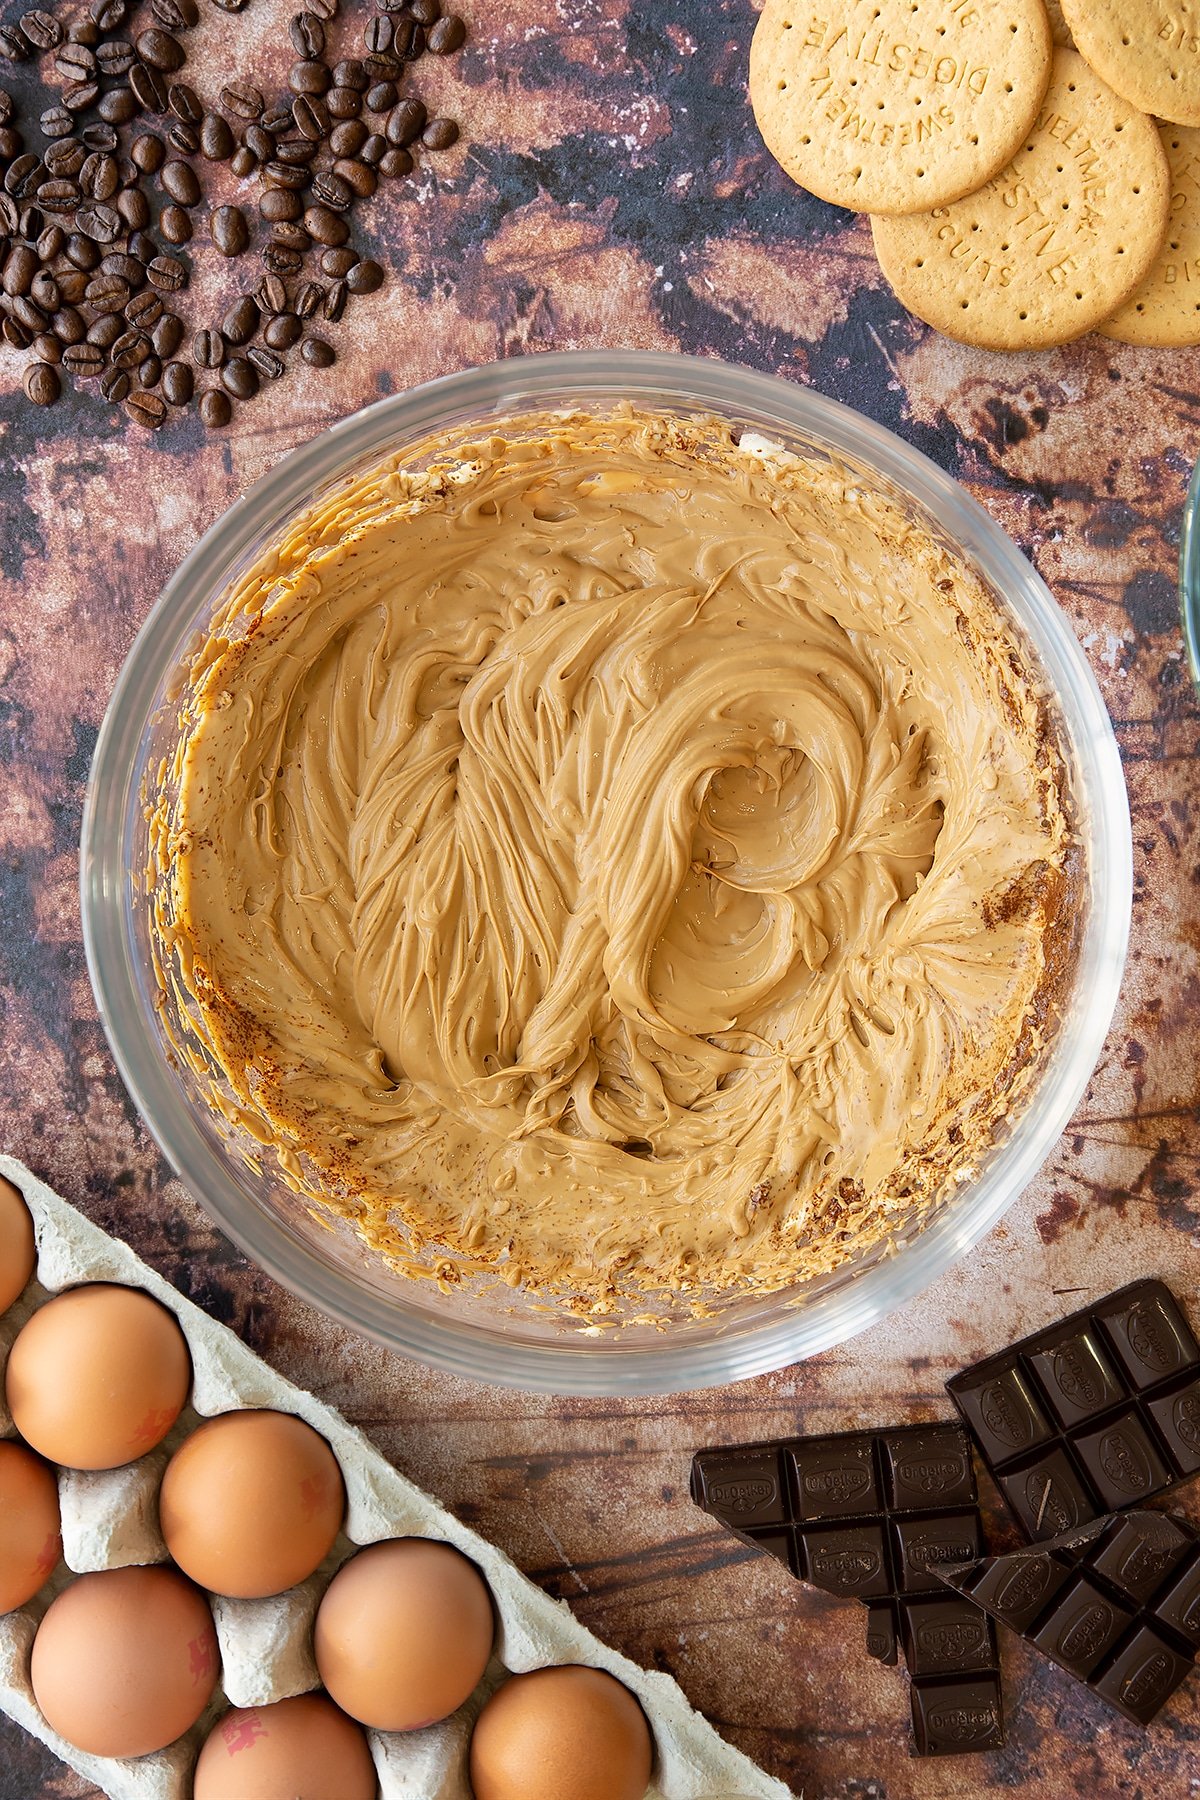
Add the melted, cooled chocolate.
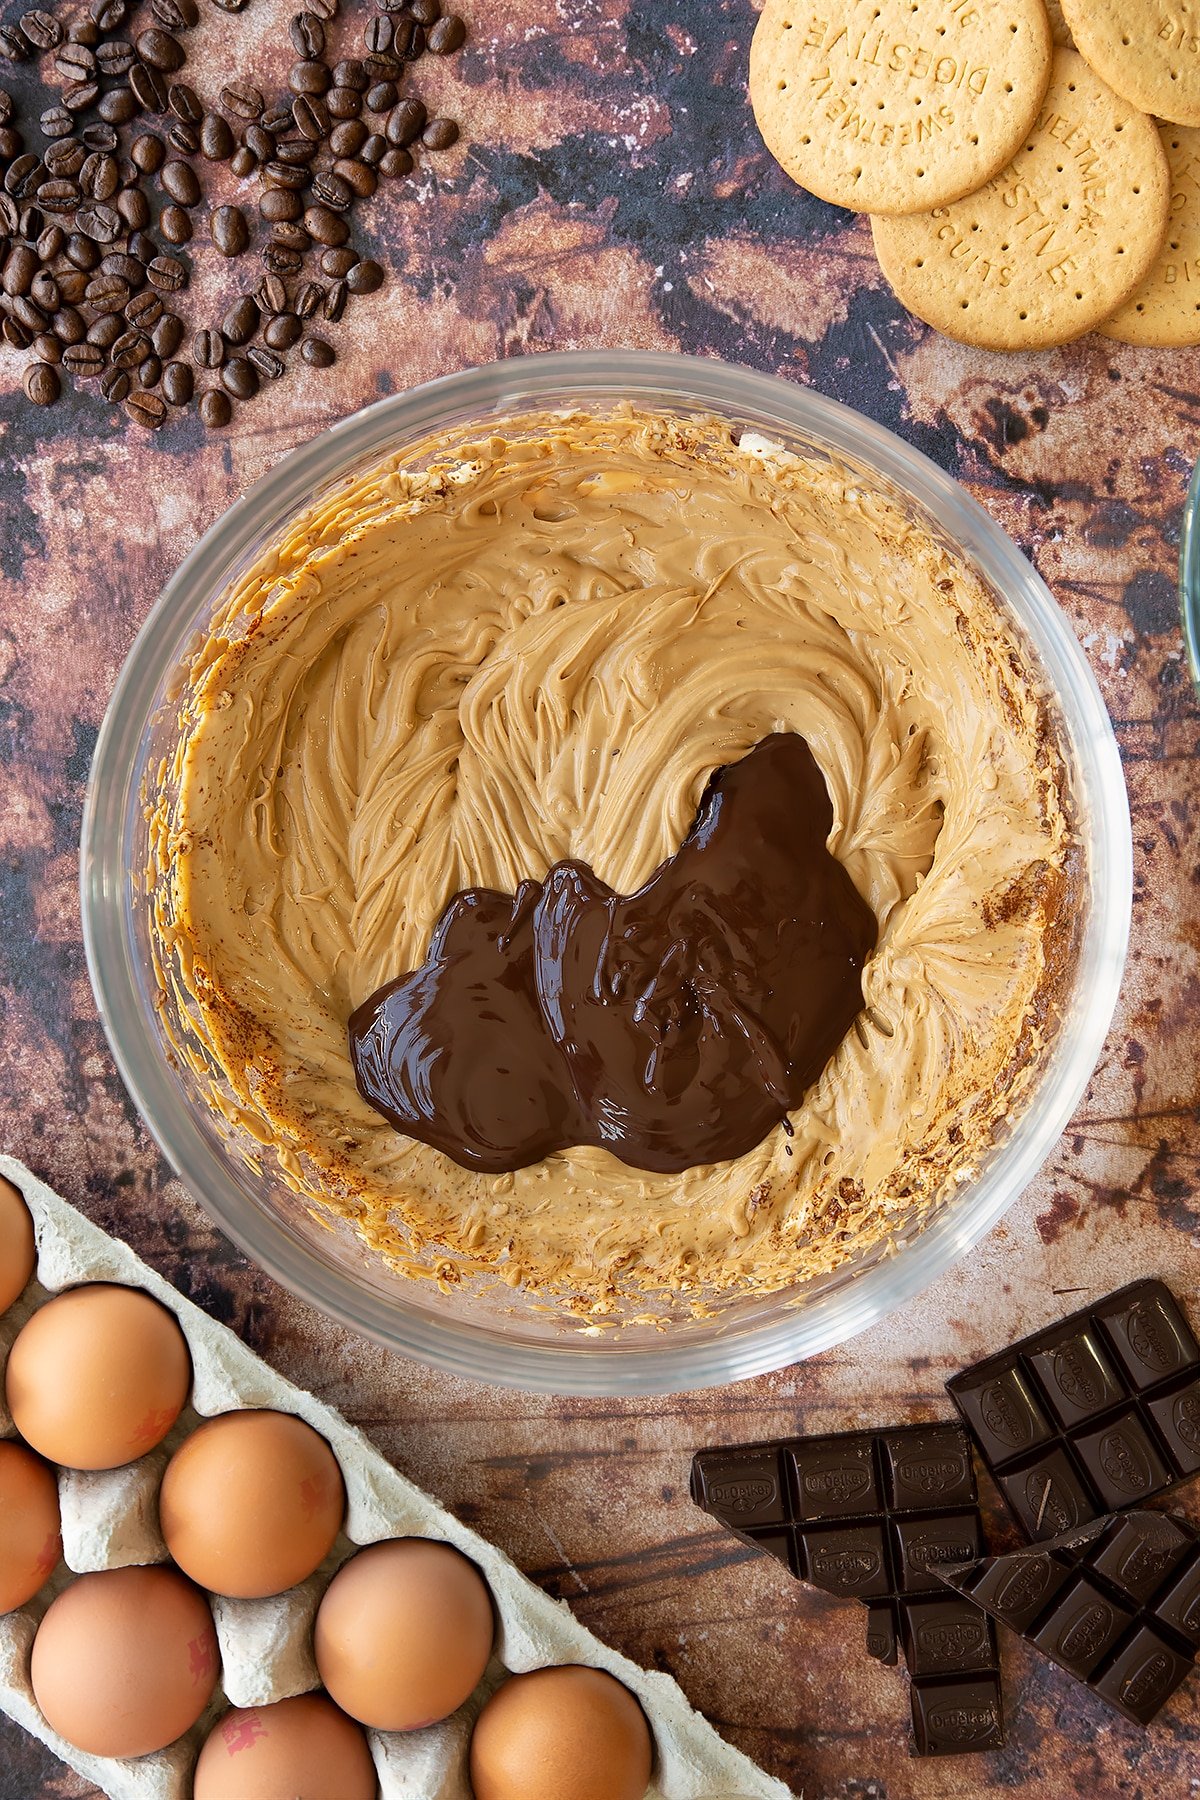
Whisk through.
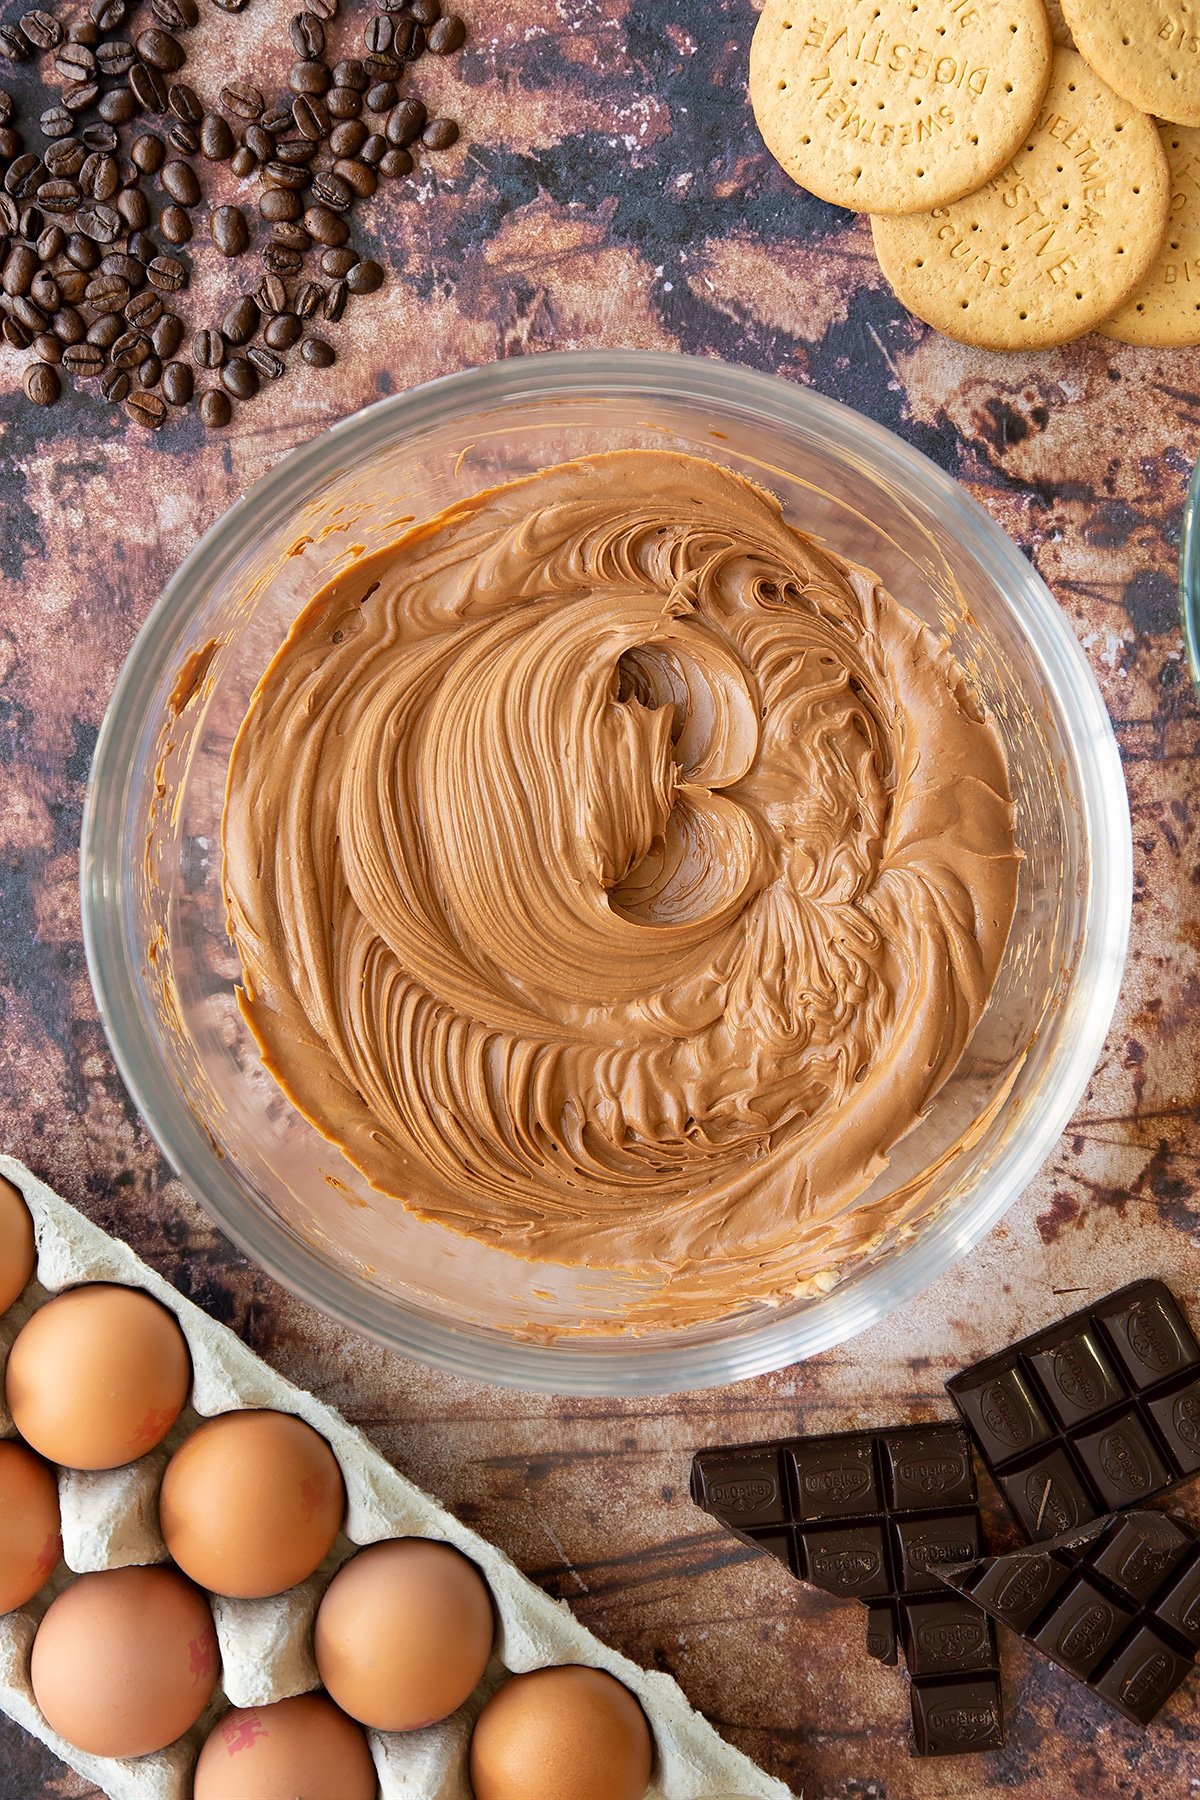
Add the eggs and flour.
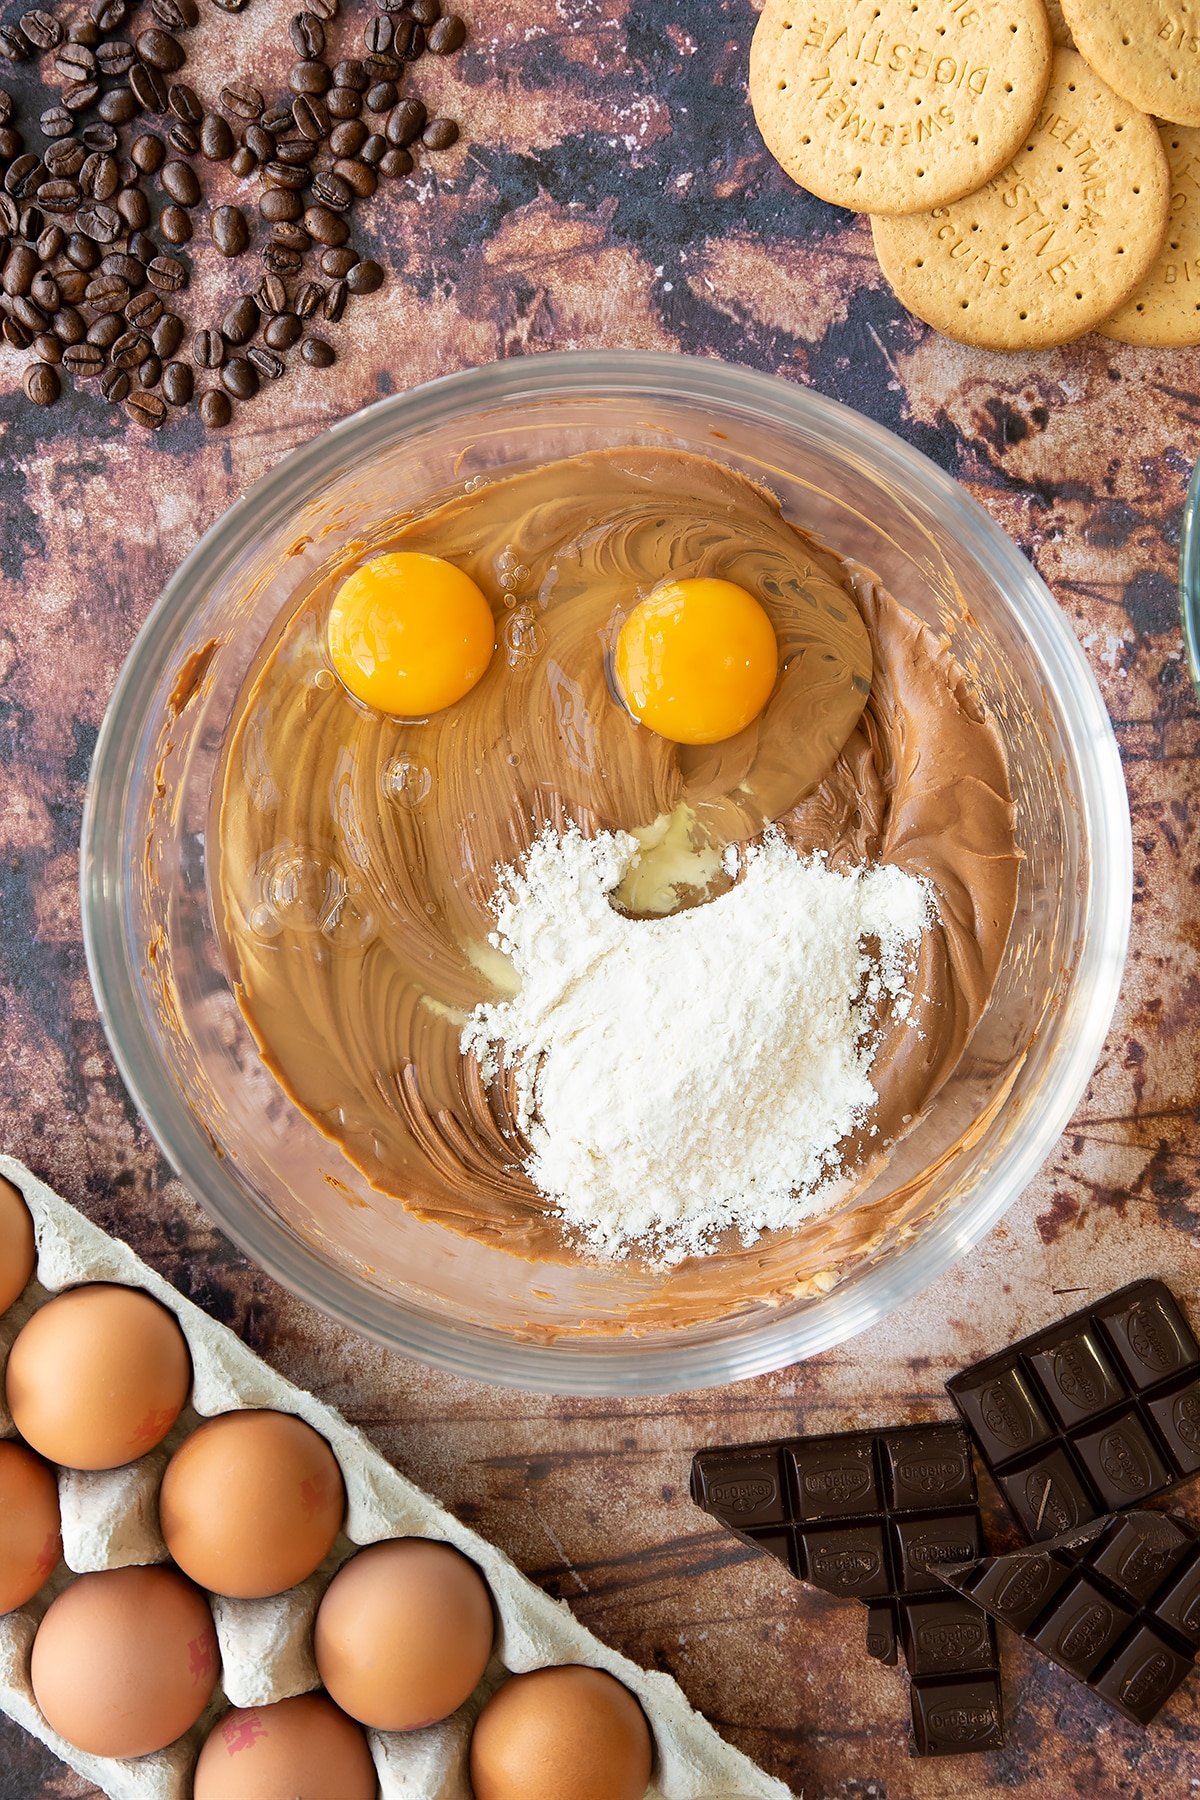
Whisk again.
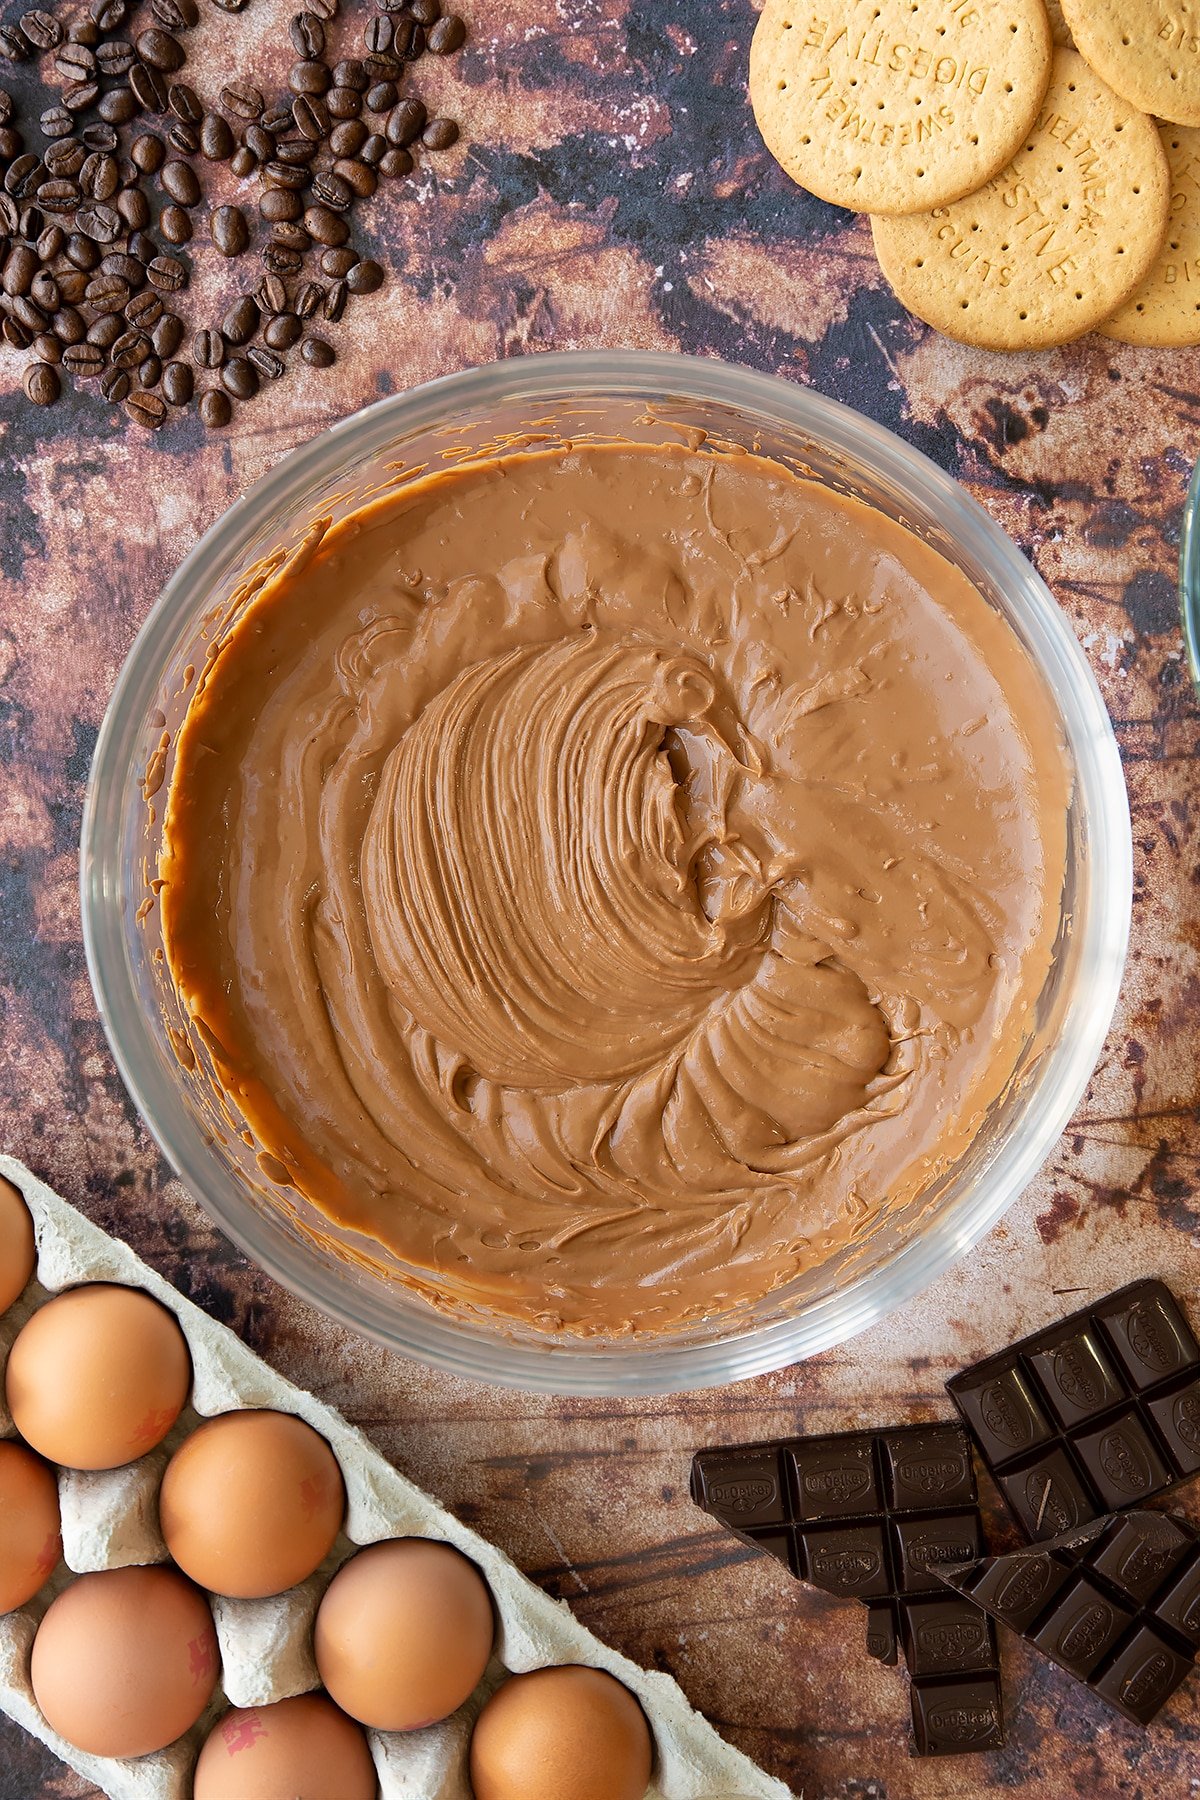
Pour the mixture on top of the biscuit base and gently level off.
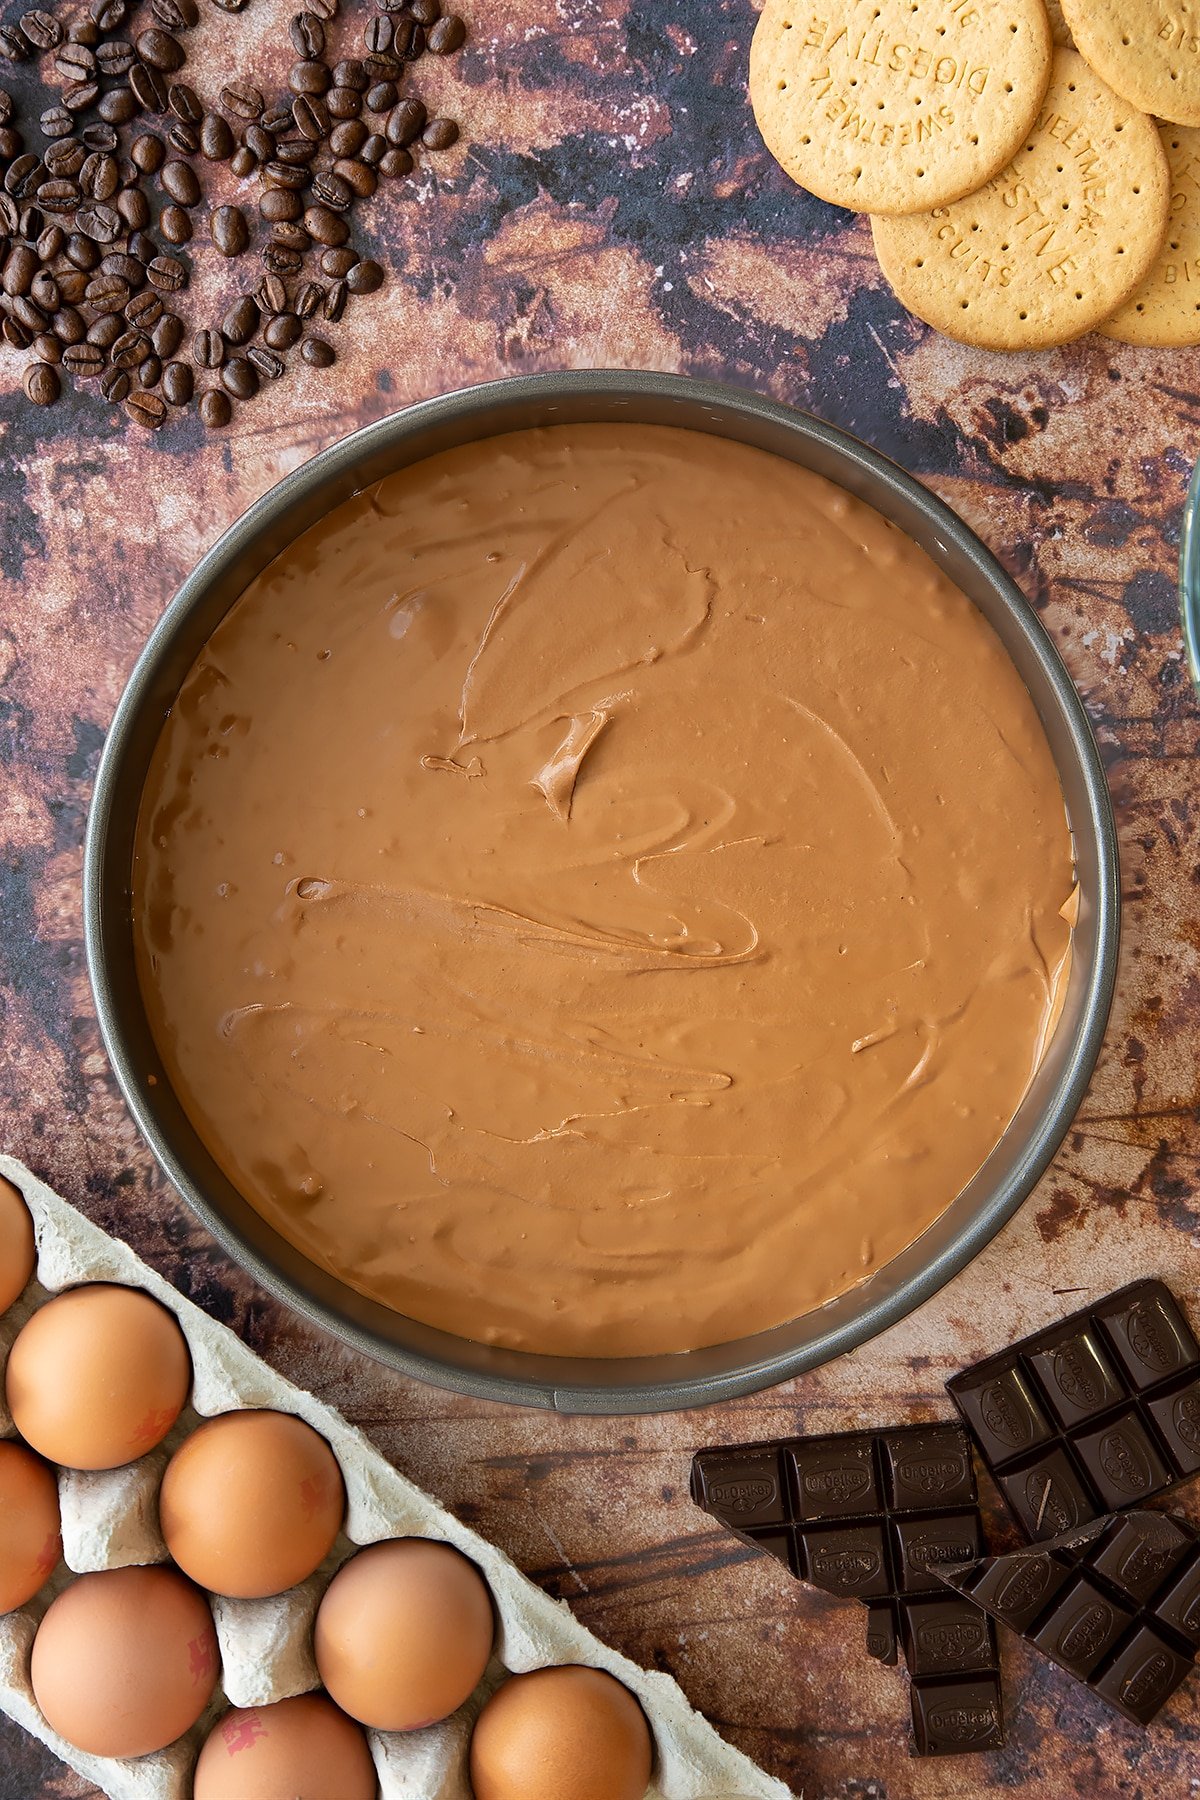
Bake in the oven for 30-35 minutes until firm but slightly wobbly. If you're using a much narrower tin (e.g. 23cm) it will take 40-45 minutes, since it'll take longer for the middle to cook.
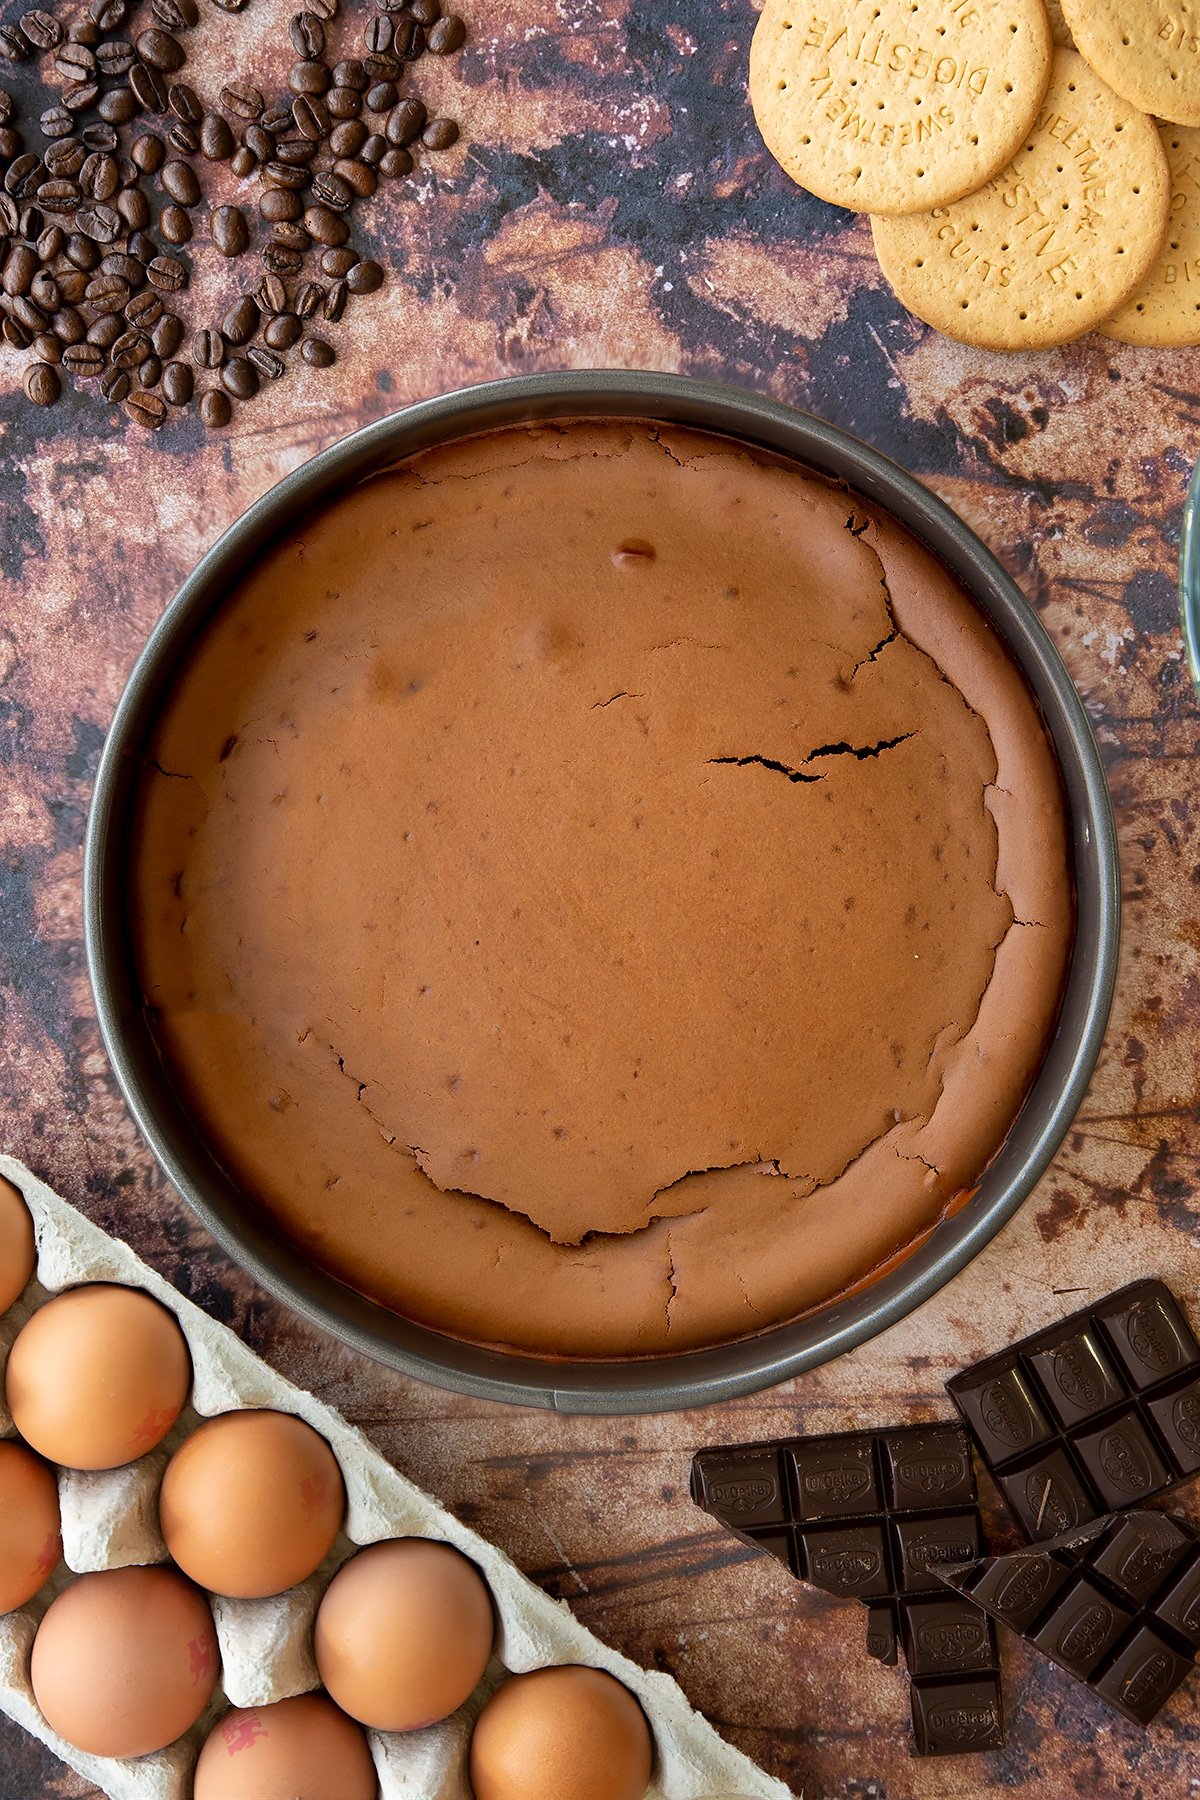
Take out the oven, and let it cool for 5 minutes. Run a knife around the edges of the cheesecake. This will ensure it doesn’t stick to the sides, causing the cheesecake to crack as it cools.
Allow to cool completely in the tin at room temperature, then pop in the fridge overnight (or as long as you can stand to wait).
To serve, simply release from the tin, slice and transfer to plates.
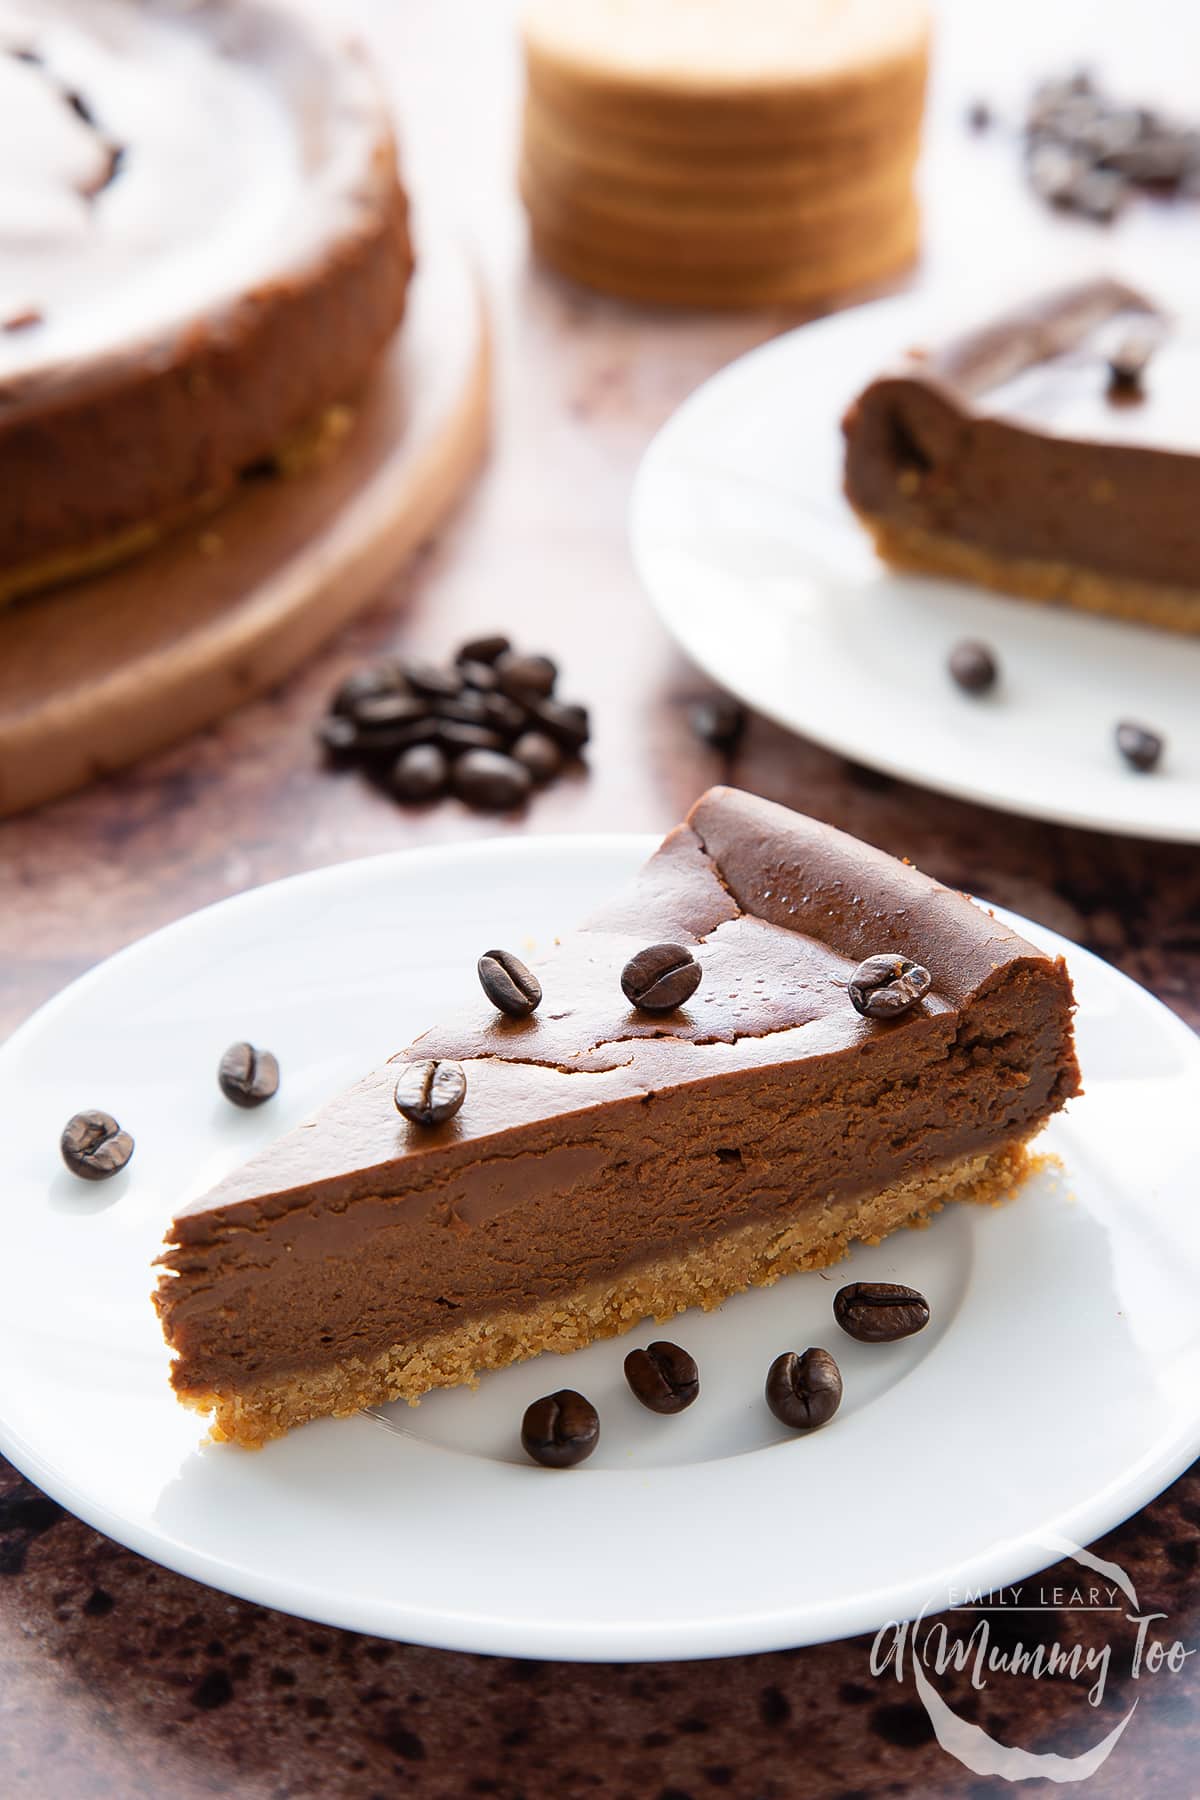
I like to scatter with a few roasted coffee beans for extra coffee aroma.
Pointers, tricks and troubleshooting tips for the perfect coffee cheesecake
Is coffee cheesecake easy to make?
Baking this coffee cheesecake is really easy. It's a great dessert to make ahead so you can take your time over each simple step and make a beautiful coffee cheesecake.
A trick to get ahead is to melt the chocolate for the filling first so it can be cooling as you get the base and the rest of the filling organised.
Creating the base is simply a case of crushing up some digestives, mixing them together with some melted butter, pressing this mix into your loose-bottomed cake tin and baking for 5 minutes to form a firm base ready for the filling.
The filling itself is just a case of whisking the ingredients together, starting with the cream cheese, cream, sugar, and coffee, followed by the melted dark chocolate, and finally the eggs and flour.
Pour into the base, level off and bake! The only tricky bit is waiting for your cheesecake to chill in the fridge overnight!
Will I need any special equipment for this coffee cheesecake recipe?
All the equipment you need should be easy to find in any home baker's kitchen, such as weighing scales, measuring spoons, and mixing bowls.
You'll need a loose bottom cake tin between 20cm - 23cm depending on how thick you like your cheesecake - mine is 23cm. Use a smaller one if you like a taller cheesecake, but remember this will mean it takes longer to bake all the way through.
Making the biscuit base can be done in a food processor for speed, or in a food bag with a rolling pin. I've used an electric whisk to mix all the filling ingredients together, but they don't need much whisking so a regular hand whisk or free-standing mixer will do the job equally well.
Head down to the recipe card below, where you'll find a full list of suggested equipment.
How can I tell if my eggs have gone off?
In the UK, most eggs are produced to the Red Lion Code, a food safety standard that ensure eggs are produced safely with a very low chance of salmonella. Red Lion Eggs bear a red stamp in the shape of lion, plus a Best Before (BB) date. These eggs may still be ok to use after this date, provided they have been stored correctly, but if your eggs have a Use By date, this must be followed.
If you think your eggs might have gone off, crack them into a small bowl to have a look at them. This way you can check them without spoiling the other cheesecake ingredients.
Gone-off eggs have an unmissable rotten ammonia/sulphur smell and the yolk or white might be discoloured.
Correct storage of eggs is important and can keep them fresher for longer. In the UK, it is advised that eggs be stored at a constant low temperature, below 20C. In the supermarket, this means they can be stored on a shelf but at home, the fridge is the best place for them as your kitchen almost certainly fluctuates in temperature, even just whilst cooking dinner.
Keep your eggs in their box, and when you come to cook with them, just get out the number of eggs you need, leaving the box where it is to avoid temperature changes for the eggs you're not using.
Guidance for egg safety and storage varies overtime and by location, so please check information local to you.
Is this coffee cheesecake suitable for vegetarians?
Yes, if you follow the recipe as per the ingredients listed you'll have yourself a delicious vegetarian coffee cheesecake.
It's always a good idea to double-check all of your ingredients labels to make sure that they are suitable for vegetarians, particularly if you are not used to cooking for vegetarians. Don't forget to also check anything extra you intend to serve this cheesecake with.
Is this coffee cheesecake suitable for vegans?
As this cheesecake recipe contains dairy products in the base and filling, as well as chicken eggs it would not be suitable for a vegan diet.
I think it would be tricky to make a vegan baked cheesecake and but you could try making a no bake version. Bear in mind I haven't tested this, so you may need to experiment and tweak as you go!
Digestive biscuits in the UK are often suitable for vegans but, of course, check the label. You can then use a vegan butter to melt into the biscuit. Aim for one with a high fat content similar to butter (around 80%) so that it doesn't make the base soggy.
I would then chill the bases rather than baking them and make a no-bake vegan cheesecake filling without flour, cream or eggs. You'll need a vegan cream cheese such as Violife and a vegan double cream such as Elmlea Double Plant Cream.
Whisk those with the instant coffee and sugar, then whisk in the melted chocolate, ensuring it's a dairy free version, of course. If the filling doesn't seem thick and stiff, add more melted chocolate as this will set as it chills. Spoon into the tin, level off and chill until firm.
As I said, I haven't tested this yet, but hopefully that gives you some ideas to try out!
Is this coffee cheesecake gluten-free?
The biscuits in the base and flour in the filling contain wheat, so as it is this recipe is not gluten-free.
I haven't tested this recipe with gluten-free alternatives yet but they are a couple of switches you could try.
For the base, you could use your favourite gluten-free biscuit - something plain, not a chocolate topped or cream filled biscuit. To replace the plain flour in the filling, I recommend using a good quality gluten-free flour that will likely be a blend of rice or oat flours with a binding agent like xanthan gum to help with the texture.
Double-check all of your ingredients labels to make sure that they are gluten-free. Don't forget to also check anything extra you intend to serve with this coffee cheesecake.
Is this coffee cheesecake keto-friendly?
Like most sweet treats, this coffee cheesecake is too high in carbohydrates to be keto-friendly.
Is this coffee cheesecake healthy?
This coffee cheesecake is a high fat, high sugar indulgent dessert that can be enjoyed in moderation as a part of generally healthy, balanced diet.
If you would like more detailed nutritional information head down to the bottom of the recipe card below. Note: all figures are estimates based on publicly available data.
Is this coffee cheesecake safe to eat while pregnant?
There are a few elements to consider when deciding whether or not to enjoy this coffee cheesecake during pregnancy.
First, the dairy ingredients need to be made with pasteurised milk. This should be pretty easy as most cream and cream cheese in the UK is pasteurised by default, but do check the label.
The next thing to consider is the caffeine from the instant coffee powder. With my rough calculations based on the coffee in my pantry, each slice will contain about 33mg of caffeine. The NHS recommends not having more than 200mg per day, explained here, and you might have specific advice from your own health professional to follow. I have tried making this recipe with decaffeinated instant coffee powder and it worked well, so that's an option.
Make sure all the ingredients are in good condition, have been stored correctly and that the cheesecake is prepared safely and hygienically.
A Mummy Too does not offer medical advice. Please seek help from a medical professional if you need further information or have any concerns.
Is coffee cheesecake suitable for babies and toddlers?
No, this coffee cheesecake is not suitable for babies or small children as it contains caffeine and is quite high in sugar.
A Mummy Too does not give medical advice. If you have any questions or concerns please speak to a health professional.
The NHS has some fantastic resources on their website on what to feed babies and young children.
What goes well with this coffee cheesecake?
This coffee cheesecake unsurprisingly goes really well with a good cup of coffee. Enjoy yours with a squirt of cream or some extra shavings of chocolate on top.
Can I make this recipe without roasted coffee beans?
Yes, it's no problem to leave off the coffee beans, so don't buy them especially for this recipe if you wouldn't usually have them in.
The roasted coffee beans are an optional extra for decoration and an extra hit of coffee flavour. If you don't have any you could make some shavings of dark chocolate to decorate using a vegetable peeler to dress the cheesecake with fine curls of chocolate.
Or if you have any chocolate coated coffee beans, they would work beautifully too.
I haven’t got dark chocolate can I use milk chocolate?
For this recipe, I find dark chocolate works best as it has a more intense chocolate flavour which really compliments the coffee.
Milk chocolate will of course work instead if you don't have any dark but the overall chocolate taste will be much less. This is because when using dark chocolate, mixing it with the cream and cream cheese essentially dilutes it into milk chocolate. So if you start with milk chocolate, you're diluting the chocolate flavour even further.
Can I add extra chocolate to this recipe?
You can add an extra hit of chocolate to this coffee cheesecake using chocolate sauce, or making shavings of chocolate to decorate the top.
How should I store coffee cheesecake, how long will it keep?
The best place to store this coffee cheesecake is in the fridge in a sealed container or covered well with food wrap.
Assuming you've used freshly opened cream and cream cheese, this cheesecake will keep for up to five days when stored correctly. Make sure to check the Use By dates on the cream and cream cheese to make sure they are within this time.
Can I leave this cheesecake out on the counter?
No, it's not safe to leave this cheesecake out on the counter for food hygiene reasons. Other than when serving, make sure to keep it in the fridge.
Can I make this coffee cheesecake ahead?
This is the kind of recipe you need to make ahead as it needs to chill in the fridge for a few hours, or ideally overnight, so make it the day before you want to serve.
I wouldn't make it any further in advance than this so you can serve it at optimum freshness.
Should I keep this baked cheesecake in the refrigerator?
Yes, even though this cheesecake has been baked it will still need to be kept in the fridge. There is a high content of dairy in the cheesecake which needs to be kept chilled.
Can I freeze this coffee cheesecake?
Yes, you can freeze any leftover cheesecake. It fares surprisingly well in the freezer. You might notice a slight texture change in the filling but it will still taste yum.
Freeze any leftovers as soon as you can so they are being kept at their best. You can freeze one big piece of cheesecake, or cut it into slices before freezing. When it's already cut into slices it's easier to get out a slice or two at a time, rather than defrosting the whole thing, which might then result in waste as you can't refreeze it.
How ever you've decided to portion up your cheesecake, pop it into a suitable size container, one that doesn't leave too much airspace. If you've sliced your cheesecake you will need to leave a little space or pop a piece of greaseproof paper between each one so that they don't all stick together.
Label the container with the date and what's inside. This cheesecake will keep for up to three months in the freezer.
What is the best way to defrost this coffee cheesecake?
When it comes to defrosting your cheesecake, its important to do it slowly at a low temperature. This is because we're not cooking the cheesecake and if we left it on the side to thaw out, there would be an increased risk of bacteria spreading.
So, transfer the slices or piece of cheesecake you want to defrost into the fridge, keep it covered and leave it overnight. It should be ready to enjoy the next day.
Once thawed consume within 24 hours, and remember that you can't refreeze any leftovers.
Can I make this cheesecake in a different quantity or different size tin?
Yes, it's simple to make more or less of this cheesecake, either if you have a different size tin or want to make a smaller portion.
To make a thicker cheesecake than mine, all you need to do is use a smaller size tin, mine is 23cm, so you could use a 20cm tin for a thicker cheesecake. Remember this will take longer to bake as the filling is thicker, so put it in for 40-45 mins instead of 30.
If you want to keep the proportions roughly the same as mine but use a different size tin to get a larger or smaller cheesecake, you will need to adjust the quantities of ingredients so they fit in the tin in the correct ratio.
There is a simple trick for this. Look for the recipe card below. You'll see the servings near the top left. We want to change this to the number corresponding to your size tin. So just click on it and a little slider will pop up. You can move the slider up or down to get the amount you want to make, following these settings:
- 18cm (7 inch) set to 7 slices
- 20cm (8 inch) set to 10 slices
- 25cm (10inch) set to 15 slices
All the ingredient quantities will update automatically for you so that everything is in the right ratios.
Can I make this coffee cheesecake into individual portions?
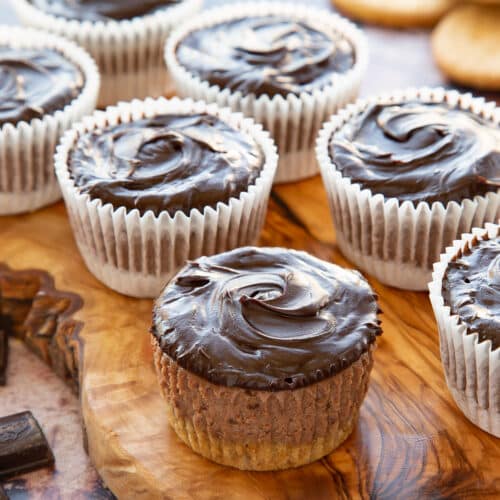
I've not tested this recipe to make small individual cheesecake yet but you could give it a go. I made some baked chocolate cheesecake cupcakes here, so have a look as that will be the basic method.
You'll need a muffin tray and cupcake cases, or you could try foregoing the cases and using a loose bottomed muffin tray like this.
Divide the biscuit base equally into your mini tins. You want the base to be somewhere around 1cm (2/5 inch) thick. Once they have been baked divide the filling on top.
These mini cheesecakes will bake more quickly than one large one. Check on them after about 20 minutes to see how they are doing - they should be just at the point of not being wobbly.
If you've used a loose-bottomed tin without cases, don't forget to run a knife around each one to stop them from sticking to the sides as they cool.
Can I make this coffee cheesecake in a stand mixer such as a KitchenAid or Kenwood Mixer?
The filling for the cheesecake doesn't need much whisking for each step, just enough to combine everything, but you can certainly use a stand mixer if you like.
I recommend using the balloon whisk attachment and whisk briefly on medium speed for each step.
Before you add each ingredient, scrape the sides and bottom of the bowl down with a spatula to make sure everything is evenly combined and well mixed in.
Can I make this coffee cheesecake with a food processor?
For this recipe, you can use a food processor to crumb the biscuits ready to make the base of your cheesecake. Using the blade attachment, pulse until you have a fine even crumb.
Can I just let this cheesecake set in the fridge without baking it?
Some cheesecakes you can just leave to set in the fridge, but this recipe contains fresh eggs and flour which need to be cooked otherwise your cheesecake would taste quite unpleasant.
Once the cheesecake has been baked, it needs to cool on the counter, and then go into the fridge to finish setting overnight.
If you'd prefer a no bake recipe, you could try adapting this Baileys cheesecake by adding some instant coffee powder with the cream.
How can I make sure my cheesecake is perfectly cooked?
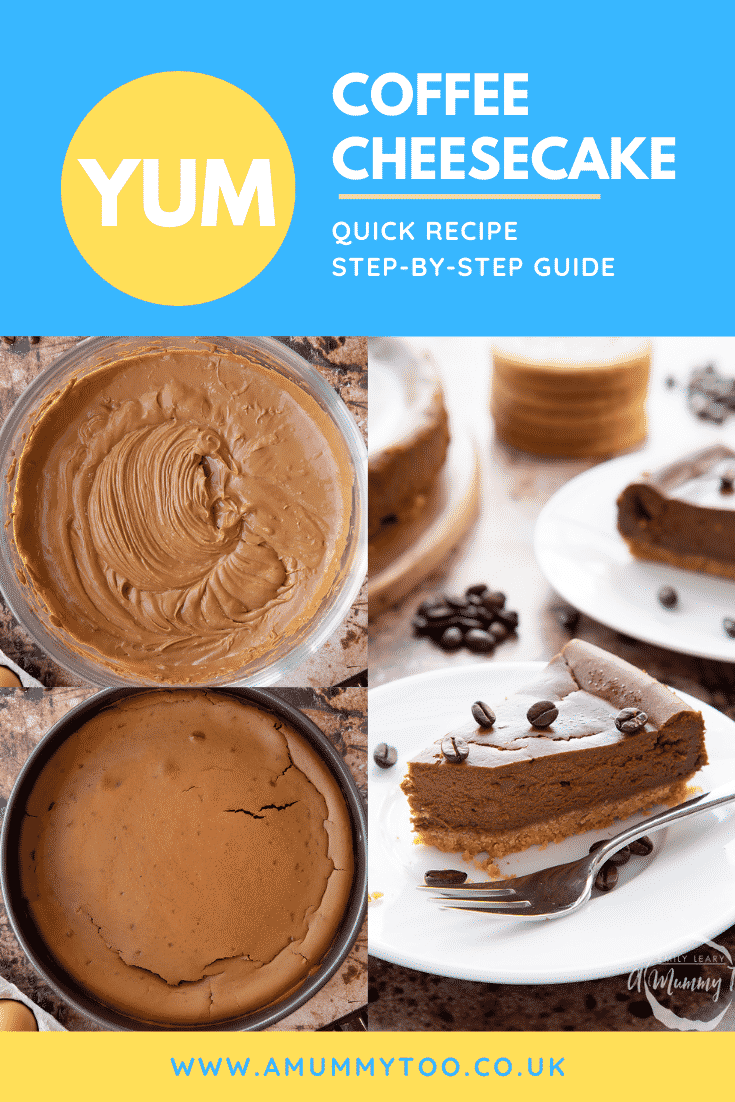
This cheesecake is perfectly baked when the top looks smooth and matte. It might have a few cracks like mine but that's not a problem as they won't be deep.
The cheesecake will still have a bit of wobble in the very centre, but make sure there are no wet bits on the top still. If you've used a narrower tin than mine your cheesecake will be thicker so will take longer to bake all the way through (about 45 minutes instead of 30).
Whenever baking something new, I find it helpful to read the whole recipe through, then get out all the ingredients and even weigh them out sometimes so that I know I have everything I need on hand and ready to go.
The chocolate needs to be melted and then cooled before it's mixed with the other filling ingredients so do this first.
Remember the biscuit base needs to be baked for 5 minutes before the filling is added in. This helps create a firm base that doesn't disperse into the filling.
Once you've whipped up the filling and levelled it off, bake in the oven for 30 minutes for a 23cm tin.
When you take the cheesecake out of the oven, let it cool for about 5 minutes then run a knife around the edge of the tin. This step is really important because if the cheesecake is stuck to the sides of the tin, it will pull away and crack as it cools.
Chill in the fridge overnight to achieve a lovely creamy, set consistency.
Why did my cheesecake turn out dry and hard?
There is quite a lot of moisture and fat in this cheesecake from the cream cheese, chocolate and cream so it shouldn't turn out dry.
If the oven is too hot, or the cheesecake is left in too long it will eventually dry out. Make sure you set the temperature correctly at 180C (160C fan). The oven needs to be a bit cooler than a lot of bakes so that the cheesecake can cook through to the centre without burning or drying out.
Set a timer for 30 minutes so you remember to check on the cheesecake. You can also keep an eye on it through the oven door.
Why did my cheesecake turn out wet and not set properly?
The filling for this cheesecake calls for light cream cheese which has slightly less fat than regular cream cheese and isn't as thick. You can also get extra light cream cheese which hardly has any fat in it, but it's much thinner than even light cream cheese so if you've used this by mistake your cheesecake may not set properly. It might be a bit softer or gummier to slice but will still taste yum.
Have the eggs and flour been added? These are important ingredients for a baked cheesecake to work and set properly.
Or perhaps the oven hadn't come up to temperature when the cheesecake went it. It's always a good idea to preheat the oven, otherwise, the cooking time will be wrong as the oven will still be warming up for the first 10-15 minutes.
Put the cheesecake bake in the oven until the top looks smooth and matte with no wet bits.
Why did my cheesecake get stuck in the tin and fall apart?
When your cheesecake comes out of the oven, it will be hot and delicate. Leave it in its tin to cool down - don't try and get it out immediately as it will fall apart.
Once the cheesecake has cooled for 5 minutes, run a knife around the edge of the tin. This will release the sides from the tin and stop it from cracking as it cools.
Even then, don't be tempted to take the cheesecake out of the tin. Once it has cooled completely on the counter, it still needs plenty of time in the fridge to finish setting. The longer you give it in the fridge, the better chance of everything holding together and coming out smoothly, so leave it overnight if you can.
Here's a trick for removing from the tin when you are ready to serve. Stand the cheesecake in its tin onto a tin can or large jar. Unlock the sides if using a springform tin, and then and carefully pull the sides downwards until they drop away.
You should now be able to slide a pallet knife under the cheesecake to release it from the base of the tin and slide it onto a plate. You can leave the cheesecake on the base of the tin if you're worried it will fall apart.
How can I add/change the flavours in this cheesecake?
Walnuts are a classic combination with coffee, so you could try adding a handful into the food processor with the biscuits to create a slightly nutty base - just make sure to blitz them really fine so that they don't cause the base to crumble.
Extra chocolate shavings or toffee sauce on top would also work well on top. And a squirt of cream on top when serving is delightful too.
Print this coffee cheesecake recipe
Coffee Cheesecake Recipe
Ingredients
For the base
- 150 g (5.3 oz) digestive biscuits (graham crackers)
- 70 g (2.5 oz) unsalted butter
For the filling
- 400 g (14.1 oz) light cream cheese
- 4 tbsp instant coffee
- 100 ml (3.4 floz) double cream (heavy cream)
- 120 g (4.2 oz) white caster sugar (superfine sugar)
- 100 g (3.5 oz) dark chocolate (bittersweet)
- 2 medium free-range eggs
- 20 g (0.7 oz) plain white flour (all purpose flour)
To garnish
- 25 g (0.9 oz) roasted coffee beans
Equipment
- Round loose-bottomed 23cm (9") nonstick cake tin
Instructions
Make the base
- Set the oven to 180C (160C fan).
- Crumble the biscuits until sandy. It's quickest to do this in a food processor, but you can also do it by putting the biscuits in a ziplock bag and bashing with a rolling pin.
- Pour in the melted butter and mix.
- Empty the mixture into a loose-bottomed nonstick tin. I used a 23cm tin here to give a shallow cheesecake. A narrower tin will work fine if you prefer a taller cheesecake.
- Press down with the back of a spoon until even and firm. Cook in the oven for just 5 minutes. Take it out of the oven and set it aside.
Make the filling
- In a heatproof bowl, melt the chocolate in the microwave in 30-second blasts. Set aside to cool.
- Put the cream cheese, instant coffee, cream and sugar in a large bowl. Whisk until smooth.
- Add the melted, cooled chocolate and whisk through.
- Add the eggs and flour, whisk again.
- Pour the mixture on top of the biscuit base and gently level off.
- Bake in the oven for 30-35 minutes until firm but slightly wobbly. If you're using a much narrower tin (e.g. 18cm) it will take 40-45 minutes, since it'll take longer for the middle to cook.
- Take out the oven, and let it cool for 5 minutes. Run a knife around the edges of the cheesecake. This will ensure it doesn’t stick to the sides, causing the cheesecake to crack as it cools.
- Allow to cool completely in the tin at room temperature, then pop in the fridge overnight (or as long as you can stand to wait).
To serve
- Simply release from the tin, slice and transfer to plates.
- I like to scatter with a few roasted coffee beans for extra coffee aroma.
Video
Notes
Nutrition
Pin this coffee cheesecake recipe
More cheesecake recipes to try
Have you got my book?

'This is a great kids cookery book. Emily is a star' - Simon Rimmer
'The book I'd like to force into any mother's kitchen' - Prue Leith
"A fab book with a plan." - Jane Devonshire, 2016 Masterchef UK winner
'Emily has managed to combine her mummy knowledge and passion for food to make a truly helpful and brilliant cookbook' - Priya Tew, RD, BSc (Hons), Msc
Get Your Kids to Eat Anything is an achievable 'how to' for parents in the battle to overcome picky eating and 'make new the norm'. Emily Leary's unique 5-phase programme looks at the issue of 'fussy eating' in a holistic way that links imagination with food, and which situates parents alongside - not in opposition to - their children.

Nic | Nic's Adventures & Bakes says
Thanks for sharing, this cheesecake looks lovely :)