
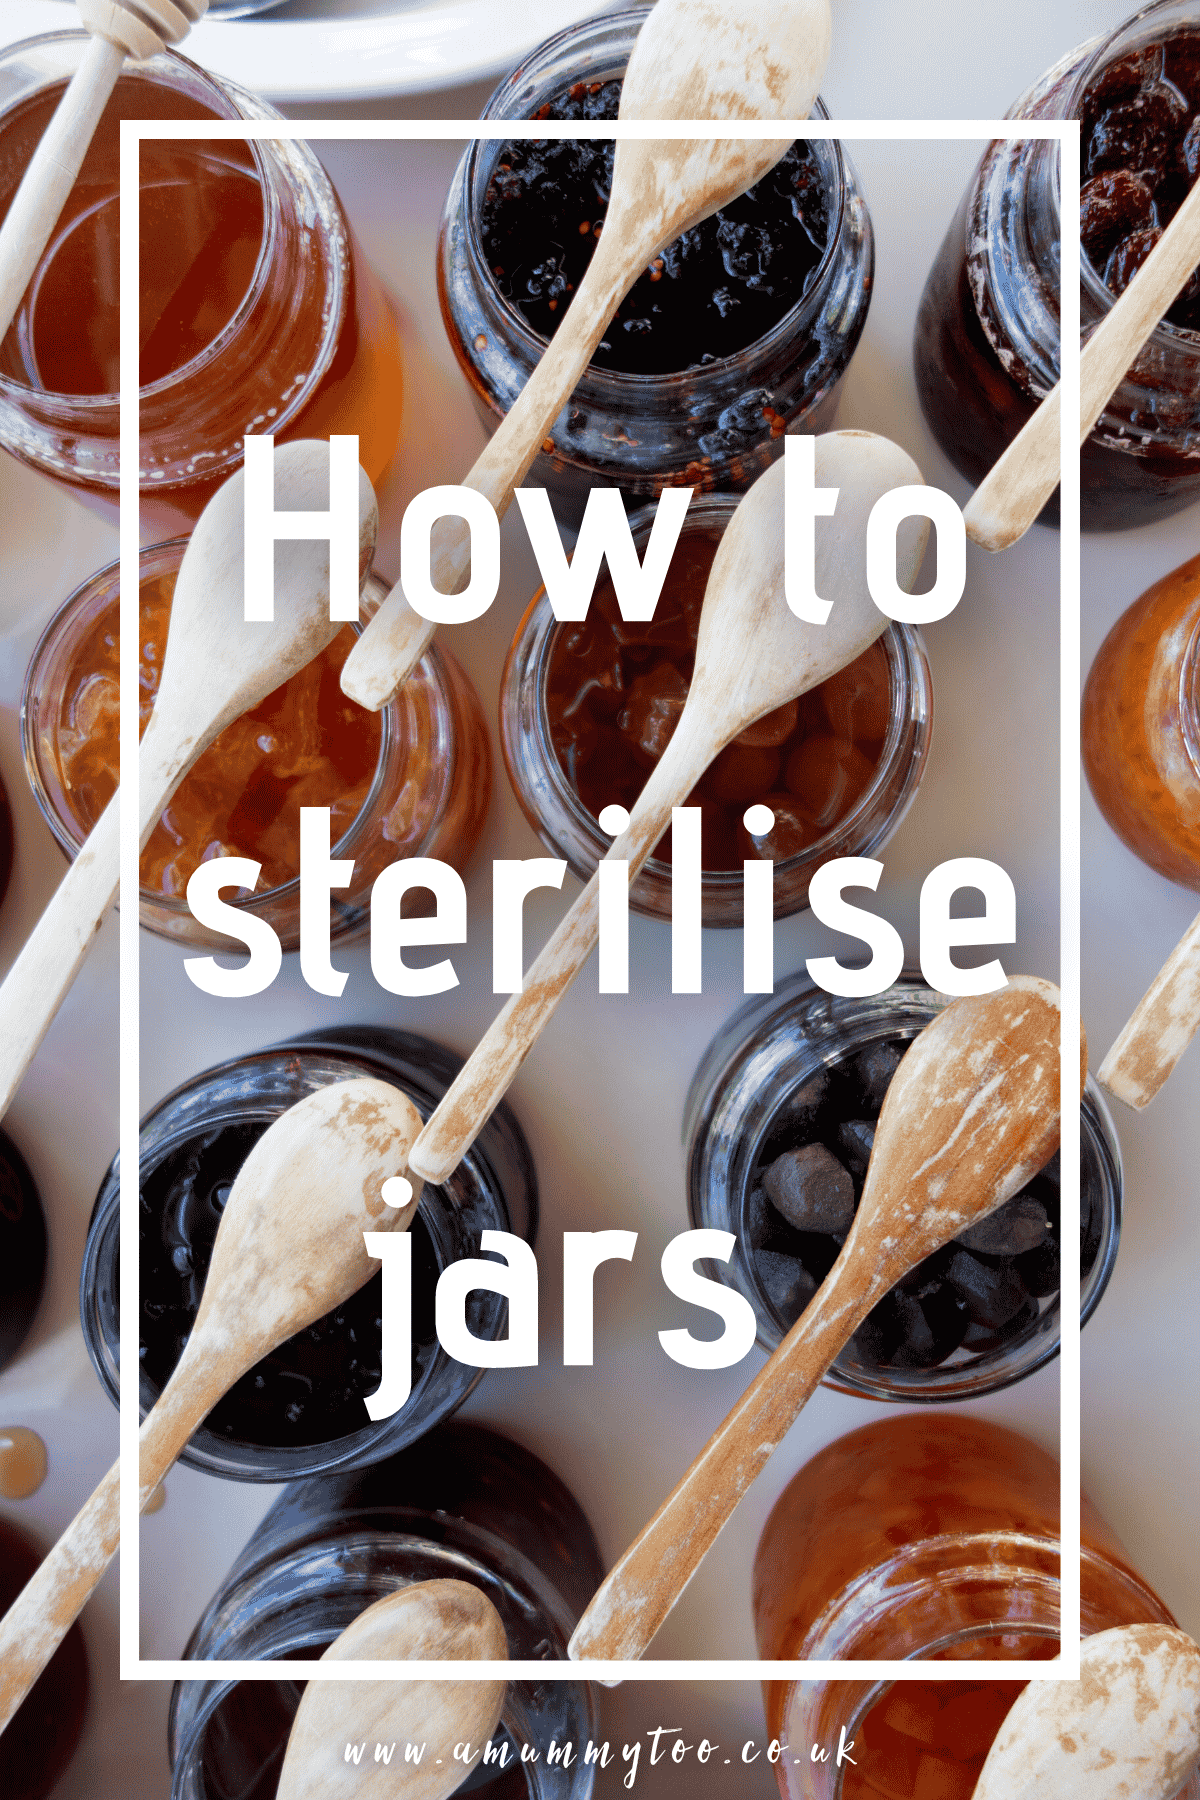
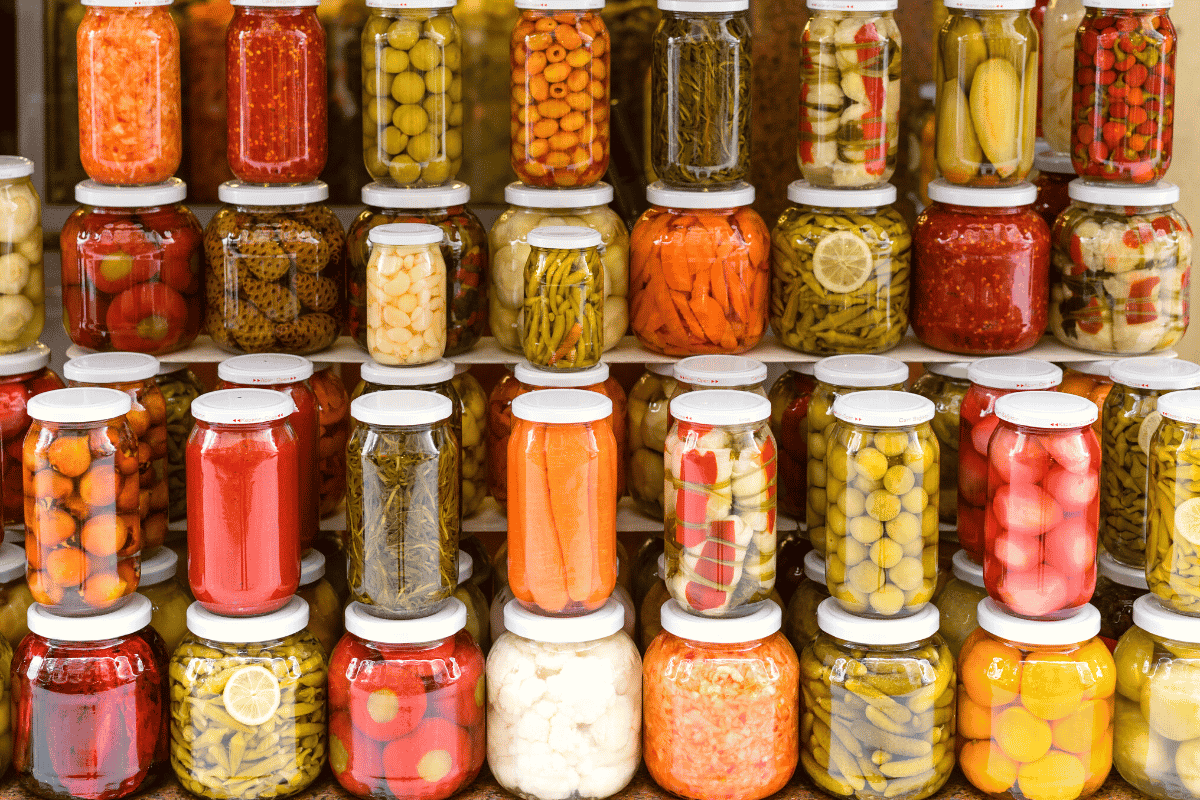
If you make jams, chutneys, pickles or other preserves, you need to know how to sterilise jars to ensure your food stays safe and fresh. There are a few ways to sterilise jars safely, and if you use a microwave it doesn’t take very long at all.
In this pot I’ll run through the best practice for sterilising jars and any points to watch out for.
- Why do I need to sterilise jars?
- Which kind of jars can I sterilise for preserving and making jams?
- What temperature do I need to sterilise jars at?
- How to sterilise jars in the microwave
- How to sterilise jars in boiling water
- How to sterilise jars in the oven
- Extra tips for sterilising jars
- Preserve recipes to try
Why do I need to sterilise jars?
Sterilising jars kills any bacteria, fungus spores or germs which can sometimes linger in jars or containers. Sterilising is especially important for preserves and chutneys, as the high moisture and sugar content can leave your food susceptible to bacteria.
Pickling liquor contains salt, and salt is antibacterial, so it is a little more resistant to bacteria. However, that doesn’t mean pickled or brined food is immune to bacteria, so you should still use sterilised jars to ensure your food remains safe to eat.
Which kind of jars can I sterilise for preserving and making jams?
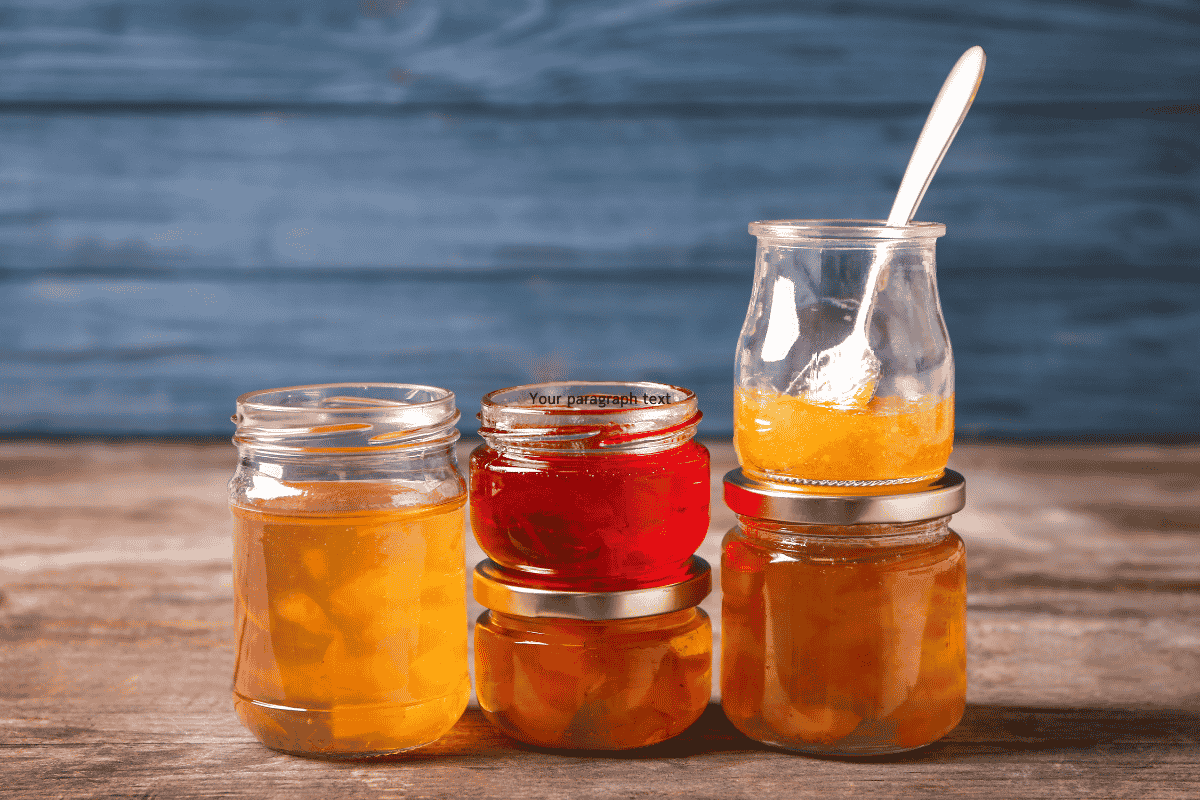
The best thing about pickling, preserving and making jams/chutneys, is that you can use old jars to store your food. You can use any glass jar to sterilise and store food, but you will need to use a new lid.
Jar lids can collect bacteria on the rim or under the wax seal, which can be difficult to clean or sterilise. So it’s best to buy a new lid for your old jar.
Most jars use a twist-off lid, and you can pick twist-off lids up from craft stores, kitchenware stores or Amazon.
What temperature do I need to sterilise jars at?
Most bacteria begin to die at temperatures over 60C (140F). So to make sure your jars are heated to at least 60C, it’s best to sterilise them at temperatures of over 100C.
This ensures the jar is heated fully, and any water or condensation on the surface or interior of the jar boils and evaporates.

How to sterilise jars in the microwave
Sterilising glass jars in the microwave is the quickest and easiest way to sterilise.
However, you can’t sterilise Kilner jars or jars with metal lids or attachments, because you can’t put metal into a microwave. So if your jar has a detachable metal lid, you’ll need to sterilise it in boiling water.
To safely sterilise jars in the microwave, follow these steps:
- Clean the jars with warm soapy water and rinse.
- Don’t dry them fully. Leave the jars a little wet so the microwave can superheat the water left on the surface. This is what helps to sterilise the jars.
- Microwave your jars one at a time for 30 seconds. If you’re using a large (2.2 litre) jar, you’ll need to microwave it for 45 seconds.
How to sterilise jars in boiling water
Sterilising jars in boiling water is an effective way to sterilise, but it can be a little more dangerous from a health and safety standpoint. To avoid any danger, make sure you have rubber gloves to hand and work carefully to avoid burning yourself. I would also recommend using a set of long wooden or silicone tipped tongs to remove the jars from the water.
It’s important you don’t skip the first step of washing the jars in hot water. If you add cold or room temperature jars to boiling water they could shatter.

Make sure you follow these steps exactly:
- Wash your jars in hot soapy water then rinse them in scalding hot water. It’s best if you wear rubber gloves to reduce the chance of hurting yourself.
- Put the jars in a jar rack and set the rack in a deep casserole pot and cover with hot water.
- Bring the water to a boil then turn the heat down until the water is gently simmering.
- Leave the jars simmering and covered for 10-15 minutes. Turn off the heat and let the jars sit in hot water until you need to use them.
- When your food is ready to jar, remove the jars from the water using the tongs. Turn them upside down onto a tea towel to dry.
Once you add your food, you’ll need to leave it to settle for 15 minutes. So while this happens you can sterilise your jar lids in boiling water for 5 minutes.
If you’re using disc inserts, you can heat them in hot water, but not boiling water or they can warp and bend. Heating the inserts helps to soften the seal, improving the airtight seal.
However, your lids and seals may have a different method on the packet according to the manufacturer, so follow your packet instructions.
How to sterilise jars in the oven
Sterilising jars in the oven is easier than boiling, as the space in the oven makes it easier to remove your jars safely.
However, oven sterilising takes slightly longer than boiling or microwaving, but if you start sterilising while you’re still cooking it shouldn’t make much difference.
Oven jar sterilisation takes around 20 minutes, so set a timer for 30 minutes before your cooking time is over so you can prepare and sterilise your jars in time.
- Preheat your oven to 130C (275F). Don’t heat it any higher, or the jars may shatter.
- Place a sheet of baking paper or reusable baking sheet on your oven shelf. (If you have a gas oven, make sure your paper is away from any exposed flame!)
- Just like boiling your jars, cleaning your jars in hot water before placing them in the oven will reduce the chance of them cracking due to sudden heat.
- Let the jars drain on a rack or clean dish towel.
- Place your jars on the paper-lined oven shelf with enough space between them so that they don’t touch each other.
- Close your oven door and leave the jars to heat and sterilise for 20 minutes.
- Once you’re ready to jar your food, remove a jar from the oven using oven gloves and a set of tongs.
- Place your jar onto a heatproof mat or board and gently add your food while it is still hot. Never add cold food to a hot jar or it can shatter.

Extra tips for sterilising jars
- You should never add cold food to hot jars, or hot food to cold jars. This can cause the jars to crack or even explode.
- If you’re upcycling old jars and the lids are rusty, make sure to use new lids. Unfortunately, you can’t sterilise rust away and it will only deteriorate and compromise any food you add.
- Remove your jars from the sterilising liquid/oven/microwave shortly before you need them. Your jars should still be hot when filled. If you sterilise them several hours before use they could take on new bacteria after they cool.
- Leave jams, preserves or pickles to settle for 15 minutes before sealing. However, your food should still be hot when you cover them with the lid. The heat causes a vacuum to form, helping to keep your food and jars sterile and safe from bacteria.
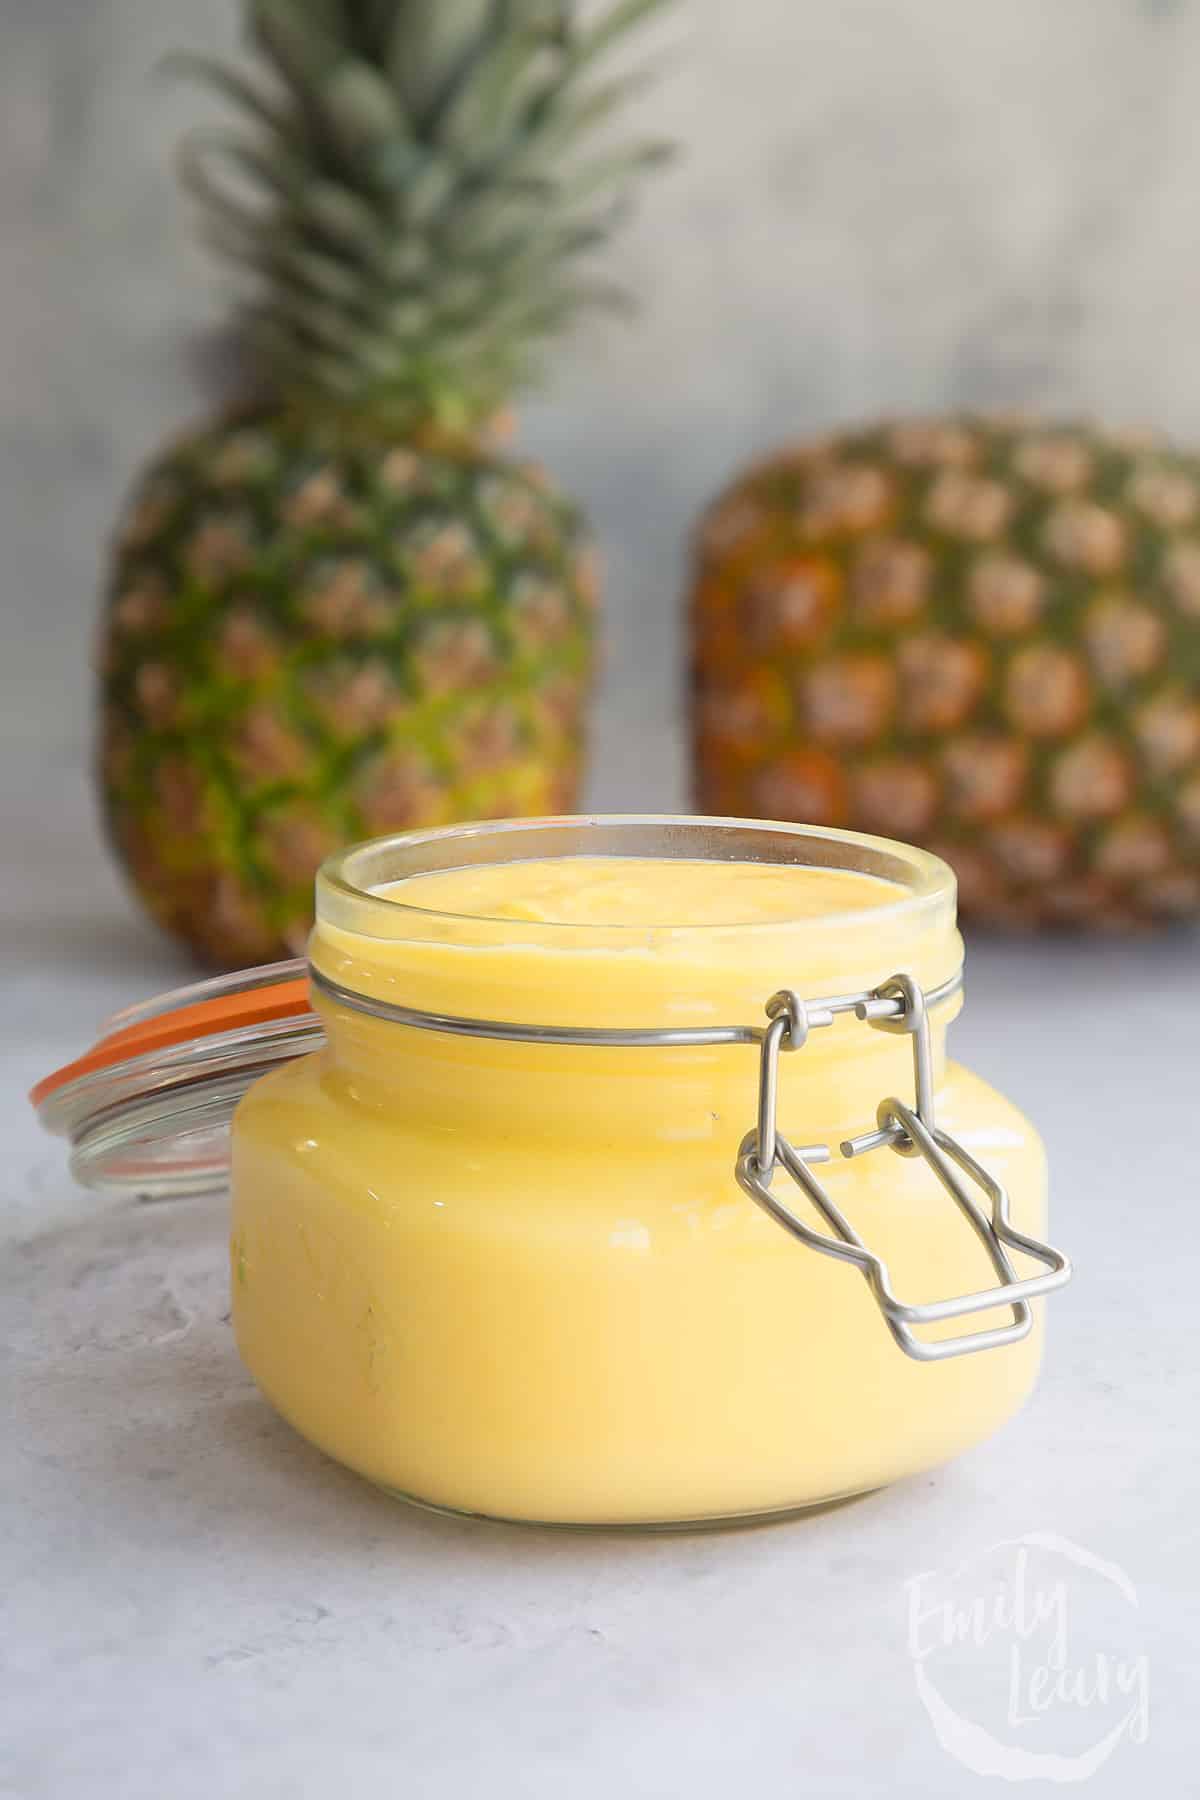
Preserve recipes to try
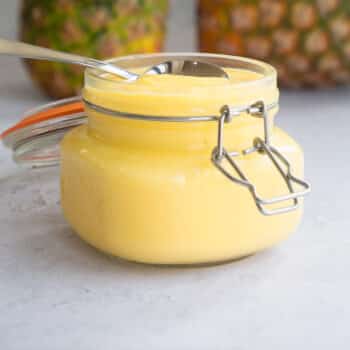

I hope this guide has helped you understand how to sterilise jars. If you have any more questions, please don't hesitate to drop me a comment below!
Sterilising jars is a really important step in the canning process. And now that you know it's actually pretty easy to do, you can get jamming, pickling and preserving!
Happy cooking!
Have you got my book?

'This is a great kids cookery book. Emily is a star' - Simon Rimmer
'The book I'd like to force into any mother's kitchen' - Prue Leith
"A fab book with a plan." - Jane Devonshire, 2016 Masterchef UK winner
'Emily has managed to combine her mummy knowledge and passion for food to make a truly helpful and brilliant cookbook' - Priya Tew, RD, BSc (Hons), Msc
Get Your Kids to Eat Anything is an achievable 'how to' for parents in the battle to overcome picky eating and 'make new the norm'. Emily Leary's unique 5-phase programme looks at the issue of 'fussy eating' in a holistic way that links imagination with food, and which situates parents alongside - not in opposition to - their children.
Leave a Reply