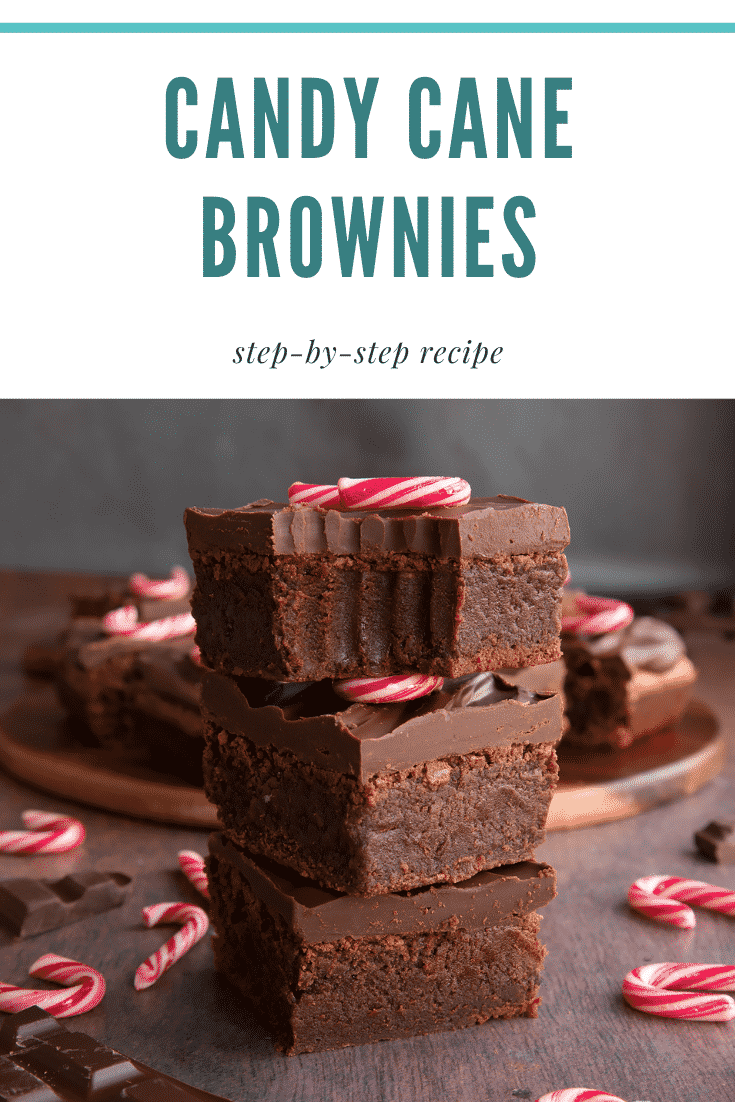
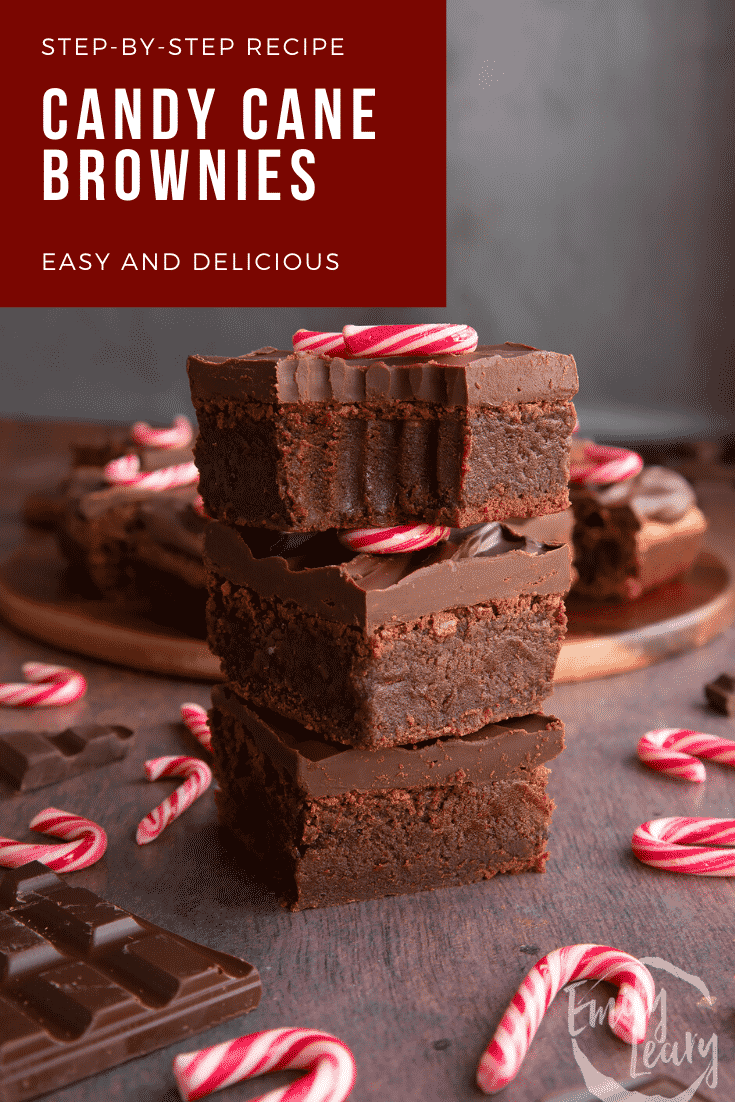
These candy cane brownies are perfect for Christmas. They're chocolatey, fudgy and deliciously flavoured with peppermint candy cane, scattered through the brownie itself and used to top of the dark chocolate ganache frosting.
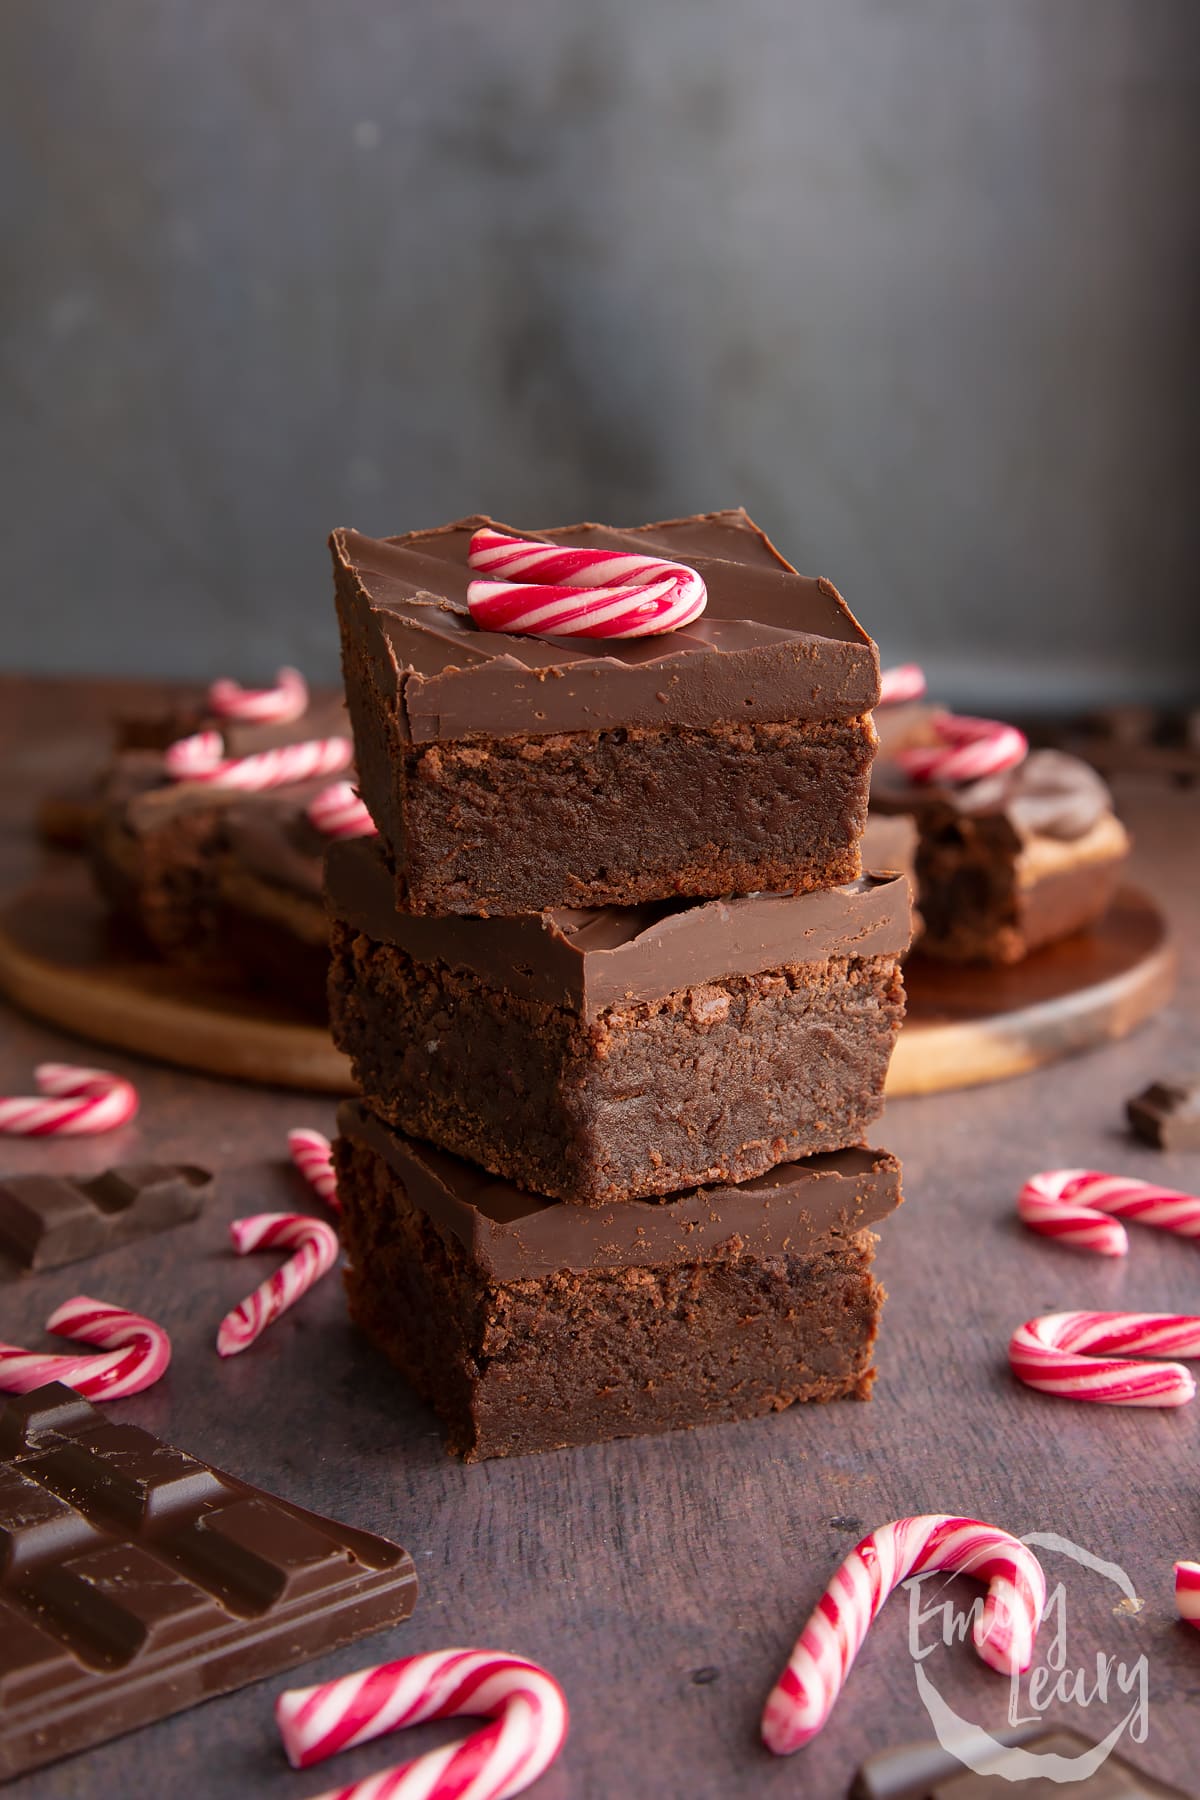
With their peppermint chocolate flavour and the deep and rich tones contrasting with the bright, cheerful red and white candy canes, these really are the perfect holiday brownies. They're also a great way to use up leftover candy canes if you bought a few too many!
The batter is really easy to make, uses only simple ingredients and is packed with peppermint chocolate flavour.
First, you'll melt butter and dark chocolate together, whisk in sugar and beaten eggs, then fold in flour, followed by a generous helping of chopped candy canes.
As you'll note, my favourite way to get really fudgy brownies is to use primarily wet ingredients. The only dry ingredients are sugar, flour and the chopped candy canes.
There's no cocoa powder in this recipe - all that intense chocolate flavor comes from oodles of melted dark chocolate.
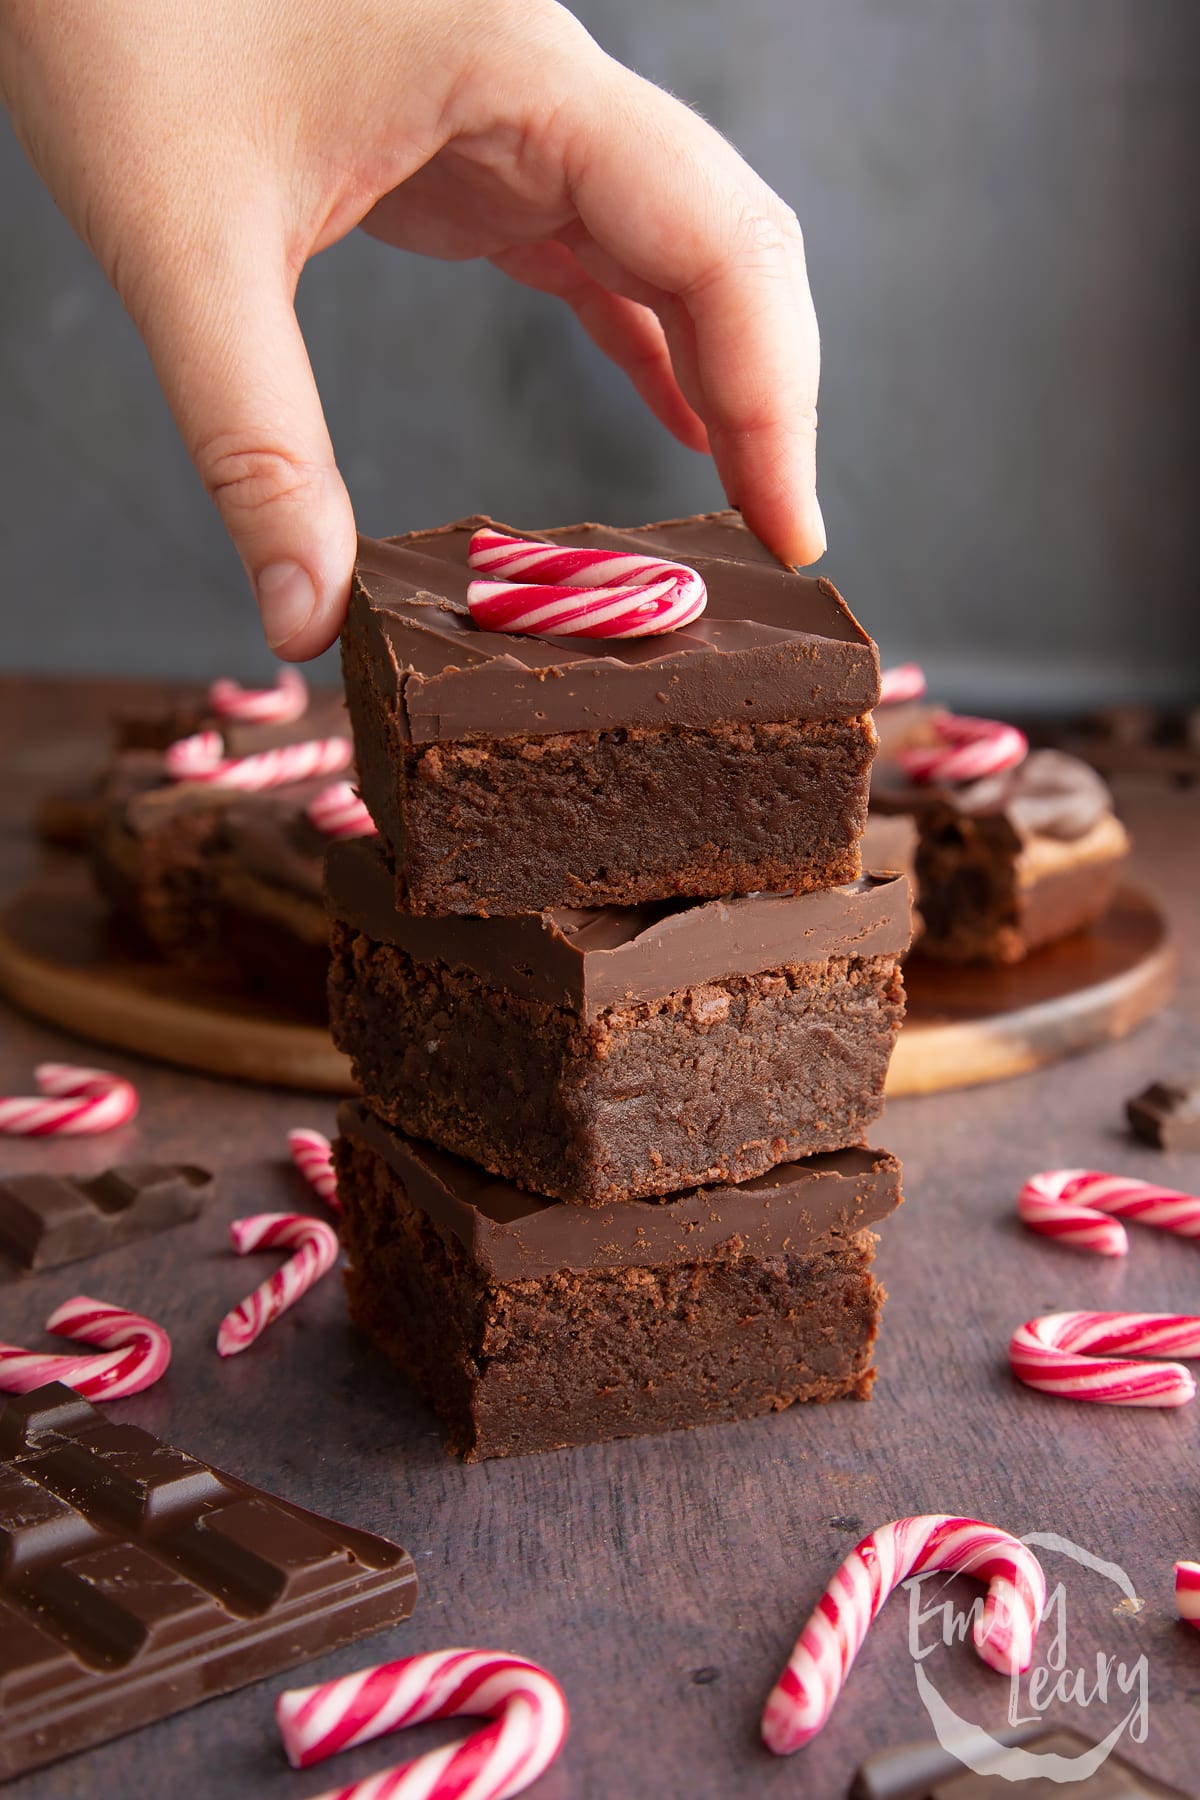
Once mixed, you'll spoon the irresistible chocolate mixture into a lined baking dish and bake.
Once cooled, you'll top the brownies with a smooth dark chocolate ganache, simply made by melting chocolate and whisking in cool double cream until smooth and glossy.
You'll then spread onto top of the brownies, leave to set, slice into squares, top with candy canes and enjoy the fudgy goodness!
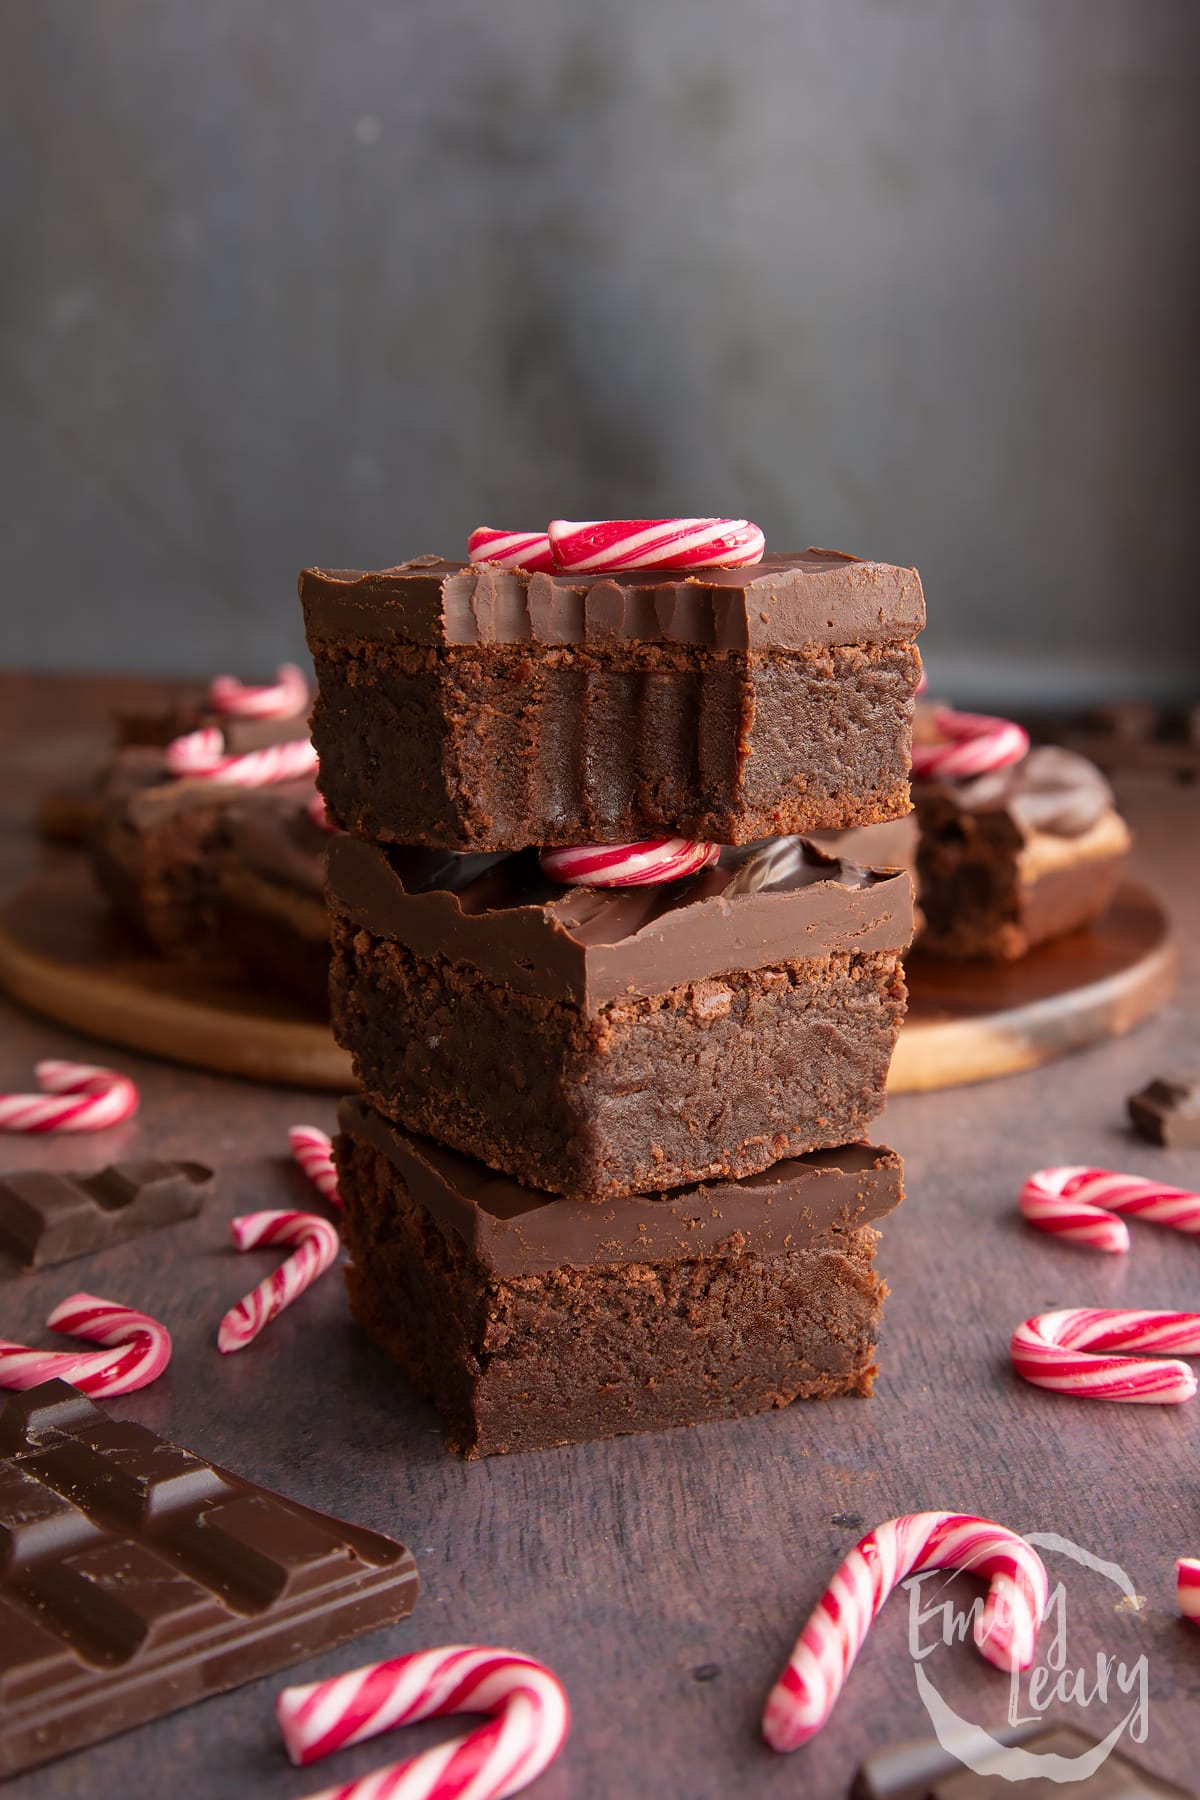
I really think you'll nail this simple recipe first time. It's one of those great recipes that looks super professional but is actually super easy!
Here's the full instructions for candy cane brownies, complete with ingredients, measurements, recommended equipment, plus step-by-step instructions with a photograph of every stage.
I've also included a whole raft of helpful tips to answer any additional questions you might have.
Once you've given my recipe a go, I'd love you to come back and leave a comment letting me know how yours turned out.
I'd love to see your videos and pics, too! Just tag me on social media. I'm @emilylearycooks on Twitter and TikTok or @amummytoo on Instagram.
Ingredients
For the brownies
- 400 g (14.1 oz) dark chocolate (bittersweet) 70%, roughly chopped
- 280 g (9.9 oz) salted butter cubed
- 450 g (15.9 oz) white caster sugar (superfine sugar)
- 6 medium free range eggs room temp, beaten
- 1 tbsp vanilla extract
- 170 g (6 oz) plain white flour (all purpose flour)
- 100 g (3.5 oz) candy canes chopped quite small
For the ganache
- 300 g (10.6 oz) dark chocolate (bittersweet) 70%, roughly chopped
- 8 tbsp double cream (heavy cream)
To finish
- 12 (1.8 oz) candy canes (either mini ones, or standard size, trimmed to fit)
Equipment
- Rectangle 20x28cm (8"x11") nonstick cake tin
Instructions
Make the brownies
Preheat the oven to 180C (160C fan).
Put the butter and chopped dark chocolate in a large, heatproof bowl.
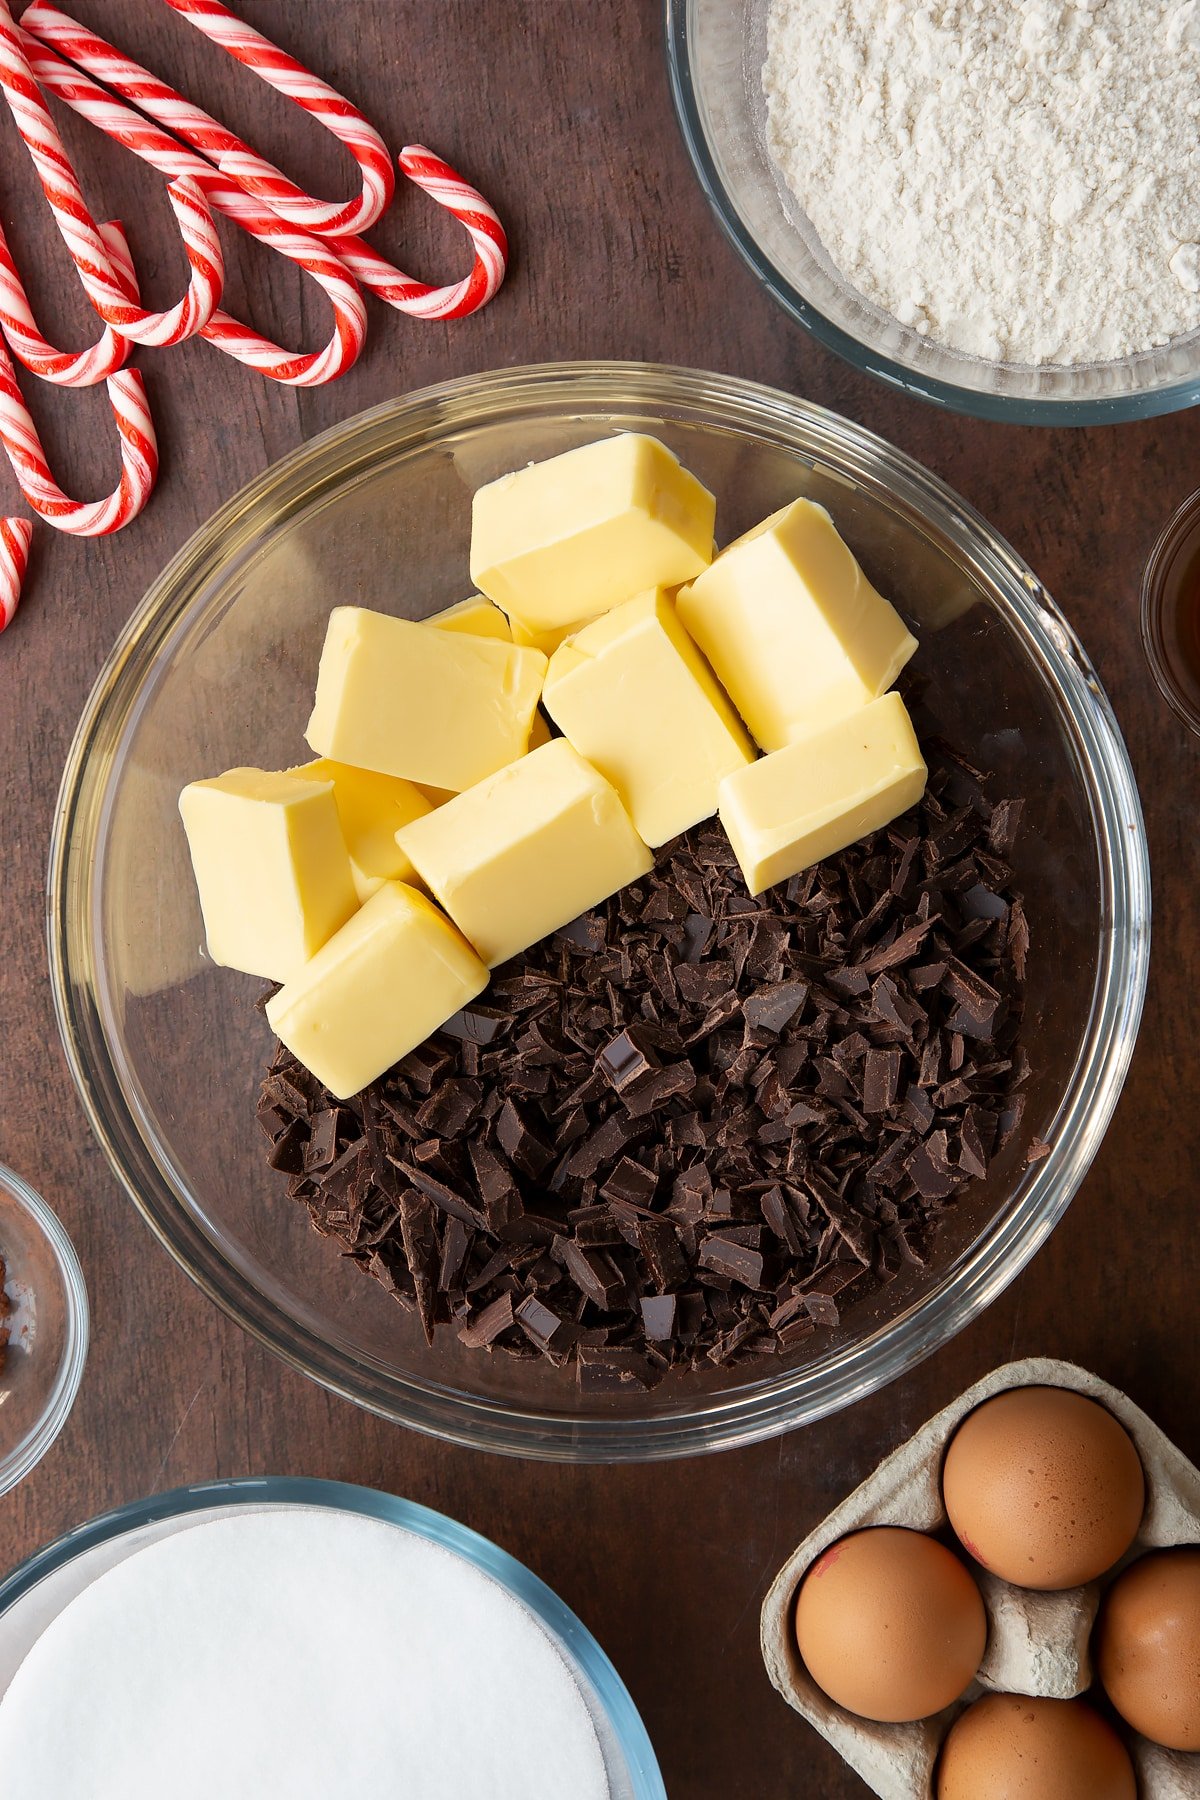
Gently melt until smooth. You can use the microwave to do this, using a microwave-safe bowl and heating in 30 second intervals, stirring after each burst.
Alternatively, you can put an inch of water in a pan, place the bowl on top (so that the water isn't touching the bowl) and bring to the boil so that the steam gently melts the chocolate, stirring as you go.
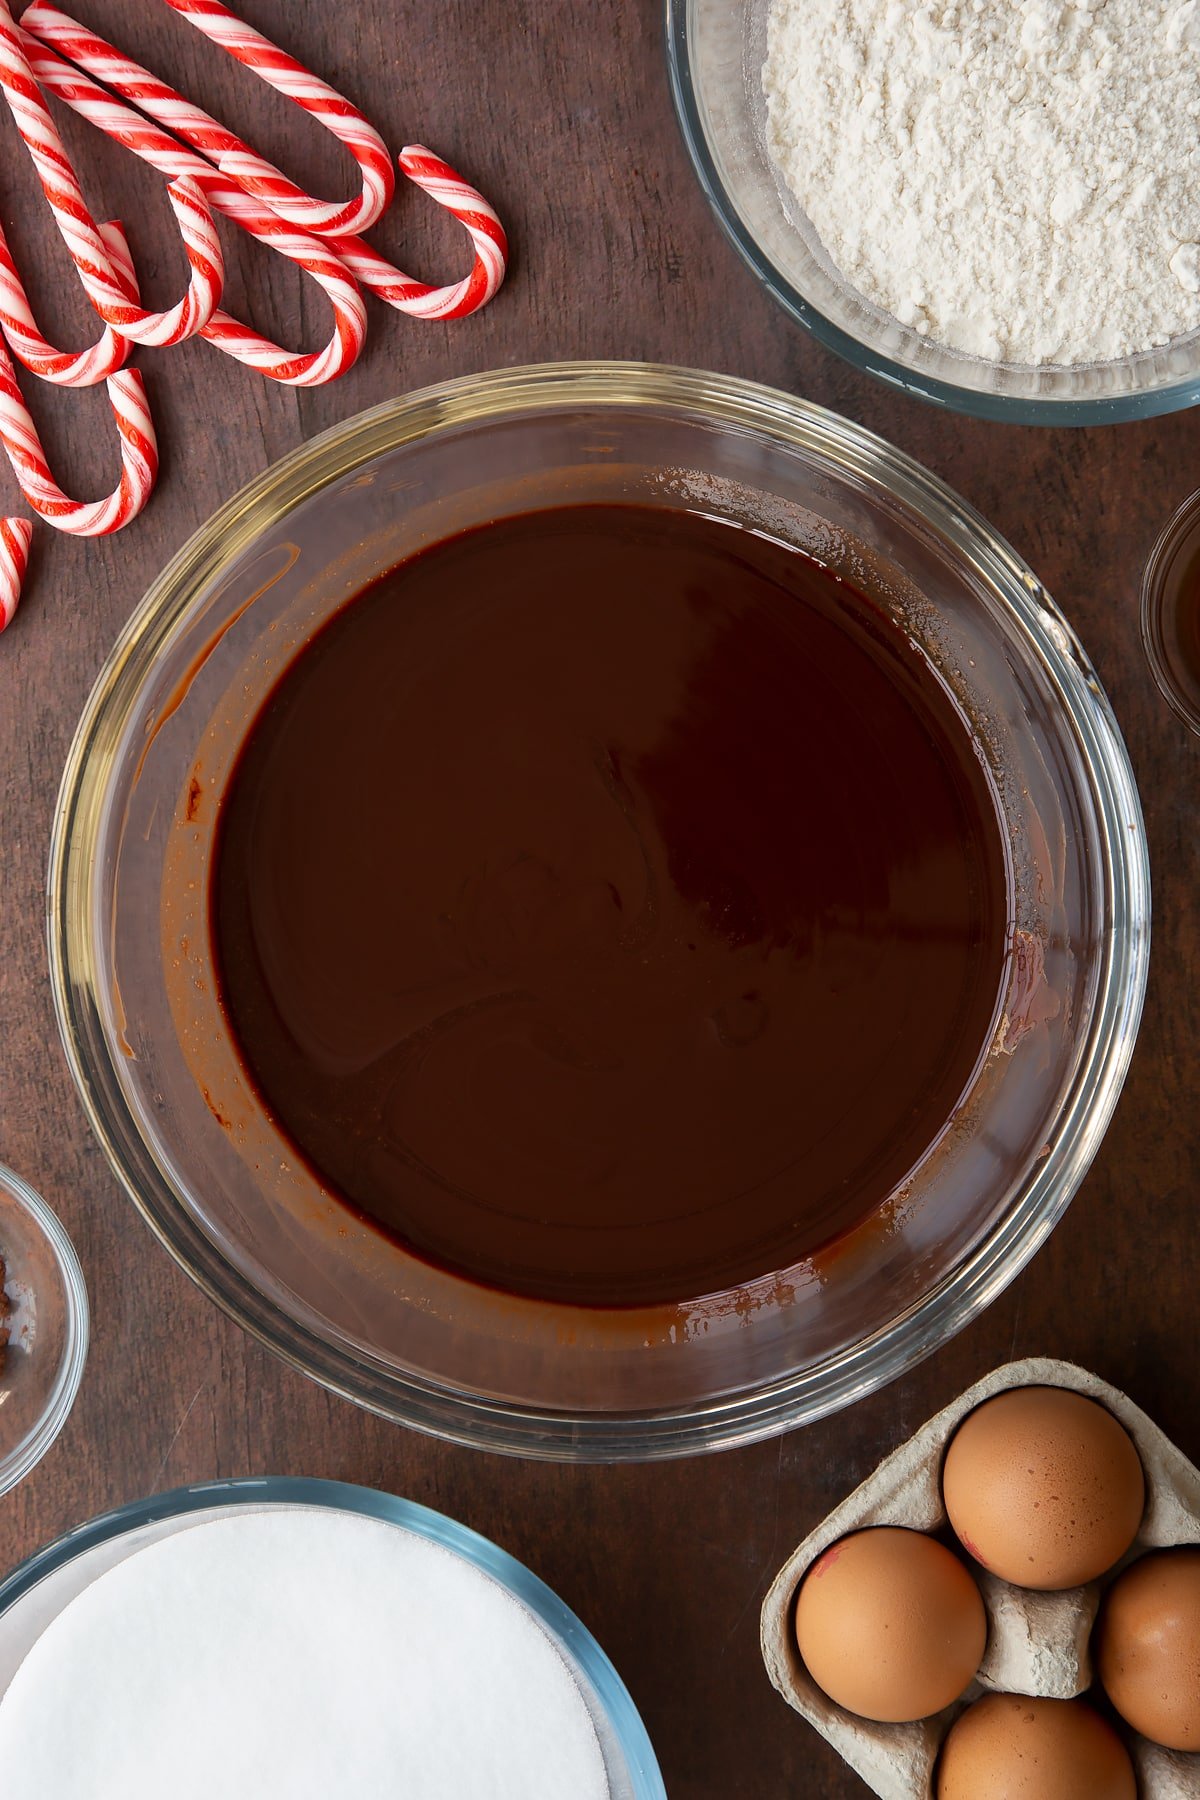
Add the caster sugar.
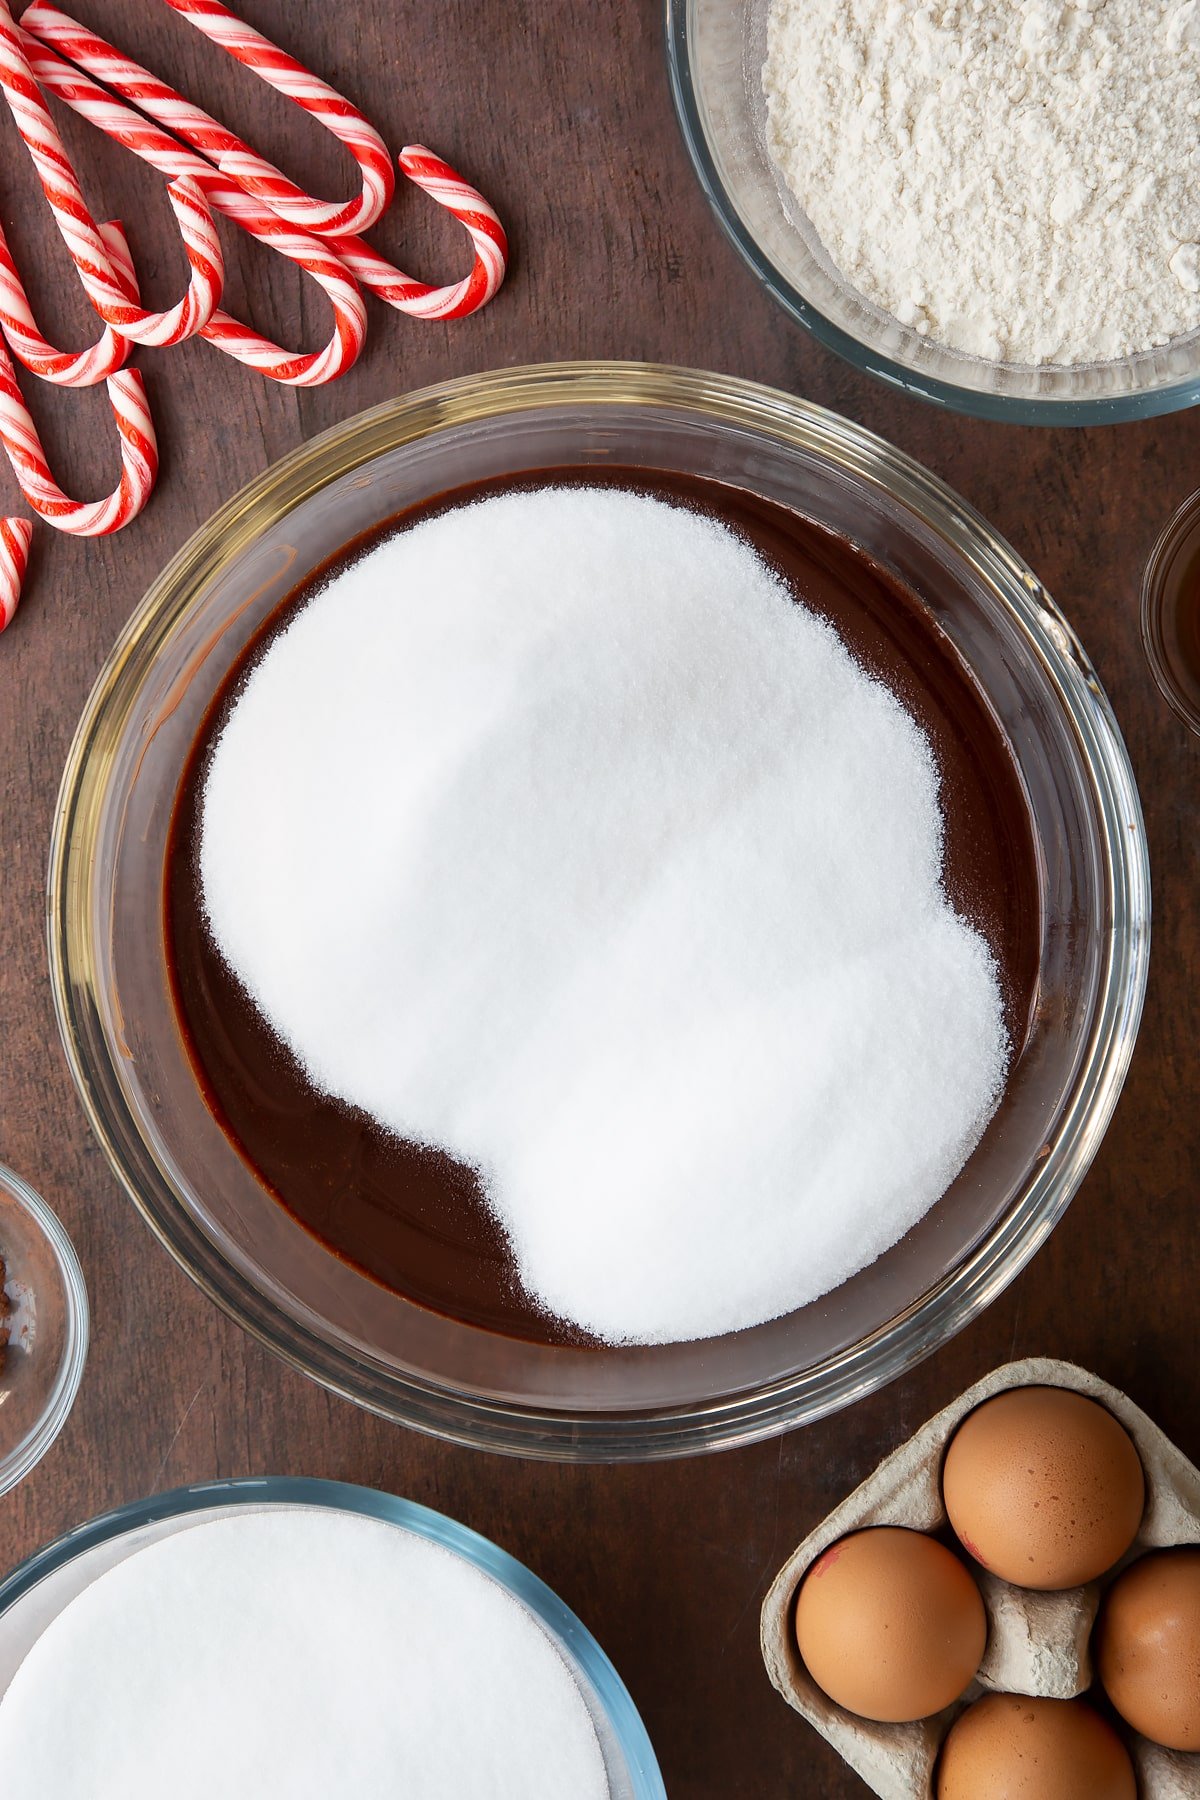
Whisk the sugar in. The mixture will thicken - graininess at this stage is fine.
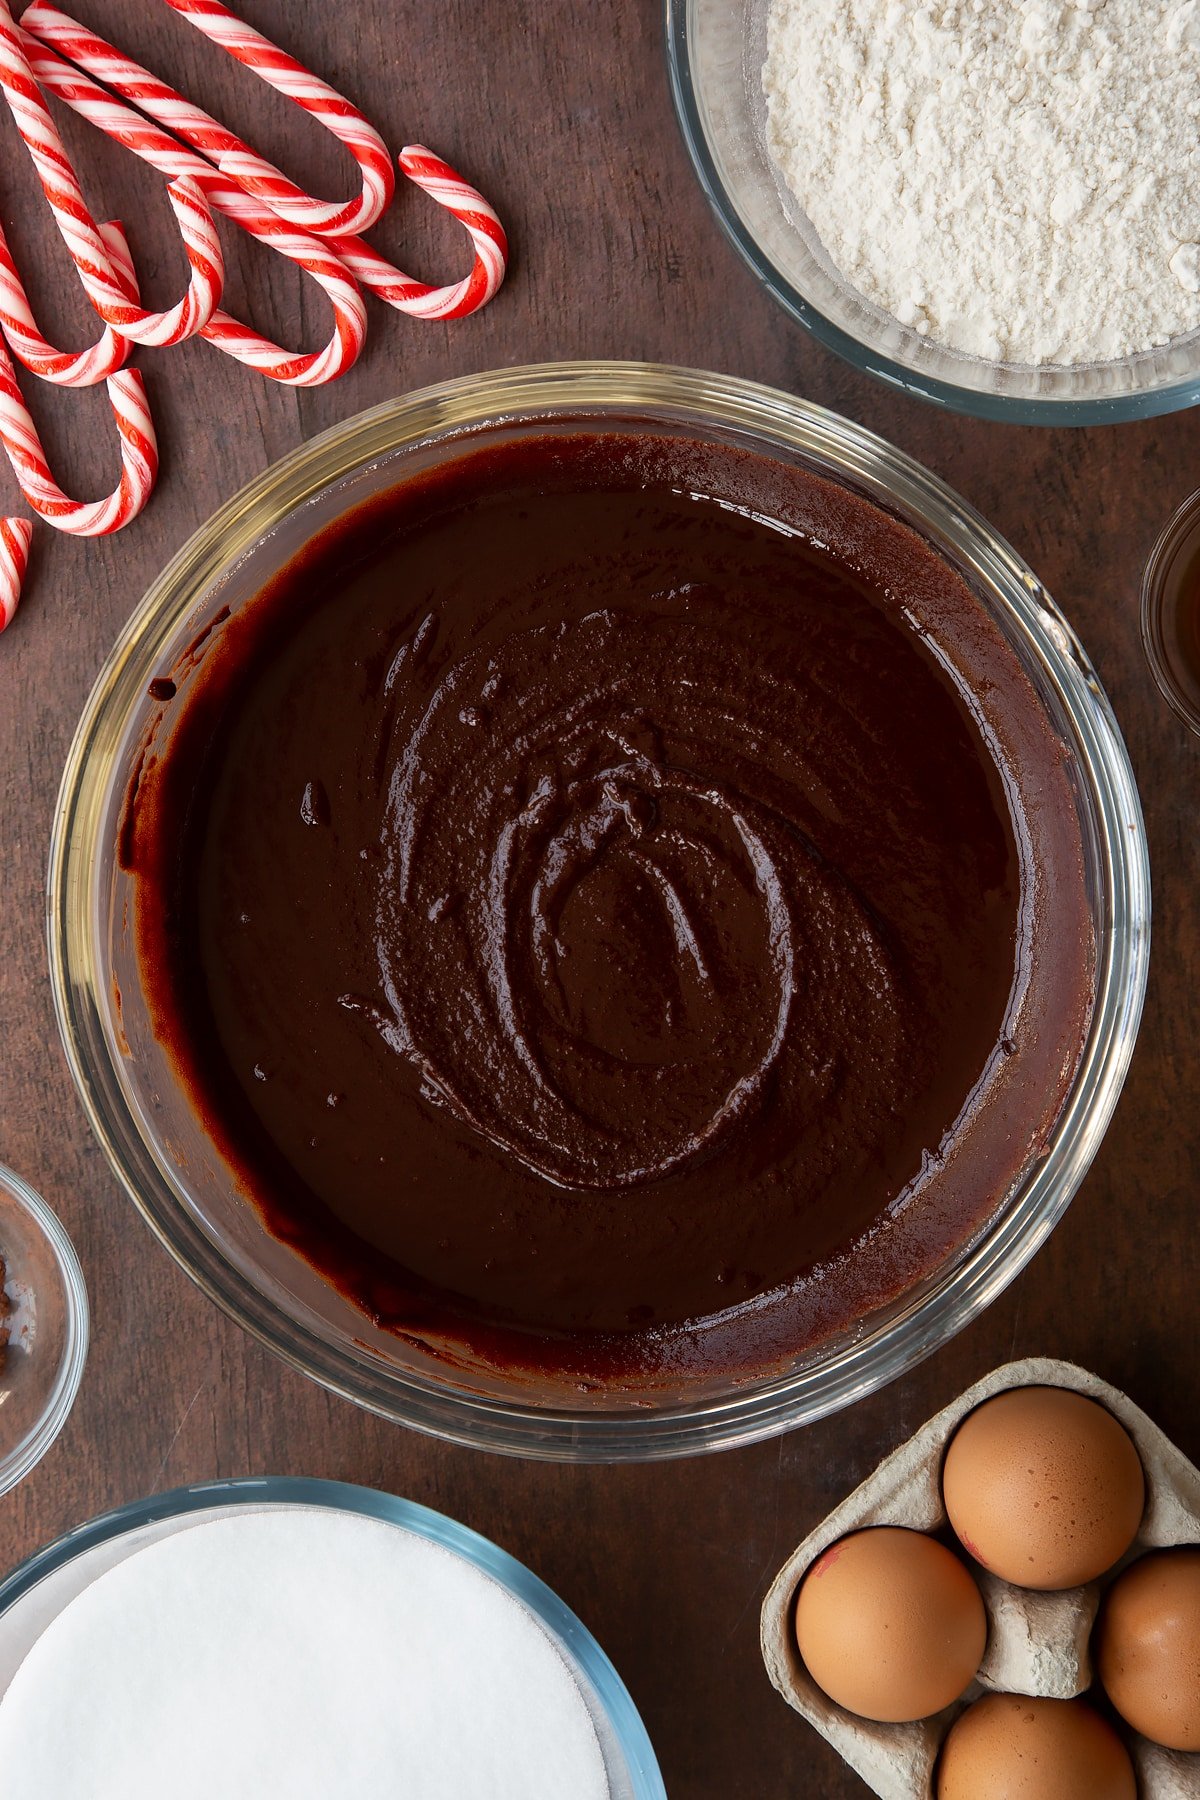
If the mixture is hot, wait until it's just slightly warm before adding the beaten egg and vanilla.
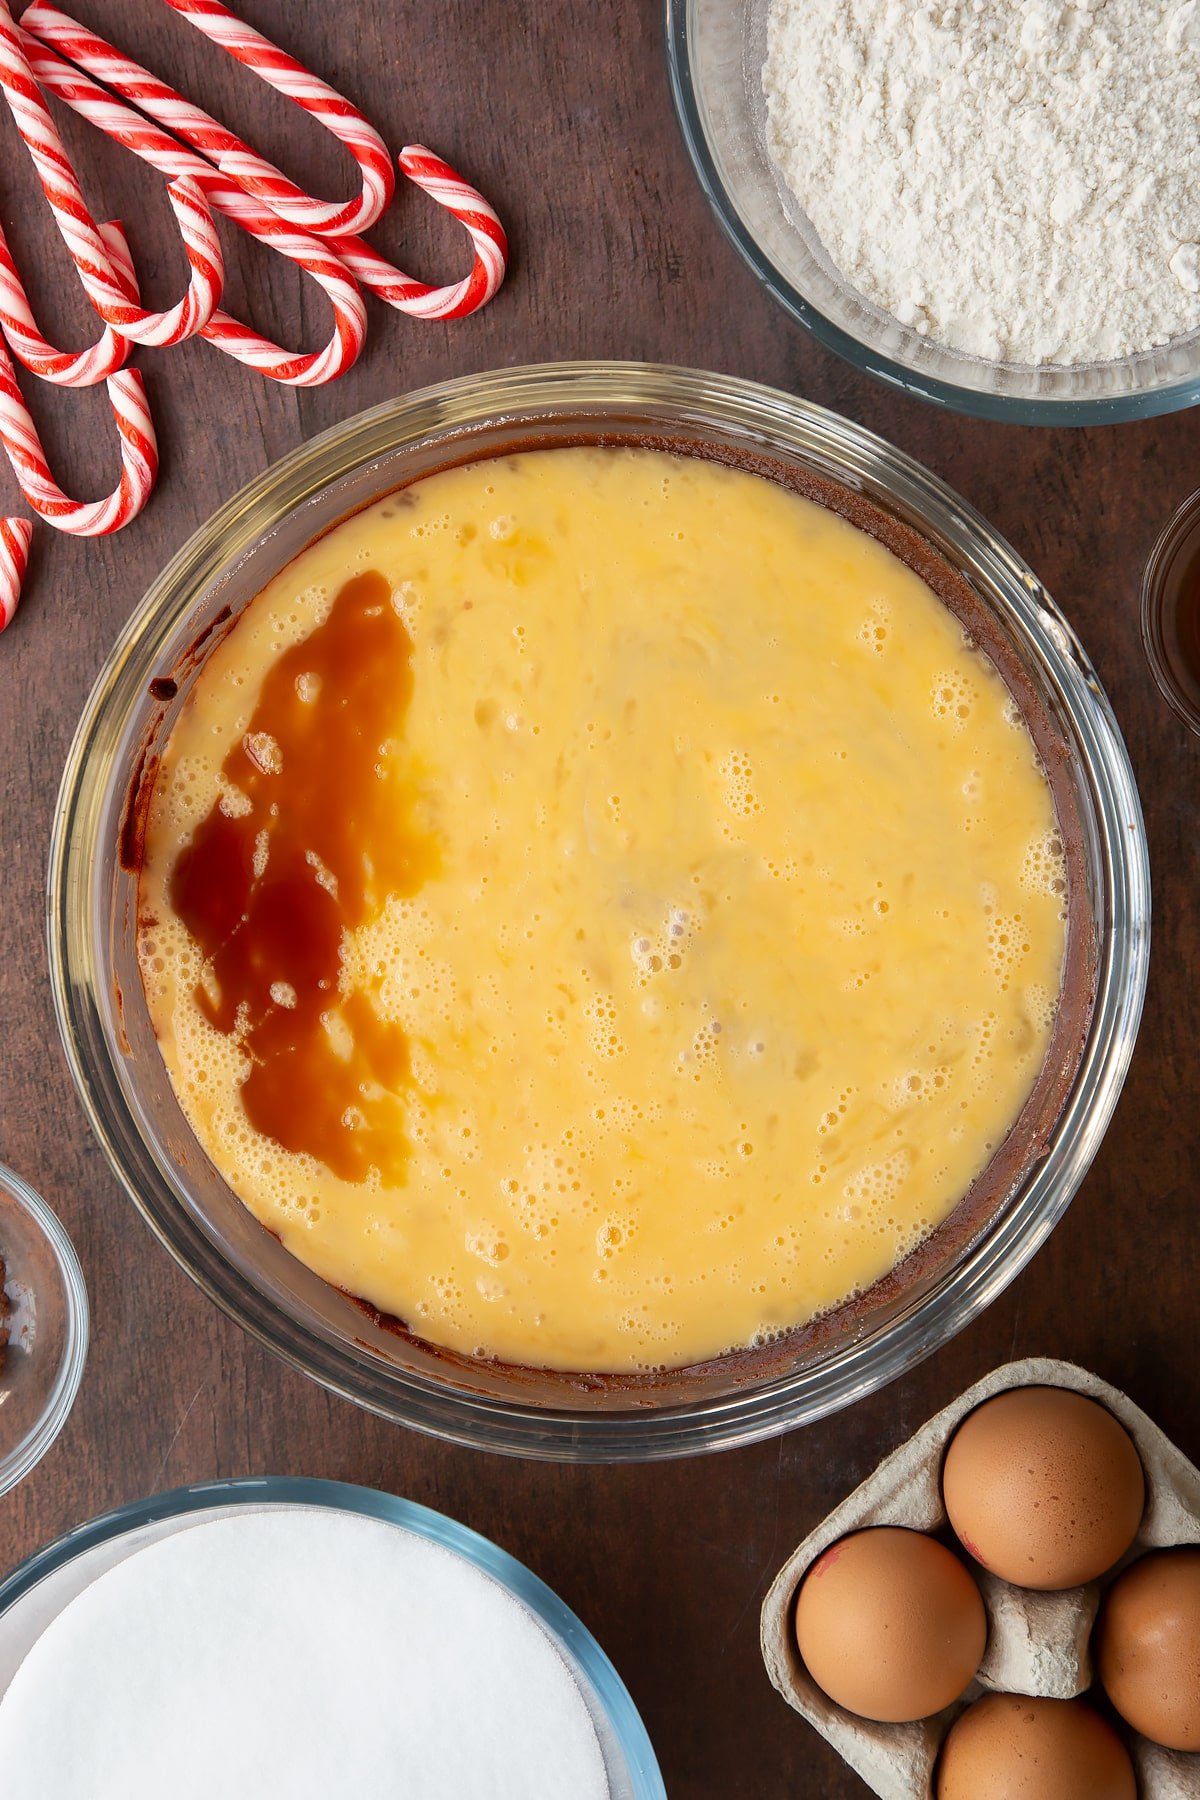
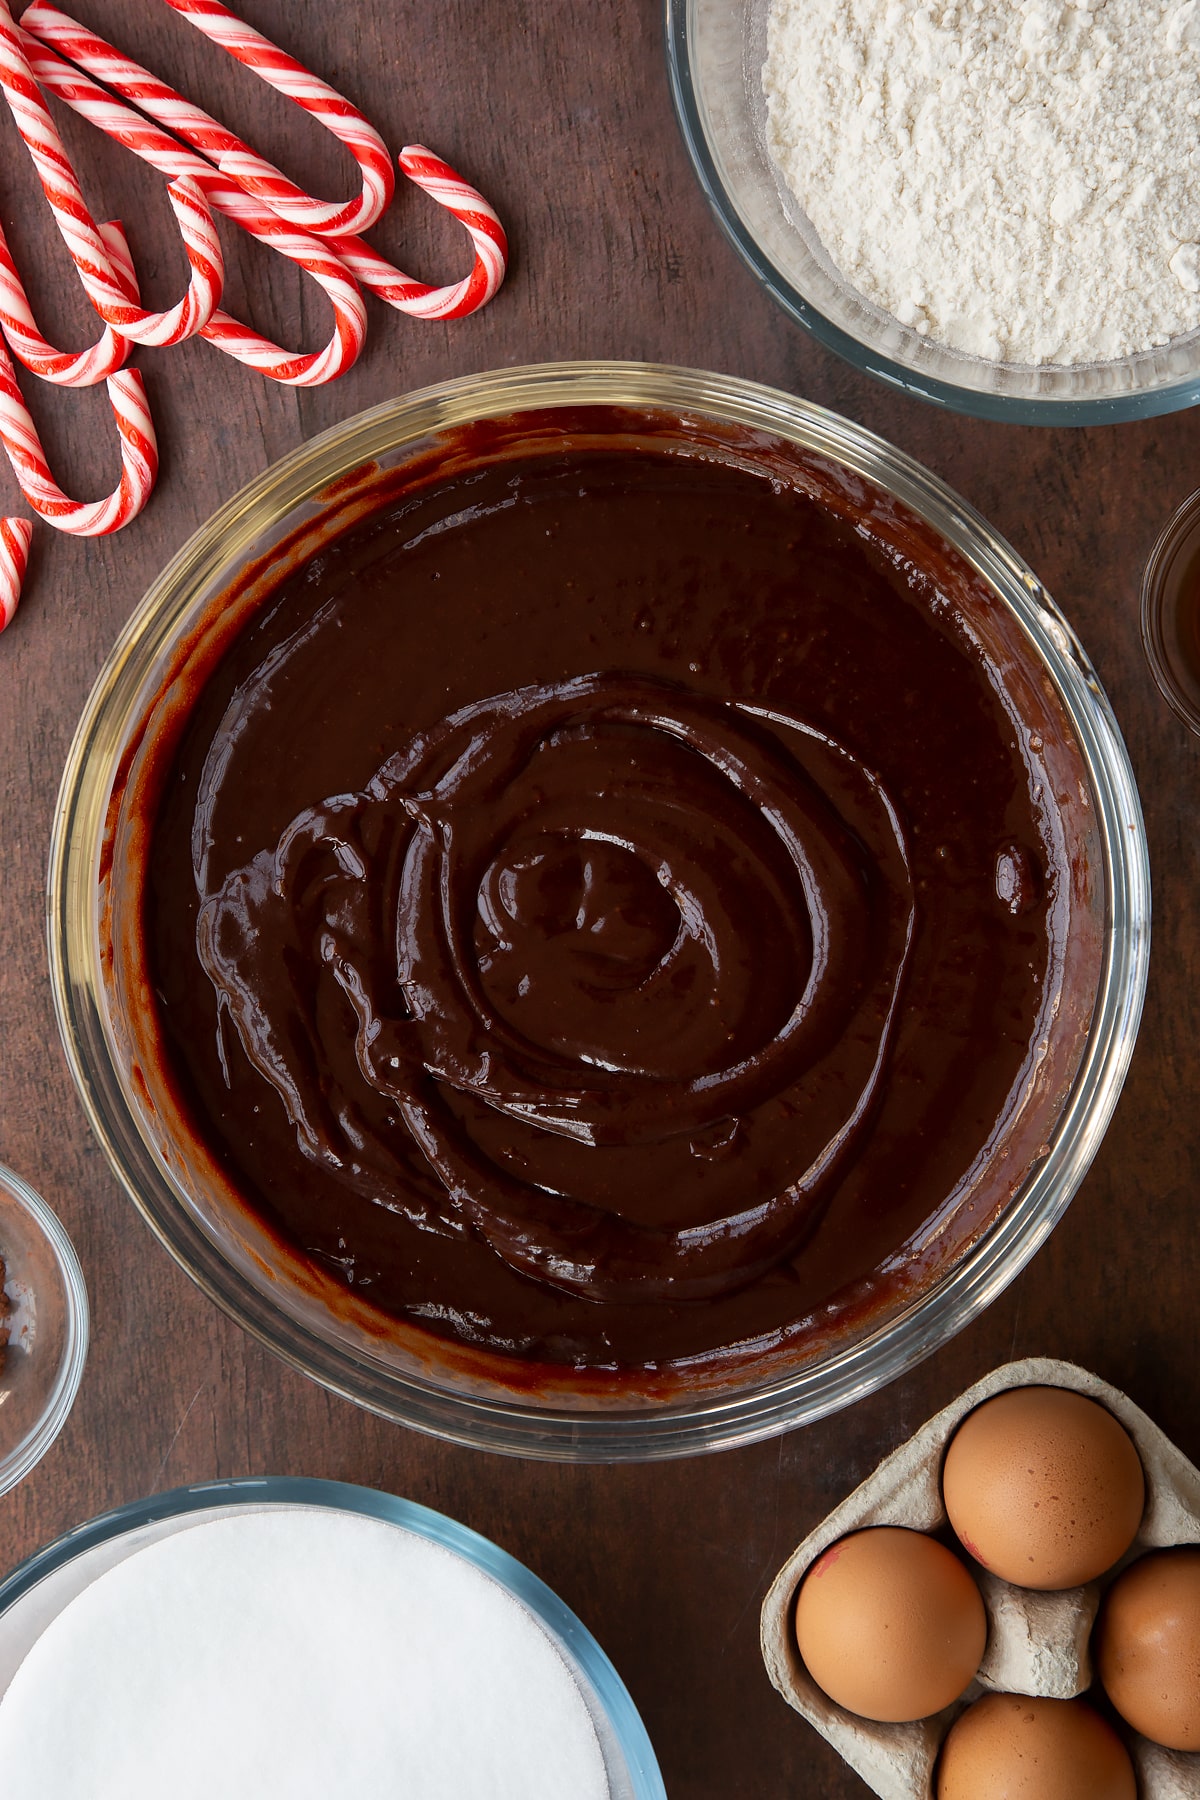
Whisk together until smooth.
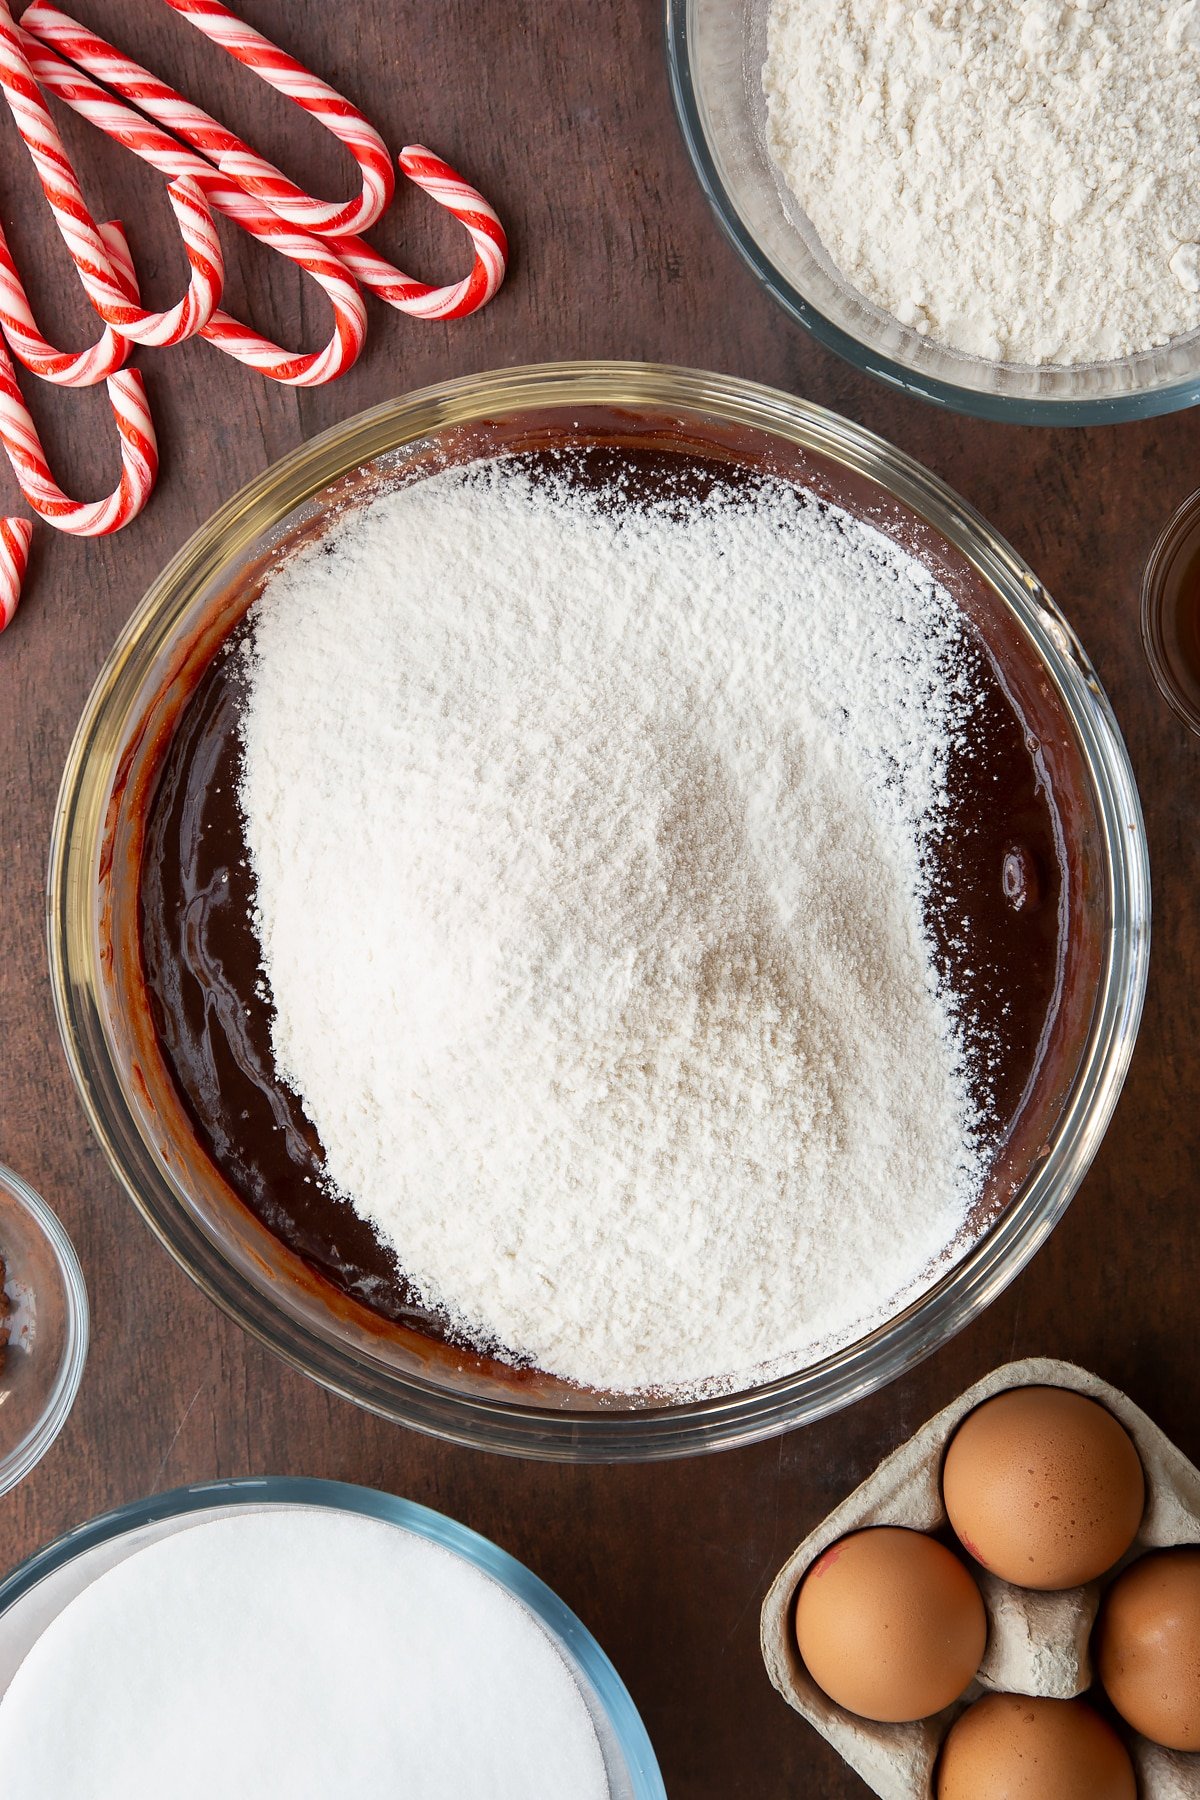
Sift the flour into the bowl.
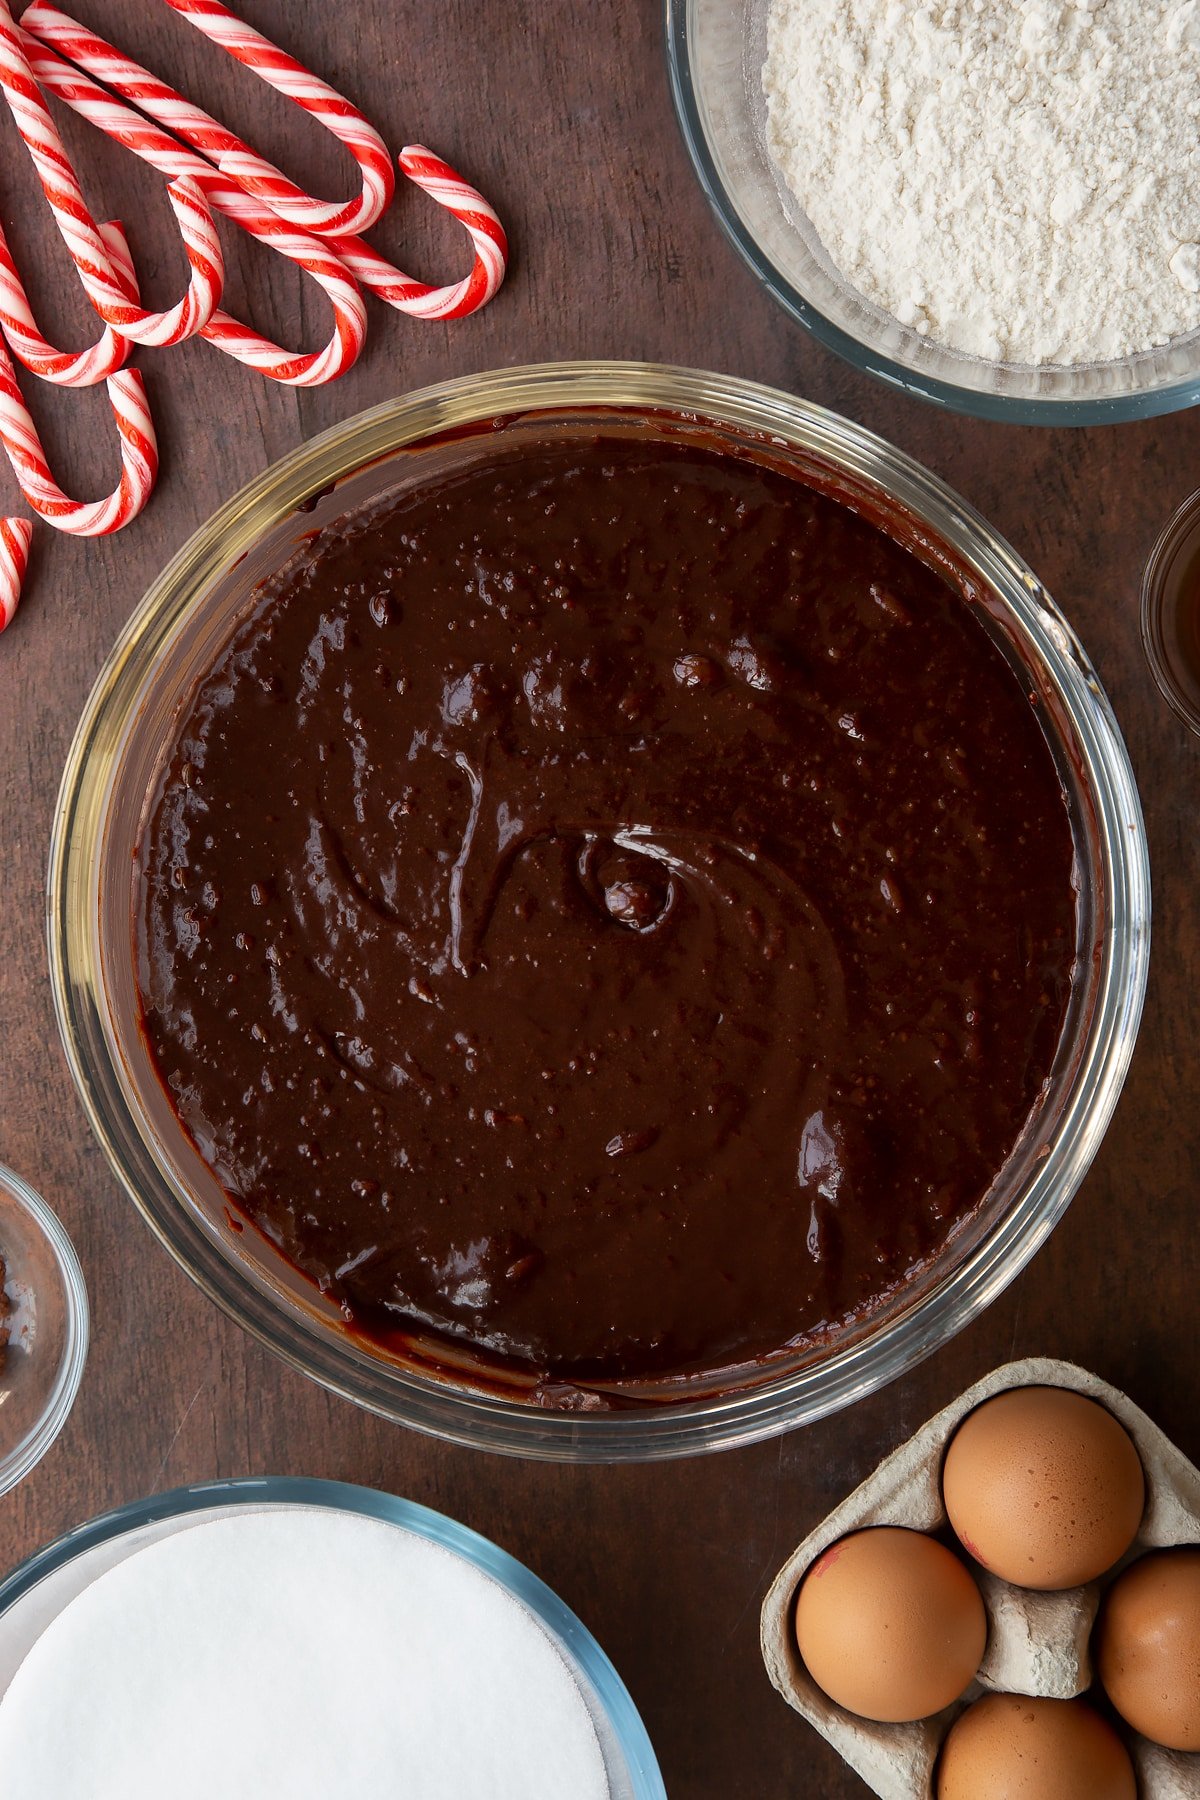
Gently fold through until evenly combined.
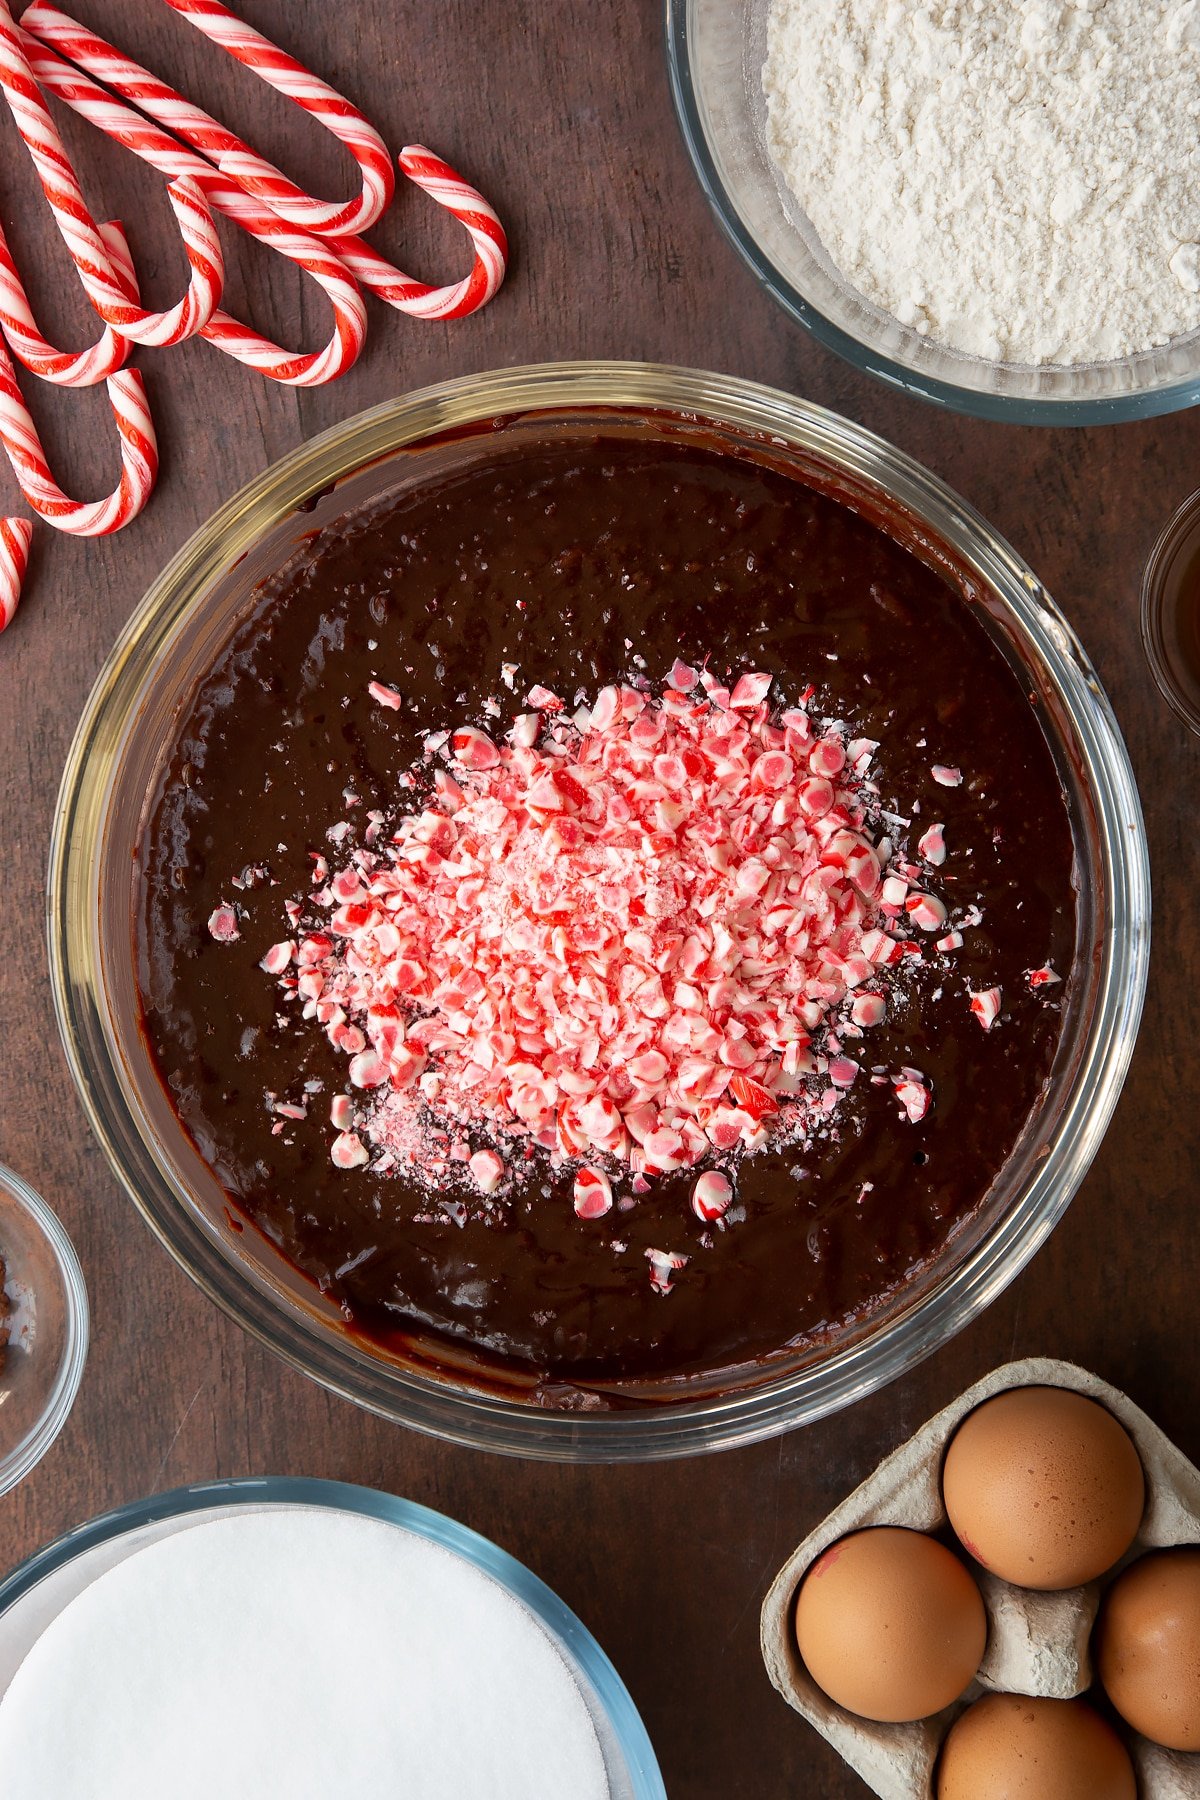
Add the chopped candy canes.
Fold through to evenly distribute.
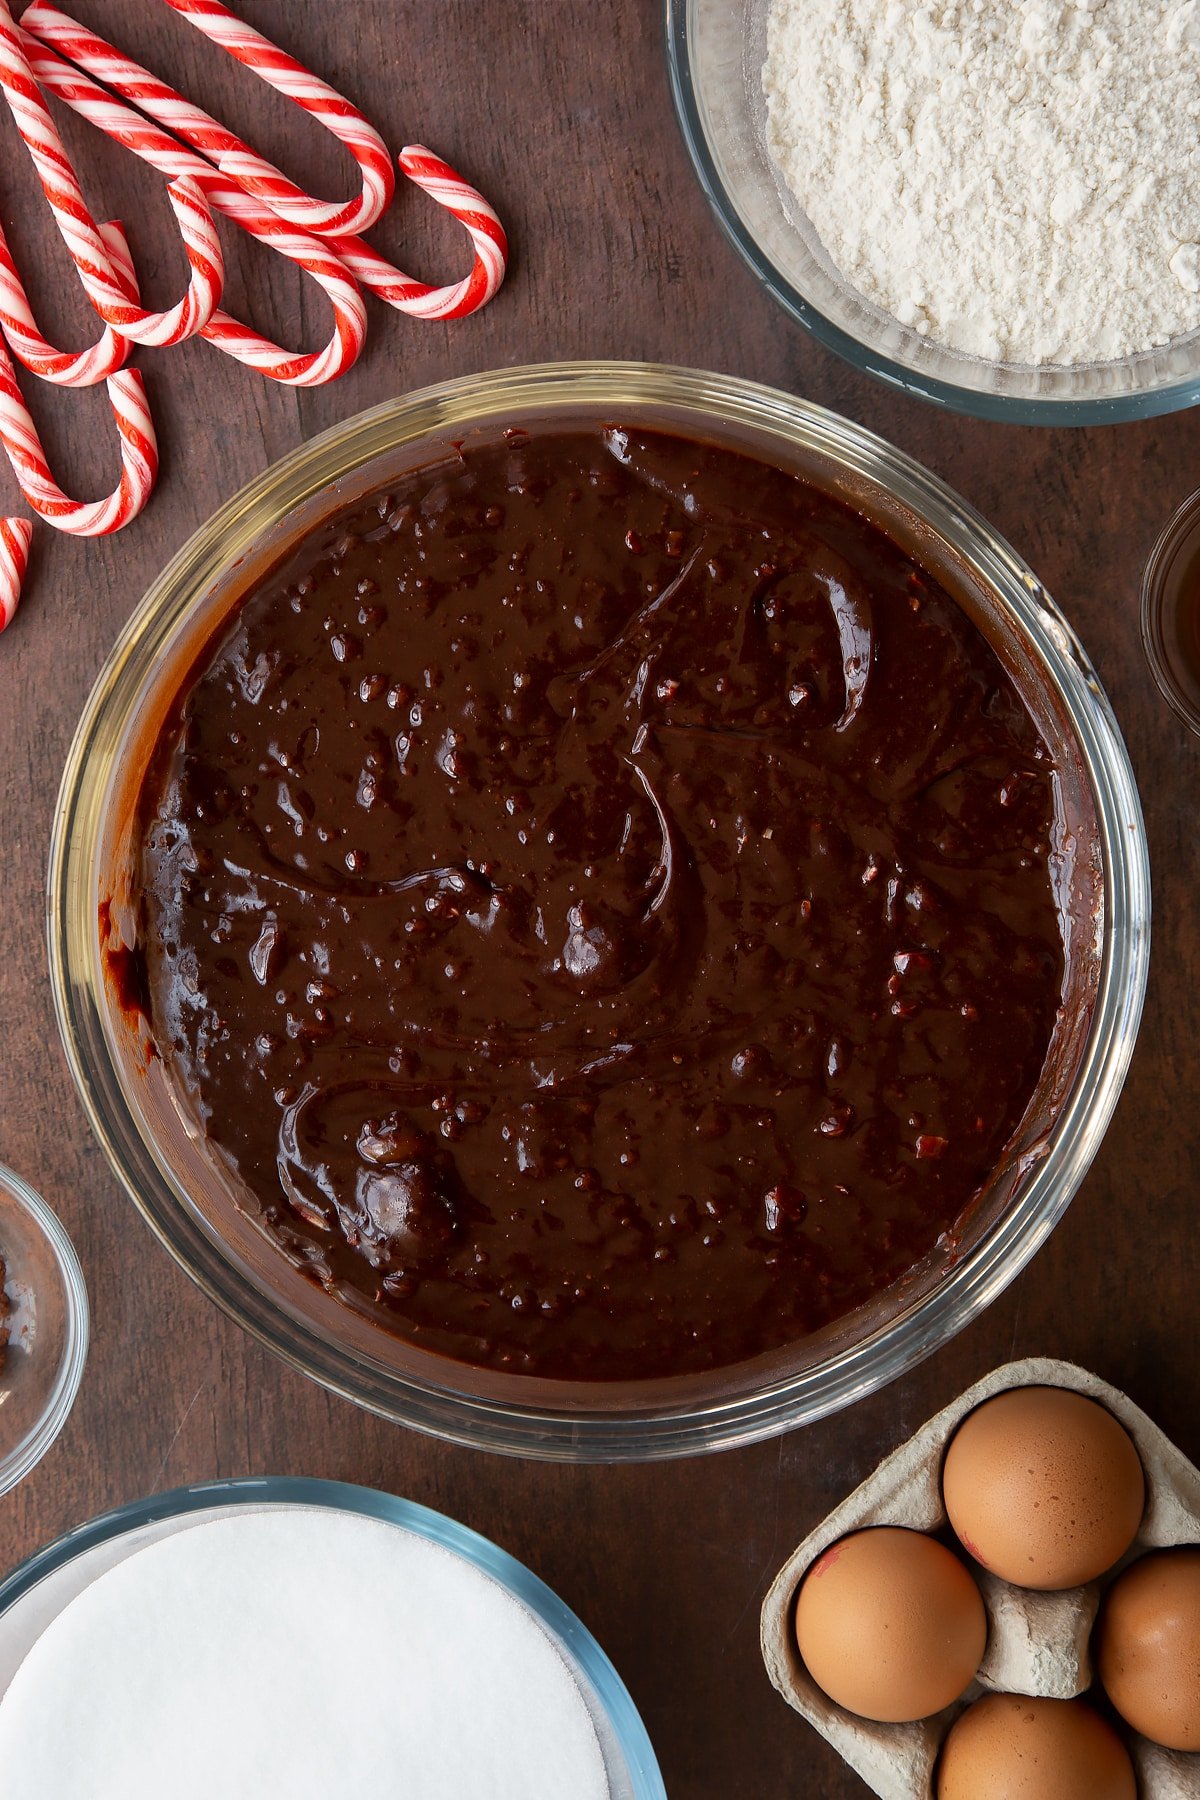
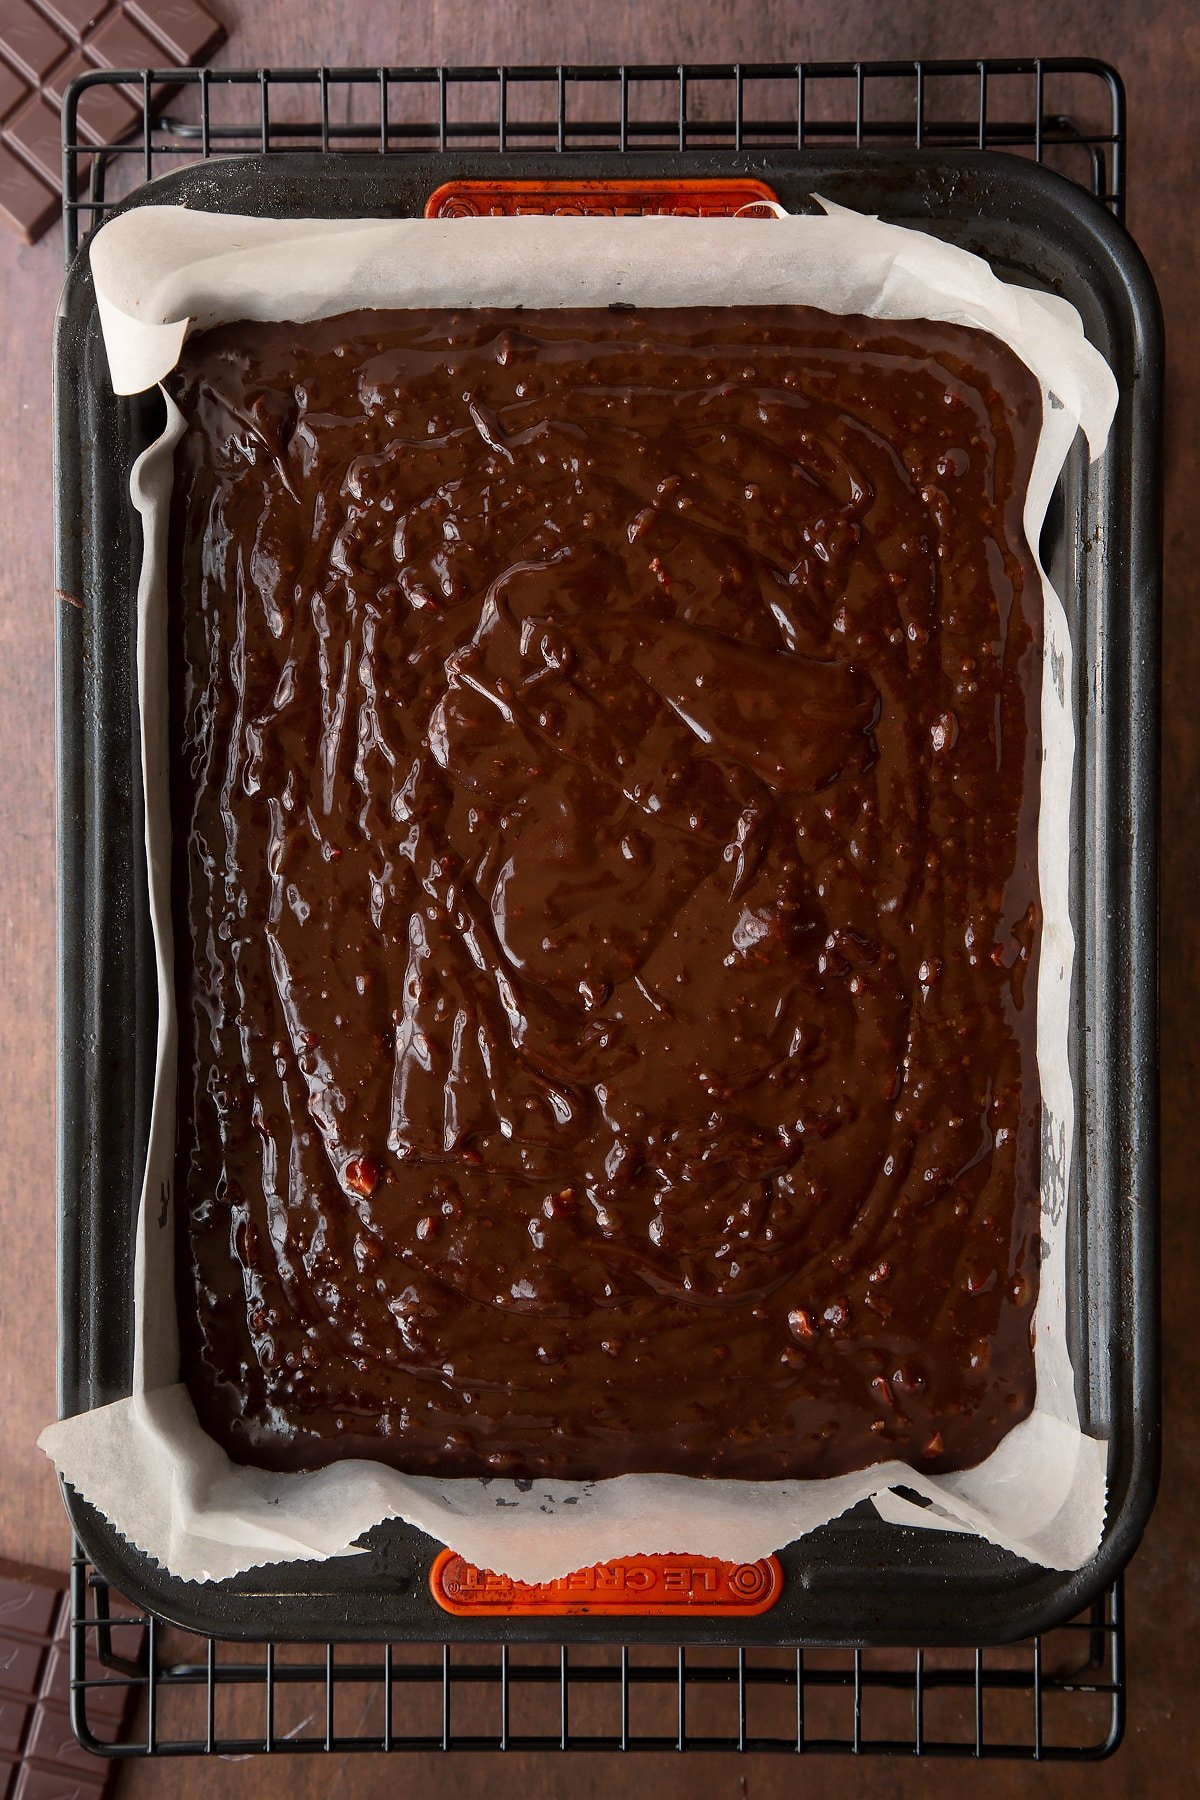
Grease and line a 20cm x 28cm (8 inch x 11 inch) non-stick shallow rectangular cake tin. Fill with the brownie batter and level off.
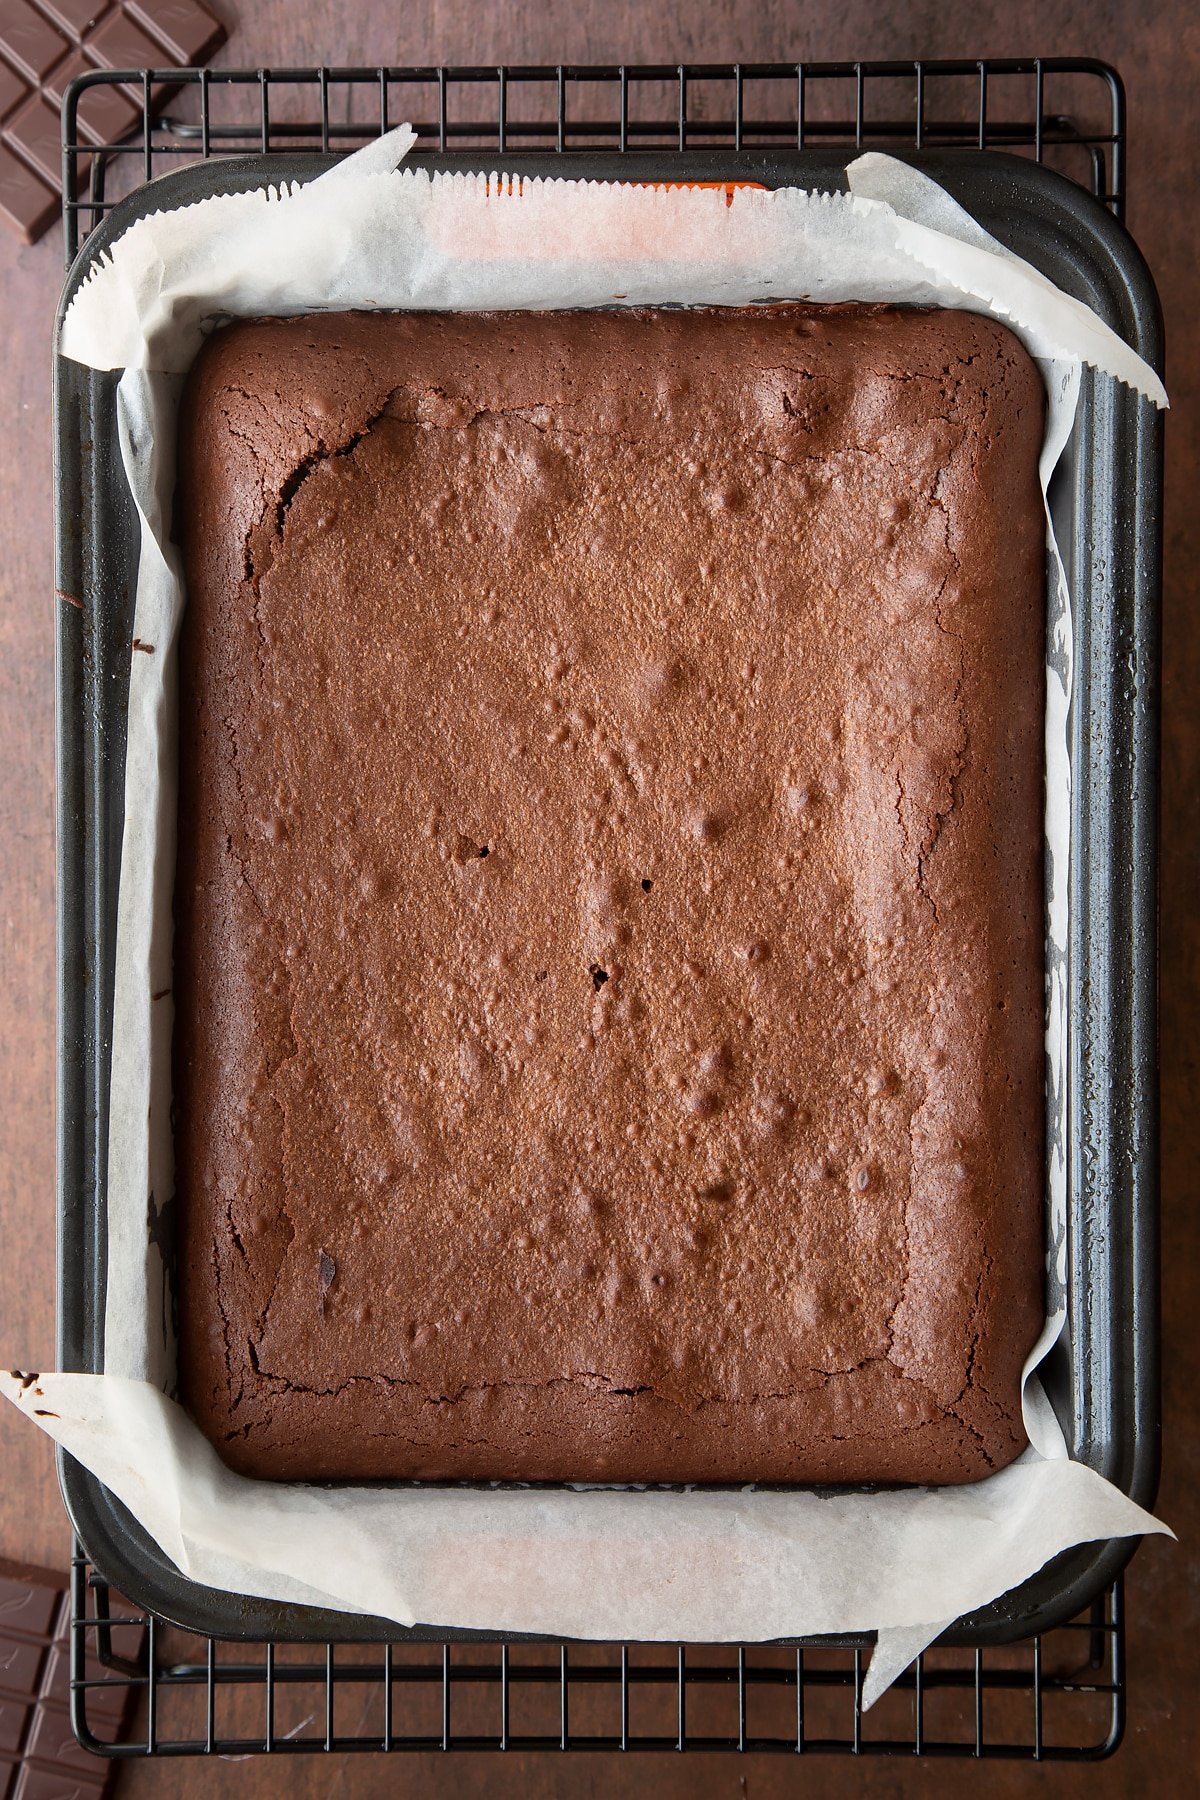
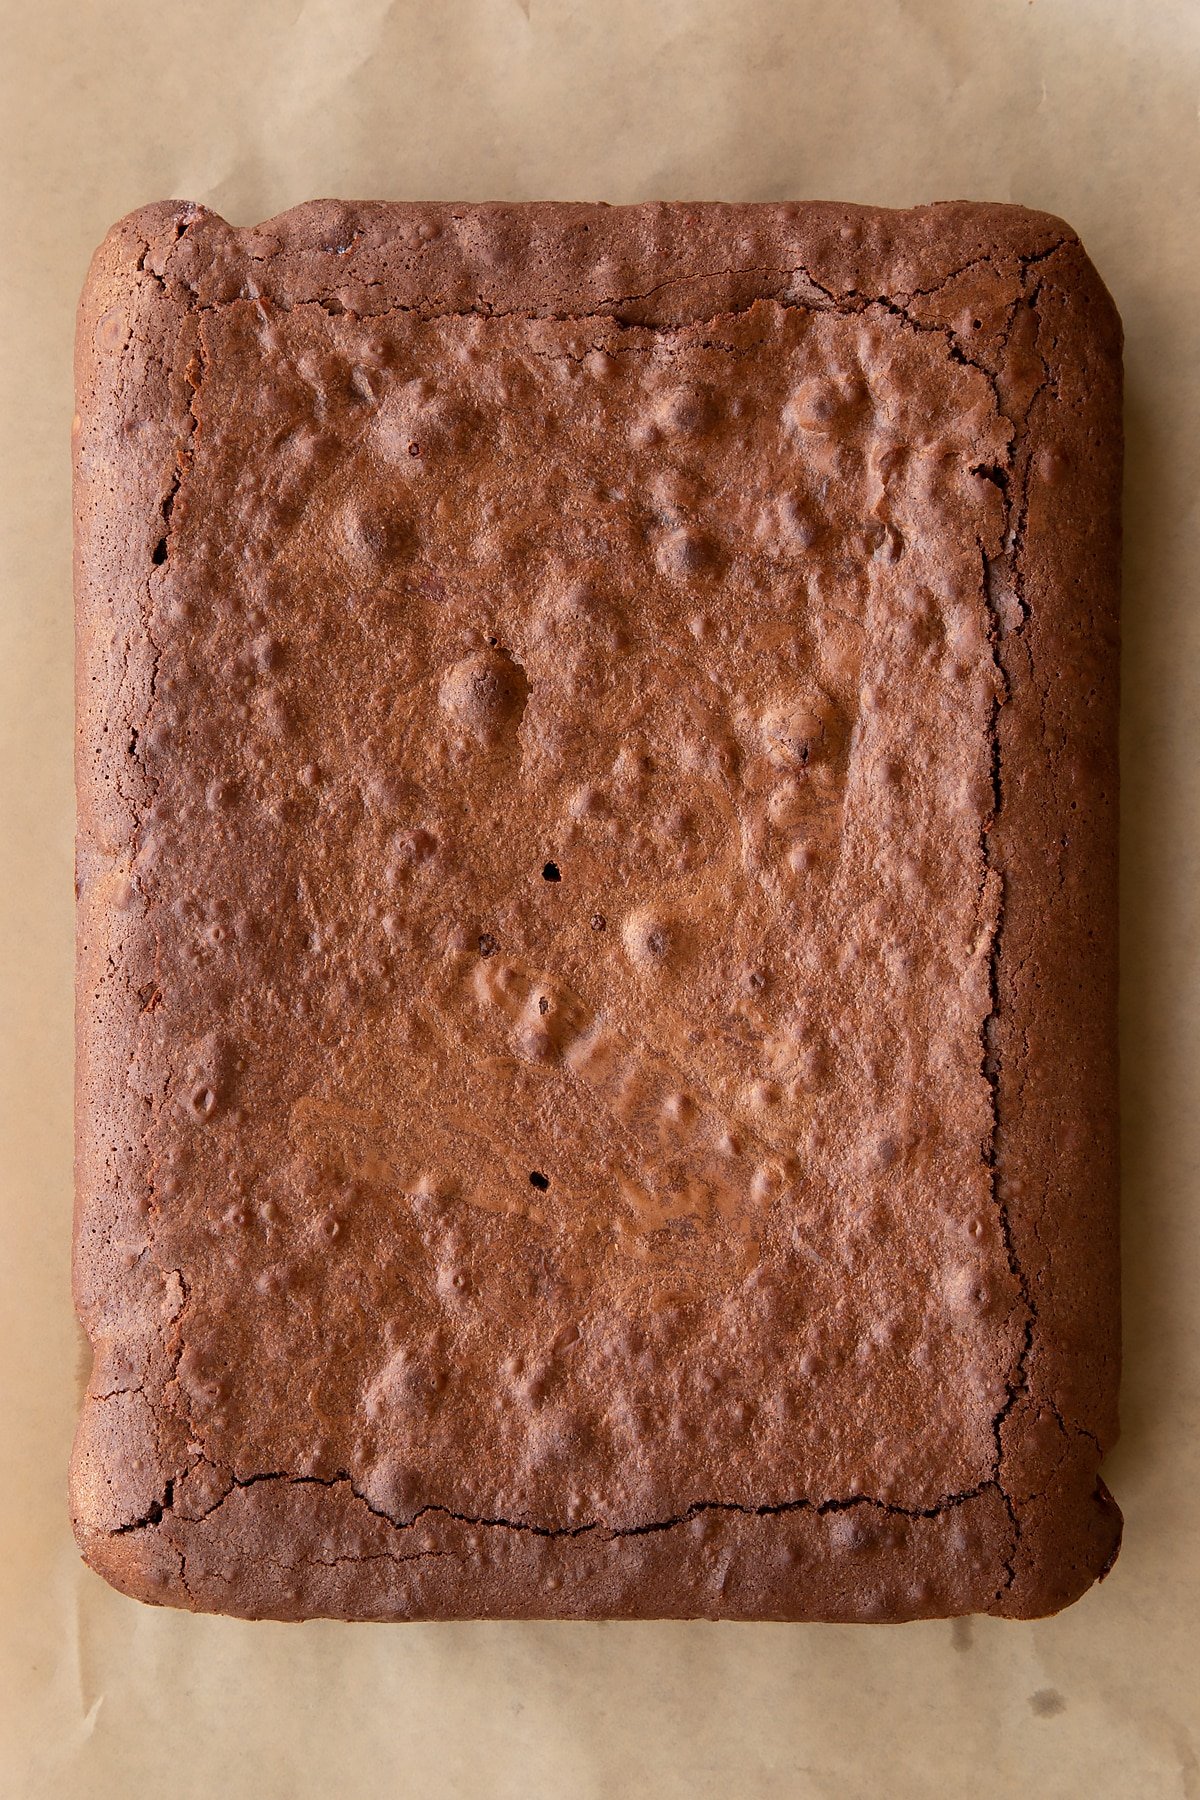
Bake in your preheated oven for 35-40 minutes until set all the way across. A skewer pushed into the centre should reveal sticky crumbs.
Place on a wire rack to cool for 15 minutes, then turn out to cool completely.
Make the ganache topping
Place the chopped dark chocolate in a heatproof bowl.
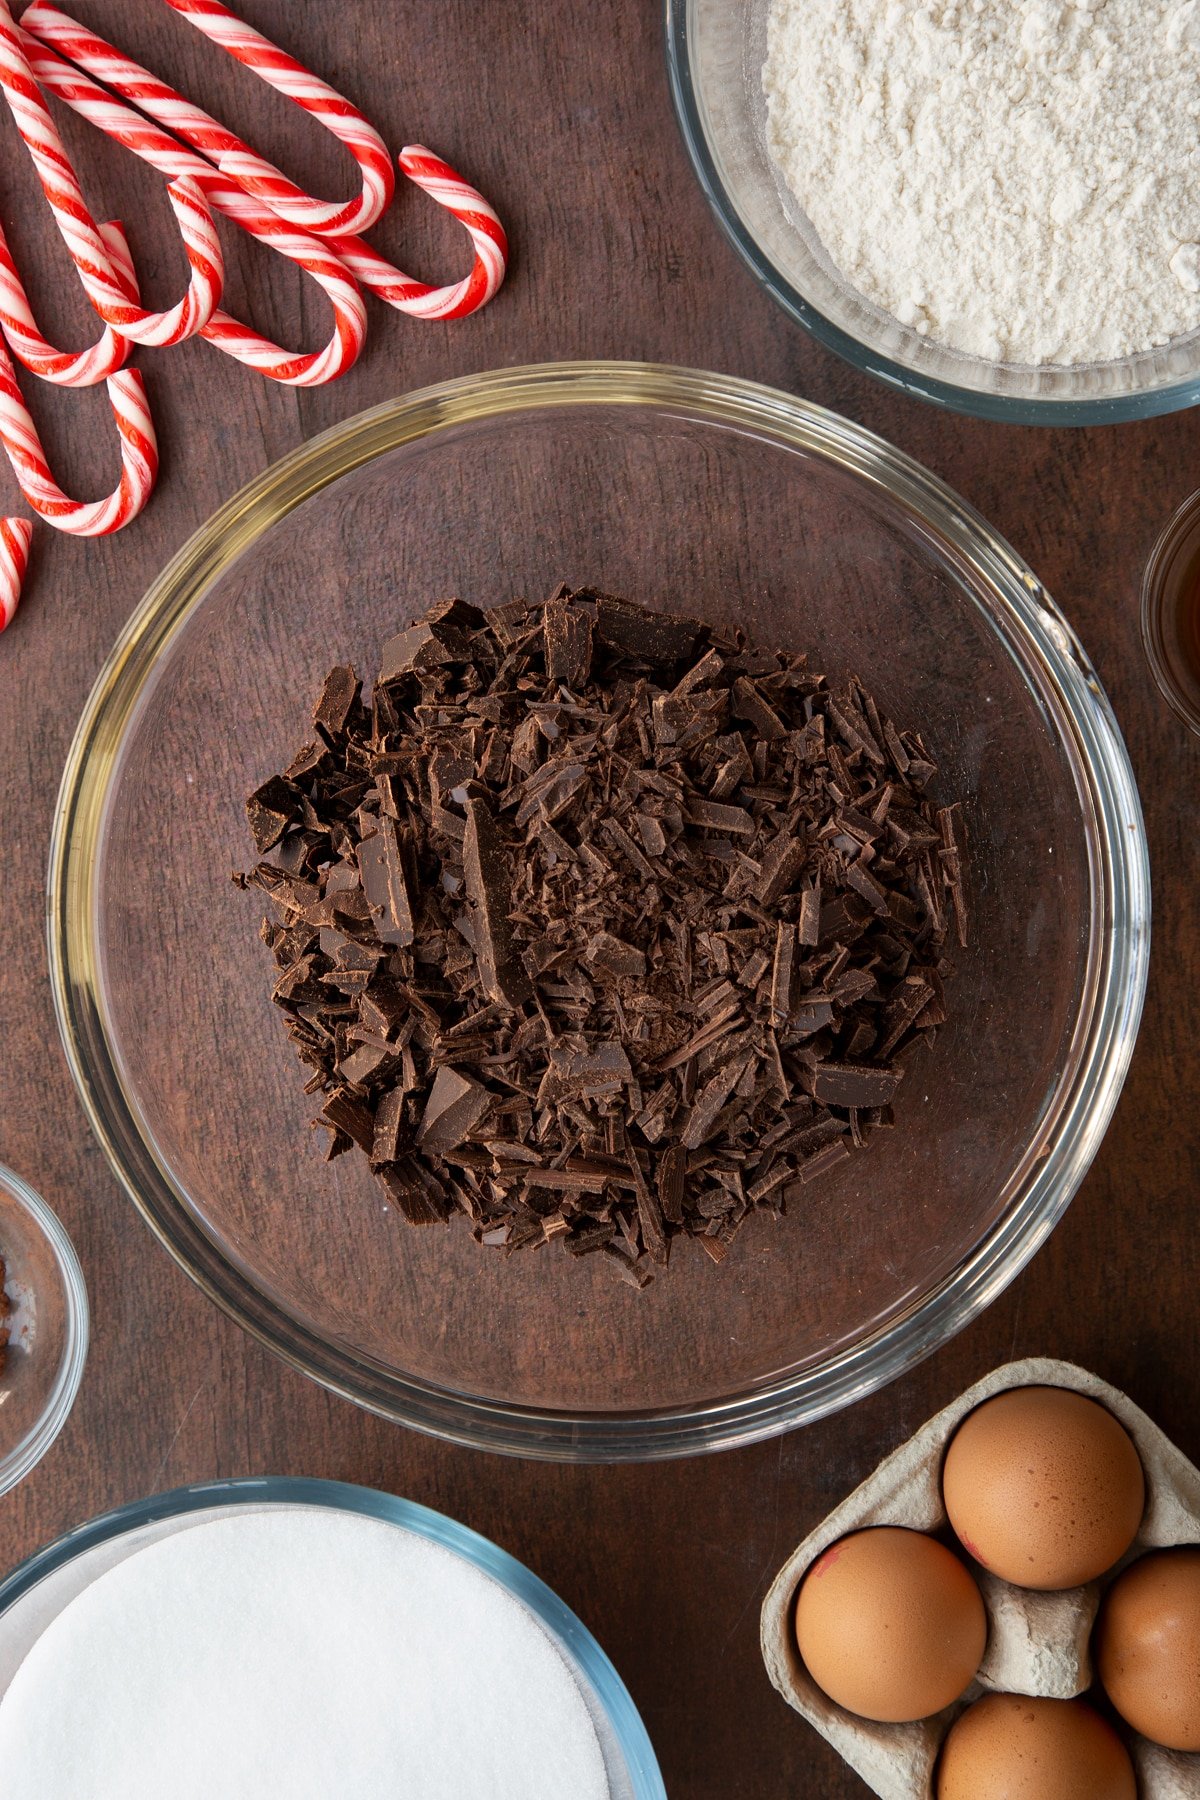
Melt.
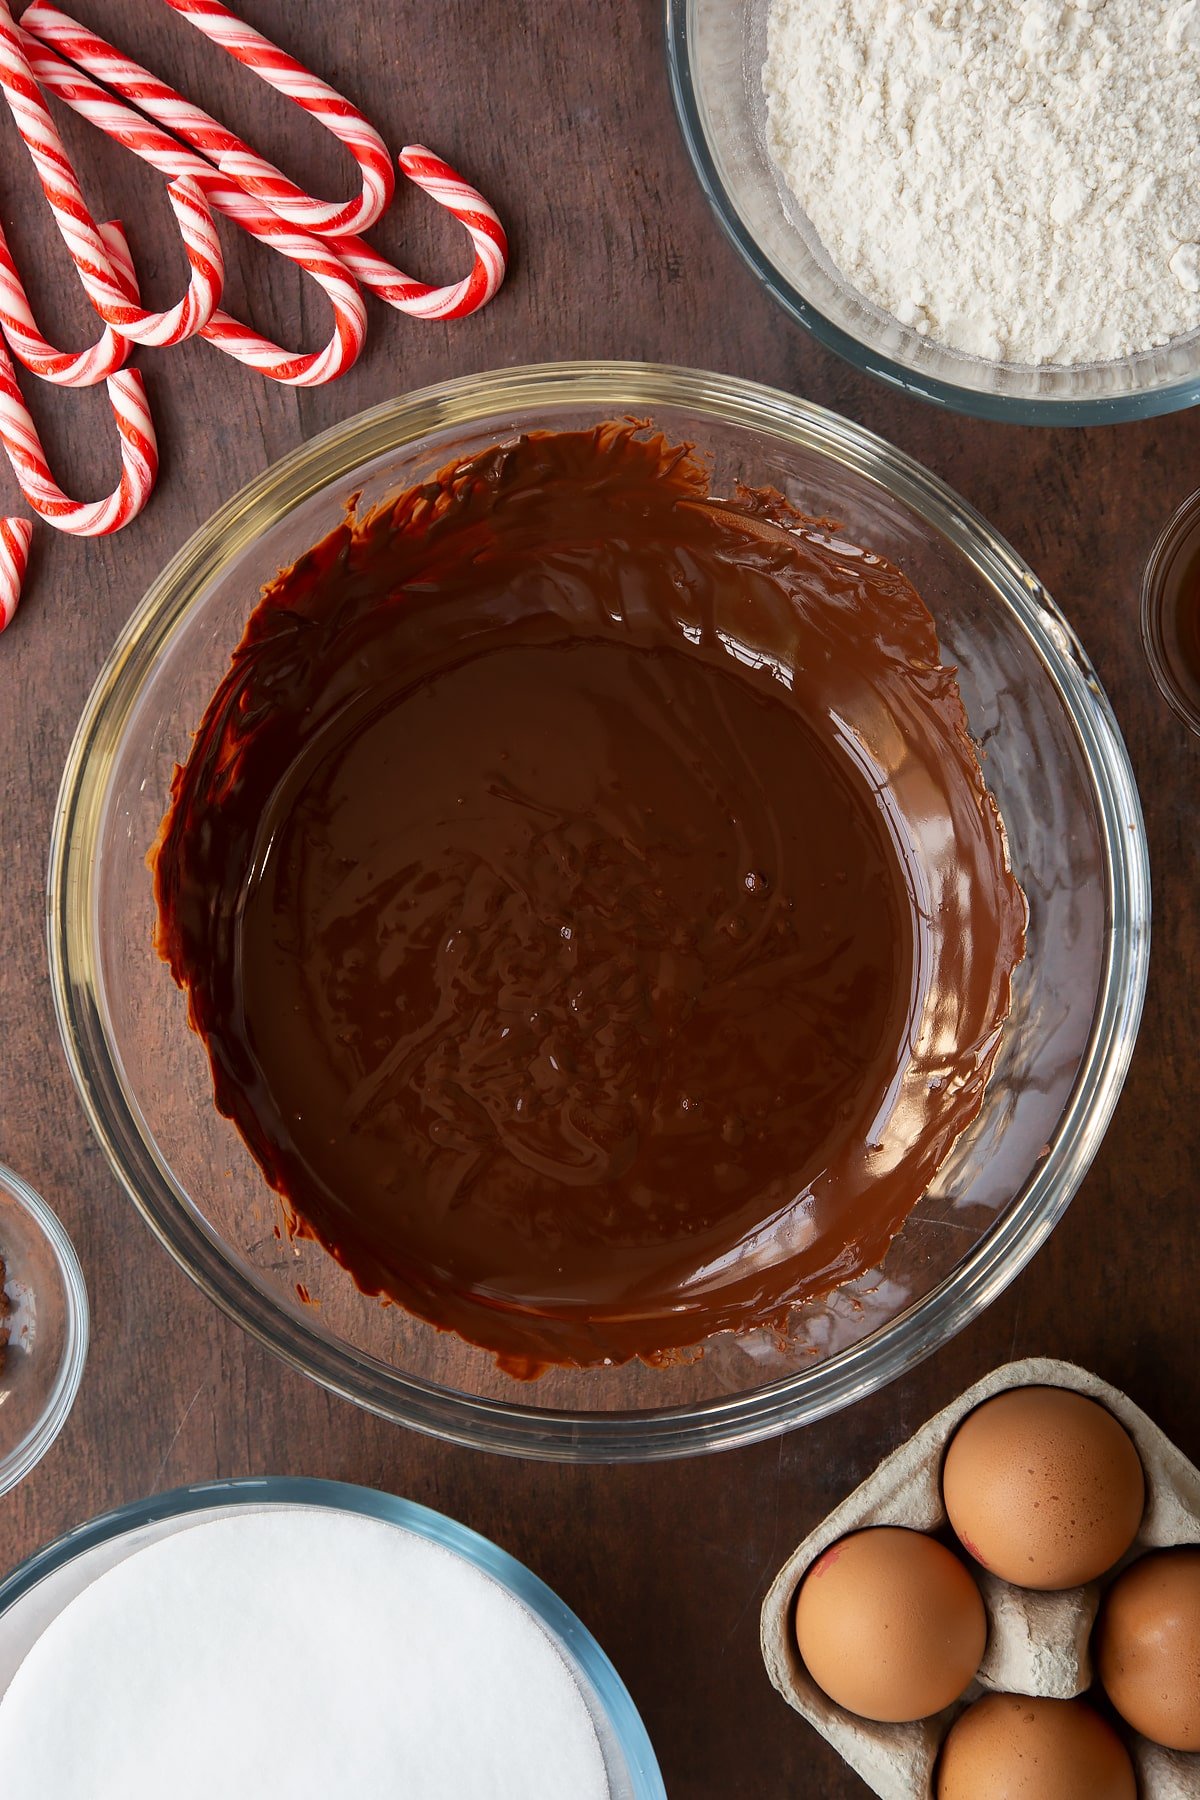
Add the cream.
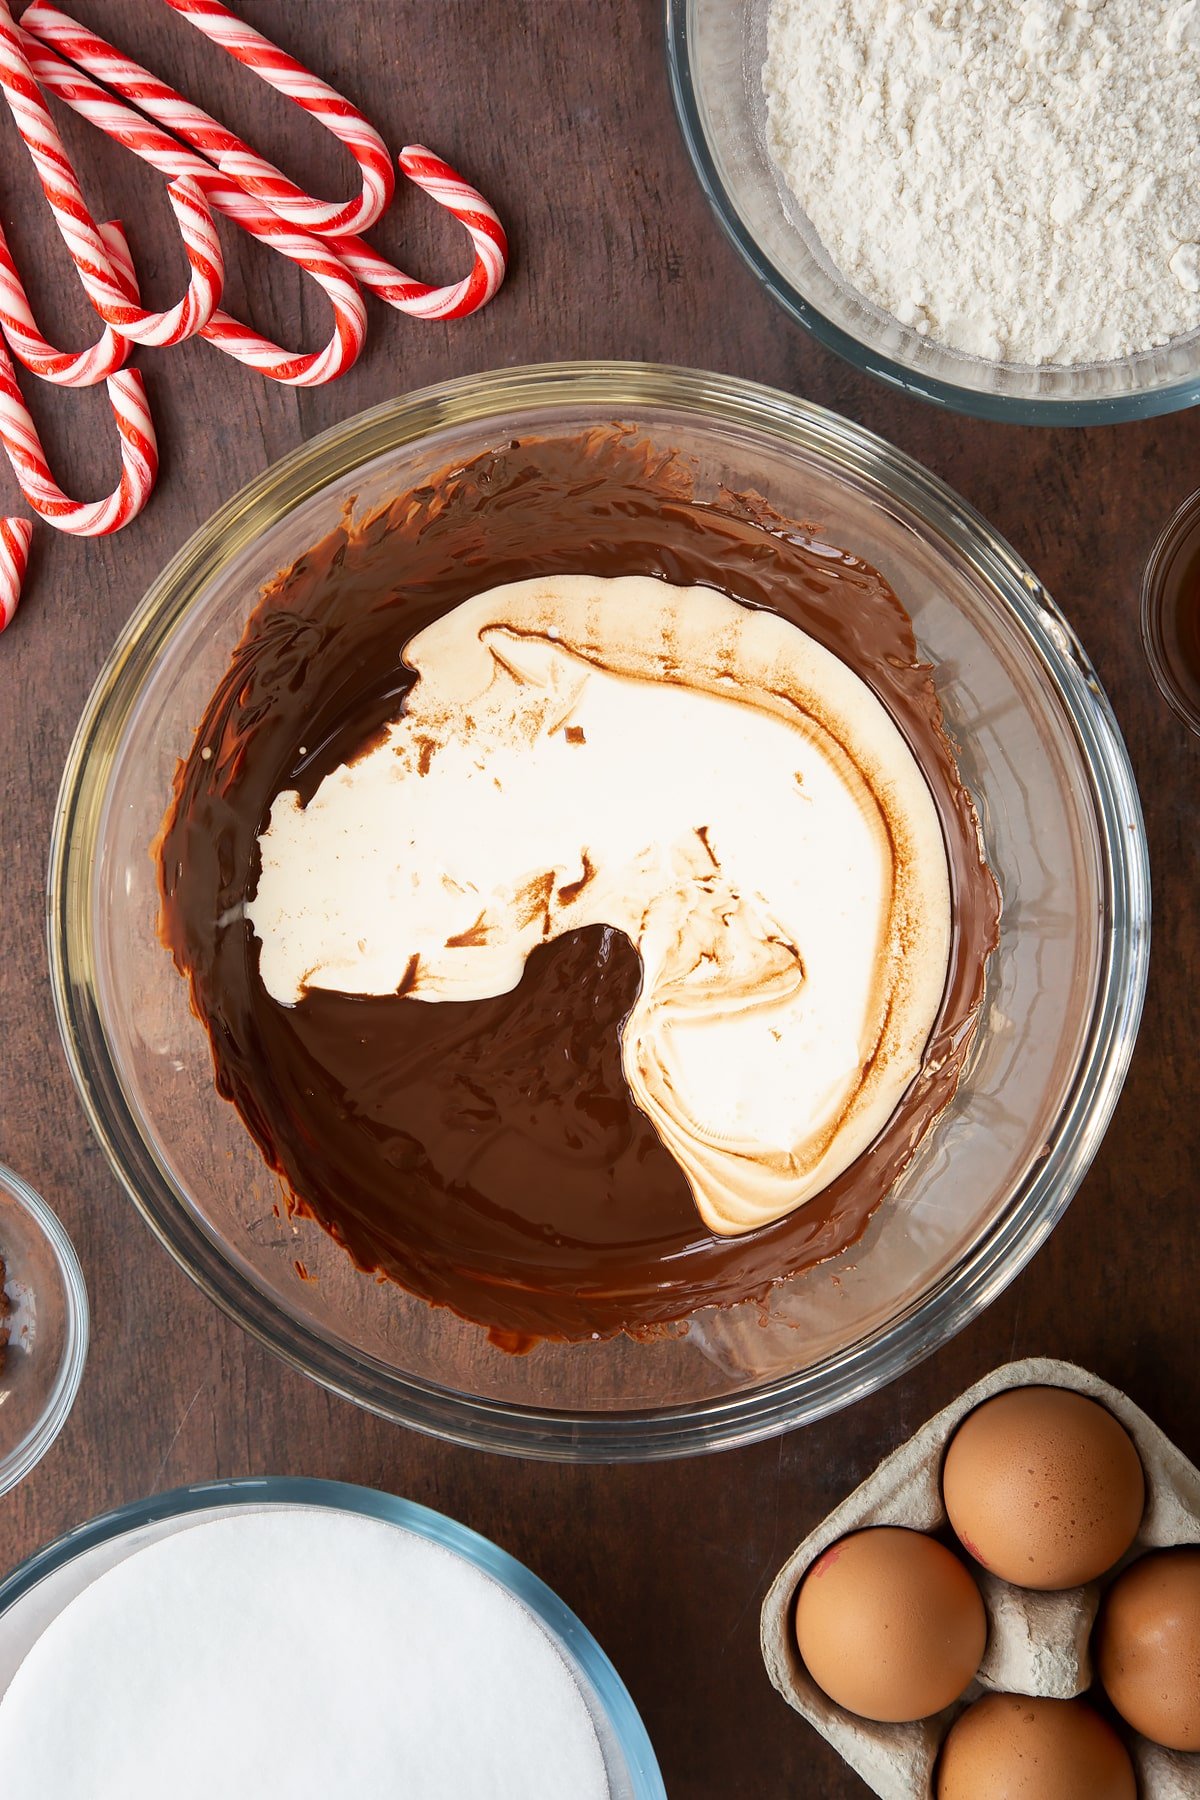
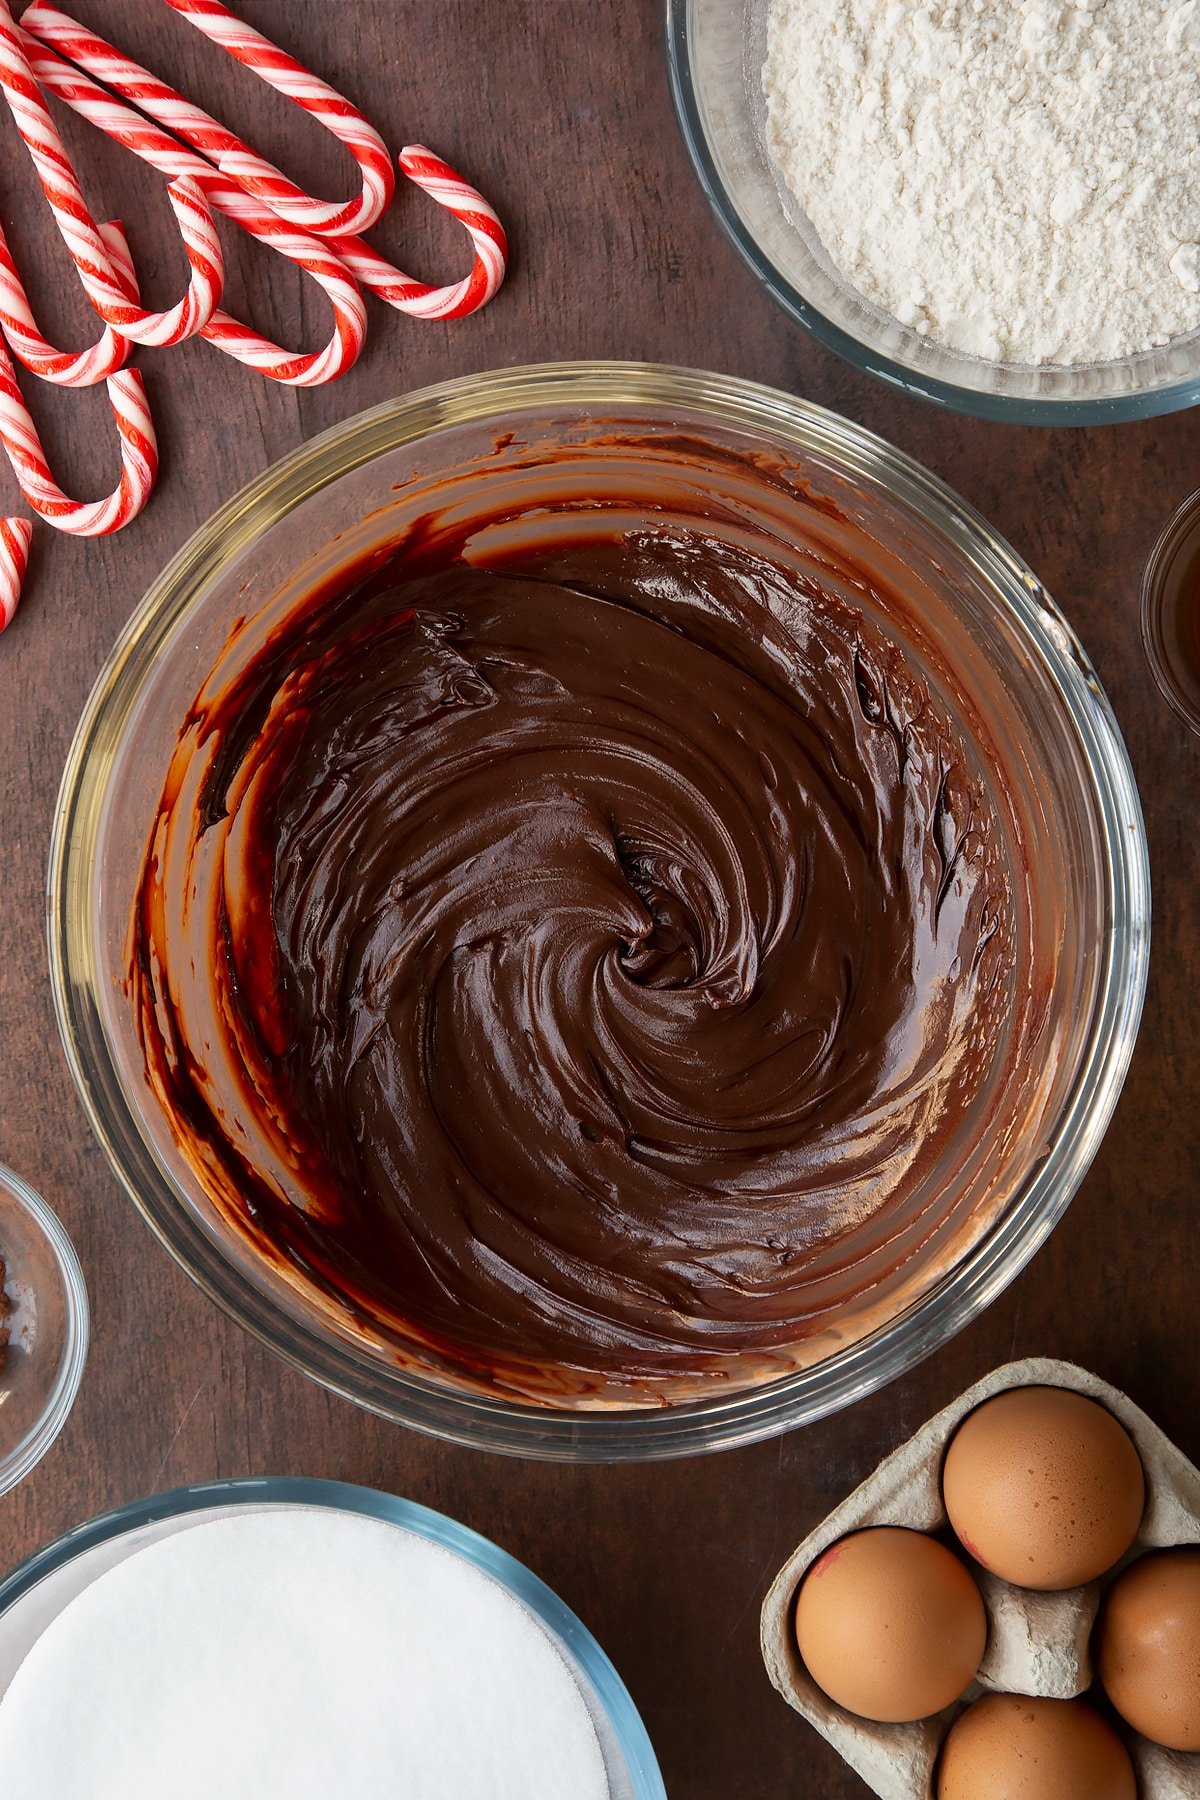
Whisk together. At first, it might look murky, but it should quickly transform to a smooth, glossy ganache.
Bring it all together
Transfer the fully cooled brownie to a board.
Spoon the still-warm ganache on top - this is important as it will set once cool.
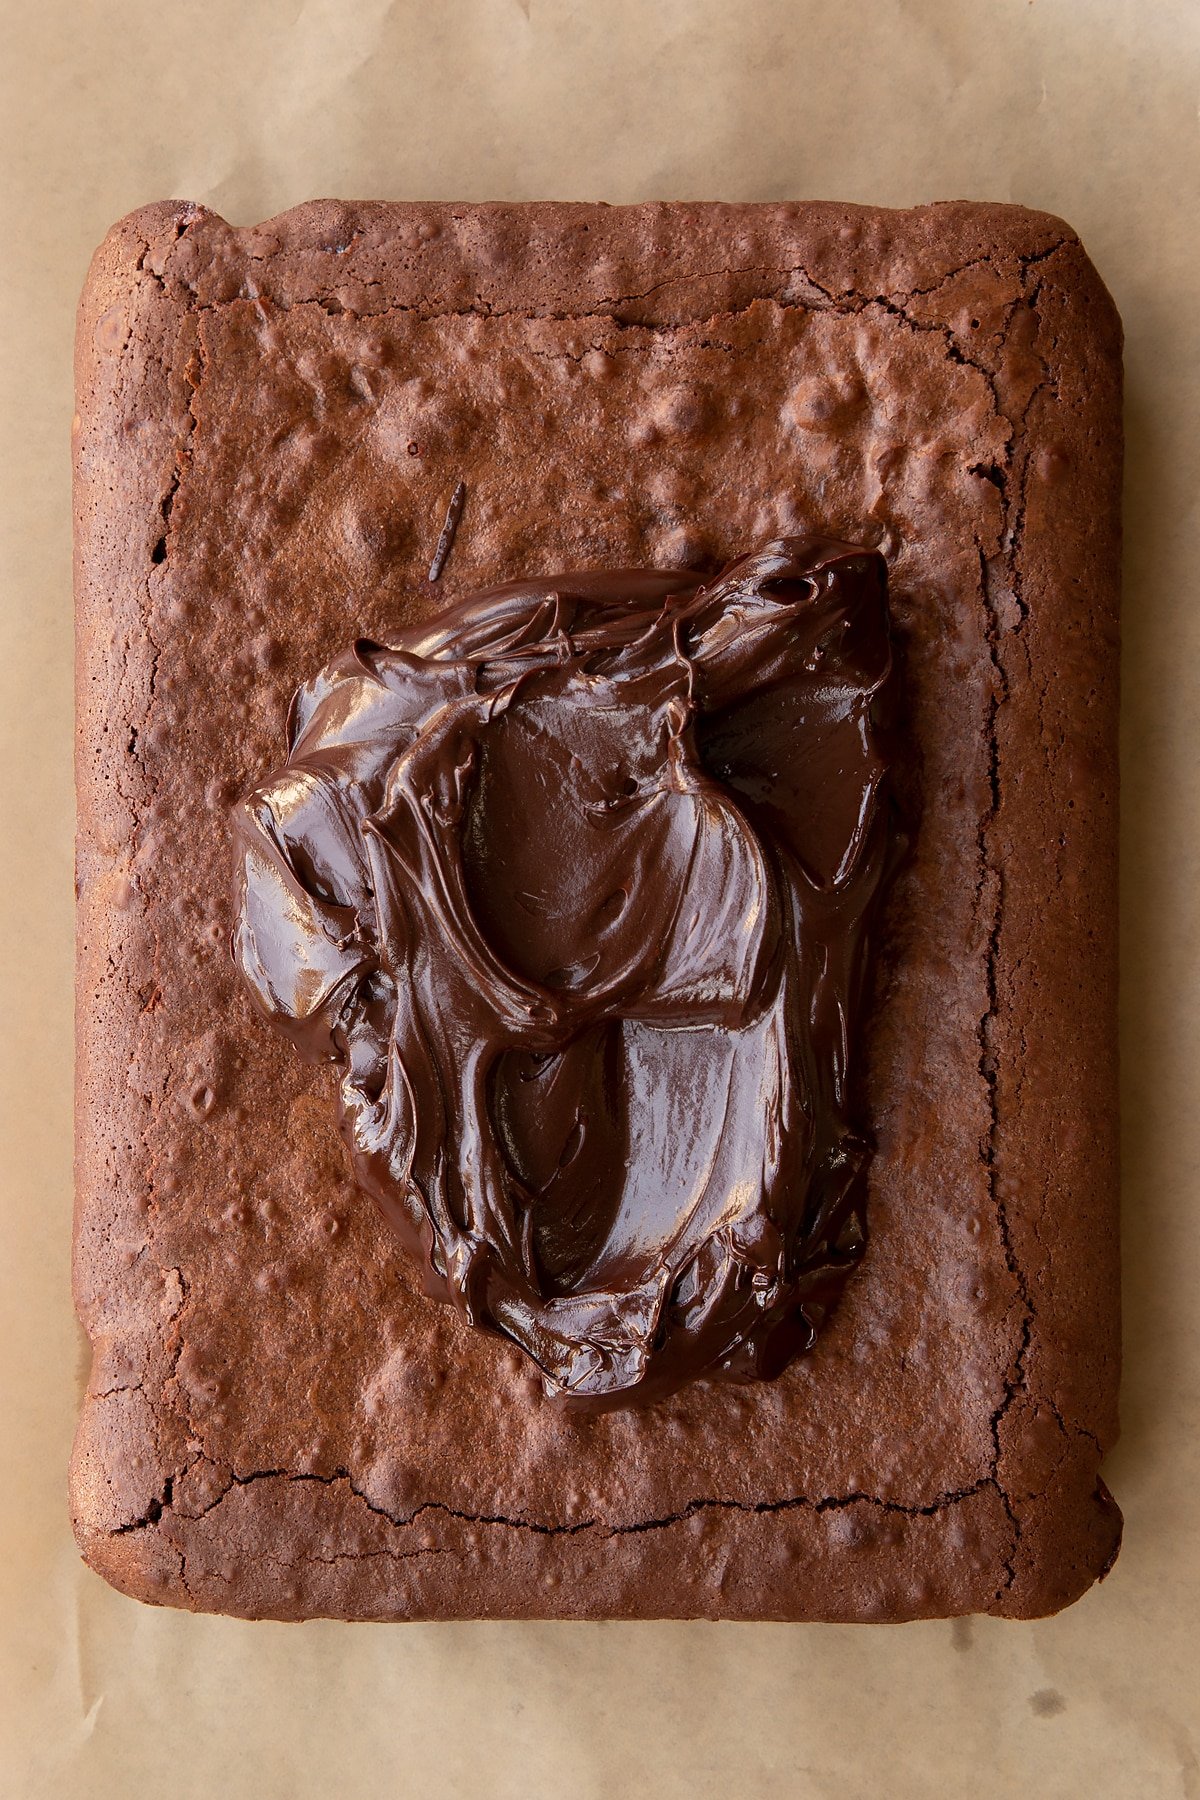
Spread the ganache to the edges of the brownie. For this, you can use a palette knife, silicon spatula or the back of a spoon.
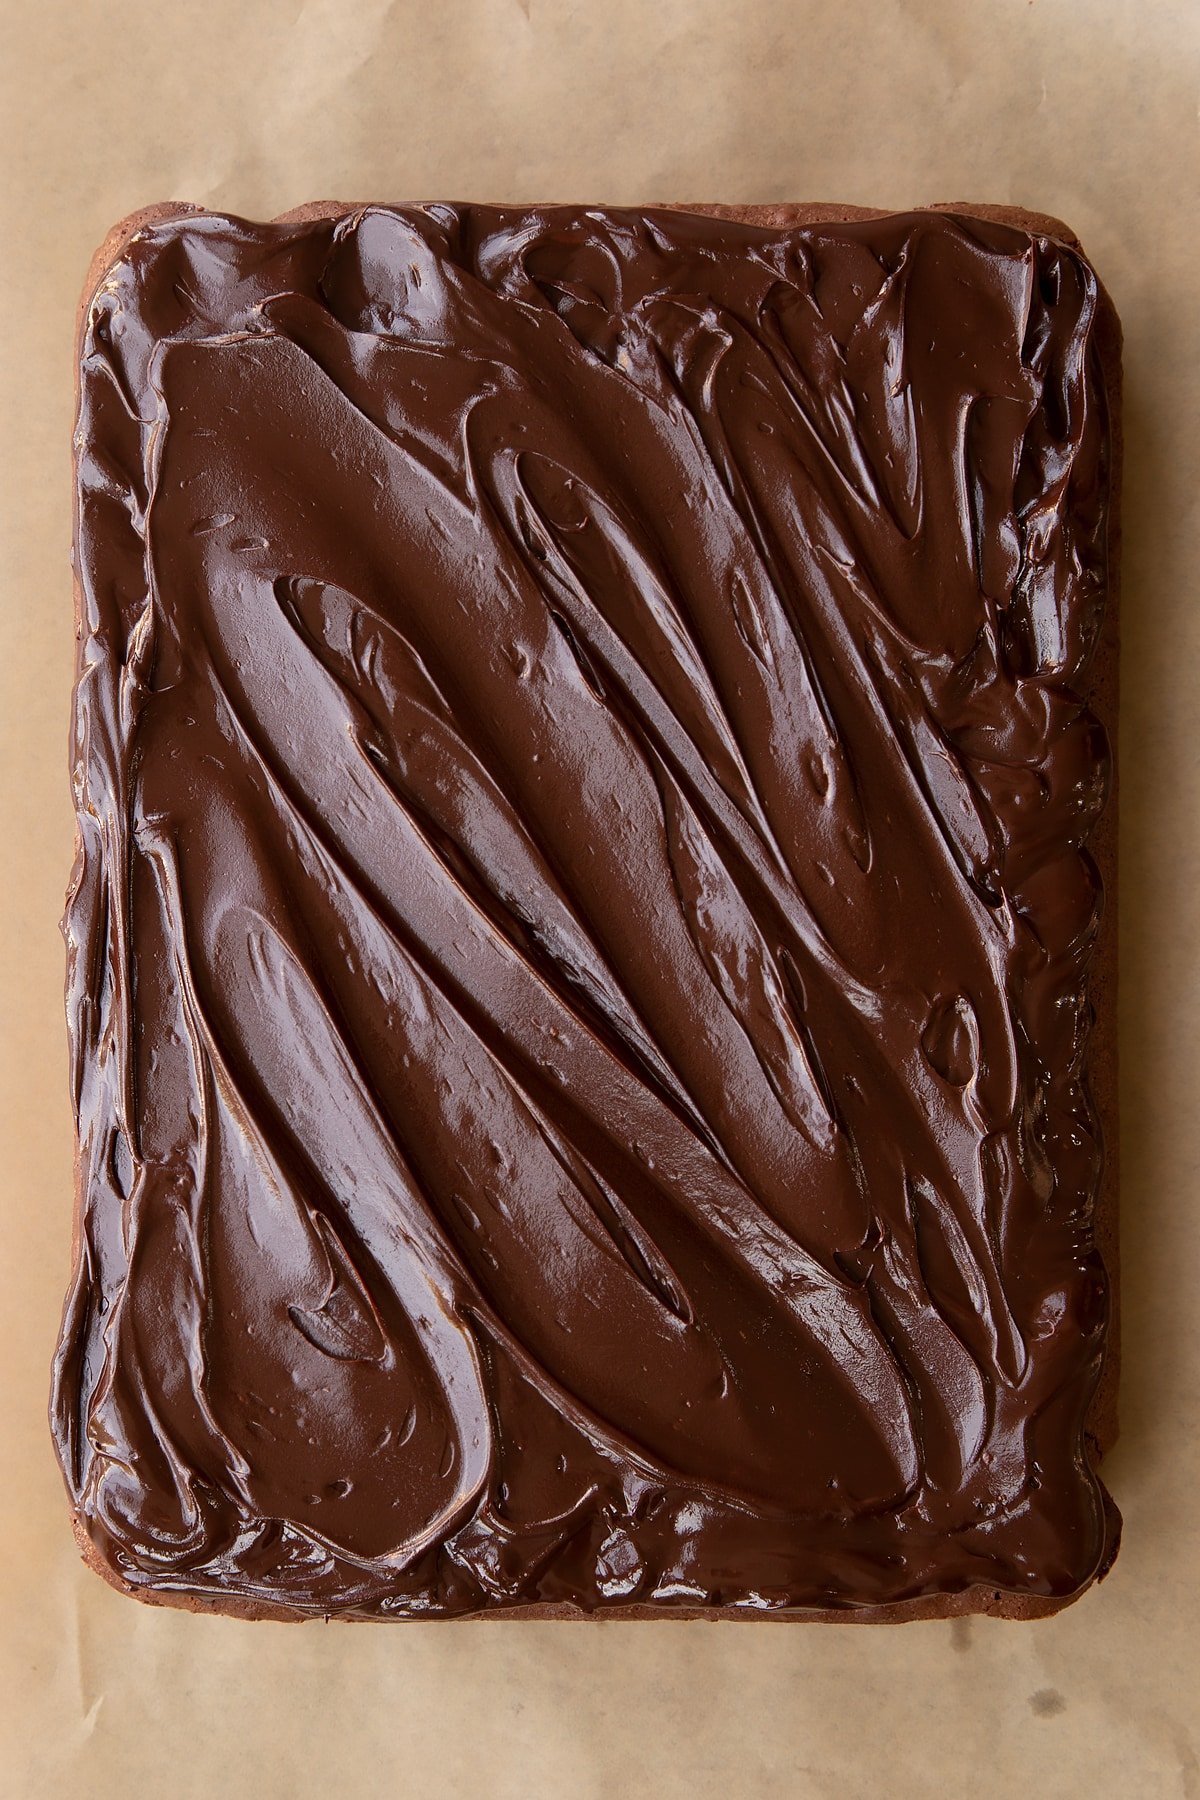
Set the brownie aside to allow the ganache to set. You can chill in the fridge for 30 minutes if you want to speed up the process.
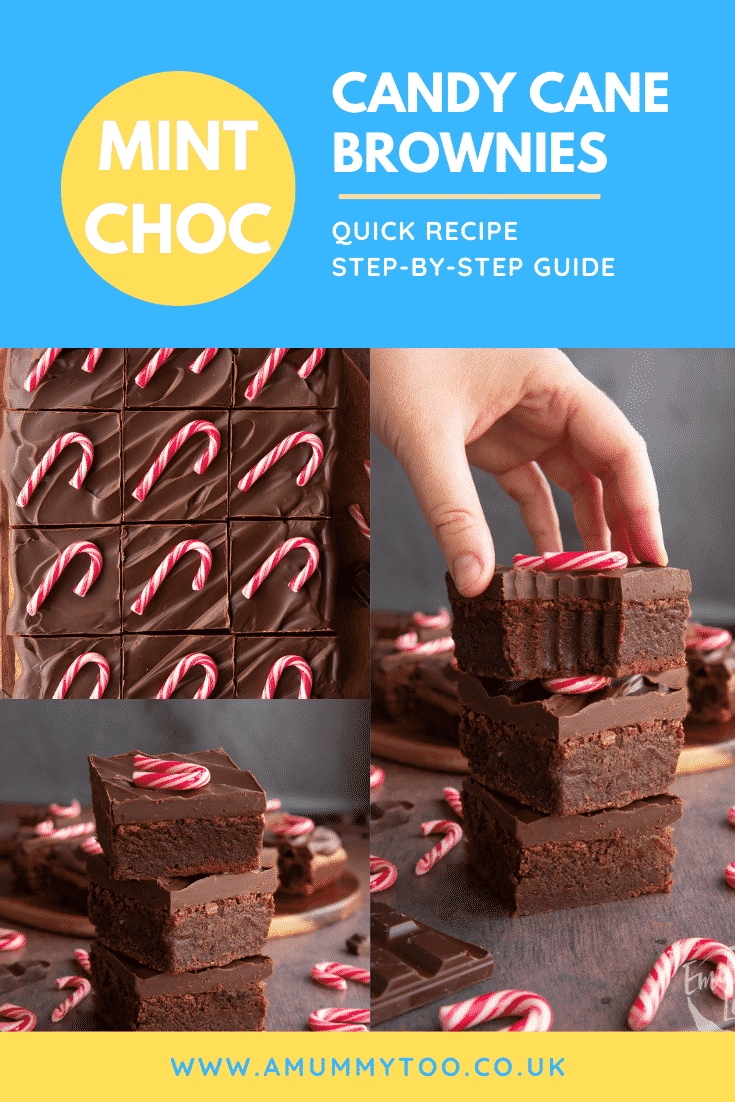
One set, cut the candy brownie in a 3x4 pattern to create 12 squares.
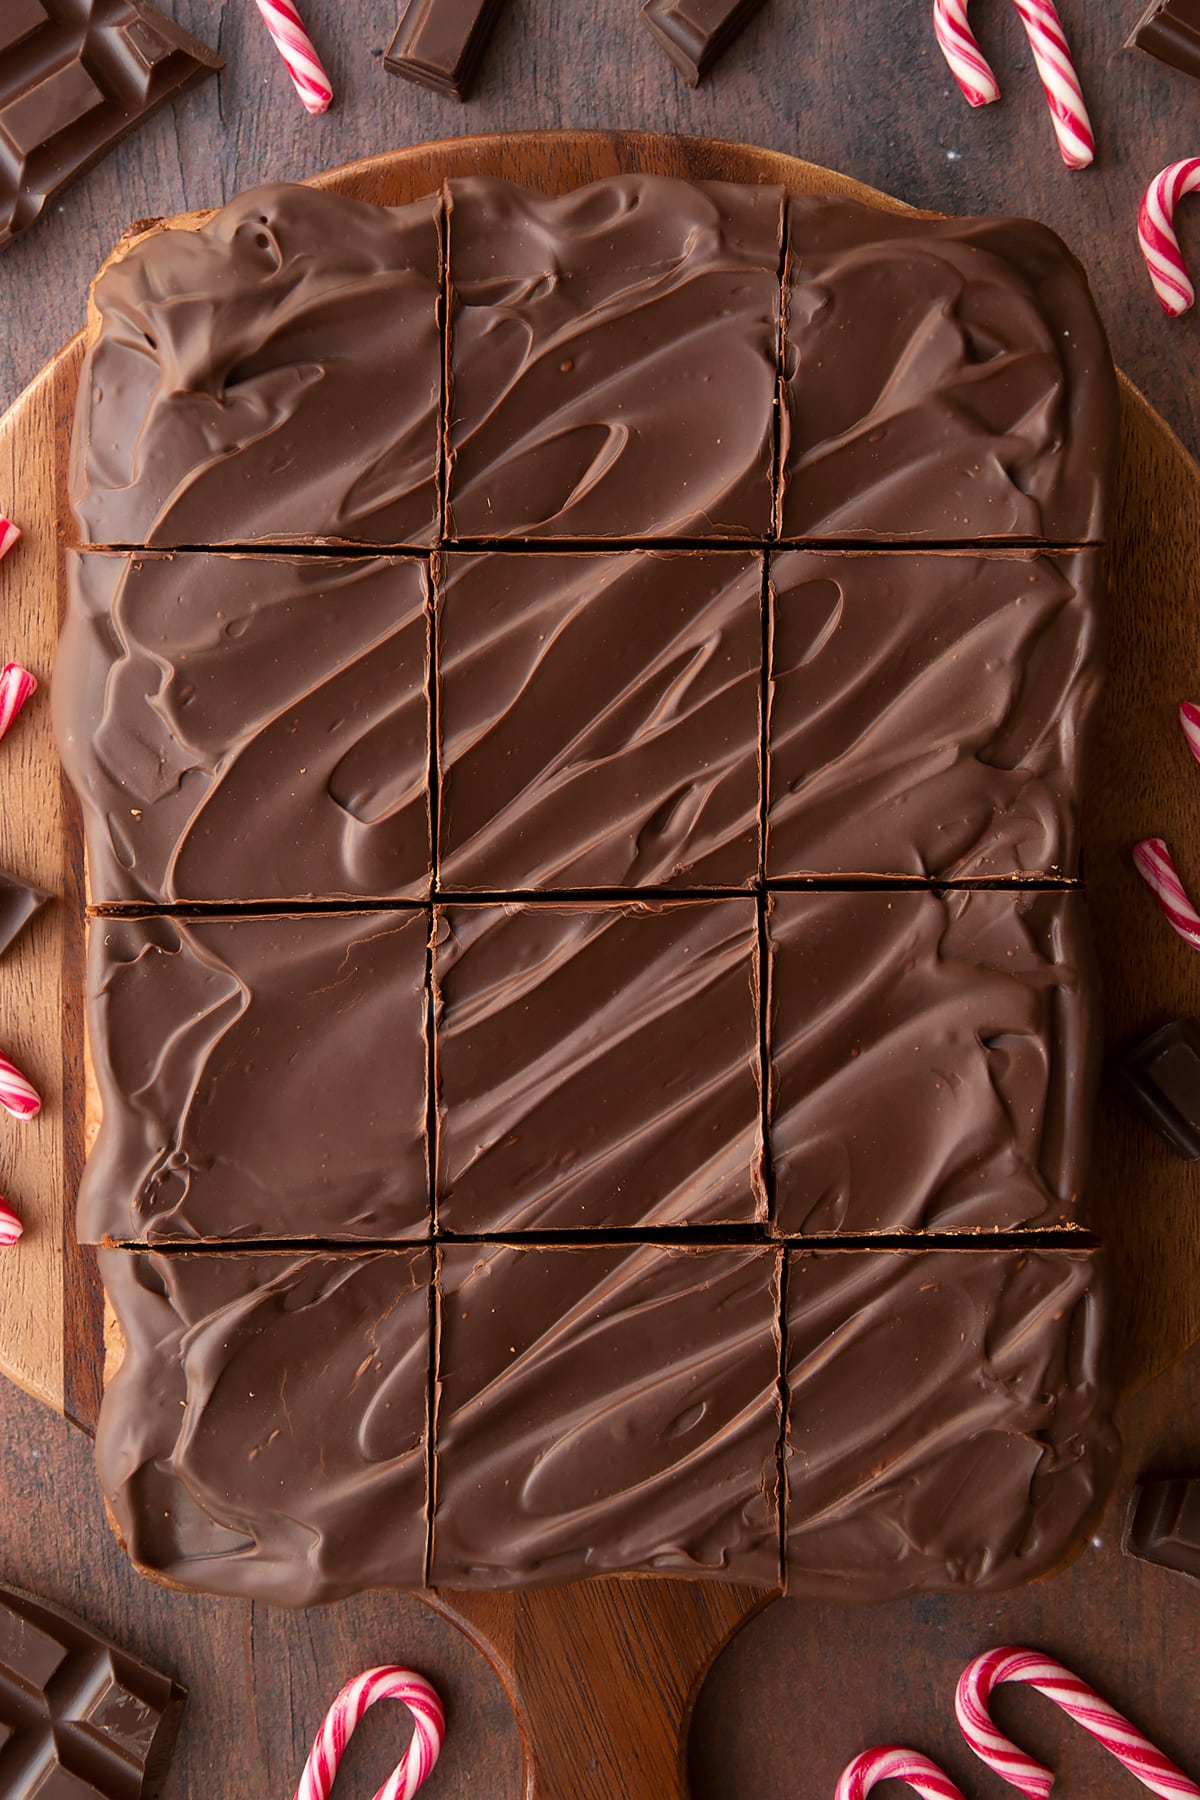
Top each with a piece of candy cane. Because they're stick and the ganache contains moisture, they're quickly adhere themselves to the tops!
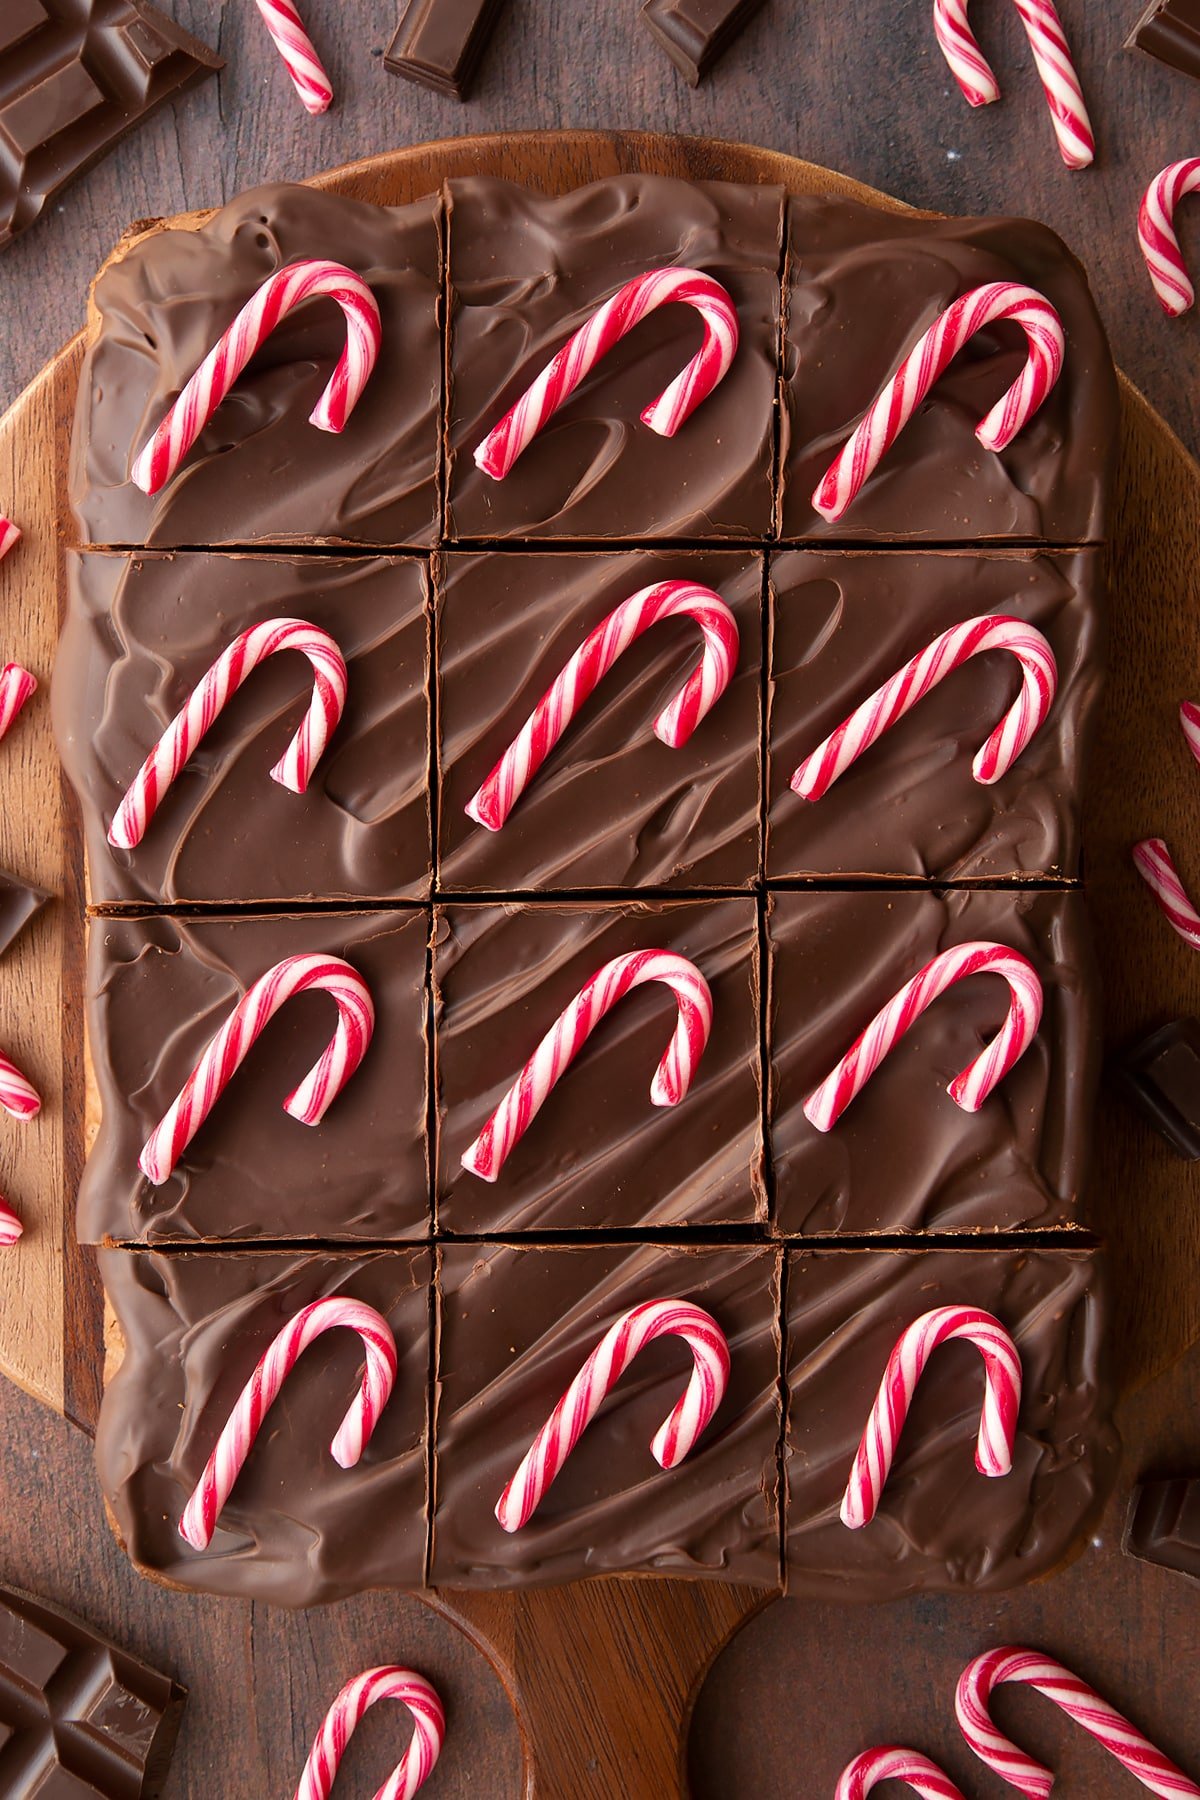
Your peppermint candy cane brownies are now ready to enjoy!
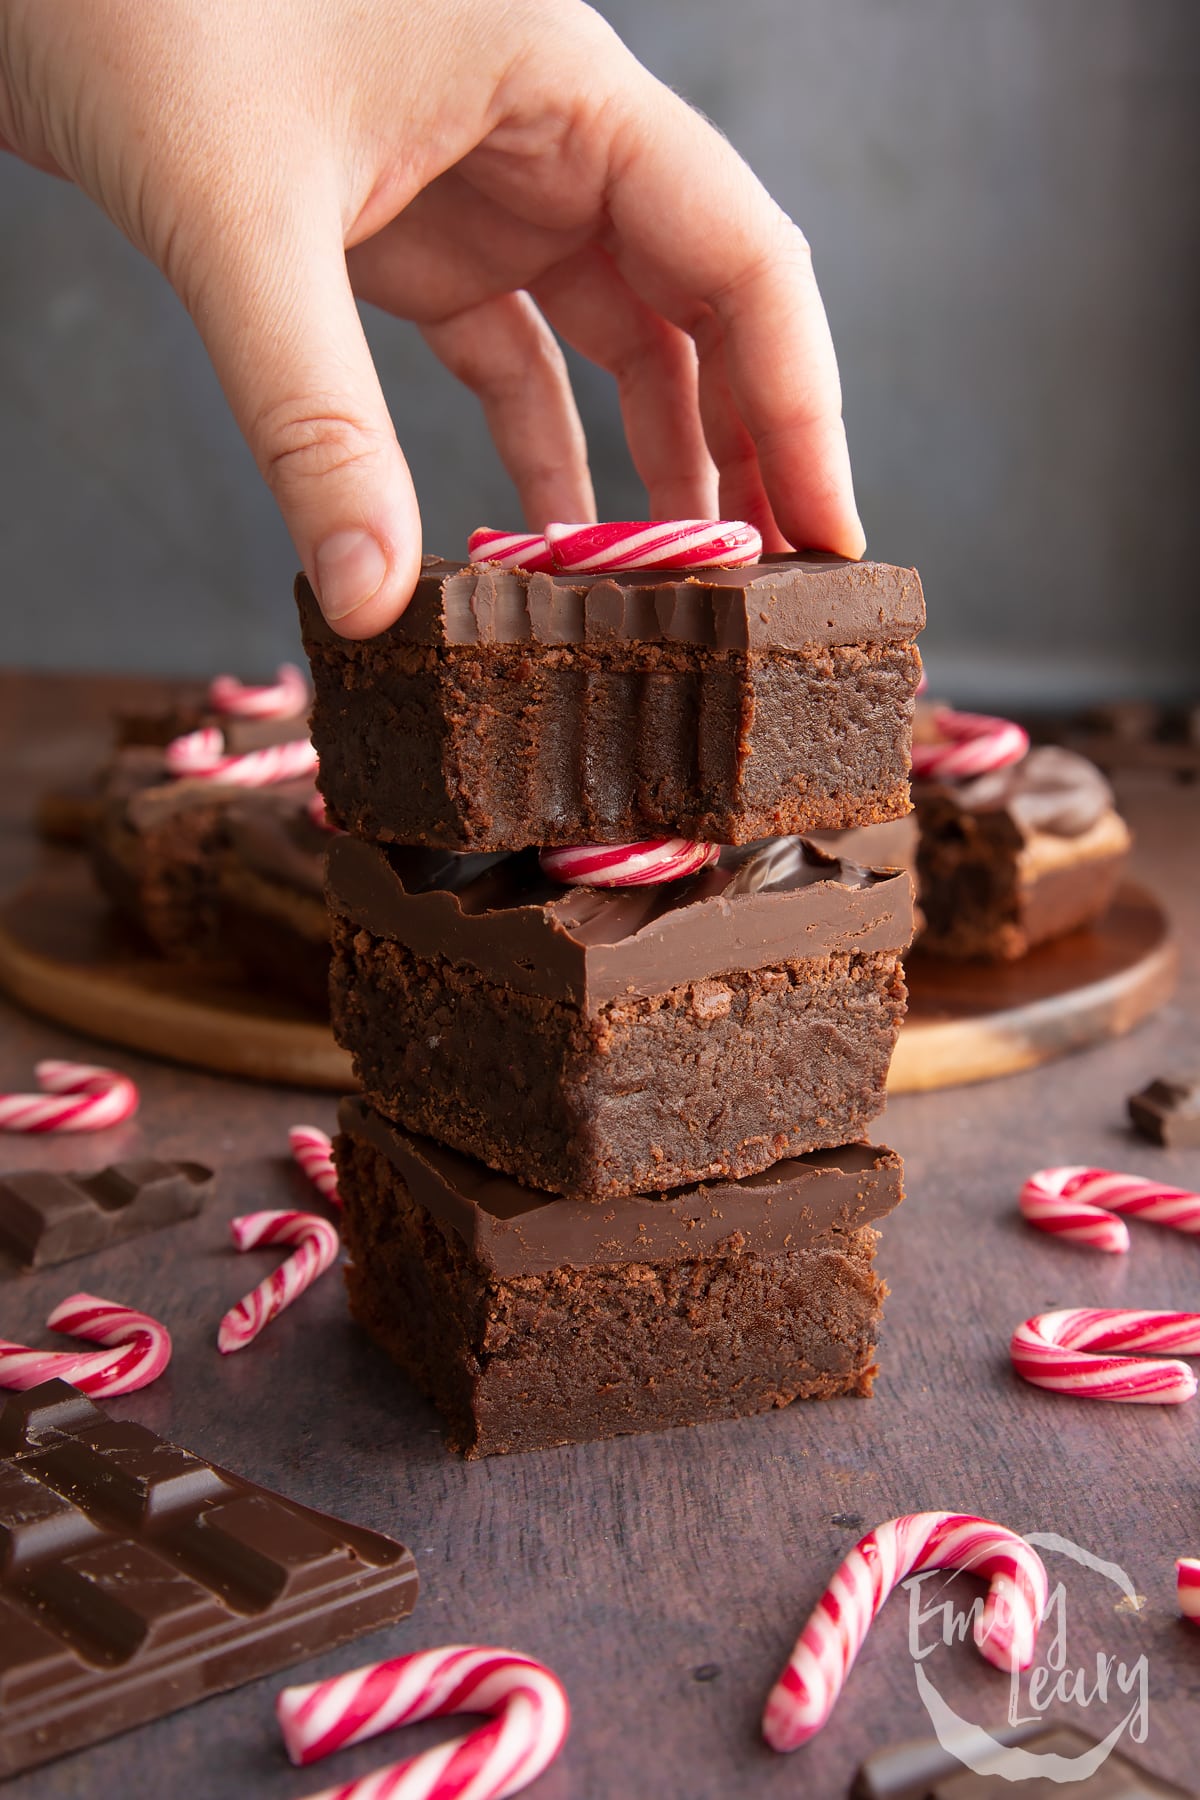
Who will you share your gooey chewy brownies with this holiday season?
Pointers, tricks and troubleshooting tips for the perfect candy cane brownies
Are candy cane brownies easy to make?
These fudgy brownies are very easy to bake, and even easier to decorate!
The brownie batter needs just a single bowl to mix everything in by first melting the chocolate and butter in it, then adding the sugar, eggs, flour (which is carefully folded in) and finally the crushed candy canes. The ganache topping is even simpler, with just two ingredients - dark chocolate and double cream. Yum!
The candy canes in the batter are best chopped carefully and with a sharp knife. A very blunt knife can send the pieces flying across your worktop.
Will I need any special equipment to make candy cane brownies?
You don't need any specialist equipment for this easy candy cane brownies recipe.
Weighing scales, some measuring spoons, a knife, a cutting board, a bowl, a spoon, a whisk, a baking tray and parchment paper are the main things you'll need.
There is a full list of suggested equipment on the recipe card below.
Where can I buy peppermint candy canes?
Depending on the time of year, you can usually find candy canes in supermarkets, discount stores and many smaller food shops. If it's not around the festive season, your best bet is specialist baking shops or you can buy candy canes online.
The most traditional colours for candy canes are white and red, but there's many other colour variations to be found from white, red and green twists through to rainbow candy canes. Go with whatever takes your fancy!
Can I make homemade peppermint candy canes?
It is possible to make homemade candy canes, although they won't be exactly the same as the ones made by either professional candy makers or made in their millions via a mechanised process. These kinds use specialist tools and use types of sugars not as easily found in the supermarket.
Homemade candy cane recipe tend to use a simplified process to make it easier for the home baker, so you'll get a different texture and appearance, and they probably won't be as perfectly symmetrical or smooth as shop bought ones. This recipe for candy canes from Sainsbury's Magazine looks good.
An alternative would be to make candy cane striped meringue kisses, where a traditional meringue mixture is passed through a piping bag with food colouring brushed into stripes on the inside, just before the nozzle. They taste great and are quick to whip up, so let me know in the comments if you'd like a full recipe for them.
Are candy cane brownies suitable for vegetarians?
These candy cane brownies should be vegetarian, but do check the candy cane ingredient list, as one source of red food colouring is the cochineal beetle (labelled as carmine, cochineal or E120).
It's very uncommon to use cochineal these days, but it's not unheard of. Don't forget to also check the labels on your other ingredients just in case, plus anything extra you intend to serve the recipe with.
Are candy cane brownies suitable for vegans?
These candy cane brownies are not suitable for vegans as they contain butter, eggs and cream. I haven't tested making them entirely plant based, but it should be possible with a few adjustments.
The first step is to double check all your other ingredients are indeed vegan, especially the chocolate and candy canes. Most bars of dark chocolate that are 70%+ chocolate won't contain milk, but some do. You should also check your candy canes are vegan as while the vast majority are, some contain red food colouring that's derived from animals (labelled as carmine, cochineal or E120).
Next you can start to switch out ingredients:
- Butter: Use a vegan butter or a baking block. Try to find a brand that has a fat content of around 80%. This is similar to the fat content of butter, which means you'll get similar results when compared to plant based butters with a lower fat/higher water content. I like Flora Plant Butter for baking, but any brand will do as long as the fat content is where it should be.
- Double cream: Switch to a vegan cream. Elmlea do a plant-based double cream that whips well. I haven't tested it in ganache yet, but I suspect would work well. Alternatively, you could try using coconut milk (the canned kind, not the kind for adding to tea/coffee).
- Eggs: Replacing the eggs with any of the following should work well. Each one of these alternatives = 1 egg, so multiply as needed for any given recipe. My personal preference for most cakes, cookies and brownies is crushed chia or flax seeds:
- 1 tablespoon of crushed chia seeds or flax seeds mixed with 2 tablespoons of water and left for 10 minutes in the fridge.
- 3 tablespoons of aquafaba (the water you get in a tin of chickpeas).
- 3 tablespoons of applesauce (bear in mind this will add sweetness).
As this is quite an egg-heavy recipe I would recommend using 3 rather than 6 egg substitutes, plus soya yoghurt to make the whole addition up to a similar amount of binding liquid (approx 360g / 12.7 oz).
You might also want to experiment with adding a touch of baking powder to the plain flour to help to add a slight lift to your mixture while cooking. Just take care not to add more than a tsp or so as more may make the brownie cakey rather than the dense fudgy texture you're looking for.
As I said, I have not tested this so let me know how you get of with your plant based brownies, and don't forget to also check anything extra you intend to serve the recipe with is also vegan.
Are candy cane brownies gluten-free?
Sadly, these candy cane brownies are not gluten-free as they're made with a wheat-based flour. The other ingredients, most notably the chocolate, may also constrain traces of gluten, so it's important to check the ingredient list on everything.
You could make a version of these candy cane brownies with plain gluten-free flour and they should turn out well. Gluten is most needed for things like chewy bread and least needed for things like cookies. Brownies fall somewhere in the middle, so while the crumb won't be identical, it will simply be a different type of lovely. In fact, you can even make brownies without any flour at all, which makes them extra gooey, or with a little almond flour to add texture.
As always, don't forget to also check anything extra you intend to serve the recipe with is also gluten-free.
Is this candy cane brownie recipe healthy?
This is a treat that should be enjoyed during the festive season rather than something for everyday as it is high in sugar and fat, but I believe it's entirely possible to integrate yummy desserts into a healthy diet, rich in fruit and vegetables.
Are candy cane brownies safe to eat while pregnant?
There is nothing in this mint brownie recipe that should present a risk to pregnant people, provided the ingredients are fresh, have been stored correctly, and the recipe is prepared safely, hygienically and cooked properly.
Most dairy butter and milk purchased in the UK is pasteurised, but it's a good idea to check if you're unsure, as pregnant people should not eat unpasteurised dairy unless thoroughly cooked until steaming hot. While heating unpasteurised dairy above 65C should kill any listeria bacteria it may contain, I would still advise against using it, as cross contamination is a risk during the preparation of the brownies in a home kitchen. In addition, getting baked goods hot enough throughout can be tricky, especially with brownies.
Advice regarding eggs can vary depending on where you live, as production methods are different in different countries, so please check information local to you. In the UK at the time of writing (September 2021), The Advisory Committee on the Microbiological Safety of Food's advice states that eggs bearing the Red Lion mark of quality are safe for pregnant people to eat runny or even raw.
A Mummy Too does not offer medical advice. Please seek help from a medical professional if you need further information or have any concerns.
What goes well with this candy cane brownies?
These brownies are very tasty all on their own, but for a very indulgent treat, you can serve them in a bowl with a little double cream poured on top.
If you are going to serve it with ice cream be careful, as the candy cane pieces will become very hard if cooled down to near freezing, which can make them a hazard to teeth.
Can I make this recipe without candy canes?
You can make this recipe without candy canes, but it won't have the minty twist or festive cheer.
If you simply don't have any candy canes to hand, you could add a few drops of peppermint extract to the batter, and there are plenty of other colourful options you could use to top your brownies, such as rainbow popcorn, multicoloured marshmallows or even something like Liquorice Allsorts in festive red and green.
Can I make candy cane brownies without the chocolate ganache topping?
You can certainly make candy cane brownies without a topping, but if you do, you'll also have to leave the candy canes off the top as they won't stick.
Can I add extra peppermint to this recipe?
You can add more of a pronounced peppermint flavor with peppermint extract (also called peppermint essence), which is sold is most larger supermarkets and online.
Even a couple of drops will have a pronounced effect, so don't overdo it.
If adding it to the batter, then add the extract in at the same time as you add the beaten egg and vanilla, so you can be sure you've mixed it through thoroughly, while avoiding over-mixing the flour that's added in the next step. The peppermint taste will be softened when adding the flour, and enhanced when adding the candy canes inside and on top.
In the UK at the time of writing (August 2021), The Advisory Committee on the Microbiological Safety of Food's advice is that eggs bearing the Red Lion mark of quality are safe to eat raw, so you can give your mixture a taste at this stage to make sure it tastes pepperminty enough. Otherwise, it's best to just smell the mixture to gauge how much more you may need to add.
You could also add peppermint extract to the ganache. Add a drop of two at the same time as you add the cream and give it a taste before spreading onto the brownies.
How should I store candy cane brownies?
These candy cane brownies should be stored in an airtight container somewhere cool and dark. Even when stored correctly, the candy canes on top will soften and begin to turn sticky over time as the sugar begins to pull moisture from the ganache and brownie.
If you know that you won't be eating all your brownies immediately, I would suggest not cutting them up and storing them in the largest size that will fit in your container, then cutting them as and when you want to. This will mean they dry out more slowly compared with having the edges of each brownie exposed.
How long do candy cane brownies keep?
If you store these brownies in an airtight container somewhere cool and out of direct sunlight (in the pantry or cupboard would be ideal), they will last for up to a week. You can keep them for longer if you store them in the fridge, but they'll be at their best if eaten within the first day or two.
If frozen, your candy cane brownies will last for up to three months. When it comes time to defrost them, take them out of the freezer, but leave them in the airtight container until fully defrosted. This is so that moisture in the air can't get to the brownies, which can cause beads of condensation to form on the ganache and make the candy canes sticky.
Can I leave candy cane brownies out on the counter?
It’s not a good idea to leave these candy cane brownies out on the counter, unless they are cooling down, or are being served. They will quickly dry out and go stale if left out for long periods of time, and the moisture in the air will cause the candy canes on top to soften/turn sticky much more quickly than if stored in a container. Leaving them out on the counter will also increase the risk of foodborne illnesses.
Can I make candy cane brownies ahead?
As is the case with practically all baked treats, I find brownies best served as fresh if possible, so eating them the same day you baked them is always the ideal choice.
However, brownies in general fare a little better than most bakes when stored, as they're so lovely and moist to begin with. These candy cane brownies are no exception.
So, feel free to make them the day before, be it for a lunchtime treat, Christmas party or a bake sale. They're a great option as they fit into a container neatly and keep well overnight.
Can I keep candy cane brownies in the refrigerator?
You shouldn't need to keep these brownies in the fridge unless it's particularly hot, making it hard to find a cool, dark place. In this situation, storing them in the fridge would be best as they will keep a little longer and protect the ganache from melting.
Some people even prefer their brownies chilled as it keeps them very fudgy, but keep in mind that chilling them will make the candy canes much harder. If you want to bring them up to room temperature before eating, make sure to keep them sealed in the container you stored them in before opening to avoid condensation forming on the ganache and candy cane pieces.
Can I freeze candy cane brownies?
These candy cane brownies will freeze well, but do make sure to bring them up to room temperature in the container you stored them in before opening to avoid condensation forming on the ganache and candy cane pieces.
What is the best way to defrost candy cane brownies?
To avoid the moisture from the air condensing on the cold ganache and candy canes, which will make them collect drops of water. Defrost them in the container you stored them in either overnight in the fridge or on the counter.
Make sure that they are fully defrosted before eating, as very cold candy cane pieces will become very hard when frozen.
Can I make candy cane brownies in a different quantity?
You should find it very easy to make or fewer of these tasty brownies. I've used a medium sized baking tray which works well for this amount of brownie mixture, as it make them neither too shallow nor too deep. With this in mind check that you have a suitably sized baking tray before you start - smaller if making less, larger (or two trays) if making significantly more
To adjust quantities, look for the recipe card below. You'll see the serving number near the top left, which is set to 12. Change this to the number you want to make by simply clicking on or hovering over that number. A little slider will pop up, which you can move up or down to get the amount you want to make.
All the ingredient quantities will update automatically for you so that everything is in the right ratios.
Can I make candy cane brownies in a muffin tin? Can I use a different tin? Can I use a cake tin to bake brownies?
As long as the sides of the tray are high enough any shape prepared baking pan can work. The only thing to be aware of is that you don't make your brownies too shallow or too deep. Too deep and they will not bake through to the centre, but as long as the depth of your brownies isn't ridiculously high, a little more cooking time should do the trick. Be mindful not to make them too shallow either or they will be thin, firm, cake-like or even worse - burnt.
If making in a muffin tray or individual brownie pan, it will probably affect the texture. Think of it is this way: the corner piece of a brownie always has a bit of a crust, with a slightly more cake like texture. If you cook your brownies individually, they'll probably all be more like the corner piece.
If you are making your brownies in a muffin tin, make sure to grease the tray first to avoid sticking - especially with a tray that may have a small amount of residue from previous bakes on it. You can also use muffin cases to avoid this problem. When using a muffin tin, the brownies will take less time to cook, so check on them half way through the standard cooking time and take them out as soon as a skewer comes out with just sticky crumbs rather than liquid batter.
Can I make candy cane brownies in a stand mixer such as a KitchenAid or Kenwood Mixer?
As there isn't very much mixing in this recipe, aside from beating a few eggs, a stand mixer isn't going to be necessary but you can certainly use one if you want to. I would recommend folding the flour in by hand as a stand mixer may overwork the batter.
How can I make sure my candy cane brownies are perfectly cooked?
A perfectly baked brownie means different things to different people, so have a think about what your perfect brownie texture is like. In the UK (when using eggs with the Red Lion mark) there are no ingredients in this recipe that are not safe to consume raw, so an ideal brownie is all about personal preference. You may prefer a very fudgy, soft brownie that's squishy in the middle, or a brownie that's firm and verging on cake-like. It's all about what you personally feel is the best.
Whatever end of the brownie spectrum you fall on, remember that the corners and edges will almost always be slightly crispier than the centre squares. However, as some people prefer a bit more chew and other people like a crispy corner, this usually works out quite nicely.
This recipe is baked at 180C (160C fan), which is lower than some of my other brownie recipes, but the slightly longer cooking time leads to a moist, flavourful, soft crumb and gives you a little more control on when to take it out.
Whatever your preference, a brownie's texture can be difficult to get the same every time. They have a large, flat surface area which means oven temperature and timings are crucial to consistency.
With this in mind, the first step is to preheat your oven so that the brownies are being baked at the correct temperature throughout the entire cooking process. A lot of magic (or chemistry) happens during the baking process, and if the oven is too hot, you may get a crusty top layer while the brownie underneath is still liquid.
To get the heat circulating the brownies evenly, aim to put your tray in the centre of the oven. However, if your oven has a known hotspot, then try to account for this and work around it. I tend to put my trays slightly off to the left as my current oven is slightly warmer on the right!
Timing is also crucial. As with all baked goods, it's best not to open the door more than necessary as this will change both the temperature and the moisture levels in the oven. However, brownies are a little more forgiving than cakes and shouldn't collapse in the middle as long as you wait until near the end of the cooking time to start checking doneness.
With this in mind, I would first check your brownies after 25-30 minutes to see if they are nearly done, or need a little more time. They should be baked around the edge, with the middle looking a little underdone. The brownies will also continue to set as they cool.
The classic trick where you push a metal skewer or fork into the sponge see if it comes out clean isn't true for brownies. You won't want to see liquid batter, but you will want to see a fair bit of residual sticky crumbs clinging to the skewer, which indicates it's still moist and gooey and will set to fudgy once cooled. If it comes out clean, your brownies will be on the dry side or more like a cake sponge.
Why did my candy cane brownies turn out dry?
If you were careful when following all the steps, and measured out all the ingredients using scales and measures, your brownies should have turned out lovely and moist. If they didn't, this could be the result of one of a few things.
The most likely culprit is that your oven was too hot. Alternatively, it could be that your ingredient quantities were off, or your brownies were left in for too long. Check your measurements, temps and timings, and try taking your brownies 5 minutes earlier next time.
Why did my candy cane brownies turn out wet and undercooked?
The line between a soft and fudgy brownie and one that's simply undercooked and verging on batter is a slim one, especially when it comes to the brownie pieces that were at the very centre of the baking tray.
If you've left your brownies in for the recommended amount of time and they're still not done it's worth double checking your oven temperature and ingredient quantities are correct.
The easiest way to check if your brownies are done is to simply have a look at them.
While it is harder to notice with a chocolate dessert compared with blondies, you should still be able to see that the edges are a little darker and more risen. If the edges look done then you can try very gently jiggling the tray to see if is any movement in the centre.
If you push a skewer into the centre, you should get any liquid batter, but you should see a fair bit of residual sticky crumbs clinging to the skewer, which indicates it's still moist and gooey and will set to fudgy once cooled. If it comes out clean, your brownies will be on the dry side or more like a cake sponge.
It's always a good idea to bake your cakes, cookies and brownies on the middle rack of the oven, if you can as this allows heat to circulate most effectively and means your brownies should cook through evenly, rather than over cooking on top before they're ready inside, or vice versa.
Why did my chocolate split while melting it? Why did it go thick or the oil start to seperate?
This is more a tip if you're using a gas hob rather than an electric of induction hob. Make sure to use a smaller ring if possible, and definitely smaller than your pan bottom.
This is because while most of the heat will transfer to the bottom of the pan the flames, or simply the heat of the flames, will rise up around the sides of the pan and potentially hit the bowl, heating it up at the edges to a temperature that can burn chocolate.
Why is my chocolate sandy and gritty? How can I stop my chocolate from seizing? Can seized chocolate be saved?
Seized chocolate almost always has the same culprit: water. If just a drop of water comes into contact with the chocolate, there's the potential for silky, smooth melted chocolate to turn gritty.
To avoid seizing in the future always make sure that the bowl you're using is completely dry, as are the are the utensils you're using to stir it. To that end, use a metal whisk or similar, as wooden utensils can retain moisture for a long while after being washed.
While not particularly common in the UK some people store their chocolate in the fridge, especially if they live in hotter climates, and this can cause condensation to form. So if your chocolate has been stored in the fridge make sure to bring it back up to room temperature slowly and while still wrapped up before using it.
While I find a microwave works fantastically to melt chocolate as it's quick and requires to extra pans, you can also use a double boiler or bain-marie. If you are using either of these then make sure no steam or water splashes inside your bowl or hits the utensils you're using to stir it with.
If your chocolate has already seized it may still be possible to bring it back to a smooth consistency, and bizarrely it uses the very thing that caused the problem: water! Add a teaspoon of boiling water to your mixture (as hot as possible water is best, so work quickly) and stir/whisk as fast as you can. Keep adding more water until smooth - it shouldn't take much.
Why did my chocolate ganache split? Can you save a split ganache?
Ganache is an emulsion of fats from the chocolate and cream and water from the cream. There are a number of reasons it can split, either because the emulsion never forms or because it formed then 'split'. There are also a number of things you can try to get it back to something smooth and glossy.
If your cream is very cold, it can cause the chocolate to set too quickly. Firstly, make sure the ganache is at a workable temperature. If you feel it firming up while trying to whisk it, give it a 5-10 second blast in the microwave, whisk a little, and keep repeating until it has loosened back to a workable consistency.
The next thing to try when attempting to emulsify the mixture is to get an electric whisk if you have one and whisk vigorously for a couple of minutes. Do be aware that heavy whisking can introduce more air bubbles, which will reduce the shelf life of your brownies a little, but it's worth it if it saves the mixture!
Another thing that can cause issues is the order you introduce things. I generally melt my chocolate then add the cool cream, and this has always worked for me, but a lot of people prefer to add almost boiling cream to finely chopped melted chocolate instead, which can sometimes reduce the risk of splitting. Some people also melt chocolate and then add hot cream over it, which can help to reduce the risk of splitting further, although it will take longer to cool to a spreadable consistency.
Why did my chocolate ganache topping go runny? Why is my chocolate ganache so thick?
While ganache is a simple two ingredient recipe, the ratio of one ingredient to the other is key - and it has to be just right to get the consistency you need. For instance, a ganache that is thick enough to turn into chocolate truffles will be quite different from one thin enough to pour over a cake.
For this recipe, we are looking for a ganache that is firm when set, but still easy to bite through and that will melt in the mouth. So, make sure that both your dark chocolate (which should be about 70% cocoa solids or above) and cream are weighed and measured out correctly. Even a tablespoon too much or too little can have an impact.
Too little cream will result in a mixture that's thick and hard to spread, while too much cream will result in a runny ganache that doesn't set properly.
Use the photos in the step-by-step instructions of this recipe to get an idea of what consistency the ganache should be just after making it, and also what it should look like once it has cooled down and set.
If your ganache looks too runny
The first thing to do is to make sure you used double cream, which in the UK means a cream with a minimum milk fat content of 48%. Whipping cream or heavy cream tends to have a lower milk fat percentage, and will not work without changing the quantities of the recipe. Even then, you won't get quite the same result, as the extra fat contained in the double cream is what helps to give this ganache its texture and taste. If you're working with a lower fat cream, you'll have to add slowly and use trial and error to get the right consistency.
If you have used the correct quantities of double cream and 70% cocoa solids chocolate then a runny ganache can usually be saved by simply waiting a few minutes for it too cool down. If it's still too running, you can try adding more (very finely chopped) chocolate and whisking it through while the ganache is still hot enough to melt it.
If your ganache has cooled down too much, you can give it quick 5-10 second bursts in the microwave, followed by a whisk, until the mixture is hot enough to melt chocolate again. Be careful not to overdo it, as you definitely don't want to burn the chocolate.
If you're all out of chocolate you can also sieve icing sugar into the mixture and whisk it in to thicken it, though naturally this will make it much, much sweeter. It can be tricky to gauge the quantity of sugar needed by eye to thicken the ganache up correctly, but a couple of tbsp will go a long way.
If your ganache looks too thick
A thick ganache is usually a sign that it has been allowed to cool and begin to set in the bowl, in which case a 10 second blast in the microwave should loose it right up. However, if you've only just made your ganache and it's very thick, this is most easily solved by simply stirring in a touch more cream, but be careful! Only add a tsp or two at a time, and make sure to mix it through toughly before adding more.
How can I add/change the flavours in these peppermint brownies?
There is tonnes of room for variation with these brownies, while still retaining their rich taste and fantastic texture.
Here are some of my favourite ways to further enhance the humble brownie:
The batter itself
- Mix either nuts or dried fruit into the batter. It's a great way of adding some extra taste and crunch to the brownies. While hazelnuts are the most popular choice, I think pecans, walnuts and even peanuts work well. For dried fruit, cranberries are an excellent, festive choice.
Toppings to decorate after a bake
- You could add any type of crushed hard candy instead of candy canes.
- Chopped nuts or chocolate shavings work fantastically on top of frosting, especially if you use a mix of dark, milk and white chocolate.
Where do candy canes come from? Why do candy canes have stripes?
While there is folklore telling of candy canes being invented in Cologne, Germany in 1670, the first historical references to "stick candy" go back to 1837 in America, although their shape and colours are unclear.
A recipe for straight, white peppermint sticks with stripes was published in 1844. Then, in 1874, a magazine named The Nursery mentions how candy canes are associated with Christmas, and the Babyland magazine makes mention of candy canes being hung on Christmas trees in 1882.
So, candy canes seem to have edged their way towards a Christmas tradition during the 19th century, and the coloured stripes were likely originally added as a simple aesthetic flourish, typical of confectionery makers, rather than due to a specific desire to be associated with Christmas, although the white and red combination in particular may have been a festive introduction.
Where do brownies originally come from?
It's likely that simple chocolate cakes made in baking trays were invented multiple times during the 19th century in multiple places, but my favourite story of how the brownie was invented is that of Chicago socialite, Bertha Palmer, who was on the hunt for something as soft and gooey as a dessert but portable like a cake, which could be served to ladies attending the Chicago World's Columbian Exposition.
Her husband, and owner of The Palmer House Hotel, tasked his pastry chef to invent something that filled these criteria, and they came up with the original chocolate brownie, which is still served to guests at the Palmer House Hotel to this day.
Print this candy cane brownies recipe
Candy Cane Brownies Recipe
Ingredients
For the brownies
- 400 g (14.1 oz) dark chocolate (bittersweet) 70%, roughly chopped
- 280 g (9.9 oz) salted butter cubed
- 450 g (15.9 oz) white caster sugar (superfine sugar)
- 6 medium free range eggs room temp, beaten
- 1 tbsp vanilla extract
- 170 g (6 oz) plain white flour (all purpose flour)
- 100 g (3.5 oz) candy canes chopped quite small
For the ganache
- 300 g (10.6 oz) dark chocolate (bittersweet) 70%, roughly chopped
- 8 tbsp double cream (heavy cream)
To finish
- 12 (1.8 oz) candy canes (either mini ones, or standard size, trimmed to fit)
Equipment
- Rectangle 20x28cm (8"x11") nonstick cake tin
Instructions
Make the brownies
- Preheat the oven to 180C (160C fan).
- Put the butter and chopped dark chocolate in a large, heatproof bowl. Gently melt until smooth. You can use the microwave to do this, using 30 second bursts and stirring after each burst. Alternatively, you can put an inch of water in a pan, place the bowl on top (so that the water isn't touching the bowl) and bring to the boil so that the steam gently melts the chocolate, stirring as you go.
- Whisk the sugar in. The mixture will thicken - graininess at this stage is fine.
- If the mixture is hot, wait until it's just slightly warm before adding the beaten egg and vanilla. Whisk together until smooth.
- Sift the flour into the bowl. Gently fold through until evenly combined.
- Add the chopped candy canes and fold through to evenly distribute.
- Grease and line a 20cm x 28cm (8 inch x 11 inch) non-stick shallow rectangular cake tin. Fill with the brownie batter and level off.
- Bake for 35-40 minutes until set all the way across. A skewer pushed into the centre should reveal sticky crumbs.
- Place on a wire rack to cool for 15 minutes, then turn out to cool completely.
Make the ganache topping
- Place the chopped dark chocolate in a heatproof bowl and melt.
- Add the cream and whisk together. At first, it might look murky, but it should quickly transform to a smooth, glossy ganache.
Bring it all together
- Transfer the fully cooled brownie to a board.
- Spoon the still-warm ganache on top - this is important as it will set once cool - and spread to the edges of the brownie. Leave to set. You can chill in the fridge for 30 minutes if you want to speed up the process.
- Once set, cut the candy brownie in a 3x4 pattern to create 12 squares.
- Top each brownie square with a piece of candy cane. Because they're stick and the ganache contains moisture, they're quickly adhere themselves to the tops! Your peppermint candy cane brownies are now ready to enjoy!
Video
Notes
Nutrition
Pin this candy cane brownies recipe
More Christmas desserts to try
Have you got my book?

'This is a great kids cookery book. Emily is a star' - Simon Rimmer
'The book I'd like to force into any mother's kitchen' - Prue Leith
"A fab book with a plan." - Jane Devonshire, 2016 Masterchef UK winner
'Emily has managed to combine her mummy knowledge and passion for food to make a truly helpful and brilliant cookbook' - Priya Tew, RD, BSc (Hons), Msc
Get Your Kids to Eat Anything is an achievable 'how to' for parents in the battle to overcome picky eating and 'make new the norm'. Emily Leary's unique 5-phase programme looks at the issue of 'fussy eating' in a holistic way that links imagination with food, and which situates parents alongside - not in opposition to - their children.



Leave a Reply