
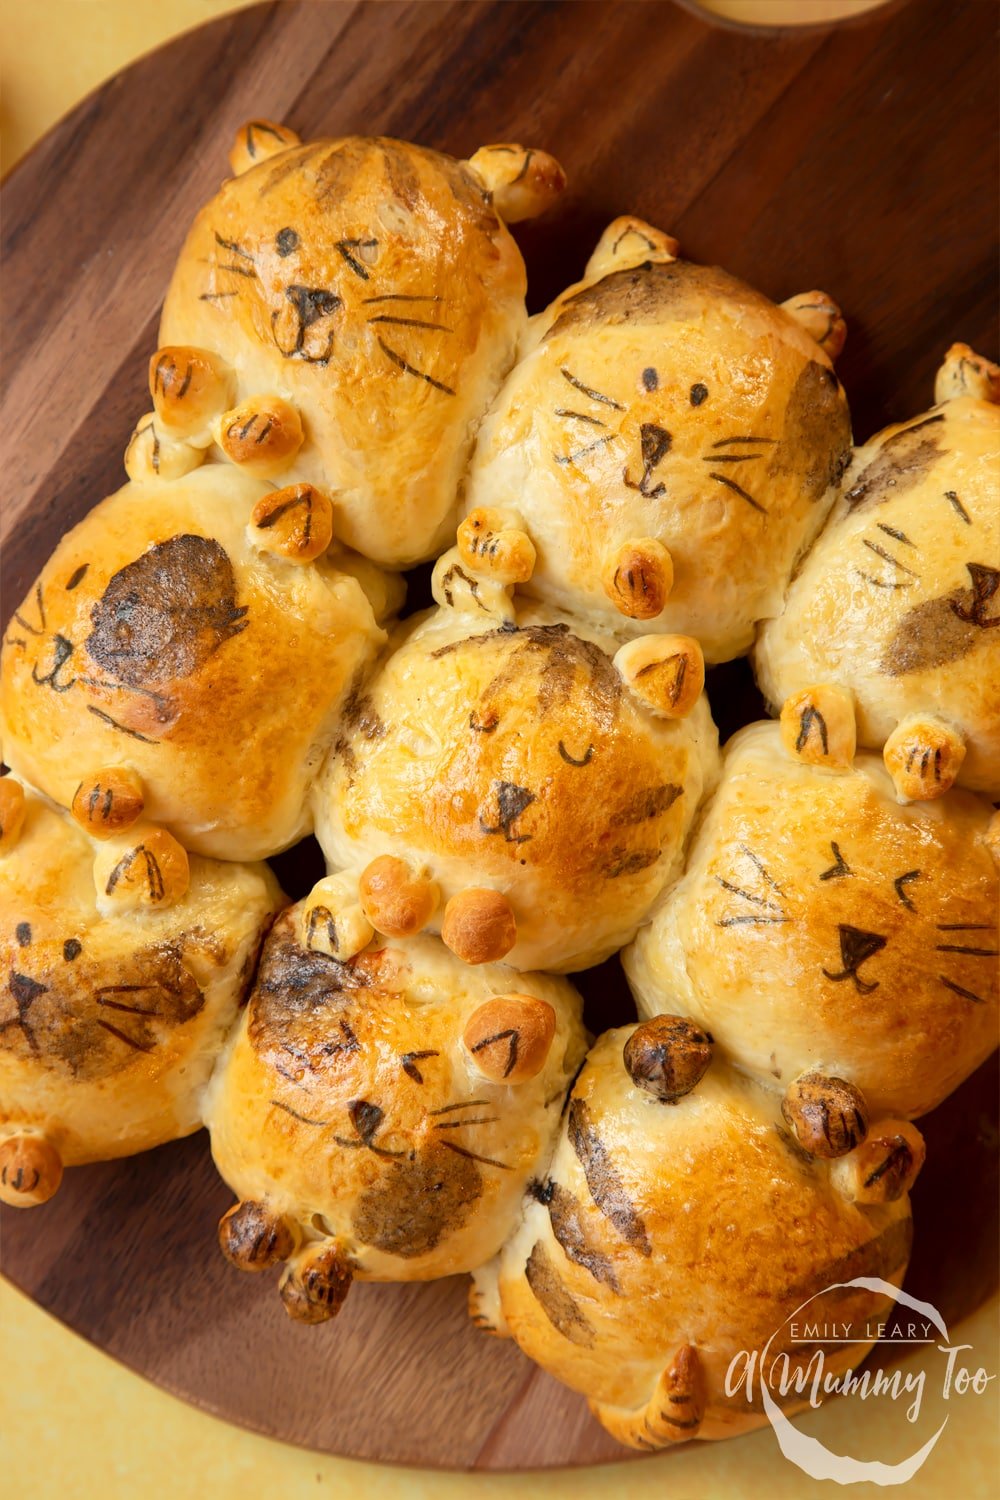
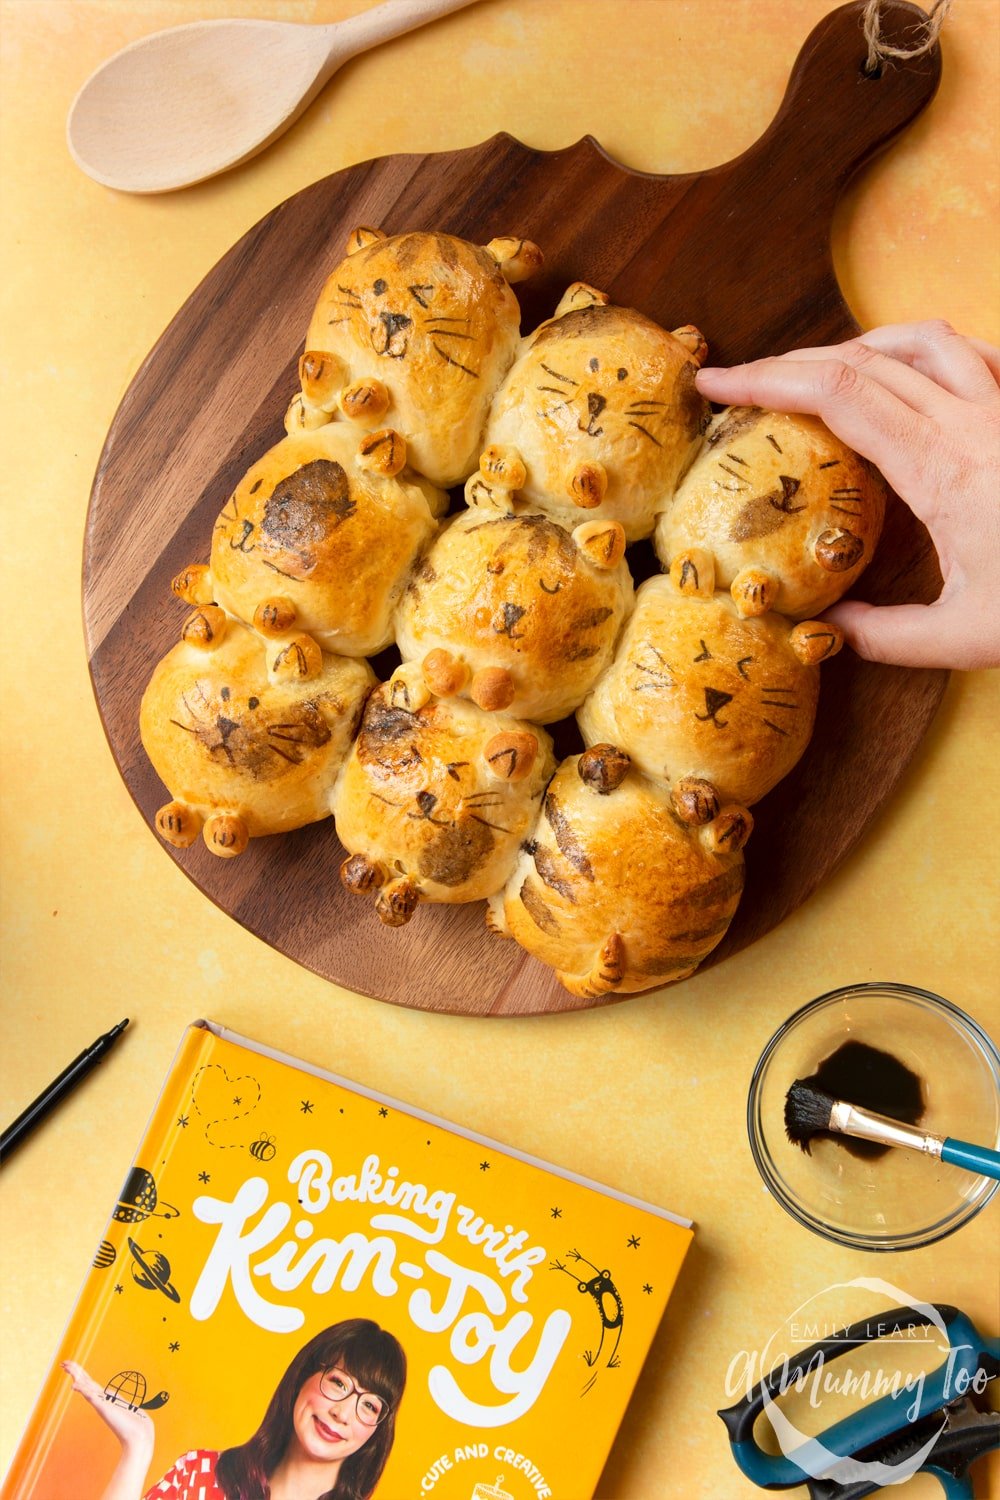
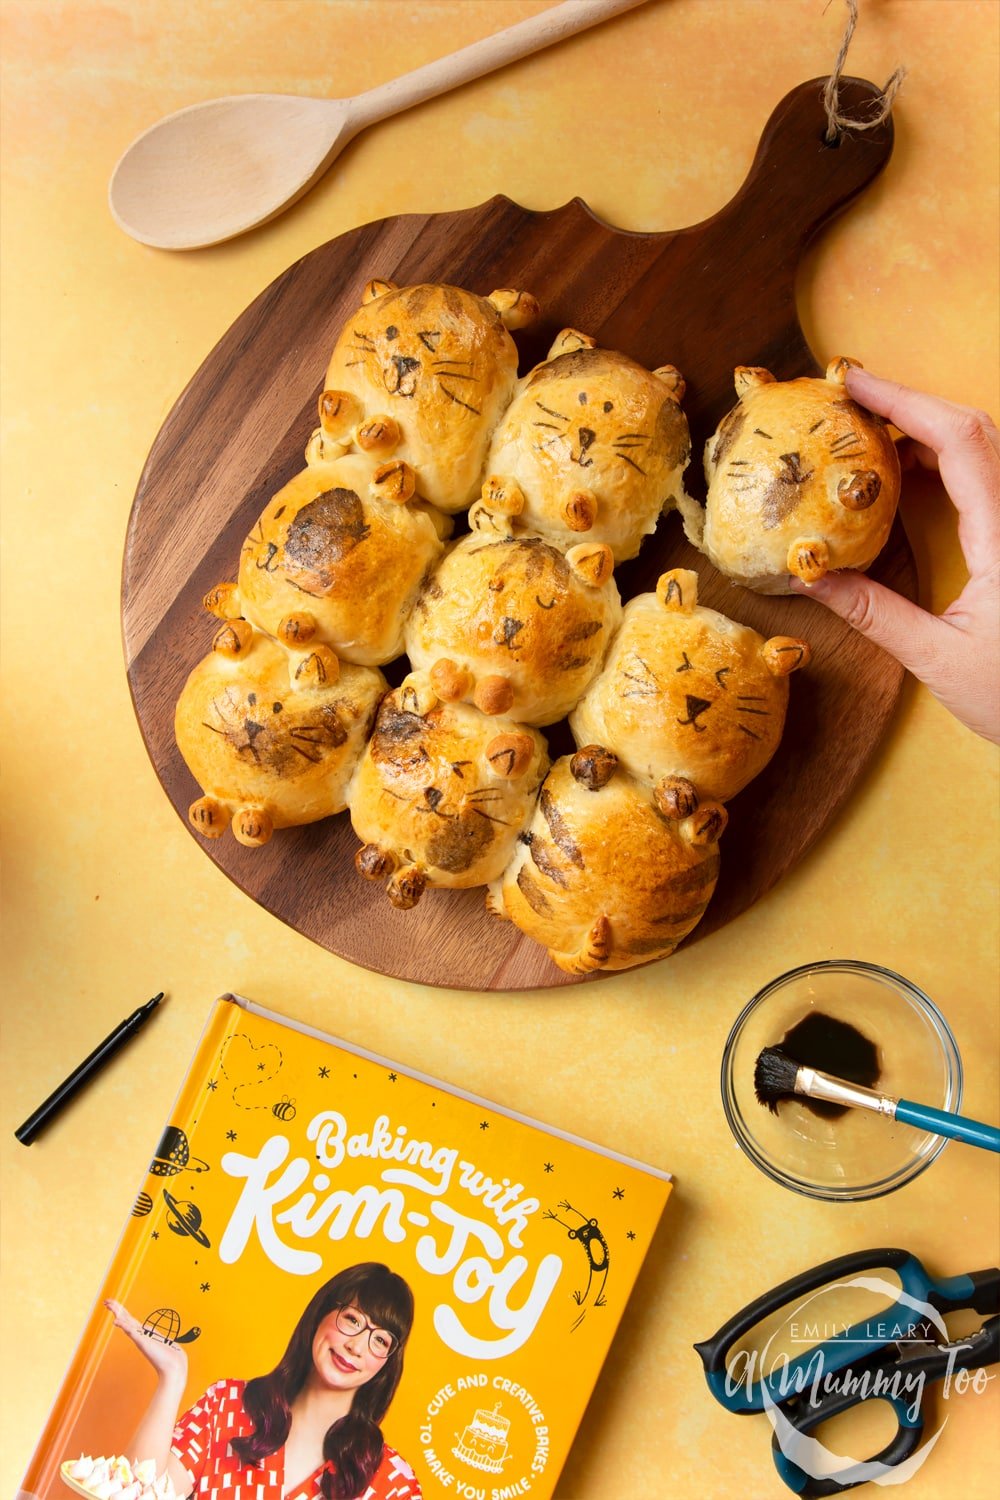
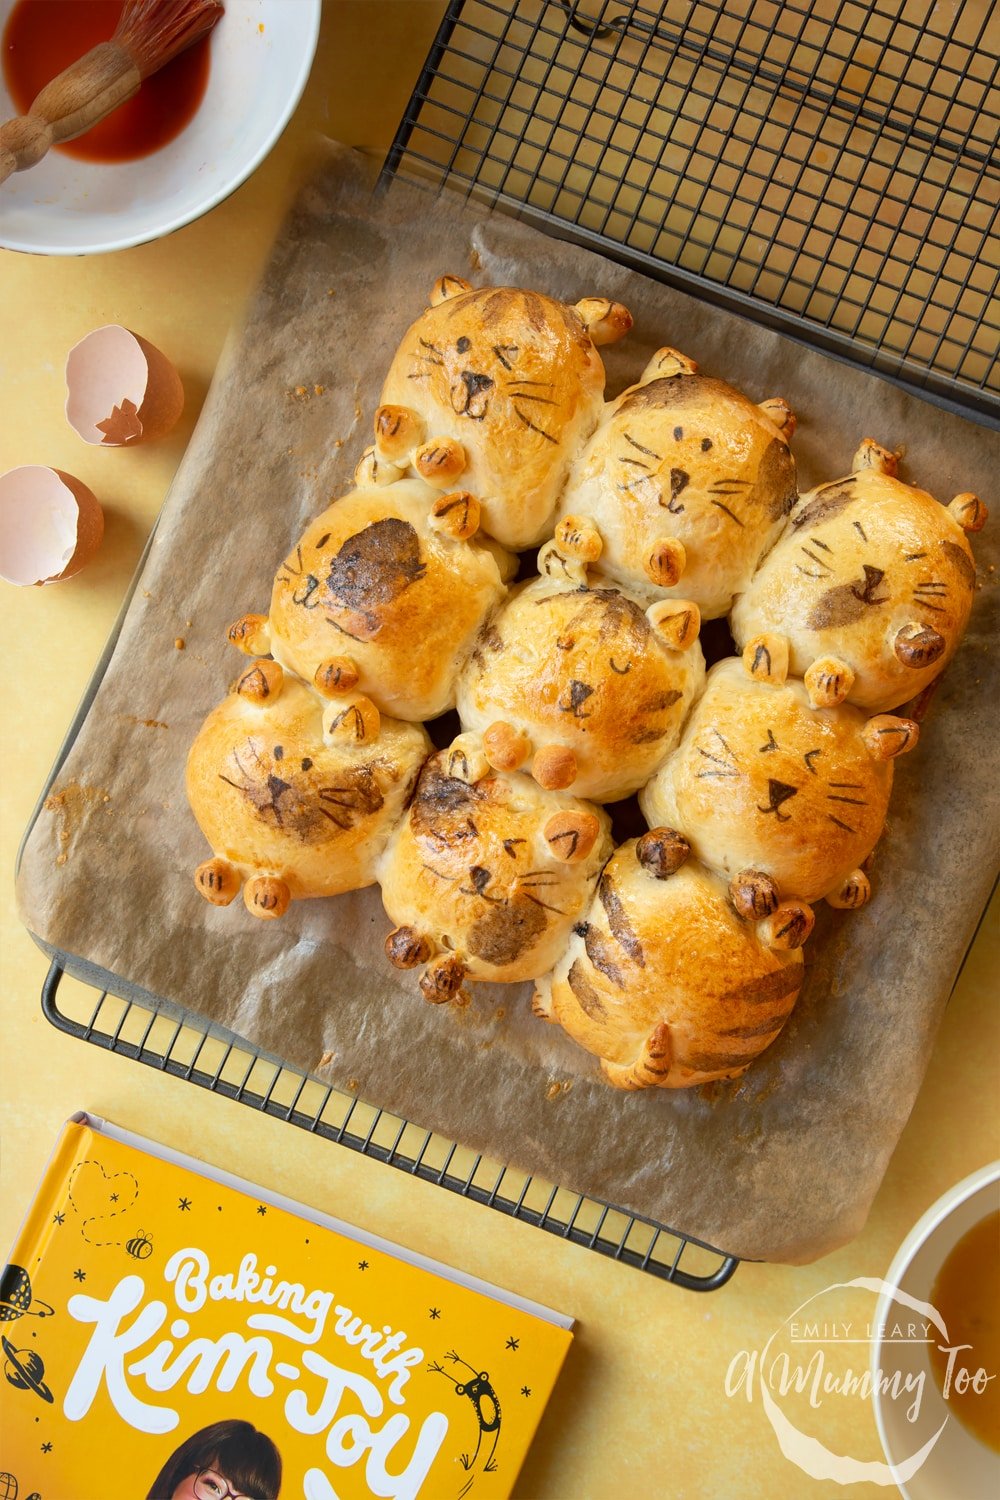
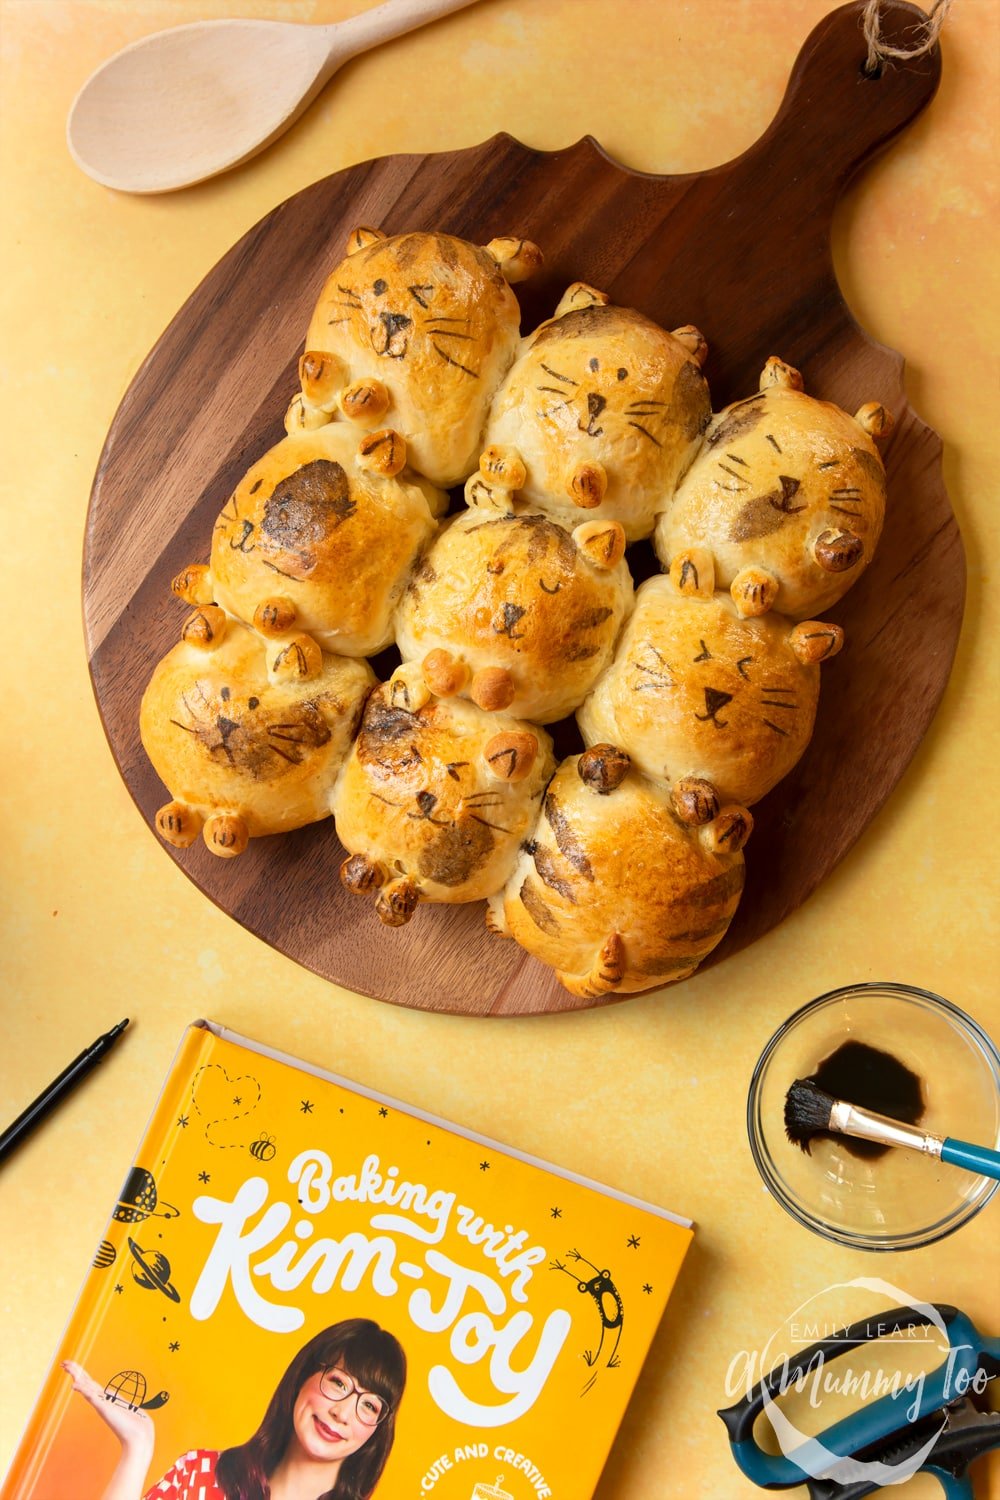
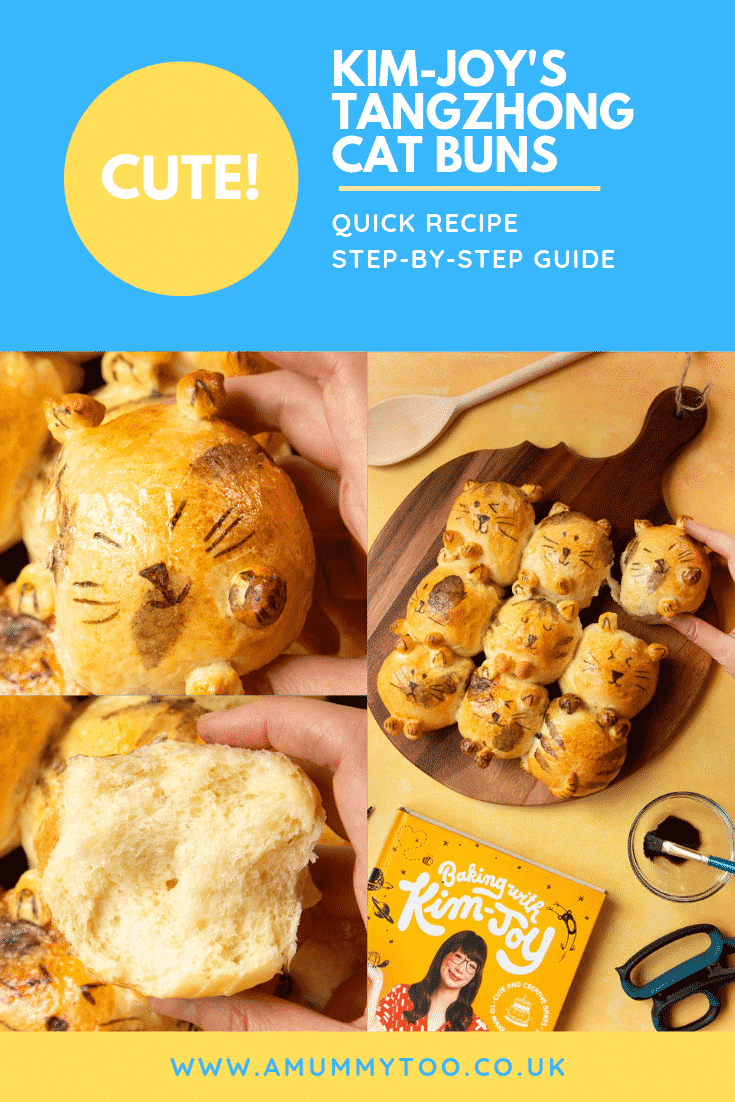
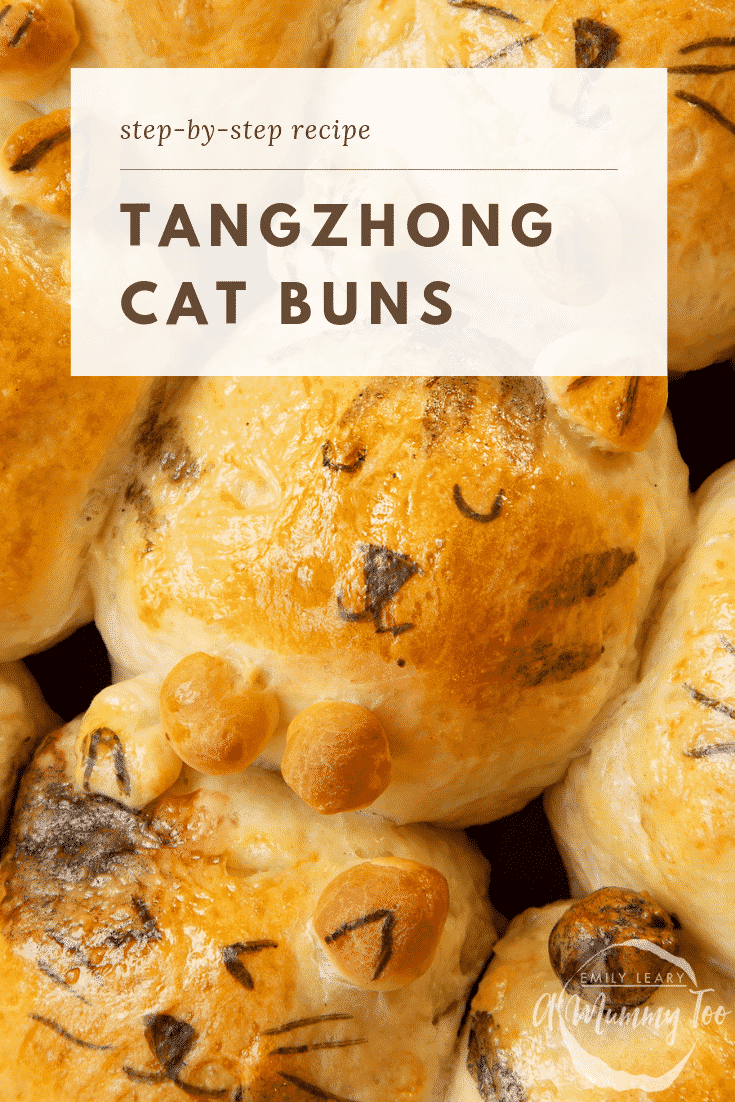
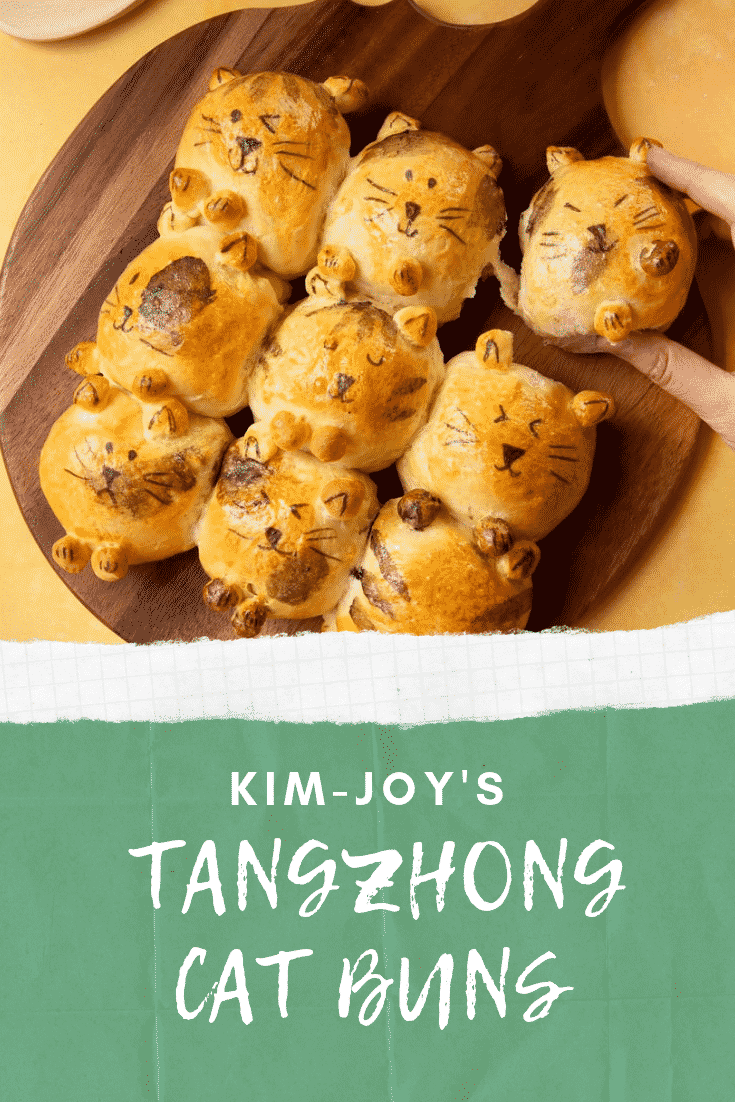
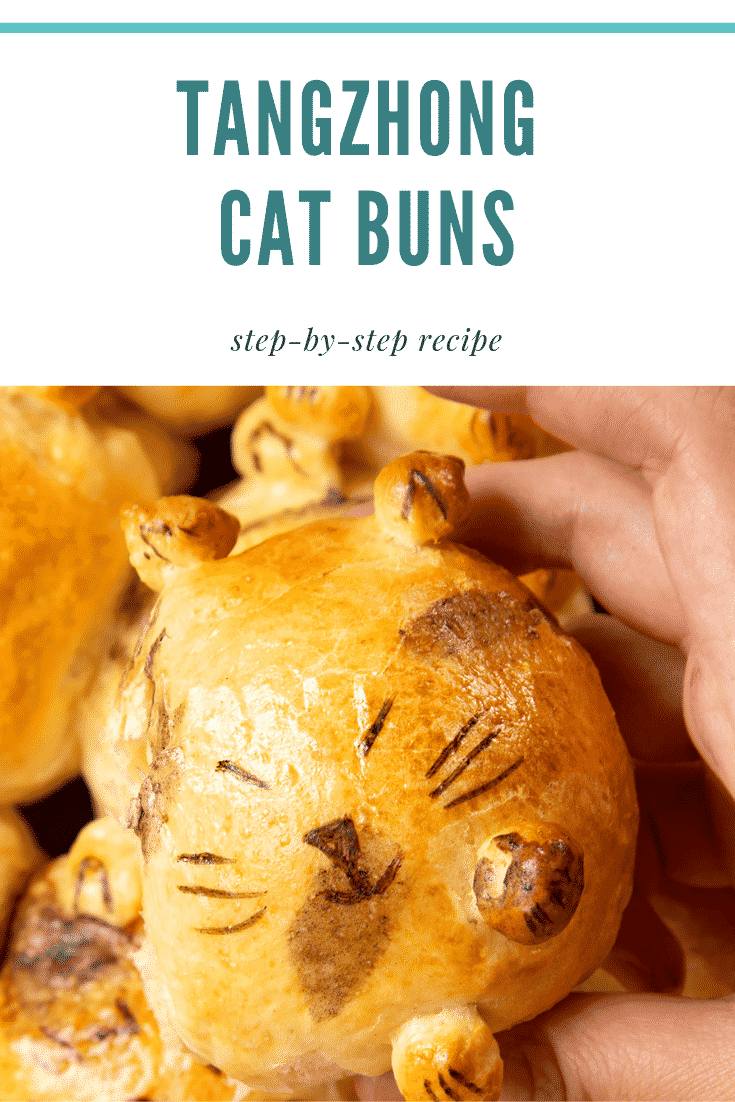
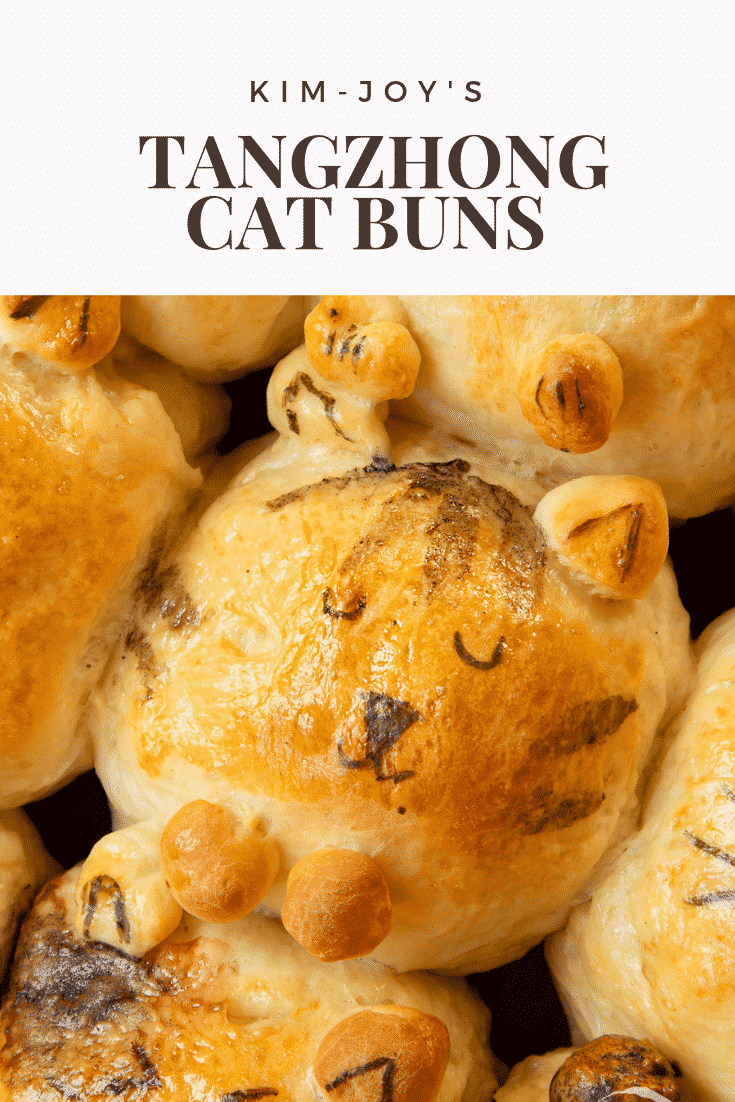
Kim-Joy's soft fluffy tear-and-share 'tangzhong' bread rolls, shaped and decorated to resemble cute little cats are simply adorable, don't you think?!
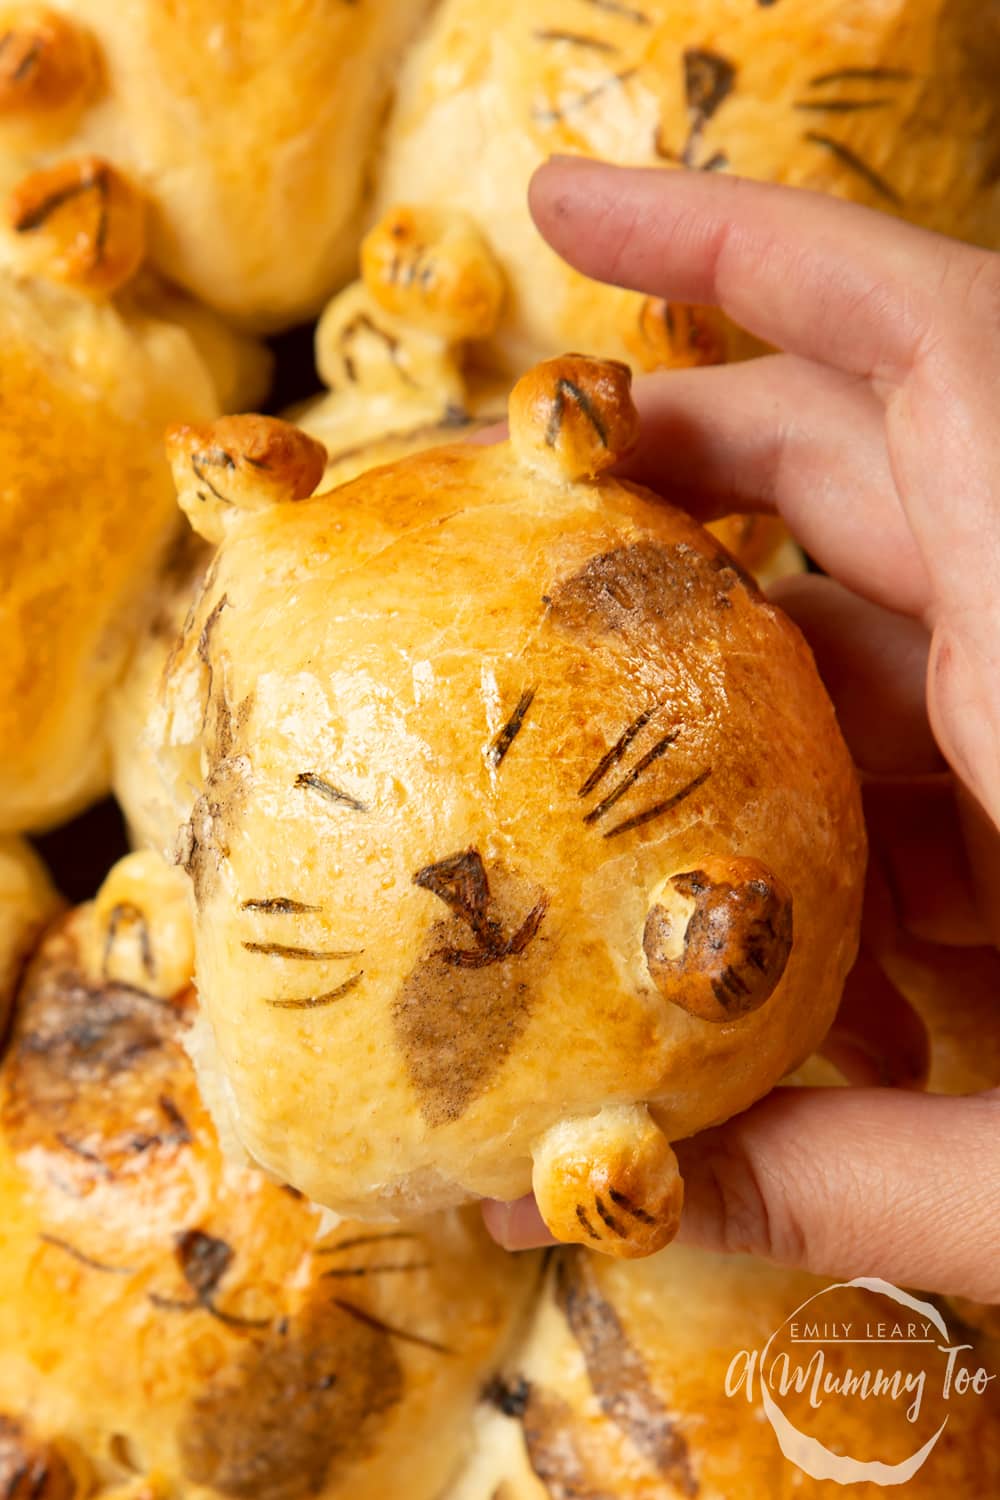
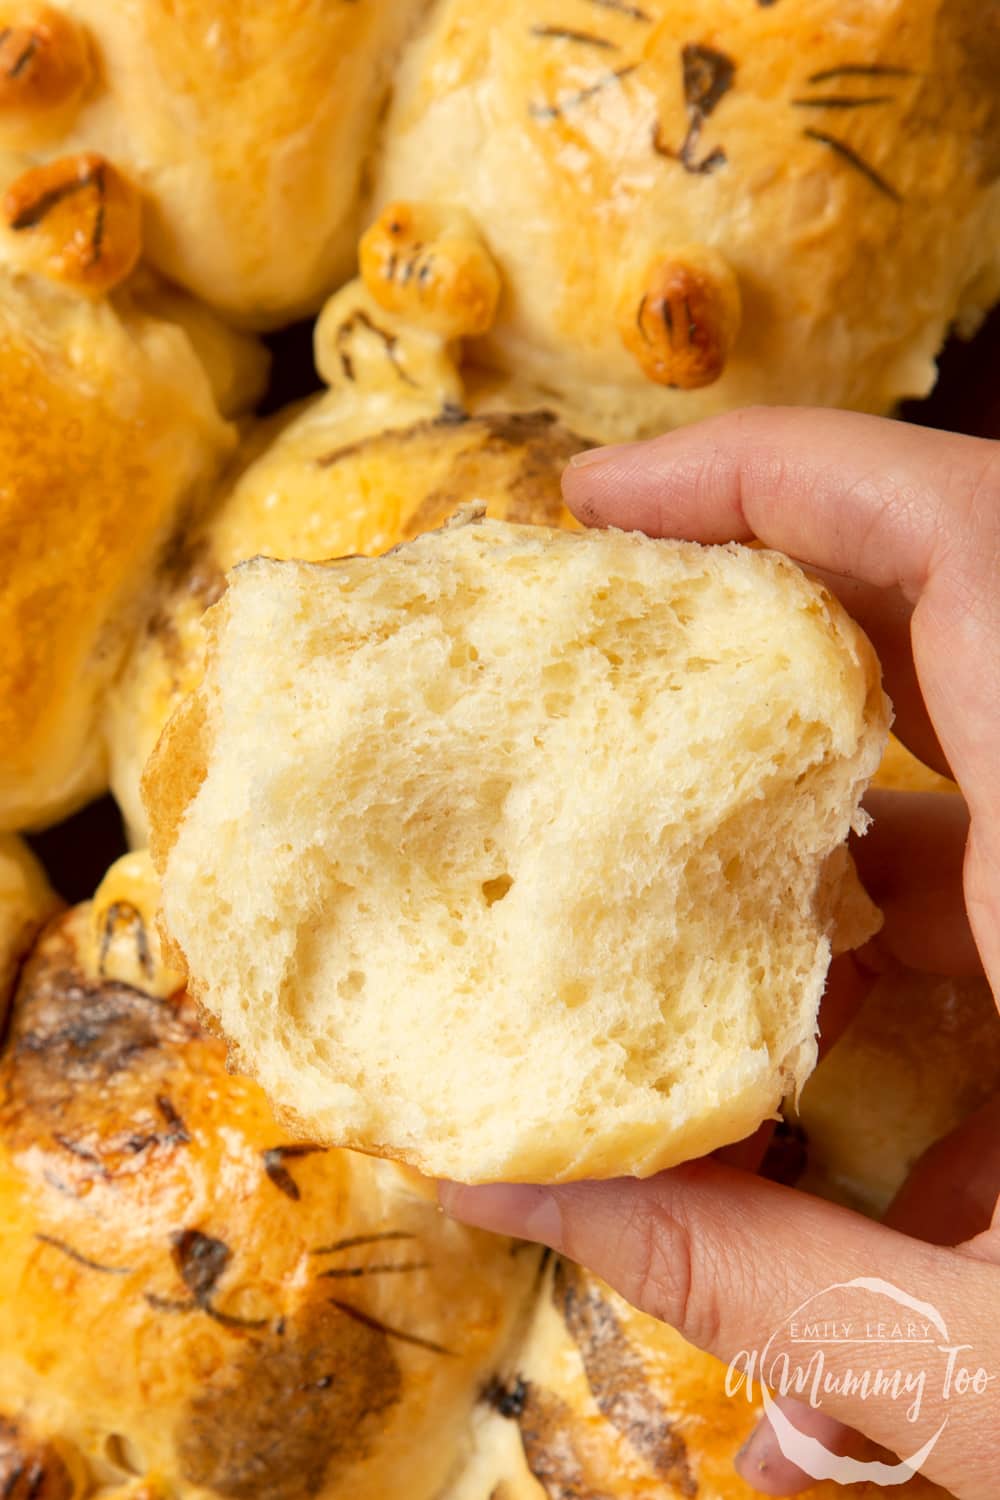
And the best thing about them? They're utterly delicious and the texture inside is stunningly soft, light and fluffy.
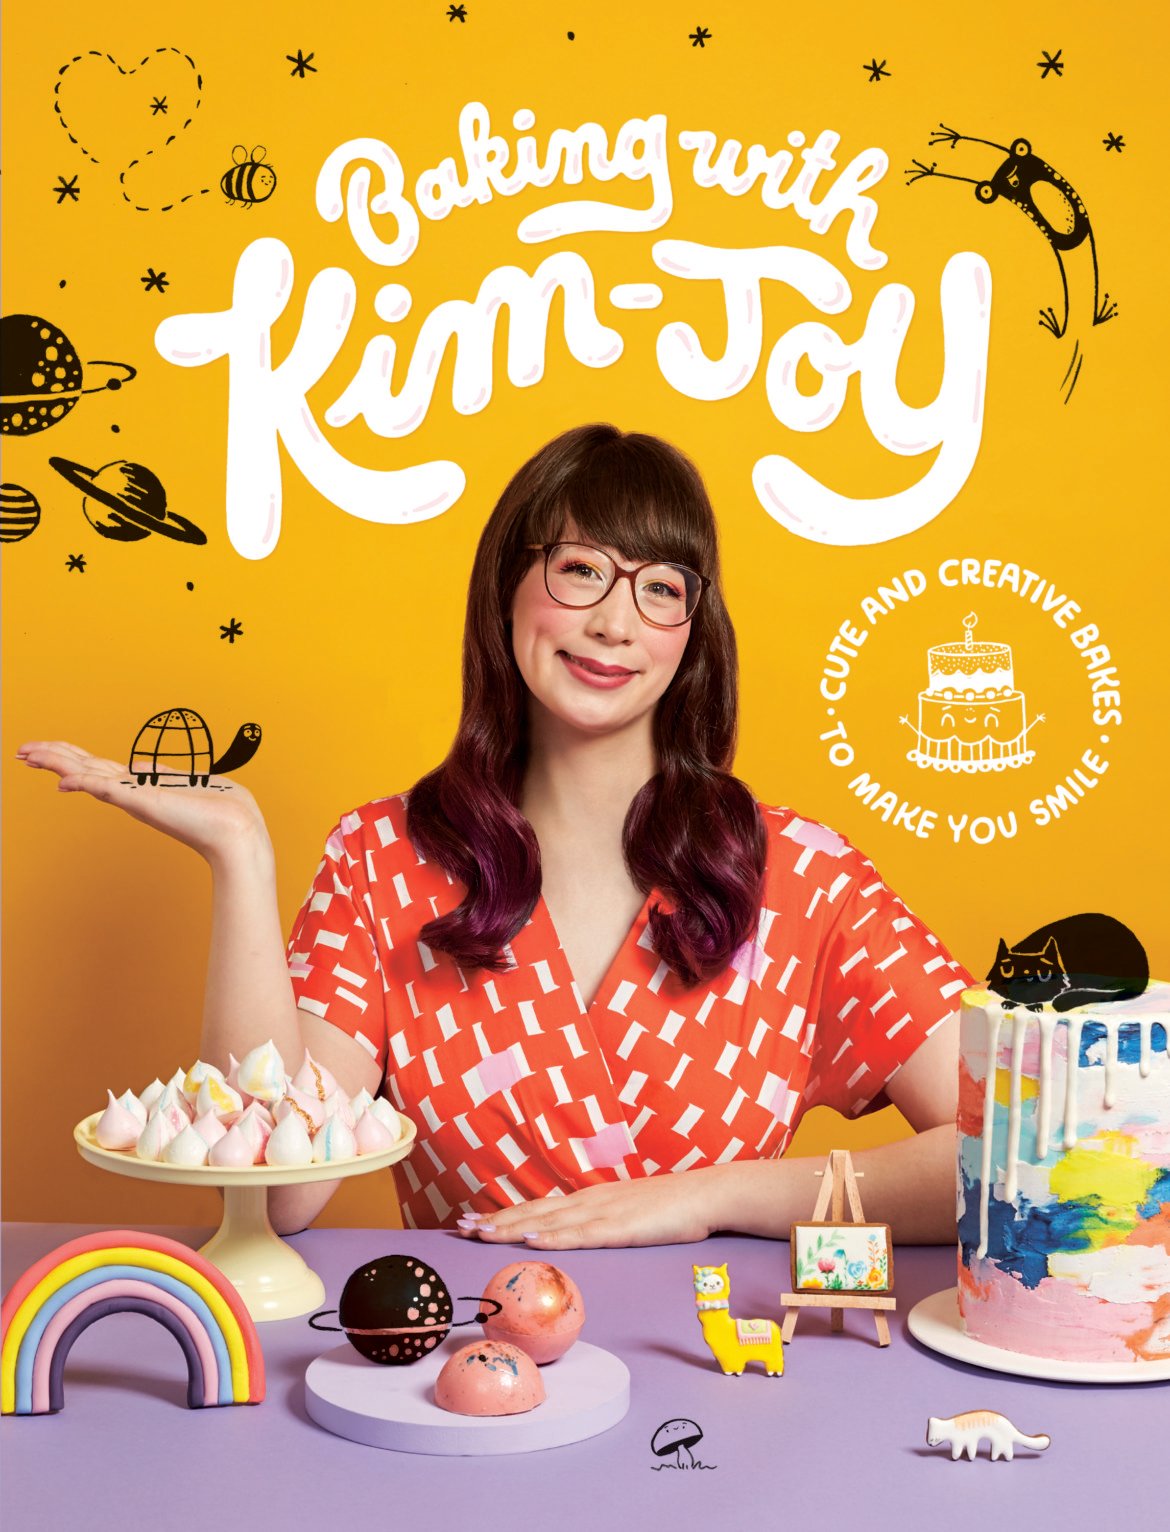
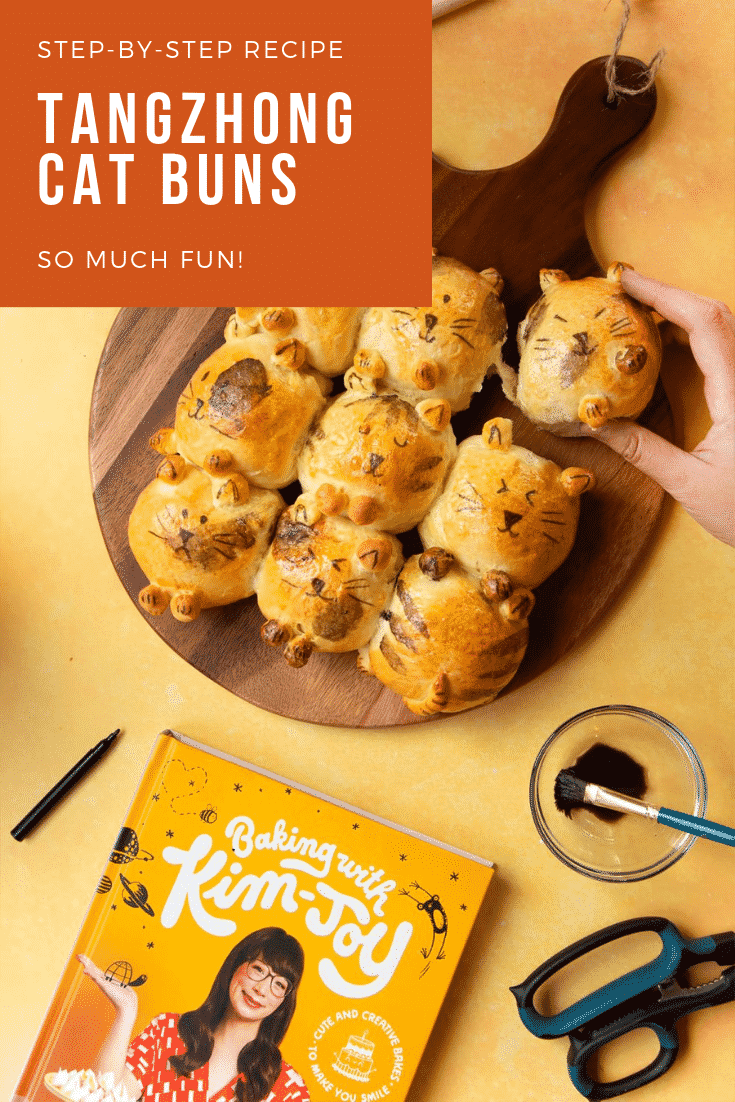
The recipe for Tangzhong Cat Shaped Bread is from Baking with Kim-Joy, finalist in Great British Bake Off 2018.
Here's what she has to say about her amazing tangzhong Cat Shaped Bread.
These rolls are not just cute, they are the softest, fluffiest bread you can find, and that’s thanks to the ‘tangzhong’ technique. This is credited as being a Japanese method, but became popular with home cooks and in Chinese bakeries after a Chinese woman called Yvonne Chen wrote a book about it. You might hear this kind of bread referred to as Hokkaido milk bread, Asian milk bread or shokupan.
Tangzhong is simply about making a roux with some of the flour and water, which is then cooled and added to the dough mixture. This roux essentially locks in the liquid, and helps to give the final bread a higher moisture content. The resulting bread is soft, cloud-like and stays fresher for longer. Making the roux takes just 5 minutes of your time, but completely transforms this bread.
Frankly, I am smitten with Kim-Joy's debut cookbook. This woman is a genius!
Baking with Kim-Joy is packed to the very brim with fantastic ideas for breads, cookies, cakes and more. And every page makes you want to squeal with delight, and is backed up with clear, easy-to-follow instructions. You must buy it!
Baking Kim-Joy's Tangzhong Cat Shaped Bread
Here's how to make Kim-Joy's Tangzhong Cat Shaped Bread, along with step-by-step photos to show you how we got on as we followed this fantastic bread recipe that will have cat-lovers meowing for joy!
Ingredients
For the tangzhong paste
- 25 g (4 tbsp) strong white bread flour plus extra for dusting
- 100 ml (⅓ cup + 1 tbsp) water
For the dough
- 125 ml (½ cup) whole milk plus extra for brushing
- 30 g (2 tbsp) unsalted butter
- vegetable oil (canola oil) for oiling
- 10 g (1 tbsp) granulated white sugar
- 1 tsp salt
- 1 large free range eggs
- 350 g (2⅓ cup) strong white bread flour
- 7 g (1 tbsp) fast-action dried yeast
To decorate
- 1 medium free range eggs lightly beaten, for brushing
- 1 dab brown food dye
- tiny bit vodka
- 1 black edible pen or royal icing dyed black
Instructions
Make the tangzhong paste
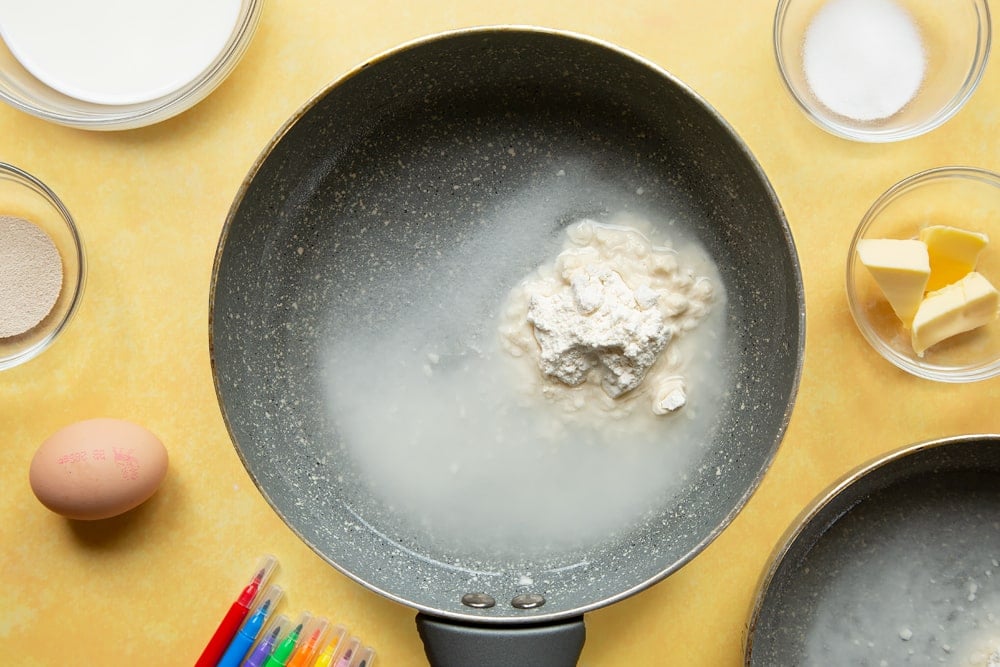
Using a balloon whisk, mix the flour and water together in a pan until smooth.
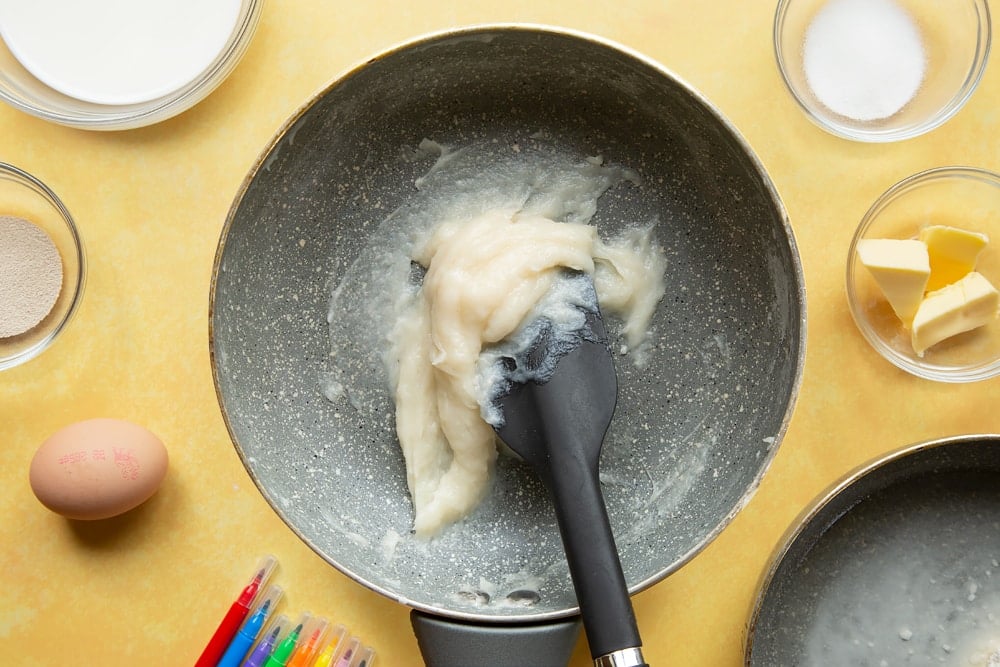
Place the pan over a low-medium heat and stir constantly with a spatula until thickened to a pudding-like consistency. If you have a thermometer the paste should reach 65°C [149°F] before you take it off the heat.
Transfer the tangzhong to a small bowl, cover with plastic wrap (making sure this touches the surface of the tangzhong and chill in the freezer for 10 minutes.
Lightly oil a large bowl and grease a 20-cm (8-in) square baking tin, then set aside.
Make the dough
Warm the milk in the microwave. It should be warm but not hot. Melt the butter, too. Place the milk and butter in a large bowl.

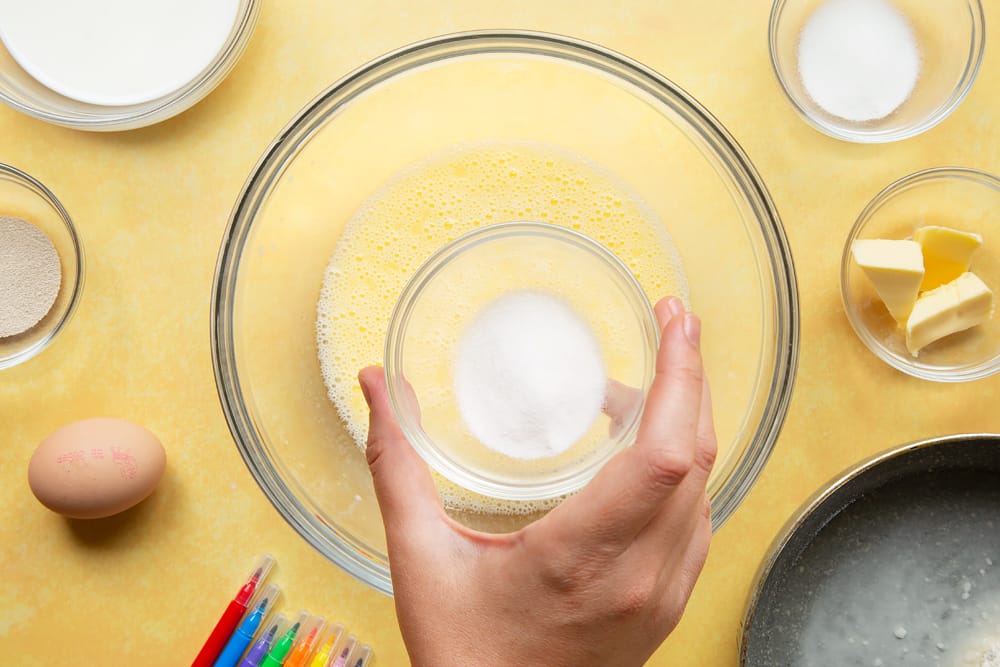
Add the sugar and salt.
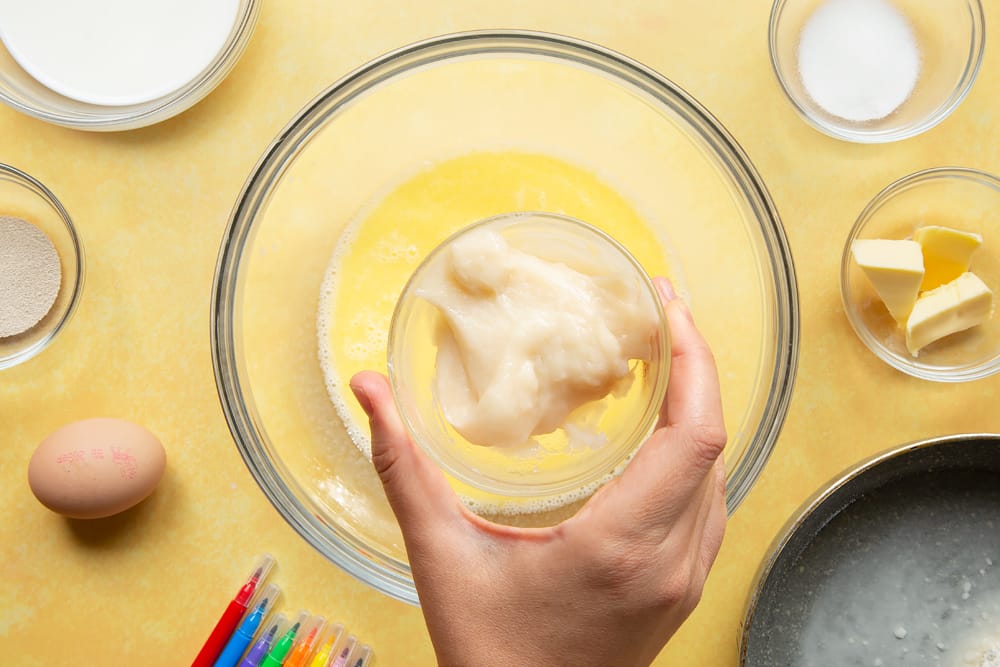
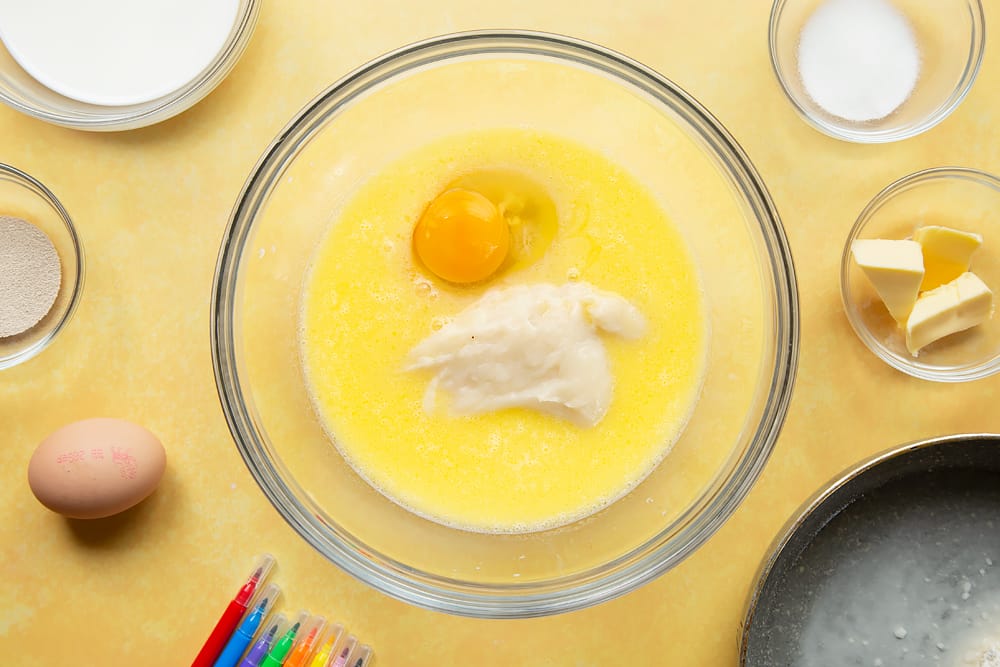
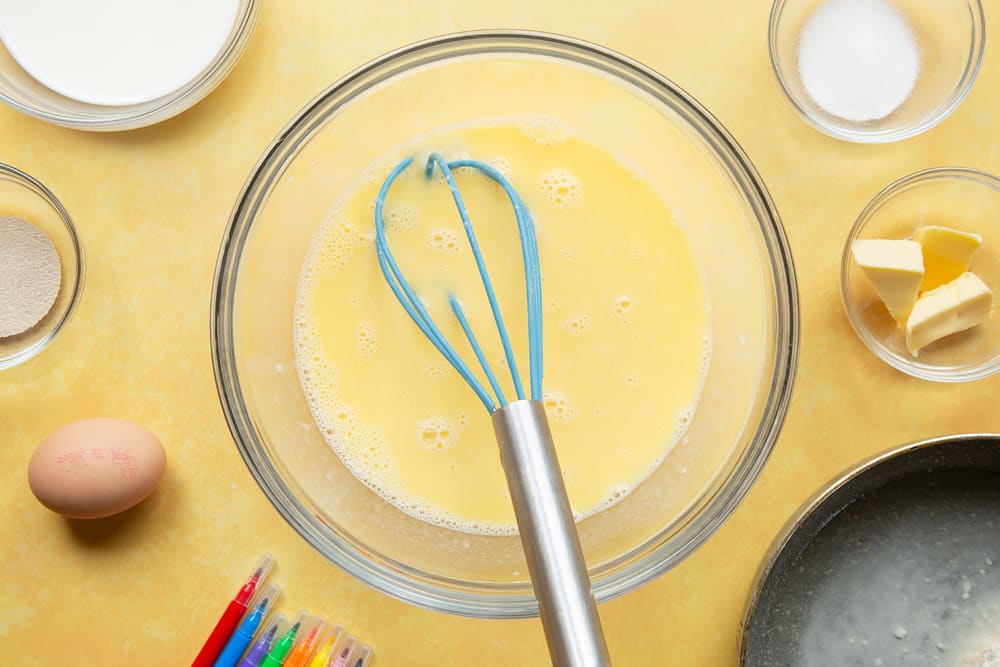
Add the chilled tangzhong to the bowl along with the egg and whisk together.
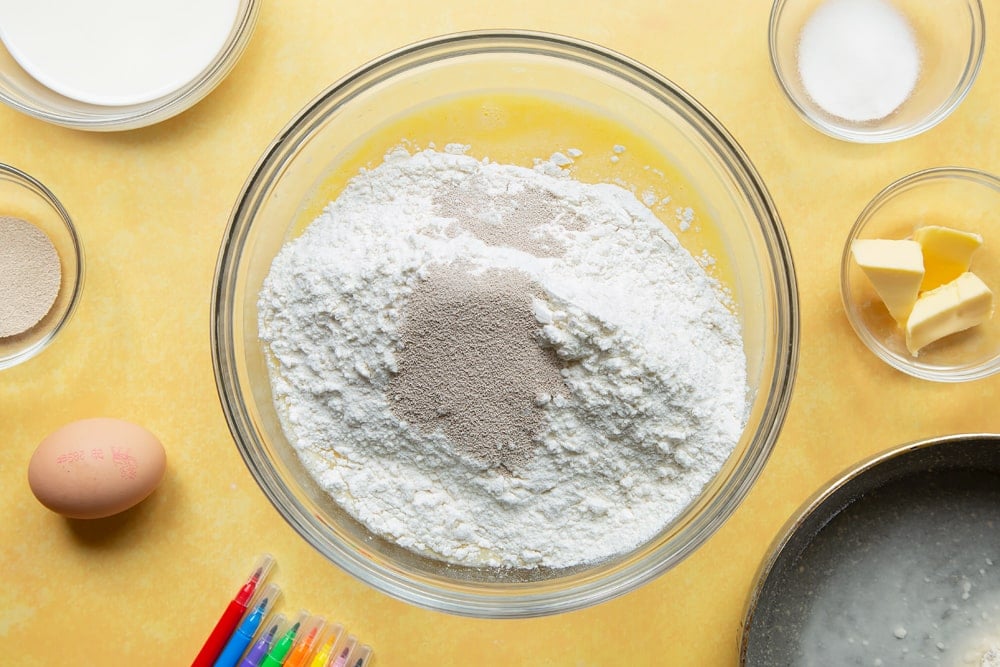
Add the flour and yeast to the mixture.
If using a stand mixer, just allow the machine to knead for 10 minutes with the dough hook attachment. If working by hand, use a wooden spoon to combine everything into a shaggy ball of dough, then turn out onto a floured surface.

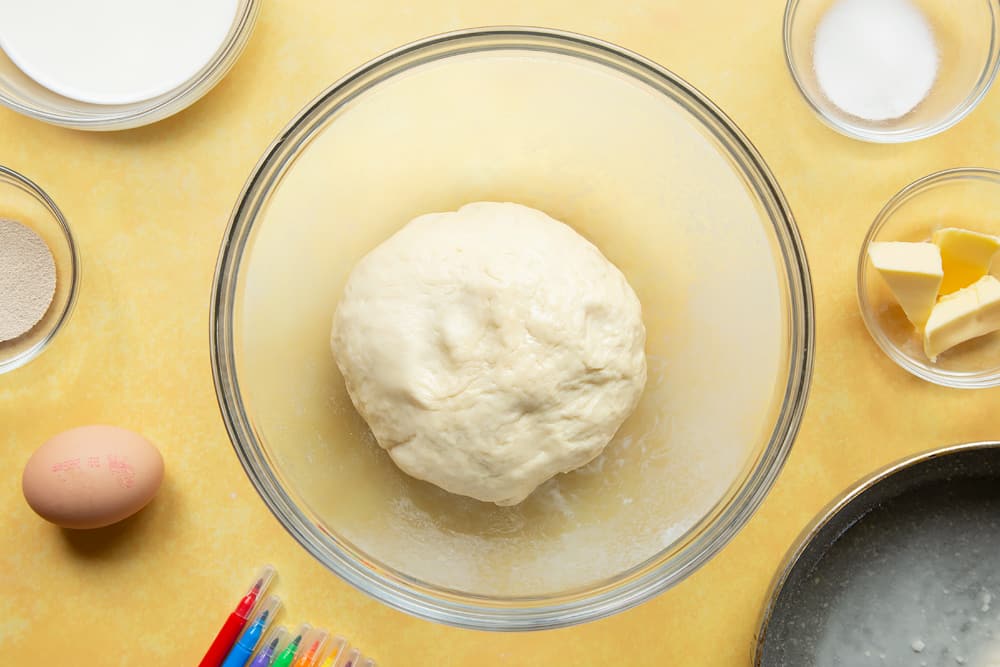
Knead by hand for about 10–15 minutes. The dough will be sticky to start with, but avoid adding too much flour – it will gradually become less sticky as you knead it. If the dough sticks to the surface, use a dough scraper to scrape it off. Keep kneading until the dough is smooth; it will still be a little tacky, but that is normal.
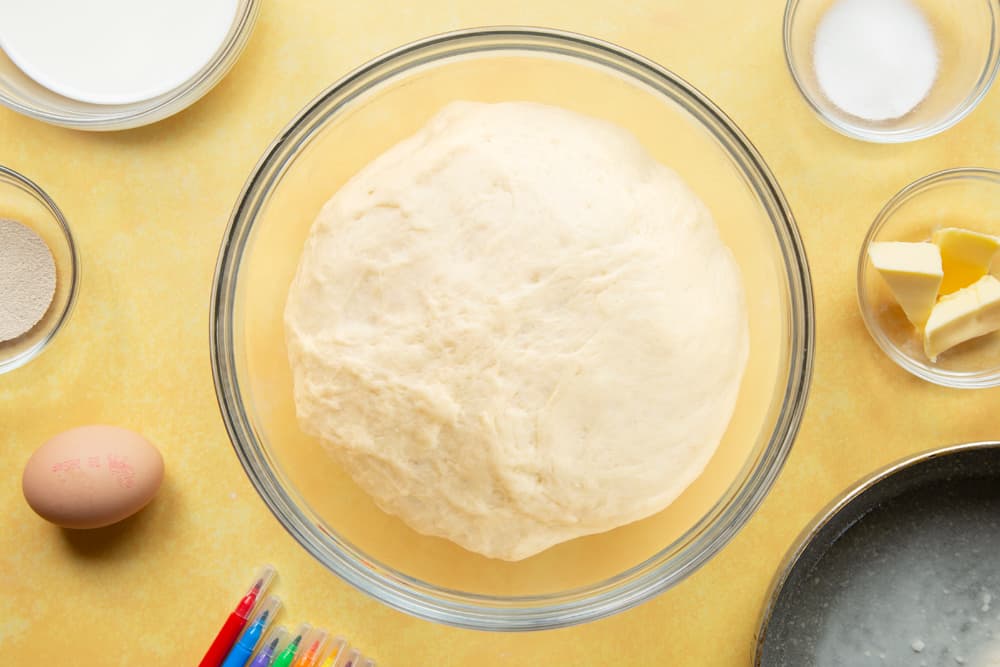
Place the dough in the oiled bowl and cover with plastic wrap.
Leave to rise in a warm place until doubled in size. This takes about 1 hour, but it depends on the temperature of your kitchen.
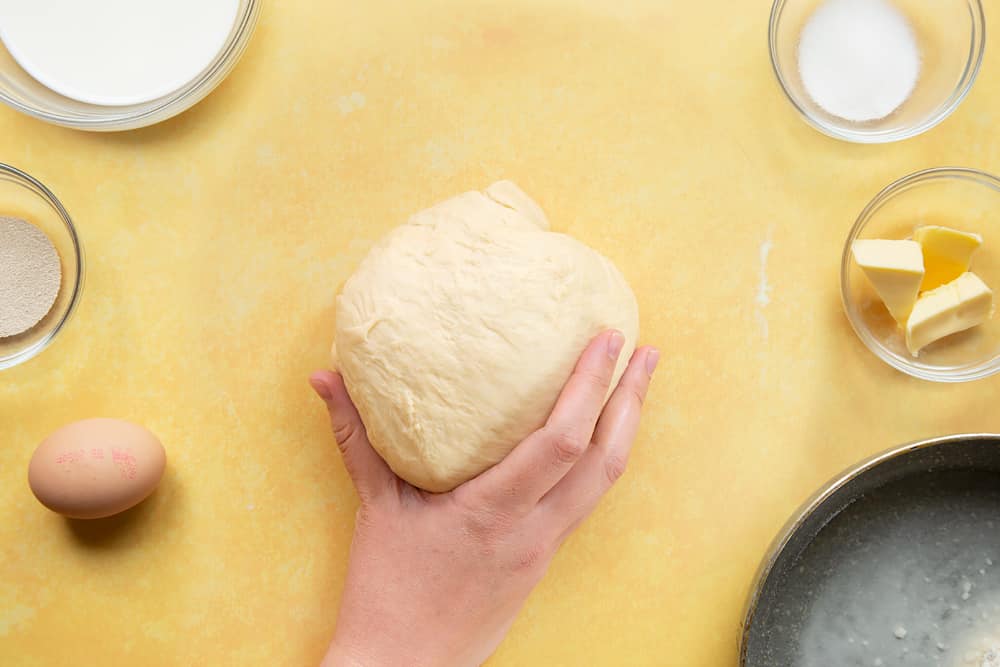
When the dough has doubled in size, turn it out onto a lightly floured surface and knock back.
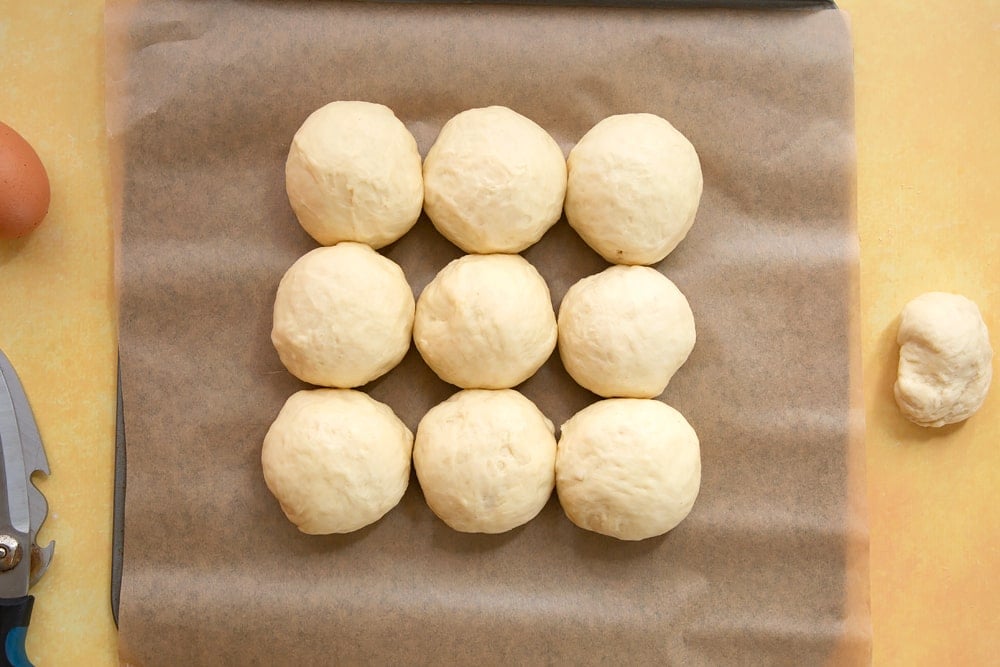
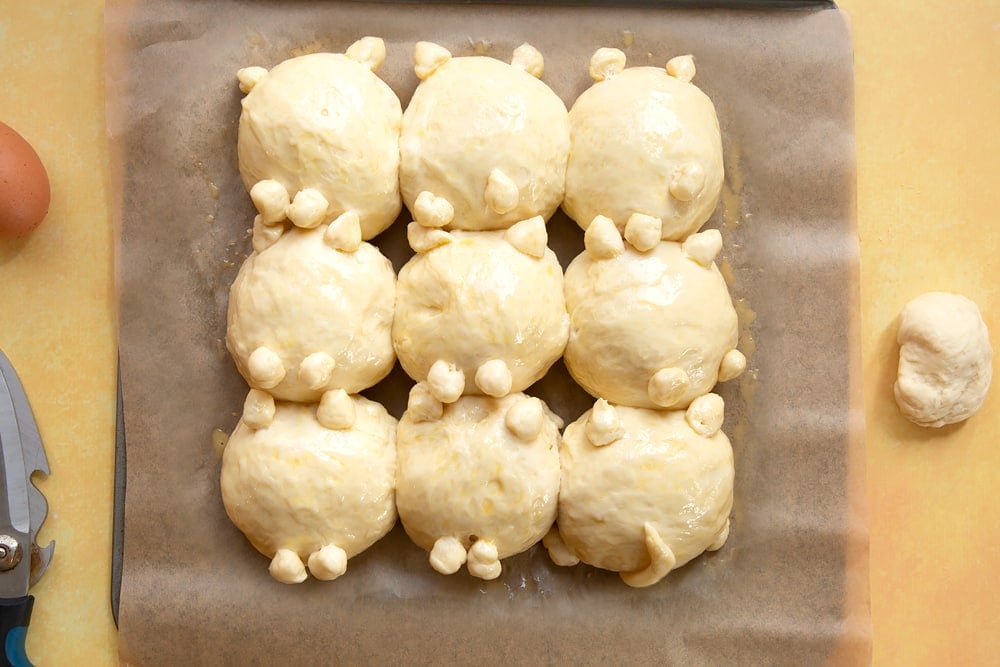
Form into 9 balls, weighing 65g (2¼oz) each. Shape them by tucking the dough under to create a smooth surface. There will be leftover dough – this is to shape the ears and paws.
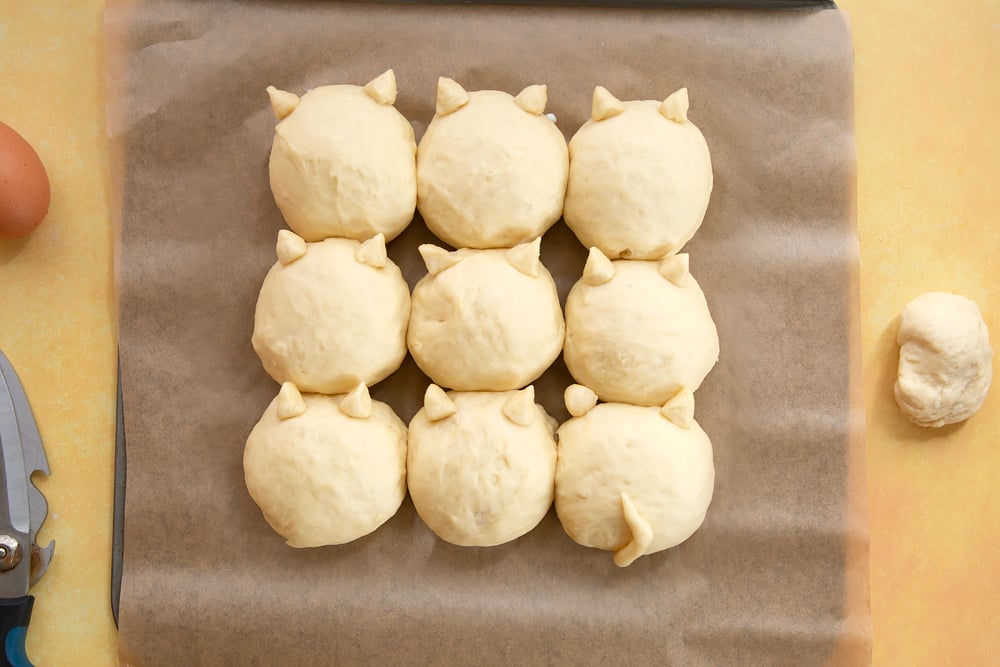
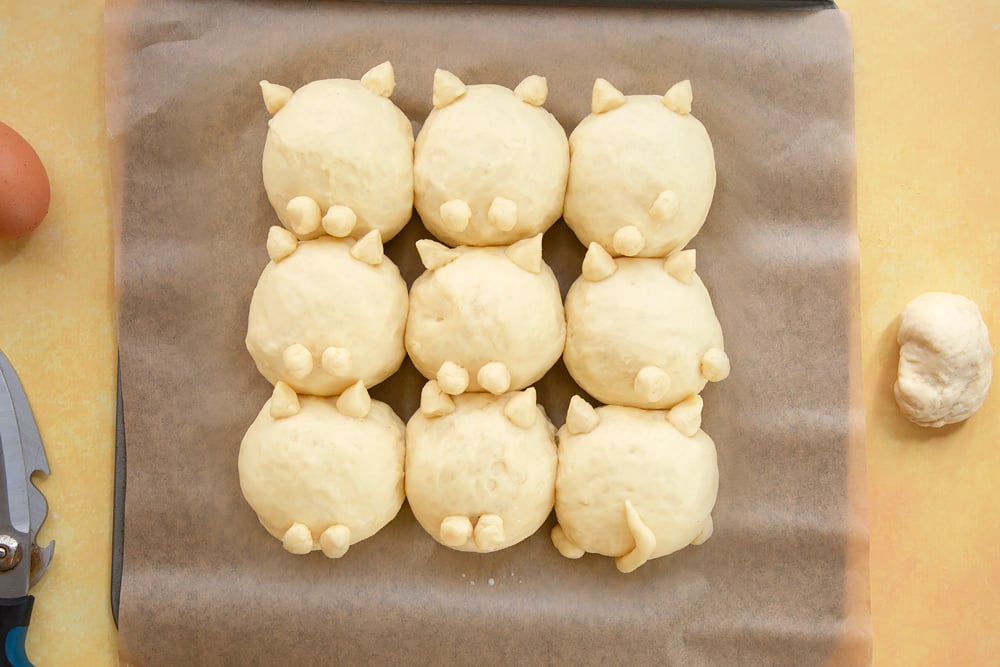
Shape the small balls of dough into ears and paws for the cats. You can brush on a little milk to help them stick. Shape a tail for one of the buns – this will look like the cat has turned around. Work fast to avoid the dough forming a skin.
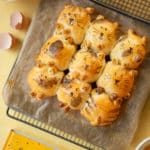
Place the dough balls in the prepared square tin ( Emily note: I made mine on a flat tray as it's all I had). Cover with lightly oiled plastic wrap and leave to prove in a warm place until roughly doubled in size.
The time this takes varies depending on the temperature of your kitchen, but won’t be as long as the first rise. You are looking for the dough to have nearly doubled in size and spring back halfway when lightly pressed with a finger.
About 15 minutes before the end of the proving time, preheat the oven to 180°C (350°F/Gas mark 4).
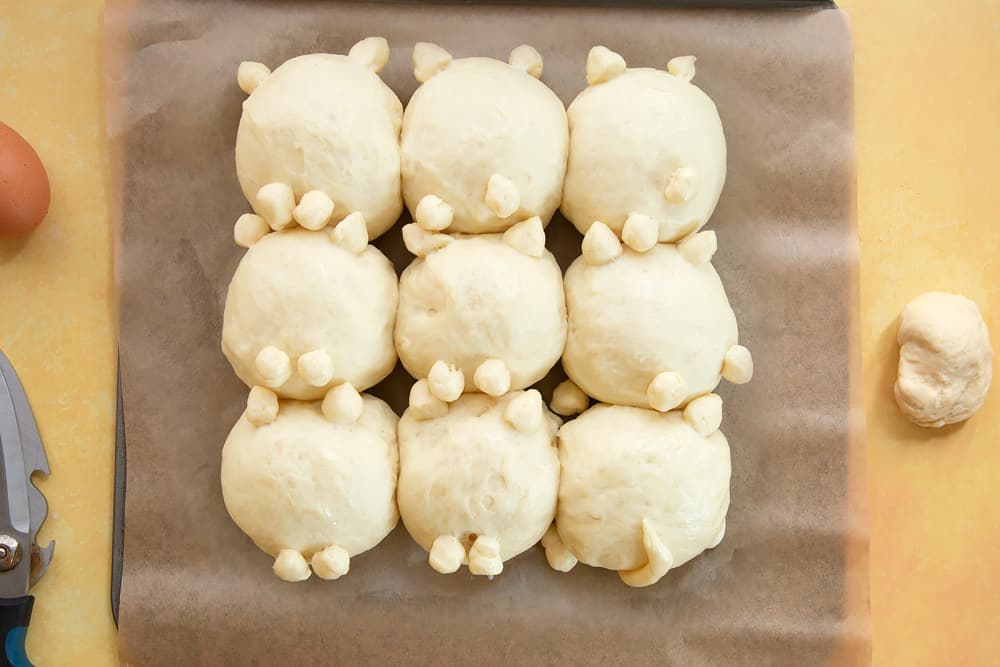
Brush the beaten egg on top of the buns just before baking.
Bake for 20 minutes until lightly golden brown. You will need to cover the buns with foil after 5–10 minutes, just to prevent them browning too much.
Transfer to a rack and leave to cool completely.
Decorate

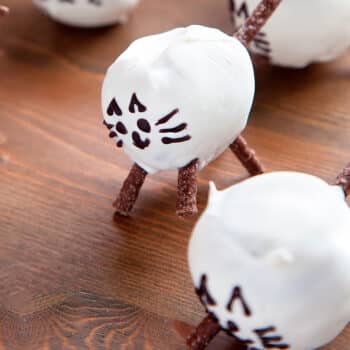
Paint coloured patches on the cold buns using a little brown food dye mixed with a tiny bit of vodka.

When dry, use black edible pen or royal icing dyed black to add cute facial features and details to the paws.
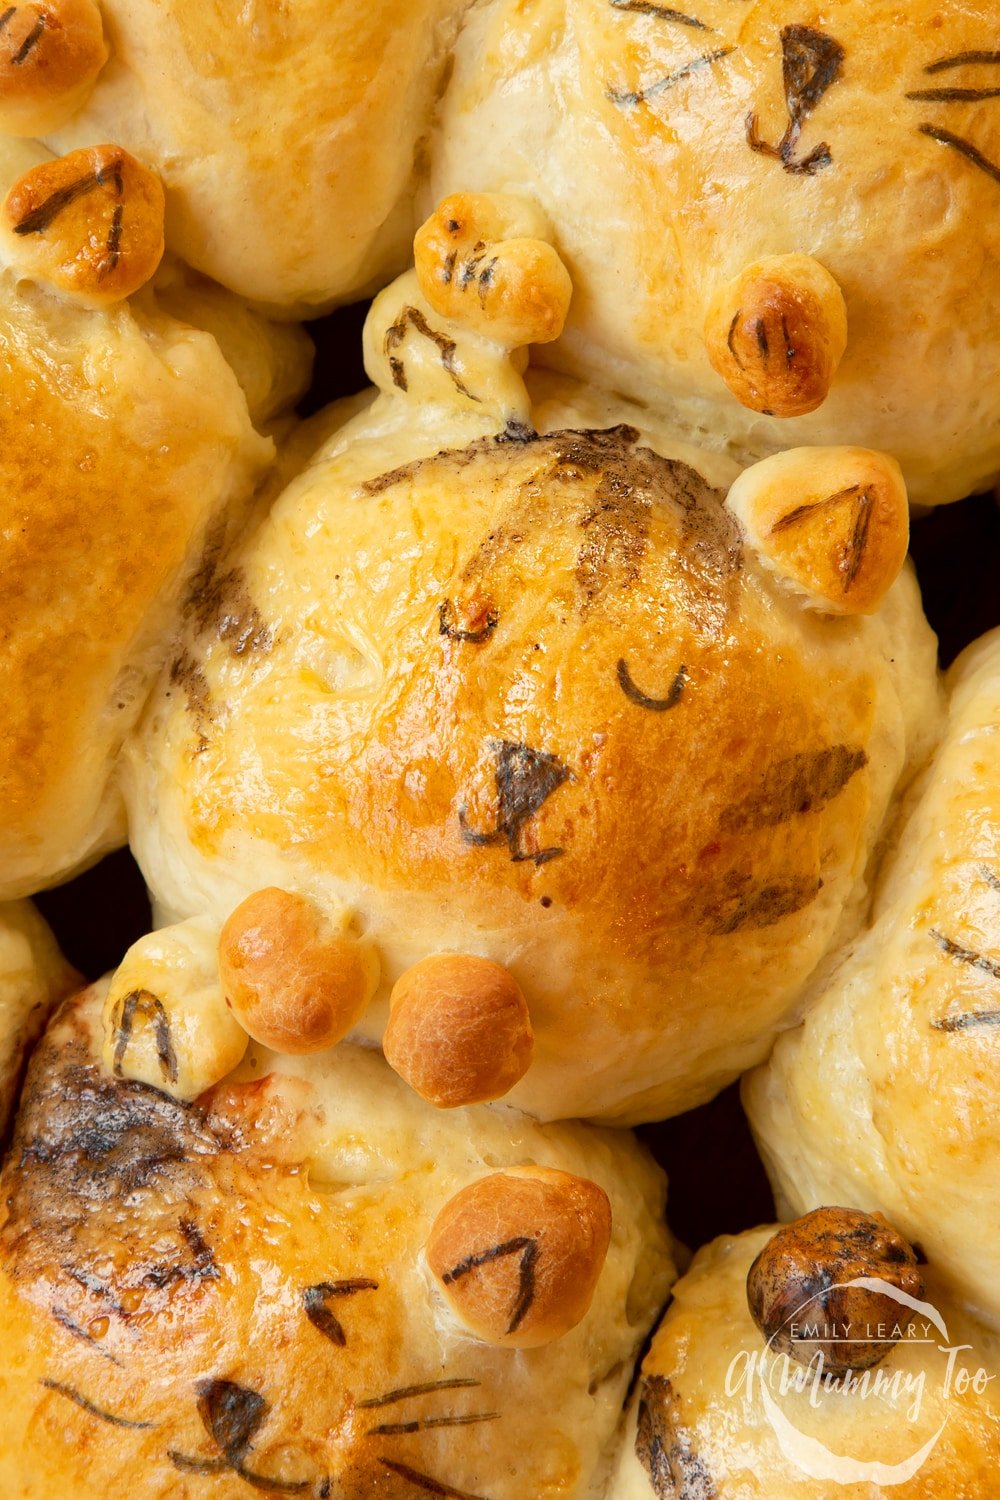
And you're done!
Enjoy!
Recipe reproduced with permission from Baking with Kim-Joy (Quadrille, £18.99) Photography © Ellis Parrinder
More questions and answers on Tangzhong Cat Shaped Bread
Some tips and tricks on how to get a perfect tangzhong, what it is, and how to get a perfect bake every time.
What could you do differently with the look?
The great thing about this recipe is that everyone can have a turn decorating as well as how much you can experiment with the designs.
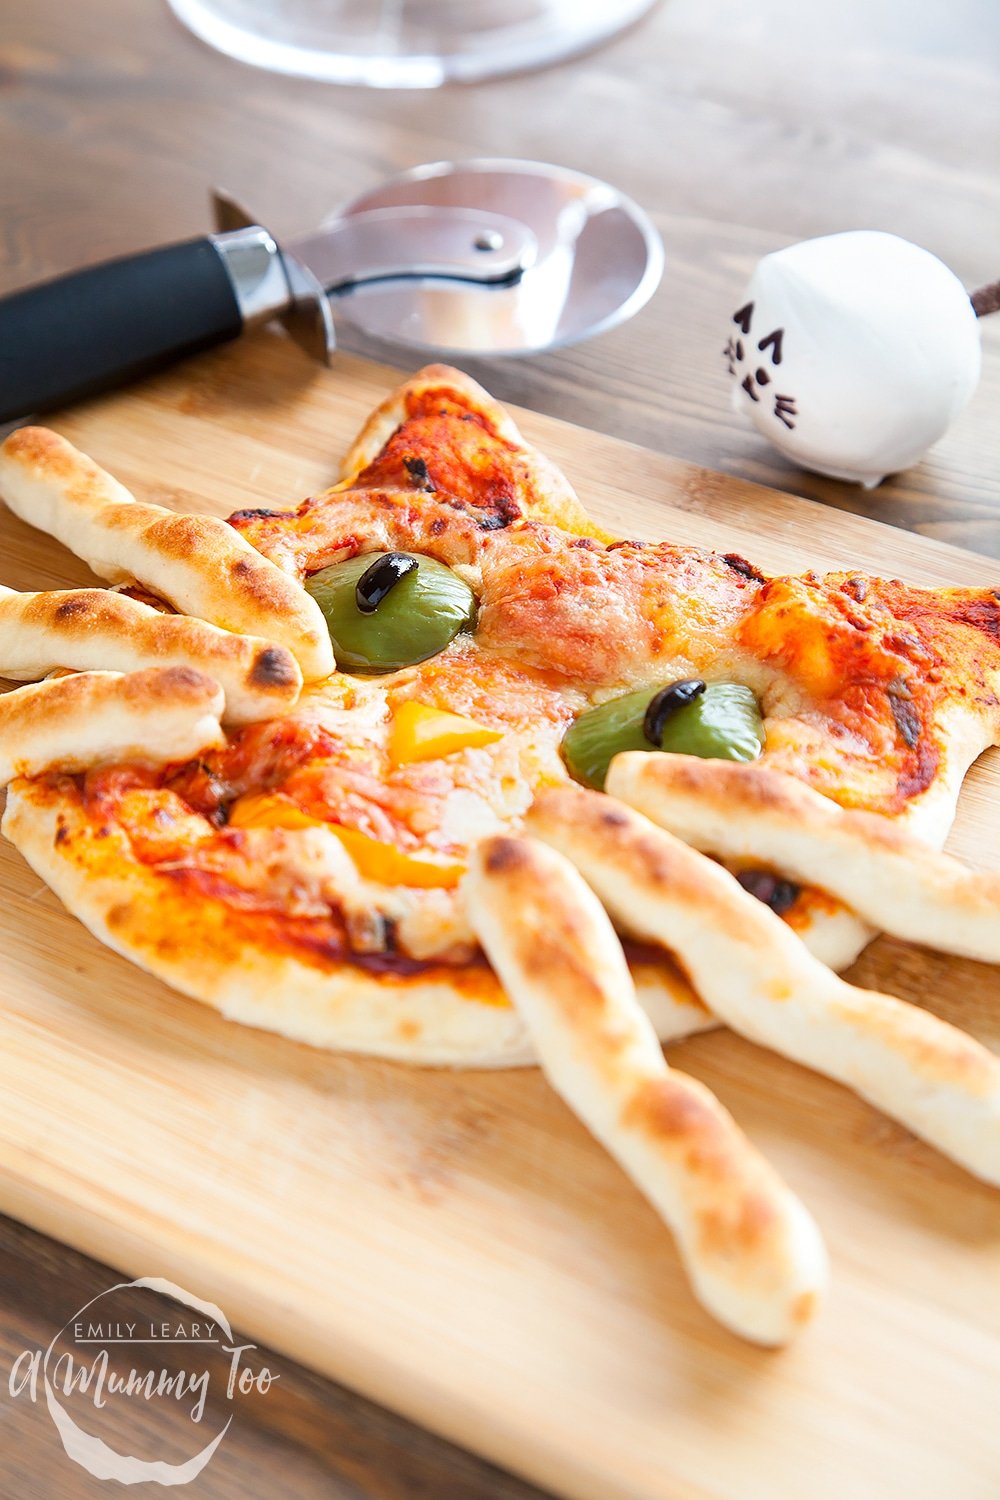
If you're feeling really creative next time you make it then the sky's the limit for what animals you could make and paint from pets you know to jungle animals.
What goes well with Tangzhong Cat Shaped Bread?
Tangzhong bread is full of such fluffy and soft deliciousness they can be eaten on their own and won't disappoint. I personally love them the following few days toasted with butter and jam.
If you're daring enough to try some fusion cuisine I would imagine anything that goes well in a brioche or pastry would work from a slice of ham and Swiss cheese to chocolate and hazelnut spread with strawberries.
With a texture somewhere between a potato flour bun and a brioche bun I bet these could work excellently as buns for sliders (mini burgers) too. It would be a great party treat!
If you prefer you could even do construct your own burgers which really gets into the tear and share spirit - even simple sandwich fillings work well!
How best to store Cat Shaped Bread? How long will they last? Should it be put in the refrigerator?
The great thing about these buns is how well they keep, thanks to the extra moisture. Store in an airtight container, preferably not torn, and the buns should be good for at least 3 days, but usually longer.
Can Cat Shaped Bread be frozen?
I haven't tried it, but I find pretty much all bread freezes well, so as long as you get it in an airtight container and in the freezer as soon as the bread has cooled you should be good.
To defrost leave out overnight but inside the container, or until soft.
Can Tangzhong Cat Shaped Bread be prepared ahead of time?
It's best to make these buns when you need them but they will freeze well - check out how to do so elsewhere in the Q&A. With a high moisture content they should still be delicious and fresh tasting if serving the next day, so that's also an option.
Where does Tangzhong originate from? What's the history?
Honestly, I had trouble finding a definitive answer! If anyone knows where this style of bread comes from please do let me know in the comments!
Is Cat Shaped Bread healthy?
As with most white breads, they have a lot of carbohydrates among other things, so it's best to use it in rotation with other, healthier breads.
I loved this Cat Shaped Bread, what other recipes can I try?
The lovely texture in the bun is wonderfully unique, but if you're after another type of very tasty and quick to make bread then this soda bread bun is deliciously different.
By cooking the flour to 65C the starch gelatinises, and taking on more water at this stage means more moist deliciousness later.
What is Tangzhong?
Also called a water roux, a tangzhong water roux and tangzhong paste, it's a paste of flour and water (sometimes milk) that when cooked and incorporated into the dough makes it soft and fluffy.
Can Tangzhong Cat Shaped Bread be prepared ahead of time?
It's best to make these buns when you need them - check out how to do so elsewhere in the Q&A. With a high moisture content, they should still be very tasty and fresh for at least two days if stored in an airtight container, and usually a couple more days after that.
Print this recipe
Kim-Joy's Tangzhong Cat Shaped Bread Recipe
Ingredients
For the tangzhong paste
- 25 g (4 tbsp) strong white bread flour plus extra for dusting
- 100 ml (⅓ cup + 1 tbsp) water
For the dough
- 125 ml (½ cup) whole milk plus extra for brushing
- 30 g (2 tbsp) unsalted butter
- vegetable oil (canola oil) for oiling
- 10 g (1 tbsp) granulated white sugar
- 1 tsp salt
- 1 large free range eggs
- 350 g (2⅓ cup) strong white bread flour
- 7 g (1 tbsp) fast-action dried yeast
To decorate
- 1 medium free range eggs lightly beaten, for brushing
- 1 dab brown food dye
- tiny bit vodka
- 1 black edible pen or royal icing dyed black
Instructions
Make the tangzhong paste.
- Using a balloon whisk, mix the flour and water together in a pan until smooth.
- Place the pan over a low-medium heat and stir constantly with a spatula until thickened to a pudding-like consistency. If you have a thermometer the paste should reach 65°C [149°F] before you take it off the heat.
- Transfer the tangzhong to a small bowl, cover with plastic wrap (making sure this touches the surface of the tangzhong) and chill in the freezer for 10 minutes.
- Warm the milk in the microwave. It should be warm but not hot. Melt the butter, too.
Make the dough
- Lightly oil a large bowl and grease a 20-cm (8-in) square baking tin, then set aside.
- Place the milk and butter in a large bowl and add the sugar and salt.
- Add the chilled tangzhong to the bowl along with the egg and whisk together.
- Add the flour and yeast to the mixture.
- If using a stand mixer, just allow the machine to knead for 10 minutes with the dough hook attachment. If working by hand, use a wooden spoon to combine everything into a shaggy ball of dough, then turn out onto a floured surface.
- Knead by hand for about 10–15 minutes. The dough will be sticky to start with, but avoid adding too much flour – it will gradually become less sticky as you knead it. If the dough sticks to the surface, use a dough scraper to scrape it off. Keep kneading until the dough is smooth; it will still be a little tacky, but that is normal.
- Place the dough in the oiled bowl and cover with plastic wrap. Leave to rise in a warm place until doubled in size. This takes about 1 hour, but it depends on the temperature of your kitchen.
- When the dough has doubled in size, turn it out onto a lightly floured surface and knock back.
- Form into 9 balls, weighing 65g (2¼oz) each. Shape them by tucking the dough under to create a smooth surface. There will be leftover dough – this is to shape the ears and paws.
- Shape the small balls of dough into ears and paws for the cats. You can brush on a little milk to help them stick. Shape a tail for one of the buns – this will look like the cat has turned around. Work fast to avoid the dough forming a skin.
- Place the dough balls in the prepared square tin. Cover with lightly oiled plastic wrap and leave to prove in a warm place until roughly doubled in size. The time this takes varies depending on the temperature of your kitchen, but won’t be as long as the first rise. You are looking for the dough to have nearly doubled in size and spring back halfway when lightly pressed with a finger.
- About 15 minutes before the end of the proving time, preheat the oven to 180°C (350°F/Gas mark 4).
- Brush the beaten egg on top of the buns just before baking.
- Bake for 20 minutes until lightly golden brown. You will need to cover the buns with foil after 5–10 minutes, just to prevent them browning too much.
- Transfer to a rack and leave to cool completely.
Decorate
- Paint coloured patches on the cold buns using a little brown food dye mixed with a tiny bit of vodka.
- When dry, use black edible pen or royal icing dyed black to add cute facial features and details to the paws.
Video
Notes
Nutrition
More cat-themed recipes
Have you got my book?
'This is a great kids cookery book. Emily is a star' - Simon Rimmer
'The book I'd like to force into any mother's kitchen' - Prue Leith
"A fab book with a plan." - Jane Devonshire, 2016 Masterchef UK winner
'Emily has managed to combine her mummy knowledge and passion for food to make a truly helpful and brilliant cookbook' - Priya Tew, RD, BSc (Hons), Msc
Get Your Kids to Eat Anything is an achievable 'how to' for parents in the battle to overcome picky eating and 'make new the norm'. Emily Leary's unique 5-phase programme looks at the issue of 'fussy eating' in a holistic way that links imagination with food, and which situates parents alongside - not in opposition to - their children.
Shannon says
So.... a laugh for my fellow bakers. I haven't baked in a while, but I struggled with this recipe. Took almost double the flour to have a remotely workable dough. I was seriously thrown off, because the ratio seemed high to begin with. It was still super tacky and hard to work with, took twice as long to bake, and was the densest, chewiest, sweetest bread I've ever made!
I was mystified that the whole process was sooooo hard, but chalked it up to using bread flour and my own inadequacy. The kids loved them anyways... 10/10 Mom!
Then today... my husband was upset to find he was almost out of pancake mix. Apparently, he filled my breadflour bin with pancake mix since I hadn't been using it!
Emily Leary says
Oh my goodness! How funny! I'm so glad the kids enjoyed it nonetheless!
Suzanne Frisse says
How do you shape those cute triangular ears? Mine are all floppy :-)
Emily Leary says
I just pinched with my fingers - they're only teeny though!
samantha says
Very cute and lovely bread.
Just wondering, are you still using the Bosch Series 8 oven to bake this recipe? thanks
Emily Leary says
Thanks! No, we're not sadly as we moved house and for various reasons relating to it being a rental property, we weren't able to have it fitted.
amee says
OMG these are too cute
Colette says
These are so flipping cute Emily
Emily Leary says
I knowwwww! I need to make them again. Kim-Joy is a genius.