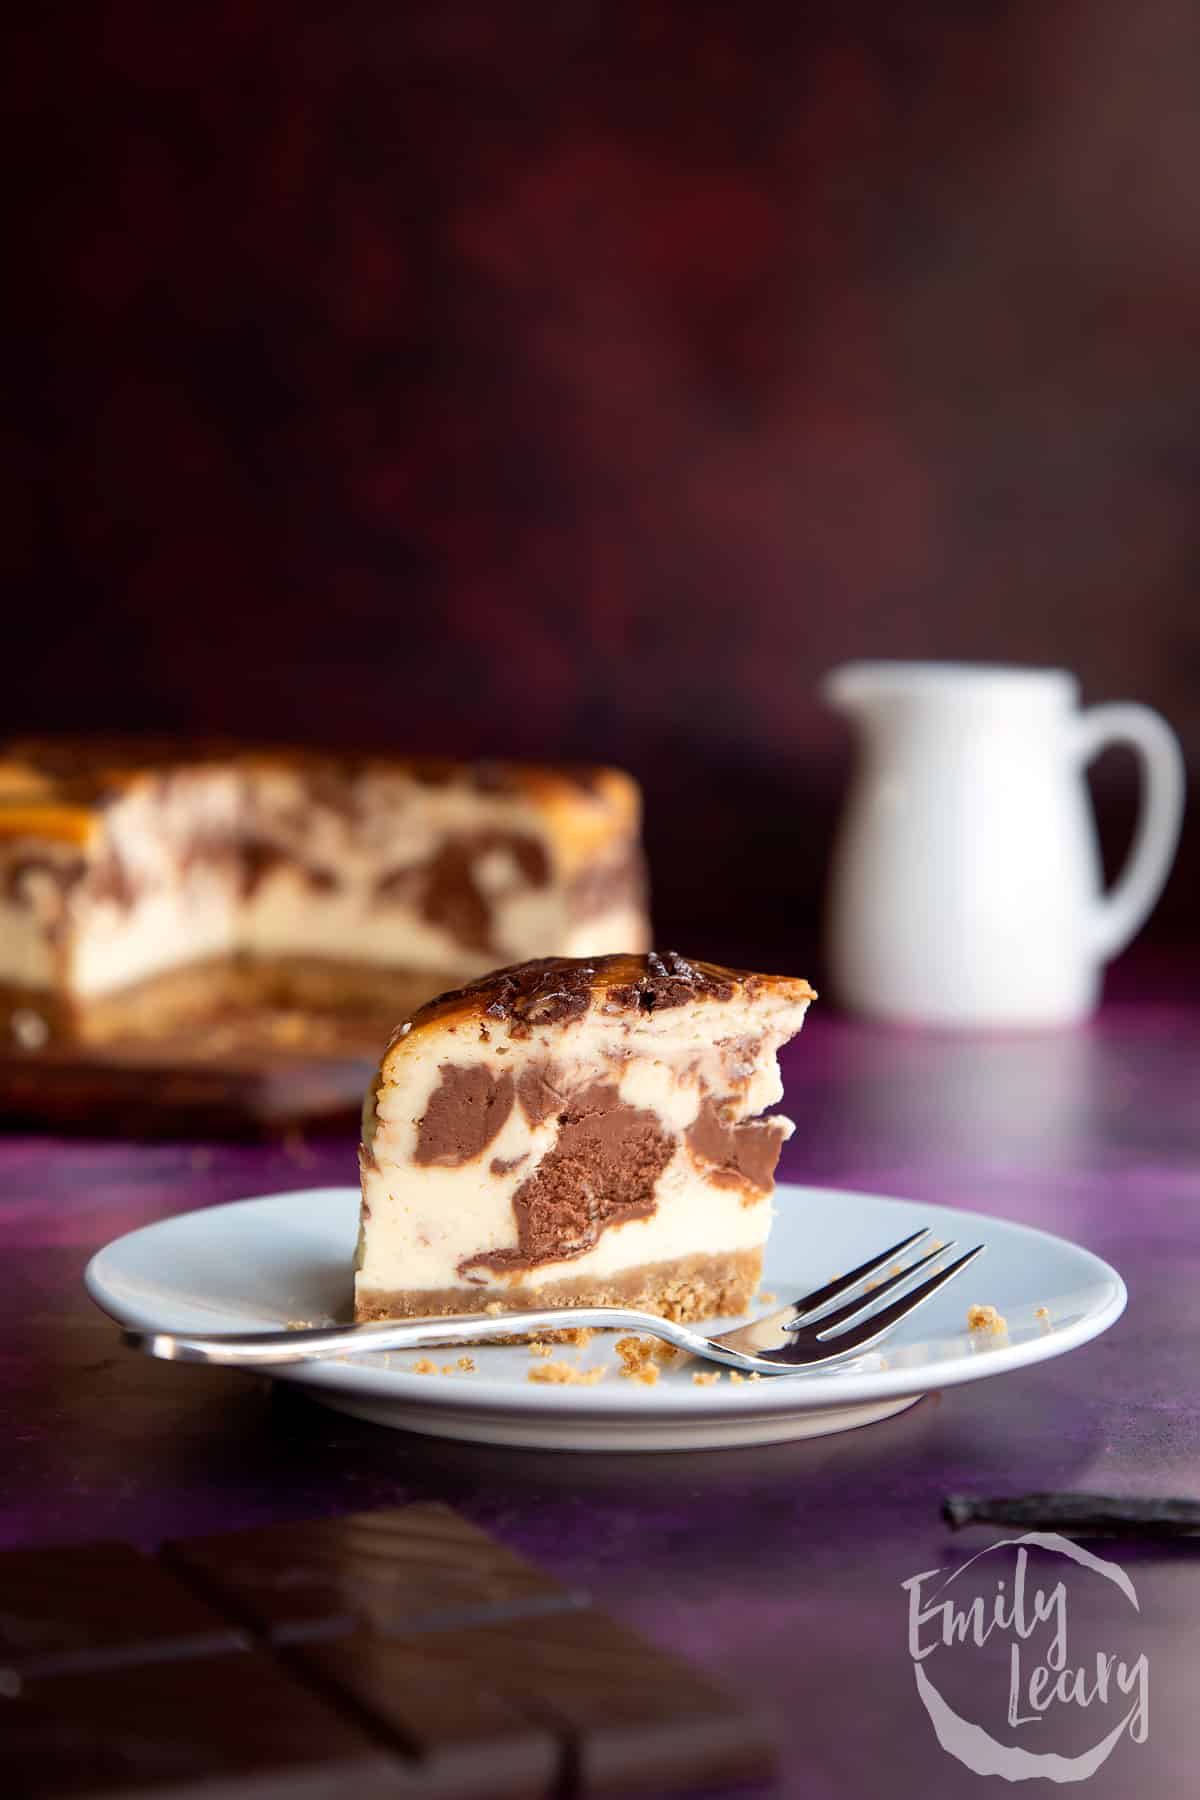
This gorgeous marble cheesecake boasts a crisp, buttery biscuit base and a perfectly swirled salted dark chocolate and vanilla baked filling.
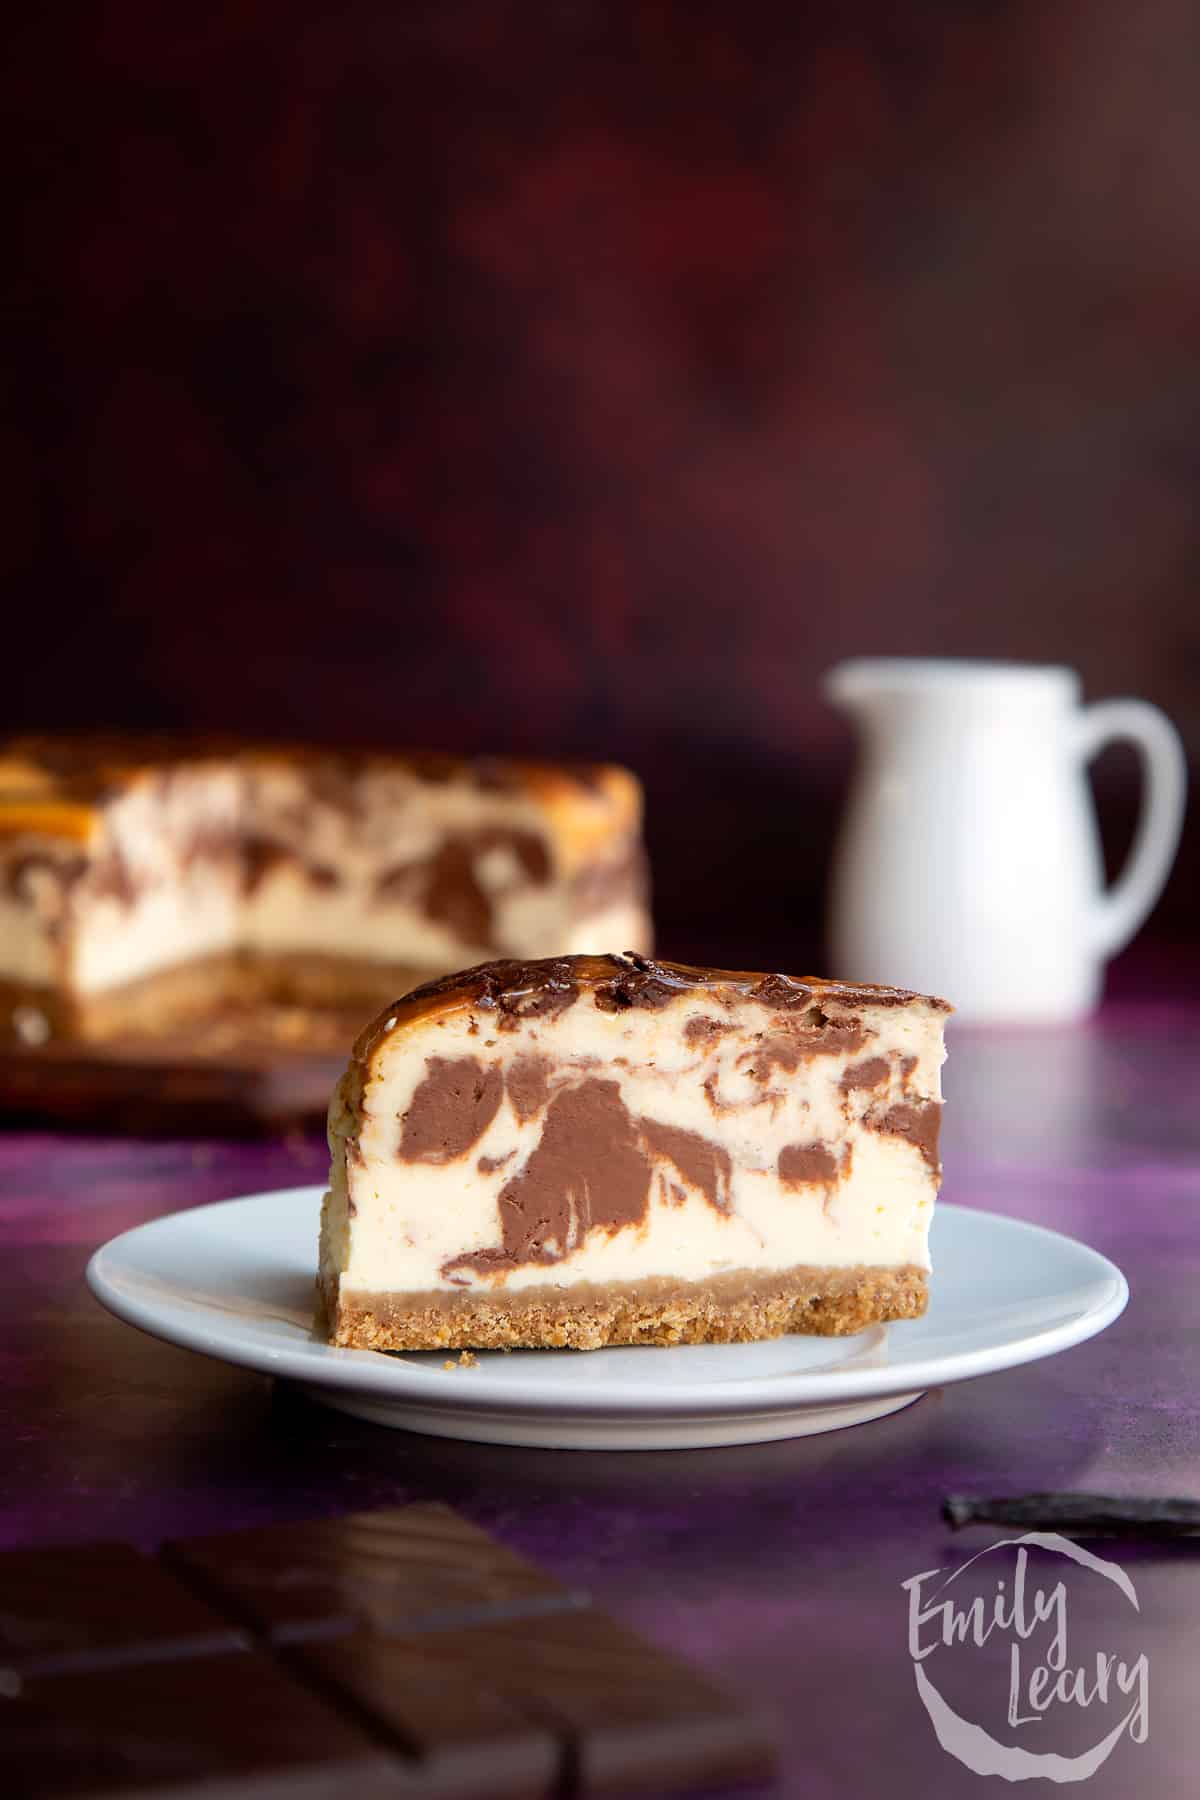
I adore the creamy texture of this baked marble cheesecake. The dash of salt takes the bitter edge off the 70% dark chocolate and brings the whole thing together beautifully. And the best news is, it's really easy to make.
To start, you'll combine crushed digestive biscuits (graham crackers) and melted butter, then press the mixture into the base of a cake tin.
Five minutes in the oven ensures a lovely set base that will hold together beautifully when you come to slice your finished cheesecake.
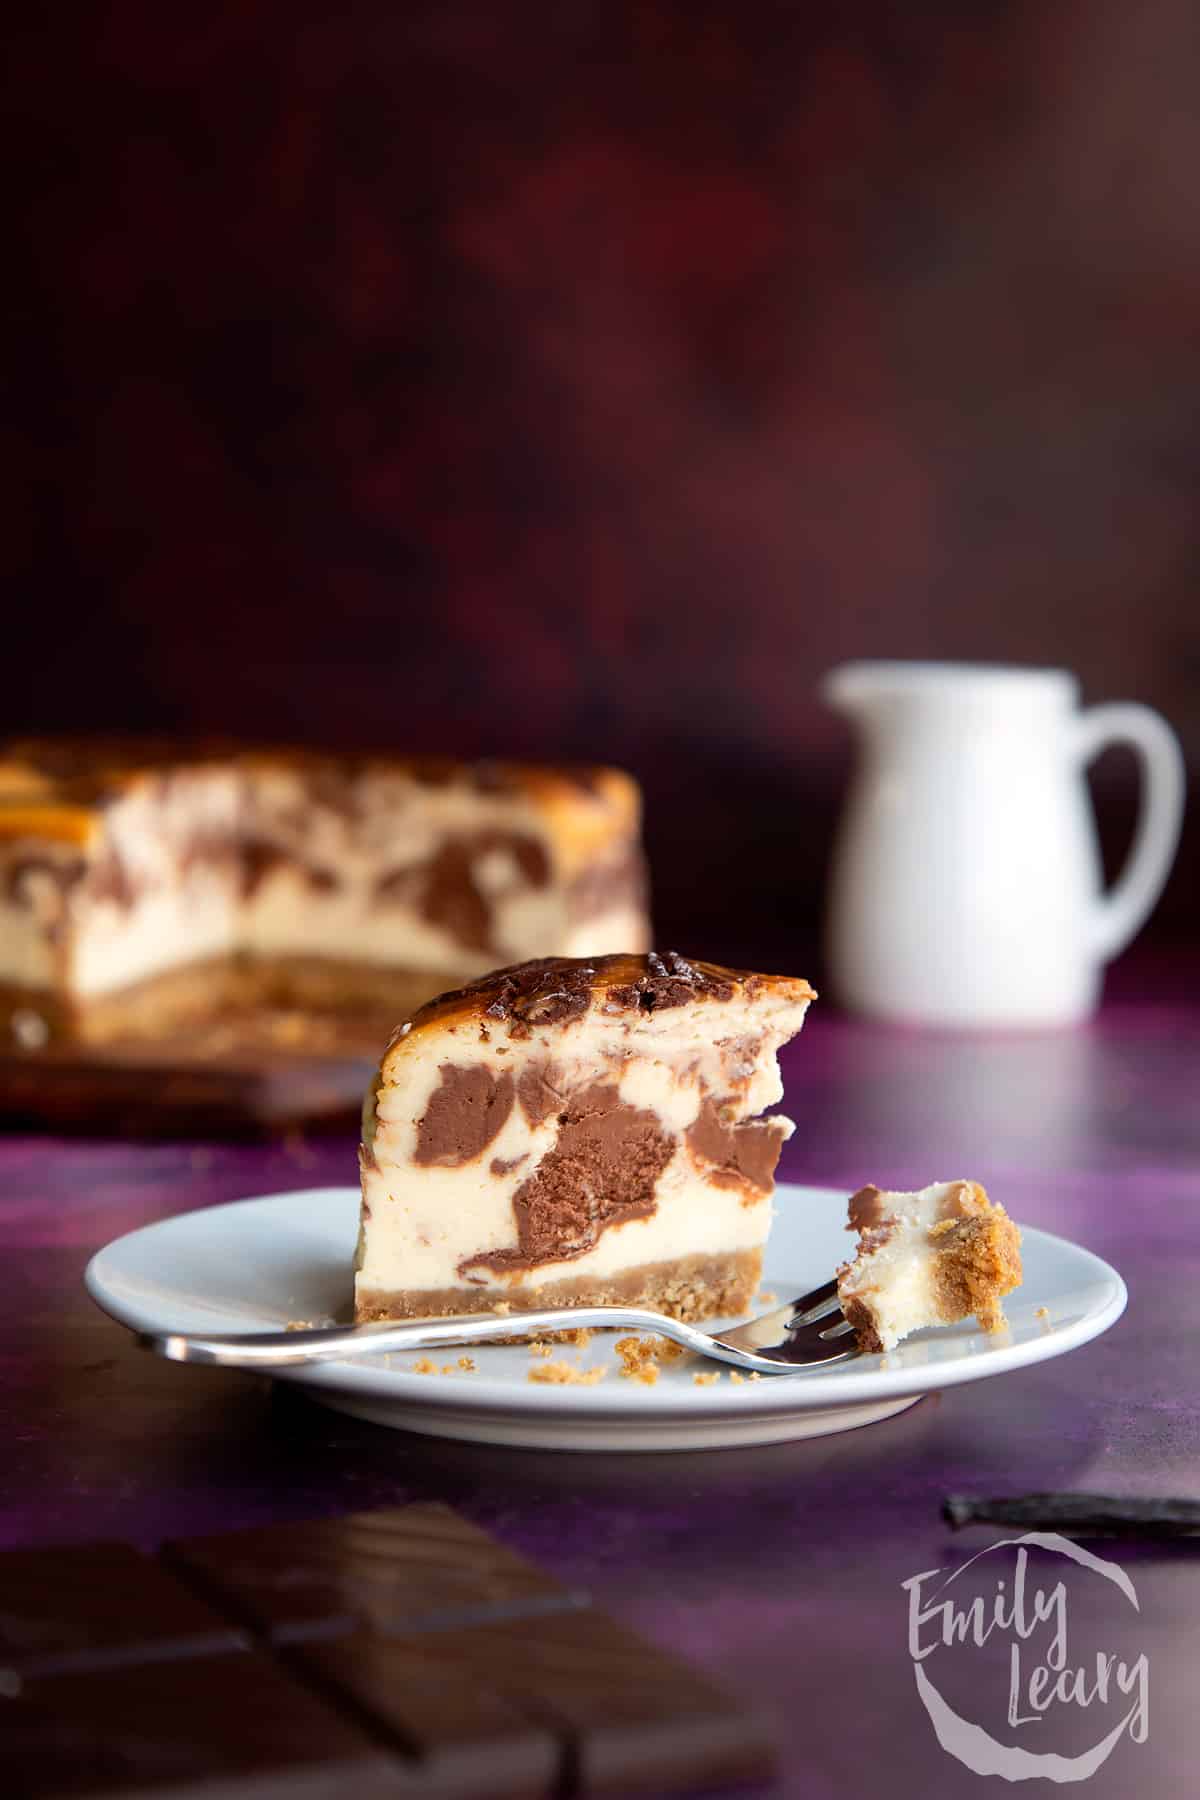
For the filing, you'll fold cream cheese together with eggs, sugar, flour, vanilla and cream. You'll then separate off a little of the mix and combine with dark chocolate and pinch of salt.
With your fillings made, you'll pile them in layers into your tin and then swirl with a spoon handle to create the hidden marble effect inside.
An hour in the oven and your marble cheesecake will be set through with a gleamy golden surface. Chill overnight and it's ready to slice and enjoy.
Here's my full recipe for marble cheesecake, complete with plenty of step-by-step photos to help you along the way.
Ingredients
For the base
- 150 g (5 oz) digestive biscuits (graham crackers)
- 70 g (5 tbsp) unsalted butter
For the vanilla cheesecake filling
- 600 g (2½ cups) full fat cream cheese
- 300 ml (1¼ cups) double cream (heavy cream)
- 150 g (¾ cups + 1 tbsp) white caster sugar (superfine sugar)
- 1½ tsp vanilla extract
- 3 medium free-range eggs
- 30 g (4 tbsp) plain white flour (all purpose flour)
For the chocolate cheesecake filling
- 100 g (3.5 oz) dark chocolate (bittersweet) melted
- ¼ tsp fine sea salt
Equipment
- Round loose-bottomed 18cm (7") nonstick cake tin
Instructions
Set the oven to 180C (160C fan).
Have all your ingredients at room temperature for best results.
Make the base
Crumble the biscuits to a fine crumb. You can do this either by blitzing them in a food processor until sandy or by placing in a bag and bashing with a rolling pin.
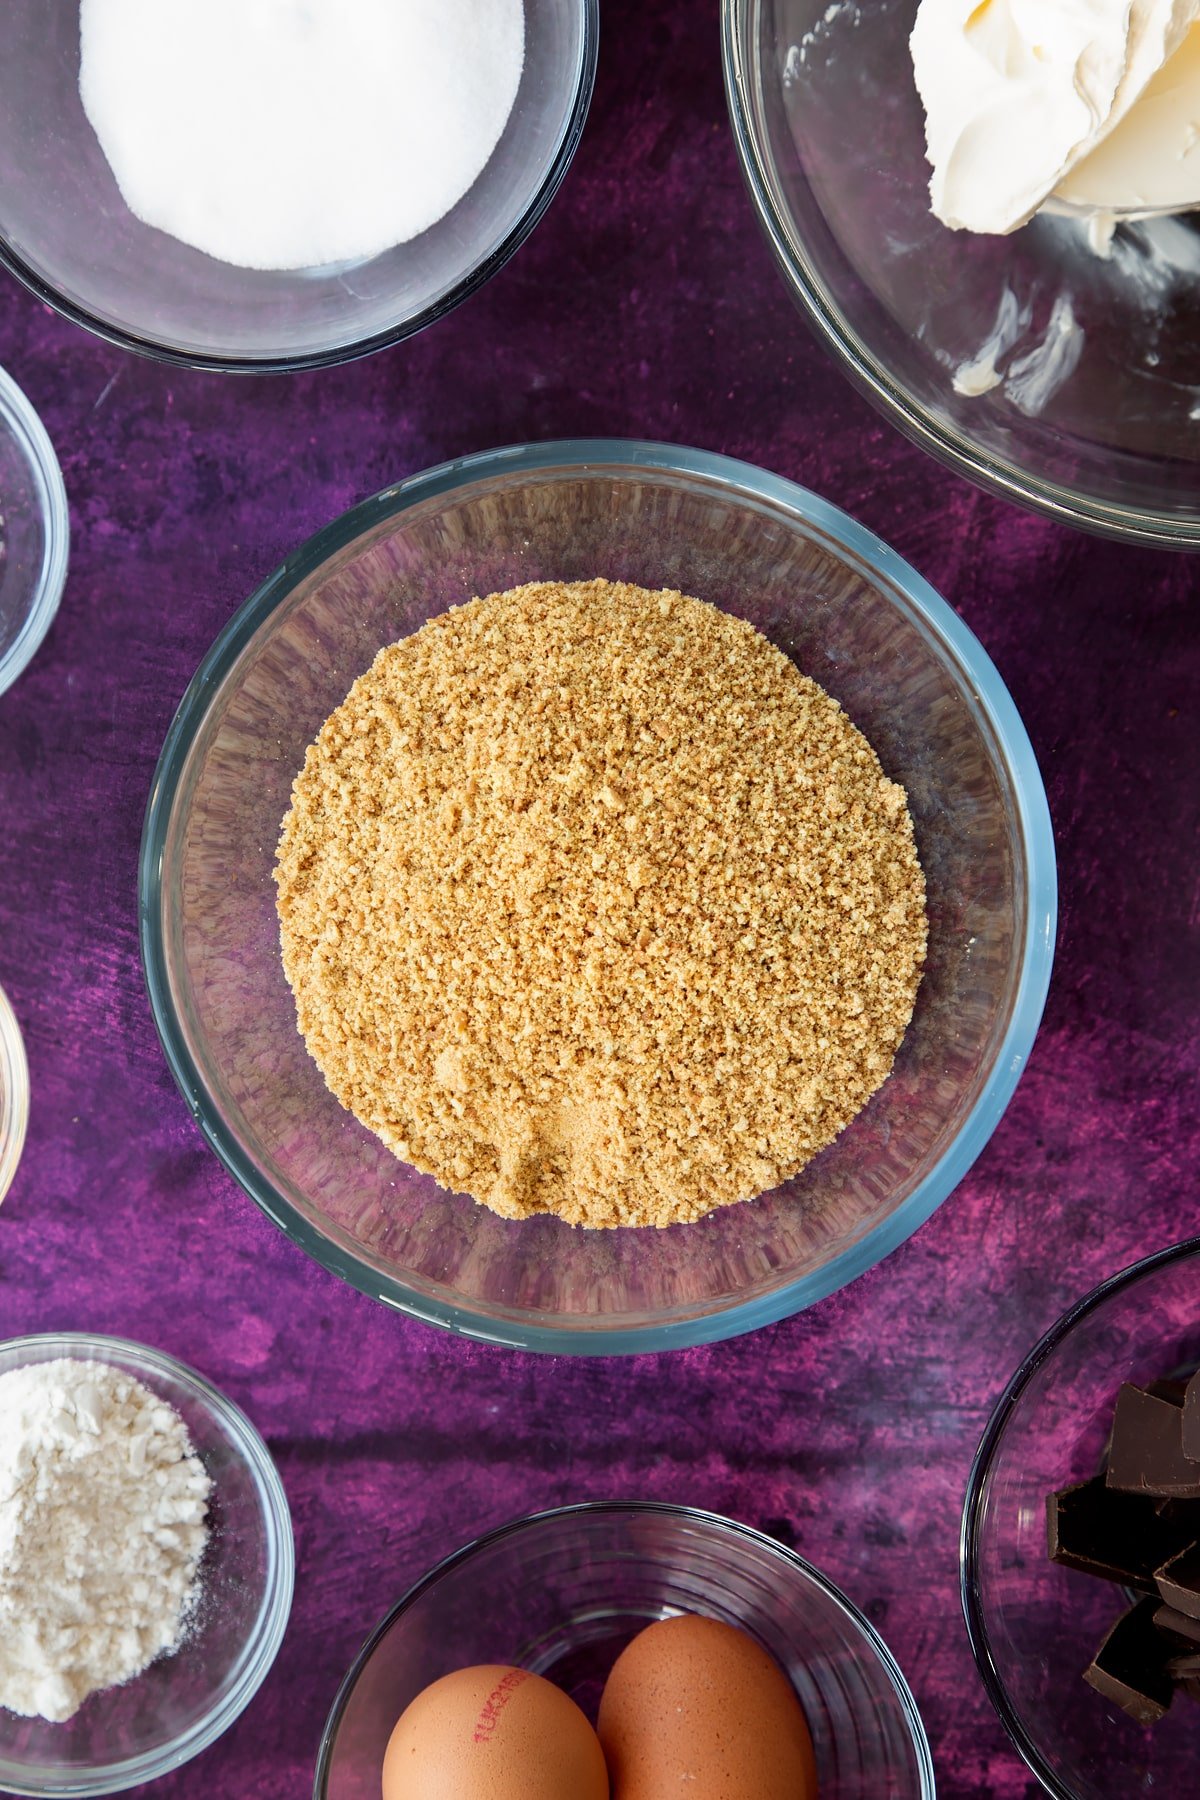
Pour in the melted butter.
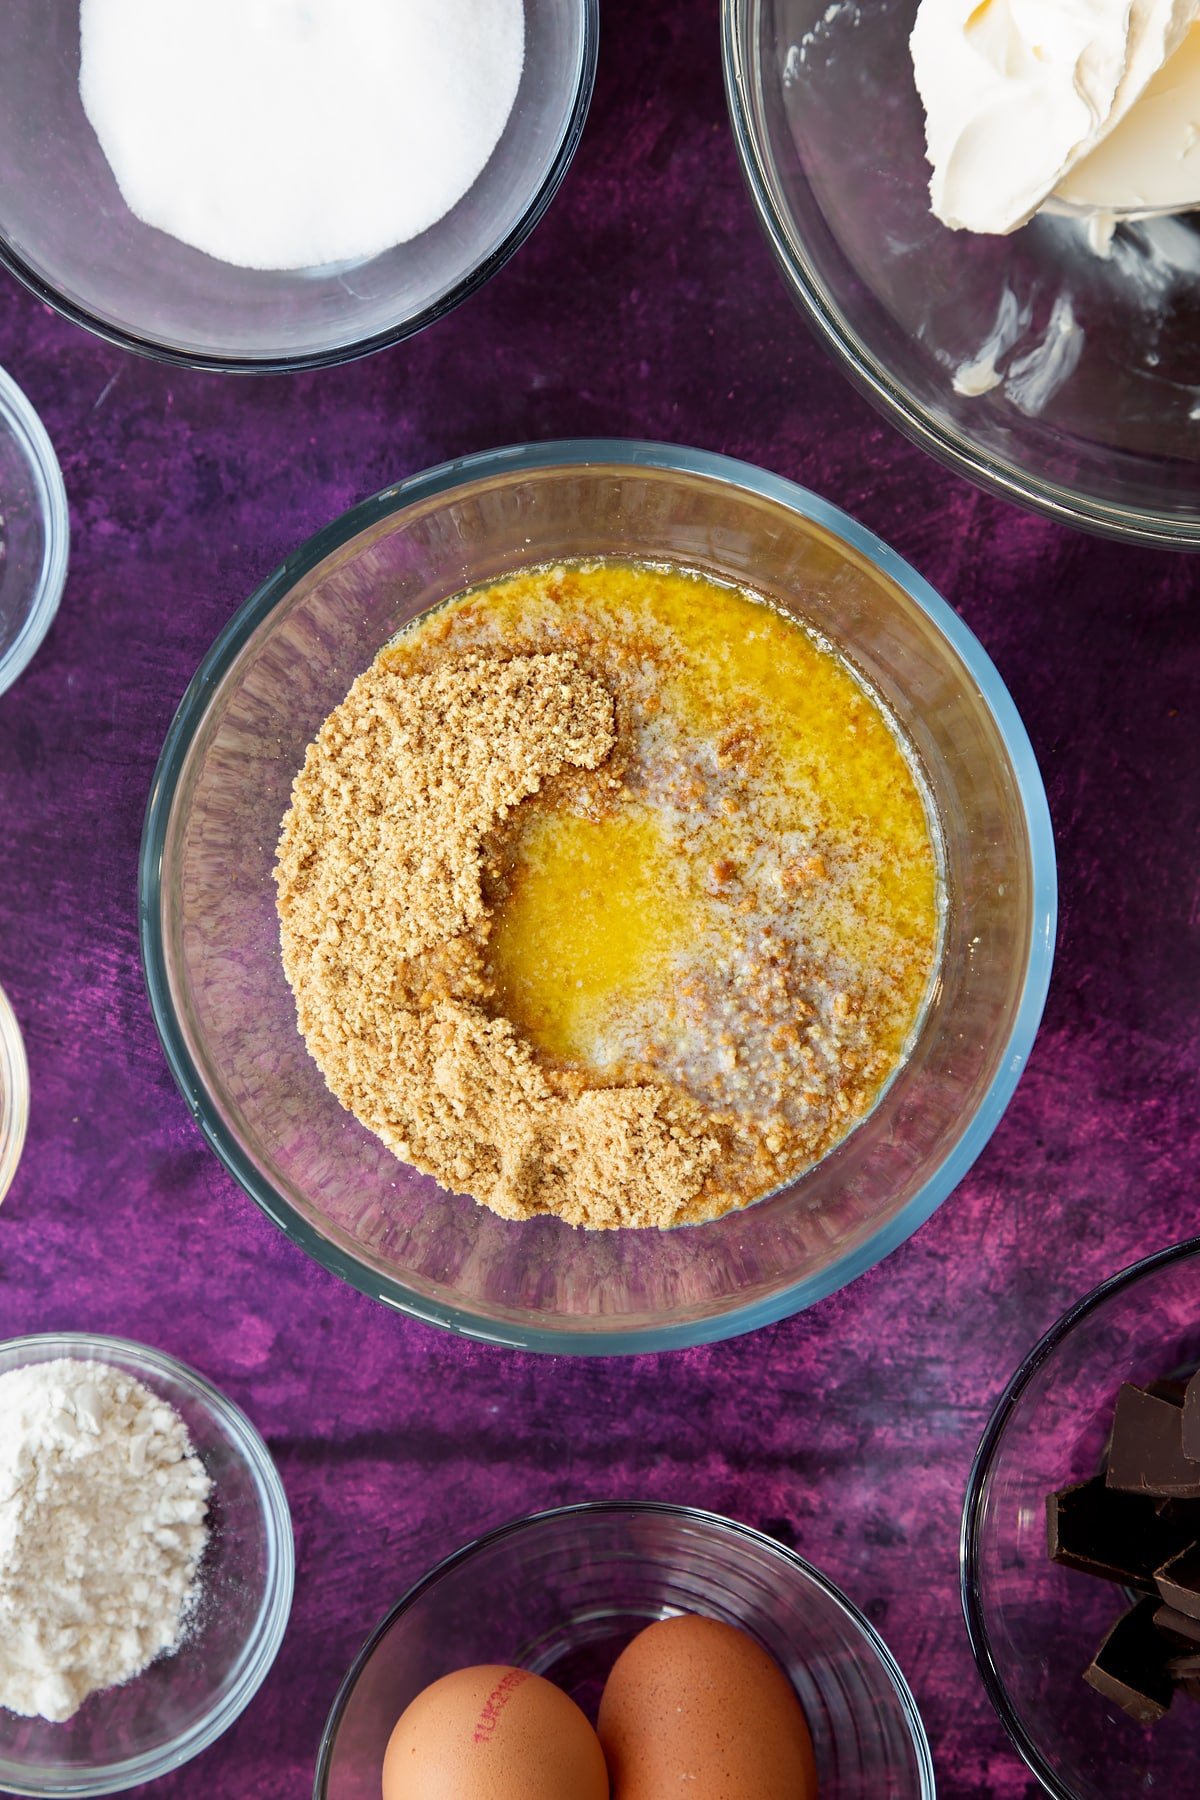
Mix well.
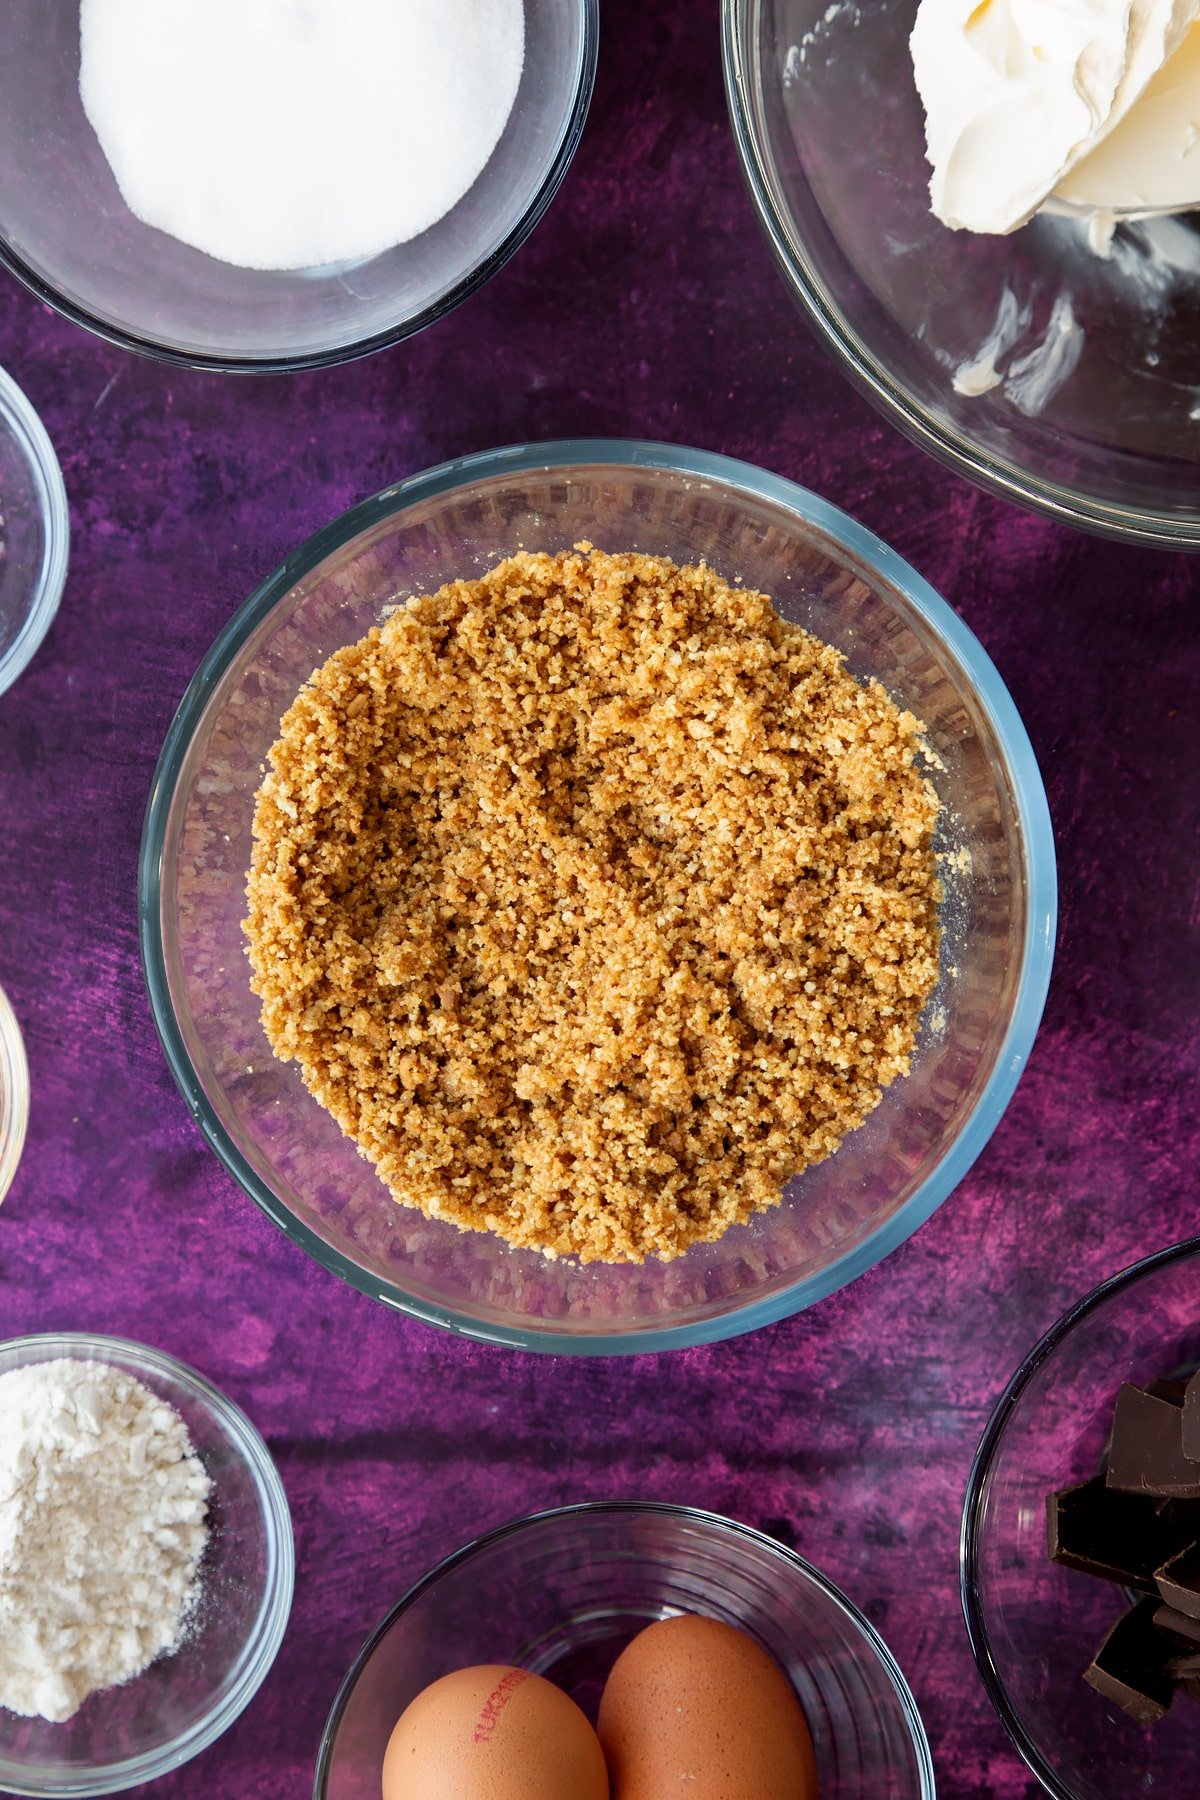
Empty the mixture into a loose-bottomed non stick tin.
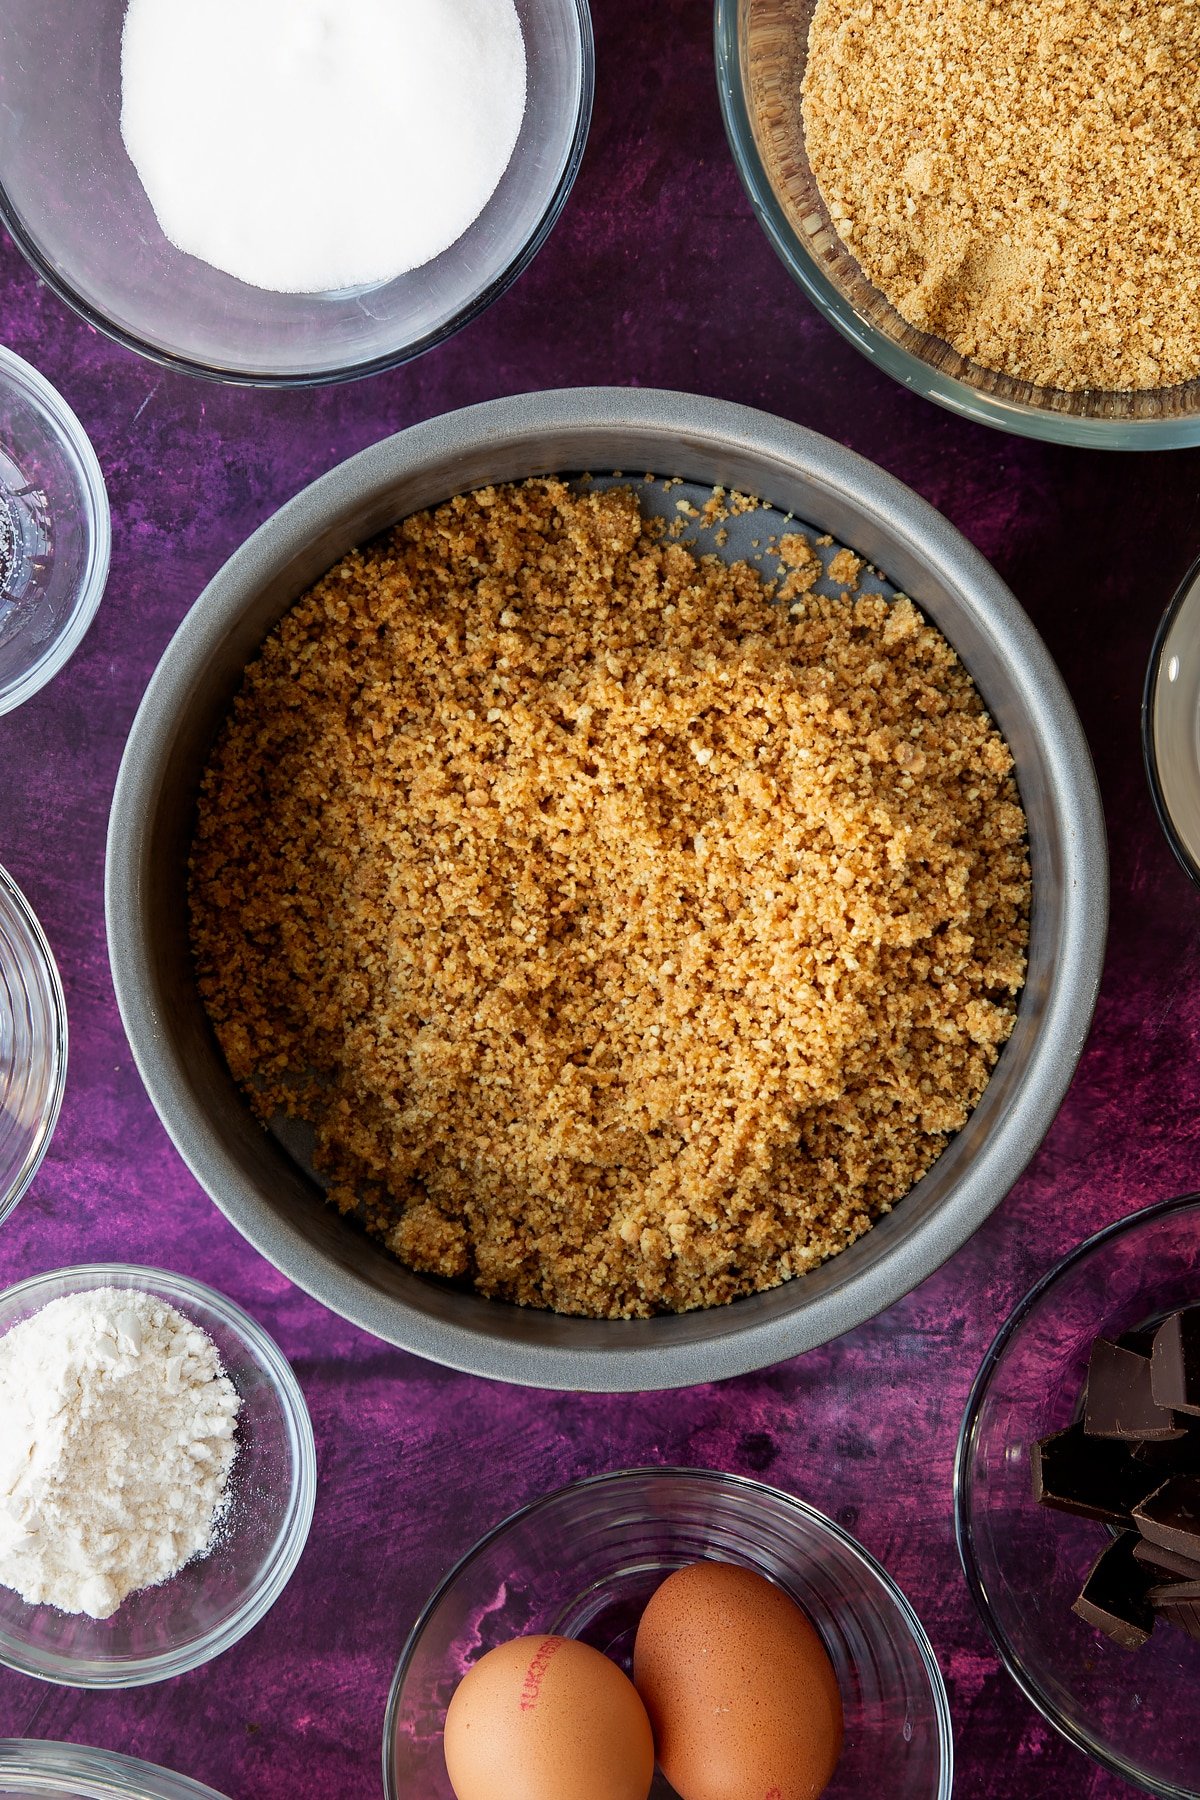
Press down with the bottom of a tumblr until even and firm.
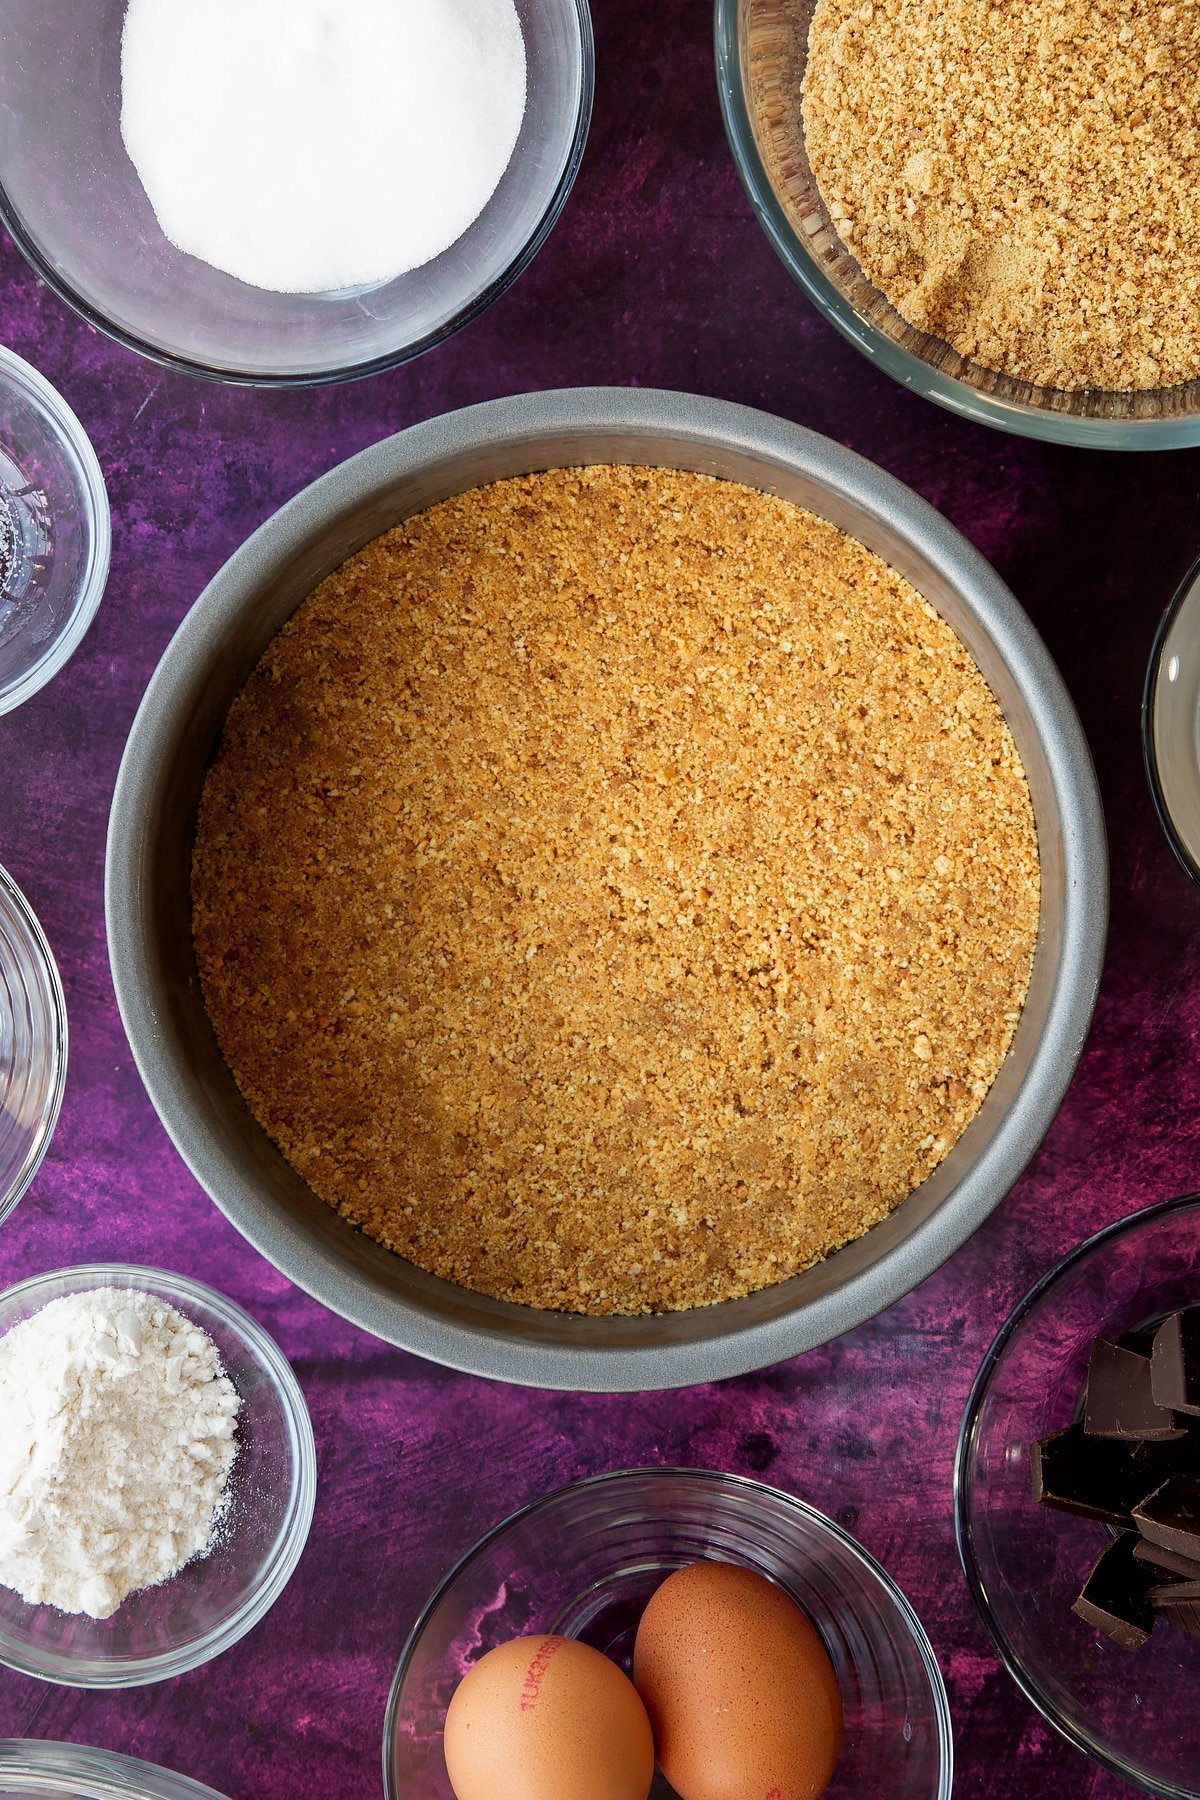
Cook in the oven for just 5 minutes - set a time so that you don't burn it. Take it out of the oven and set it aside.
Make the filling
Melt the dark chocolate and set aside to cool.
Put the cream cheese in a large bowl and work with a spatula to loosen. We don't want to introduce too much air to this filling, so don't beat vigorously.
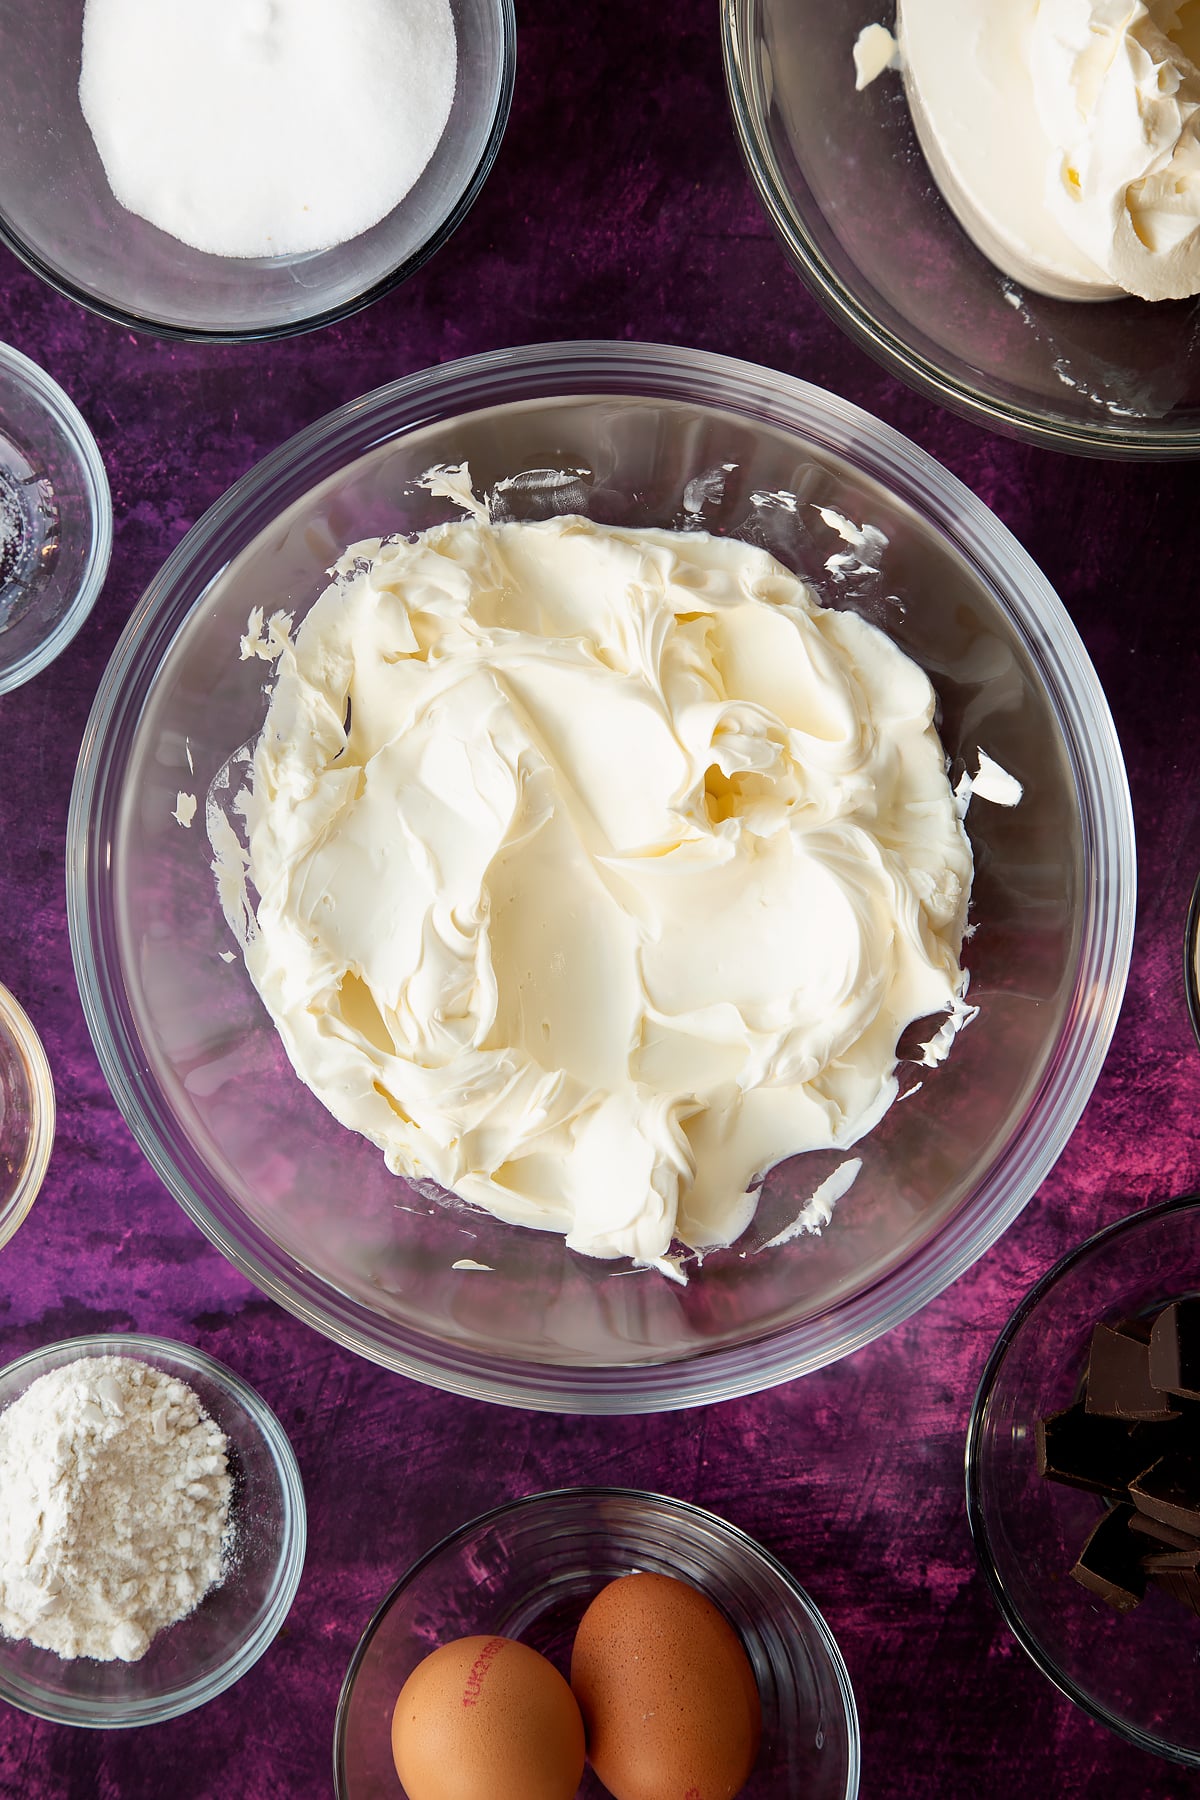
Add the eggs, vanilla, sugar and flour.
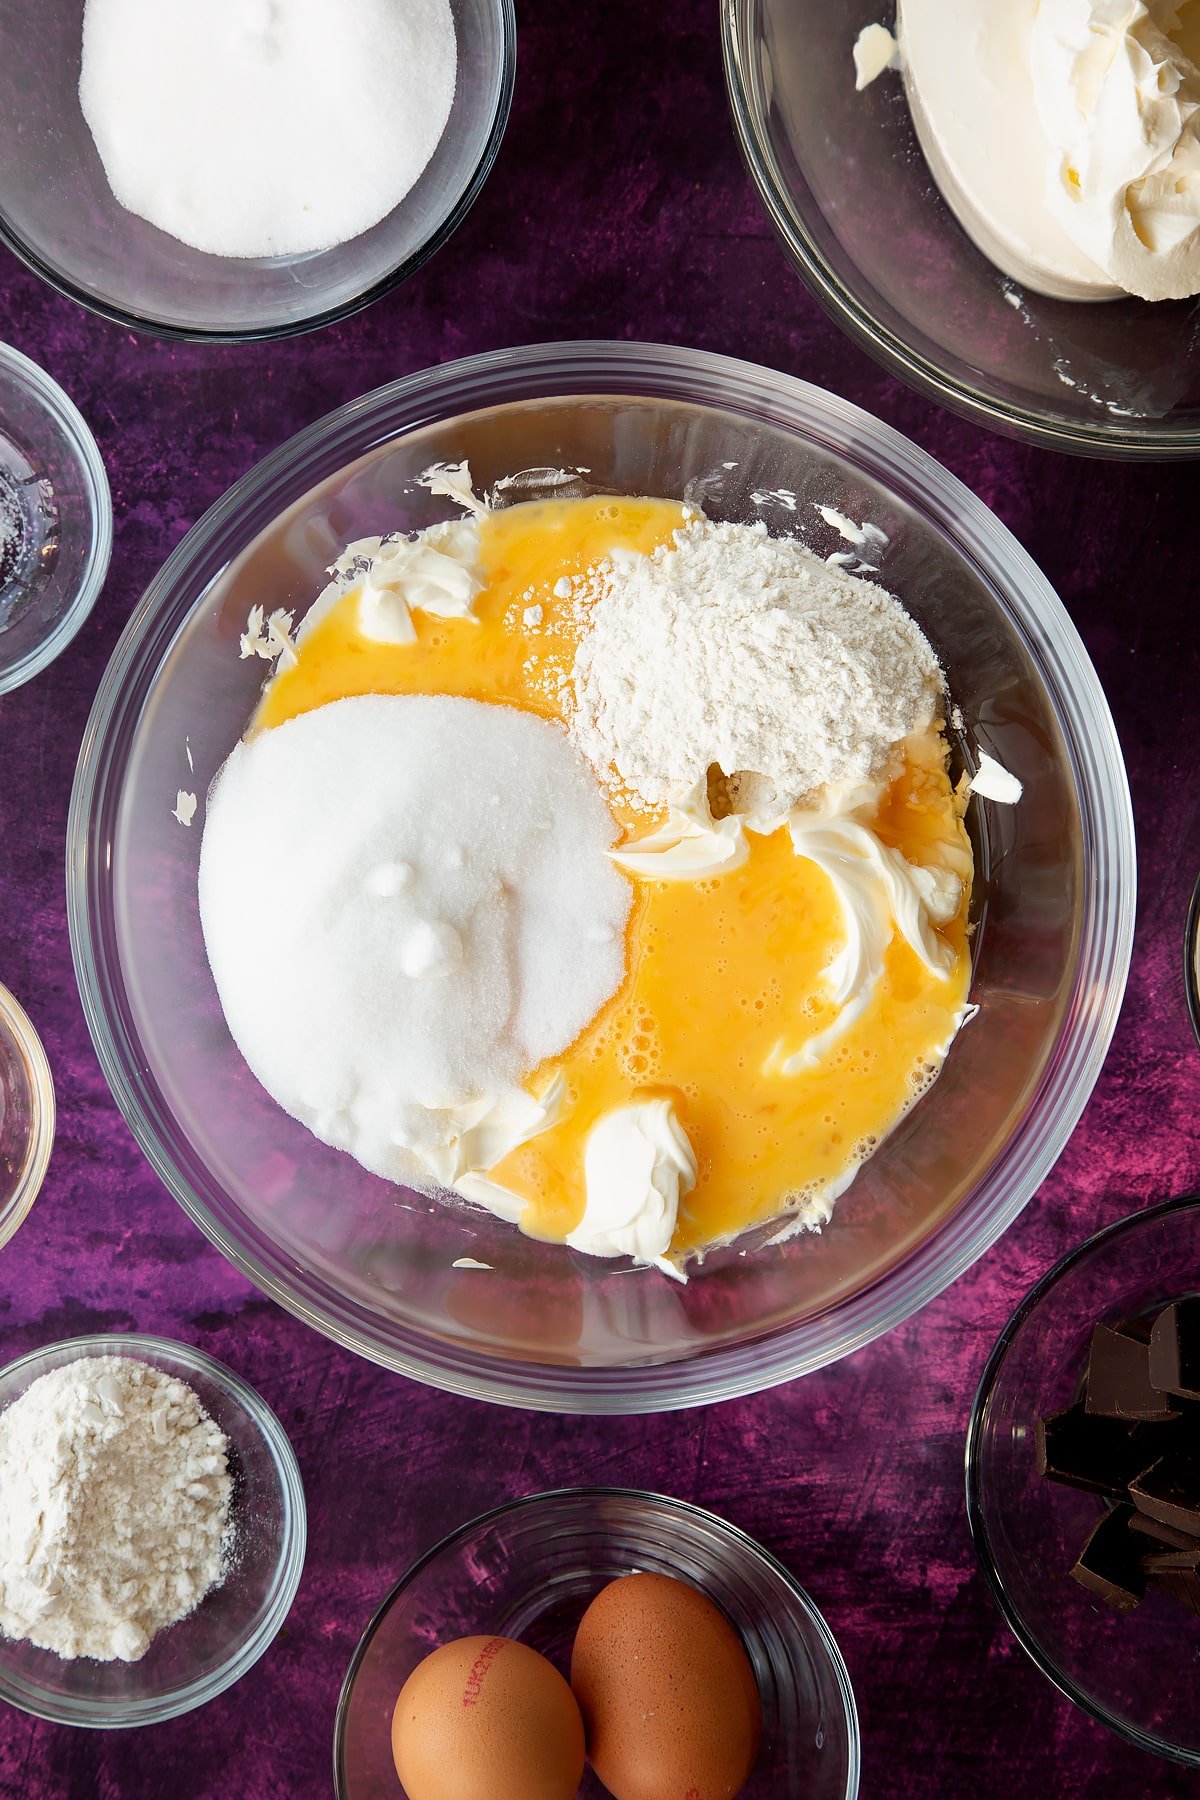
Work with the spatula again, just enough to give a smooth mixture.
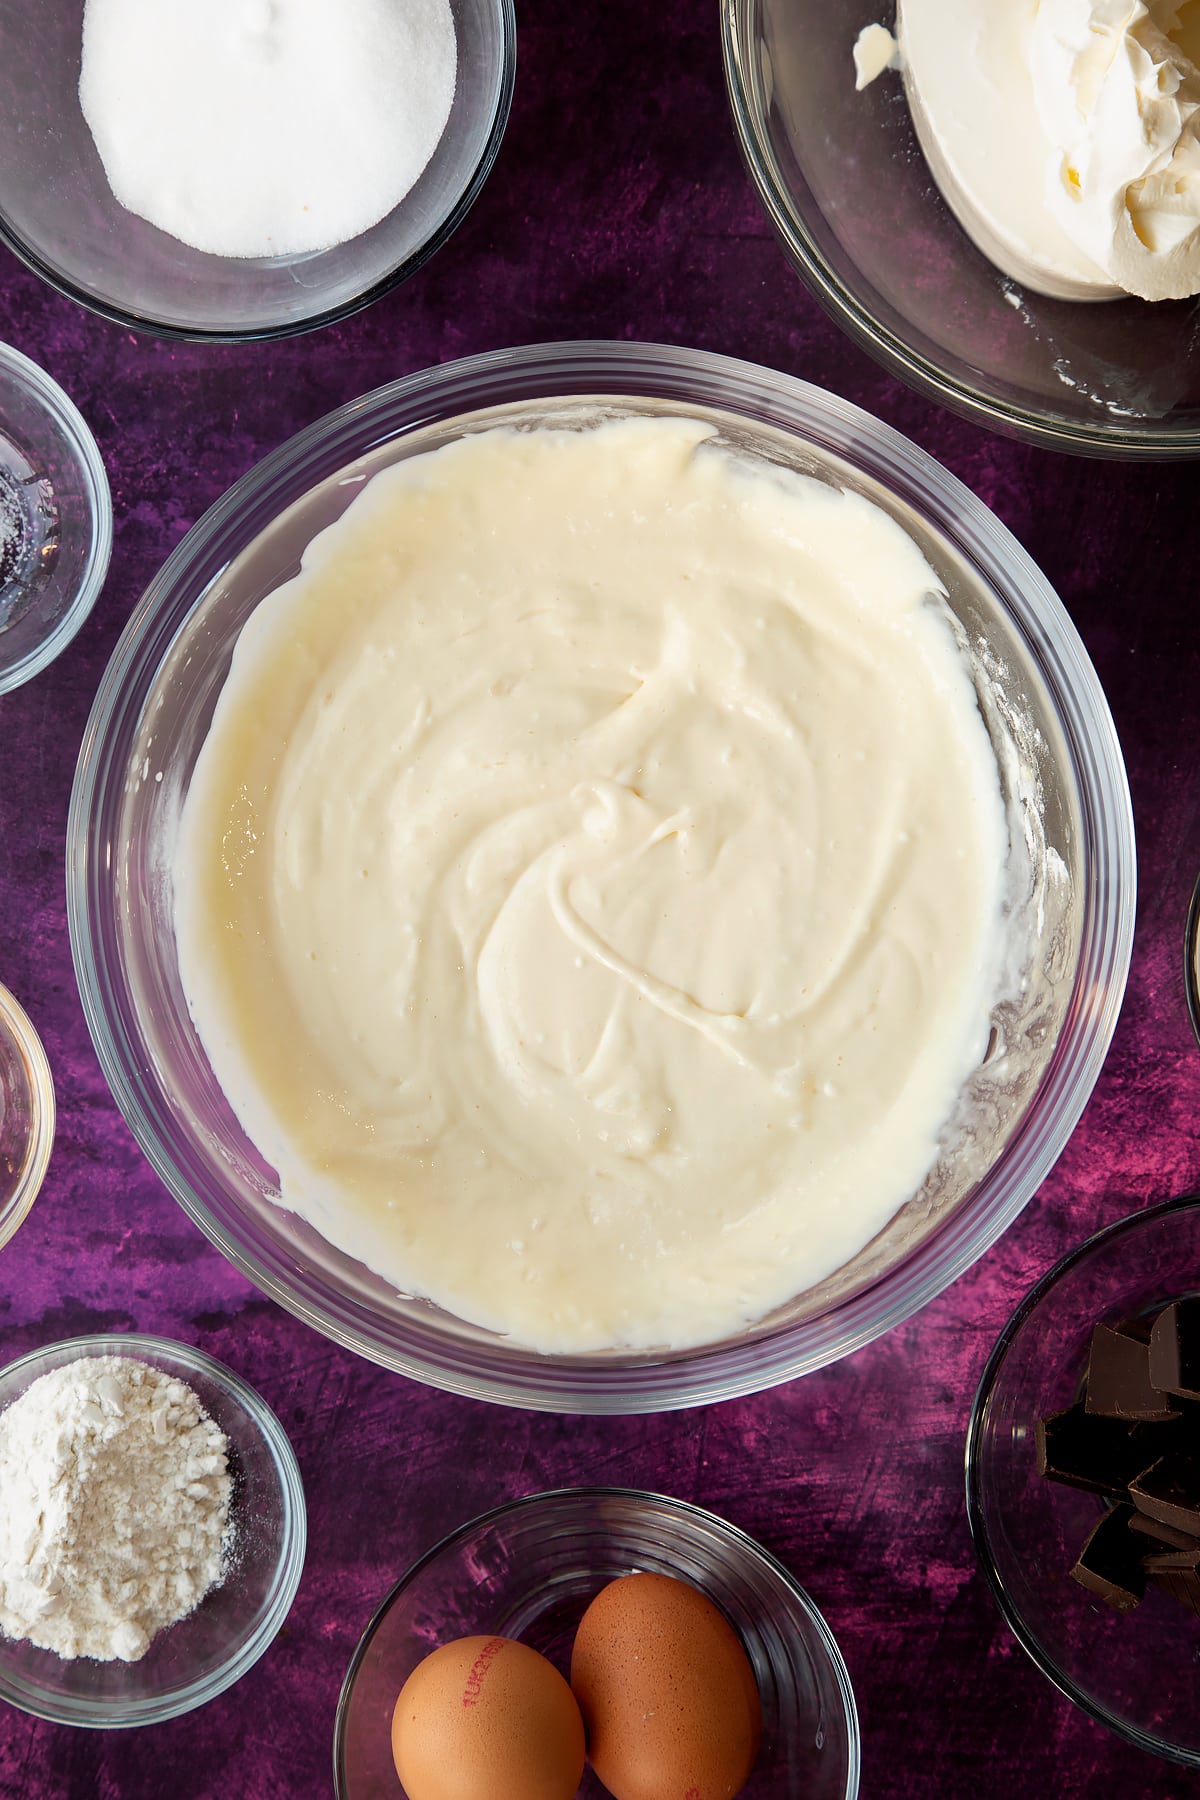
Add the cream again.
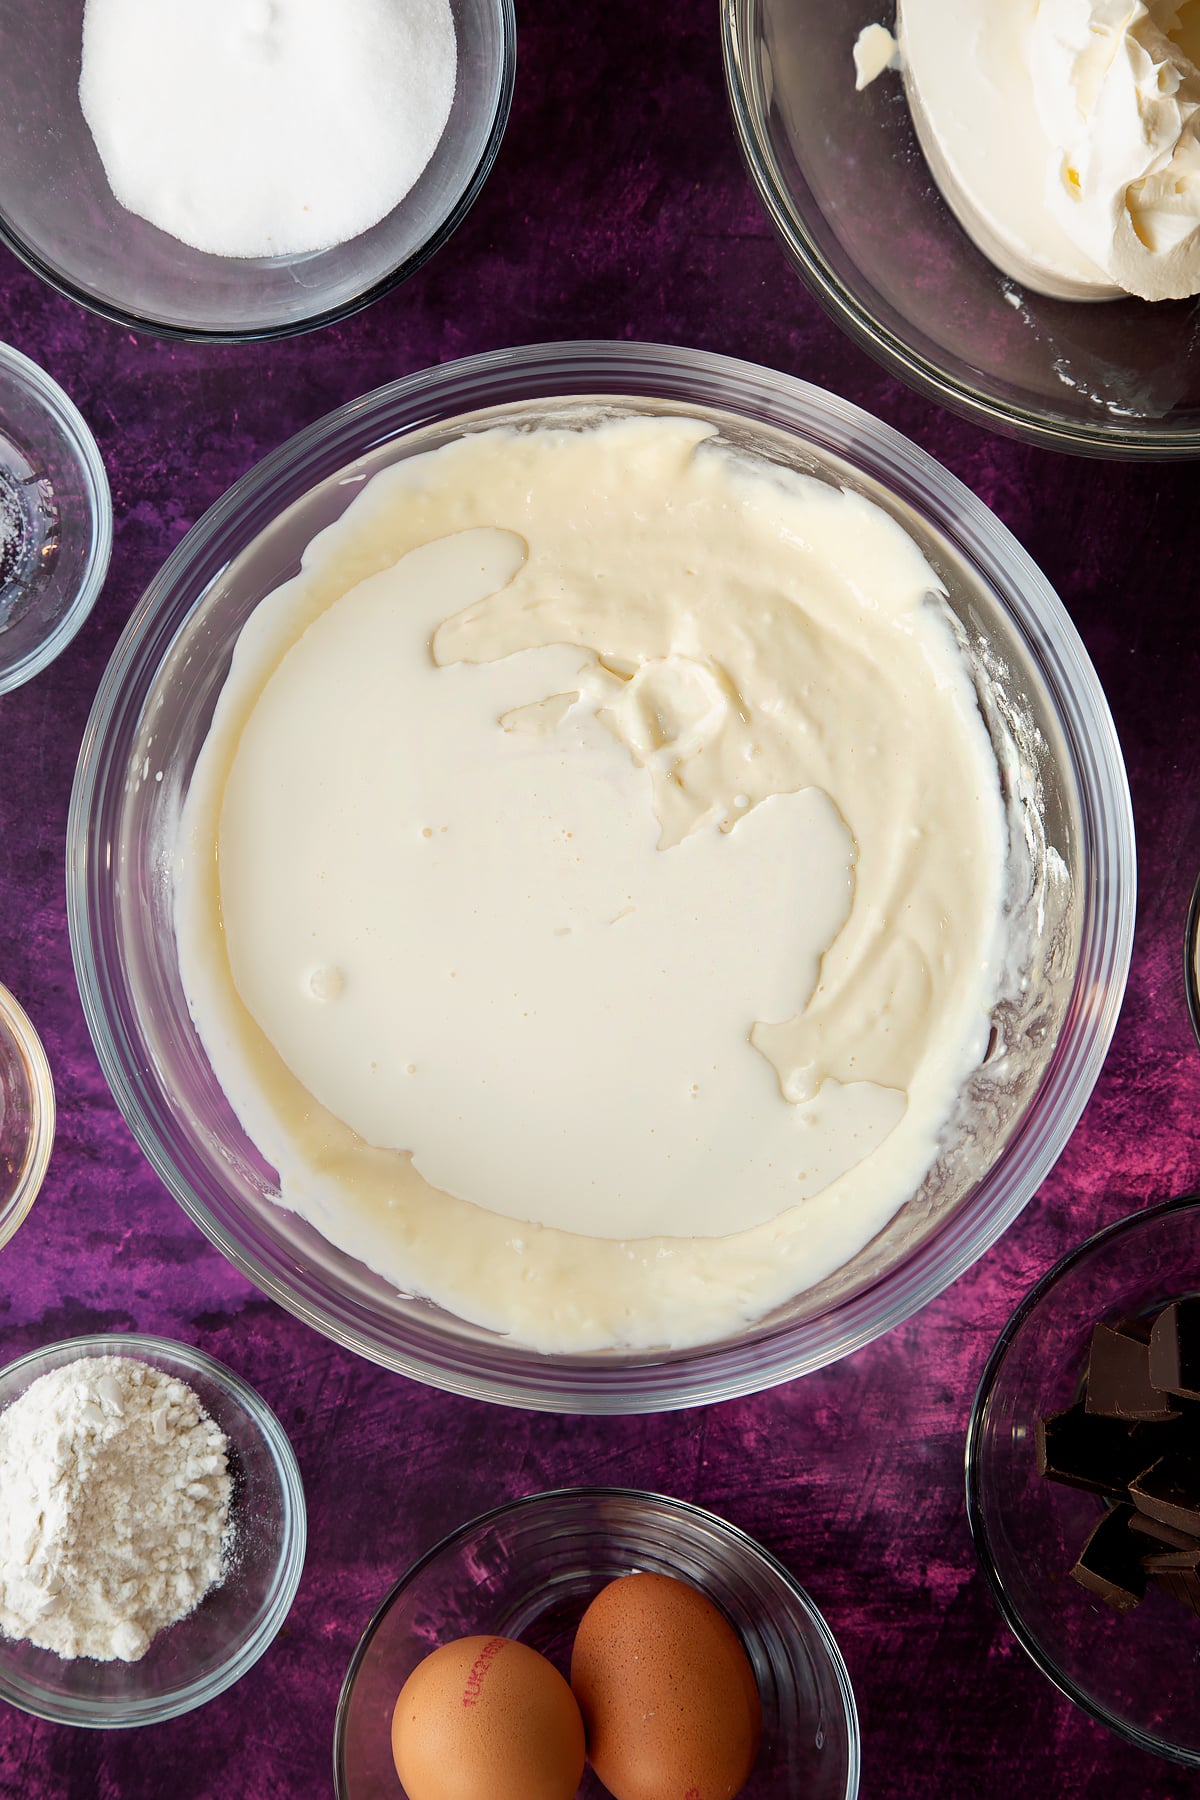
Stir gently together. This is your vanilla cheesecake mixture.
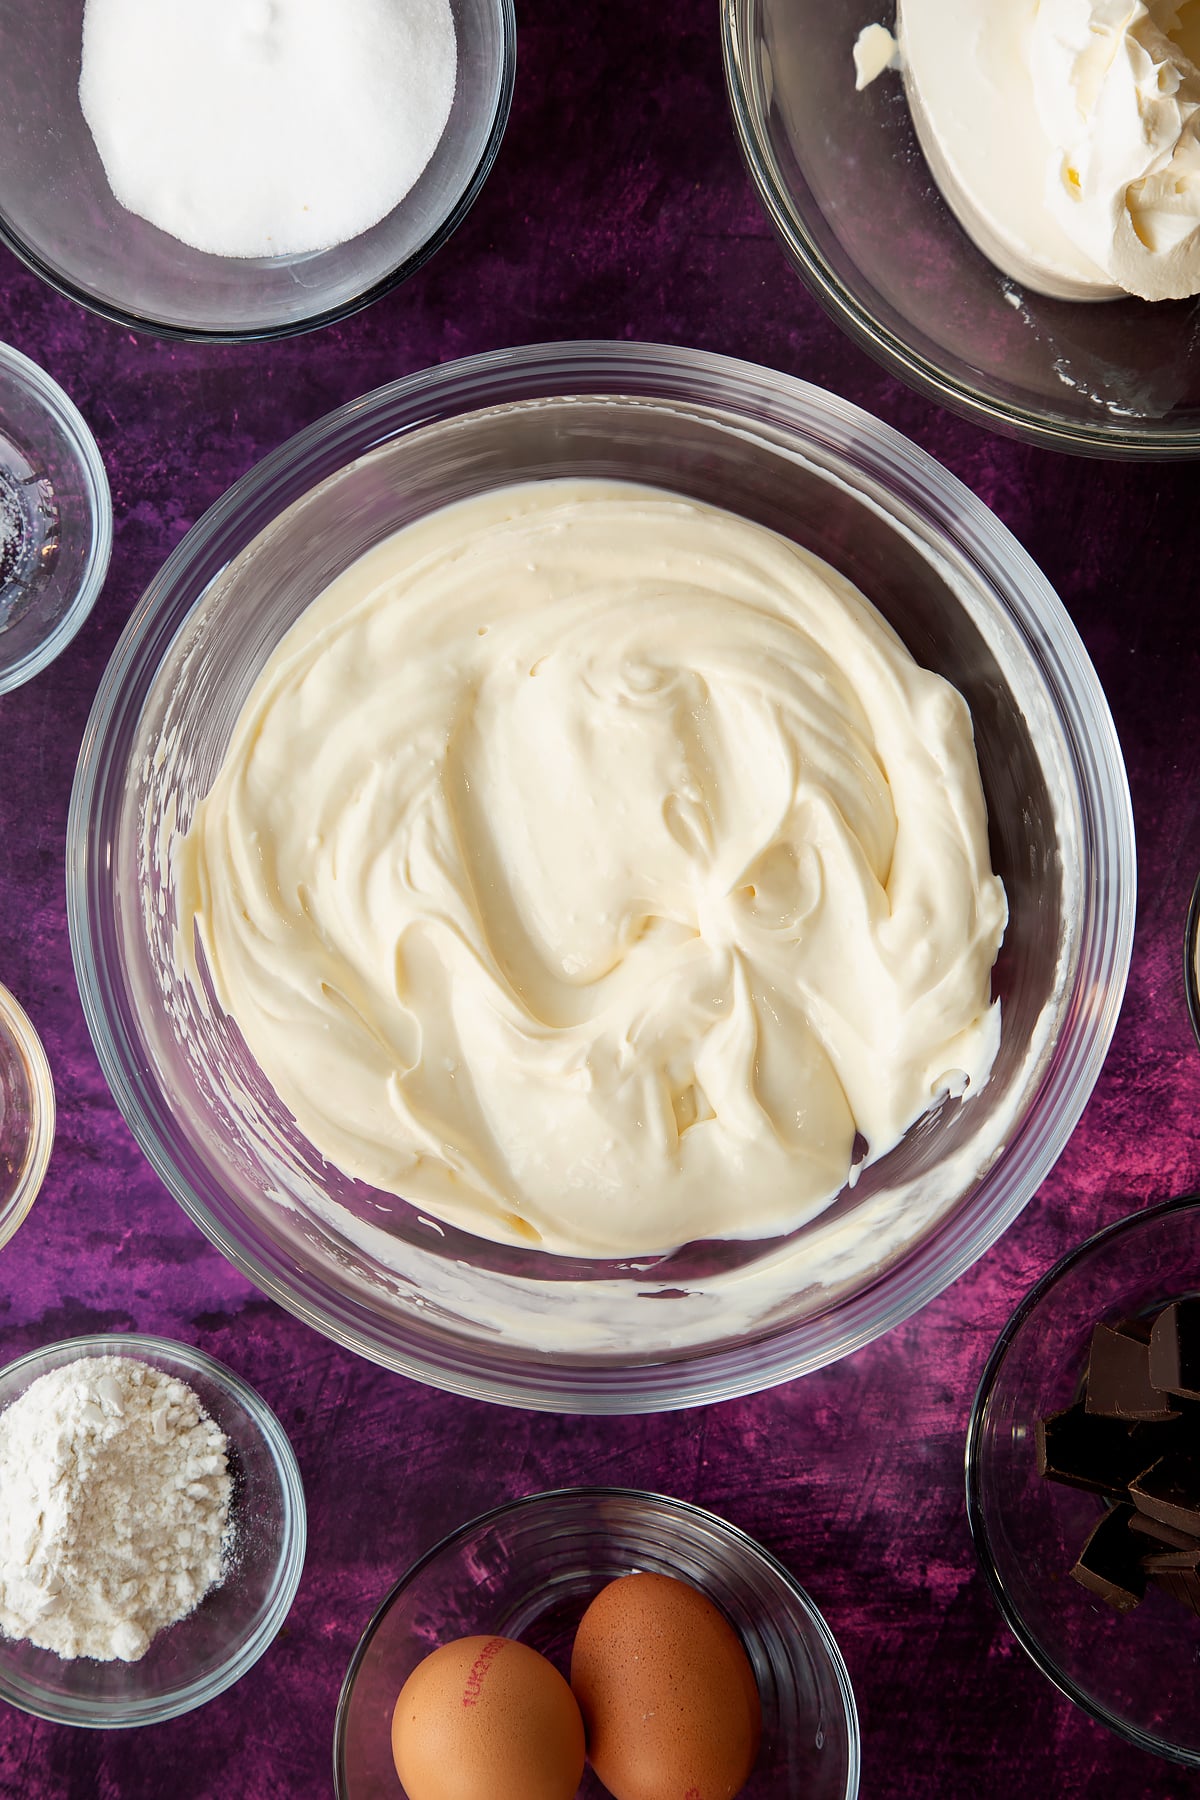
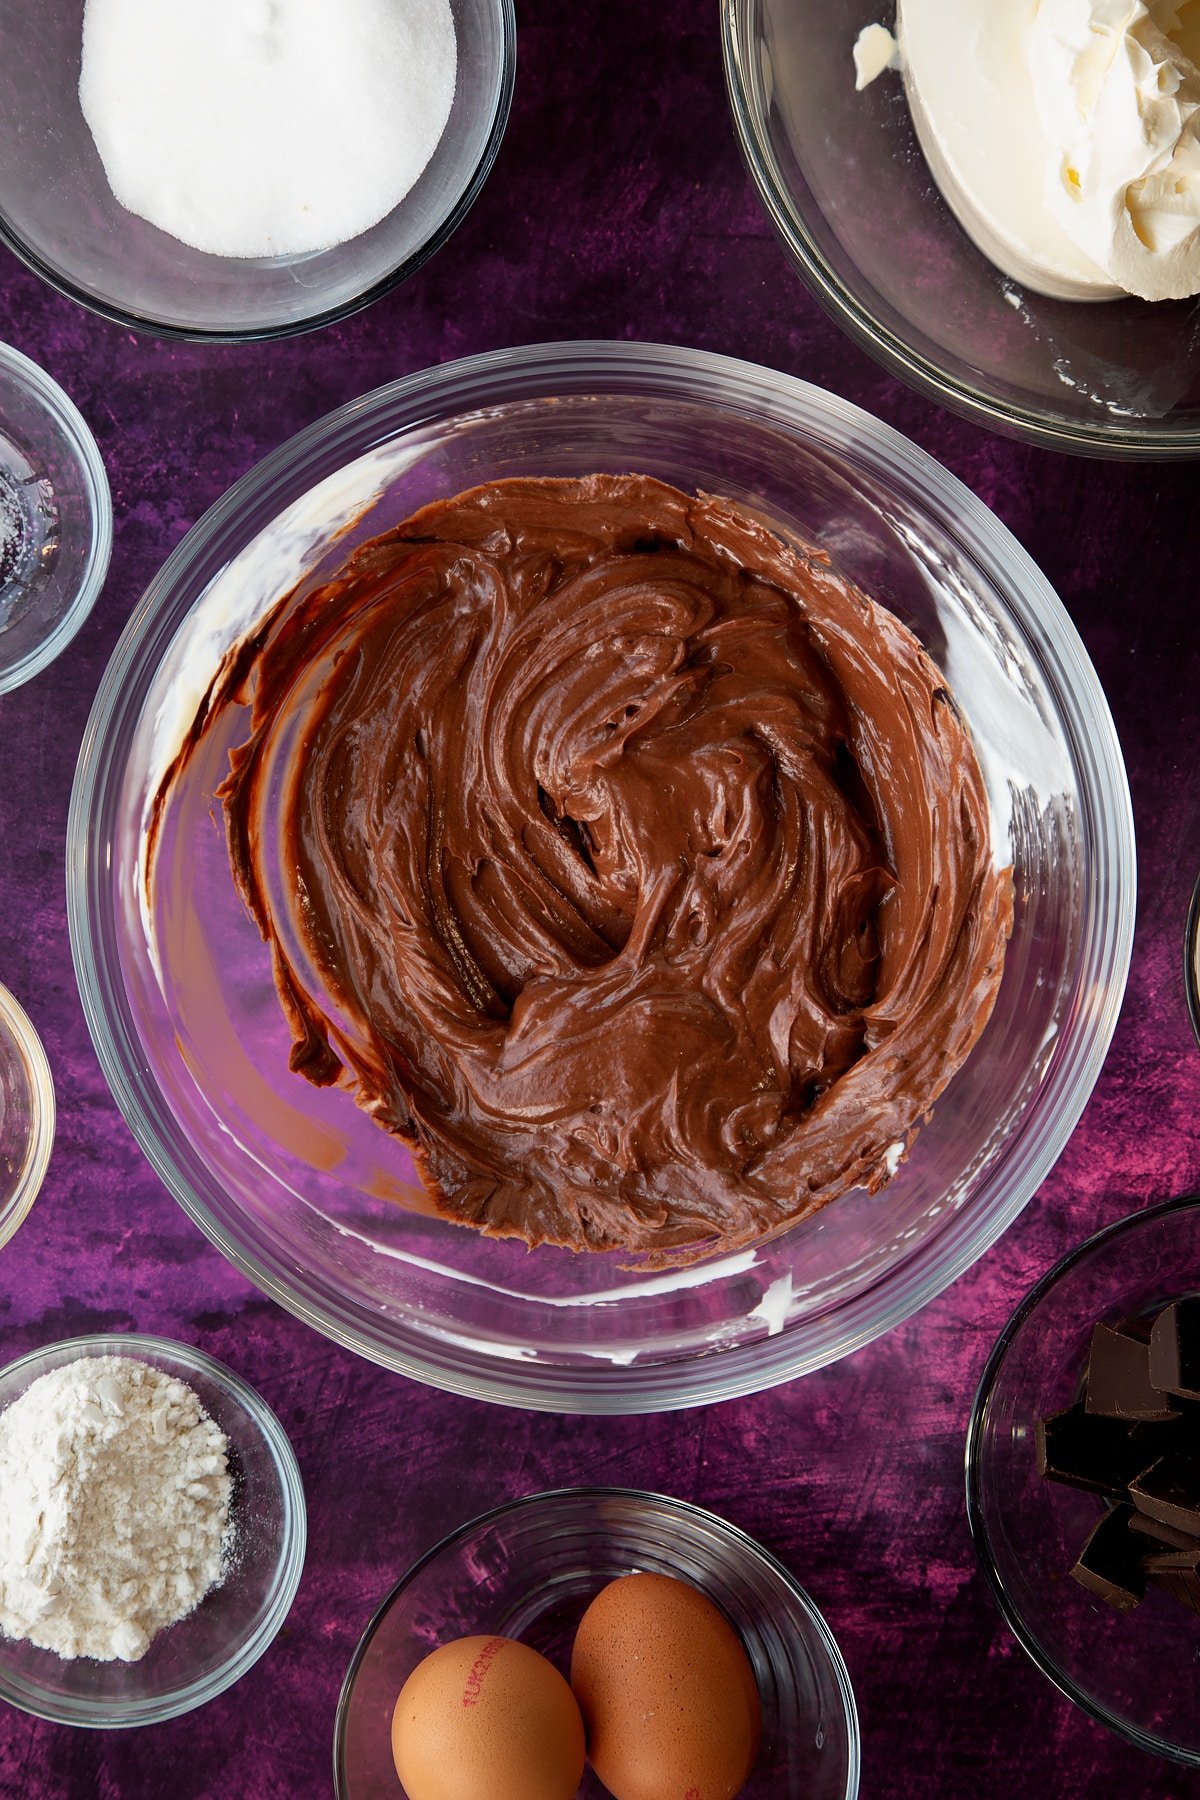
Transfer quarter of the mixture to another bowl and add the cooled melted chocolate and salt to this smaller portion.
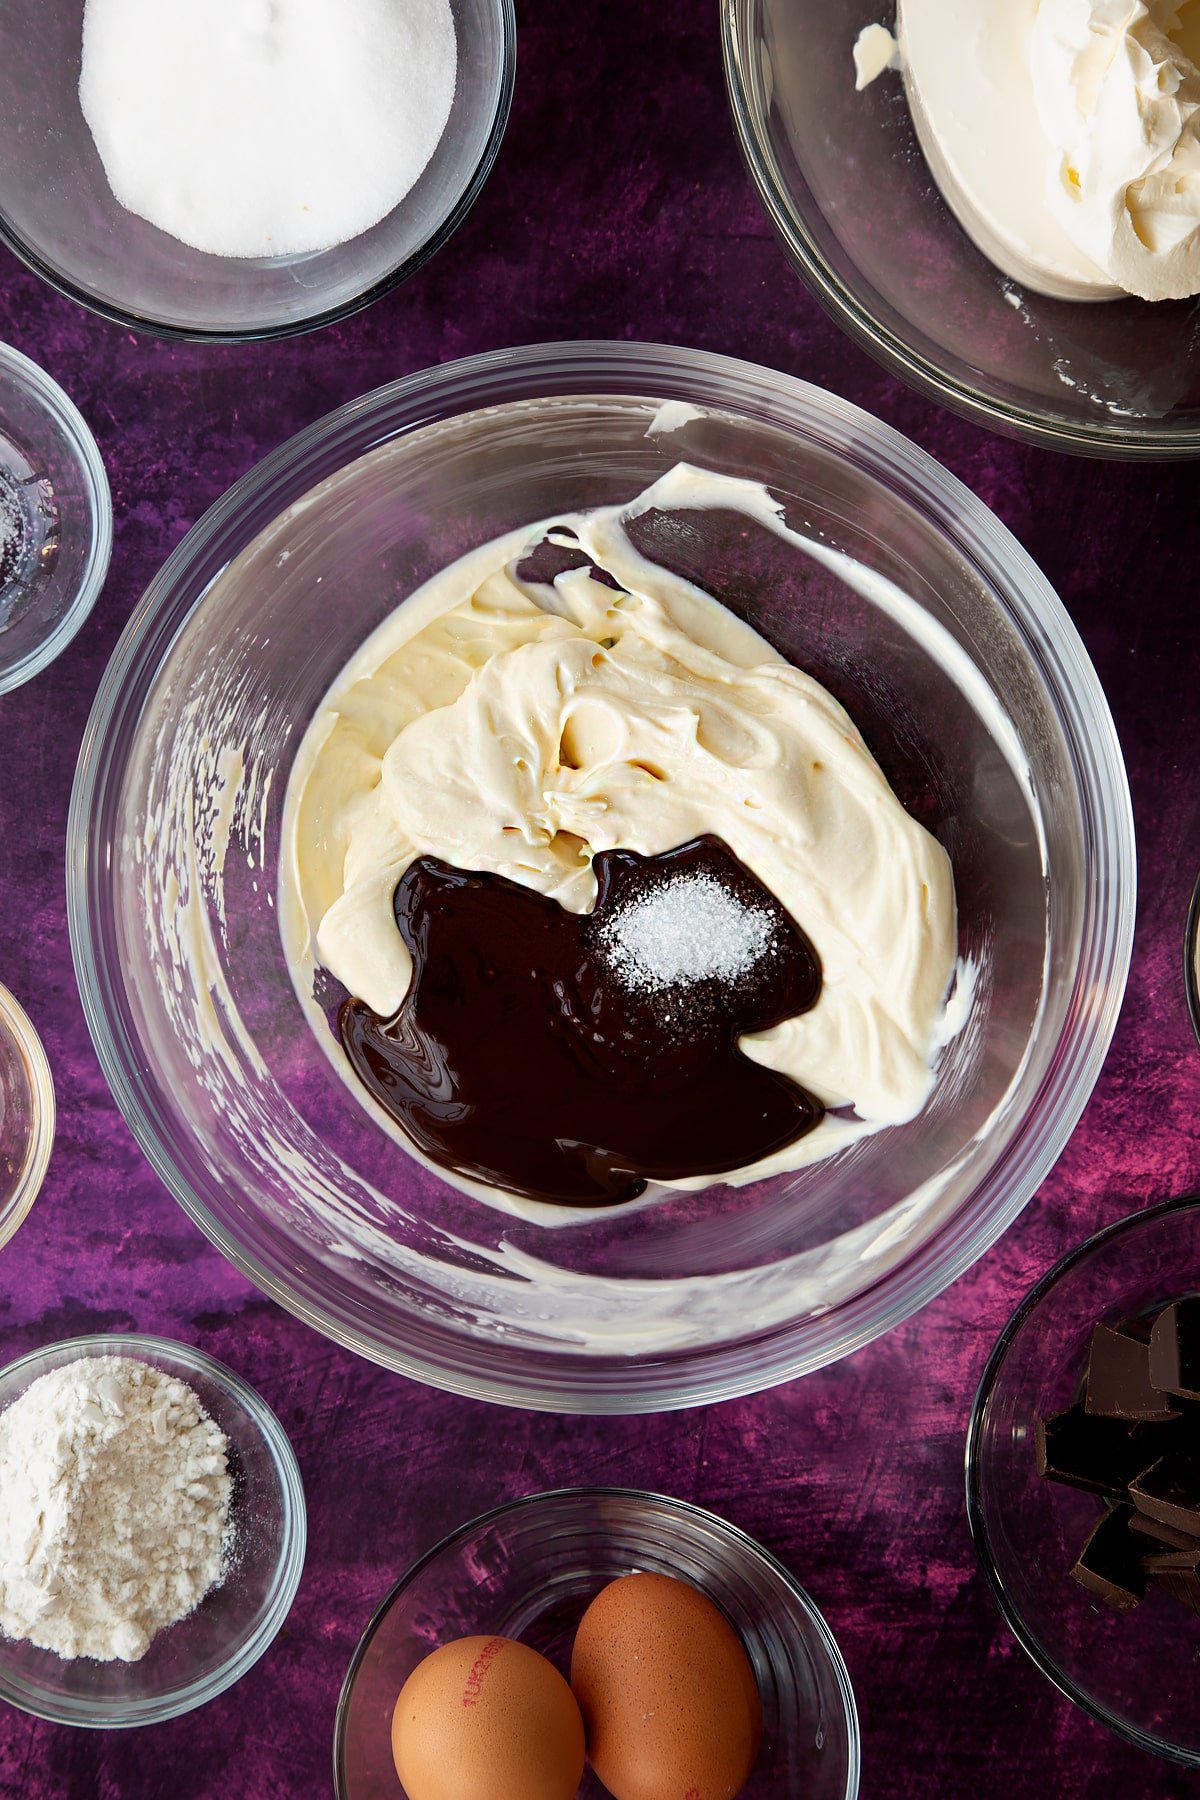
Mix together. The is your chocolate cheesecake mixture.
Assemble your cheesecake
Pile half of the vanilla cheesecake mixture into the tin, gently working to the edges.

Spoon the chocolate cheesecake mixture on top in blobs, keeping a tablespoon back.
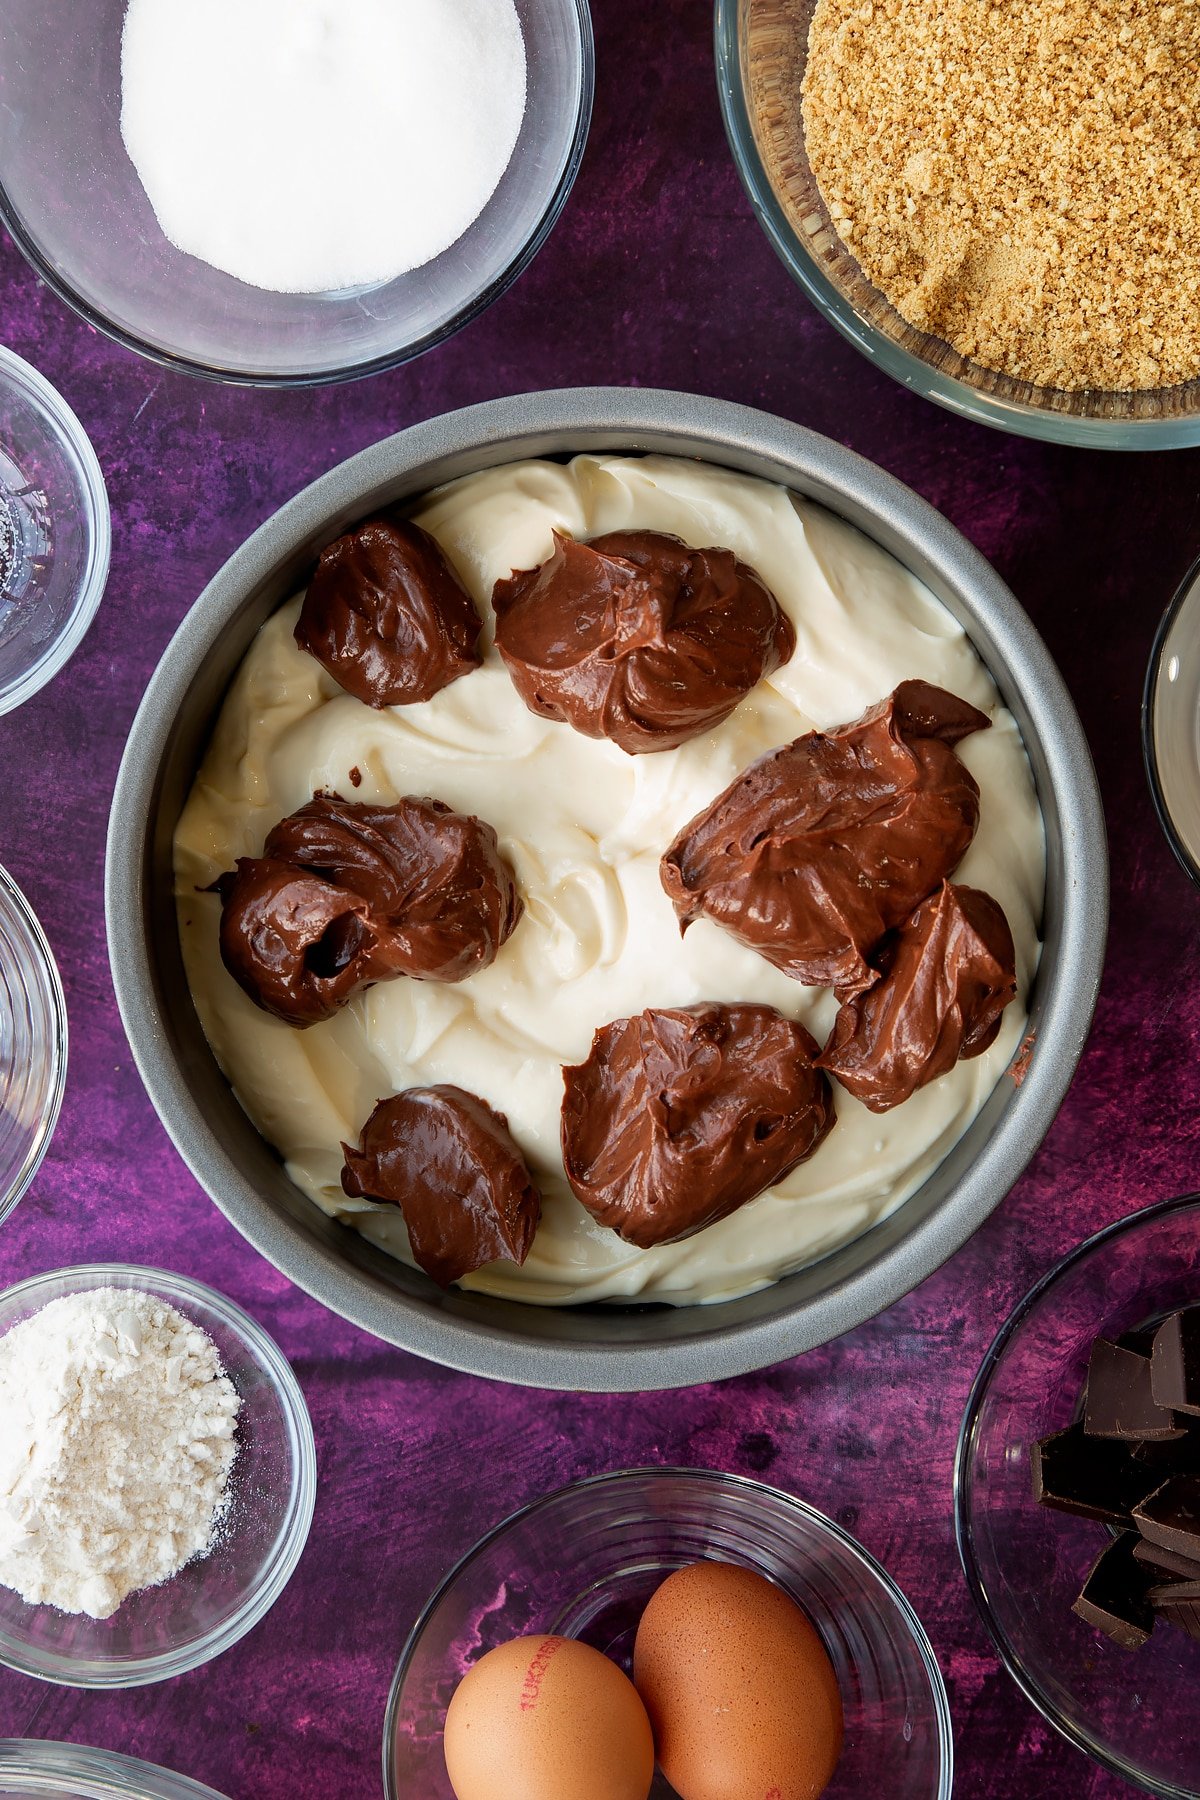
Gently swirl to the edges.
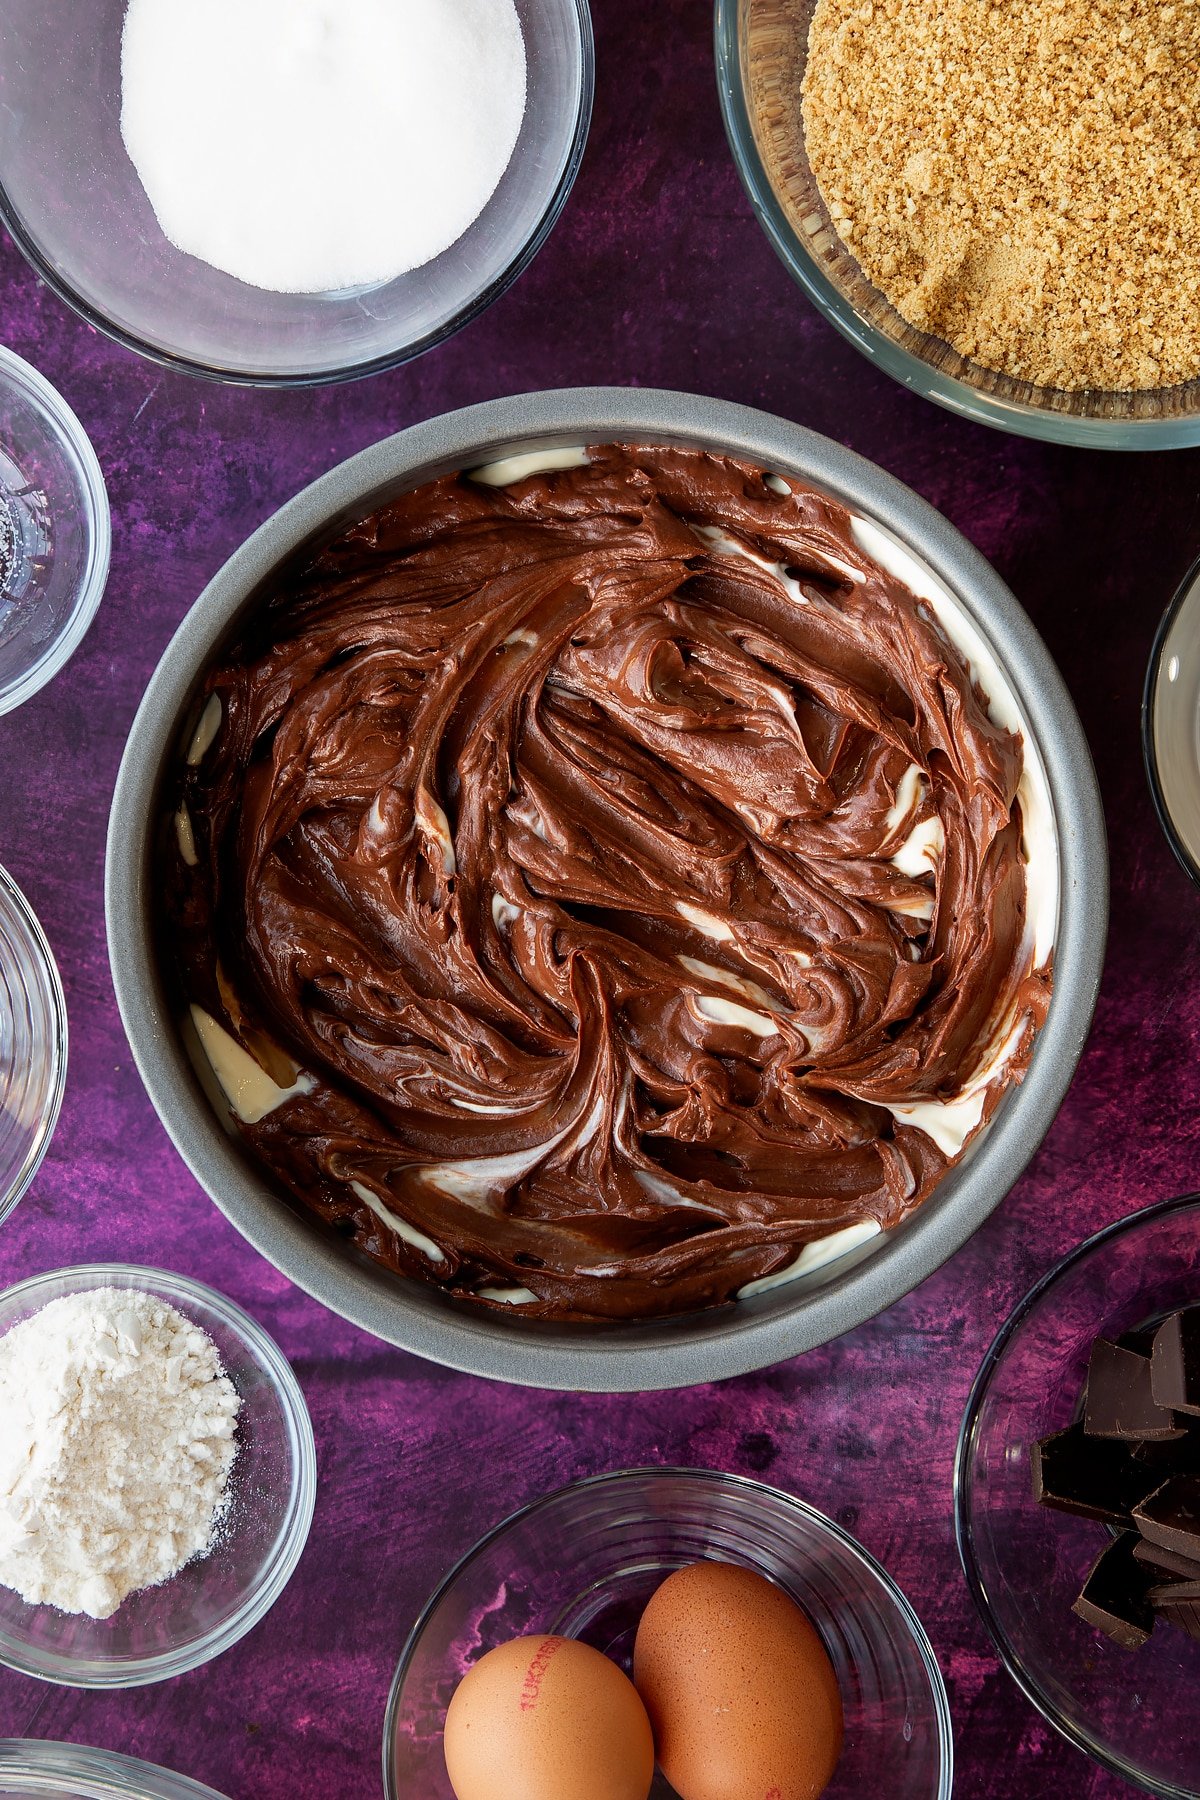
Pile the remaining vanilla cheesecake mixture on top
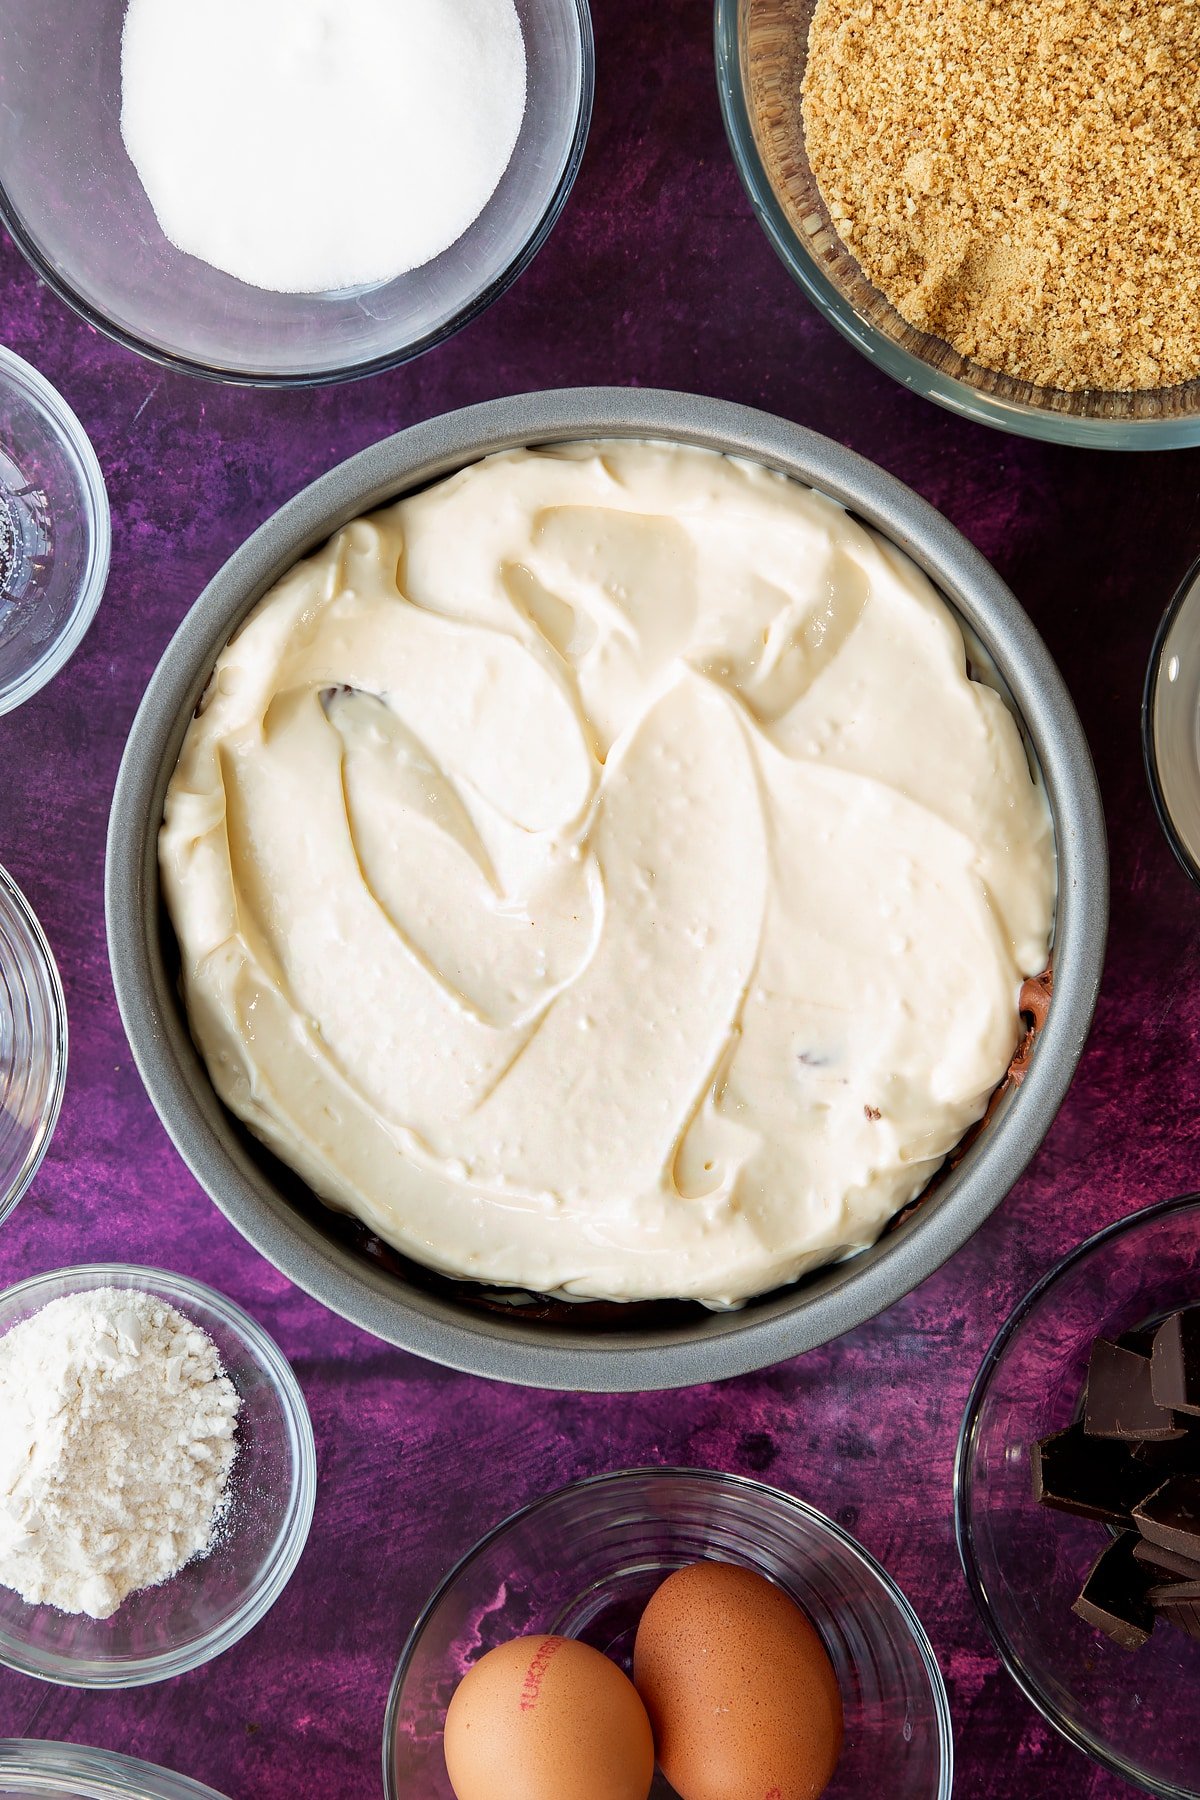
Push the handle of a metal spoon into the filling, making sure not to go so deep as to disturb the biscuit base. Swirl back and forth with the spoon to create swirls inside the cheescake.
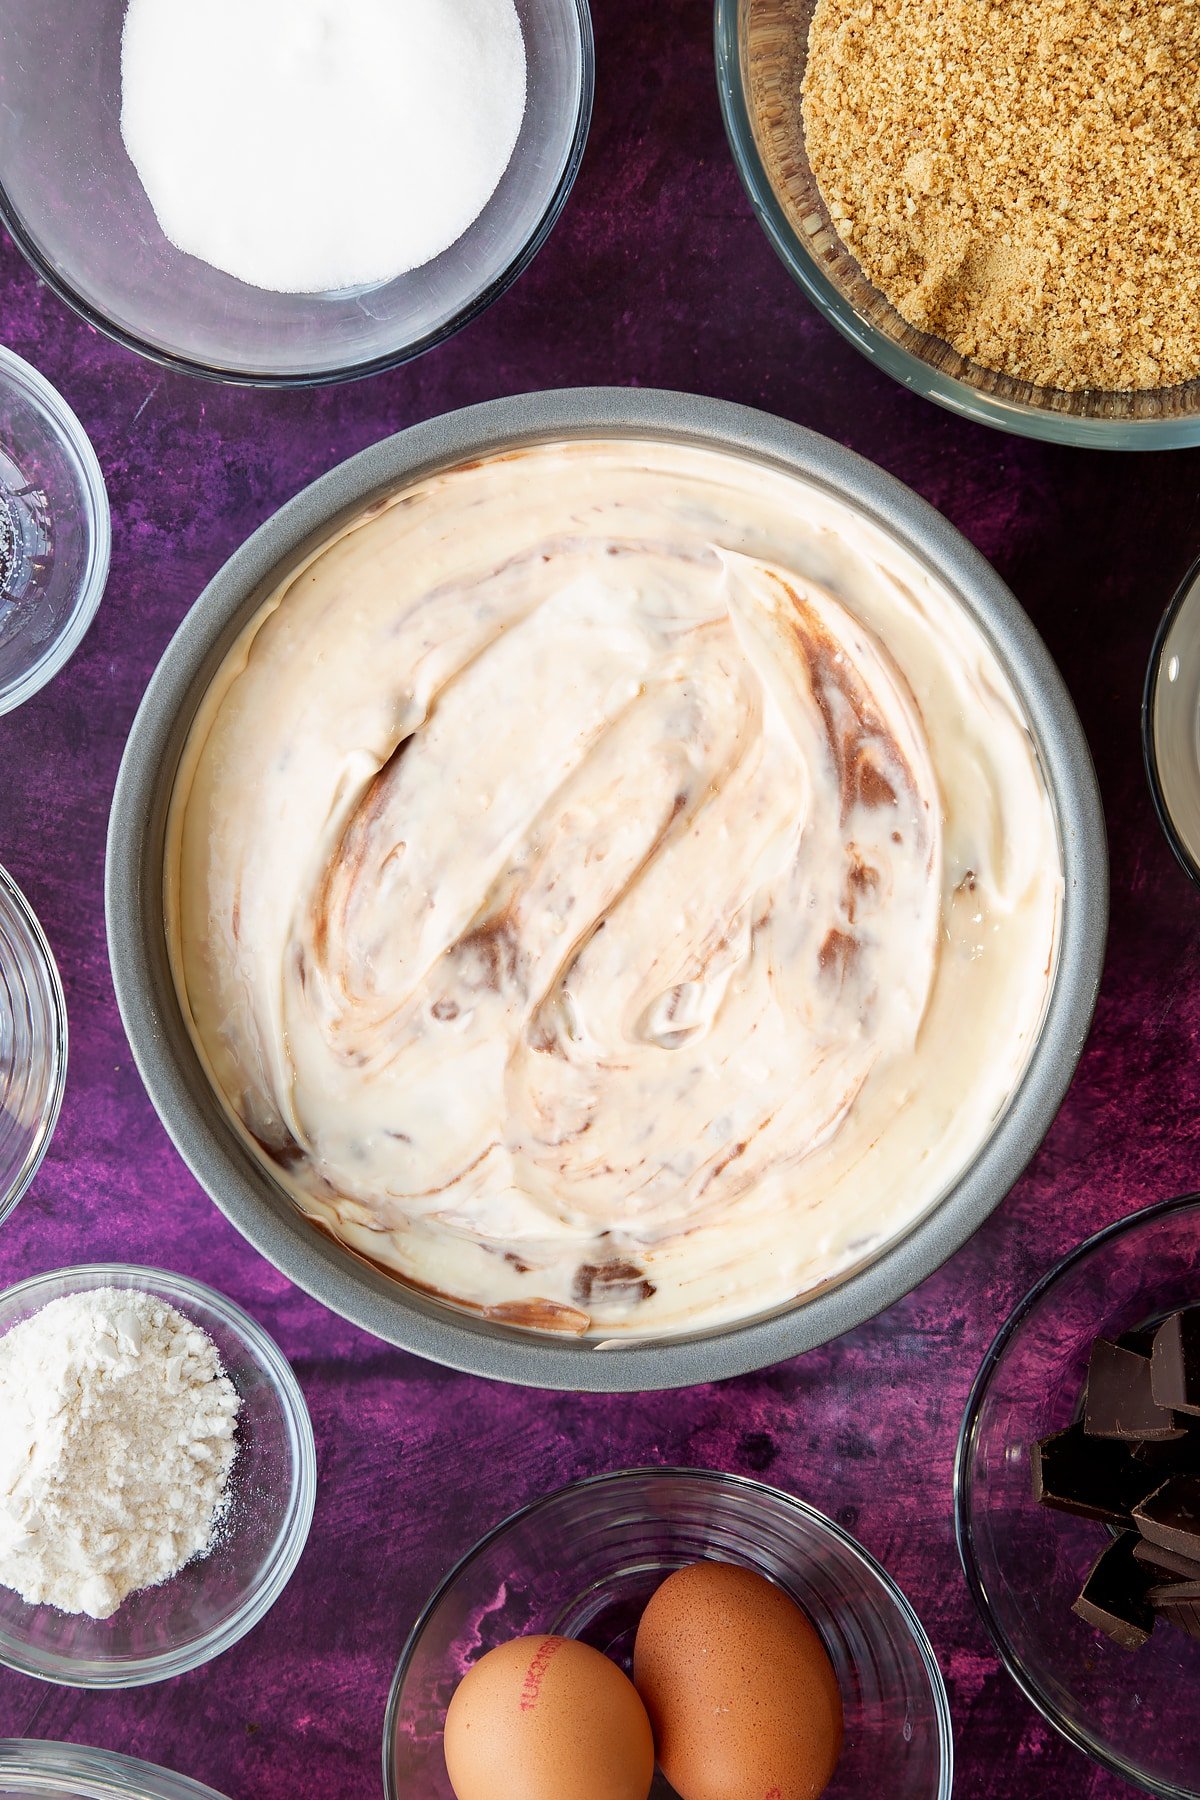
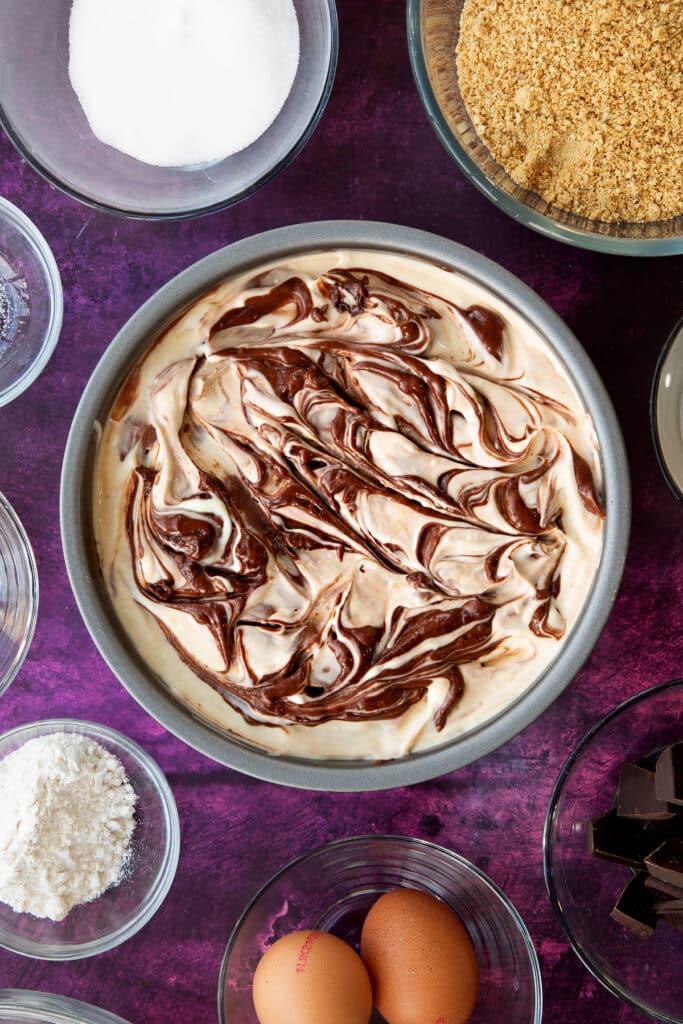
Use the tablespoon of chocolate cheesecake mixture you reserved to dot a few drops over the top of the cheesecake and mix using shallow swirls to give a pretty effect on top.
If you have a baking belt, this is a great time to use it. It's a piece of material you soak in water and then wrap around the outside of the tin to stop cakes, cheesecakes and more from baking too fast on the outside before the middle is cooked. It's not essential for this recipe, but it does help ensure an even bake with no cracks.
Your marble cheesecake is now ready to bake in the oven for approximately 1 hour until set but still wobbly. The top will darken and turn a gleaming golden. (See images below)
Finish
Take out the oven, and let it cool for 5 minutes. Run a knife around the edges of the cheesecake. This will ensure it doesn’t stick, causing the cheesecake to come apart as it cools.
Allow to cool completely in the tin at room temperature.
Release from the tin and chill in the fridge for at least an hour, but ideally overnight (or as long as you can stand to wait).
Slide the sides of the tin down to release the cheesecake, then transfer to a board to serve.
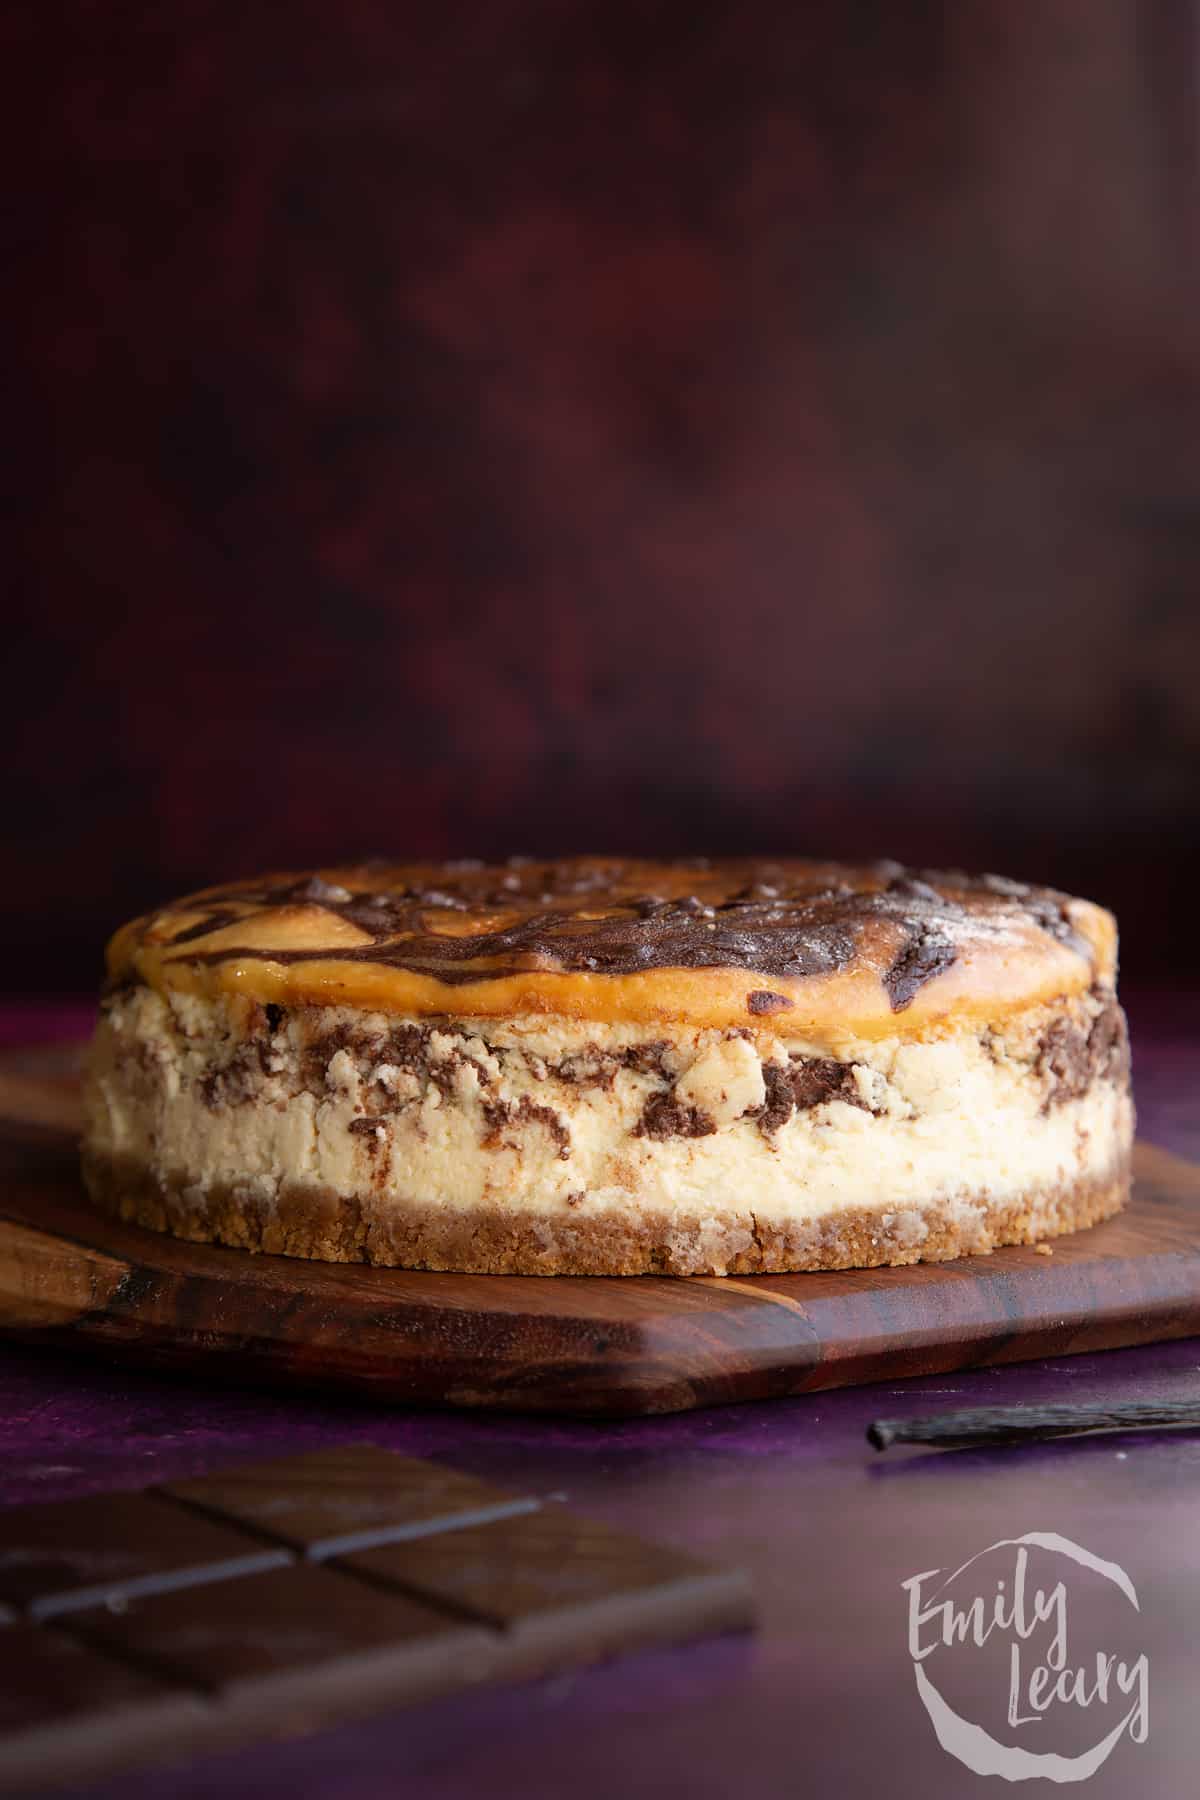
All that's left to do is slice and enjoy! This is best done with a warm knife for a clean cut.
Pointers, tricks and troubleshooting tips for the perfect marble cheesecake
Is marble cheesecake easy to make?
Yes! This baked marble cheesecake is super simple, you'll make up a simple vanilla batter with cream cheese, cream, eggs, flour and vanilla, then divide off a quarter of the mix and add melted chocolate and a pinch of salt.
Swirl these together on top of the biscuit base to create a beautiful and unique marble pattern for this pretty chocolate and vanilla cheesecake.
I find the hardest part of this cheesecake is waiting long enough for it to cool and set before cutting that first slice. Read on for more tips and tricks so your cheesecake turns out perfectly first time.
Will I need any special equipment for this marble cheesecake recipe?
All the equipment you need should be easy to find in any home baker's kitchen. The usual bits and bobs like weighing scales, measuring spoons, and mixing bowls will get you started.
The most important thing is to use a loose bottom, nonstick cake tin measuring 18cm (7inch) across. Don't worry too much if yours is a bit bigger it just means your cheesecake will not be as tall and will bake a little more quickly than mine. The loose bottom element is the main thing so you can get the cheesecake out!
A food processor is handy to whizz the biscuits into an even crumb for the base. Or simply put the biscuits into a large zip lock bag and bash them with a rolling pin until sandy.
To make the filling, I like to use a silicone spatula and gently mix by hand as we don't want to introduce too much air to our filling.
To see a full list of suggested equipment head down to the recipe card below.
How can I tell if cream cheese has gone off?
This recipe calls for quite a bit of cream cheese so you'll probably be opening fresh tubs. Start with checking the Best Before date, and if the tub is already open make sure it's been open for less than 5 days.
Sometimes cream cheese has a little bit of watery residue, this is normal. What you need to look out for is any signs of mould growing on the cheese.
If there is mould on any part of the cheese it will need to be discarded. Unlike some hard cheese where you can cut the mouldy bits off, with a soft cheese like this, the mould can really easily track into the cheese. Even if you can't see it growing all the way through yet, it's no longer safe to eat.
Is this marble cheesecake suitable for vegetarians?
All the ingredients for this baked marble cheesecake are vegetarian so as long as the recipe is followed accurately, you'll have a beautiful vegetarian cheesecake at the end.
Whenever cooking or baking for vegetarians it's best to double-check all of your ingredients labels to make sure that they are suitable. Don't forget to also check anything extra you intend to serve with the cheesecake.
Is this marble cheesecake suitable for vegans?
Quite a lot of the ingredients for this cheesecake are not vegan. The cheesecake base is made with dairy butter and the digestive biscuits may also contain milk. The filling uses dairy cream cheese, double cream, and chicken eggs.
I haven't tested this recipe using vegan alternatives yet, and you would probably have more success making a chilled vegan cheesecake rather than a baked one so you can leave out the eggs entirely. That said, if you want to experiment, here are some thoughts on how you could use this recipe as a rough guide you can tweak to make a vegan version.
For the base, you could use vegan digestive biscuits, mixed with melted vegan butter. Use a vegan butter that is roughly 80% fat - some have quite a bit of water in, which will make the base go soggy. Once the base is pressed into the tin put it in the fridge, rather than the oven to set whilst you make the filling.
For the filling, you could use a vegan cream cheese like "Violife just like cream cheese" and a vegan cream alternative like Oatly whippable cream. Leave out the eggs and plain flour as they are not necessary for a chilled cheesecake. For the chocolate, use vegan dark chocolate - some standard dark chocolate is dairy-free even when not labelled as vegan, so check the labels.
Because you'll be making a chilled cheesecake rather than a baked one, your approach to prepping the filling will be different. Instead of avoiding introducing air, you'll actually want to whip the cream at the beginning to help it thicken up.
Whisk the vegan cream and sugar together until as thick as possible, then fold in the vegan cream cheese and vanilla extract before dividing and finally adding the melted chocolate to quarter of the mix. Spoon each of the fillings alternately into the tin in blobs and finish off with a swirl, you can jiggle the tin a bit to level it off before leaving it in the fridge to set overnight.
As I say I haven't tested this recipe with vegan alternatives yet so you might need to play around and adjust the quantities for it to work.
Is this marble cheesecake gluten-free?
The digestives for the base of this cheesecake contain wheat flour and the filling uses plain flour so as it is, this recipe is not gluten-free.
These elements can be easily swapped for gluten-free alternatives and should still work perfectly if you want to make this cheesecake gluten-free.
For the base, use your favourite plain gluten-free biscuit. Some supermarkets even have gluten-free digestives in their Free From ranges so look out for those. Just make sure to use one without a cream filling, topping or chocolate chips as this will make the base unstable.
The plain flour in the filling can simply be replaced with plain gluten-free flour. I would recommend using a good quality brand of gluten-free flour. It will probably be a blend of gluten-free flours like rice, or oat, mixed with a binding agent like xanthan gum that helps with the texture too.
Always double-check all of your ingredients labels to make sure that they are gluten-free. Don't forget to also check anything extra you intend to serve with this marvelous marble cheesecake.
Is this marble cheesecake keto-friendly?
This is a sugar-sweetened cheesecake with a biscuit base, so isn't suitable for a keto diet.
Is this marble cheesecake healthy?
This marble cheesecake is high in fat and sugars so should be enjoyed in a sensible portion as as an occasional celebration, not as an every day meal.
Head down to the recipe card below where you'll find a more detailed breakdown of nutritional information. All the figures are estimates based on publicly available data and will give you an idea of how this dessert can be enjoyed as part of a balanced, healthy diet.
Is this marble cheesecake safe to eat while pregnant?
There are a few things to look out for with this marble cheesecakes so that you can ensure it's safe to eat during pregnancy.
First, check that the dairy products have been pasteurised. Most cream and cream cheese in the UK will be by default, but it's always best to check. Information regarding egg safety during pregnancy also varies in different countries, so look for guidelines relevant to where you live.
It's important to make sure all the ingredients are in good condition and this cheesecake is prepared and stored safely and hygienically.
A Mummy Too does not offer medical advice. Please seek help from a medical professional if you need further information or have any concerns.
What goes well with this marble cheesecake?
This marble cheesecake is perfect just on its own. I would serve after a special dinner with coffee.
If you want to add a little something extra, it goes beautifully with fresh berries for a tart contrast. A squirt of cream or a few shavings of chocolate on top can look lovely too.
Can I make this marble cheesecake without eggs?
Eggs are quite key in this recipe to help bind everything together so that the cheesecake sets.
I haven't tested out any egg replacements yet so I'm not sure how it would turn out. You could give it a go if you need to make this cheesecake egg-free.
Either using an egg replacement powder or chia seed egg will probably work best.
Follow the packet instruction for egg replacement powder - often you'll need to mix it with water to make it up to a similar volume and moisture level as egg.
To make chia seed eggs, crush 1 tablespoon of chia seeds and mix with 2 tablespoons of water and leave to soak in the fridge for 10 minutes. This will make enough to replace 1 egg so multiply for how many you need in the recipe.
Keep in mind you will still be able to see the chia seeds in the plain cheesecake swirls, adding pretty little dots to the marble pattern.
I haven’t got caster sugar can I use granulated sugar?
Generally, I prefer to use caster sugar (superfine sugar in the US) when baking. It is a much finer grain of sugar so dissolves more easily into the other ingredients, which means you don't end up with a noticeable grainy texture to your cheesecake.
In a pinch, you can use regular granulated sugar, but remember it might affect the final texture of your cheesecake, particularly if it's not well mixed into the cream and cream cheese.
Can I add extra chocolate to this recipe?
This cheesecake is already deliciously chocolatey and adding more to the filling could negatively affect how well the cheesecake sets.
You could use chocolate cookies instead of digestives for the base - just make sure they're free of chocolate topping or chocolate chips as this will stop the based from holding together properly.
You could also add some chocolate decoration to the top of your cheesecake once served.
Why not try shavings of white and dark chocolate to continue the marble effect? A drizzle of chocolate sauce would also make this marble cheesecake extra decadent.
How should I store this baked marble cheesecake?
Once cooled, this cheesecake needs to be kept well covered in the fridge. Keep it in the tin and cover with food wrap or pop it into a suitable container if you have one big enough.
How long does this marble cheesecake keep?
When stored correctly, this marble cheesecake can last up to 5 days in the fridge, though it's usually long gone by that time in our house!
That estimate assumes you've used freshly opened cream and cream cheese, so check the Best Before and Use By dates on both to make sure that they are within safe range.
This cheesecake can also be frozen once it has set and will keep for up to two months in the freezer, which is a great option if you're not going to use it all up over a few days.
Can I leave baked cheesecake out on the counter?
No, this cheesecake needs to be kept in the fridge, other than when serving. It should not be left out on the counter.
Even though it is baked, this cheesecake still contains a lot of dairy products so needs to remain chilled to avoid unsafe levels of bacteria spreading on the food.
Can I make this marble cheesecake ahead?
Yes! This marble cheesecake is perfect to make ahead as it needs at least an hour, or ideally overnight, in the fridge to fully set. Whip it up the day before and have it ready and waiting. It keeps well in the fridge for a few days.
If you want to get even more ahead, you can also freeze this cheesecake. Check out the notes below on how to freeze and defrost to see if that would be a good option for you.

Should I keep this cheesecake in the refrigerator?
Yes, this cheesecake still needs to be kept in the fridge as it is made with lots of dairy and even thought it has been baked, it would not be safe to leave it out on the side.
Can I freeze this marble cheesecake?
Once this cheesecake has fully cooked, cooled and chilled, you can freeze it.
The texture may change a little by the time it's thawed out again, but it will still taste yummy.
It's best to freeze your cheesecake as soon as you can after chilling, so perhaps consider freezing any leftovers after the first serving unless you are sure you'll be getting through it soon.
To freeze, you can either keep the cheesecake in a big piece or slice it up so that you can just get out and defrost what you need.
If freezing whole, wrap really well with food wrap and then place in a suitably sized freezer container with an airtight lid.
To freeze in slices, either wrap the slices individually or just place straight into the container, making sure to leave a small gap between each slice so they don't stick together.
Label the container with the date and type of cheesecake so you can find it again easily.
This marble cheesecake will keep for up to two months in the freezer.
What is the best way to defrost marble cheesecake?
This cheesecake needs to defrost slowly.
If defrosting the whole cheesecake at once, transfer the whole container from the freezer to the fridge. If defrosting just a slice or two, transfer them to a fresh container and place in the fridge.
Leave the cheesecake to thaw out overnight in the fridge. It should be defrosted in about 8 hours, depending on the size of your pieces and how cold your fridge is.
Once thawed, eat your marble cheesecake within 24 hours, and remember it's not safe to refreeze any leftovers.
Can I make this marble cheesecake in a different quantity?
If you want to make more or less of this recipe then go right ahead.
If you want to use a different size tin and keep the ingredients the same you can, but remember your cheesecake will turnout thinner than mine and will bake more quickly. Here, I'll explain how to keep the ratios and thickness the same as mine by adjusting the quantities and size of tin.
Look for the recipe card below. You'll see the servings near the top left. To change this to the number you want to make just click or hover over that number and a little slider will pop up. You can move the slider up or down to get the amount you want to make.
Use the following settings to make all of the ingredient quantities relevant to the size tin you want to use:
- 15cm (6inch) = 9 slices
- 20cm (8inch) = 16 slices
- 23cm (9inch) = 20 slices
All the ingredient quantities will update automatically for you so that everything is in the right ratios. They may go into a decimal places so round up or down if you need to.
Depending on the size and thickness of your cheesecake it might take more or less time to cook, so keep an eye on it in the oven and look for it to be set with no ripples but still some wobble.
Can I make this marble cheesecake into individual portions?
I find it easier to create the marble effect when working with a full-size cheesecake. That said, you could try and make this into individual cheesecakes if you wanted to serve them that way.
I've made mini baked cheesecakes in a muffin tin before and used cupcake cases to make them easy to get out of the tin.
If you don't want to use cupcakes cases, you could try using a muffin tin with loose bottoms.
I haven't tested this recipe using a muffin tray but it should be enough to make at least 12, depending on the size of your tray.
To make, you'd need to divide the biscuit base equally into the tray and press them all firmly in before baking for 5 minutes. Once the filling is ready, use teaspoons to blob in small dollops of chocolate and vanilla filling. Finish off by using a toothpick to swirl and marble each one before baking.
As these mini cheesecakes are much smaller than a full-sized one, they probably will bake more quickly in the oven. Check on them after about 20 minutes to see if they are set.
If you're not using paper cupcake cases, don't forget to run a knife around each cheesecake once they've come out of the oven to release them from the sides of the tray.
Can I make this cheesecake in a different tin/tray?
If you don't have a 18cm (7 inch) tin you can use one of a different size.
The wider the tin you use, the more shallow your cheesecake will be and the thinner the base. If you go too big, the base may not hold together and you may find that the filling is hard to swirl.
If you go for a very narrow tin, you will get a very thick base and your tin might not be tall enough to hold all of the filling.
If you want to use a different size tin but keep the same height as mine, see the notes above on how to change the quantities as well.
Changing the tin size will also affect the baking time, so keep an eye on your cheesecake so that you know when it's set.
Whatever size tin you use, be sure to use a nonstick one with a loose bottom so that you can release the cheesecake easily once its cooled.
Can I make this marble cheesecake in a stand mixer such as a KitchenAid or Kenwood Mixer?
A stand mixer would be ok to mix up the filling for this cheesecake, but you don't want to overwork it or introduce too much air, so I would suggest using the paddle attachment on the slowest setting and mixing only as much as it takes to bring the ingredients together.
Make sure to scrape down the sides and bottom of the bowl after each addition to ensure everything is properly incorporated.
Can I make this marble cheesecake with a food processor?
The easiest way to make the biscuit crumb for the base is to use a food processor - you'll have digestive biscuit sand in no time!
You could use a food processor to make the filling, but if you do, make sure to just use short pulses, just enough to combine the ingredients without introducing too much air, which can cause cracks.
Make sure to scrape down the sides and bottom of the bowl after each addition to ensure everything is properly incorporated.
How can I make sure this marble cheesecake is perfectly cooked?
Everyone's got their own methods on how to approach a recipe, but I find the more prep I put in at the beginning, the better the results at the end so I start by reading the whole recipe, then I weigh everything out and get all my kit ready.
Of course, if you prefer to wing it, that's fine too!
Whichever way you work, it's always a good idea to start by putting the oven on so that it has plenty of time to come up to temperature before the cheesecake goes in.
Another tip for this recipe would be to melt the chocolate before you start making the filling so it has time to cool before being added into the mixture.
The base for this cheesecake is very straightforward but for it to hold together well, it's important that you break the digestive biscuits down to an even, fine crumb. This is most easily done by whizzing in a food processor, but you can also put them in a zip lock bag and bash with a rolling pin - just make sure you don't leave any large pieces.
Once you've mixed the crumb with the melted butter, don't hang around before pressing into the base. A flat-bottomed tumbler is the best tool to get it nice and even. Don't skip baking in the oven for 5 minutes as this sets it enough that it won't break down into the filling.
Now on to the filling. You'll see that I've recommended handling the mixing gently with a silicon spatula rather than whisking. This is because vigorous mixing introduces air and that will make the cheesecake more likely to crack.
When you've piled all of the filling into the tin in layers - vanilla, chocolate, vanilla - you're ready to swirl.
The handle of a cutlery spoon, a skewer, or a chopstick will al work well. Run your choice of swirling tool through the fillings but take care not to go all the way down to the biscuit as this will break it up. Make sure not to over-swirl the mixture or the marble pattern will disappear.
When you're happy with your marbling it's time to put the cheesecake into the oven. I used an 18cm (7inch) tin so my cheesecake is quite tall take around 1 hour to bake. If your tin is wider, the cheesecake will be a little shorter and bake more quickly.
If your tin is narrower, it make take longer for your cheesecake to bake all the way through.
You'll know when the cheesecake is ready to come out of the oven as it will be gleaming golden on top, and wobble rather than ripple when gently shaken.
Take the cheesecake out of the oven and set it on a cooling rack still in the tin. After about 5 minutes, it's really important that you run a knife all the way around the inside edge to release the cheesecake from the tin. This is so that the sides don't stick to the tin, which would cause the cheesecake to split as it cooks.
Leave to cool at room temperature in the tin. When the cheesecake has cooled put it in the fridge to finish setting. Leave it for at least an hour, but overnight is preferable to make sure it's perfectly set.
Why did my cheesecake turn out dry and dense?
With all the moisture from the cream, cream cheese and eggs, as long as the right amounts have gone into the mix, this cheesecake shouldn't turn out dry at all - it should be rich and creamy.
You only need a little flour in the filling mix, if too much is added this might also make the cheesecake seem dry and not have a great texture.
If your ingredients were all measured correctly, the most likely explanation is that your cheesecake was over-baked.
Perhaps the oven was too hot. Check it's set to 180C (160C fan) and that it has time to preheat.
Once your cheesecake goes into the oven, remember to set a time so that it isn't in the oven too long. It will take about an hour to set, but you can take it out a little sooner if it wobbles a little bit but doesn't ripple at all when shaken.
Finally, the tin size could be an issue. I've used an 18cm (7 inch) tin, which gives a tall cheesecake. If you've used a wider tin, your cheesecake will be more shallow and will therefore cook more quickly. Make sure to set a timer so you remember to check on it after 30 minutes until you have a set texture.
Why did my marble cheesecake turn out wet and soft?
A few things could cause a wet and soft cheesecake.
First, check that you measured all of the ingredient quantities correctly and didn't miss anything out.
Next, make sure that you set the oven preheating in plenty of time so that it's fully up to temperature when the cheesecake goes into the oven.
Using the right cream cheese is also important for this recipe. We're going all out and using full fat cream cheese because its much thicker than the low or lowest fat options. This really helps the cheesecake set properly.
If you've used low fat cream cheese by mistake the cheesecake will still bake ok but it will be a little softer than you expected.
Alternatively, it could be that the cheesecake simply wasn't baked for long enough. Make sure you bake the cheesecake until it's well set all the way through and only wobbles a little when shaken.
If it gets to an hour and isn't fully baked, you can always return it for an extra 5 minutes or more.
Why didn’t my marble affect work?
With a few simple tricks, you should be able to create a beautiful marble cheesecake.
Have a look at the photos to give you an idea of how it should look. Start with half the vanilla mix, then the chocolate layer, then the rest of the vanilla.
When you're ready to swirl, pick something slim like a cutlery spoon handle or chopstick. Poke your swirling tool of choice into the filling, until it's just above the base then pull it around and through the filling in long wide movements.
The key is not to overdo it. If you mix too much, you'll just have a pale chocolate filling!
Save a little chocolate mixture to drop on top and mix with shallow swirls to give a perfect finish.
How can I add/change the flavours in this cheesecake?
There's plenty of opportunity to play with the flavours while retaining the marble effect.
Why not make a chocolate orange marble cheesecake by using orange extract in place of vanilla? Or mint chocolate marble cheesecake using peppermint extract?
A bit of colour could be added for a strawberries and cream version. Use strawberry flavouring and white chocolate instead of dark. You could even add a touch of pink or red food colouring. It would be lovely with fresh berries and a drizzle of cream.
What is the origin of baked cheesecake?
A version of something similar to our modern-day cheesecakes was first recorded in Ancient Greece. Variations have popped up all over the world, both baked like this one or no-bake, which some argue is the British way of making cheesecake.
How ever you like yours, this marble cheesecake really brings the wow factor.
Print this marble cheesecake recipe
Marble Cheesecake Recipe
Ingredients
For the base
- 150 g (5 oz) digestive biscuits (graham crackers)
- 70 g (5 tbsp) unsalted butter
For the vanilla cheesecake filling
- 600 g (2½ cups) full fat cream cheese
- 300 ml (1¼ cups) double cream (heavy cream)
- 150 g (¾ cups + 1 tbsp) white caster sugar (superfine sugar)
- 1½ tsp vanilla extract
- 3 medium free-range eggs
- 30 g (4 tbsp) plain white flour (all purpose flour)
For the chocolate cheesecake filling
- 100 g (3.5 oz) dark chocolate (bittersweet) melted
- ¼ tsp fine sea salt
Equipment
- Round loose-bottomed 18cm (7") nonstick cake tin
Instructions
- Set the oven to 180C (160C fan / 350F).
- Have all your ingredients at room temperature for best results.
Make the base
- Crumble the biscuits to a fine crumb. You can do this either by blitzing them in a food processor until sandy or by placing in a bag and bashing with a rolling pin.
- Pour in the melted butter and mix well.
- Empty the mixture into a loose-bottomed non stick tin and press down with the bottom of a tumblr until even and firm.
- Cook in the oven for just 5 minutes - set a time so that you don't burn it. Take it out of the oven and set it aside.
Make the filling
- Melt the dark chocolate and set aside to cool.
- Put the cream cheese in a large bowl and work with a spatula to loosen. We don't want to introduce too much air to this filling, so don't beat vigorously.
- Add the eggs, vanilla, sugar and flour, then work with the spatula again, just enough to give a smooth mixture.
- Finally, add the cream and again, stir gently together. This is your vanilla cheesecake mixture.
- Transfer quarter of the mixture to another bowl and add the cooled melted chocolate and salt to this smaller portion.
- Mix together. The is your chocolate cheesecake mixture.
Assemble your cheesecake
- Pile half of the vanilla cheesecake mixture into the tin, gently working to the edges.
- Spoon the chocolate cheesecake mixture on top in blobs, keeping a tablespoon back.
- Gently swirl to the edges.
- Pile the remaining vanilla cheesecake mixture on top
- Push the handle of a metal spoon into the filling, making sure not to go so deep as to disturb the biscuit base. Swirl back and forth with the spoon to create swirls inside the cheesecake.
- Use the tablespoon of chocolate cheesecake mixture you reserved to dot a few drops over the top of the cheesecake and mix using shallow swirls to give a pretty effect on top.
- If you have a baking belt, this is a great time to use it. It's a piece of material you soak in water and then wrap around the outside of the tin to stop cakes, cheesecakes and more from baking too fast on the outside before the middle is cooked. It's not essential for this recipe, but it does help ensure an even bake with no cracks.
- Your marble cheesecake is now ready to bake in the oven for approximately 1 hour until set but still wobbly. The top will darken and turn a gleaming golden.
Finish
- Take out the oven, and let it cool for 5 minutes. Run a knife around the edges of the cheesecake. This will ensure it doesn’t stick, causing the cheesecake to come apart as it cools.
- Allow to cool completely in the tin at room temperature.
- Release from the tin and chill in the fridge for at least an hour, but ideally overnight (or as long as you can stand to wait).
- Slide the sides of the tin down to release the cheesecake, then transfer to a board to serve.
- All that's left to do is slice and enjoy! This is best done with a warm knife for a clean cut.
Video
Nutrition
Pin this marble cheesecake
More cheesecake recipes to try
Have you got my book?

'This is a great kids cookery book. Emily is a star' - Simon Rimmer
'The book I'd like to force into any mother's kitchen' - Prue Leith
"A fab book with a plan." - Jane Devonshire, 2016 Masterchef UK winner
'Emily has managed to combine her mummy knowledge and passion for food to make a truly helpful and brilliant cookbook' - Priya Tew, RD, BSc (Hons), Msc
Get Your Kids to Eat Anything is an achievable 'how to' for parents in the battle to overcome picky eating and 'make new the norm'. Emily Leary's unique 5-phase programme looks at the issue of 'fussy eating' in a holistic way that links imagination with food, and which situates parents alongside - not in opposition to - their children.

Leave a Reply