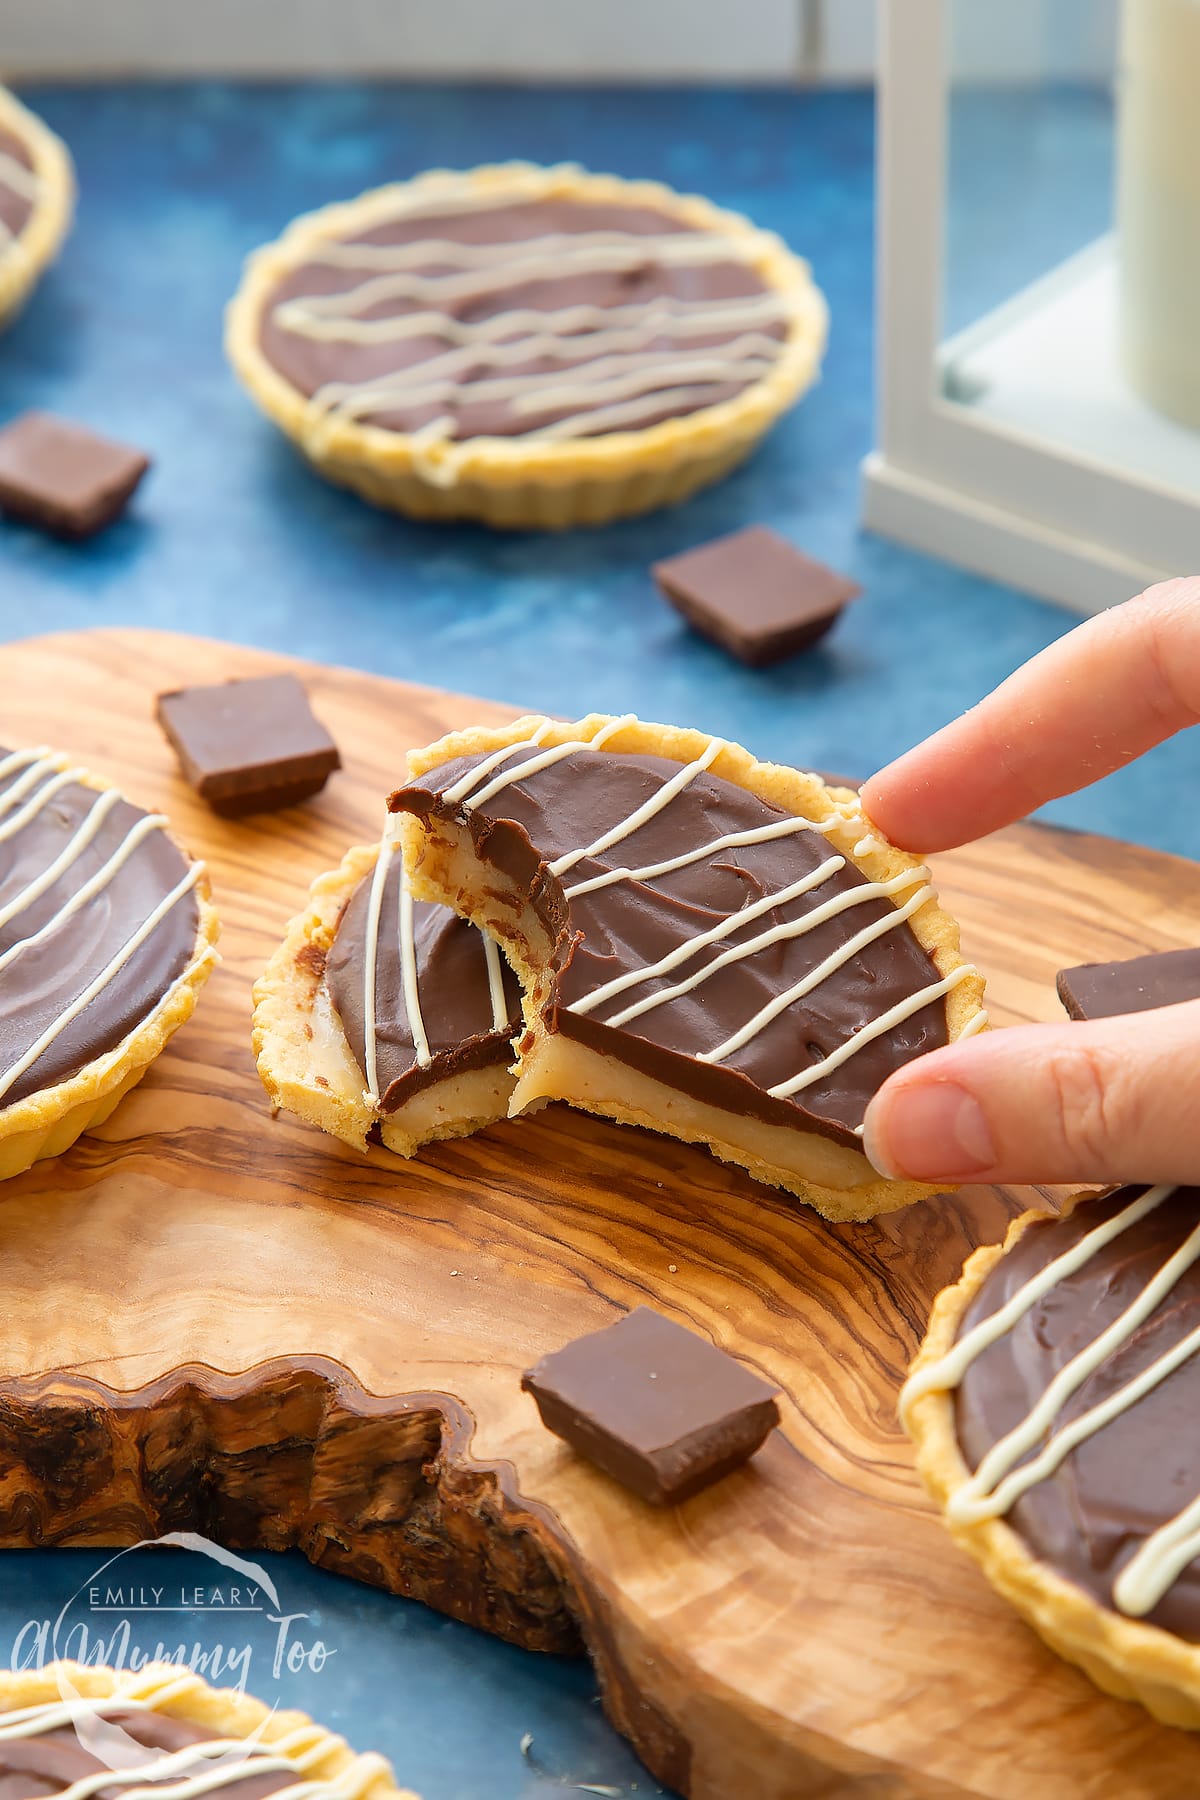
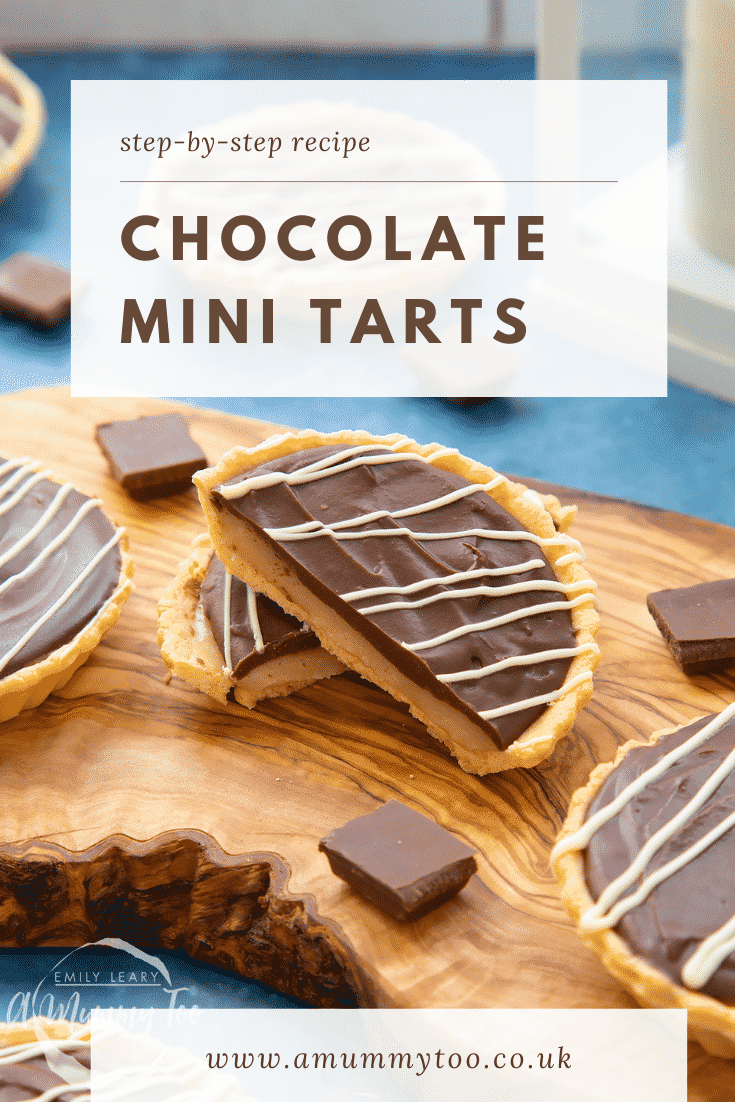
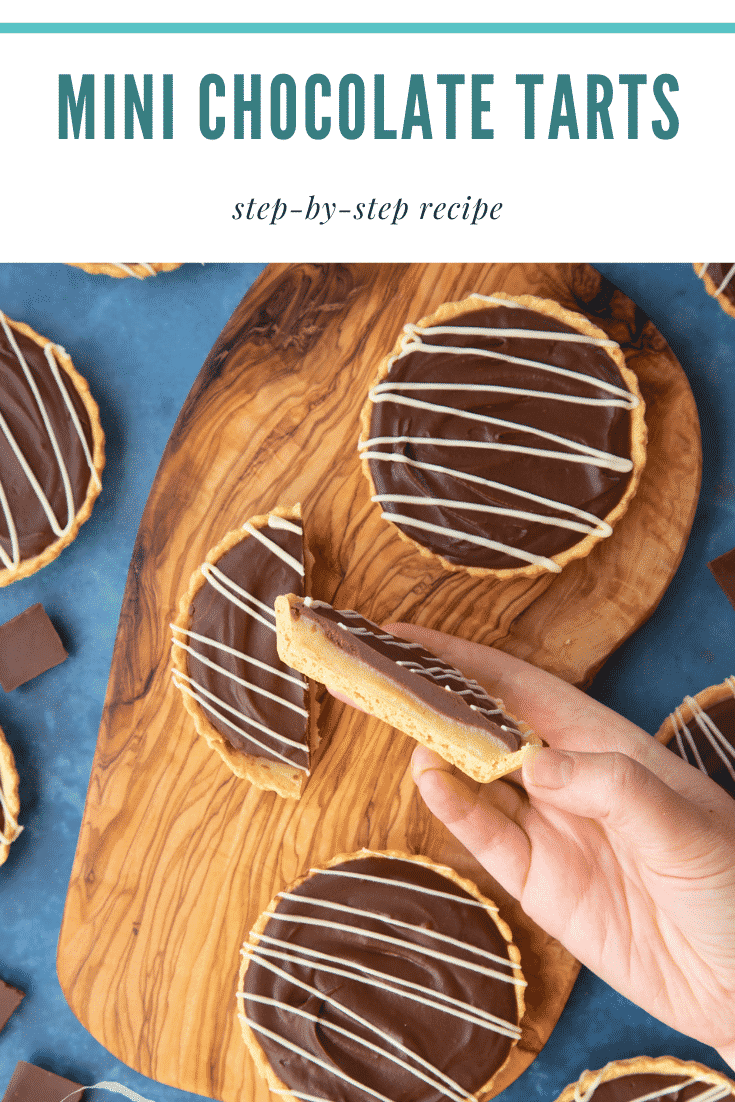
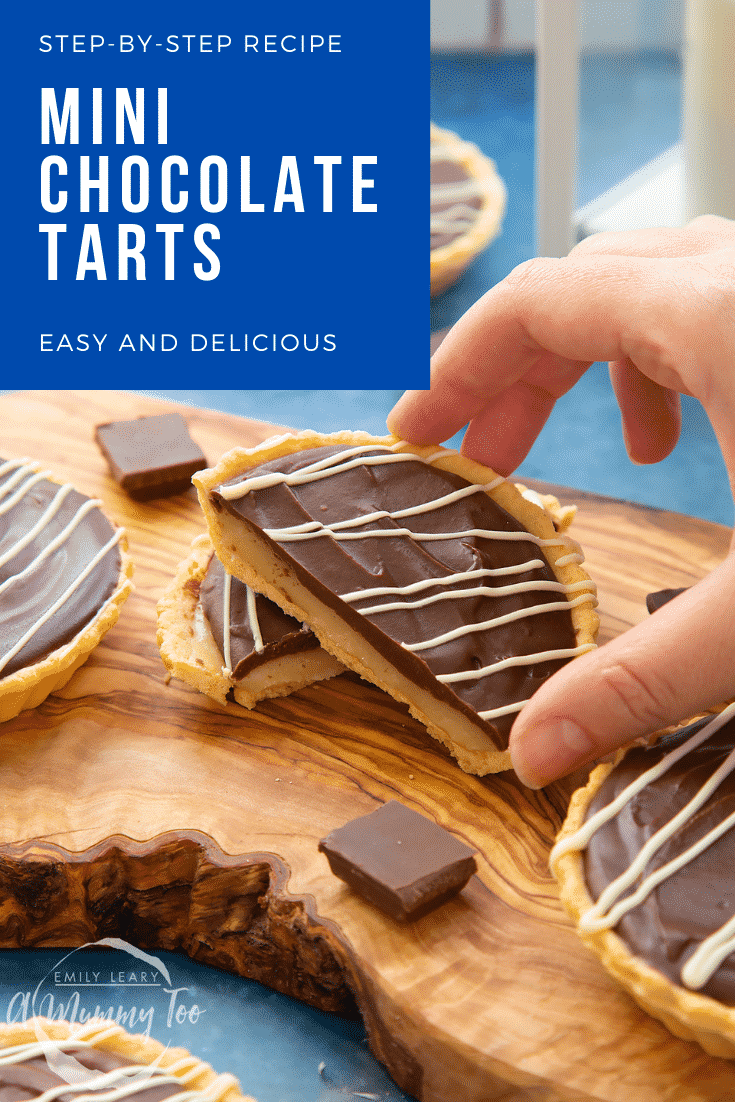
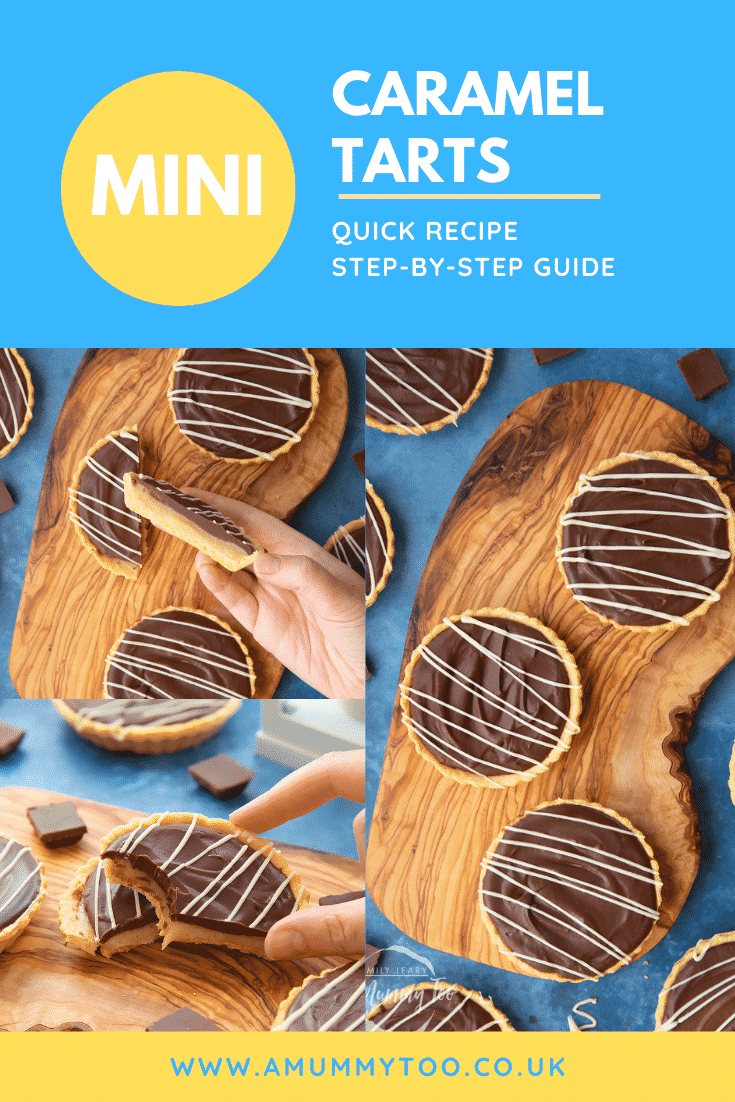
These mini chocolate tarts taste incredible. Crisp, sweet shortcrust pastry cases are filled with a rich caramel, topped with creamy milk chocolate ganache, and finished with a drizzle of white chocolate.
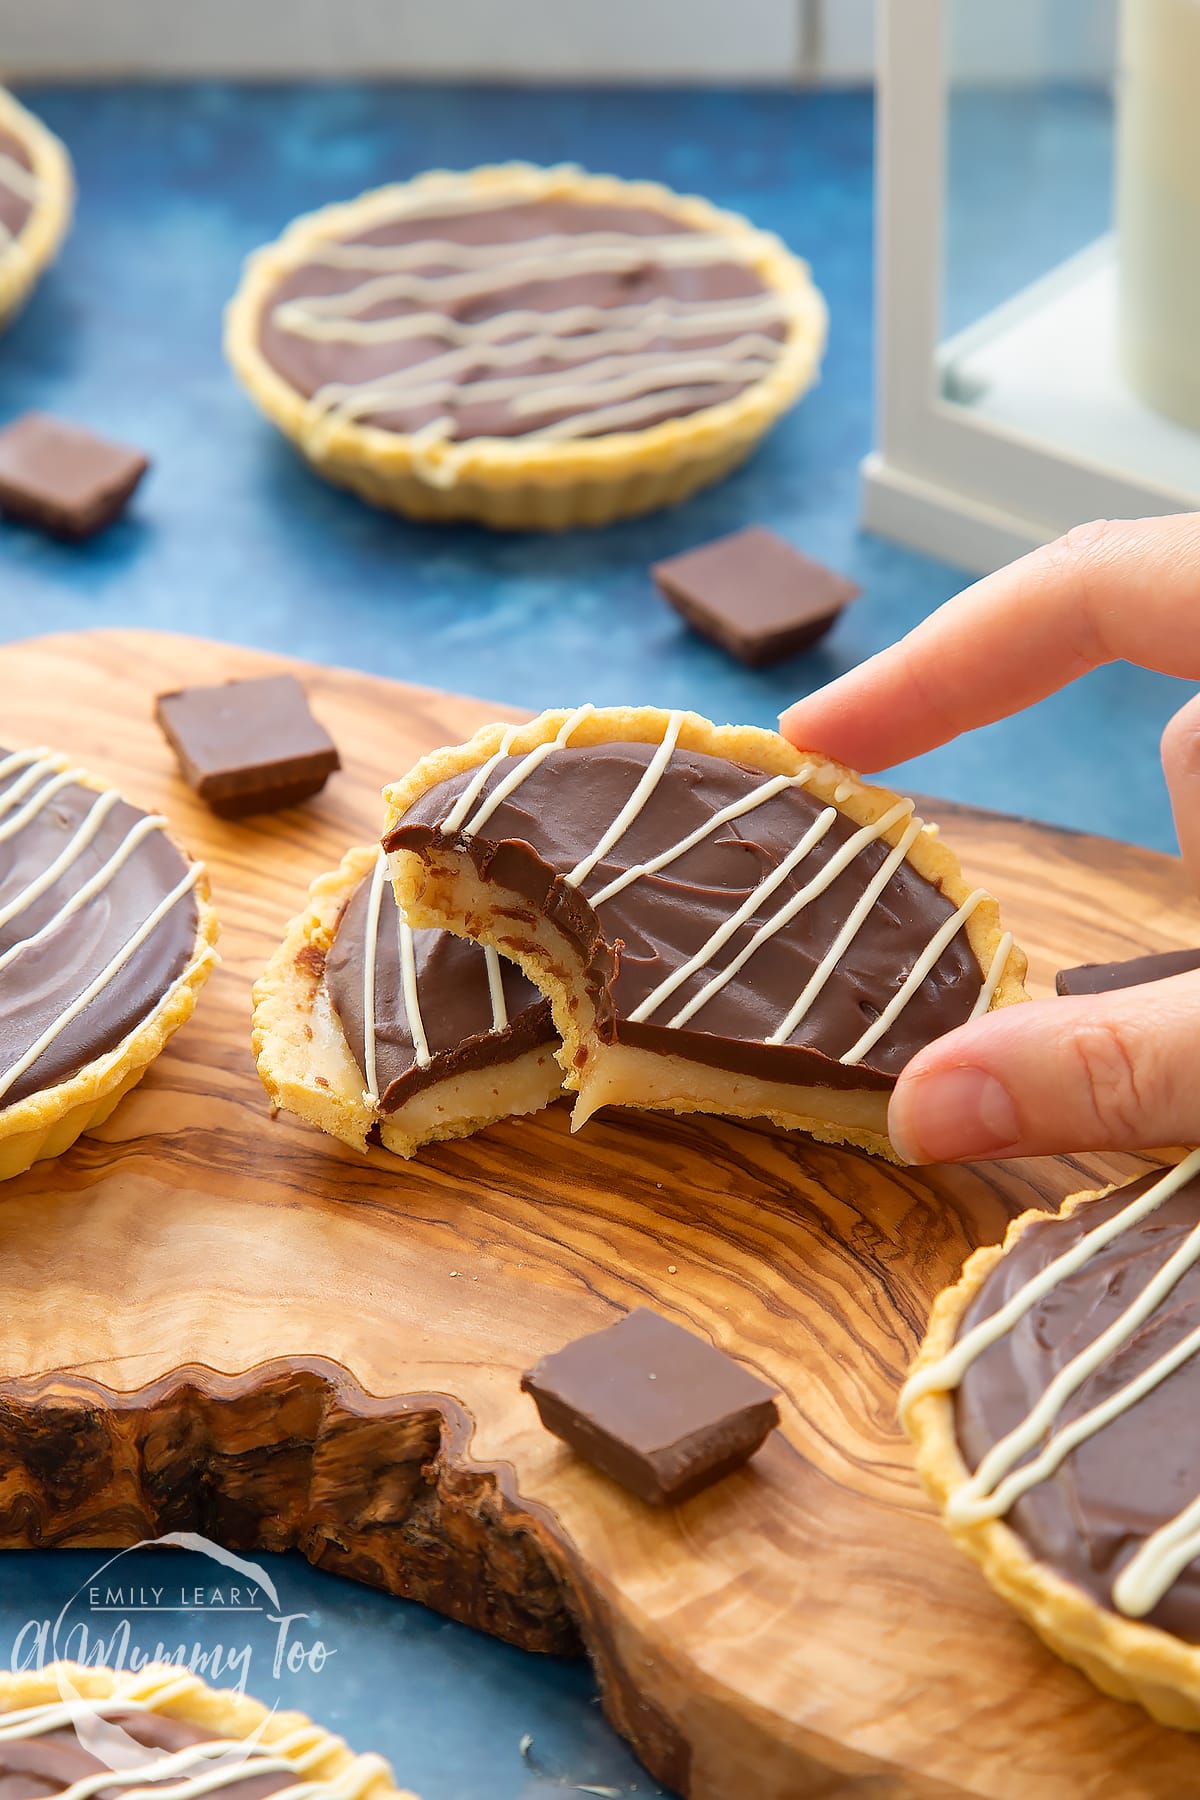
The chocolate ganache is thick and luxurious, so it sets firm enough to hold its shape, but smooth enough to sink your teeth into with ease. My kids think of these tarts as "posh Twixes" because of the combination of biscuity pastry, caramel, chocolate and biscuit. and I can see why!
I love the combination of textures and flavours you get in every bite of these gorgeous mini chocolate tarts.
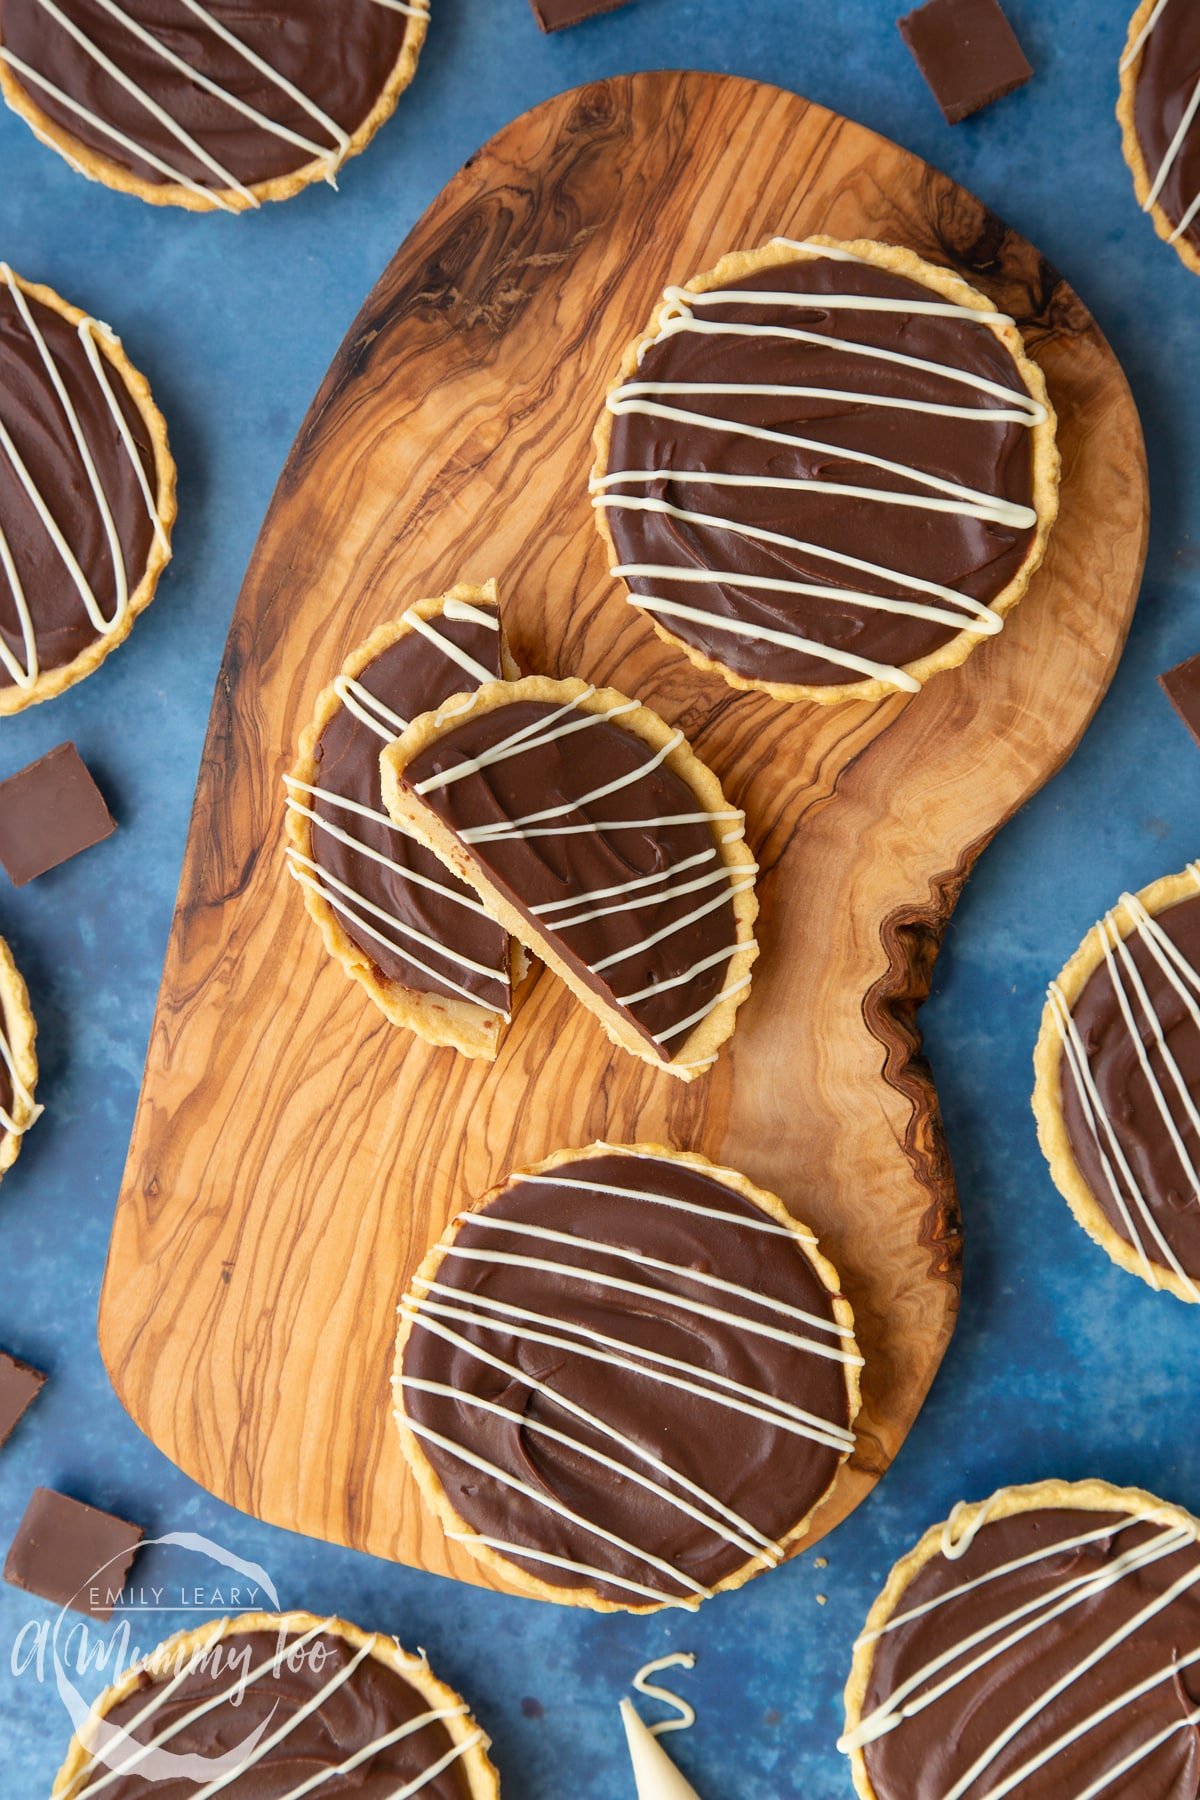
The sweet pastry snaps, the creamy chocolate yields, the caramel offers a little resistance and they all melt in the mouth.
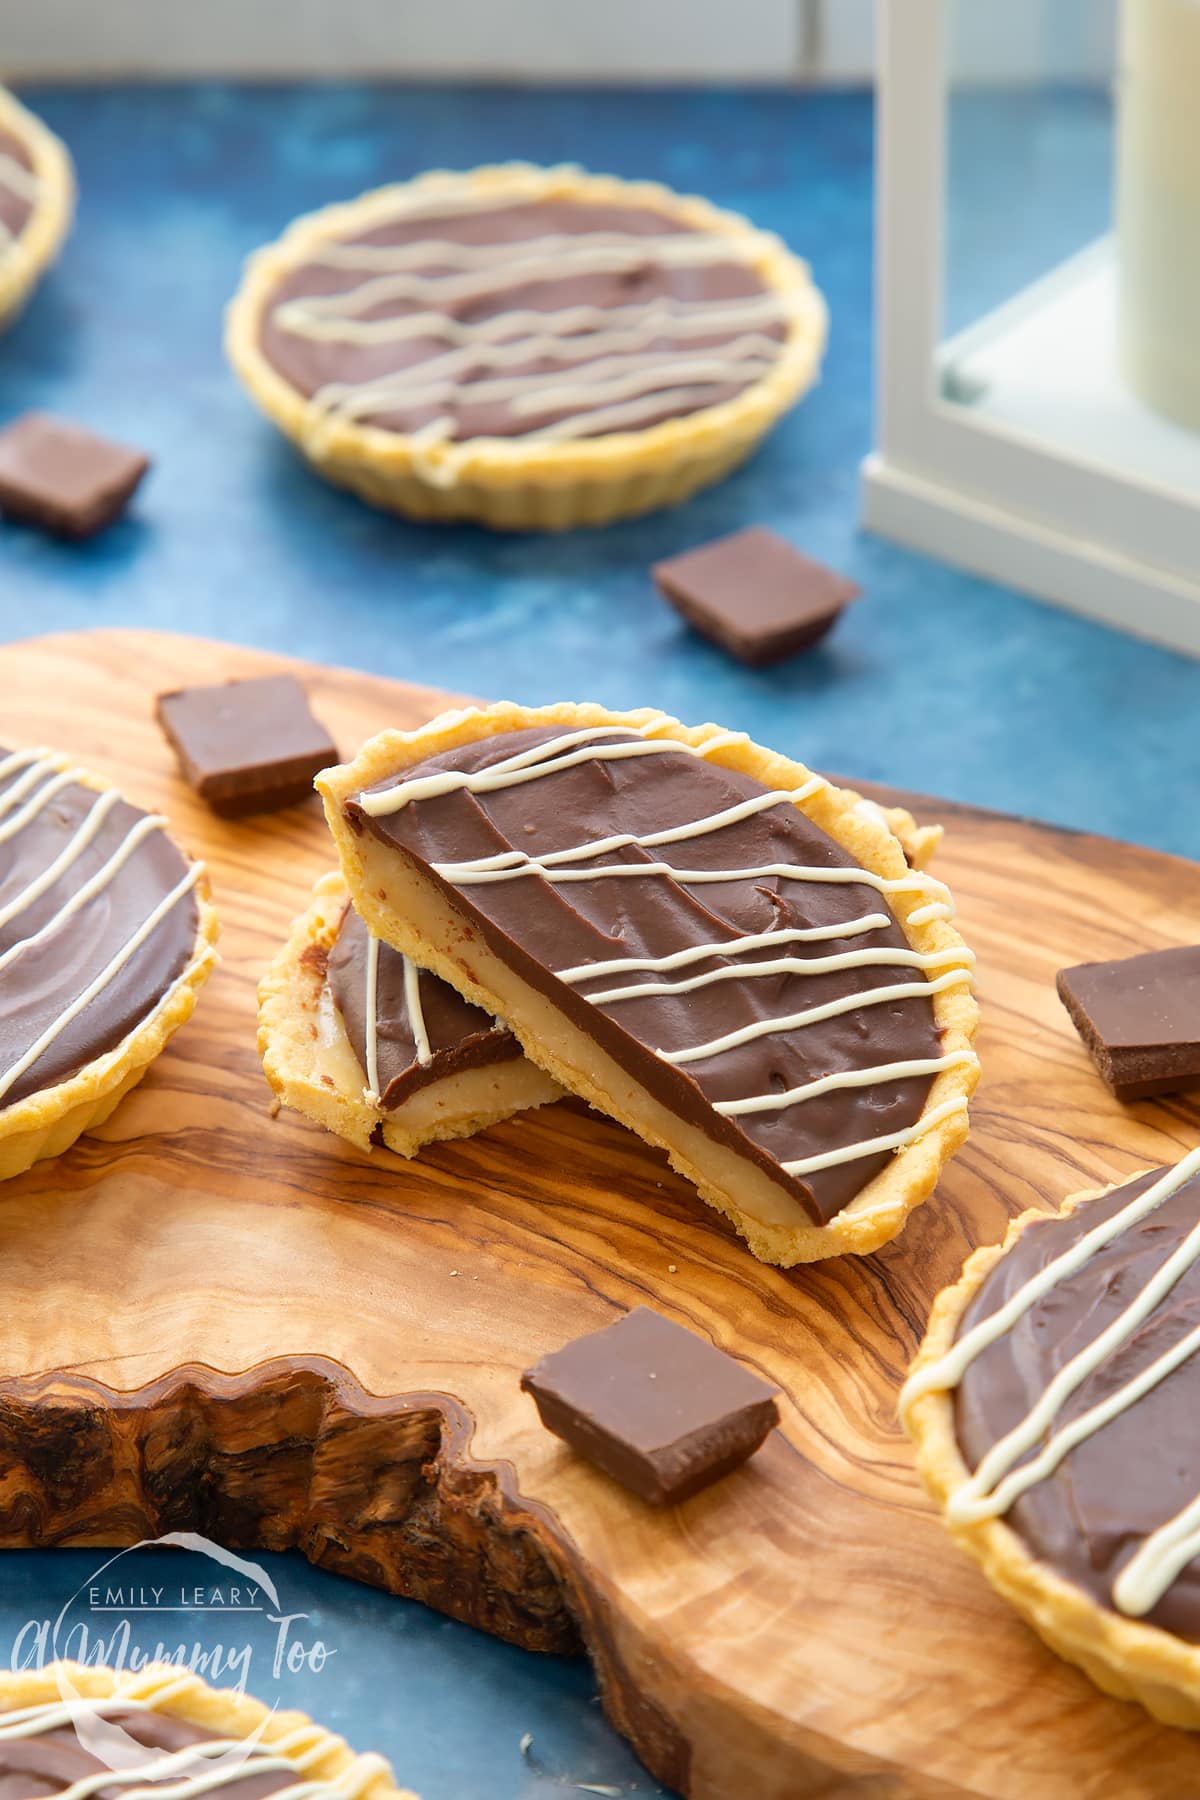
You'll be able to pick up everything you need for these gorgeous little chocolate tarts at your local supermarket, and then you'll spend just minutes putting it all together, yet the finished result looks like something super fancy. Win!
Let's get baking!
Ingredients
For the pastry cases
- 12 sweet shortcrust pastry cases (find them in the baking aisle)
For the caramel
- 400 g (14 oz) condensed milk
- 100 g (7 tbsp) salted butter
- 100 g (½ cup + 1 tbsp) soft light brown sugar
For the ganache
- 350 g (12 oz) milk chocolate
- 150 ml (⅔ cup) double cream (heavy cream)
To finish
- 25 g (1 oz) white chocolate
Equipment
- 2 Large heatproof bowl
- 1 Small heatproof bowl
Instructions
Make the caramel
Put the condensed milk, sugar and butter in a large, microwave-safe bowl.
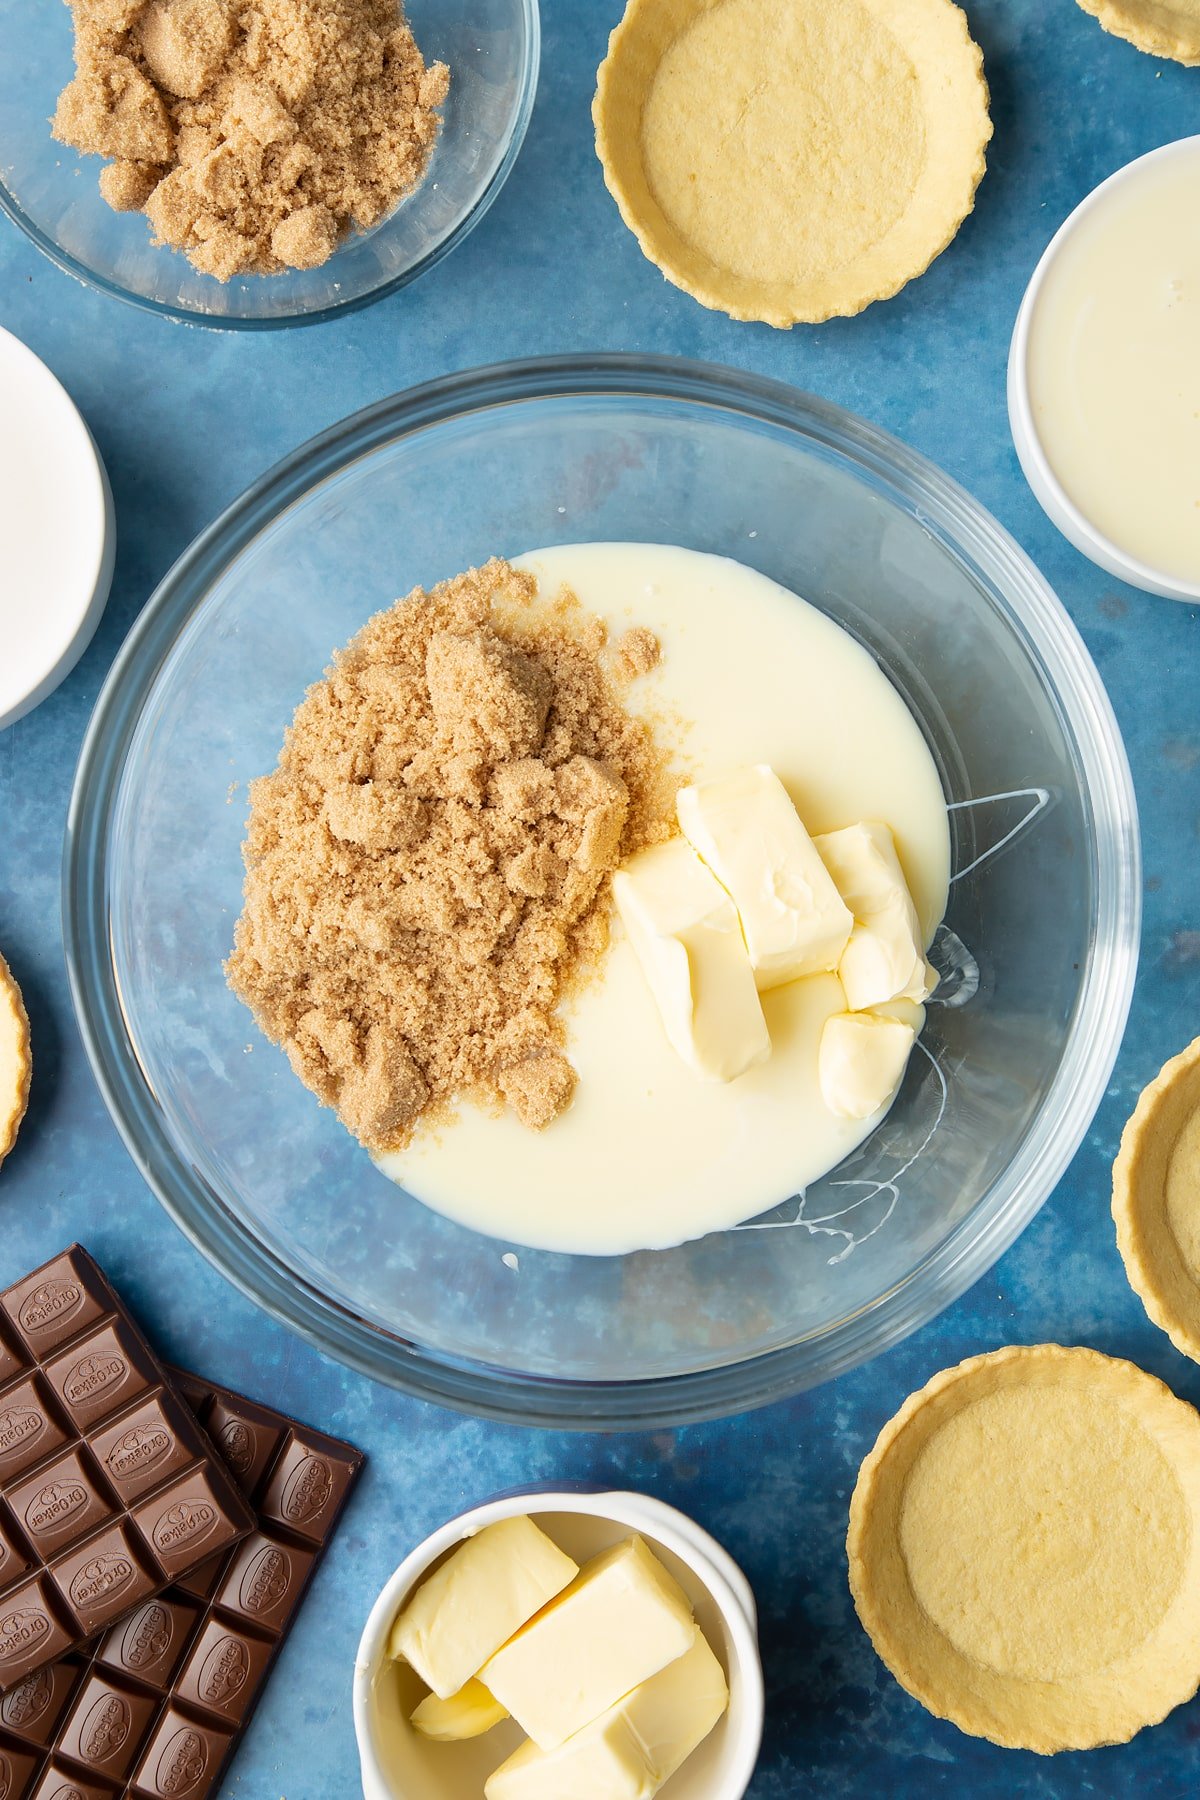
Mix together.
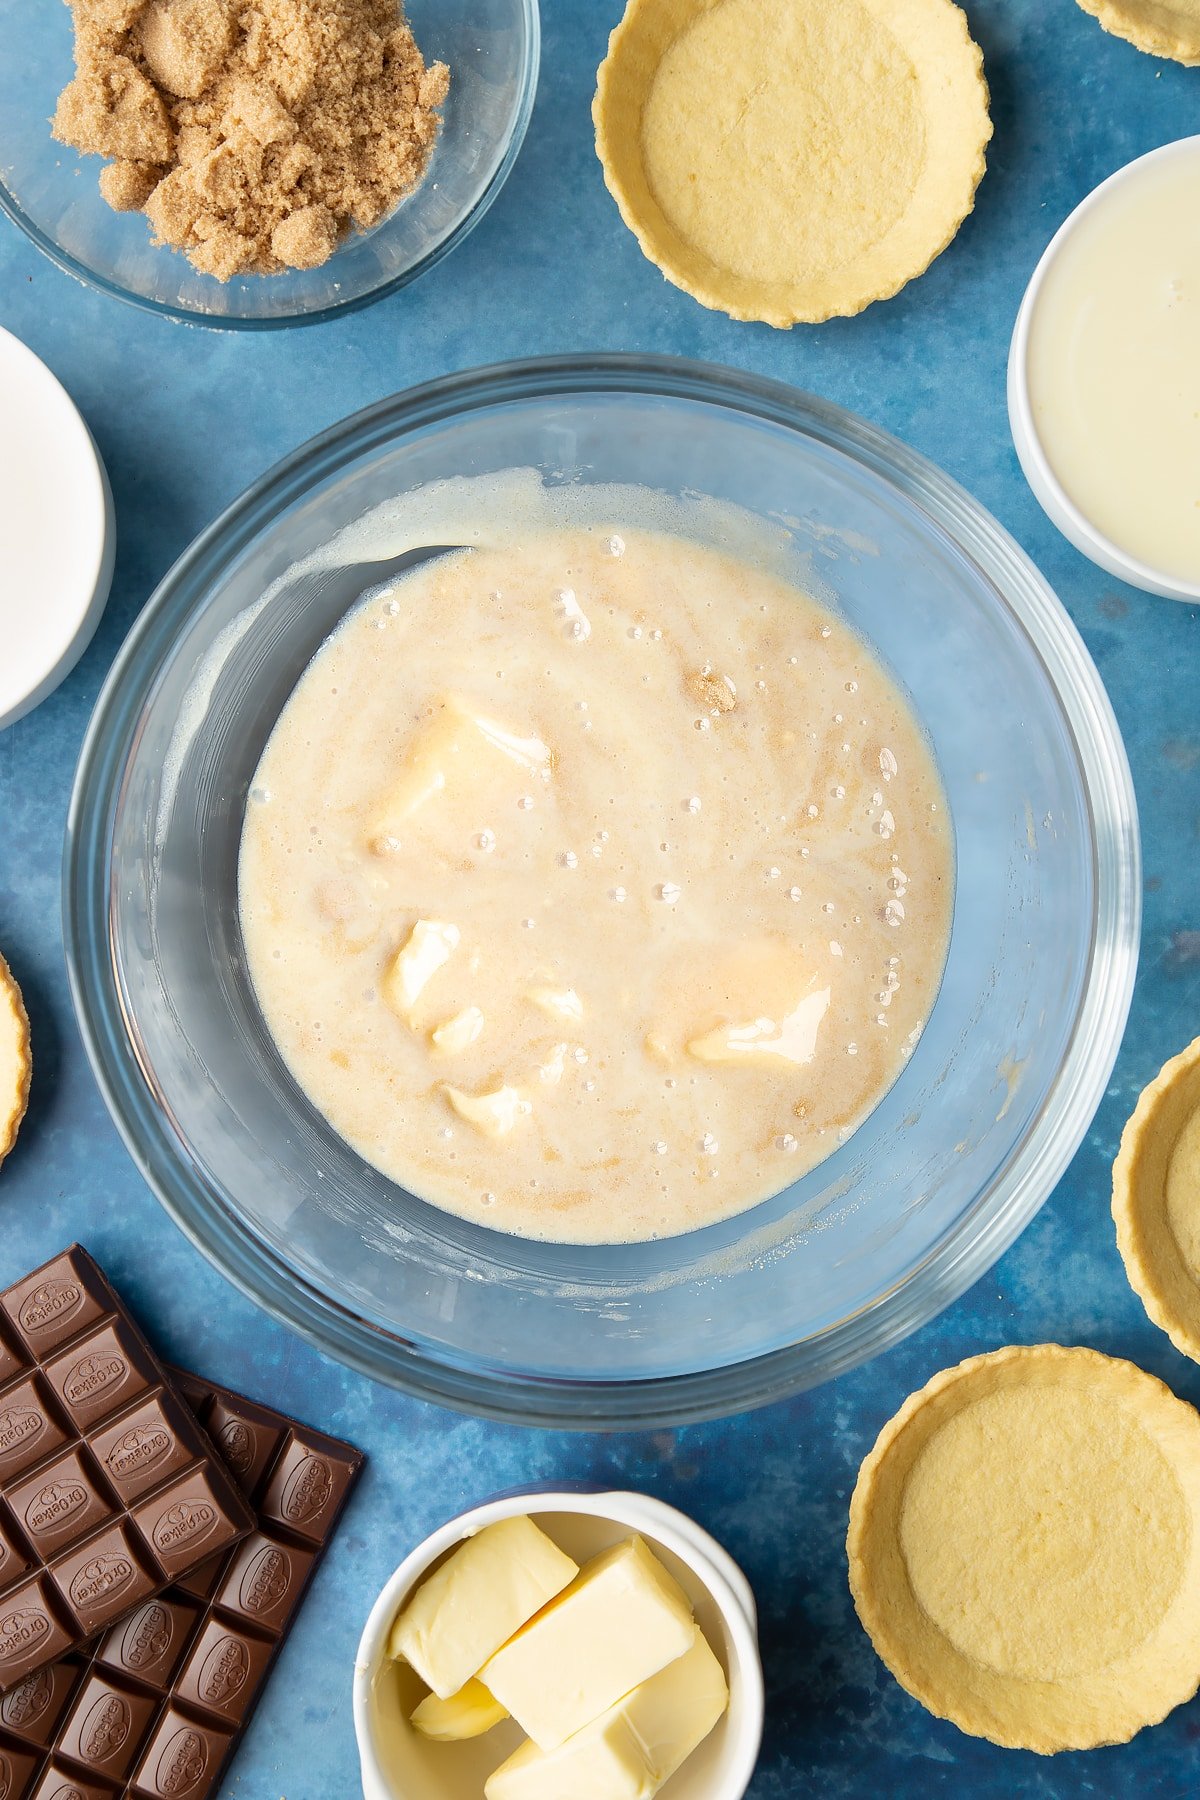
Microwave on full for 3 minutes. Remove and whisk until evenly combined. Be very careful as the bowl and caramel will be extremely hot.
Return to the microwave for another 3 minutes. Whisk again. The caramel will look frothy and may seem split when you first begin to whisk it. Don't panic!
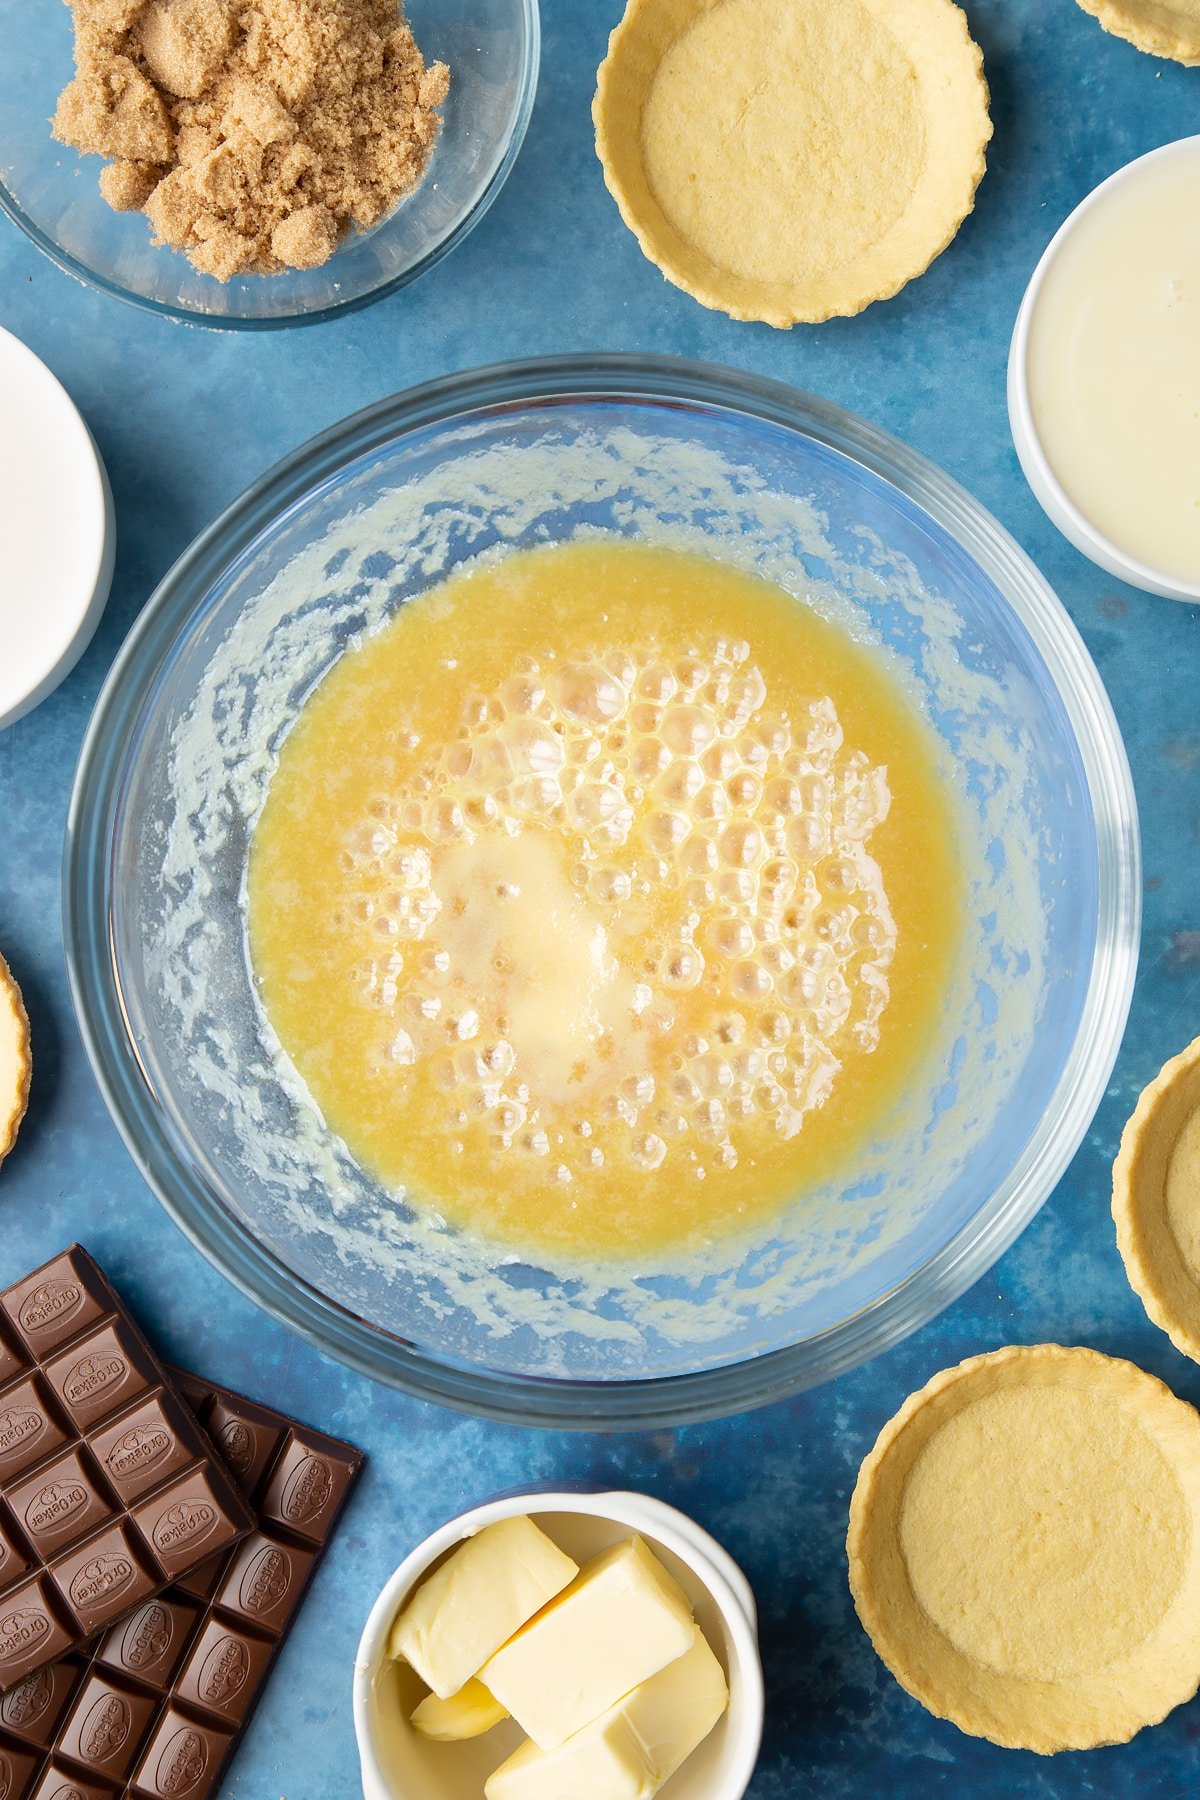
Just keep mixing and it will come together as a smooth caramel. Allow to cool to room temp before moving on to the next step.
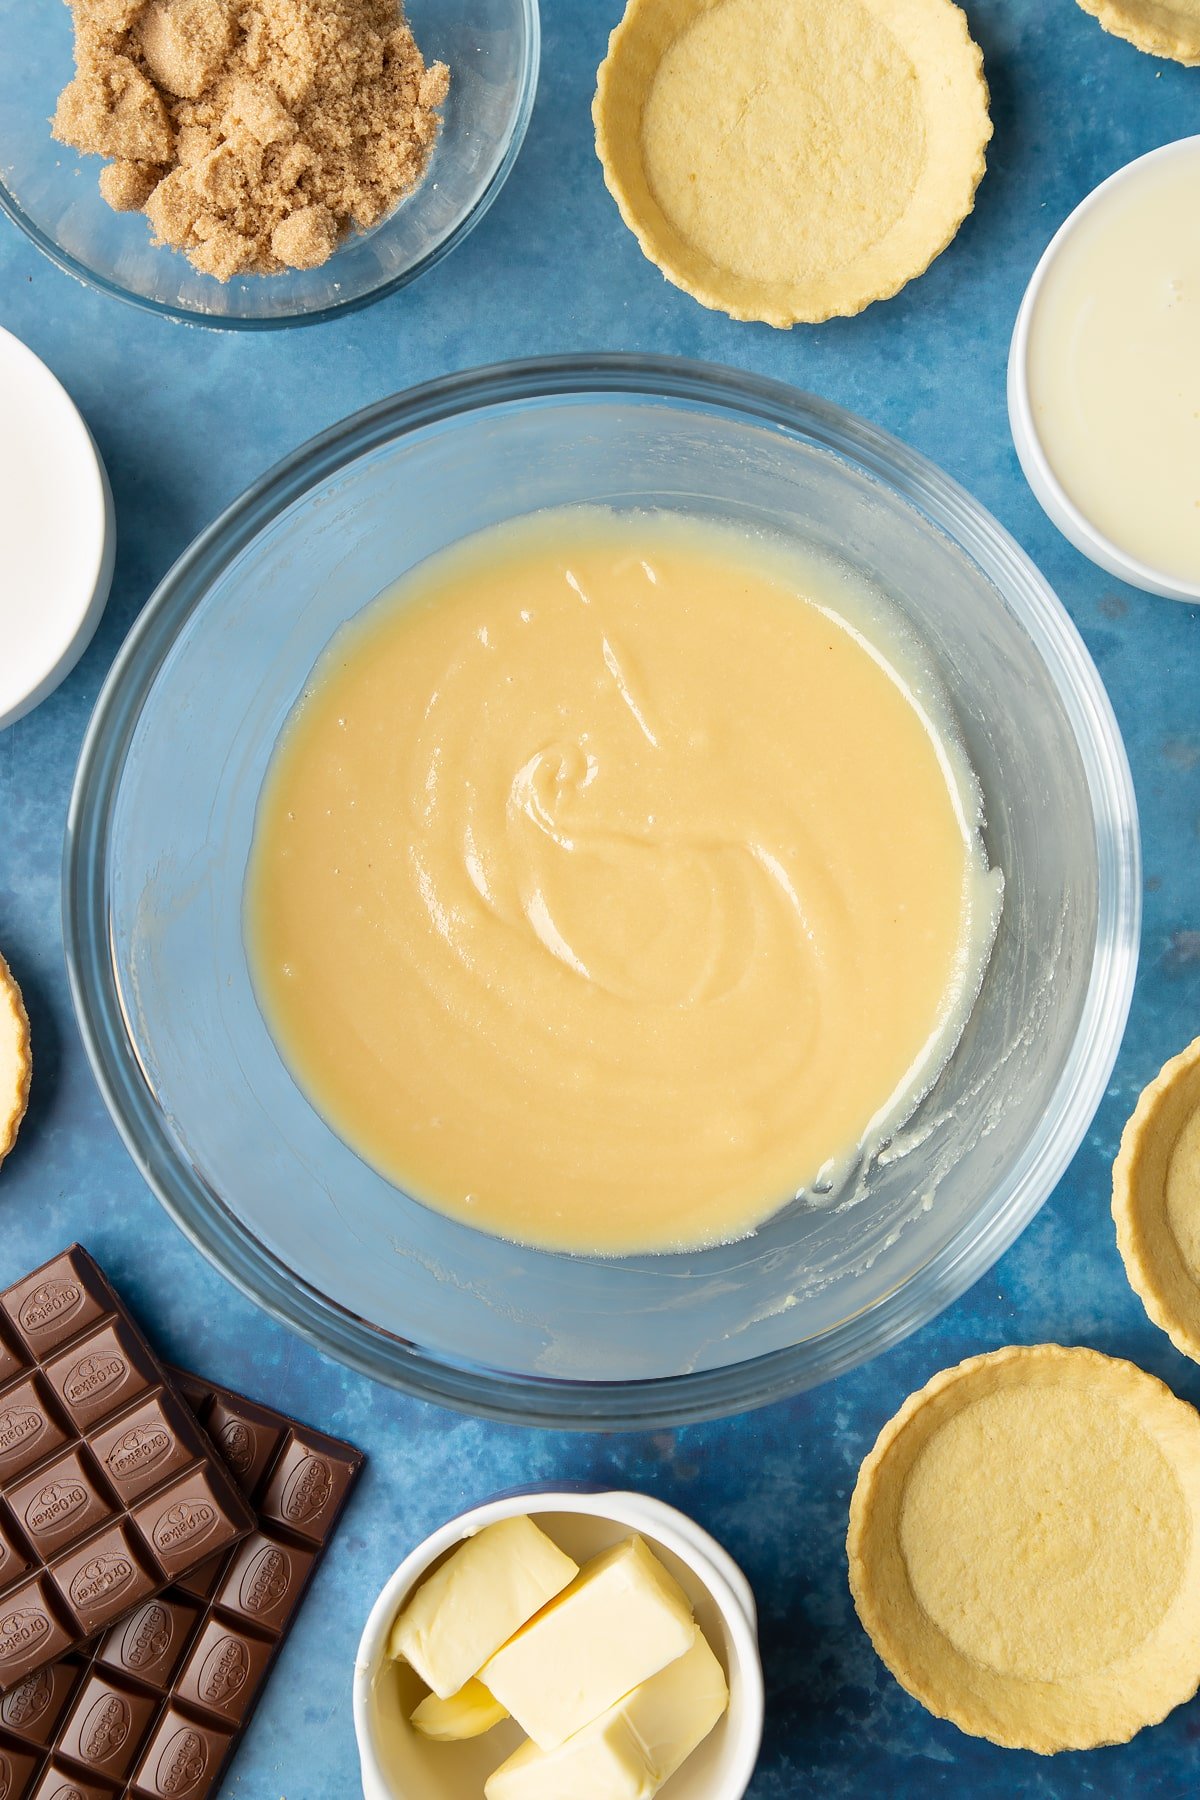
Make the ganache
Put the chocolate in a large heatproof bowl.
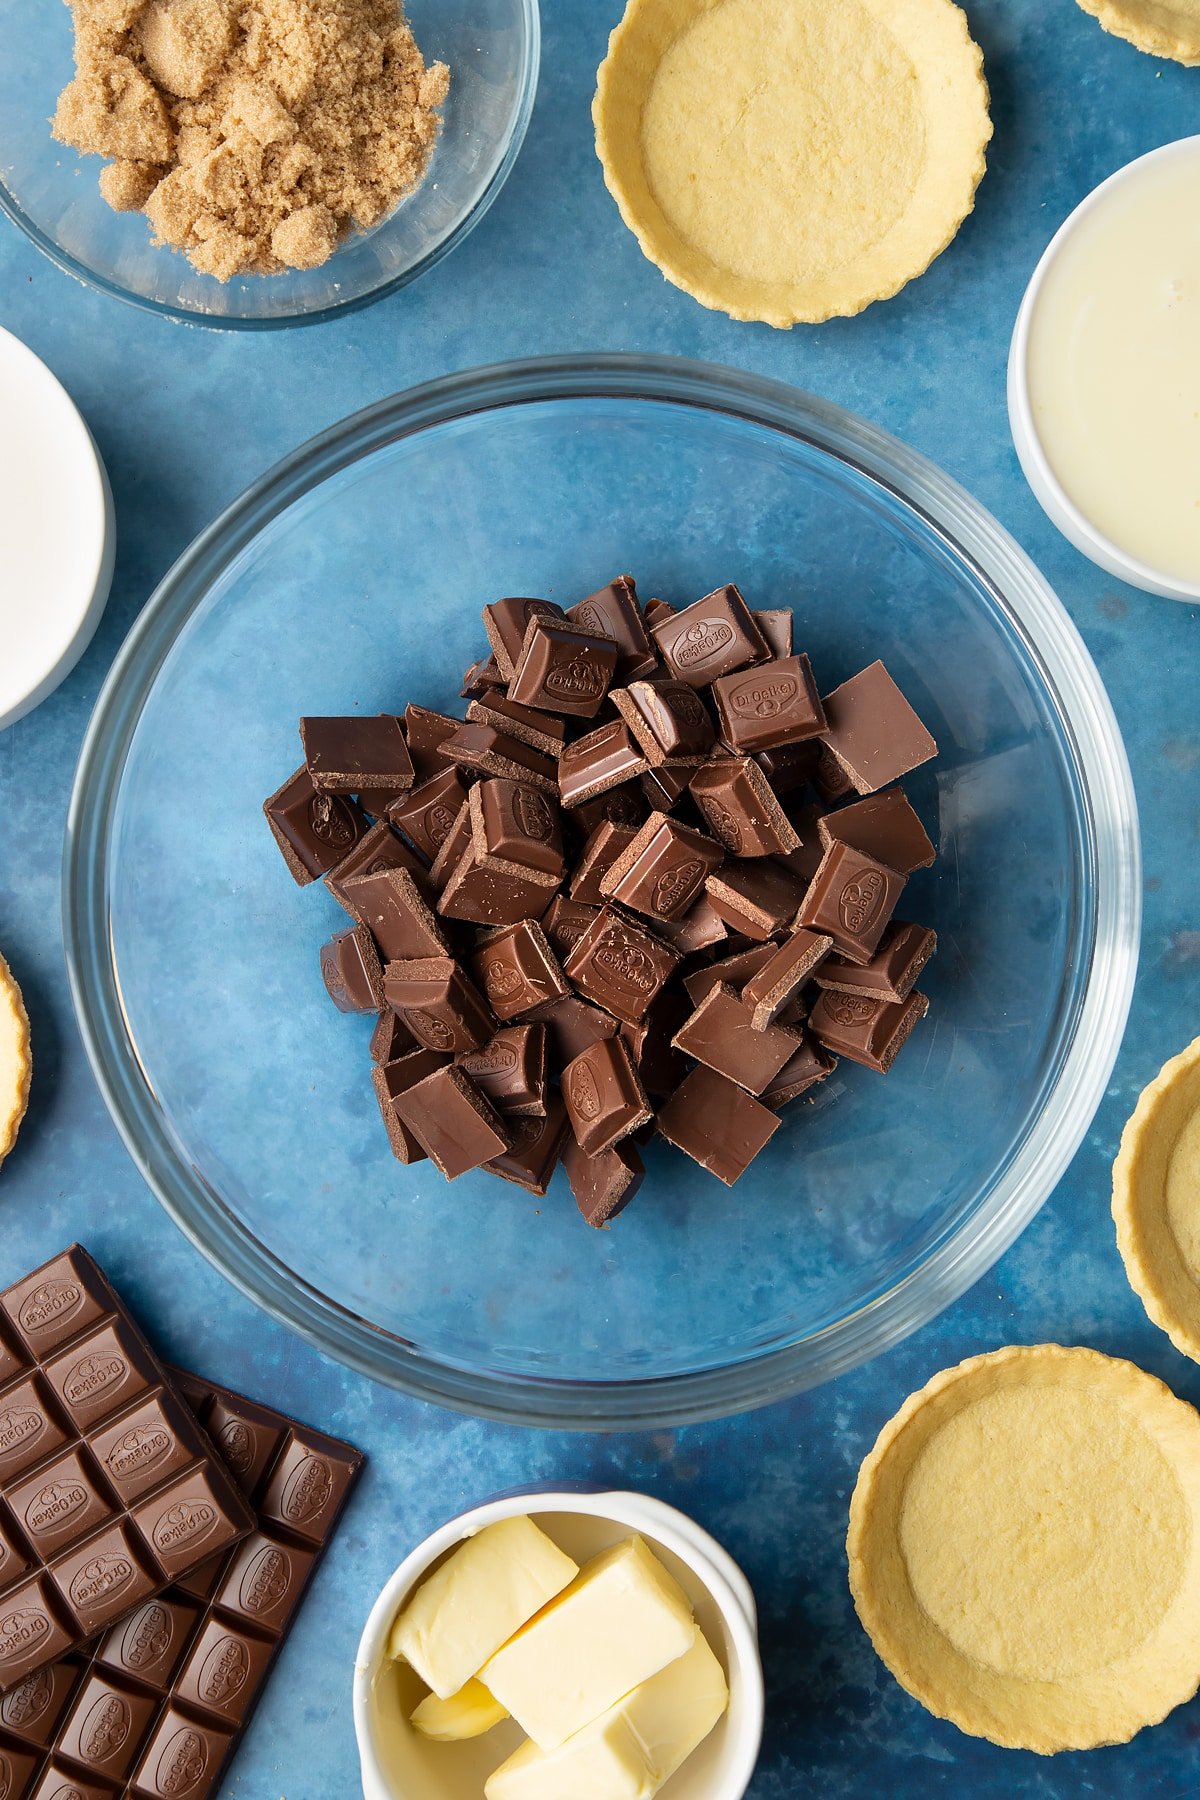
Put the cream in a small microwave-safe bowl and microwave for 30-60 second until almost boiling. Pour the cream over the chocolate.
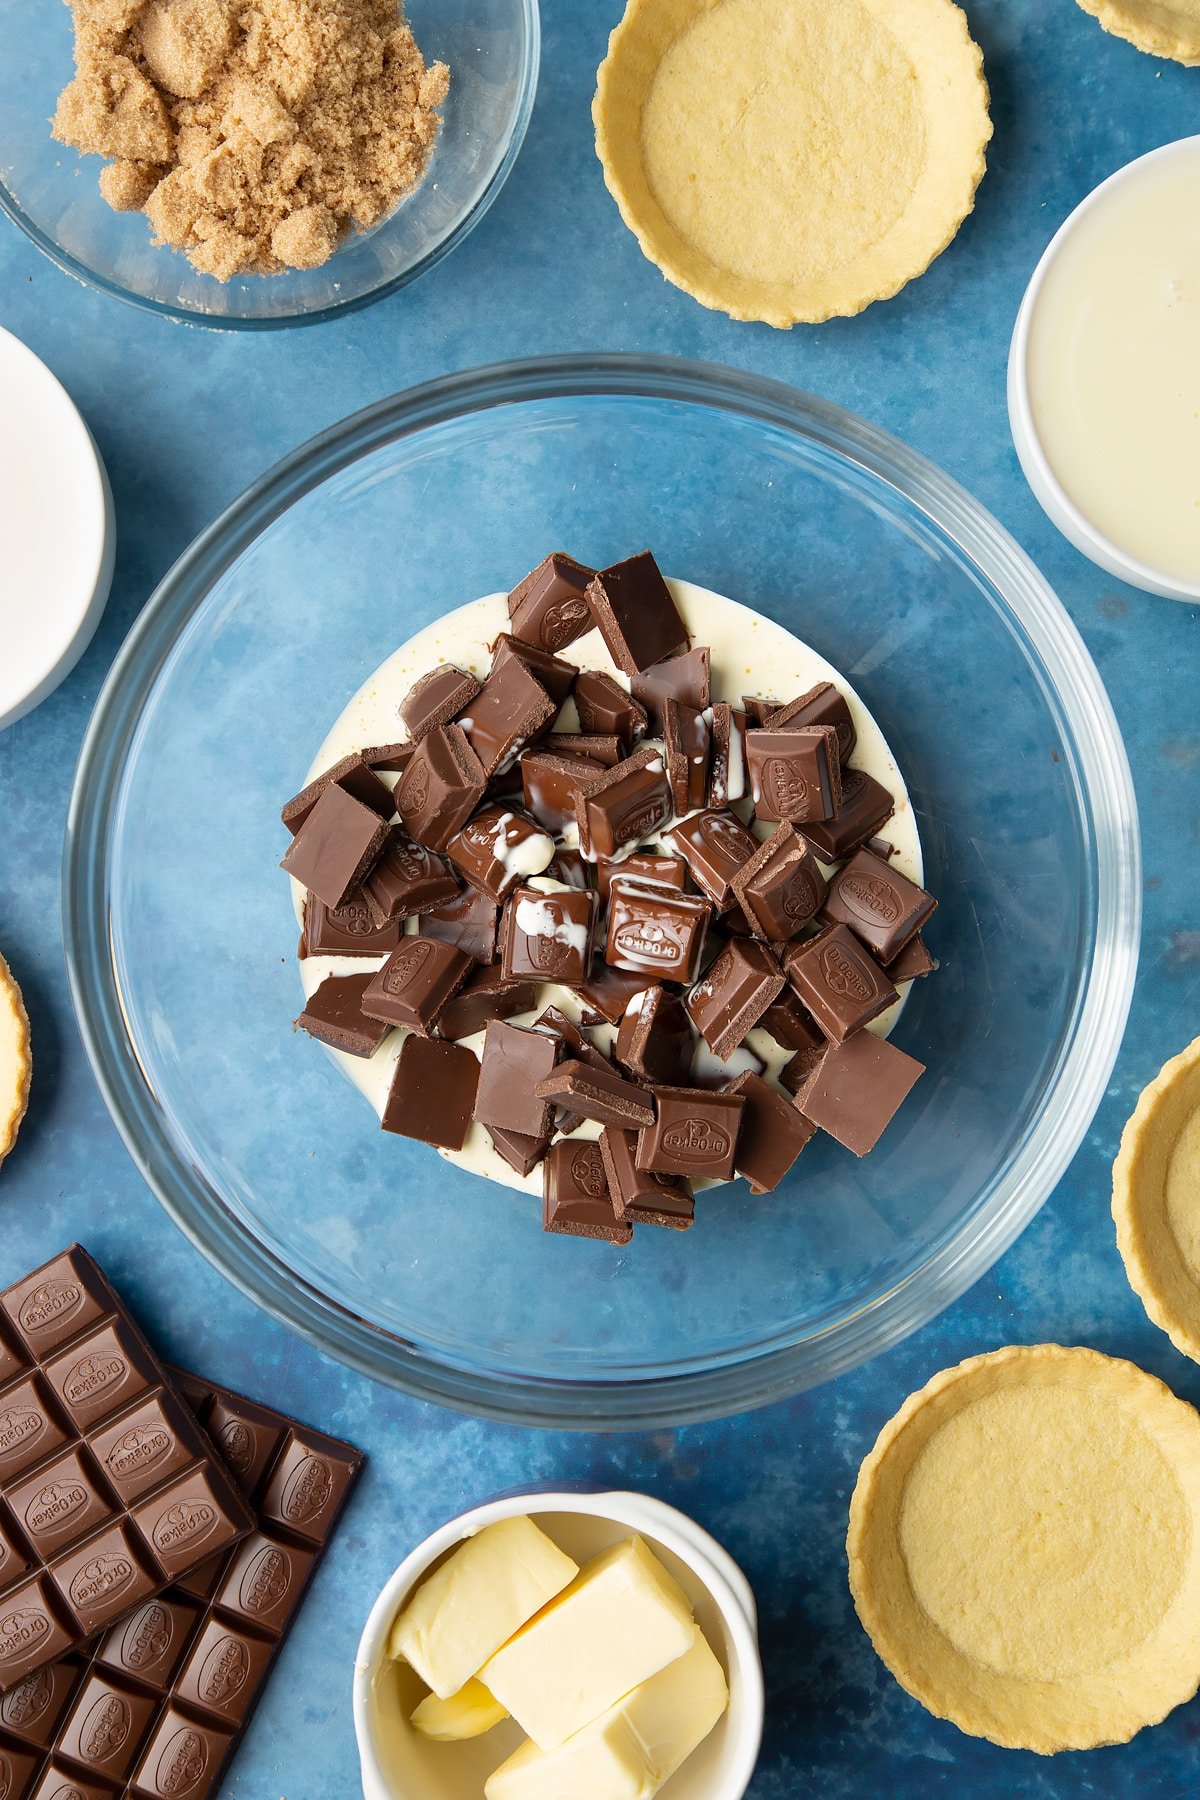
Whisk. At first, your chocolate mixture may look dull / murky.
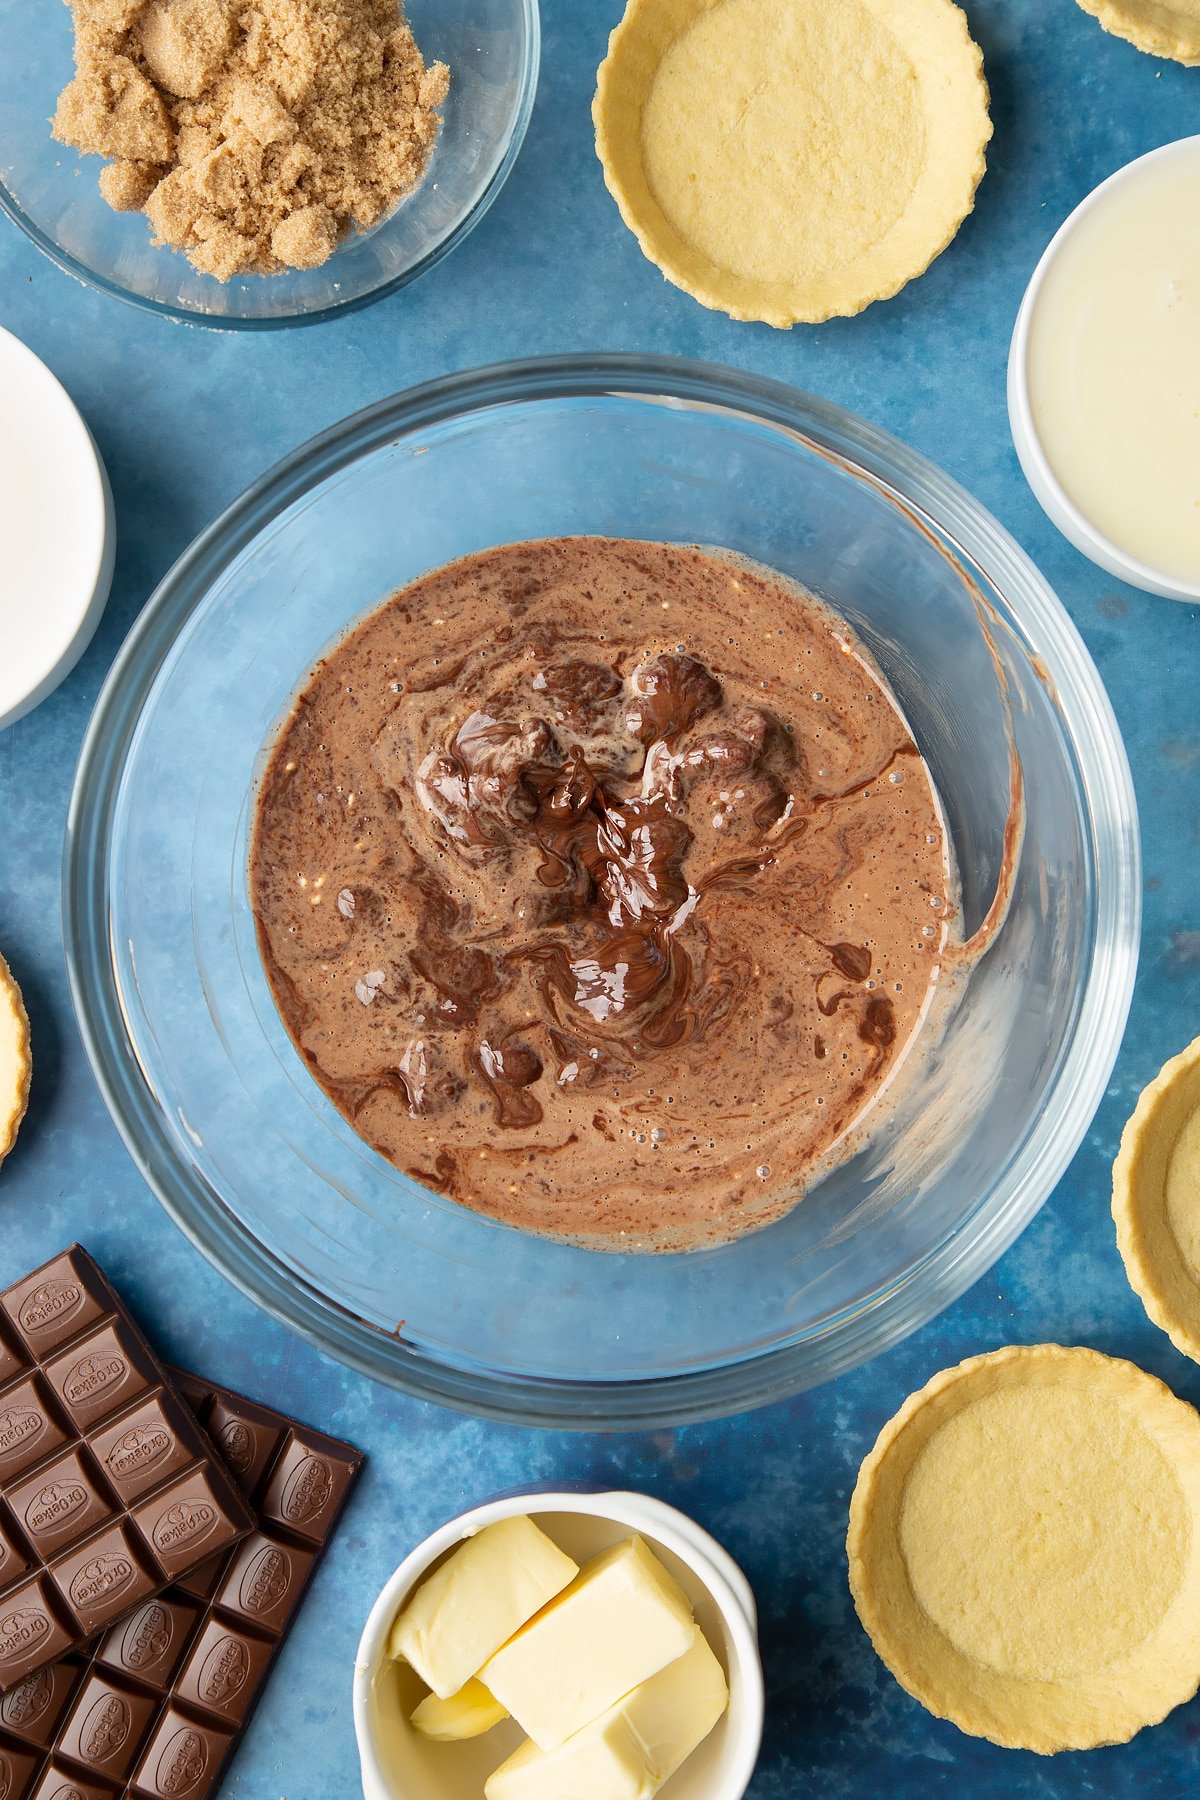
Keep whisking and it will come together as a smooth, glossy ganache. Set aside and allow to cool until the ganache holds its shape a little but it still light and spreadable.
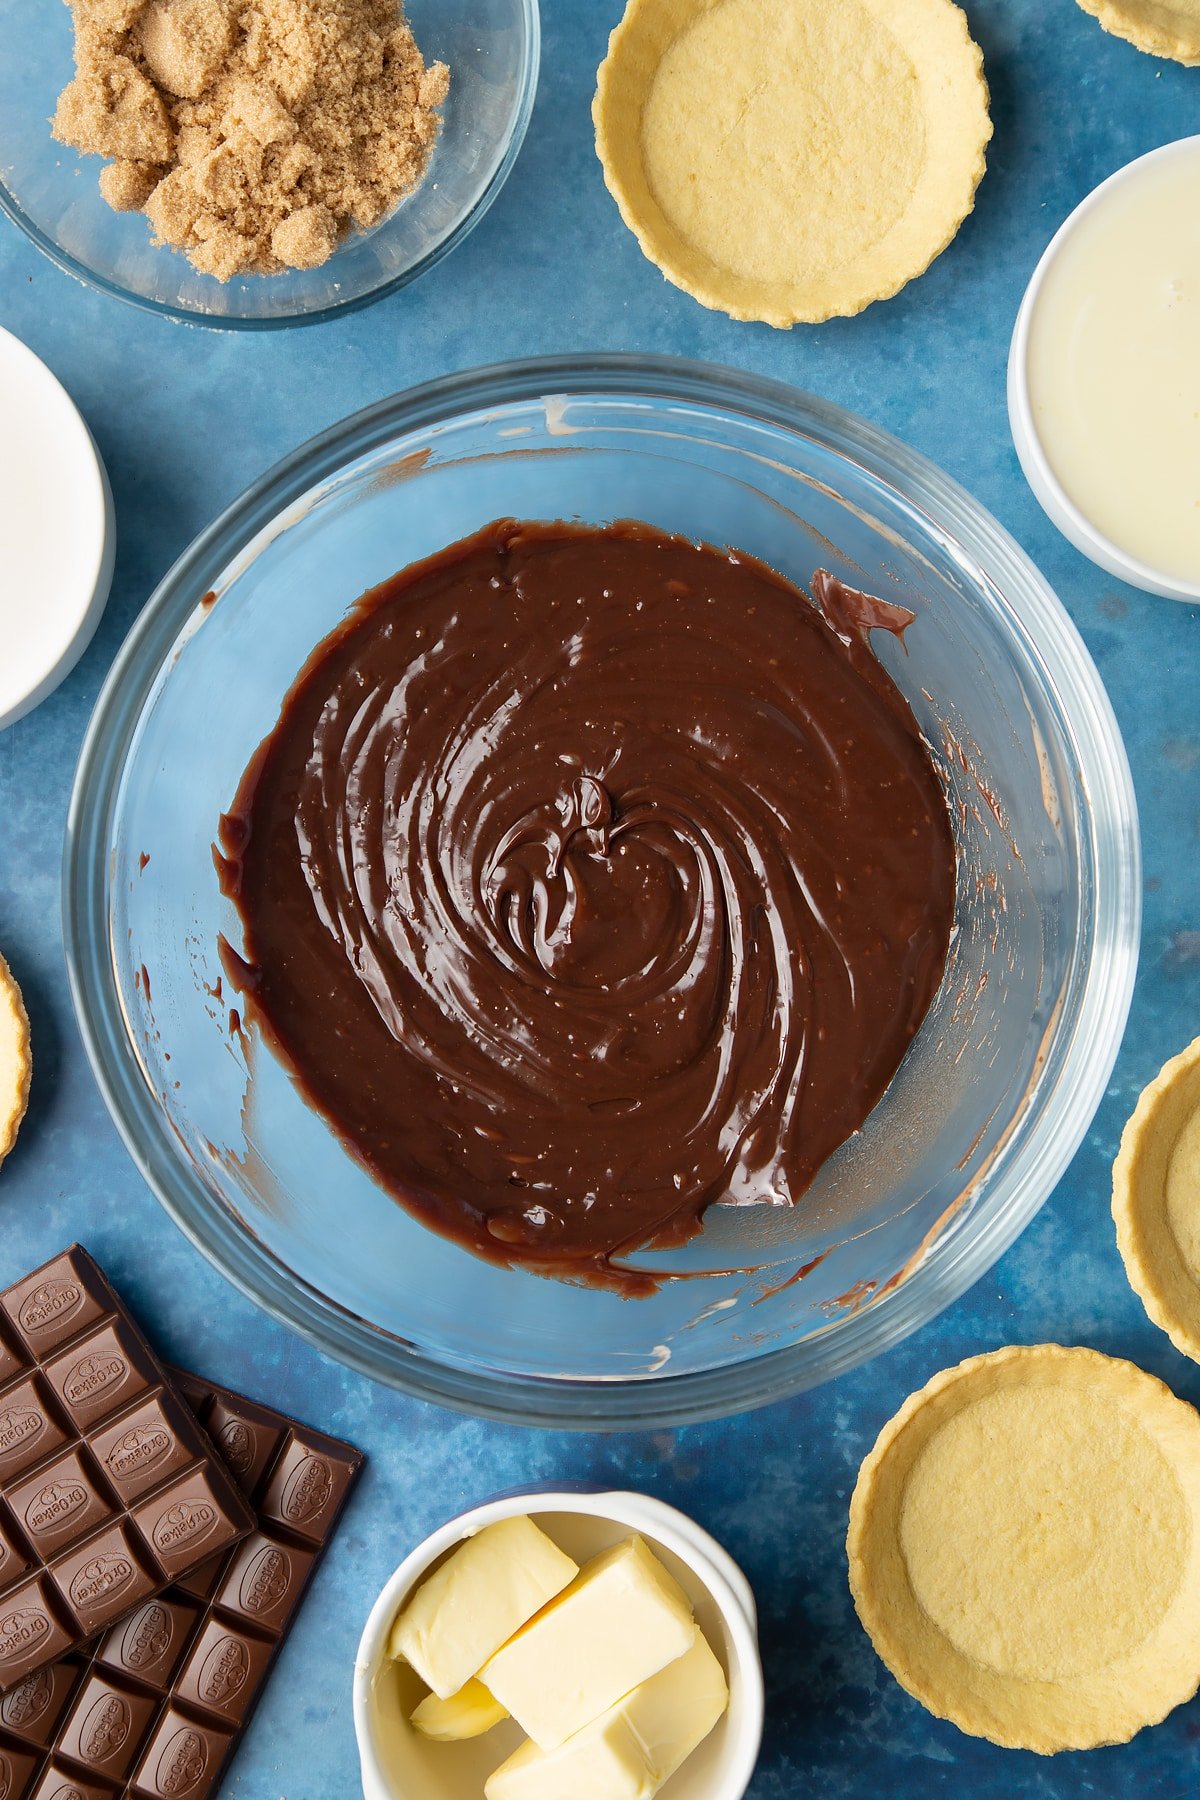
Assemble your tarts
Arrange the pastry cases on a large tray. You may need two trays.
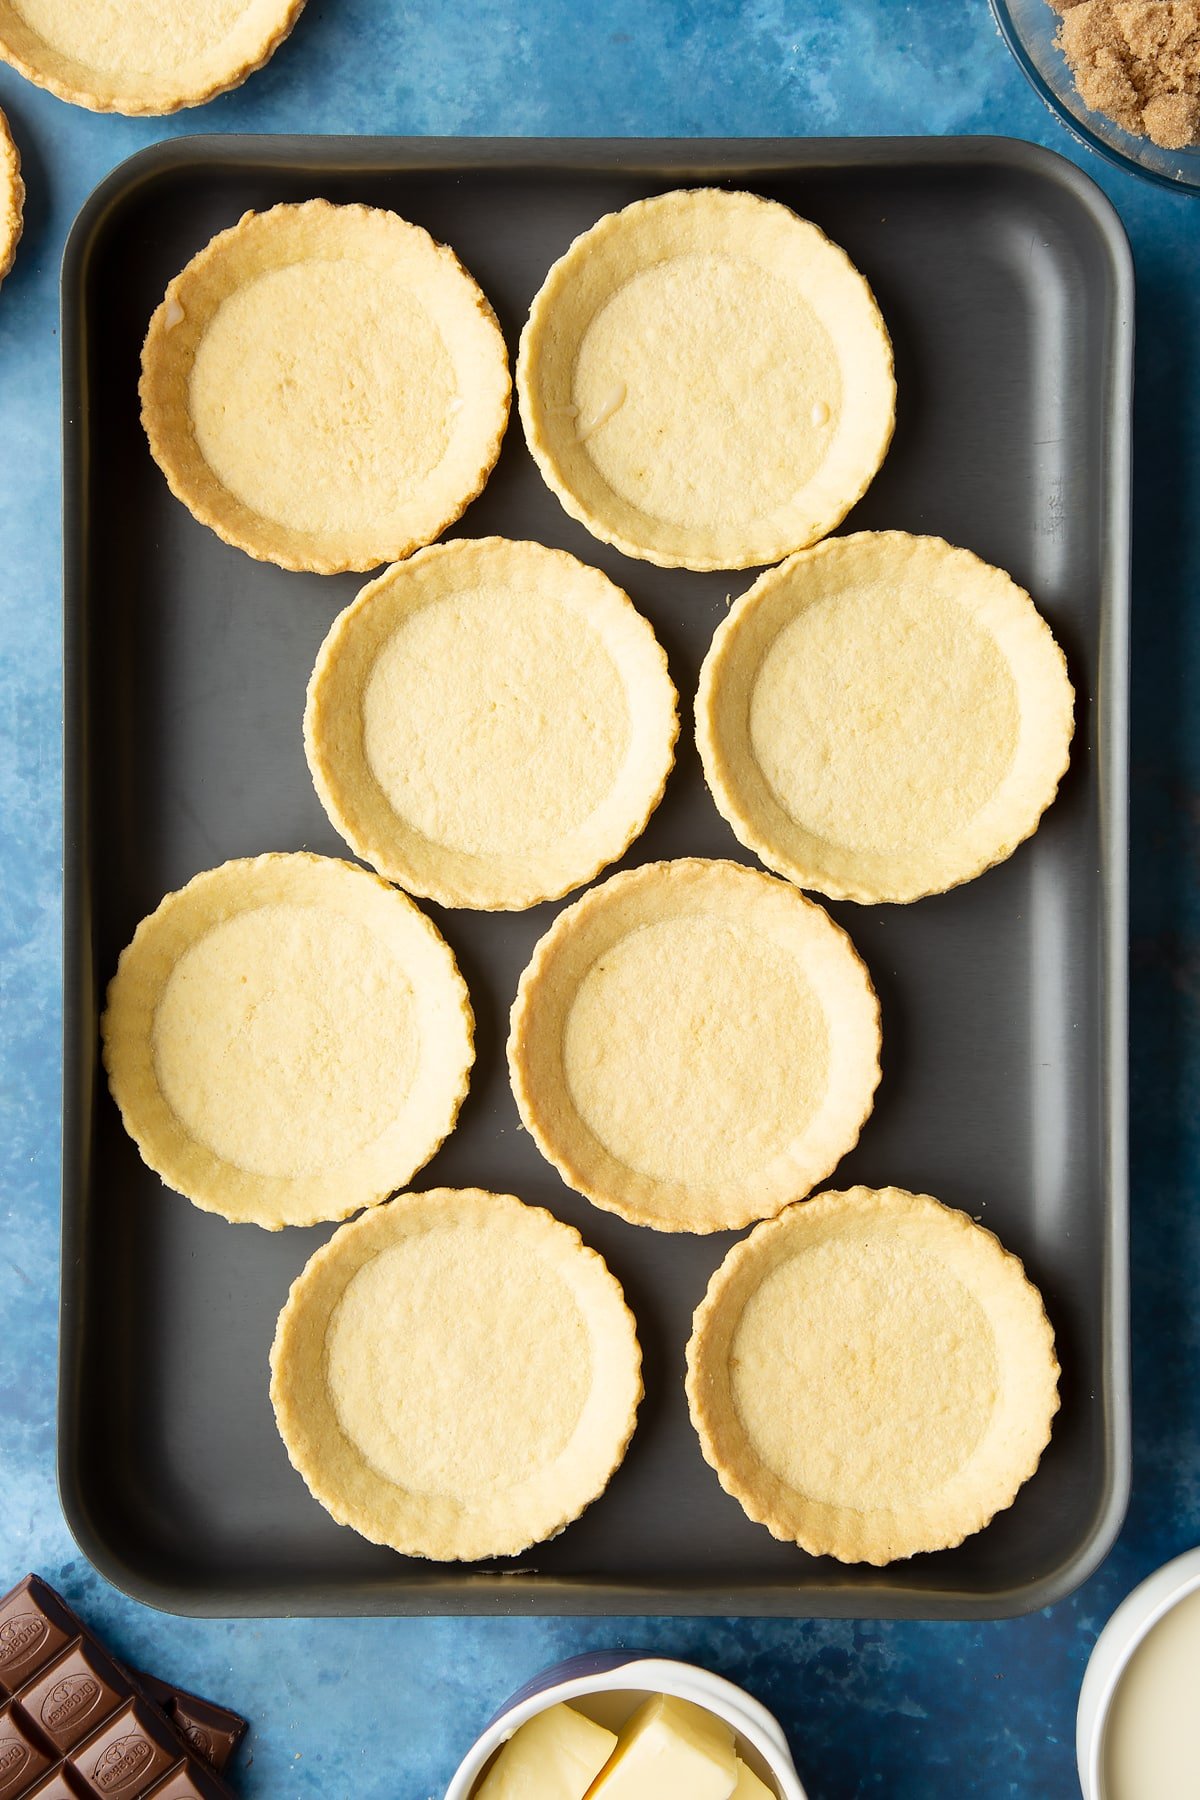
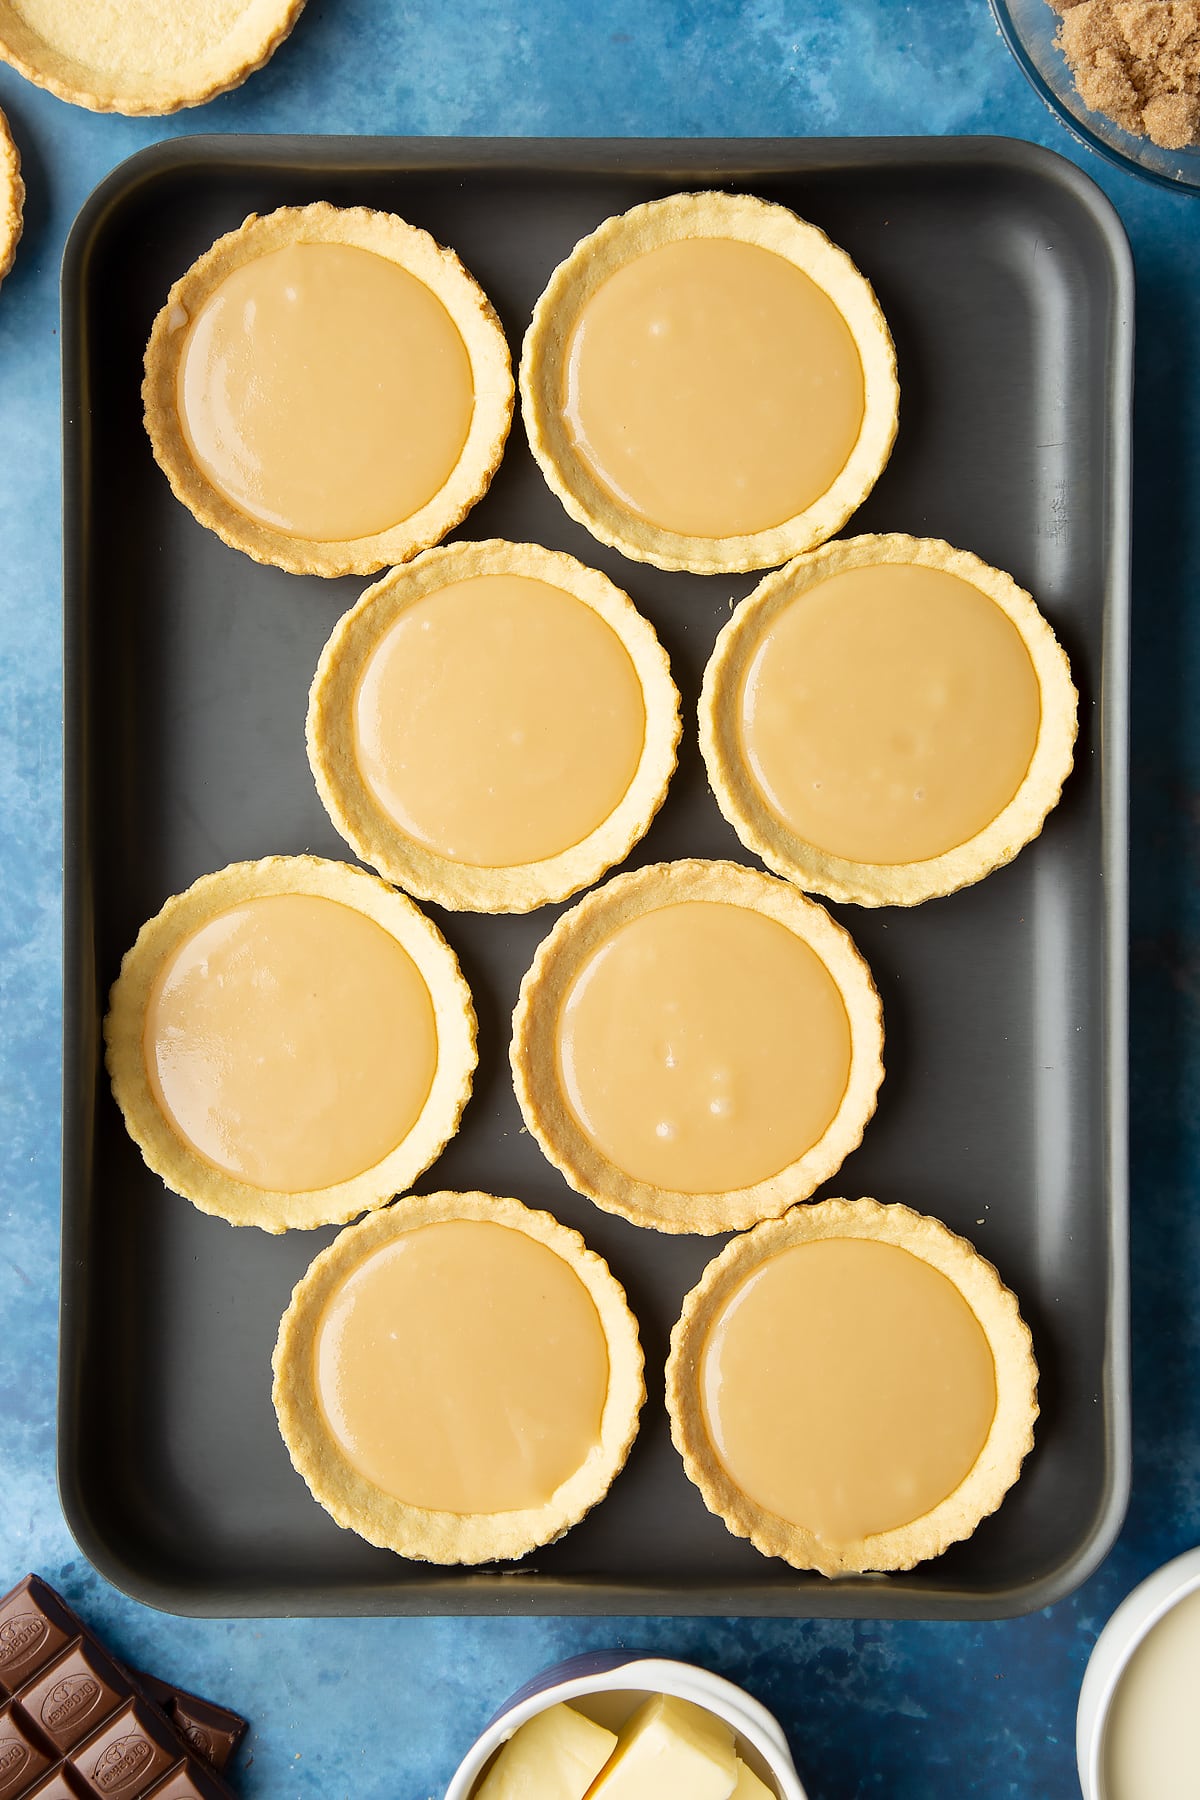
Share the caramel evenly between the pastry cases. Use the back of a clean spoon to gently ease the caramel to the edges of the cases.
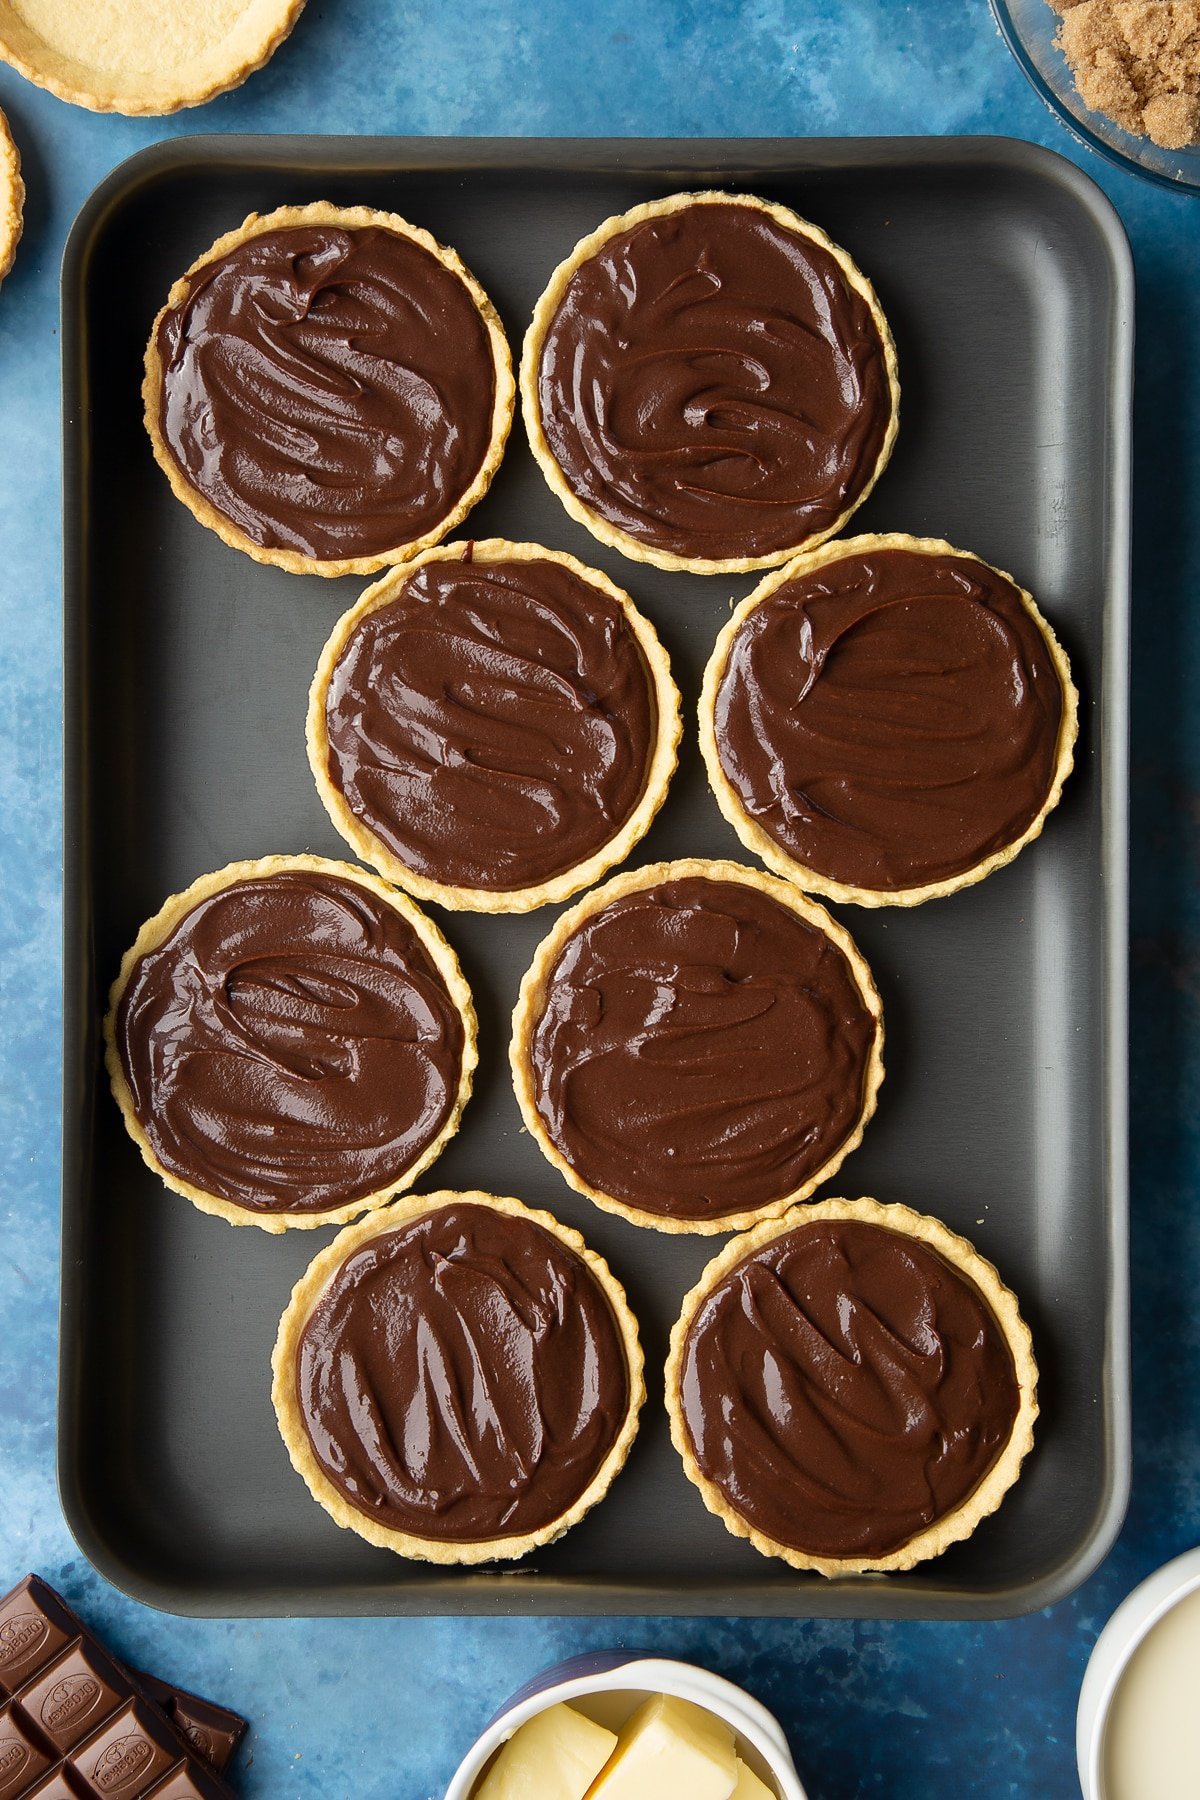
Gently spoon the ganache evenly into the pastry cases on top of the caramel. Use the back of a clean spoon to ease the chocolate to the edges, aiming not to disturb the caramel layer beneath.
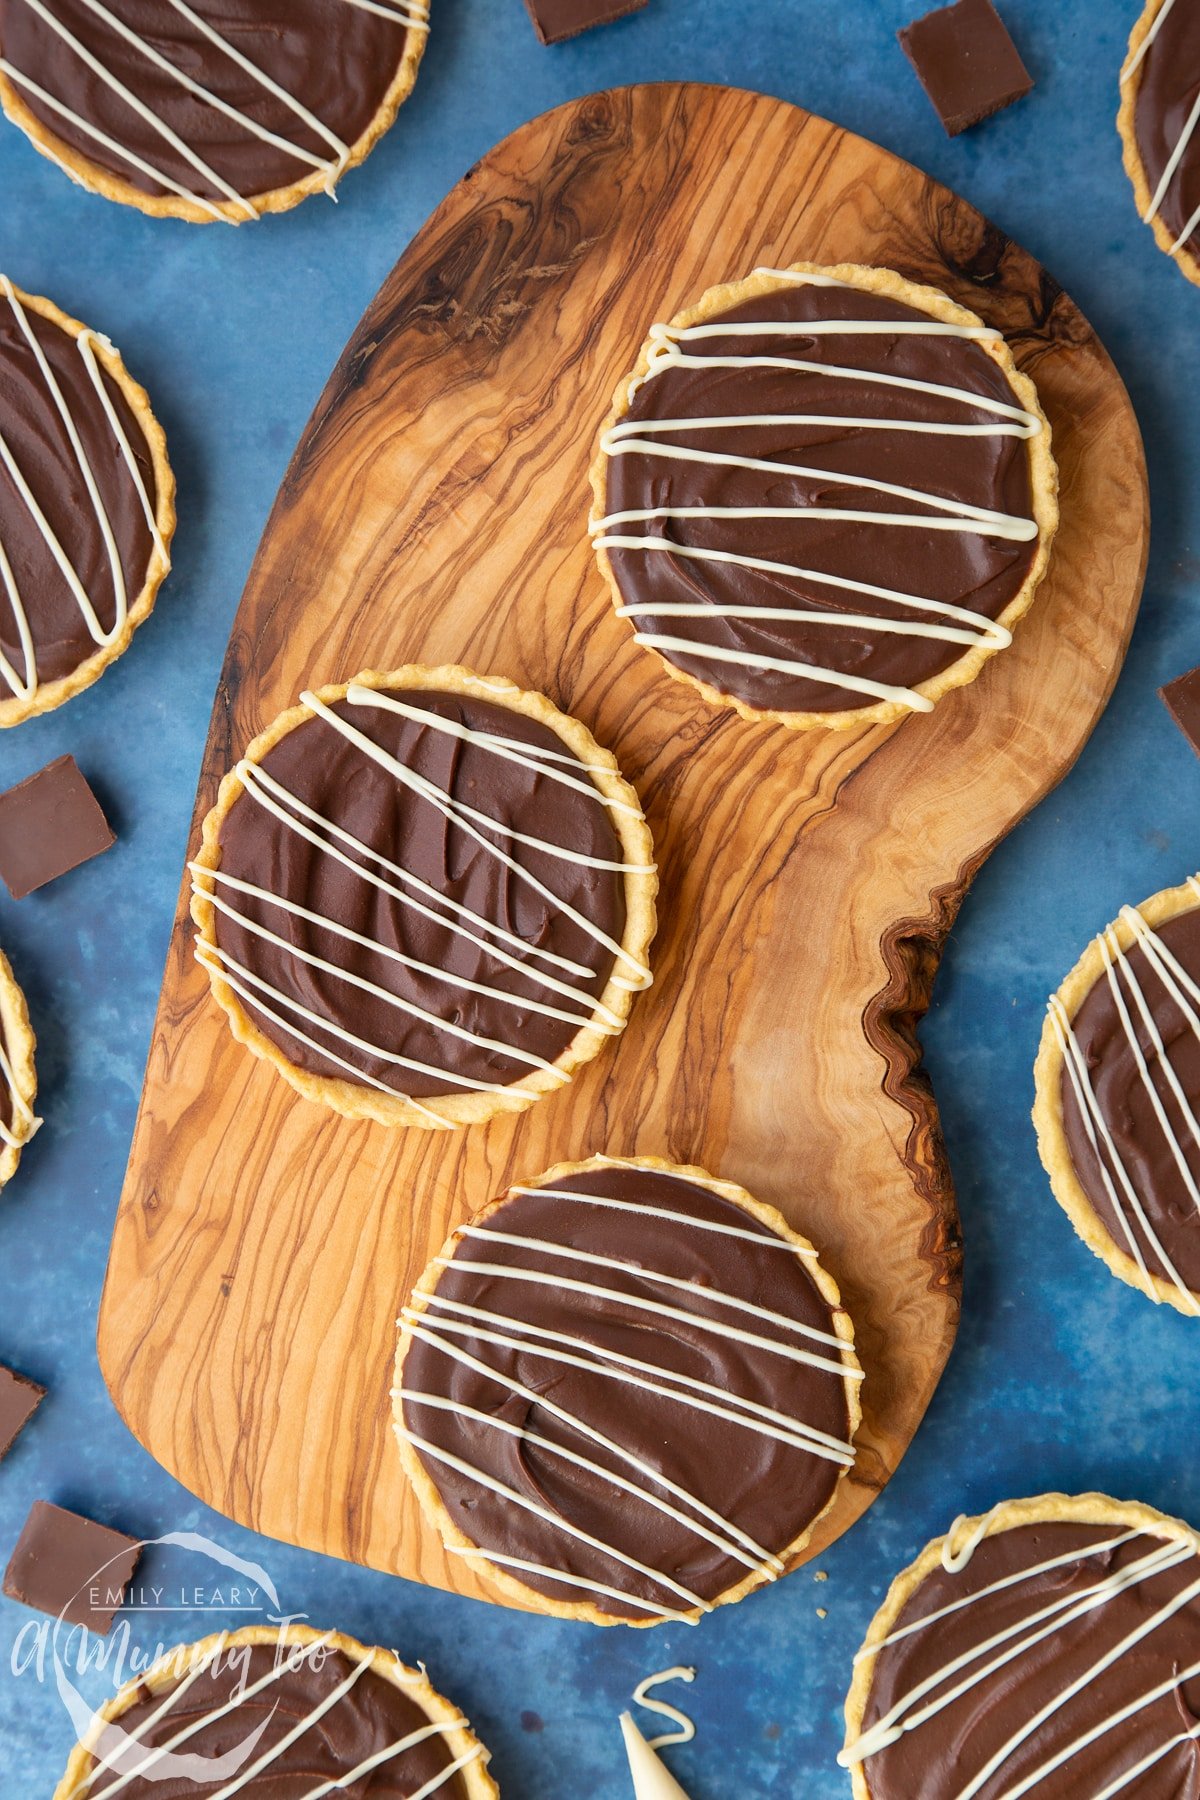
Put the white chocolate in a small microwave-safe bowl and heat in 30-second blasts until melted. Drizzle over the tarts in a zig zag pattern. You can do this with a spoon or a small piping bag, if preferred.
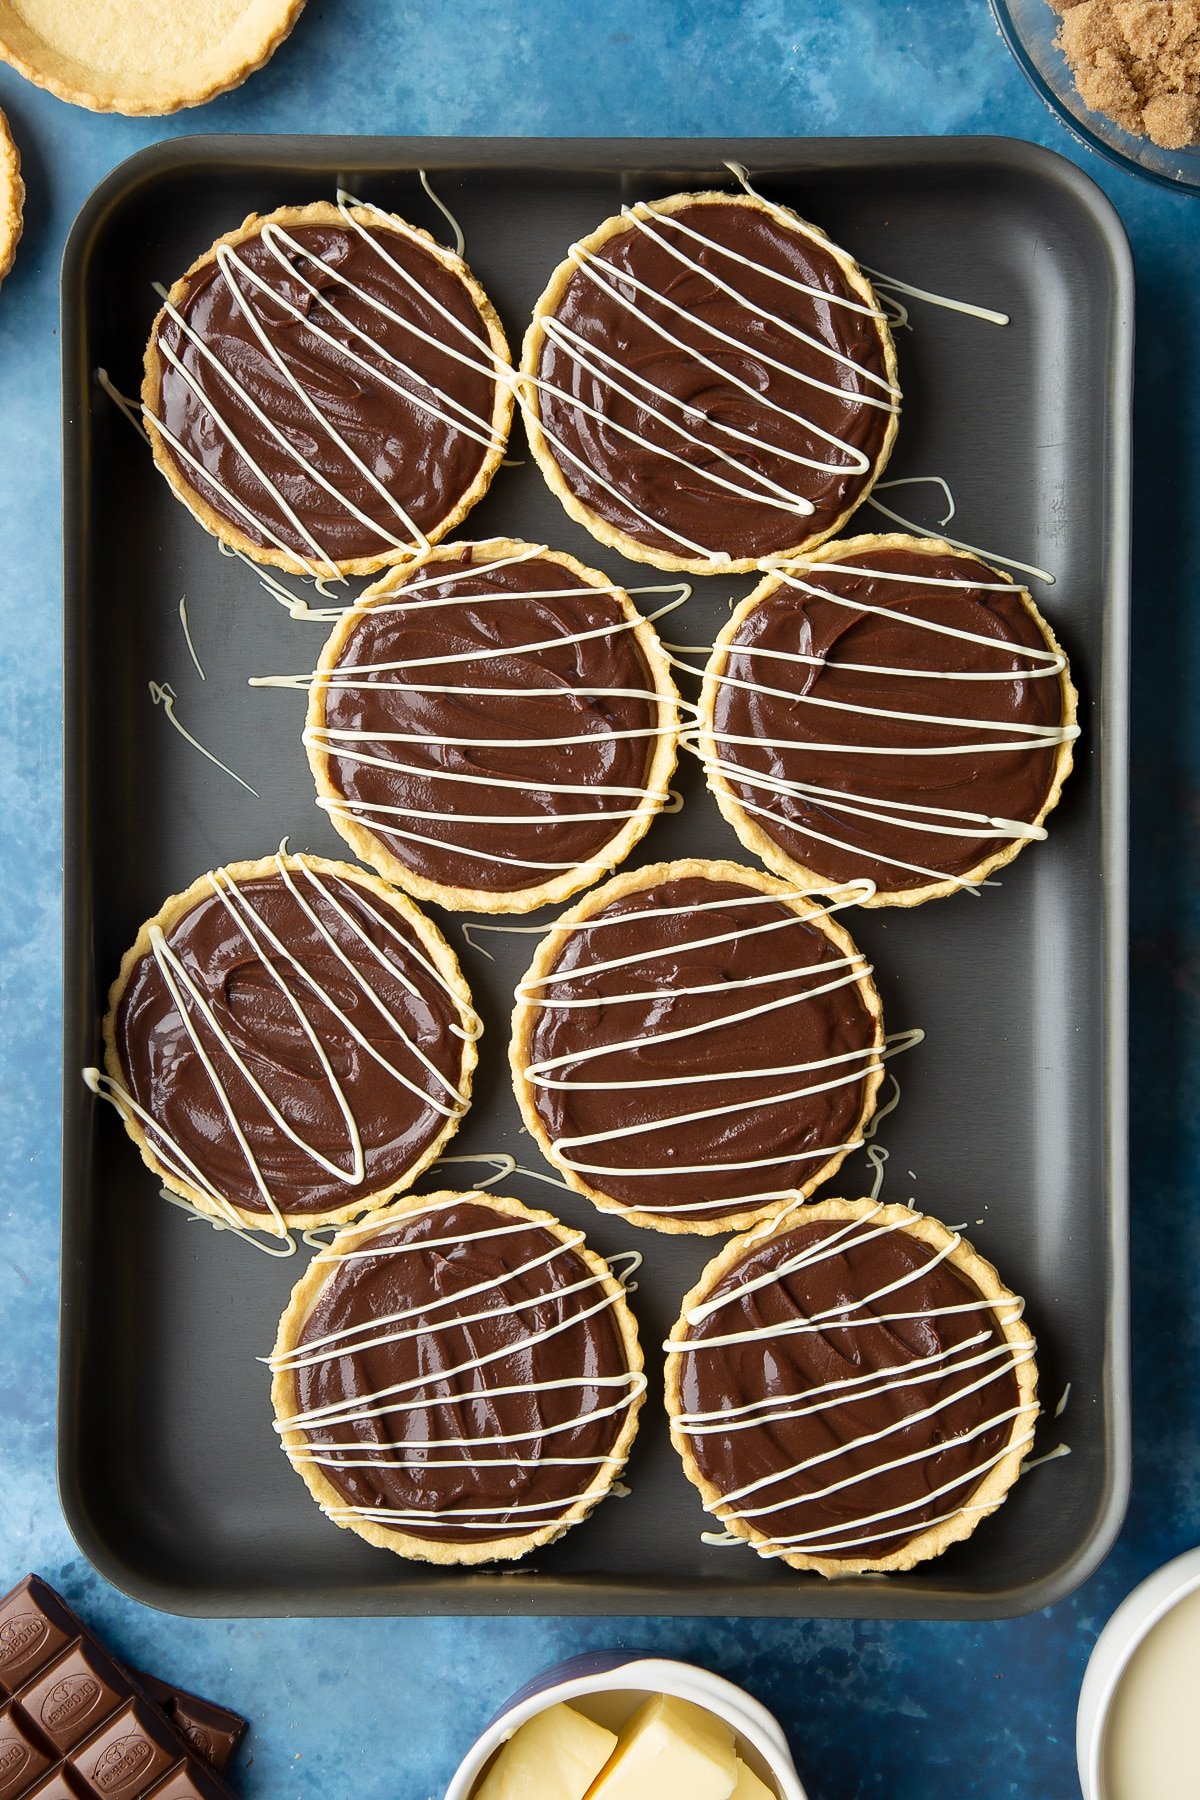
Place the trays of tarts in the fridge for a couple of hours, or the freezer for 30 minutes to set, then they're ready to enjoy.
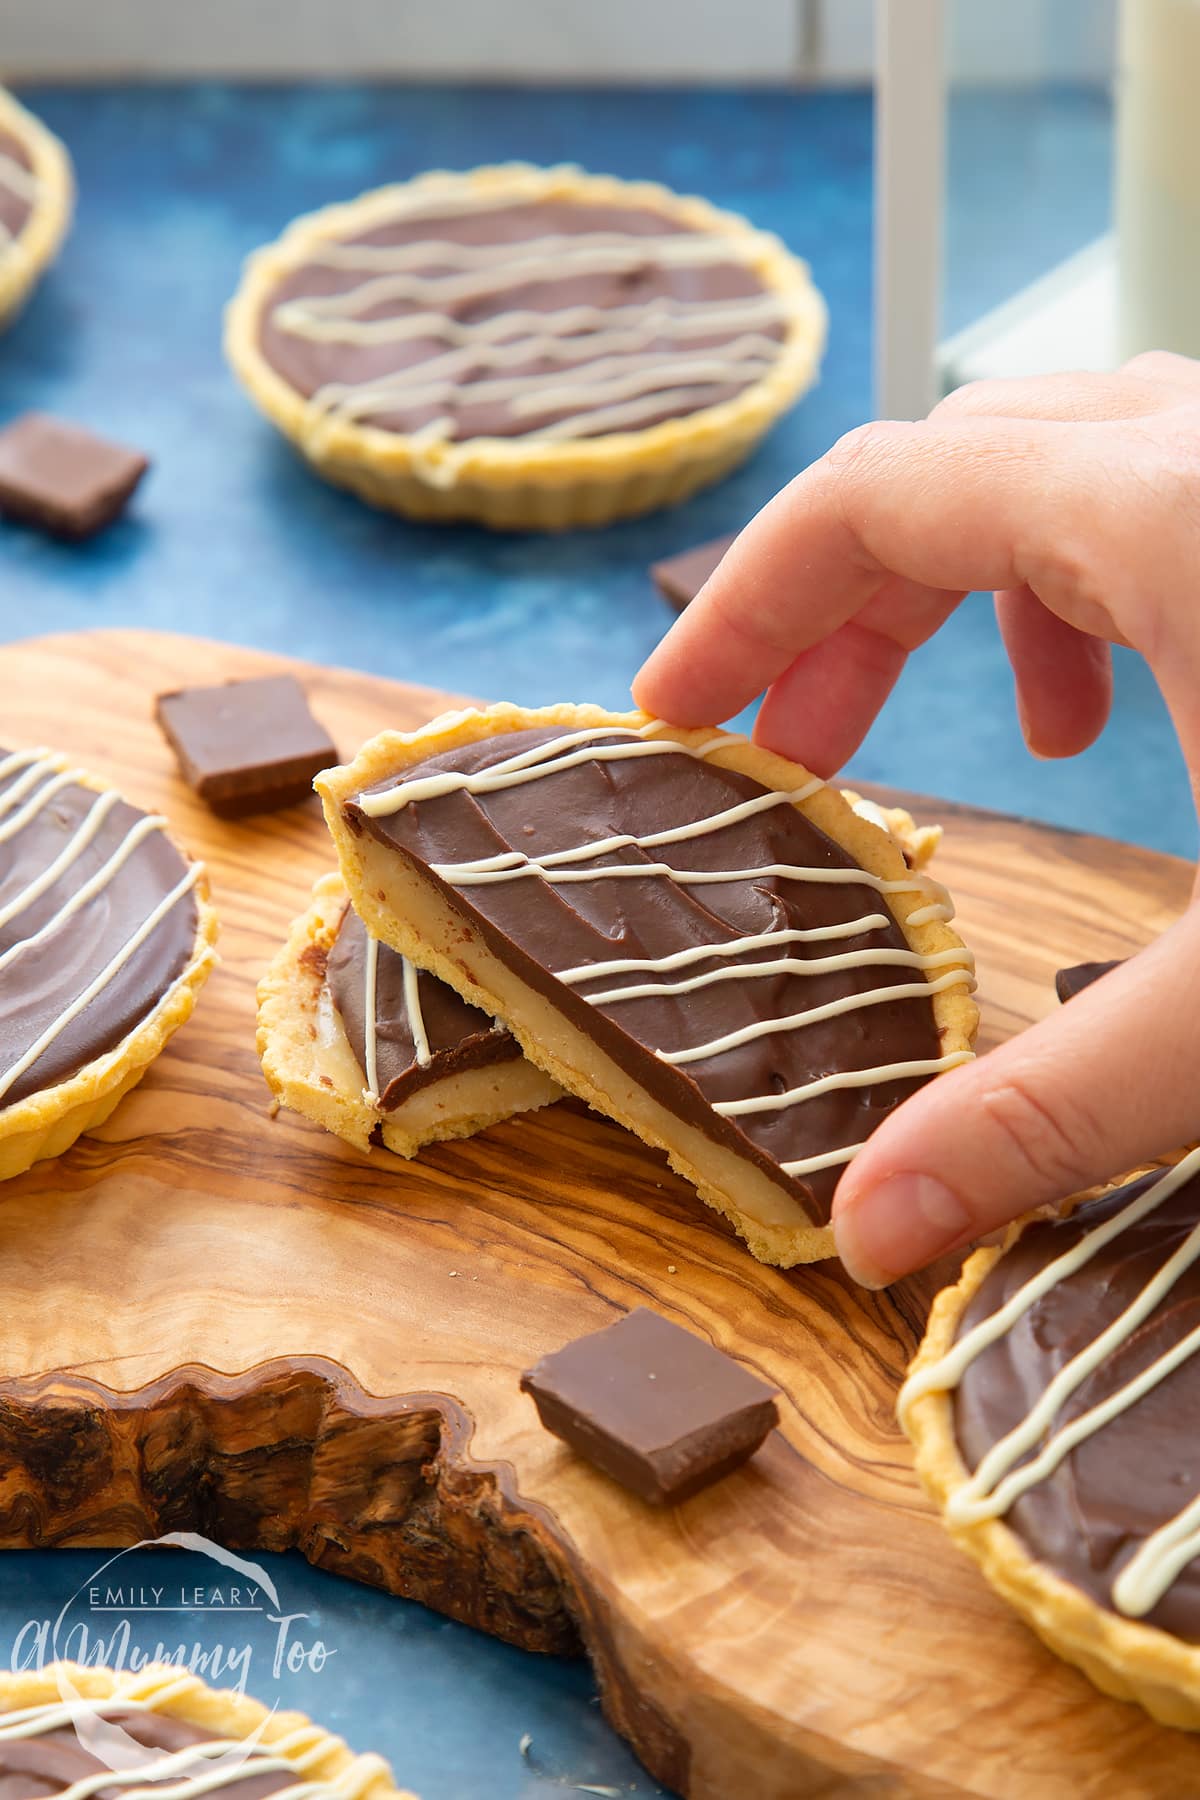
Aren't they pretty? They're an amazing weekend treat, but you could equally serve them as desserts at a dinner party!
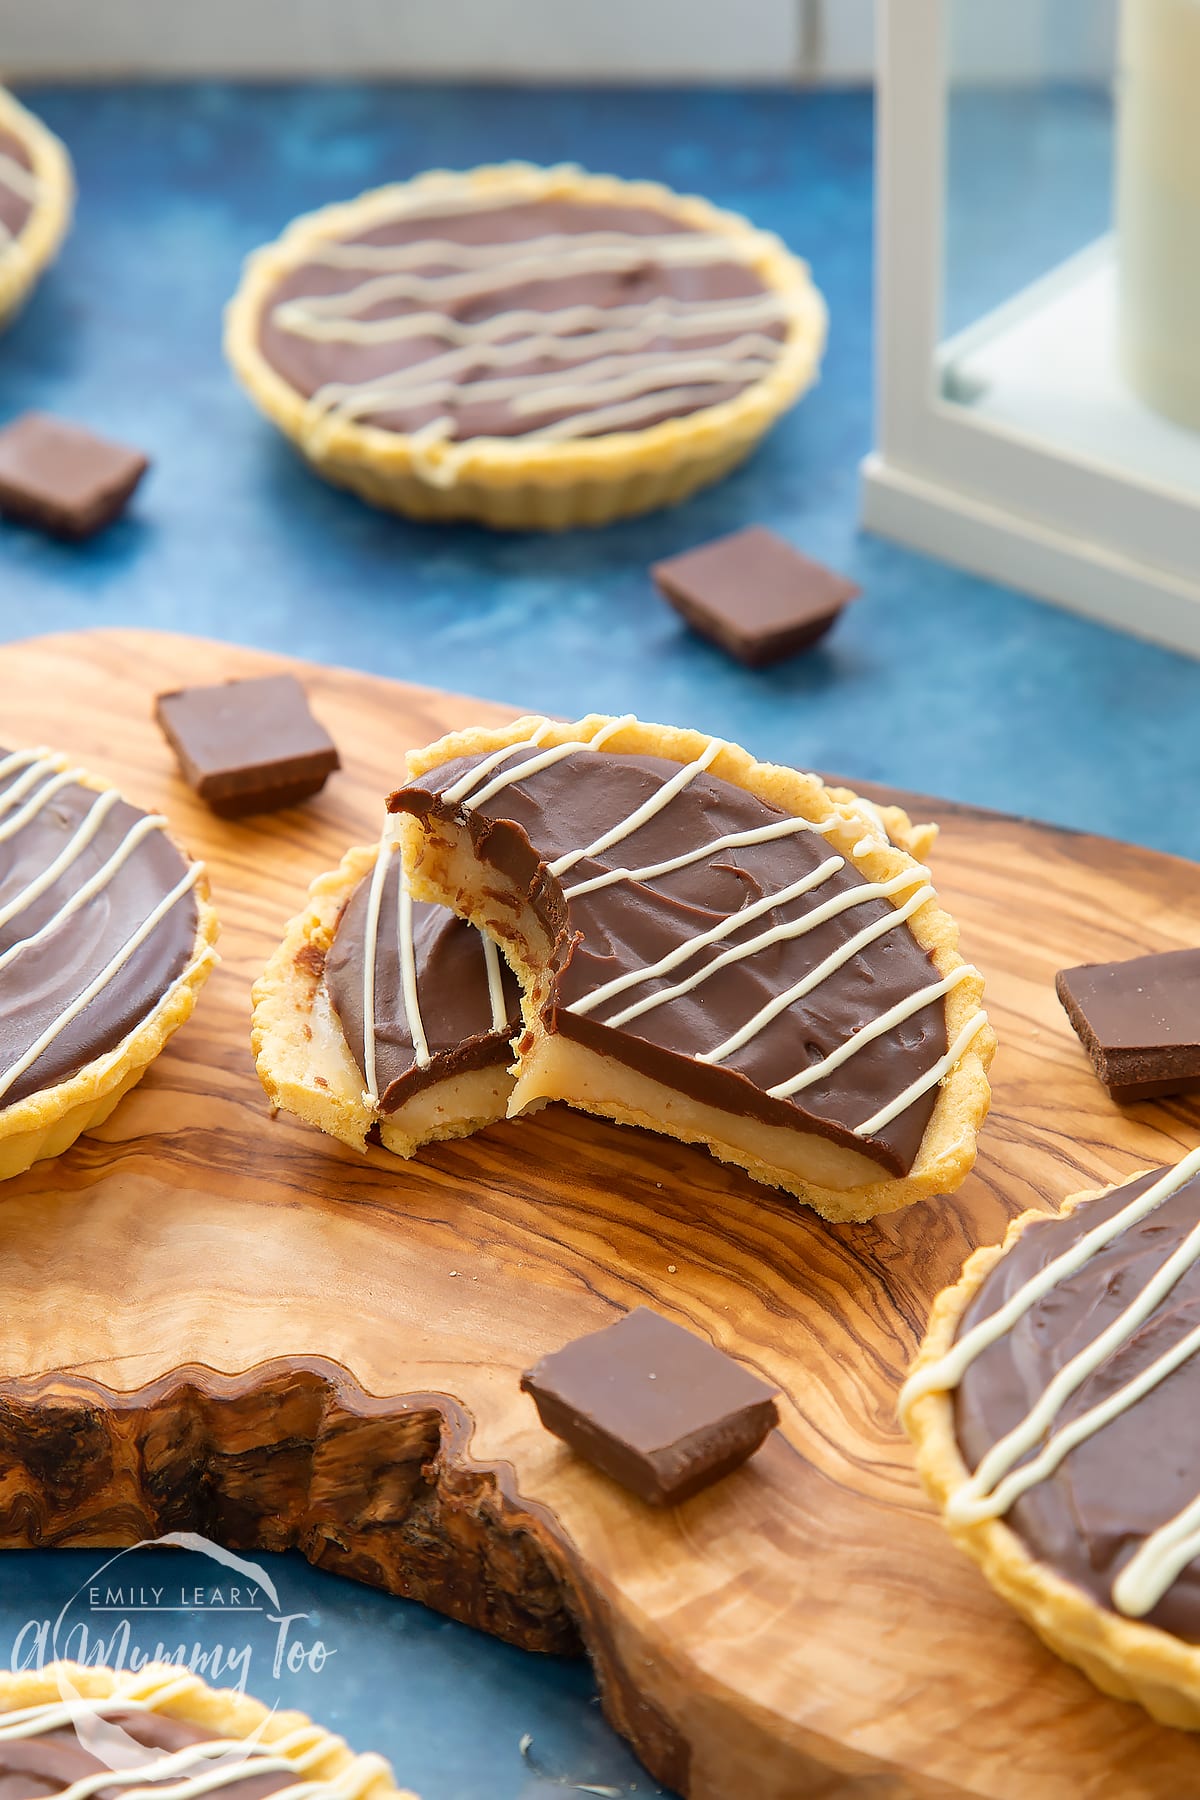
Let me know if you try them!
Pointers, tricks and troubleshooting tips for the perfect mini chocolate tarts
Are mini chocolate tarts easy to make?
These delightful little tarts are so simple to make this might quickly become your go-to dinner party dessert. With only simple ingredients that you can pick up in the local supermarket and no more than 20 minutes preparation time, you'll soon have these mini chocolate tarts chilling, ready to be enjoyed!
Will I need any special equipment for this recipe?
No special equipment is needed for this recipe, just a few spoons and a whisk, mixing bowls and a tray - all easy things to find in the average kitchen.
A microwave will help to heat the caramel and ganache, but you can just as easily warm them on the stovetop, if preferred.
A full list of equipment can be found at the bottom of this page on the recipe card.
Are these mini chocolate tarts suitable for vegetarians?
Yes, this mini chocolate tart recipe is suitable for a vegetarian diet, as it contains no meat, poultry or fish.
Are these mini chocolate tarts suitable for vegans?
Unfortunately, these mini chocolate tarts are not suitable for vegans as the caramel contains milk, and the chocolate ganache is made using cream. There will probably be butter in your pastry cases too.
I haven't tried using vegan substitutes such as plant-based cream and chocolate, so if you give it a try, let me know.
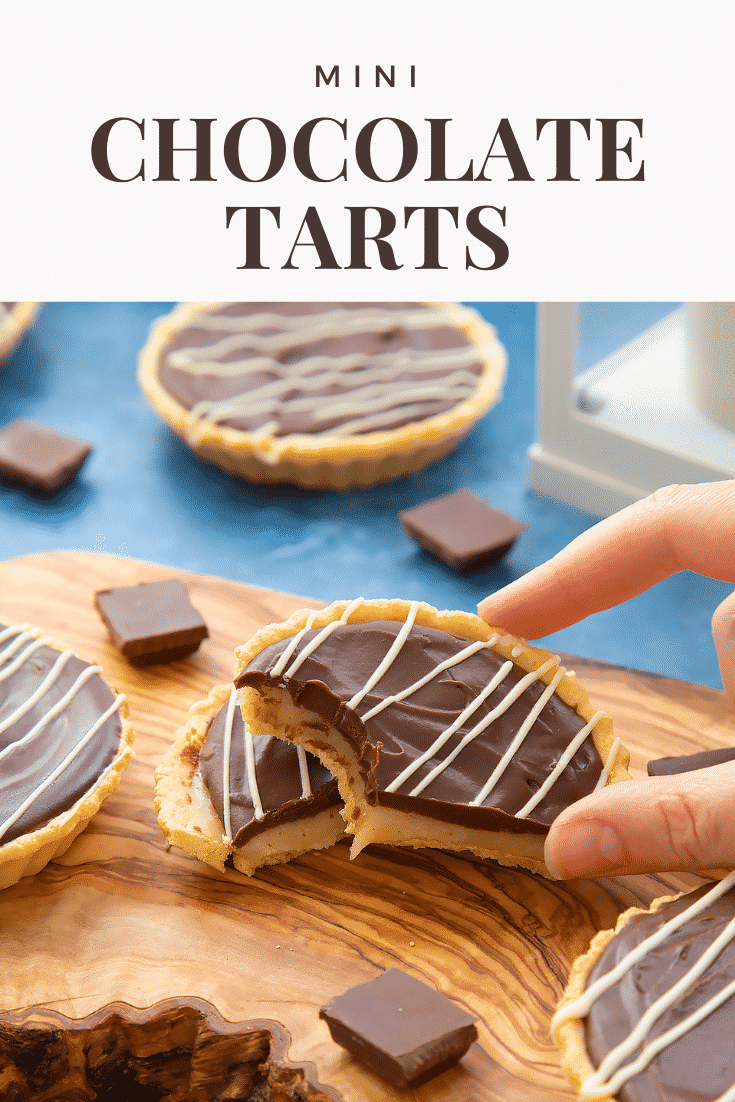
Are these mini chocolate tarts gluten-free?
No, these tarts are not gluten-free as the pastry cases contain wheat flour.
If you are making this for someone who needs to avoid gluten in their diet, you could try to source some gluten-free pastry cases.
Alternatively, if you have one gluten-free guest, you could make them special version in a ramekin or small glass with gluten-free crushed biscuits in the base, followed by the caramel and chocolate ganache.
Bear in mind that you'll need to check every single ingredient to ensure there are no traces of gluten in them. You will also need to be very, very careful about cross contamination if you are handling the wheat-pastry cases too.
Are mini chocolate tarts healthy?
These mini chocolate tarts are an indulgent dessert and should be treated as such. They are high in sugar and should be enjoyed occasionally in moderation.
Are mini chocolate tarts safe to eat while pregnant?
There is nothing in this recipe that should pose a risk to a pregnant woman, as long as the ingredients are in good condition and the dessert is prepared hygienically and safely.
This website doesn't provide medical advice. If you have any concerns speak to your health professional. The NHS website also has some great resources and information on foods to avoid whilst pregnant.
What goes well with these mini chocolate tarts?
These mini chocolate tarts are perfect on their own.
If you want to be extra indulgent, you could serve them with a scoop of vanilla ice cream or dollop mascarpone. They also go really well with fresh fruit like strawberries or blackberries.
Can I make the caramel on the stove?
Yes, if you don't have a microwave, you can make the caramel on the hob.
- Put the condensed milk, butter and sugar in a nonstick pan over a low heat.
- Stir often as it gently bubbles. Be careful, it will be very hot. Don't leave it unstirred as it will easily burn. It will take about 10 minutes for it to thicken enough to hold its shape briefly when stirred. Generally speaking, for a sauce like this, you don't want the temp to exceed 180C (360F).
- Take the caramel off the heat and allow to cool to almost room temp.
Can I use ready-made caramel?
You can definitely use ready-made caramel if you prefer. It can be found usually in the baking aisle of the supermarket. You'll need 500g (17.6 oz) to get the same thick layer as in the recipe images. You could certainly make a standard 397g (14 oz) can stretch between 12 cases if you want to avoid buying more than one can.
Ready-made caramel normally comes in a tin and will be with the custard and condensed milk. If you can't find it in your local store, then try online - it's a kitchen cupboard staple in our house.
Bear in mind that canned caramel isn't always as thick as the caramel recipe given here, so you might want to chill your tarts in the freezer before adding the ganache, so that it doesn't spread.
Can I make this recipe without caramel?
Yes, you can leave the caramel out entirely, if you wish. These tarts won't be as decadent without the caramel, but they'll still be very tasty. You could double the amount of ganache to make sure they're still generously filled.
You could also try flavouring the ganache to add more interest to your tarts. Try a few drops of mint or orange extract - be sure to use sparingly and taste as you go, as extracts can easily overpower.
I haven’t got shortcrust pastry cases can I use ready roll pasty or homemade pastry?
Using shortcrust pastry cases just makes this recipe super quick and convenient to make. If you have the time go ahead and make your own pastry or use ready rolled pastry to make the cases.
If you want to make you own pastry cases from scratch - you can use the method detailed here in this fruit tart recipe.
If you're planning to use ready rolled shortcrust, simply cut discs out of your pastry and pop them into a lightly greased, 12-hole mini pie tin, prick the bases with a fork and bake for 12-15 minutes at 180C (160C fan) until golden brown.
Allow the cases to cool on a wire rack before you fill them with the caramel and chocolate ganache. Since they'll be smaller than the store-bought ones, you'll probably get 24 or so.
How should I store these mini chocolate tarts?
These mini chocolate tarts need to be kept in the fridge. Store them in a single layer, well-covered or in an airtight container.
How long do mini chocolate tarts keep?
Mini chocolate tarts should be kept in the fridge and will keep for up to 5 days. Check the use-by date on your cream to make sure it will last this long.
They can also be kept in the freezer for up to 2 months.
Can I leave mini chocolate tarts out on the counter?
No, these mini chocolate tarts should be kept in the fridge, and should only be brought out for serving and eating.
Can I make mini chocolate tarts ahead?
One of the joys of this recipe is it's not only ridiculously easy to make but it can also be made ahead, indeed it needs at least 30 minutes in the freezer, or two or more hours in the fridge to set before serving.
You can make these mini chocolate tarts a day ahead and have them ready in the fridge. Or if you are feeling really organised make a batch for the freezer that you can get out whenever you need to, simply defrost in the fridge overnight.
You could also make just the caramel and ganache elements ahead, if you wish, before covering well and storing in the fridge once cooled. Just bear in mind that they'll stiffen in the fridge and will probably need to be briefly heated in the microwave (try just 10 seconds at first) and then whisked in order to loosen them back up enough to work with.
Can I freeze these mini chocolate tarts?
These mini chocolate tarts freeze really well, and will keep in the freezer for up to 2 months.
If you have space in the freezer, put them in on a single layer on a baking sheet for a few hours to freeze. Once frozen you can then transfer them into a suitable container, I recommend using a box rather than freezer bags to protect the pastry.
If you don't have room to freeze them on a tray, you can go straight ahead and stack them in a freezer-safe box. Just make sure they're well chilled before you do so and place a little baking paper between layers to minimise damage to the surface of the ganache.
Label the container with what's inside and the date.
To defrost, take out however many you need and pop them on a plate, covered well, to defrost in the fridge overnight.
Can I make a different number of mini chocolate tarts?
It is really easy to make a different amount of these delightful mini chocolate tarts.
All you need to do is scroll down to the bottom of this page where you will find the recipe card. On the card is the number of servings, if you click or hover over this a slider will appear that you can move to get the number of tarts you wish to make. This then automatically amends the quantities for each ingredient.
Can I make these mini chocolate tarts in a different size pastry case?
If you can't find small pastry cases or prefer to have a bigger tart to cut into and serve in slices you can do this no problem. Just follow the recipe as you would for individual tarts but using a larger case.
You could also use tiny pastry cases if you want to make lots of super mini chocolate tarts for little nibble size desserts. These would be so cute served with a raspberry on top as part of a selection of mini desserts. What's better than one dessert? Lots of different tiny desserts!
How can I make sure my mini chocolate tarts are perfectly made?
When a recipe has a few elements like this one, I always recommend reading it from start to finish before you even pick up a utensil.
Next, gather everything you need (ingredients and equipment) before you start so that you have everything on hand. You can even pre-measure all the ingredients first, if you like, although that does tend to mean extra washing up!
A bit of patience is also required when making these mini chocolate tarts. Allow the caramel to cool before adding it to the pastry and make sure your ganache is a little cooled too so that you can give it some texture on top of the tarts.
Finally, give your tarts plenty of time to set in the fridge or freezer, especially if you're serving on a hot day.
Why did my cream split?
Working with a microwave to heat dessert elements can be a bit daunting, so the best approach is always to take it slow. When you want to bring your cream almost to the boil, do it in short blasts rather than one long run and you'll avoid splitting your cream.
When you mix the cream with the chocolate it might look like its separating and going grainy but don't worry, just keep whisking until the ganache becomes smooth.
Why did my caramel go hard?
If your caramel went hard, it was probably cooked for too long. Remember that it only needs to be slightly thickened when it comes out of the microwave as it will continue to thicken considerably as it cools and will firm up even more once chilled.
Why was my caramel runny?
If your caramel was runny, it probably wasn't cooked for long enough. Follow the instructions closely to ensure you achieve the correct consistency.
Remember too that your caramel only needs to be slightly thickened when it comes out of the microwave as it will continue to thicken considerably as it cools and will firm up even more once chilled.
Why did my mini chocolate tarts turn out wet and soggy?
This could be a number of things. If you've made your own caramel, give it time to cool down to room temperature before putting it into the pastry cases otherwise they may go soggy. This shouldn't be a problem with ready-made caramel.
When storing the tarts, keep them well covered or in a sealed container to reduce the risk of the pastry absorbing moisture from the fridge or freezer.
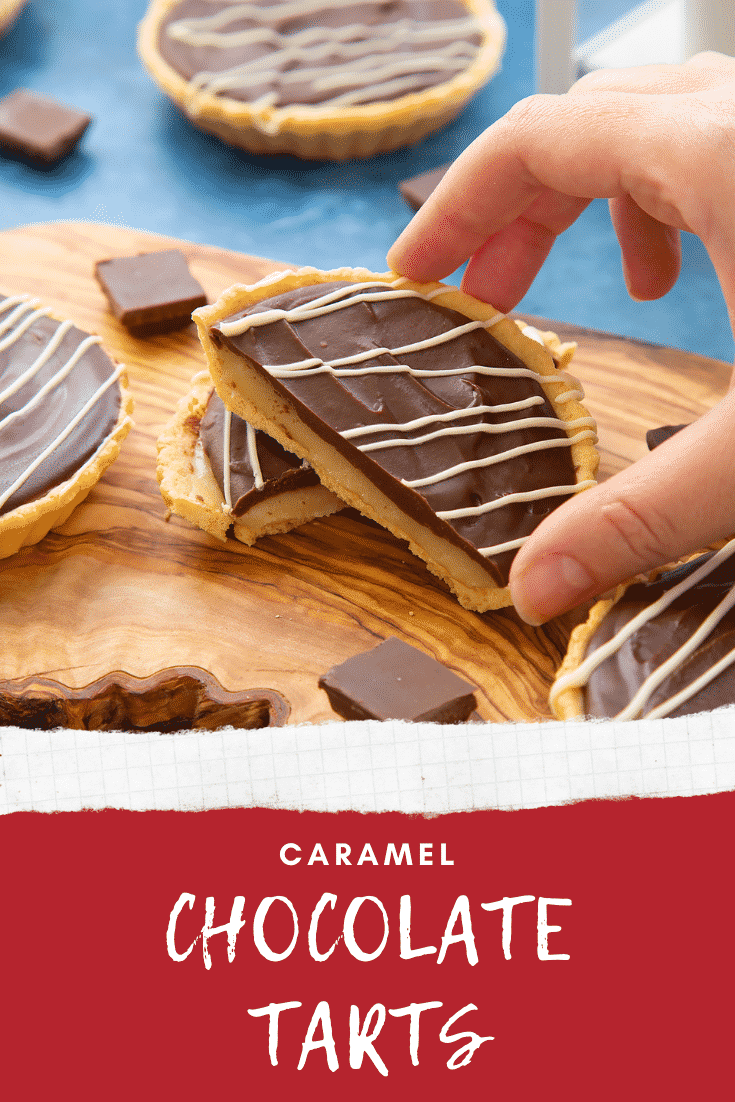
Why didn't I get defined layers of caramel and chocolate?
Give the ganache time to cool too before you put in onto the caramel, if you pour it in hot the ganache will melt the caramel and it will all mix together, meaning you will lose the lovely layers in your dessert.
How can I add or change the flavours in these mini chocolate tarts?
You could add an extra surprise in the caramel layer with some chopped nuts, pecans or hazelnuts. Toast a handful of nuts for 5 minutes in the oven or over a low heat in a small dry frying pan until warmed through and starting to brown just slightly. Tip onto a plate to cool, then roughly and stir through the caramel before adding to the pastry cases.
Any fresh berries are perfect with these tarts too. Just sprinkle a few over the top of each tart before serving.
Mini Chocolate Tarts Recipe
Ingredients
For the pastry cases
- 12 sweet shortcrust pastry cases (find them in the baking aisle)
For the caramel
- 400 g (14 oz) condensed milk
- 100 g (7 tbsp) salted butter
- 100 g (½ cup + 1 tbsp) soft light brown sugar
For the ganache
- 350 g (12 oz) milk chocolate
- 150 ml (⅔ cup) double cream (heavy cream)
To finish
- 25 g (1 oz) white chocolate
Equipment
- 2 Large heatproof bowl
- 1 Small heatproof bowl
Instructions
Make the caramel
- Put the condensed milk, sugar and butter in a large, microwave-safe bowl. Mix together.
- Microwave on full for 3 minutes. Remove and whisk until evenly combined. Be very careful as the bowl and caramel will be extremely hot.
- Return to the microwave for another 3 minutes. Whisk again. The caramel will look frothy and may seem split when you first begin to whisk it. Don't panic, just keep mixing and it will come together as a smooth caramel. Allow to cool to room temp before moving on to the next step.
Make the ganache
- Put the chocolate in a large heatproof bowl.
- Put the cream in a small microwave-safe bowl and microwave for 30-60 second until almost boiling. Pour the cream over the chocolate.
- Whisk. At first, your chocolate mixture may look dull / murky. Keep whisking and it will come together as a smooth, glossy ganache. Set aside and allow to cool until the ganache holds its shape a little but it still light and spreadable.
Assemble your tarts
- Arrange the pastry cases on a large tray. You may need two trays.
- Share the caramel evenly between the pastry cases. Use the back of a clean spoon to gently ease the caramel to the edges of the cases.
- Gently spoon the ganache evenly into the pastry cases on top of the caramel. Use the back of a clean spoon to ease the chocolate to the edges, aiming not to disturb the caramel layer beneath.
- Put the white chocolate in a small microwave-safe bowl and heat in 30-second blasts until melted. Drizzle over the tarts in a zig zag pattern. You can do this with a spoon or a small piping bag, if preferred.
- Place the trays of tarts in the fridge for a couple of hours, or the freezer for 30 minutes to set.
Video
Notes
Nutrition
Pin these mini chocolate tarts
More great chocolate recipes
Have you got my book?

'This is a great kids cookery book. Emily is a star' - Simon Rimmer
'The book I'd like to force into any mother's kitchen' - Prue Leith
"A fab book with a plan." - Jane Devonshire, 2016 Masterchef UK winner
'Emily has managed to combine her mummy knowledge and passion for food to make a truly helpful and brilliant cookbook' - Priya Tew, RD, BSc (Hons), Msc
Get Your Kids to Eat Anything is an achievable 'how to' for parents in the battle to overcome picky eating and 'make new the norm'. Emily Leary's unique 5-phase programme looks at the issue of 'fussy eating' in a holistic way that links imagination with food, and which situates parents alongside - not in opposition to - their children.



Sahdia Rasool says
Hi if I want to make more then 12. Maybe 24. Would I need to double the recipe.? For the ganache and caramel?Please reply ASAP. As I will be making these this weekend.Thank you
Emily Leary says
Hi. If you scroll down to the recipe card at bottom of this page you will find the recipe card. On the card is the number of servings, if you click or hover over this a slider will appear that you can move to get the number of tarts you wish to make. This then automatically amends the quantities for each ingredient.