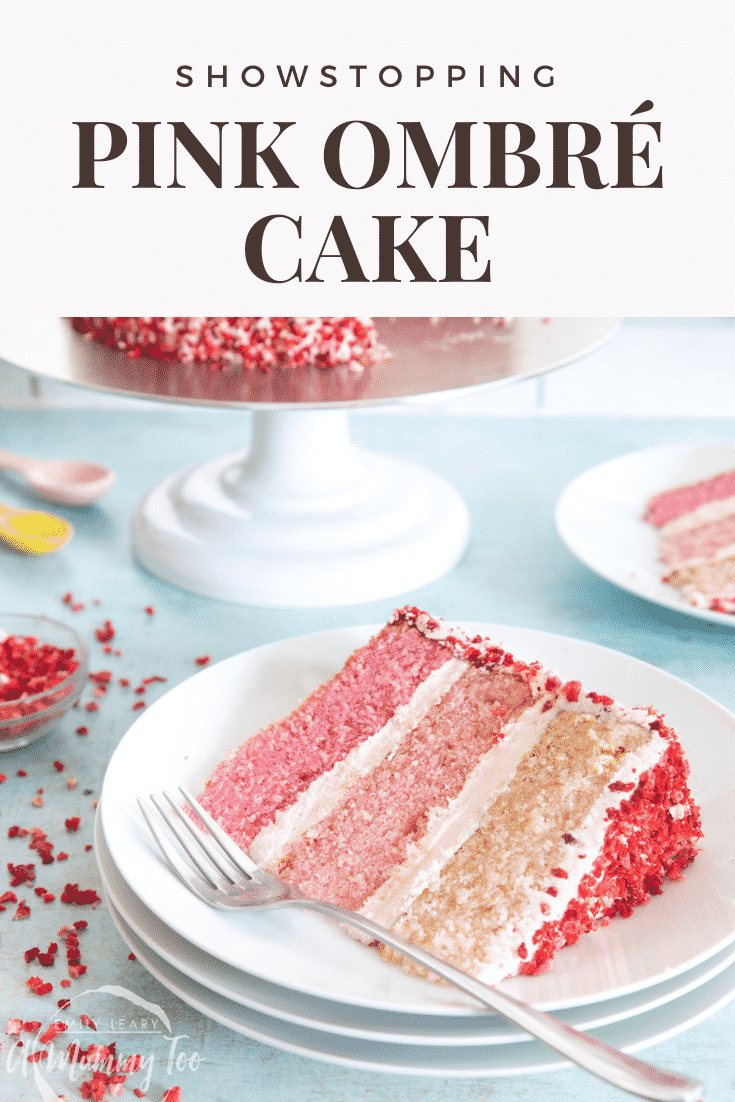
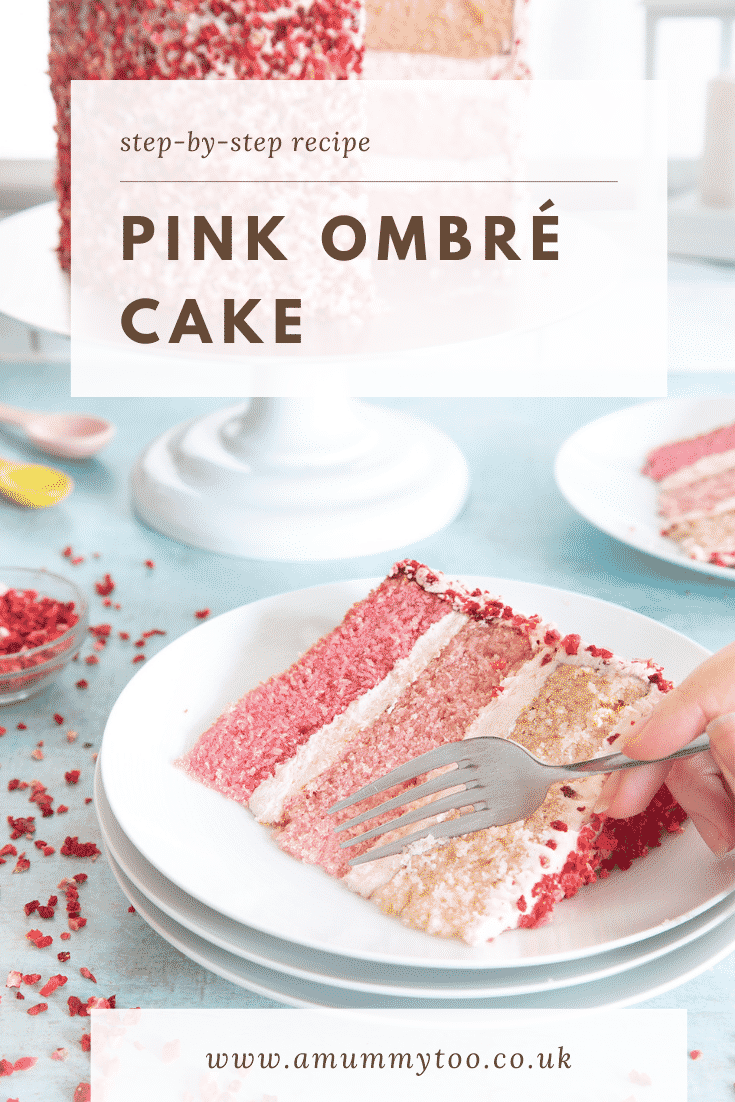
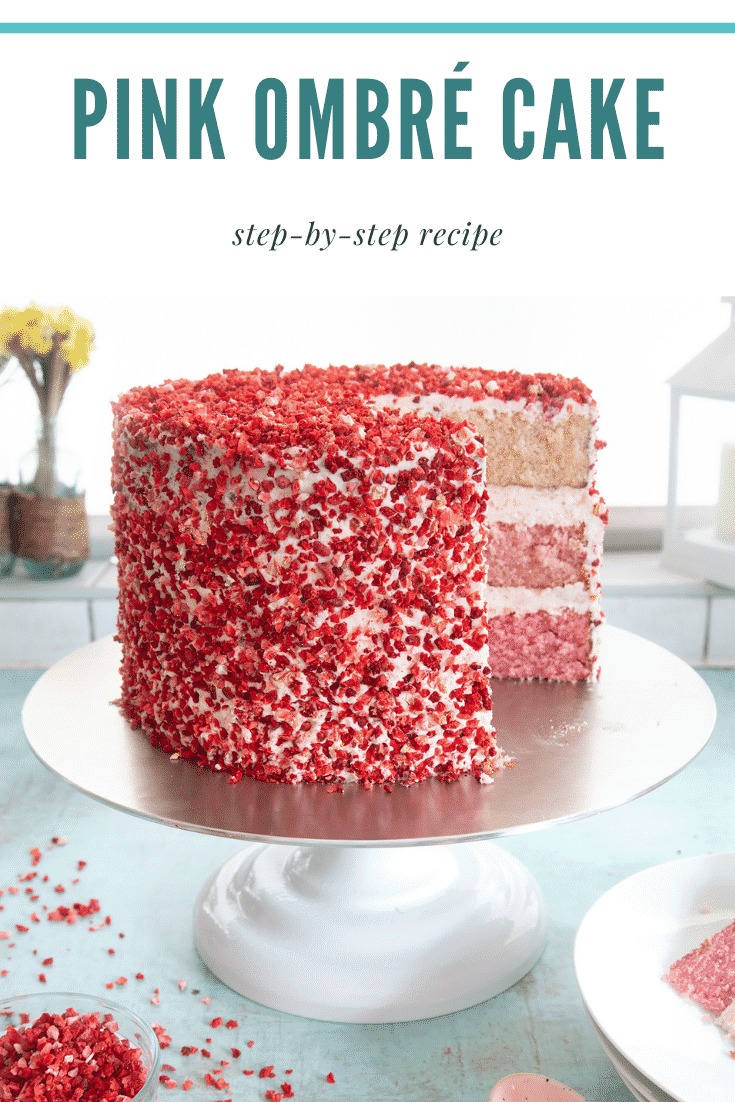
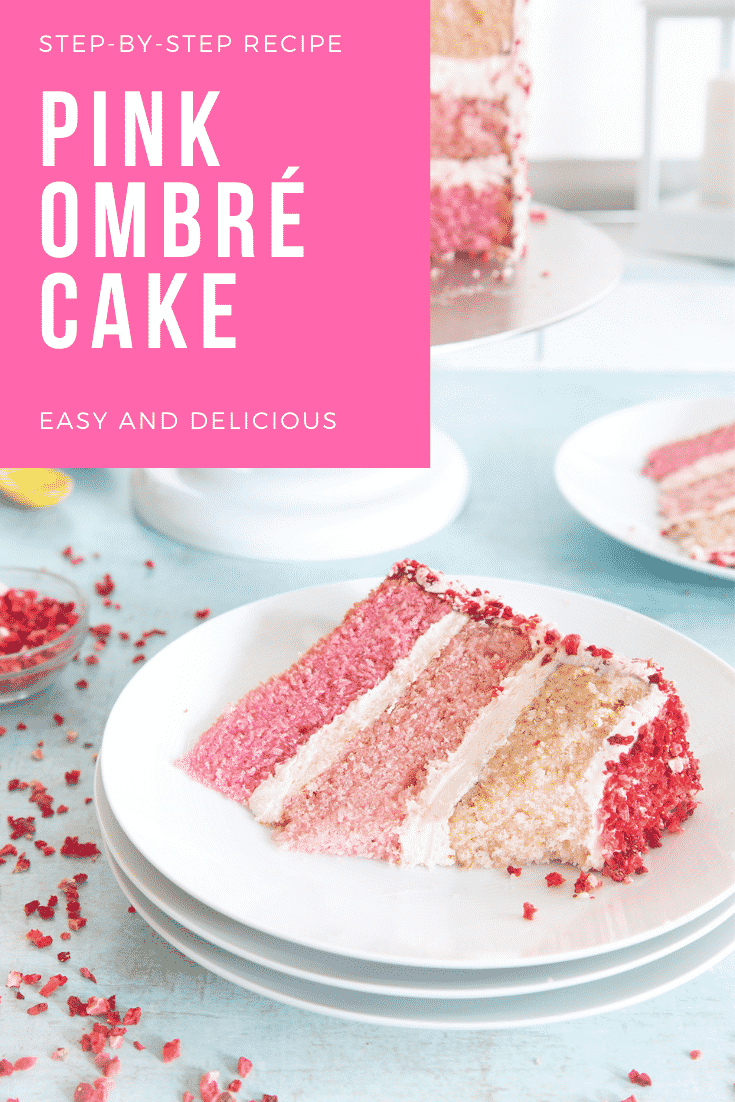
This pink ombré cake is as delicious as it is pretty. Each slice boasts three layers of light and fluffy pink strawberry sponge, sandwiched and covered with a pale pink vanilla buttercream frosting and decorated with sweet and tart freeze-dried strawberry pieces.
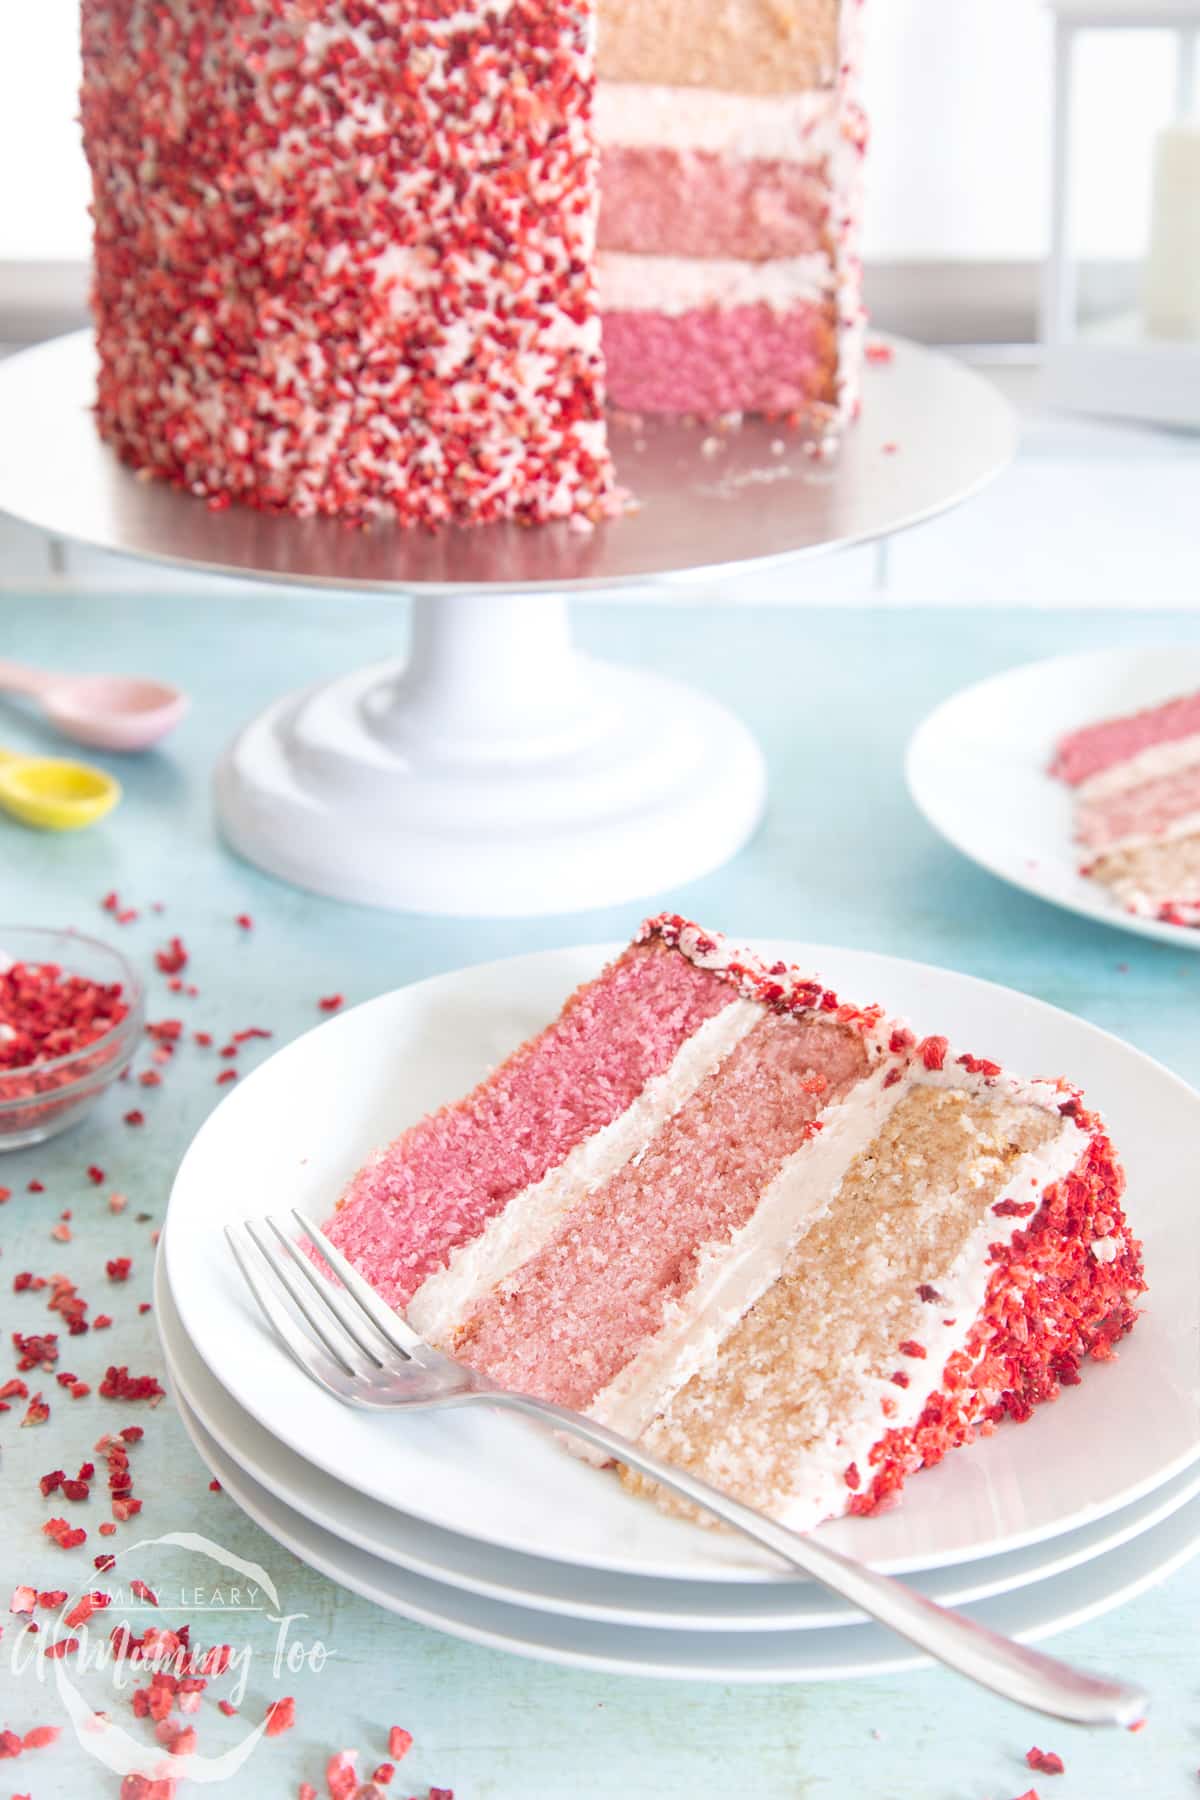
You might think that making a cake this pretty would be difficult but actually, it's a breeze! That's because I've done all the testing and experimenting required to make sure your cake will turn out beautifully every time.
If you've ever tried using pink food colouring in a standard cake recipe before, you might know that while the matter may look pink, the colour that comes out is a little less delicate. This is because batter made with whole eggs and lots of butter naturally turns more golden as it bakes, and this yellow hue overpowers the delicate pink tones.
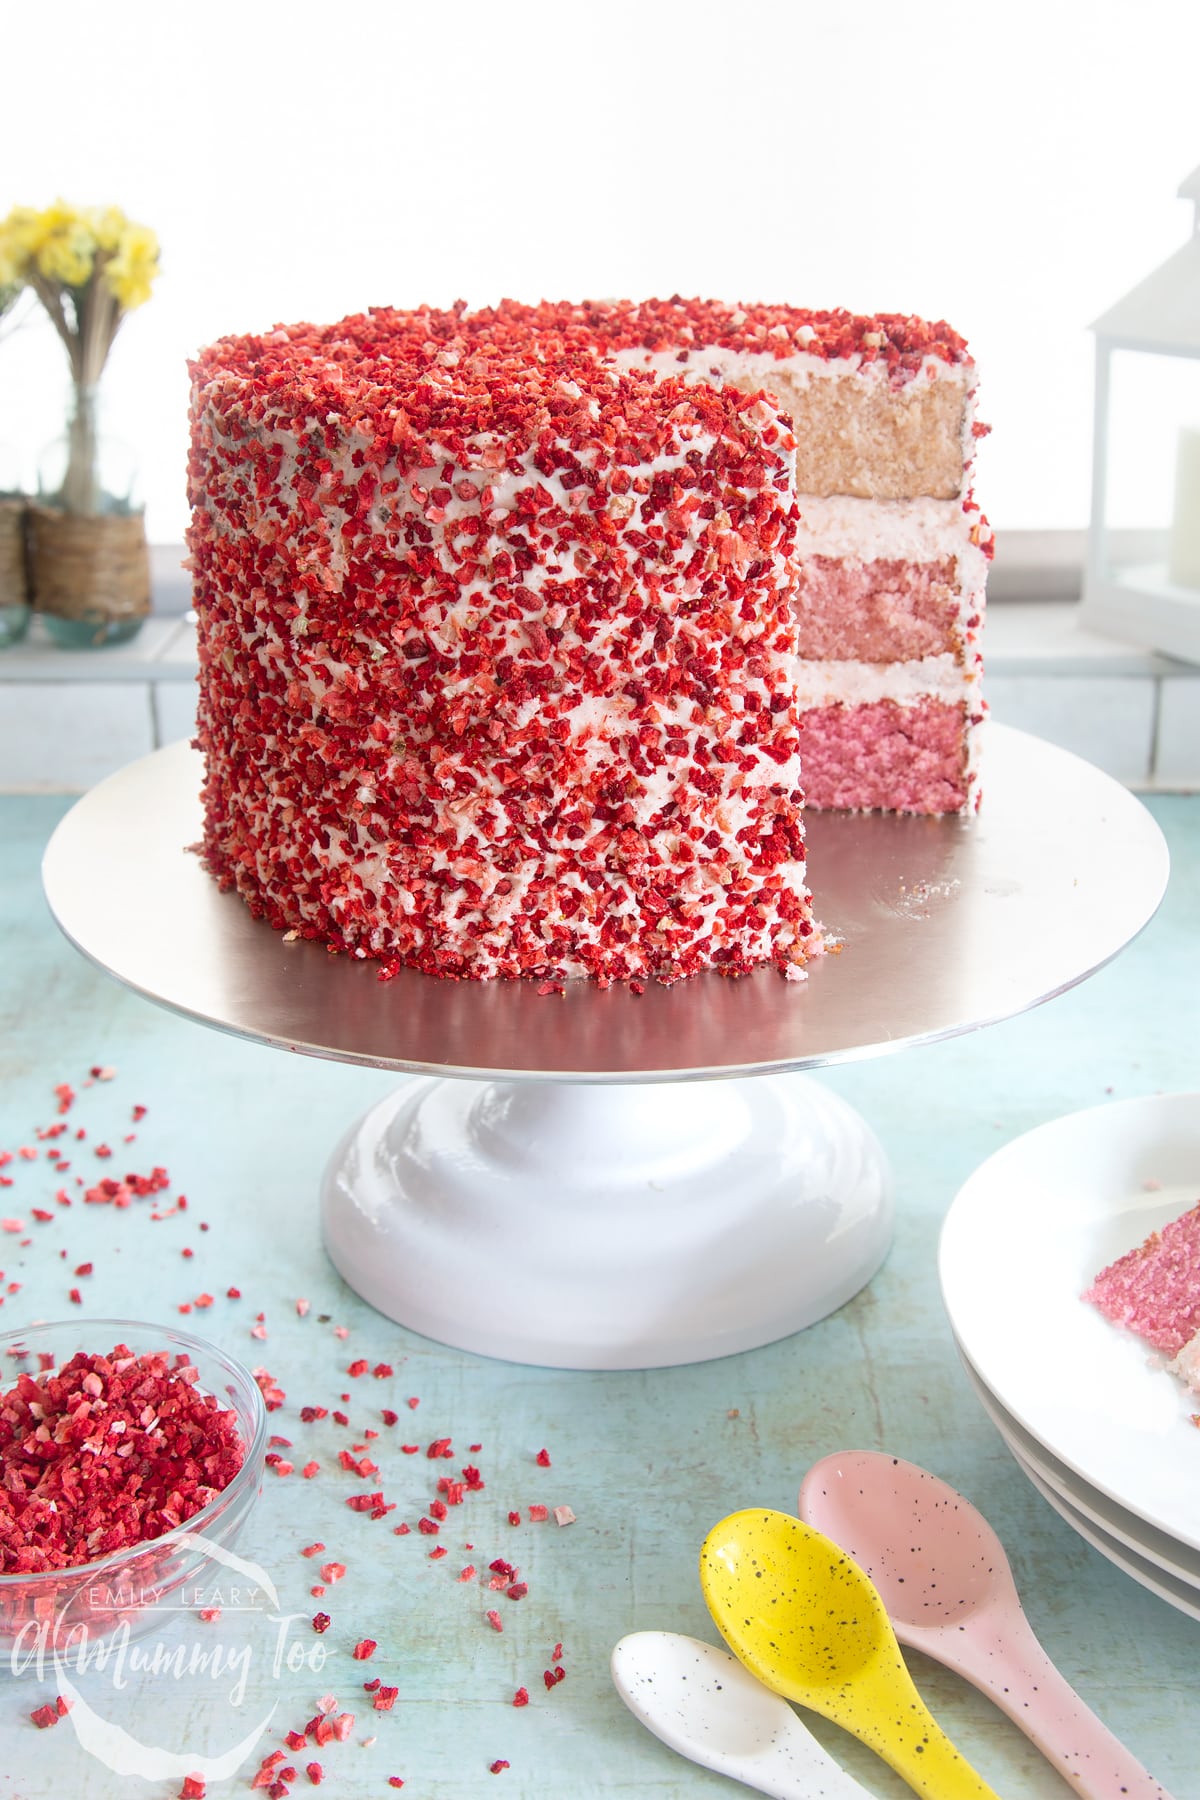
For this cake, you'll use a combination of butter and vegetable oil, which takes the yellow tones down. And you'll use egg whites, leaving out the yolks to produce a batter than is almost white!
Achieving a lovely pale base means that the colour you get when you add the pink colouring to your batter is the colour you'll get with the baked sponge. Hurrah! What's more, using egg whites also gives a really tender, delicious sponge that your guests will love.
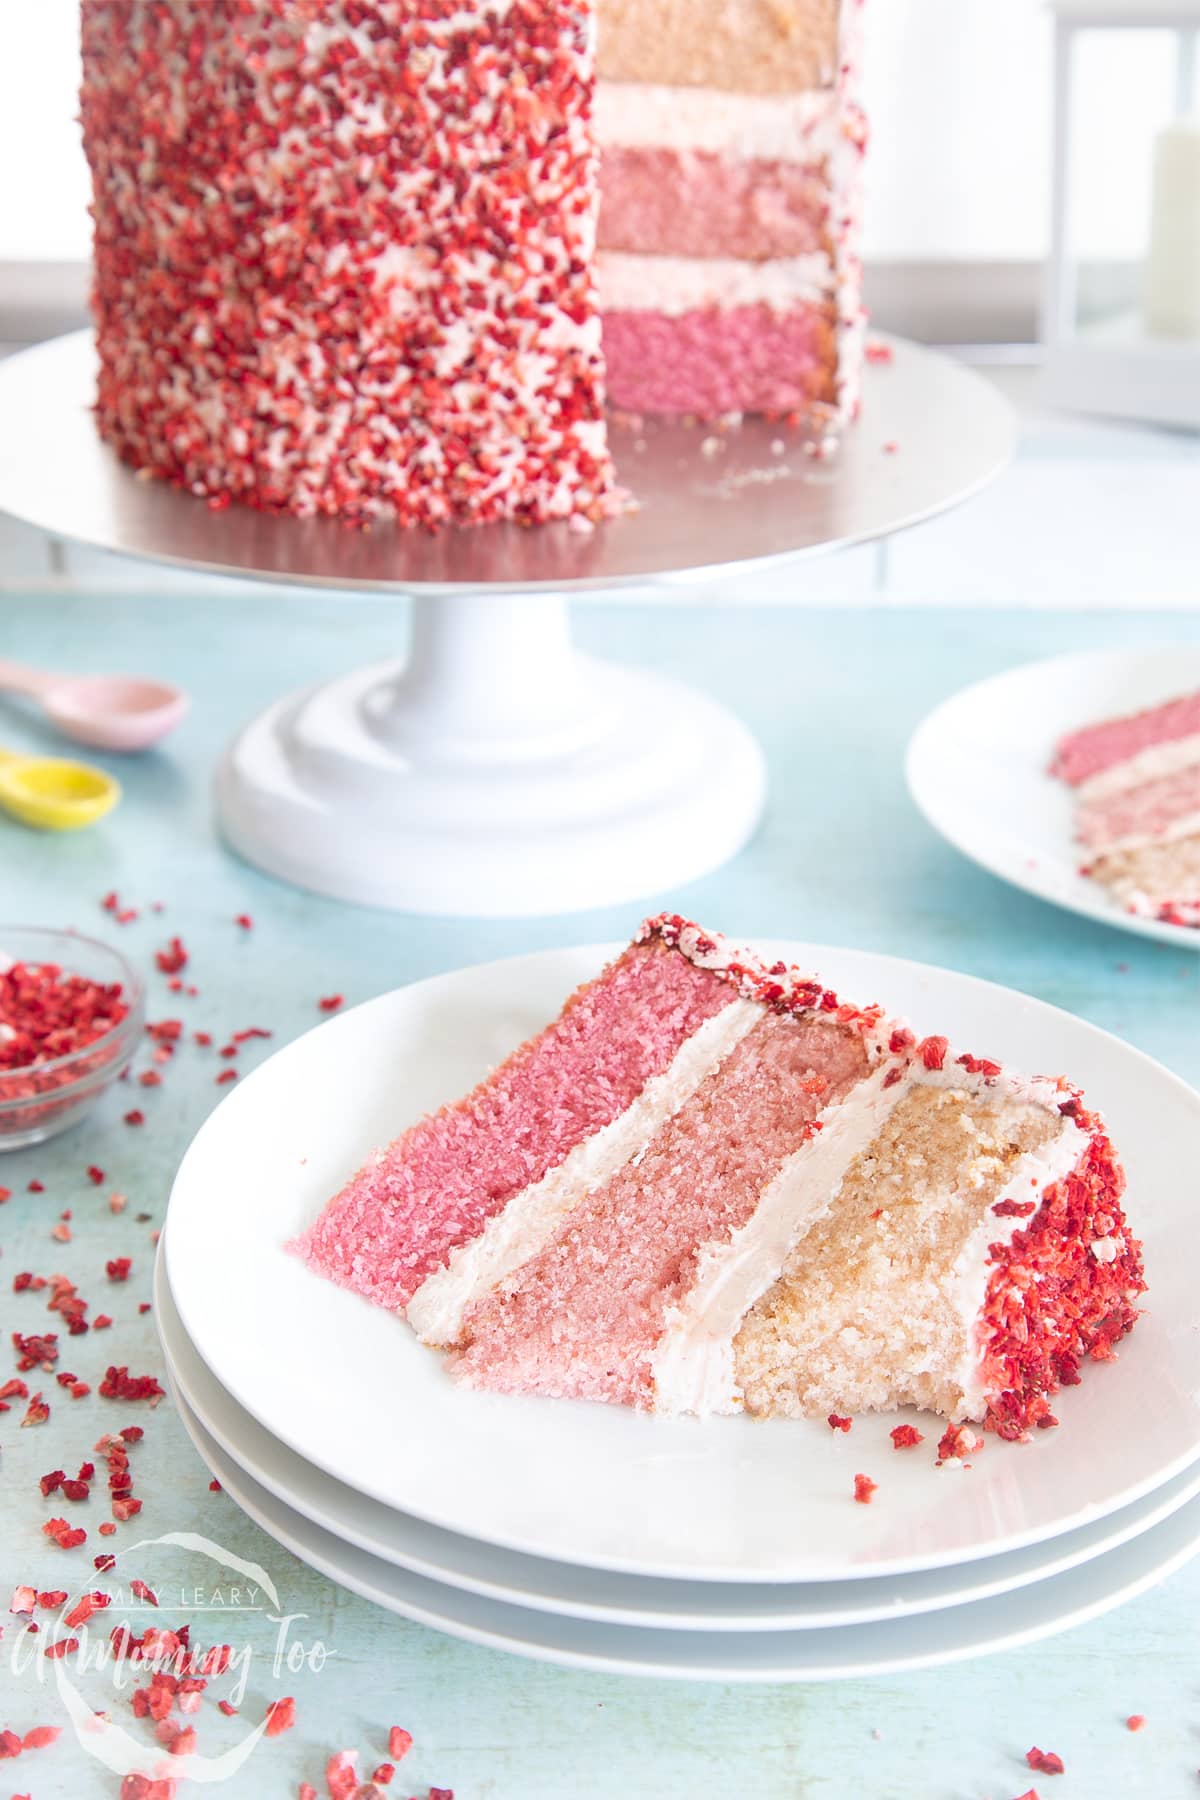
When it comes to decorating, there's more good news. I know that getting a really smooth finish to your buttercream coating can be tricky, but since you'll be scattering freeze-dried strawberries all over your cake, the frosting layer doesn't need to be perfect. As long as it's even, it will look amazing once you've added the strawberries.
Let's get baking!
Ingredients
For the sponges
- 12 large free range egg whites
- 600 g (4 cups + 2 tbsp) self-raising white flour (self rising flour)
- 600 g (3⅓ cups) white caster sugar (superfine sugar)
- 300 g (2 sticks + 5 tbsp) salted butter very soft
- 200 ml (½+⅓ cup) vegetable oil (canola oil)
- 1 tsp strawberry extract
- 180 ml (⅔ cup + 2 tbsp) whole milk
- 2-4 tsp pink food colouring amount needed depends on pigment concentration
For the frosting
- 500 g (4½ sticks) salted butter softened
- 1 kg (8 cups) icing sugar (powdered sugar)
- 1 tsp vanilla extract
- ½ tsp pink food colouring amount needed depends on pigment concentration
To decorate
- 30 g (1¼ cups) freeze dried strawberry pieces or pink/purple/red sprinkles of your choice
Equipment
- 3 Round 20cm (8") nonstick cake tin
- Tall side scraper
- Cake decorating turntable
Instructions
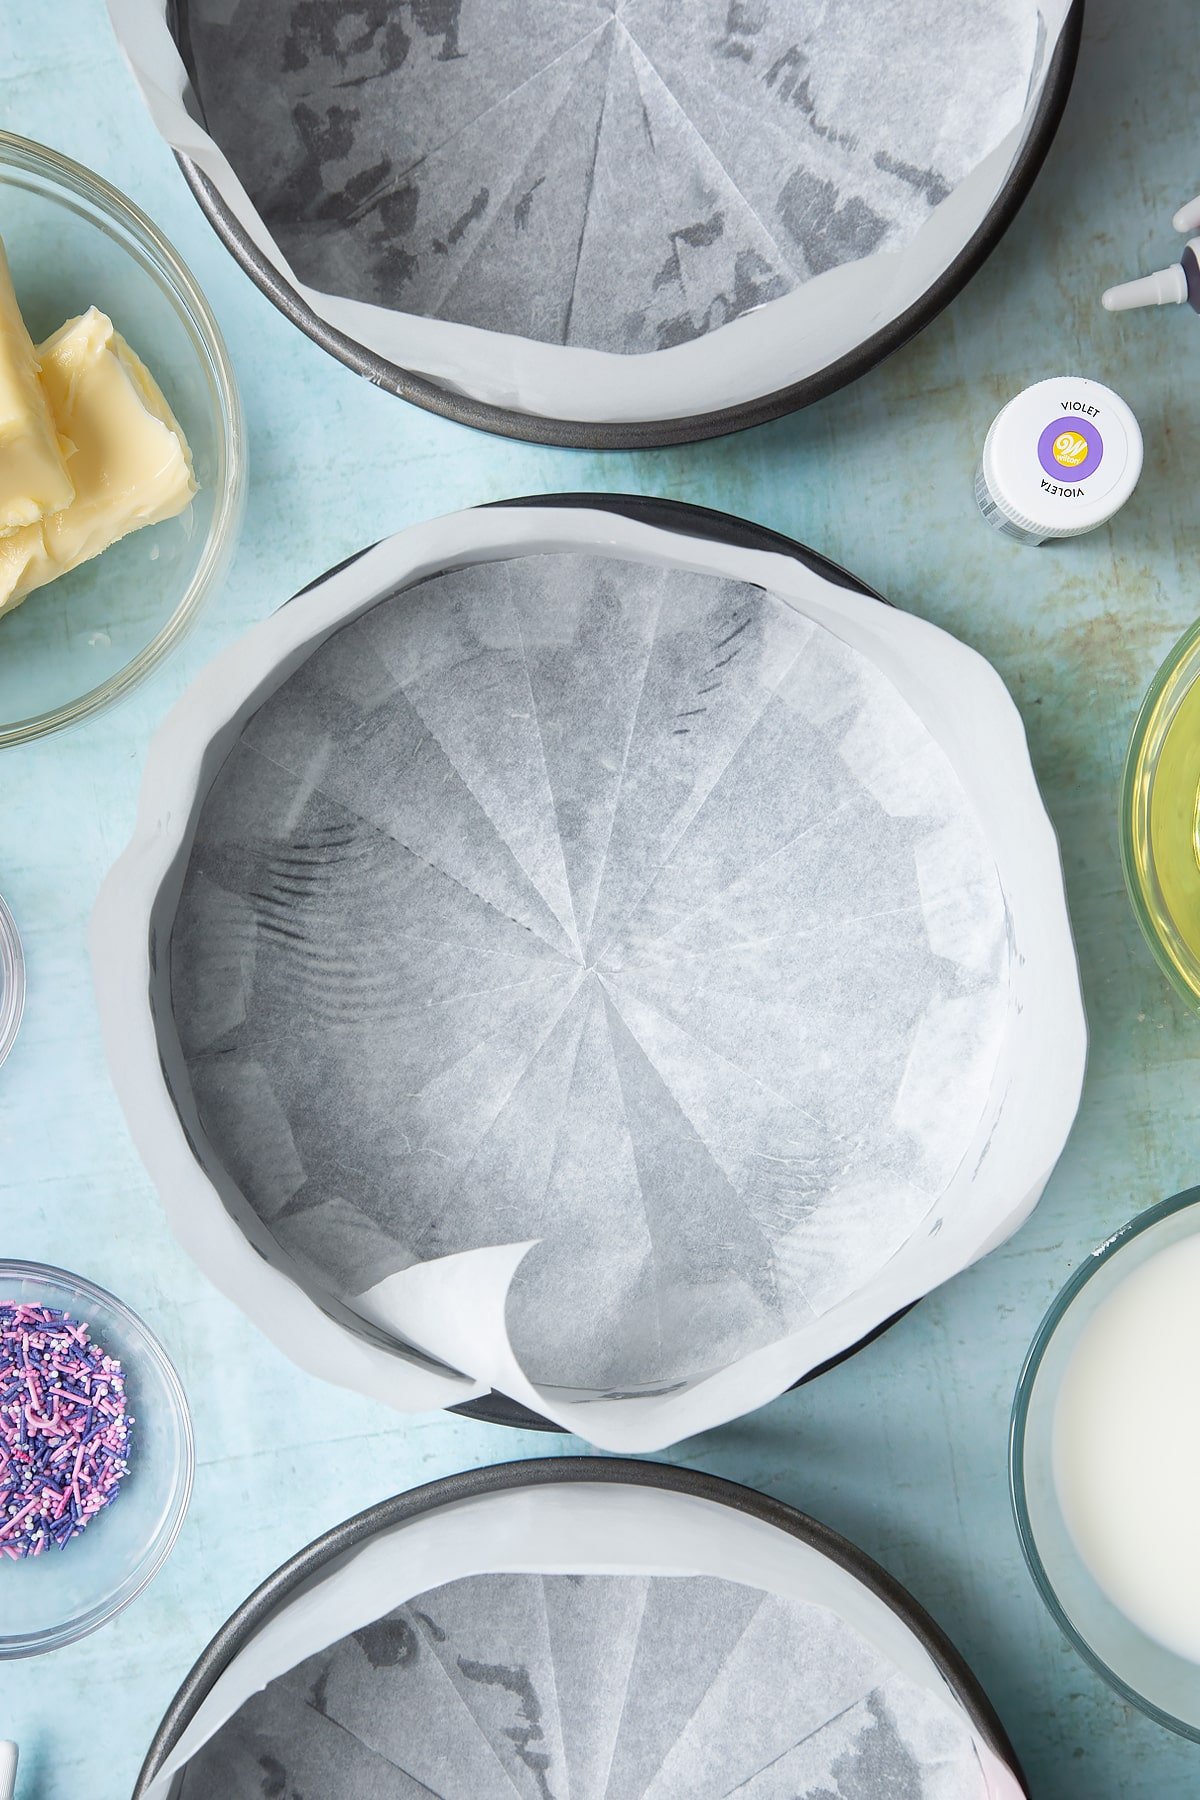
Grease all three cake tins and line their bases and sides with circles of baking paper.
If you’re using shallow tins, be sure to make the baking paper walls taller so that the cake has room to rise,
Make the batter
Preheat the oven to 180C (160C fan, 350F).
You're going to put all the ingredients into a large mixing bowl. I usually start with the sugar as it's least likely to get stuck to the bottom of the bowl.
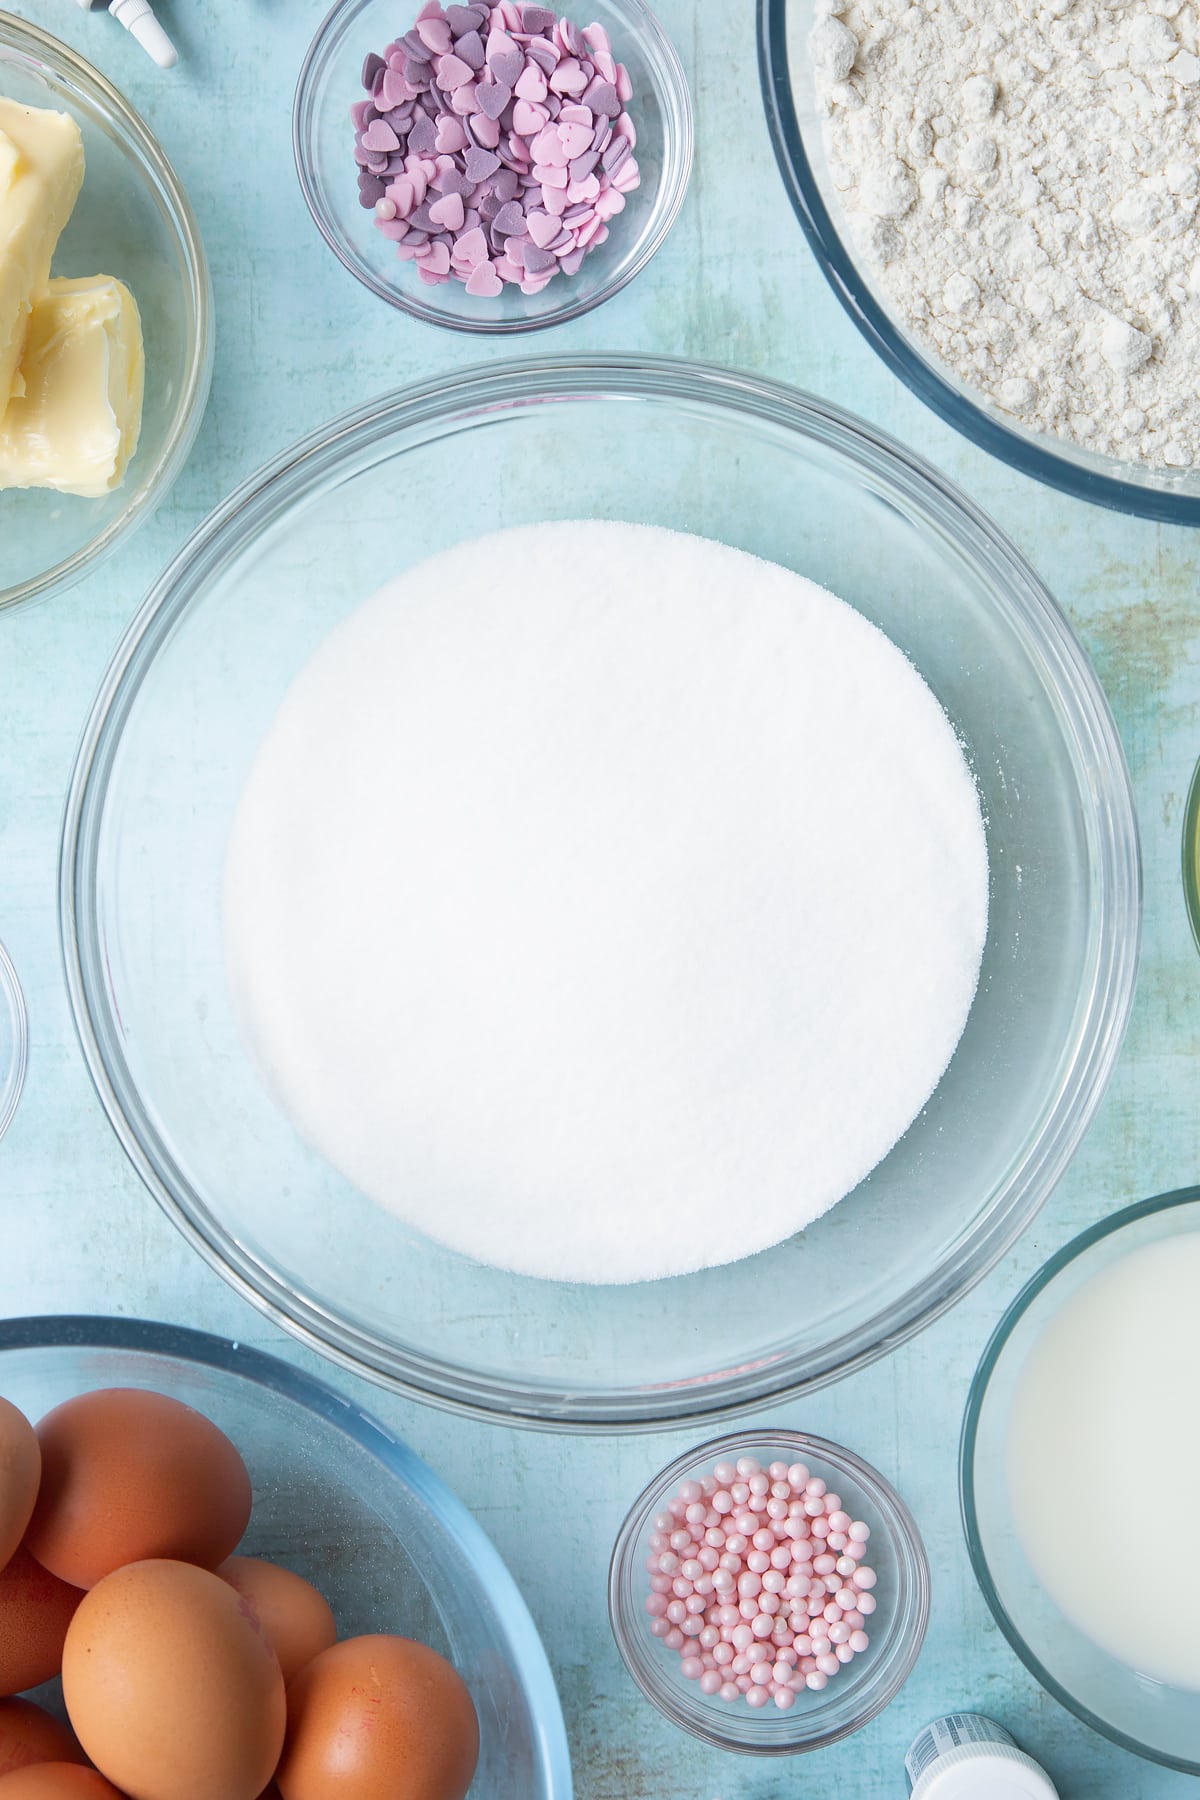
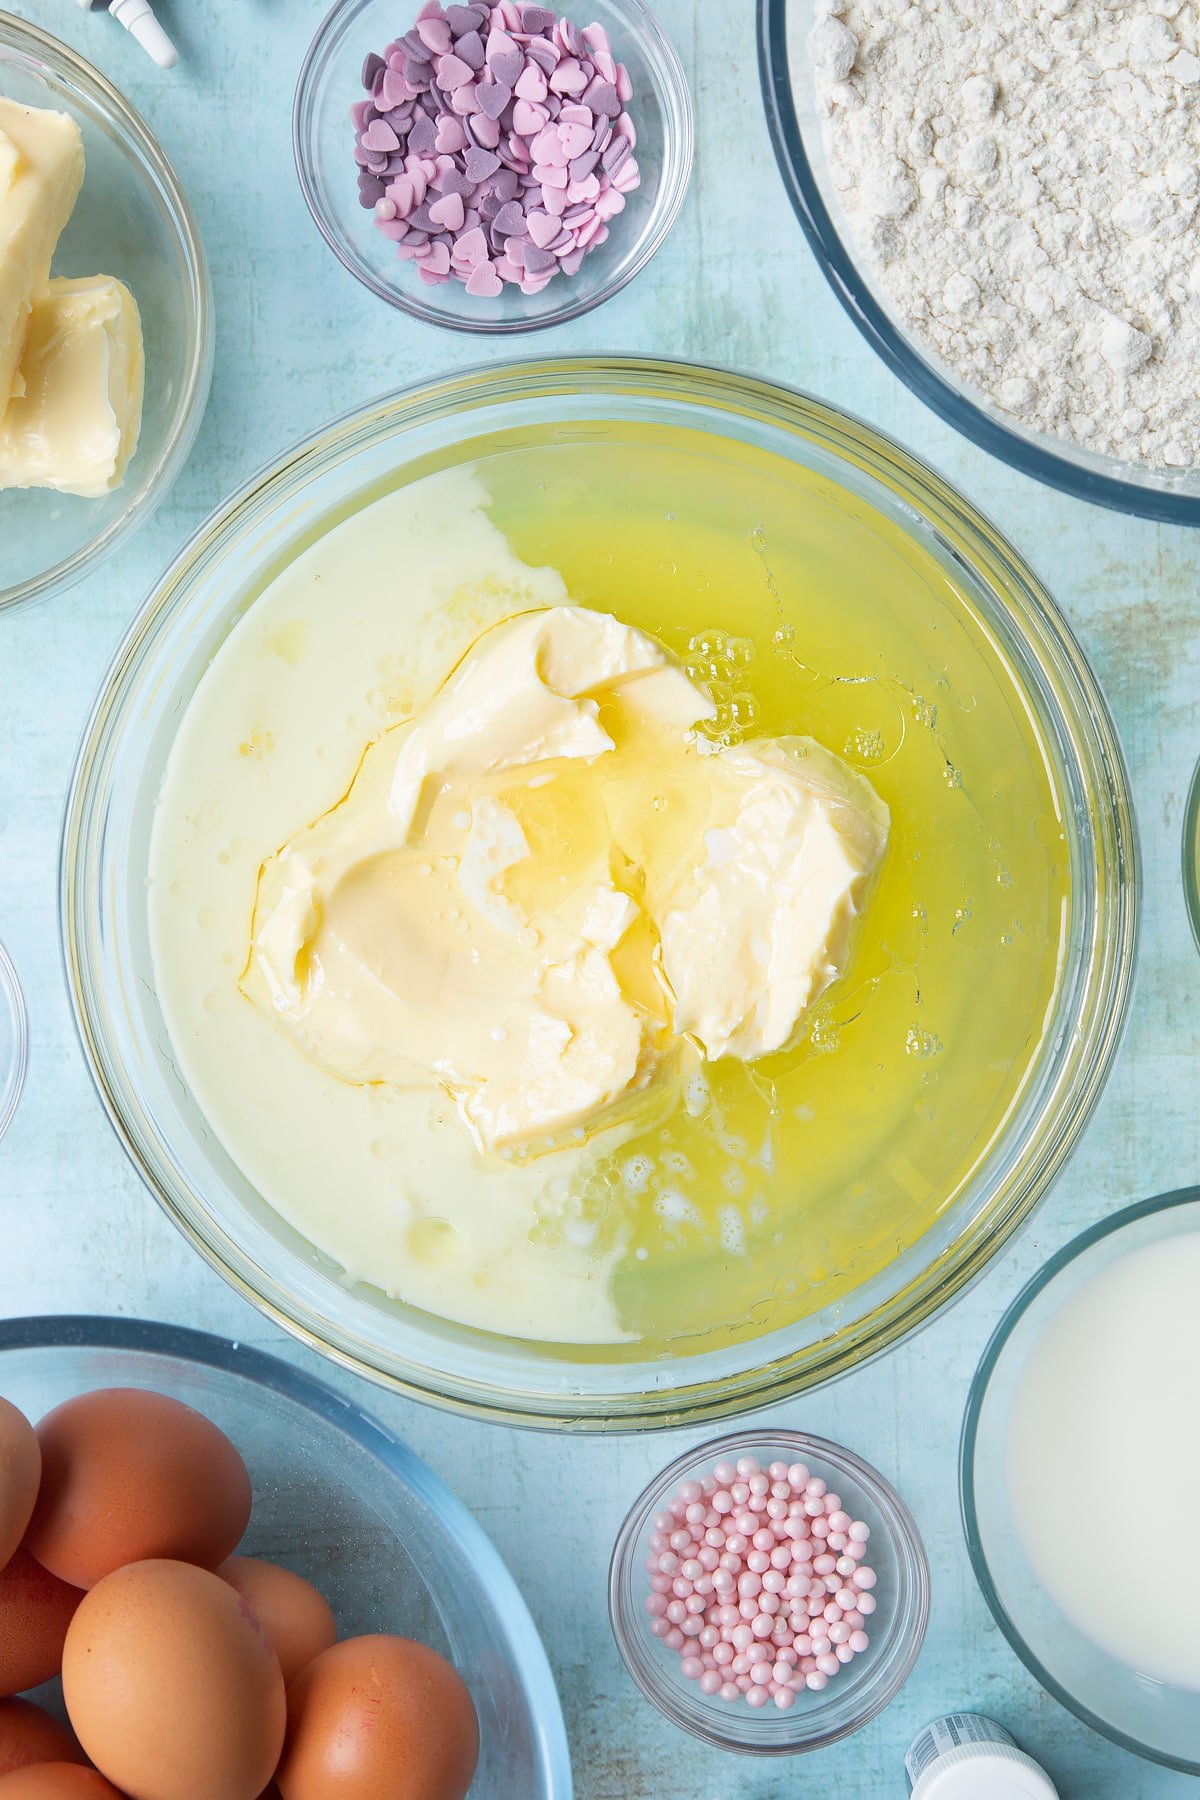
Add the egg whites, butter, oil, strawberry extract and milk.
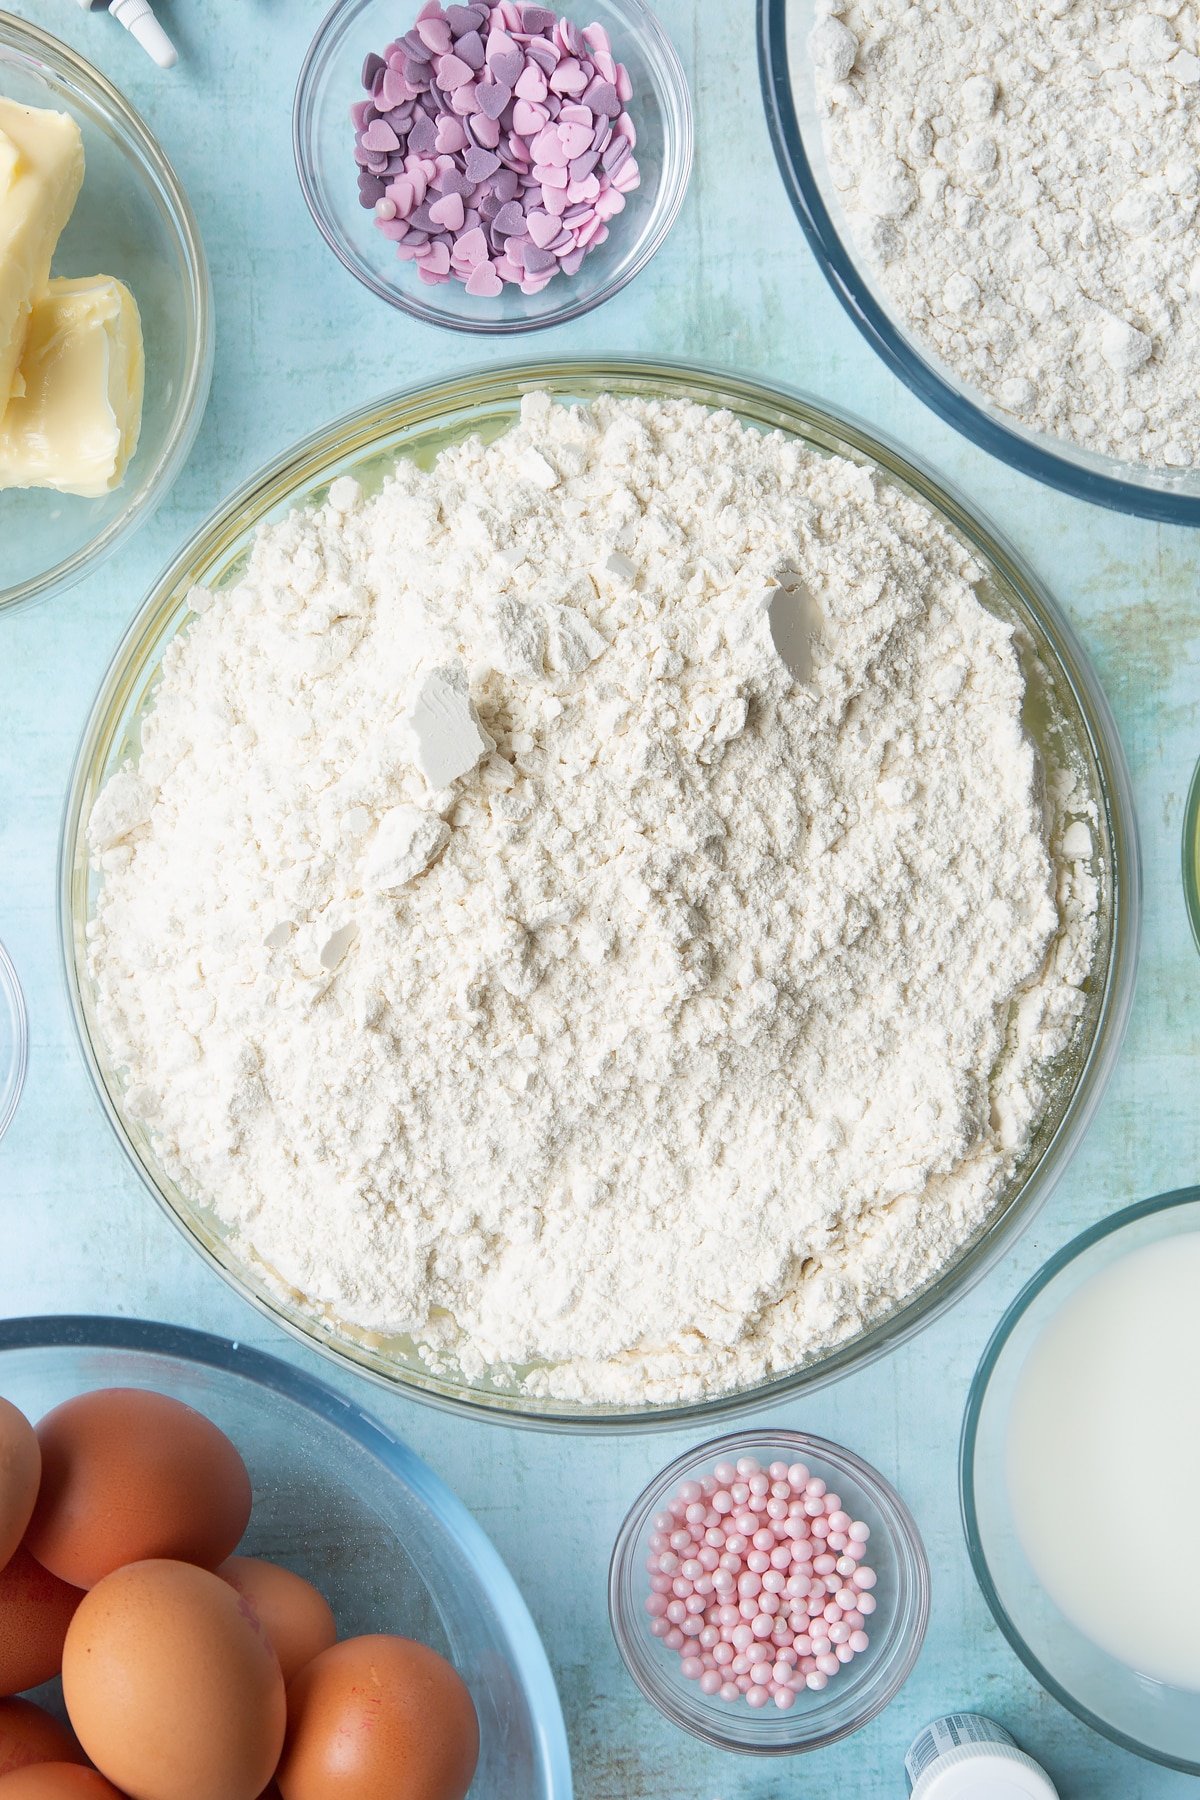
Add the flour.
Beat until smooth. Your batter should now be very pale - almost white.
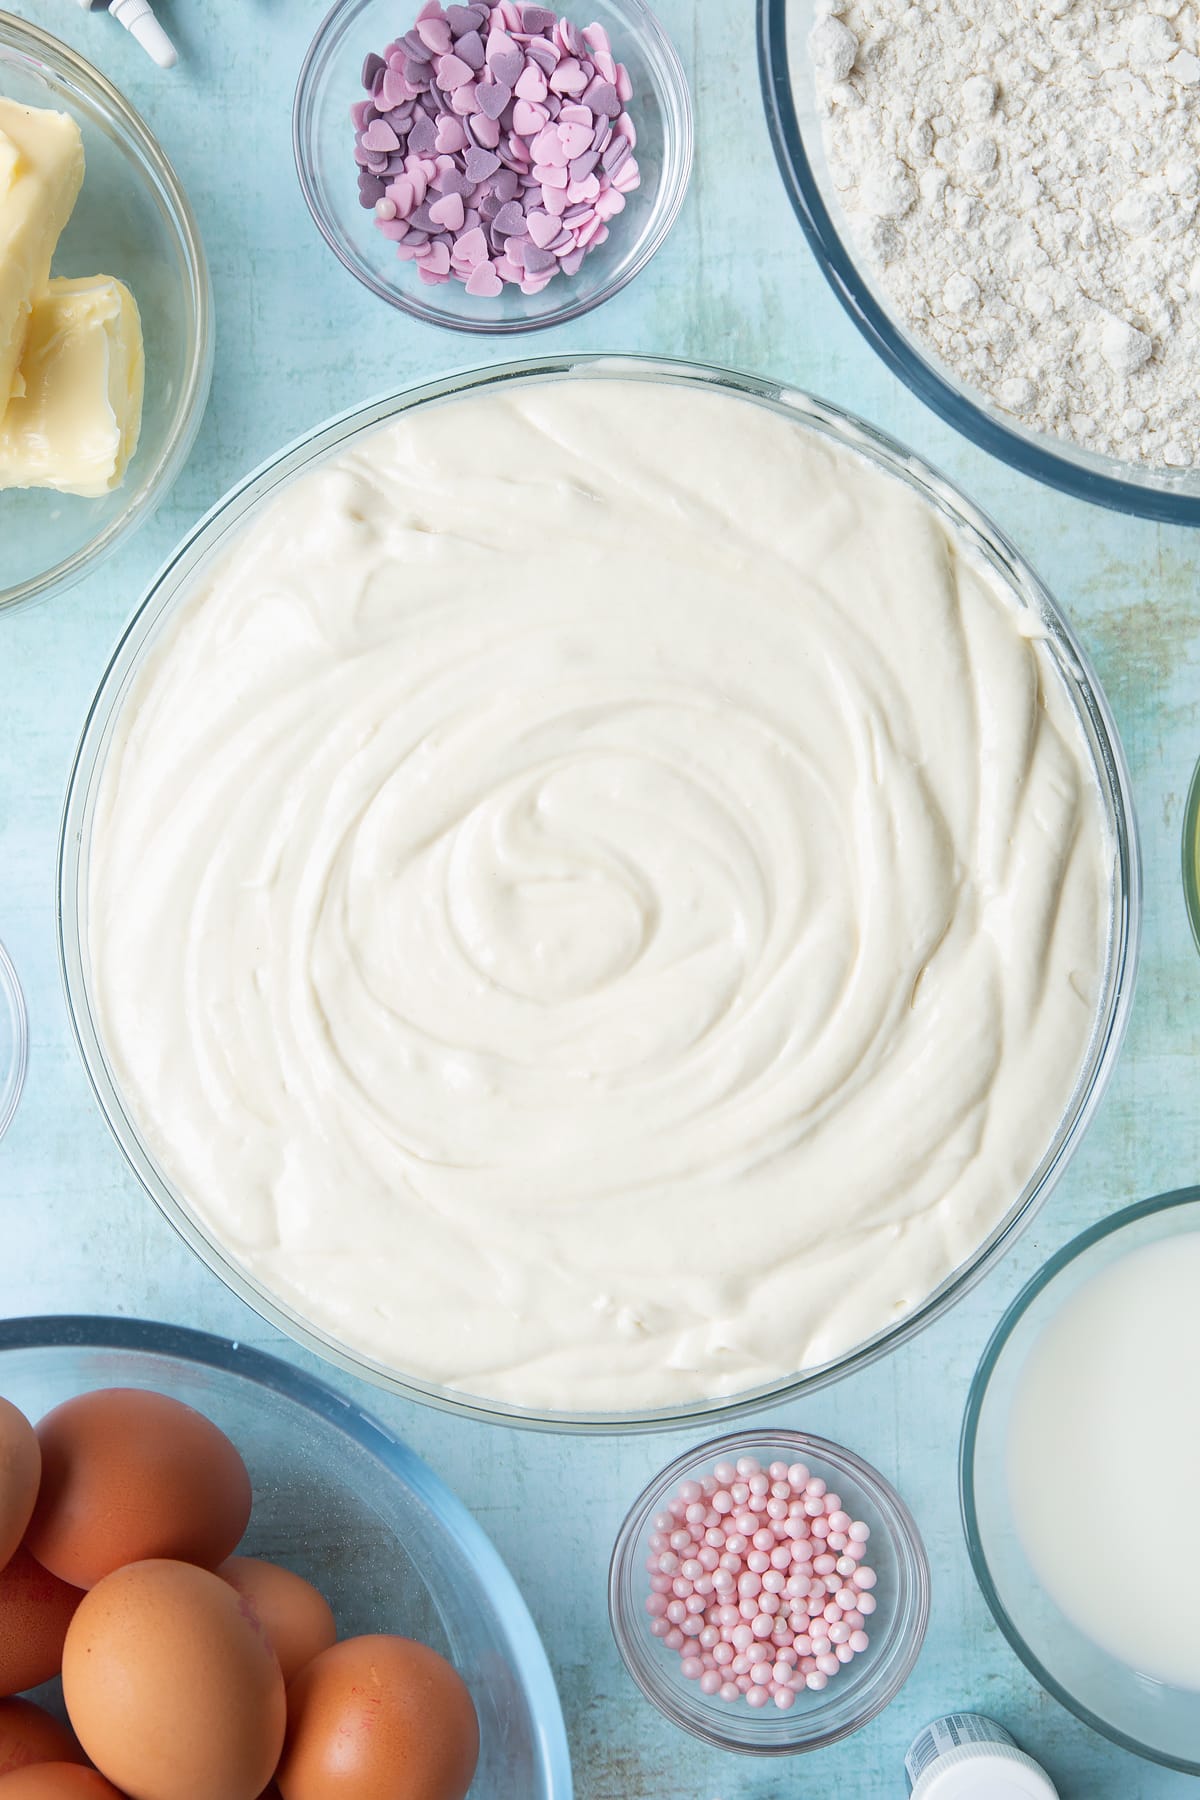
Colour the batter
Divide the batter evenly between 3 bowls. If you want really equally sized cakes, you can weigh the whole batter and then divide by 3 to figure out how much batter to put in each bowl. This will vary very slightly according to the exact weight of the eggs.
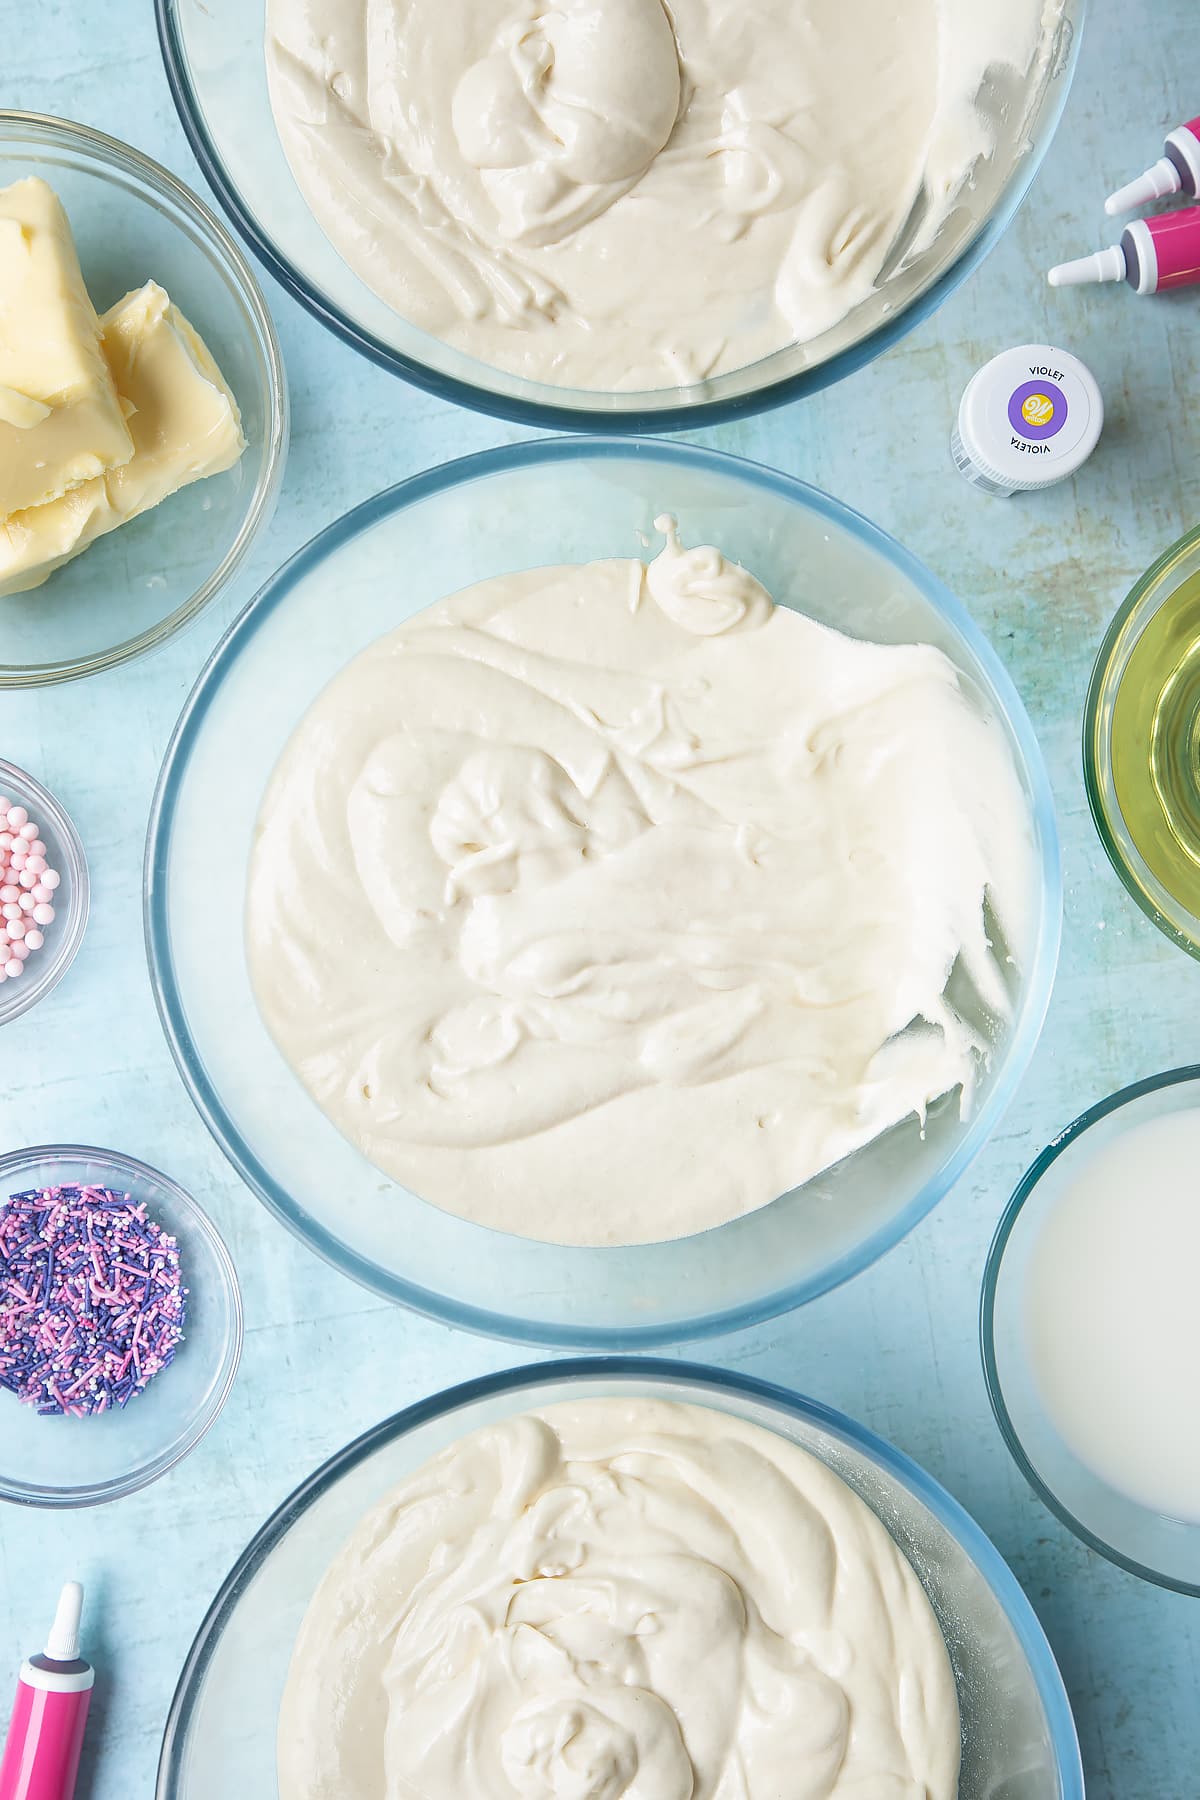
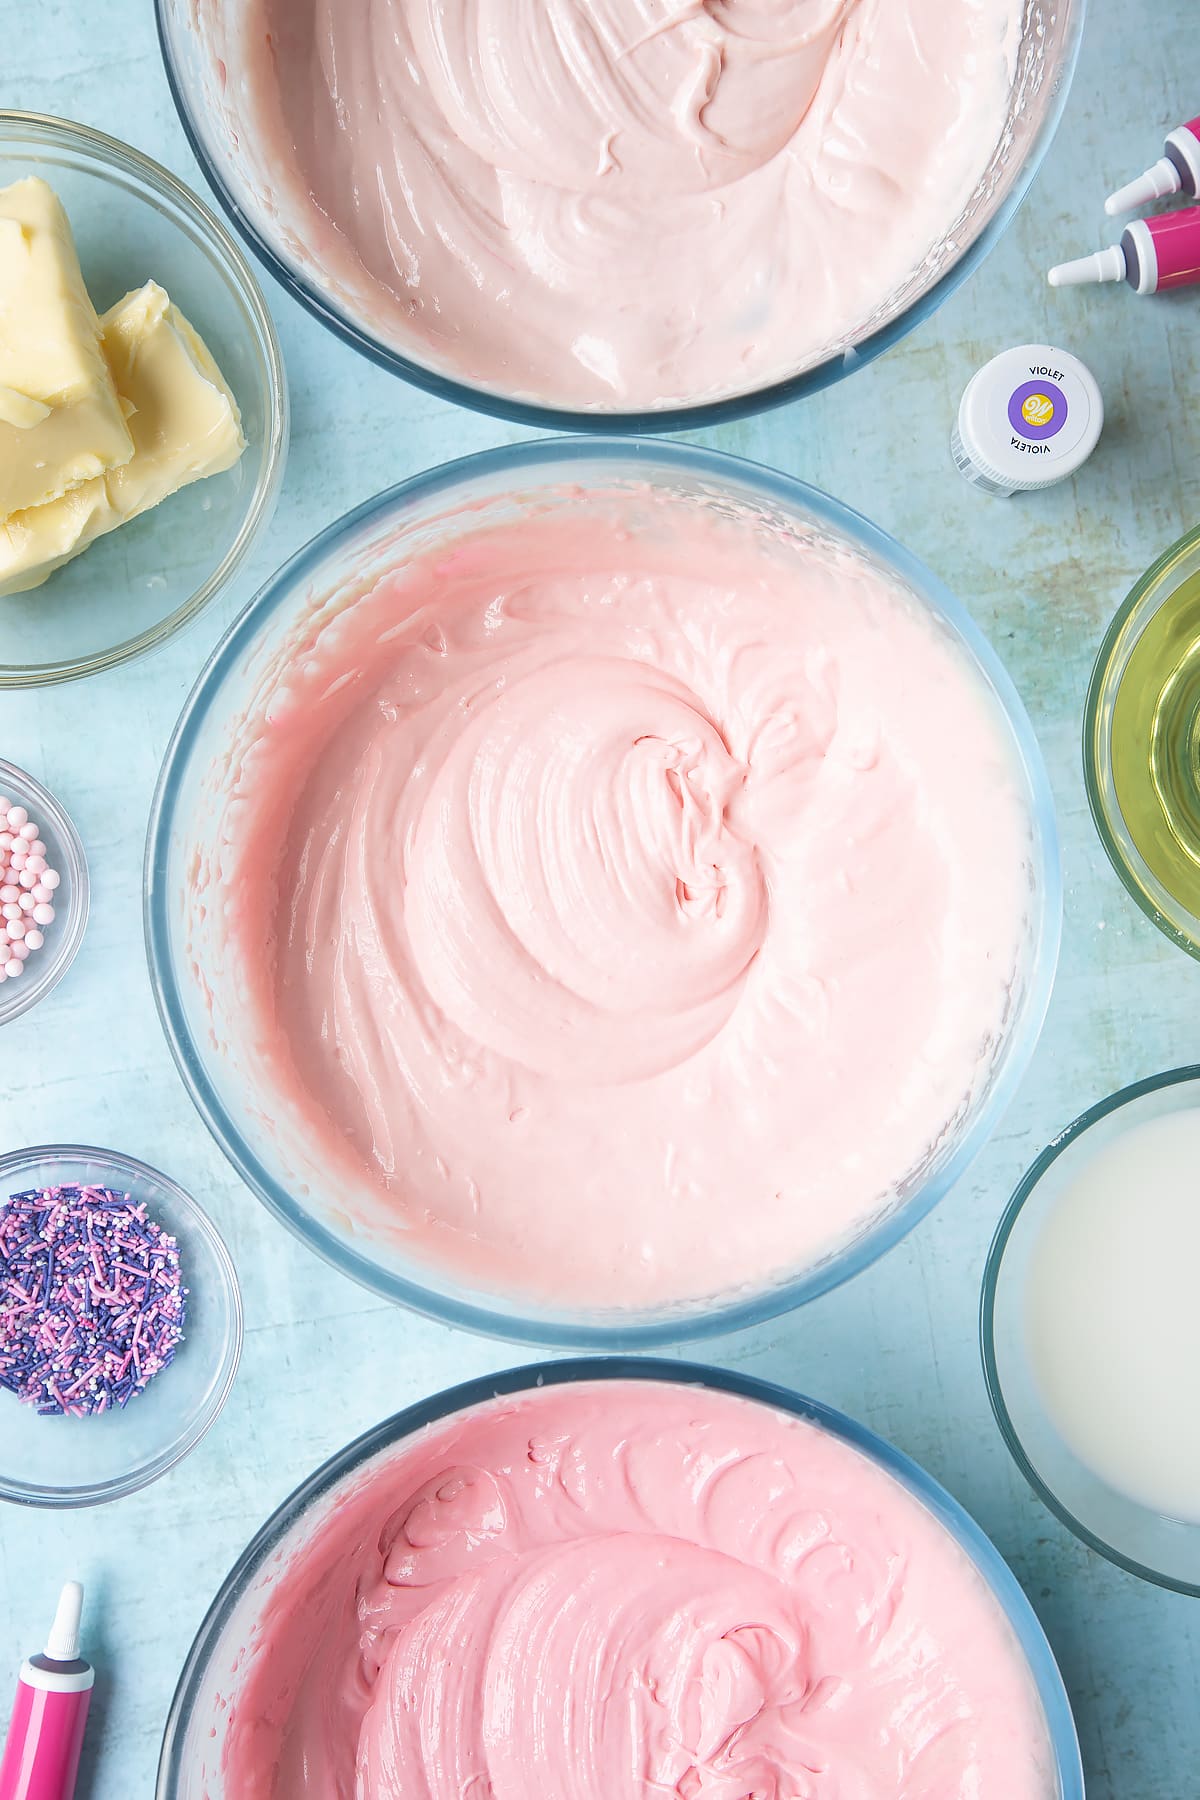
Colour the first bowl pale pink, the second bowl a deeper pink, and the final bowl a vibrant pink. You will need to experiment with your particular brand of food colouring to decide how much each bowl needs.
Fill the tins and bake
Spoon each bowl of cake batter into the tins.
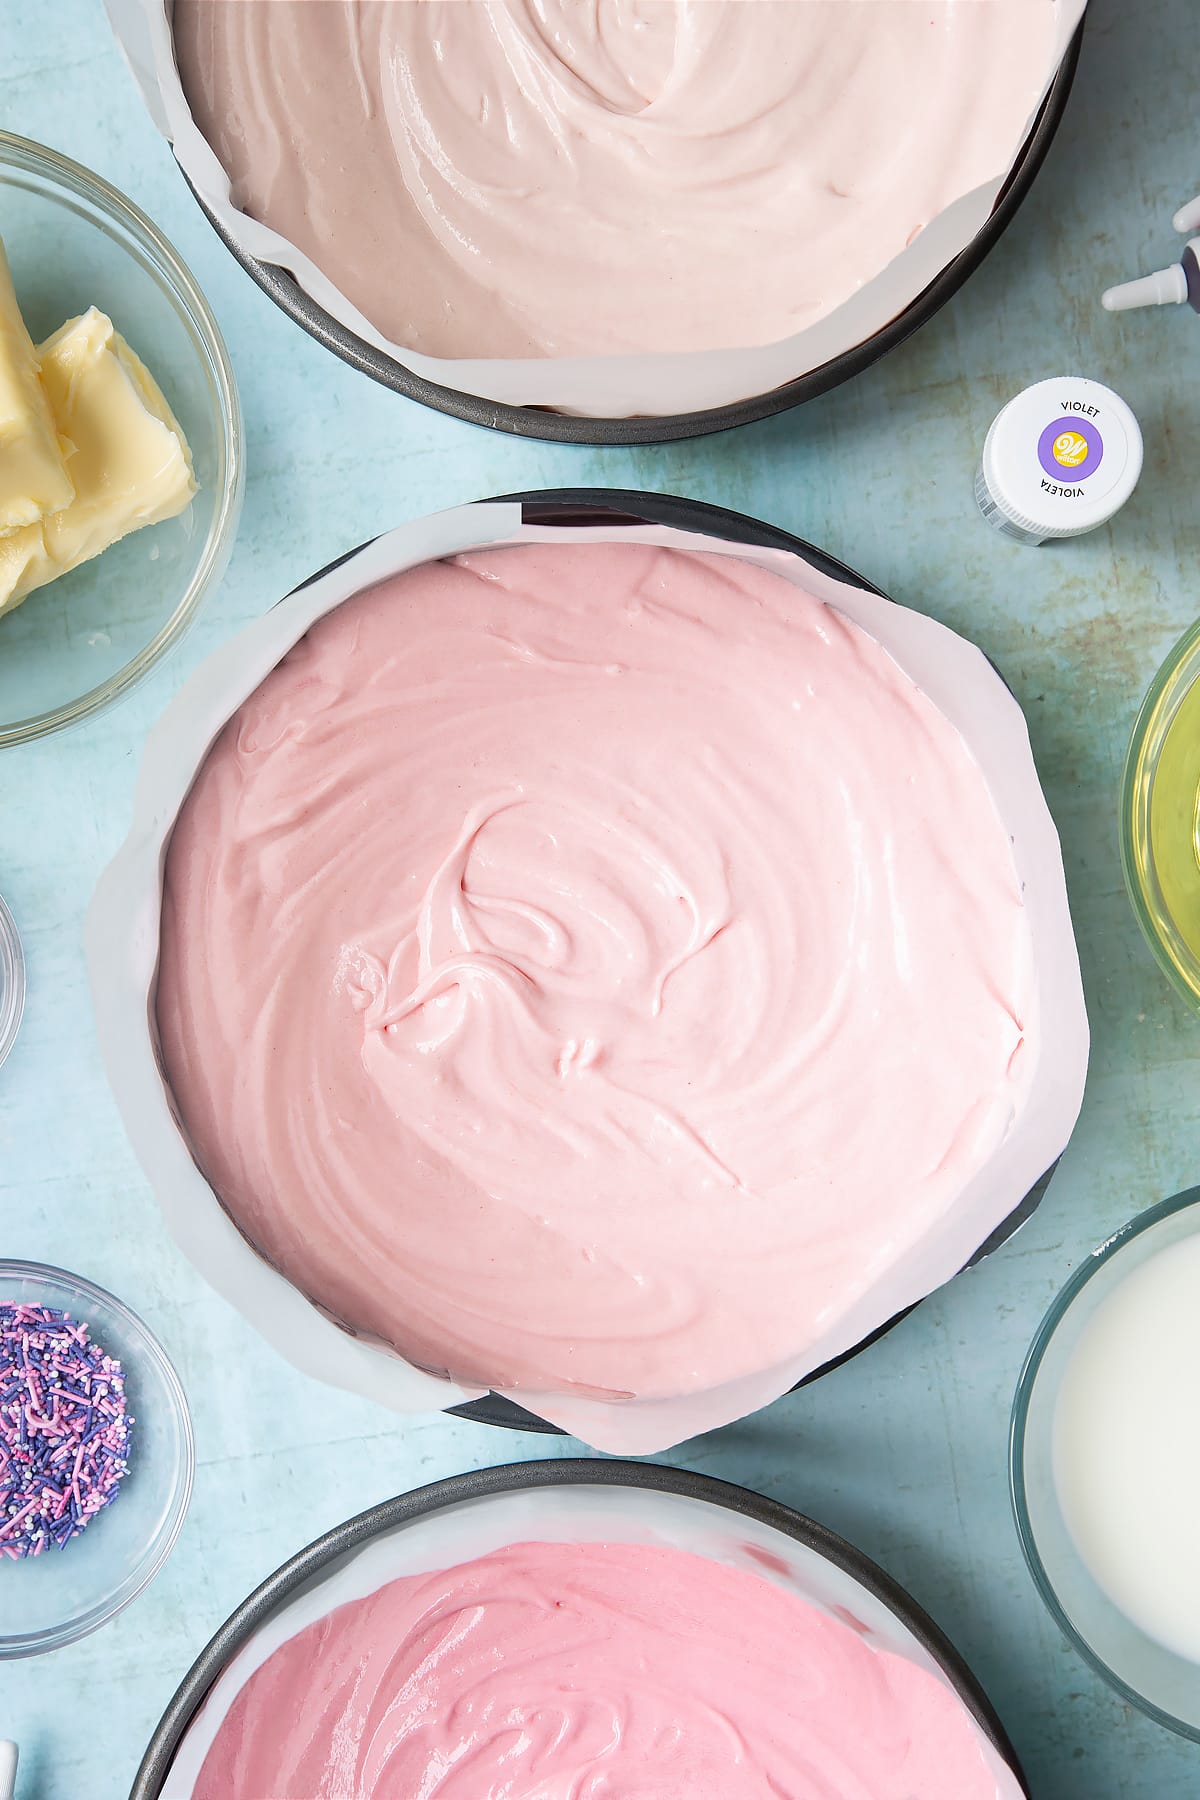
Place your cakes in the oven. You’ll probably need to use two shelves so aim to get both as close to the centre of the oven as possible, although it’s less of an issue with a fan oven.
Bake for approximately 40 mins until springy on top. Allow to cool in the tins for 5 minutes, then transfer to wire racks to cool completely.
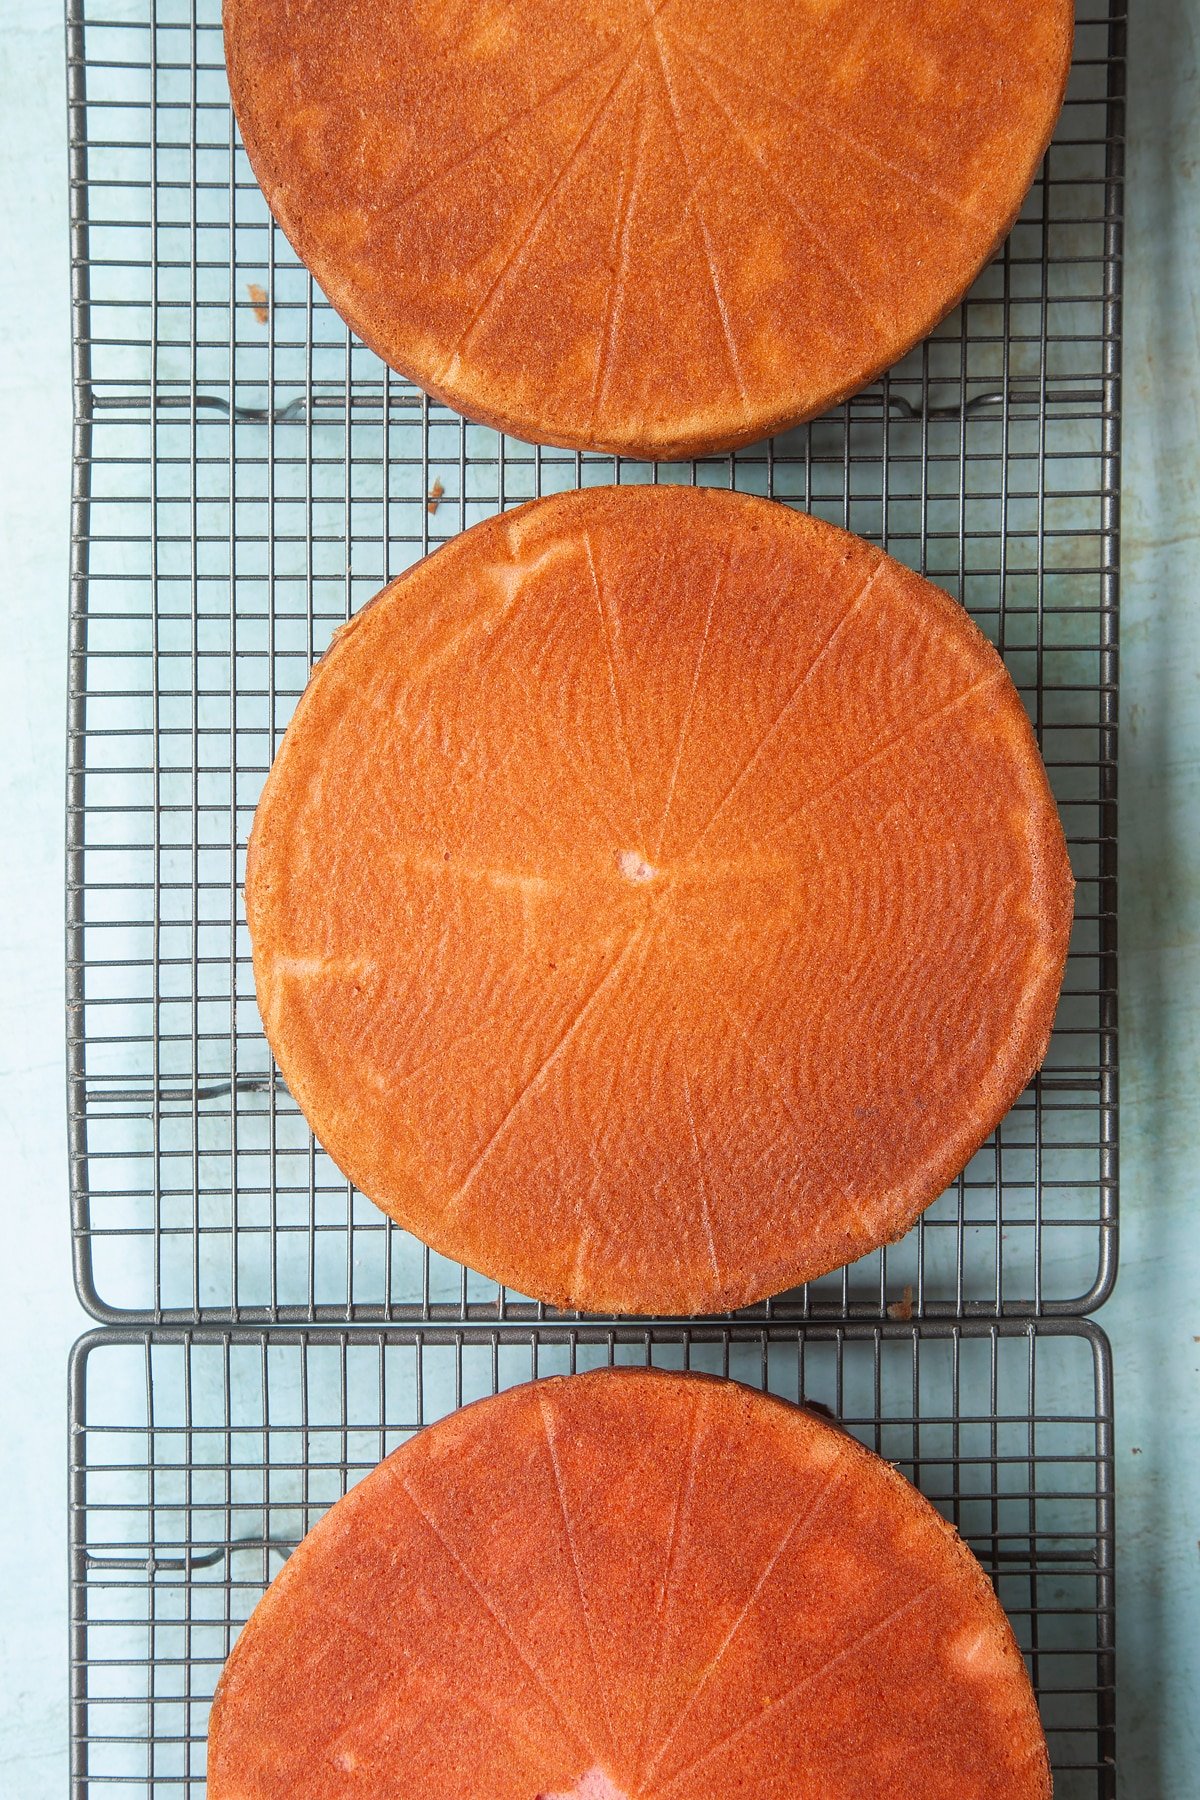
Once cool, if your cakes have domed, trim off the tops to make them level.
You should also trim off the tops if they're a little brown as this will put brown crumbs in your frosting. They tend to catch if you put them too high in the oven.
Make the buttercream
Put the butter in a large bowl.
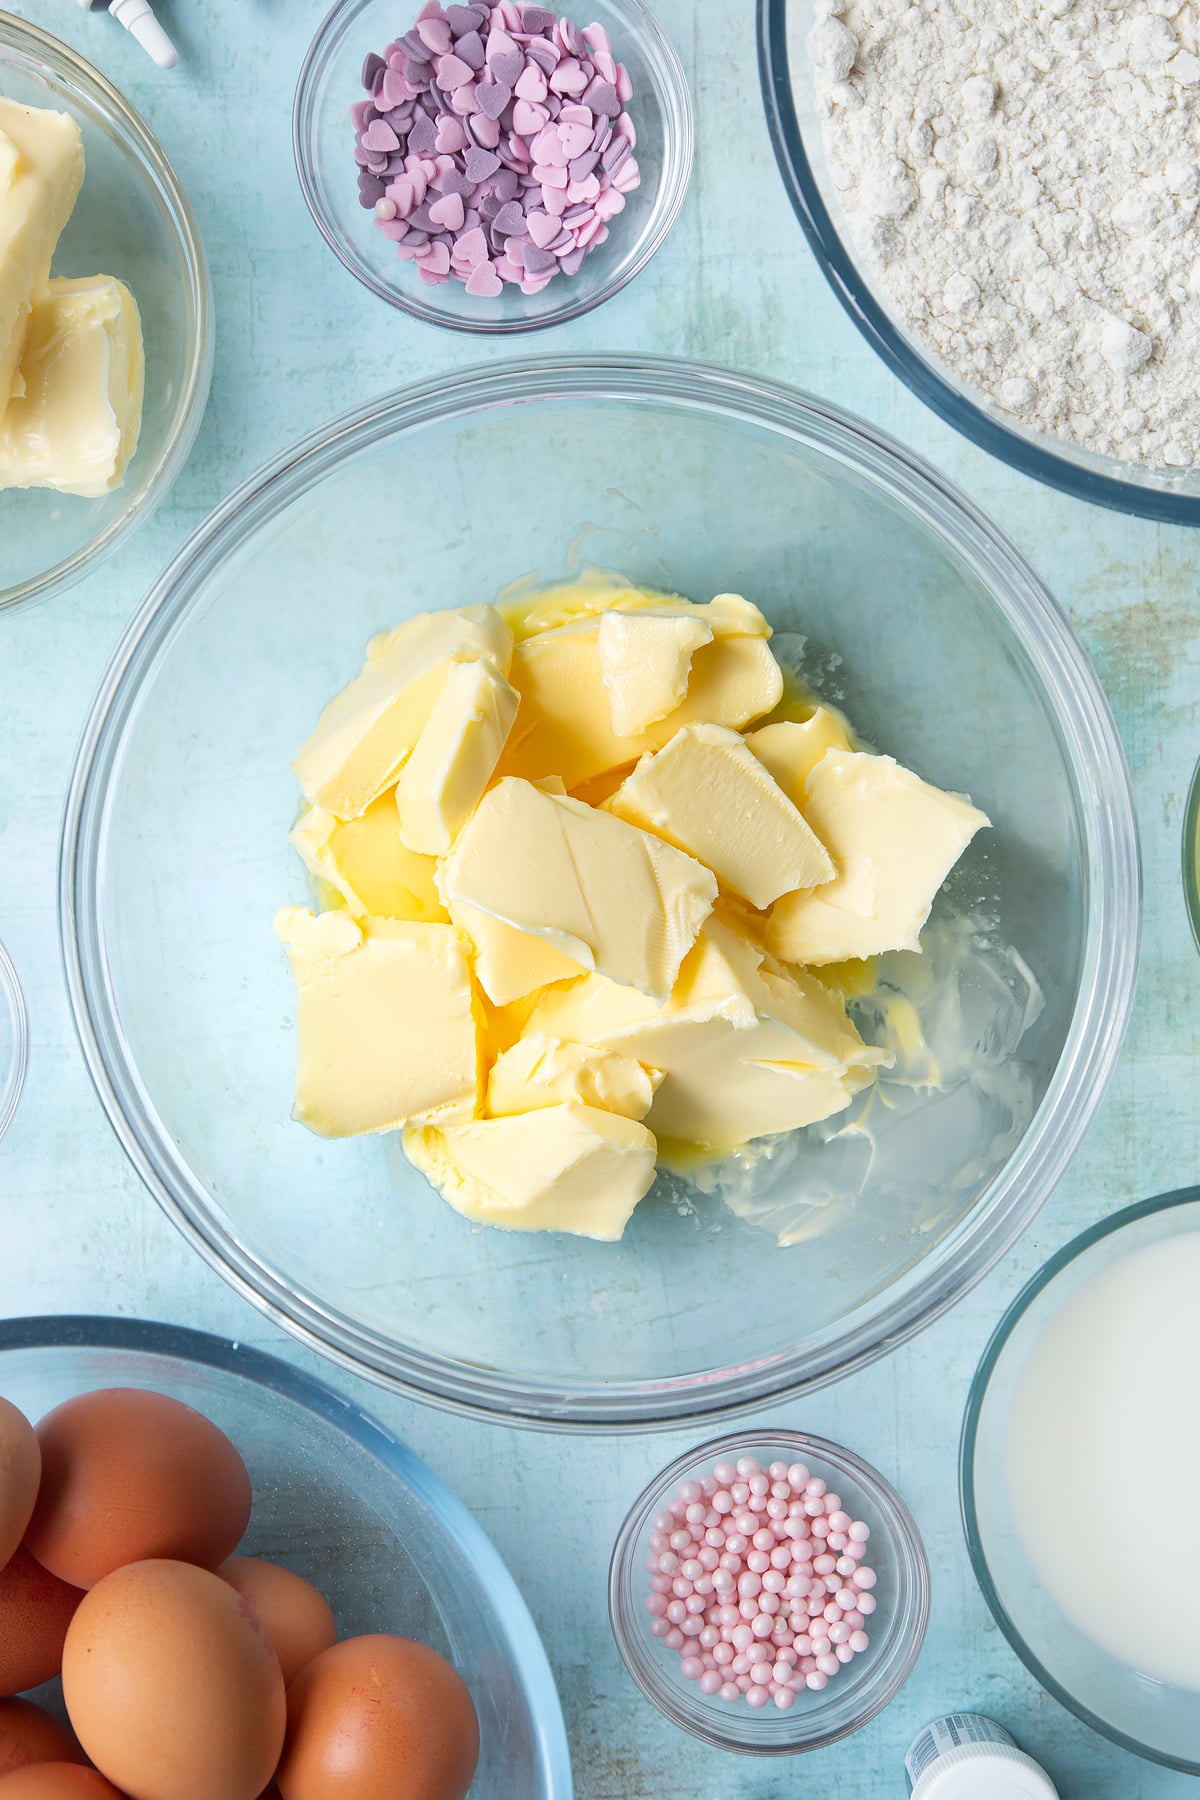
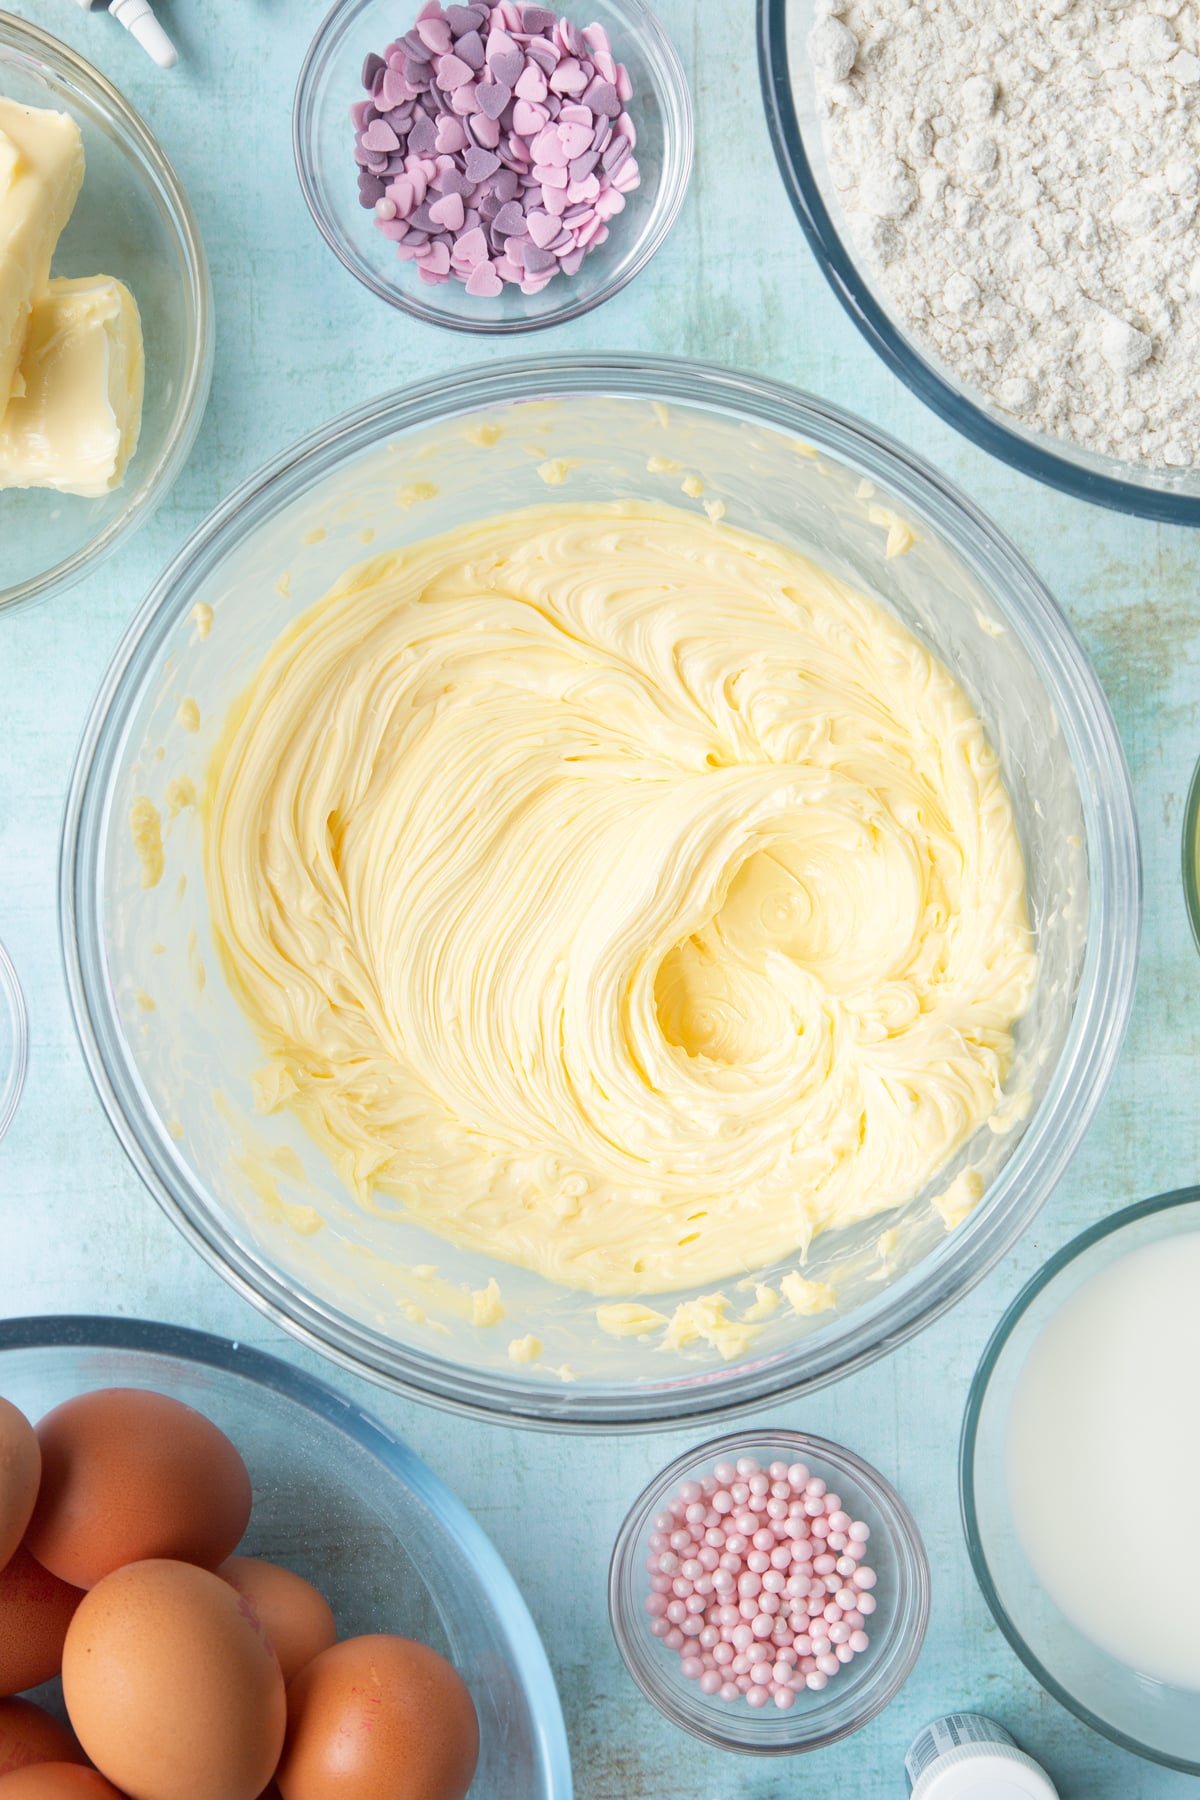
Whip until creamy - this makes it easier to combine it with the icing sugar.
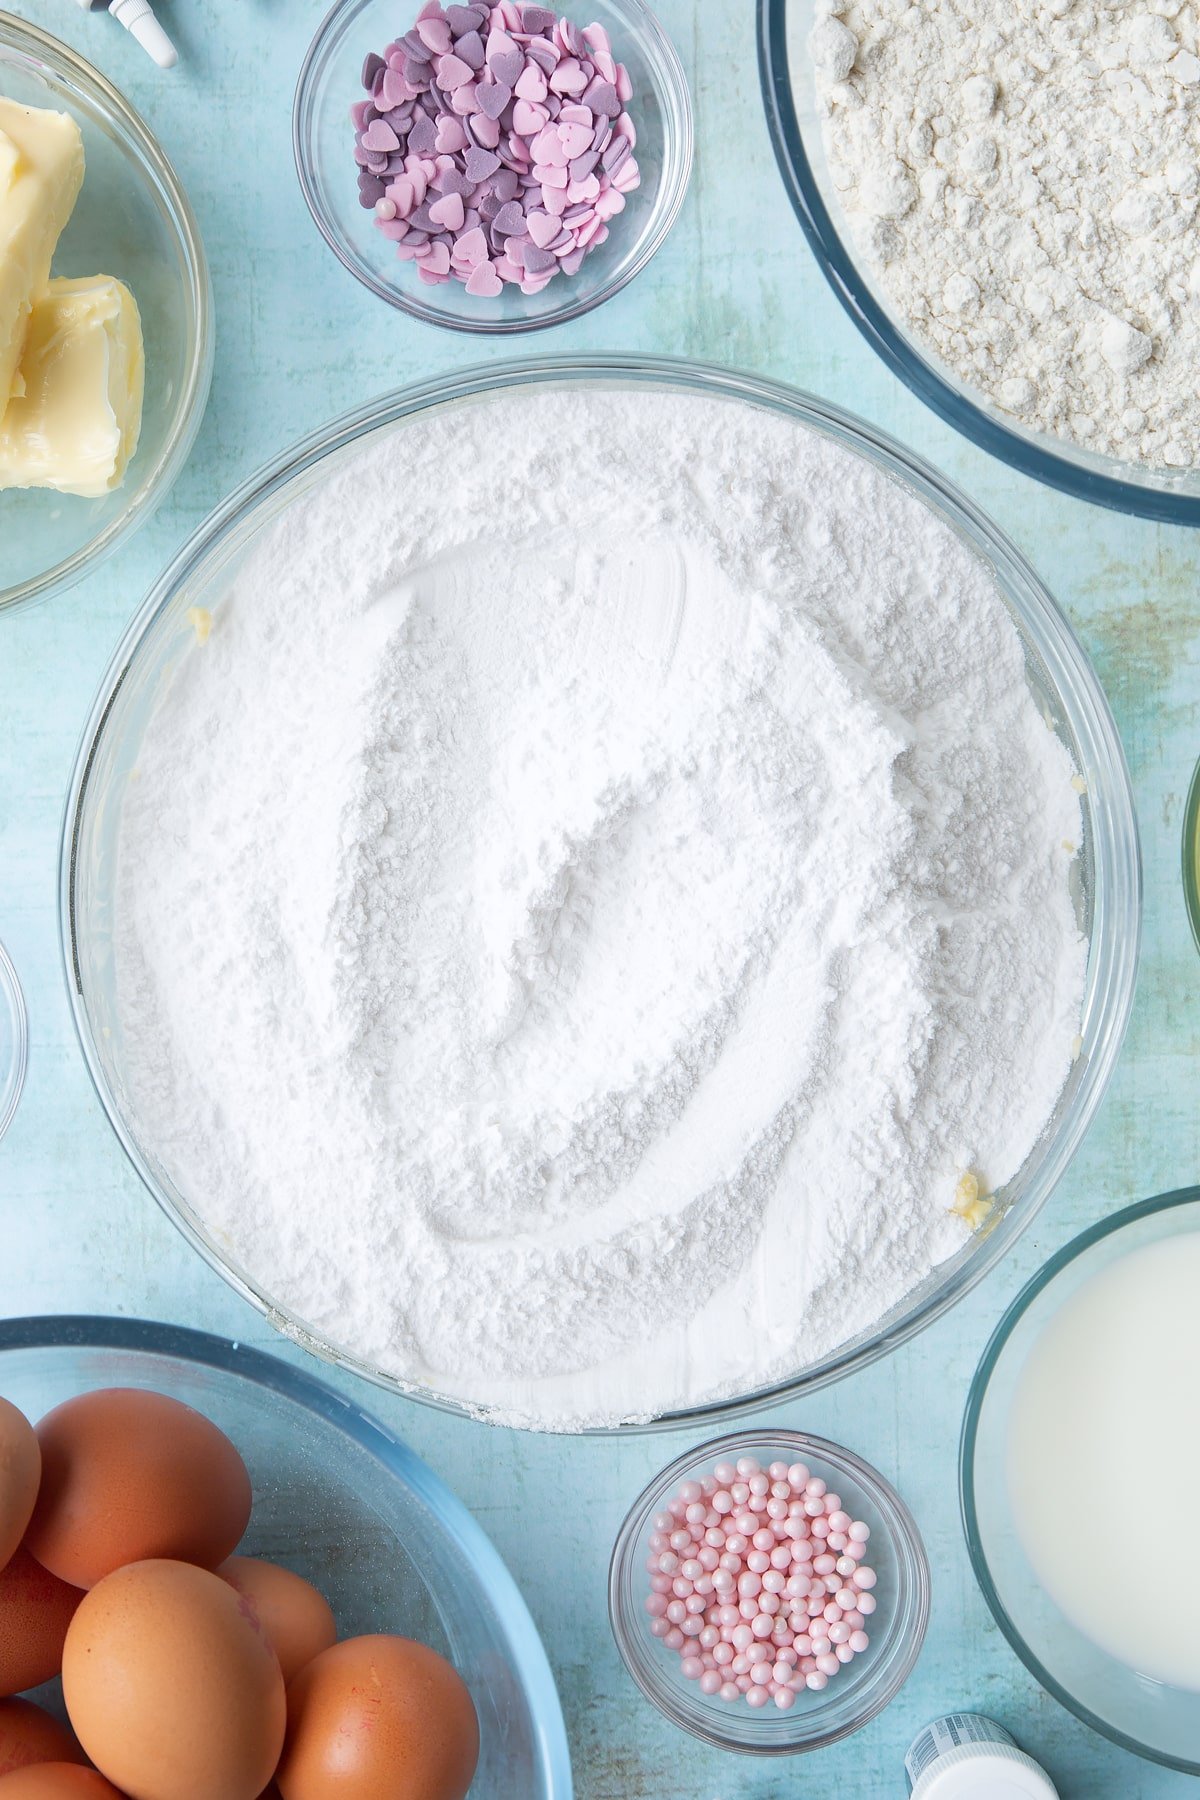
Add the icing sugar and vanilla extract.
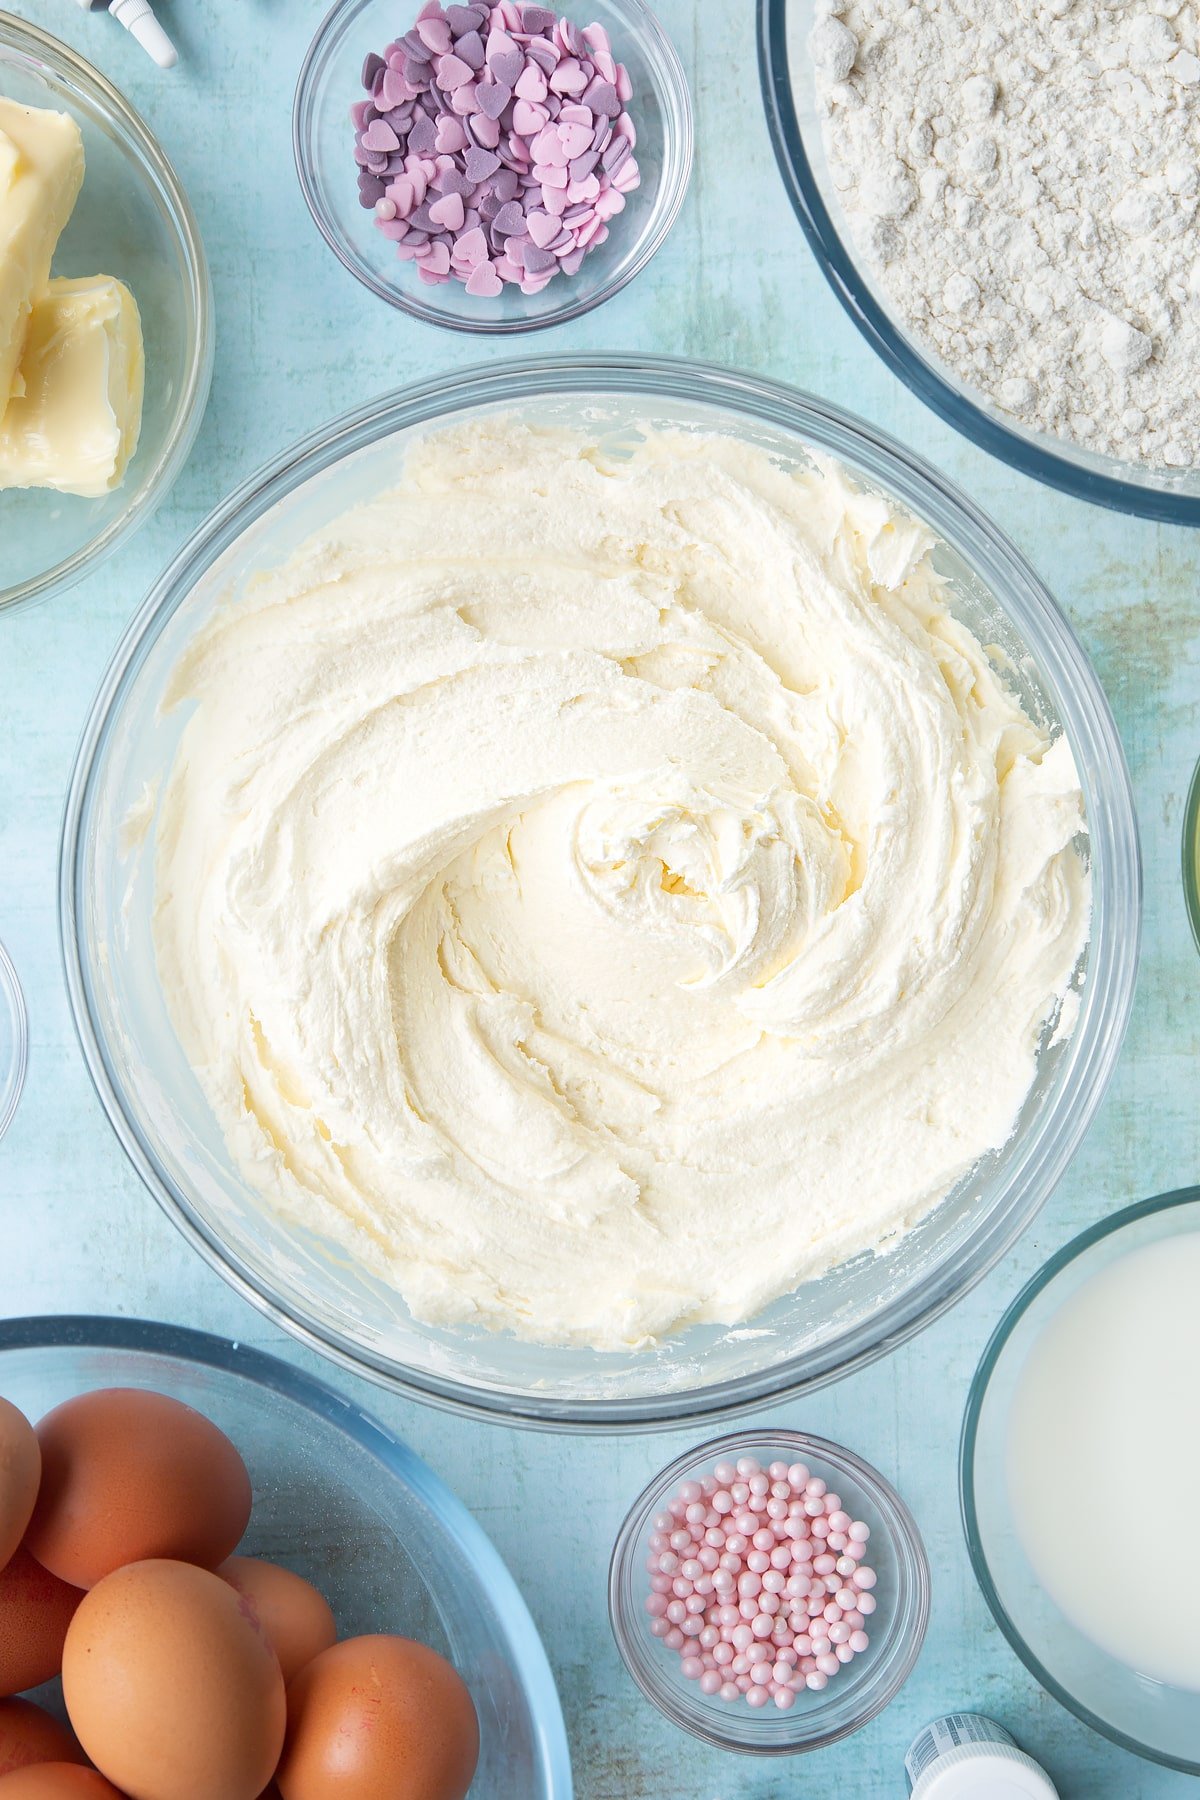
Beat together, starting very slowly at first to avoid a sugar cloud, then increase in speed until the frosting has roughly doubled in volume (due to the incorporation of air) and looks pale and fluffy.
Add a little bit of pink food colouring and whisk through - you're only looking to achieve a pale pink.
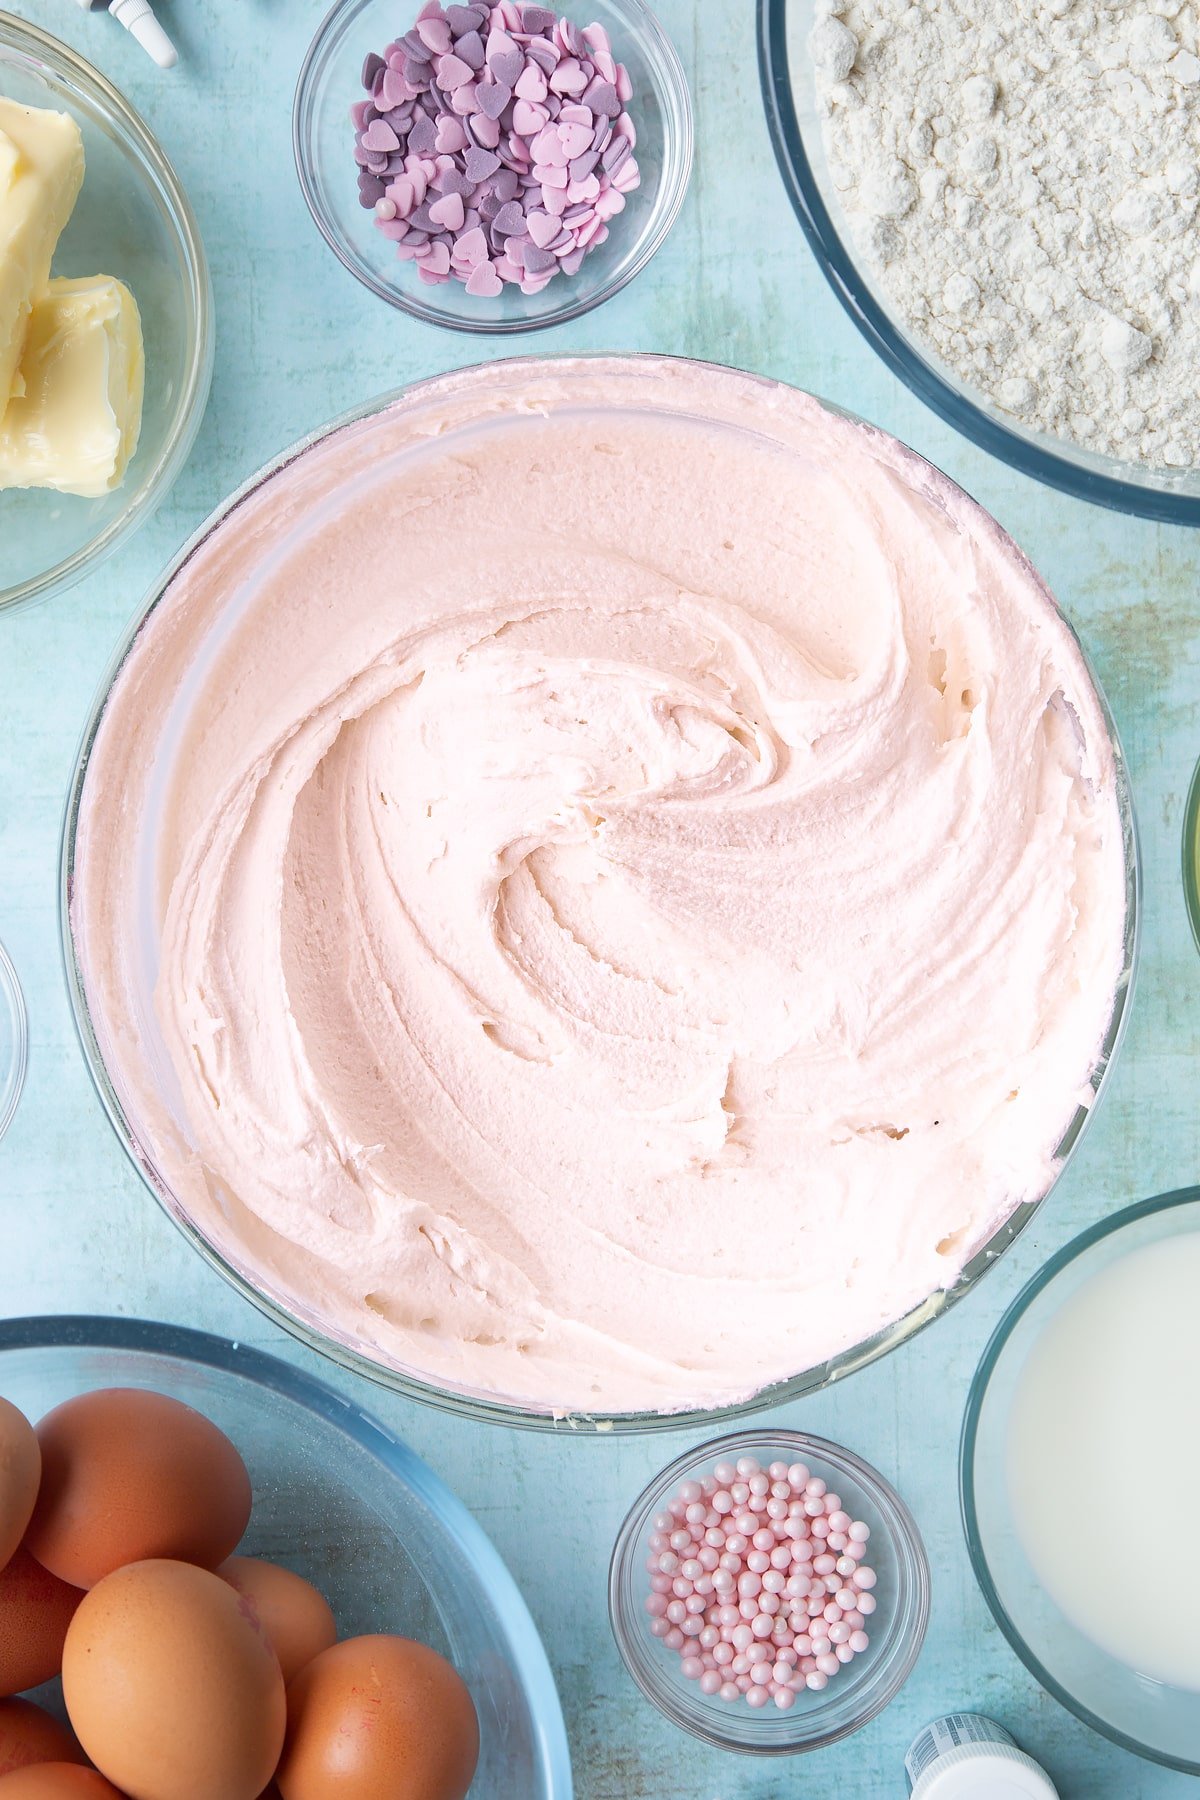
At this point, I like to transfer the frosting to a piping bag and snip off a wide tip, but you can just spoon the frosting from the bowl onto the cake, if you prefer.
Assemble the cake
Place the pinkest cake on a cake turntable.
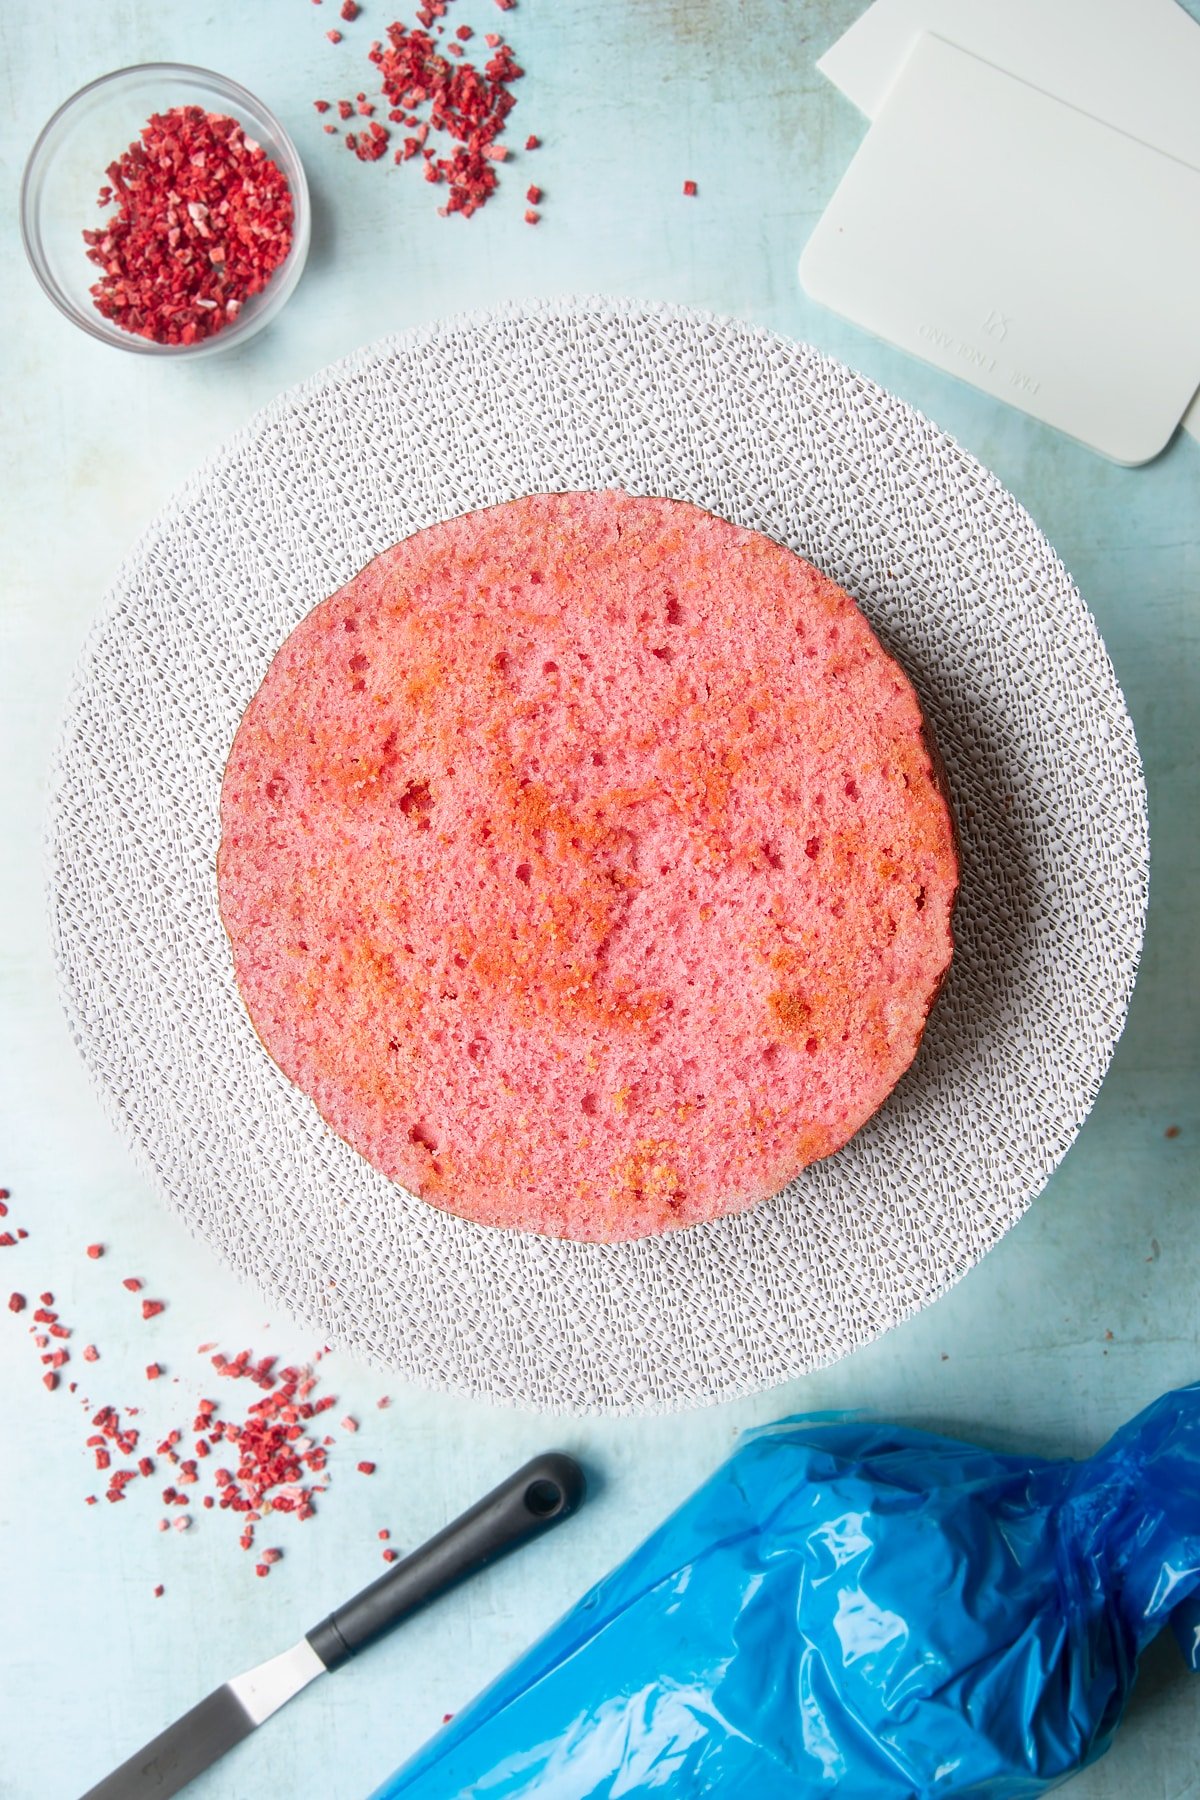
Spread with frosting about 2cm (3/4 inch) thick, all the way to the edges.
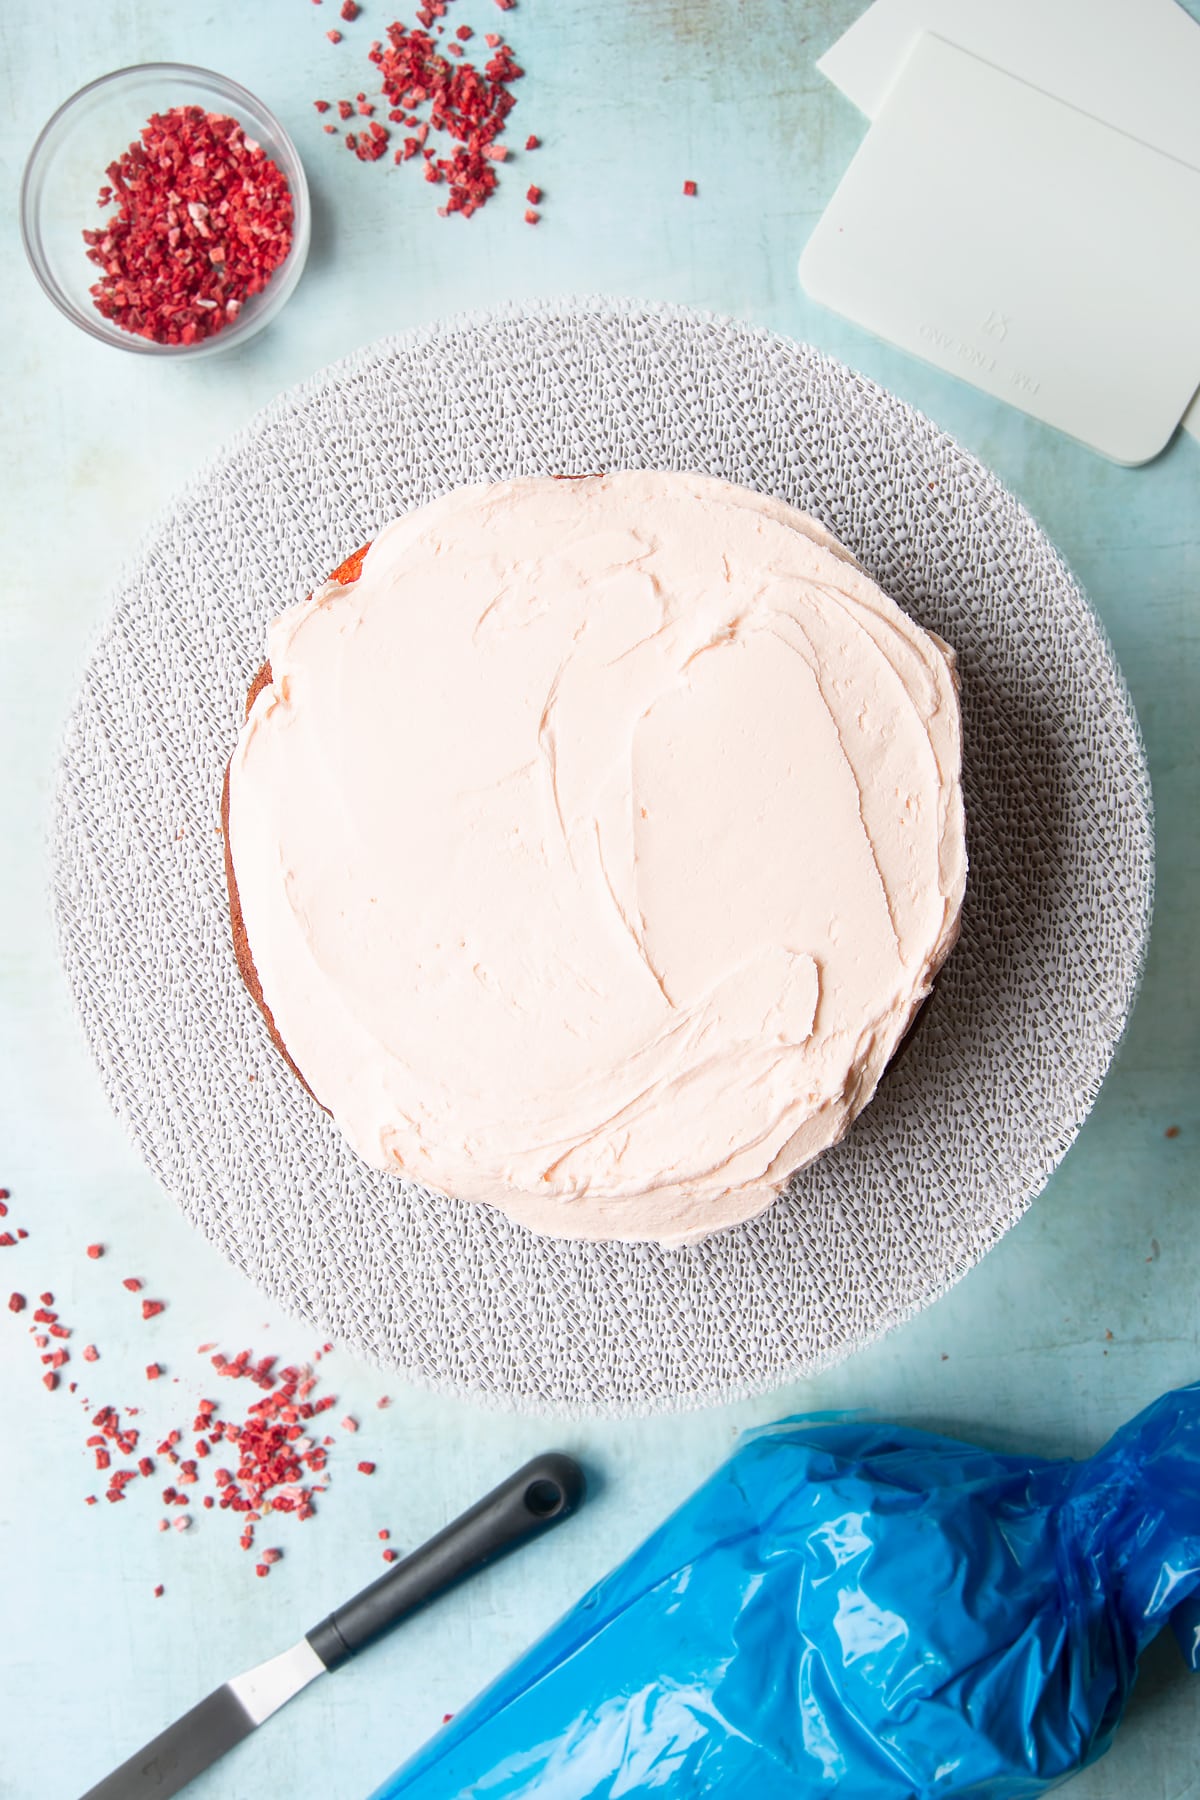
Carefully place the slightly paler cake on top, checking to make sure the cake is still level all the way round.
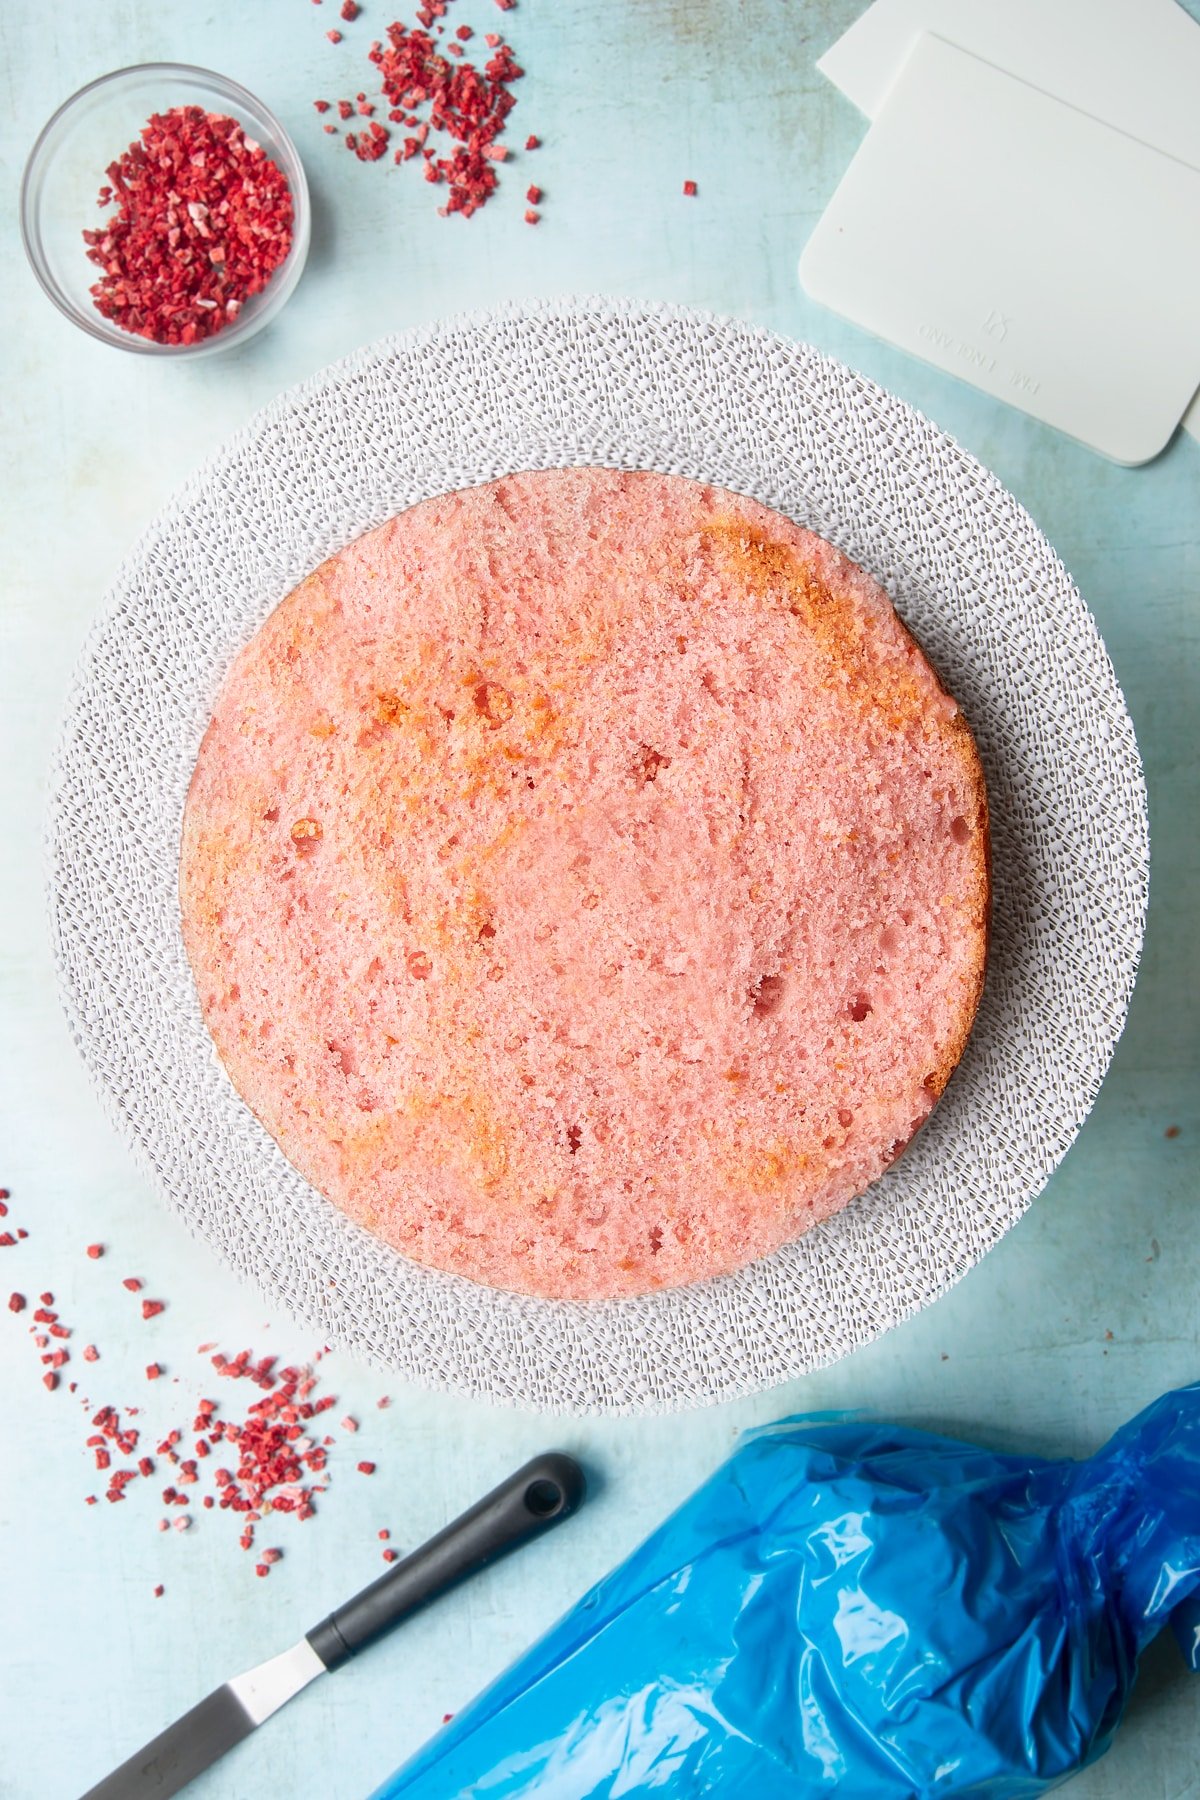
Spread with another layer of frosting.
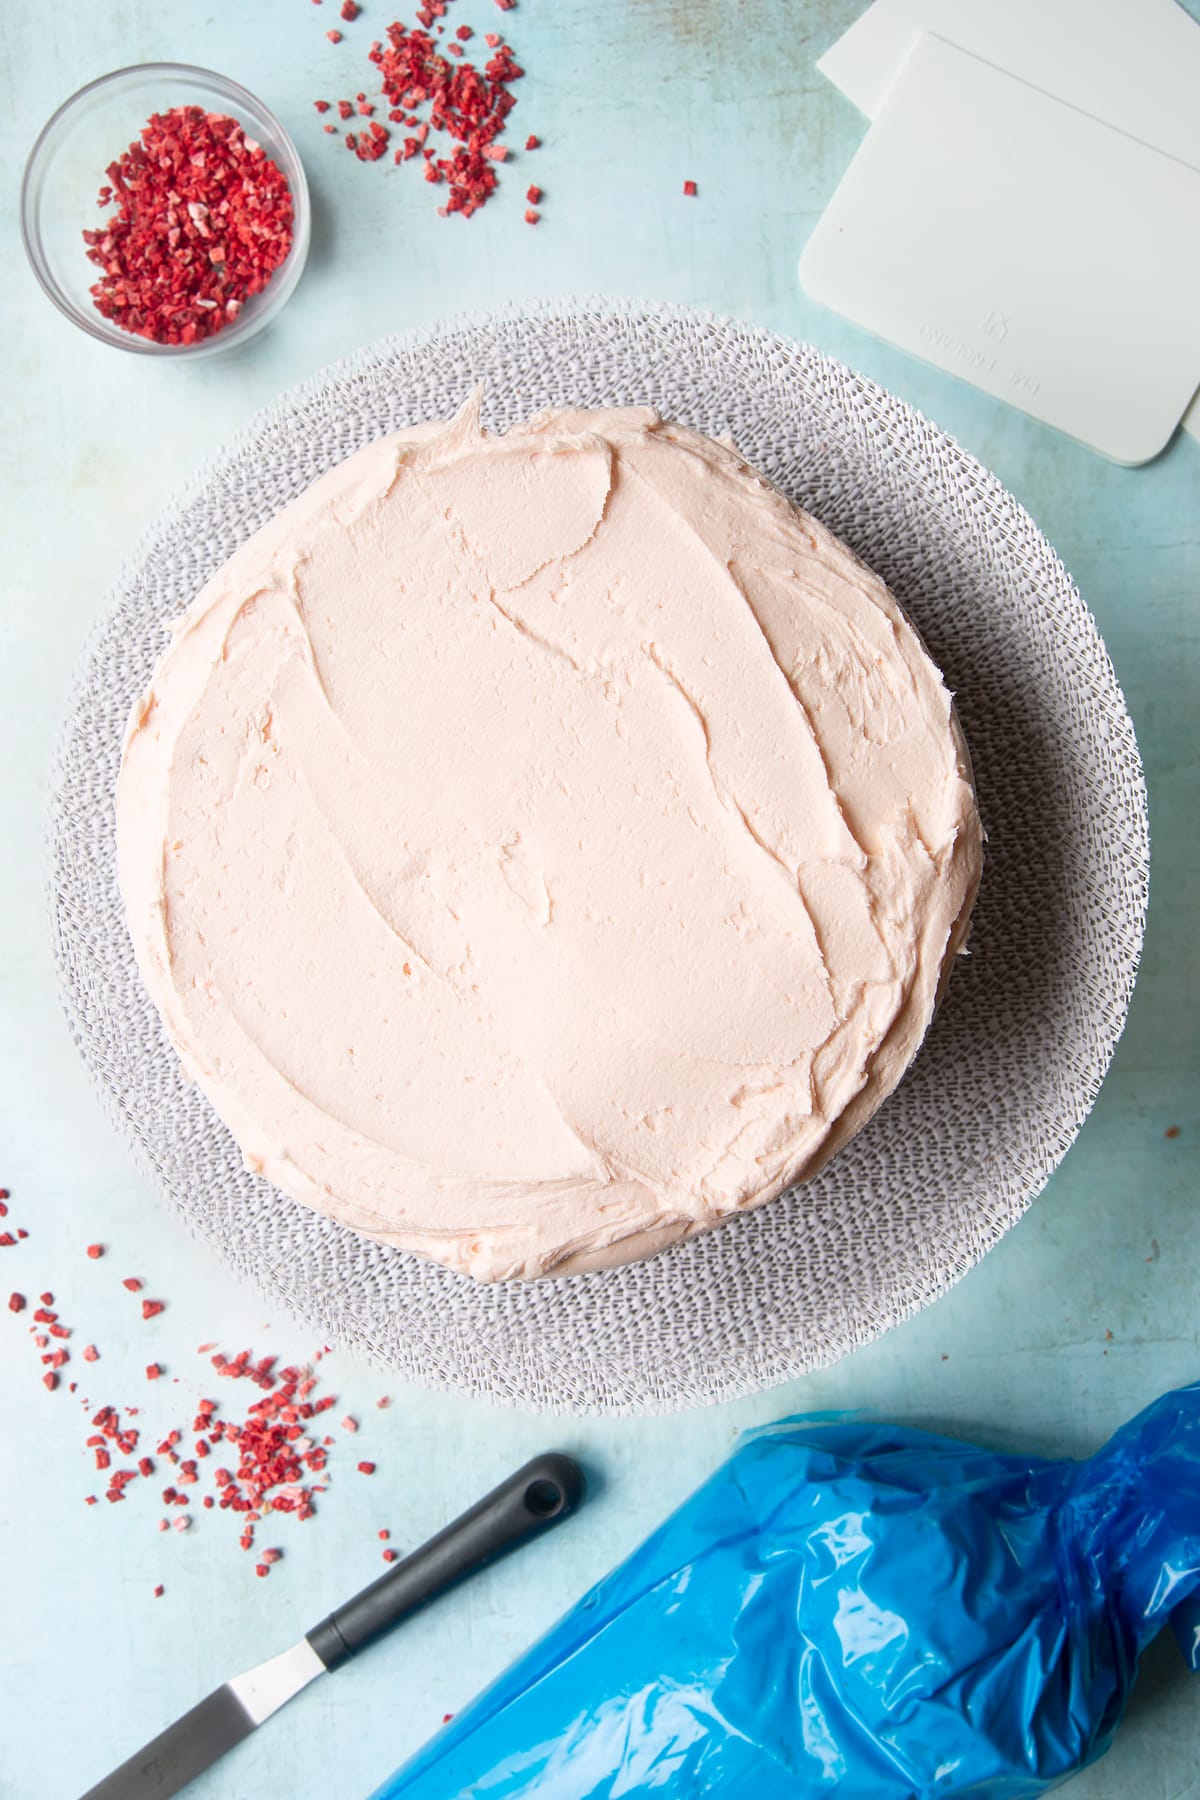
Lay the final, palest cake layer on top. Again, check that it's level.
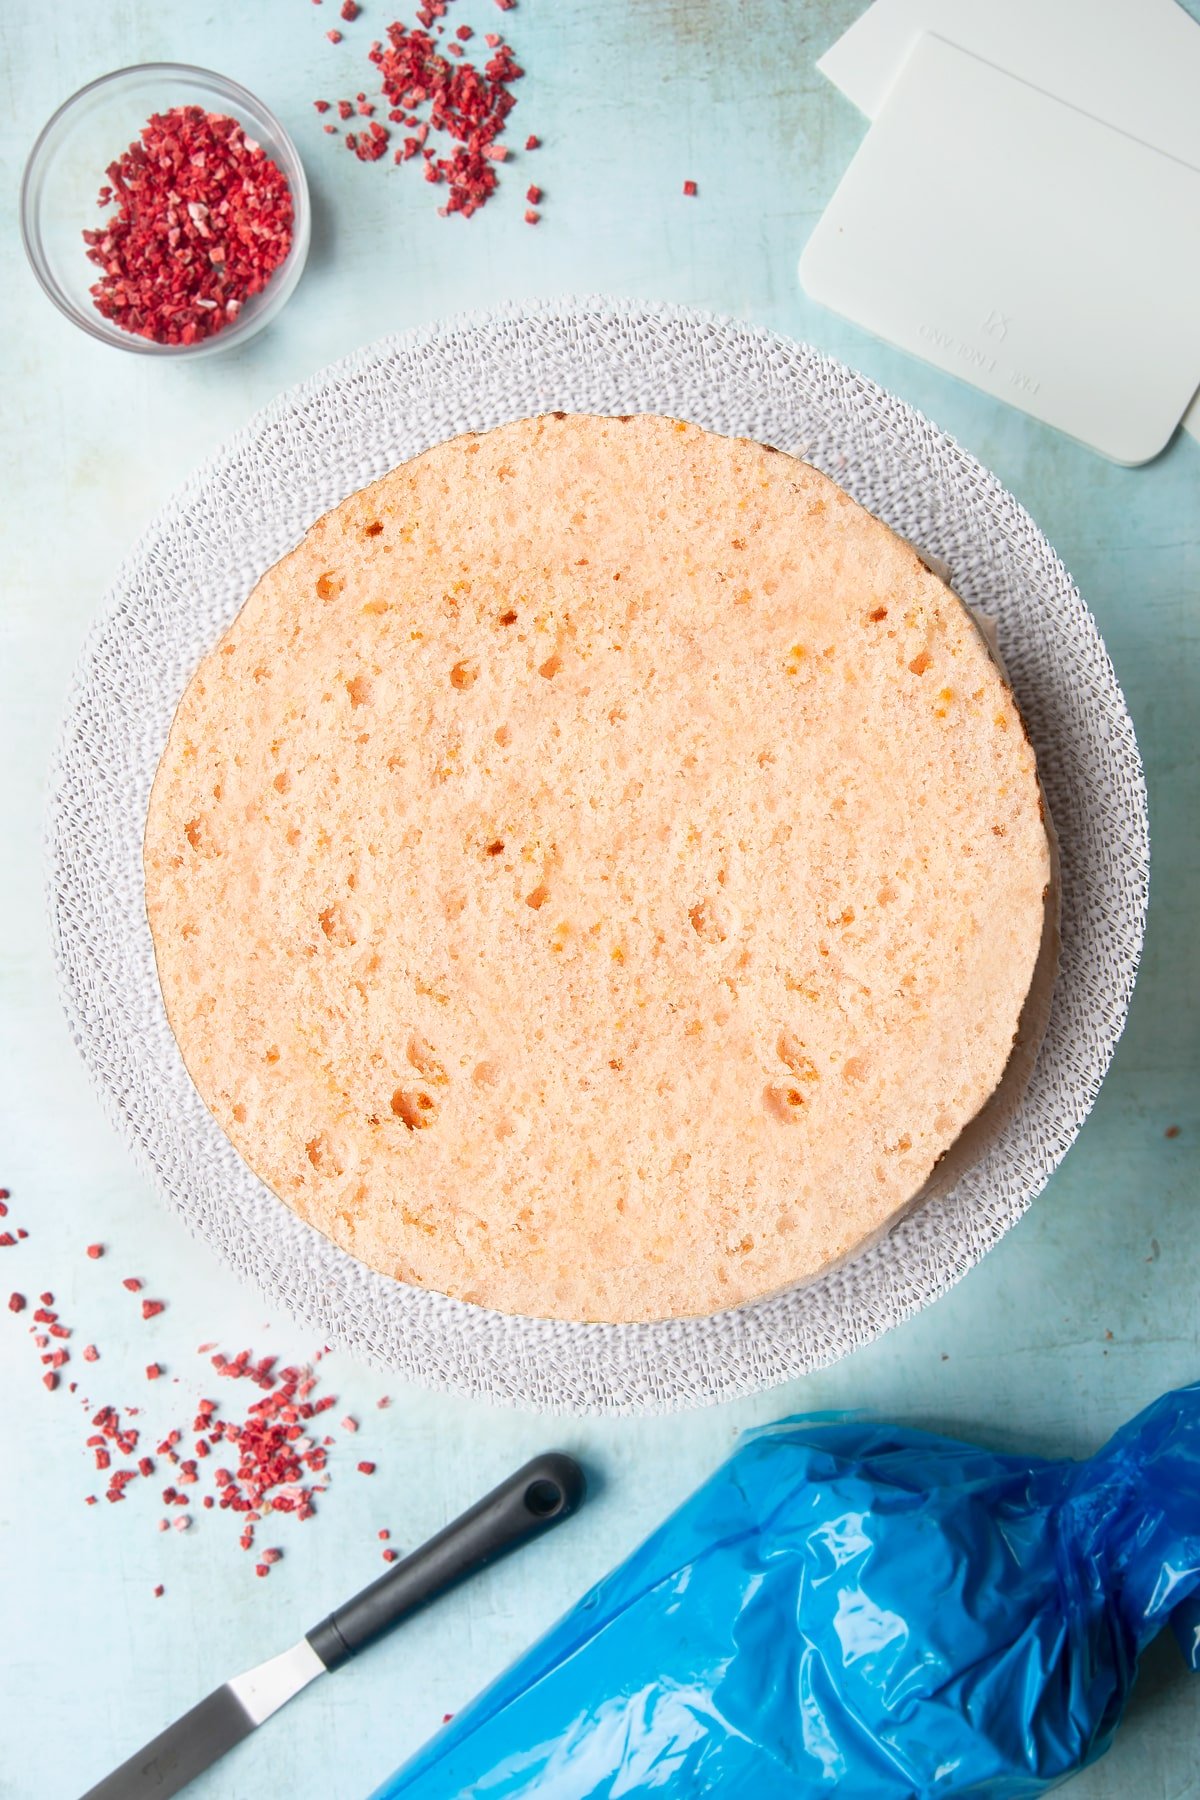
Now cover the whole cake - top and sides - with the remaining frosting. Use a palette knife or tall cake scraper to smooth your frosting. It doesn't need to be perfect.
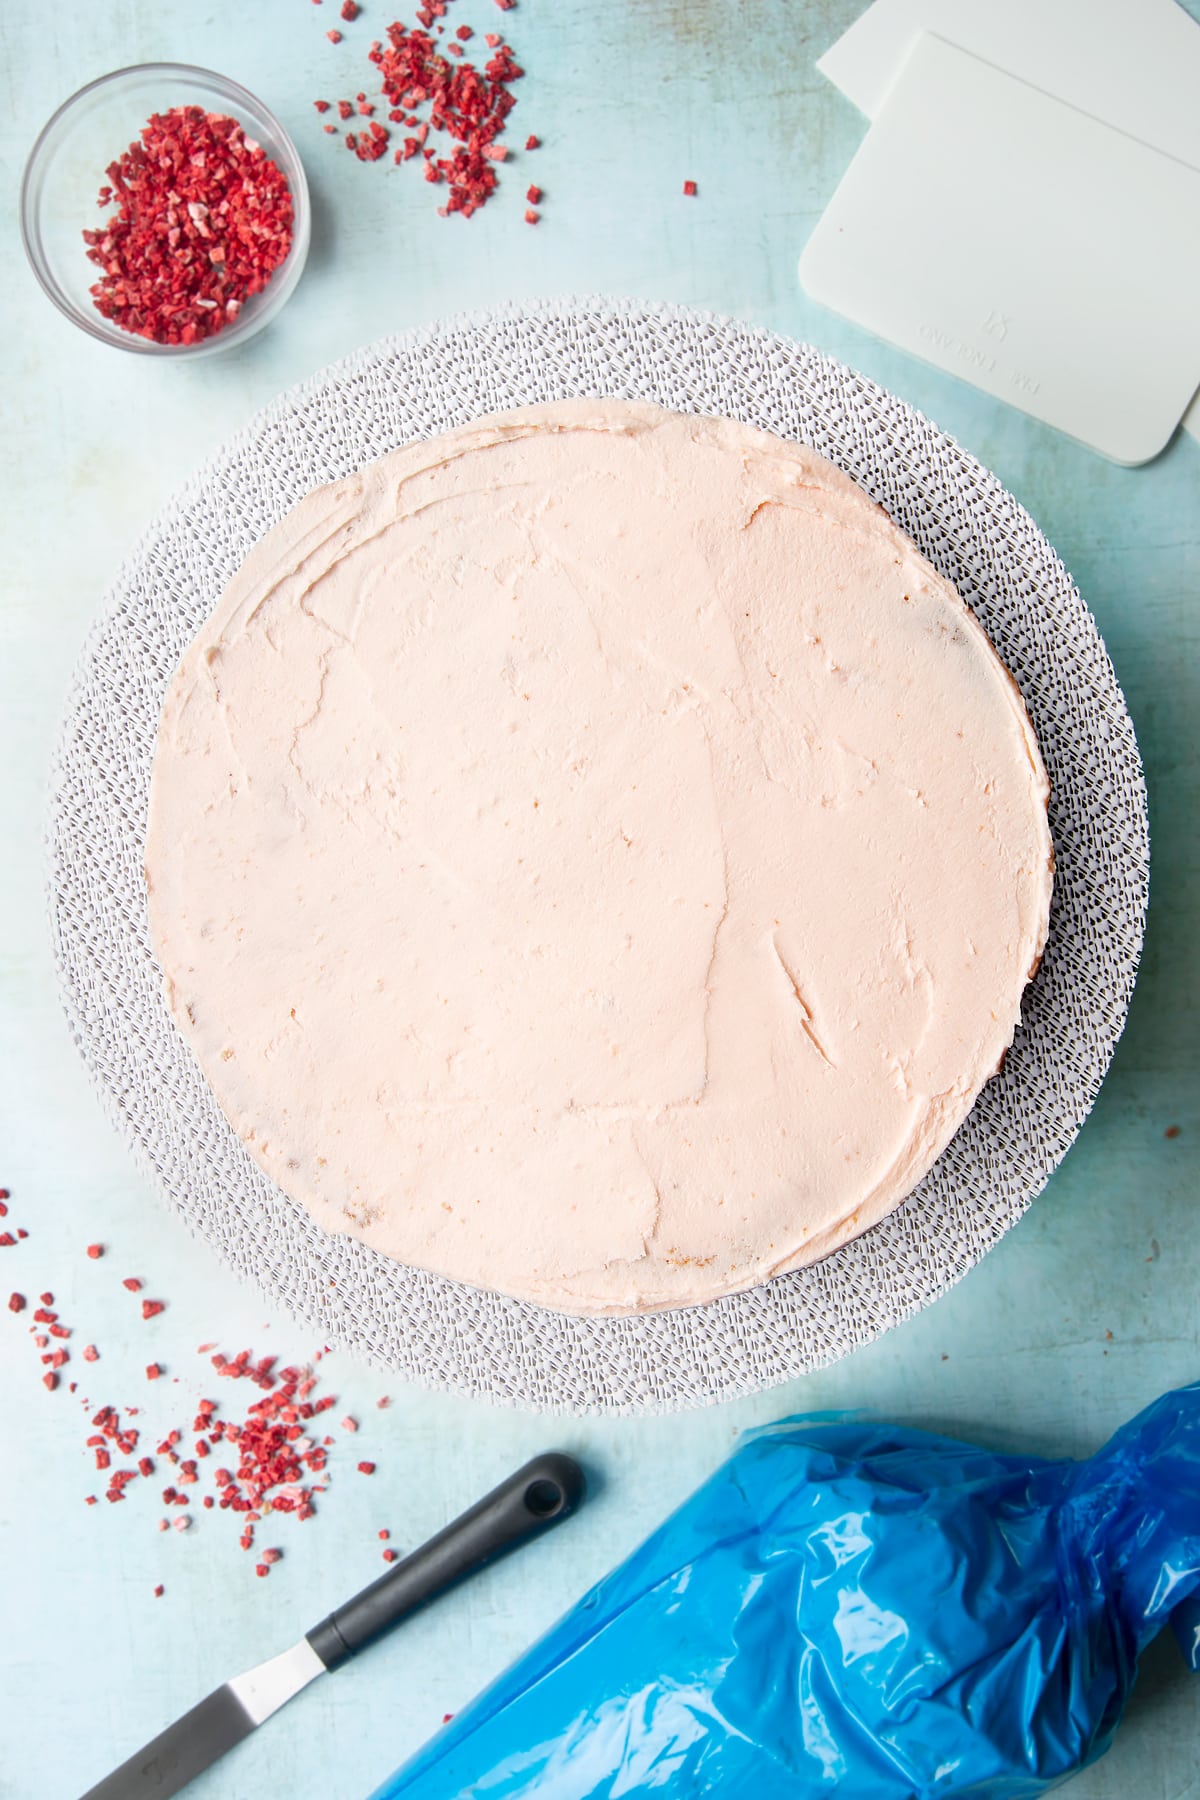
Now scatter the freeze dried strawberry pieces all over the cake. Patting gently with handfuls of the strawberry pieces can help them to adhere.
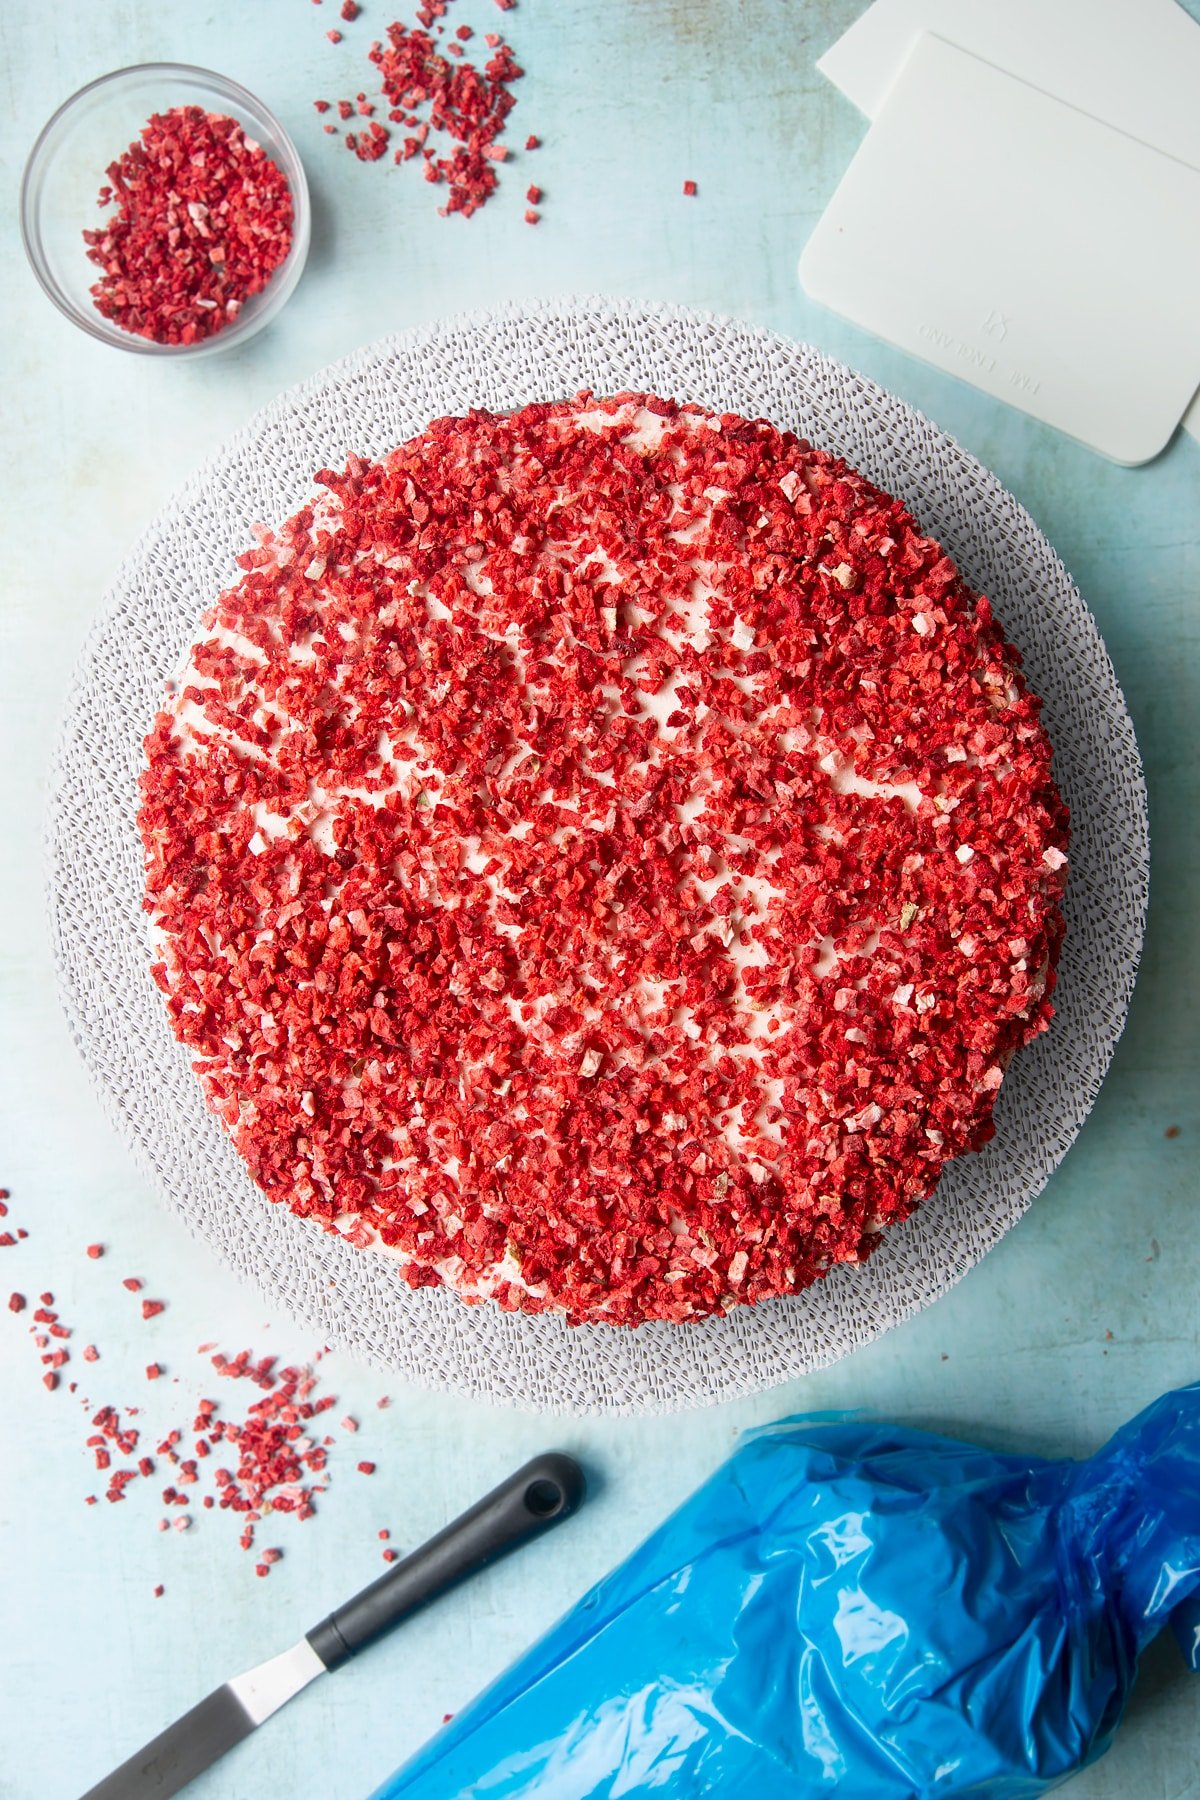
Don't forget to the cover the sides, too. Take your time for an even finish.
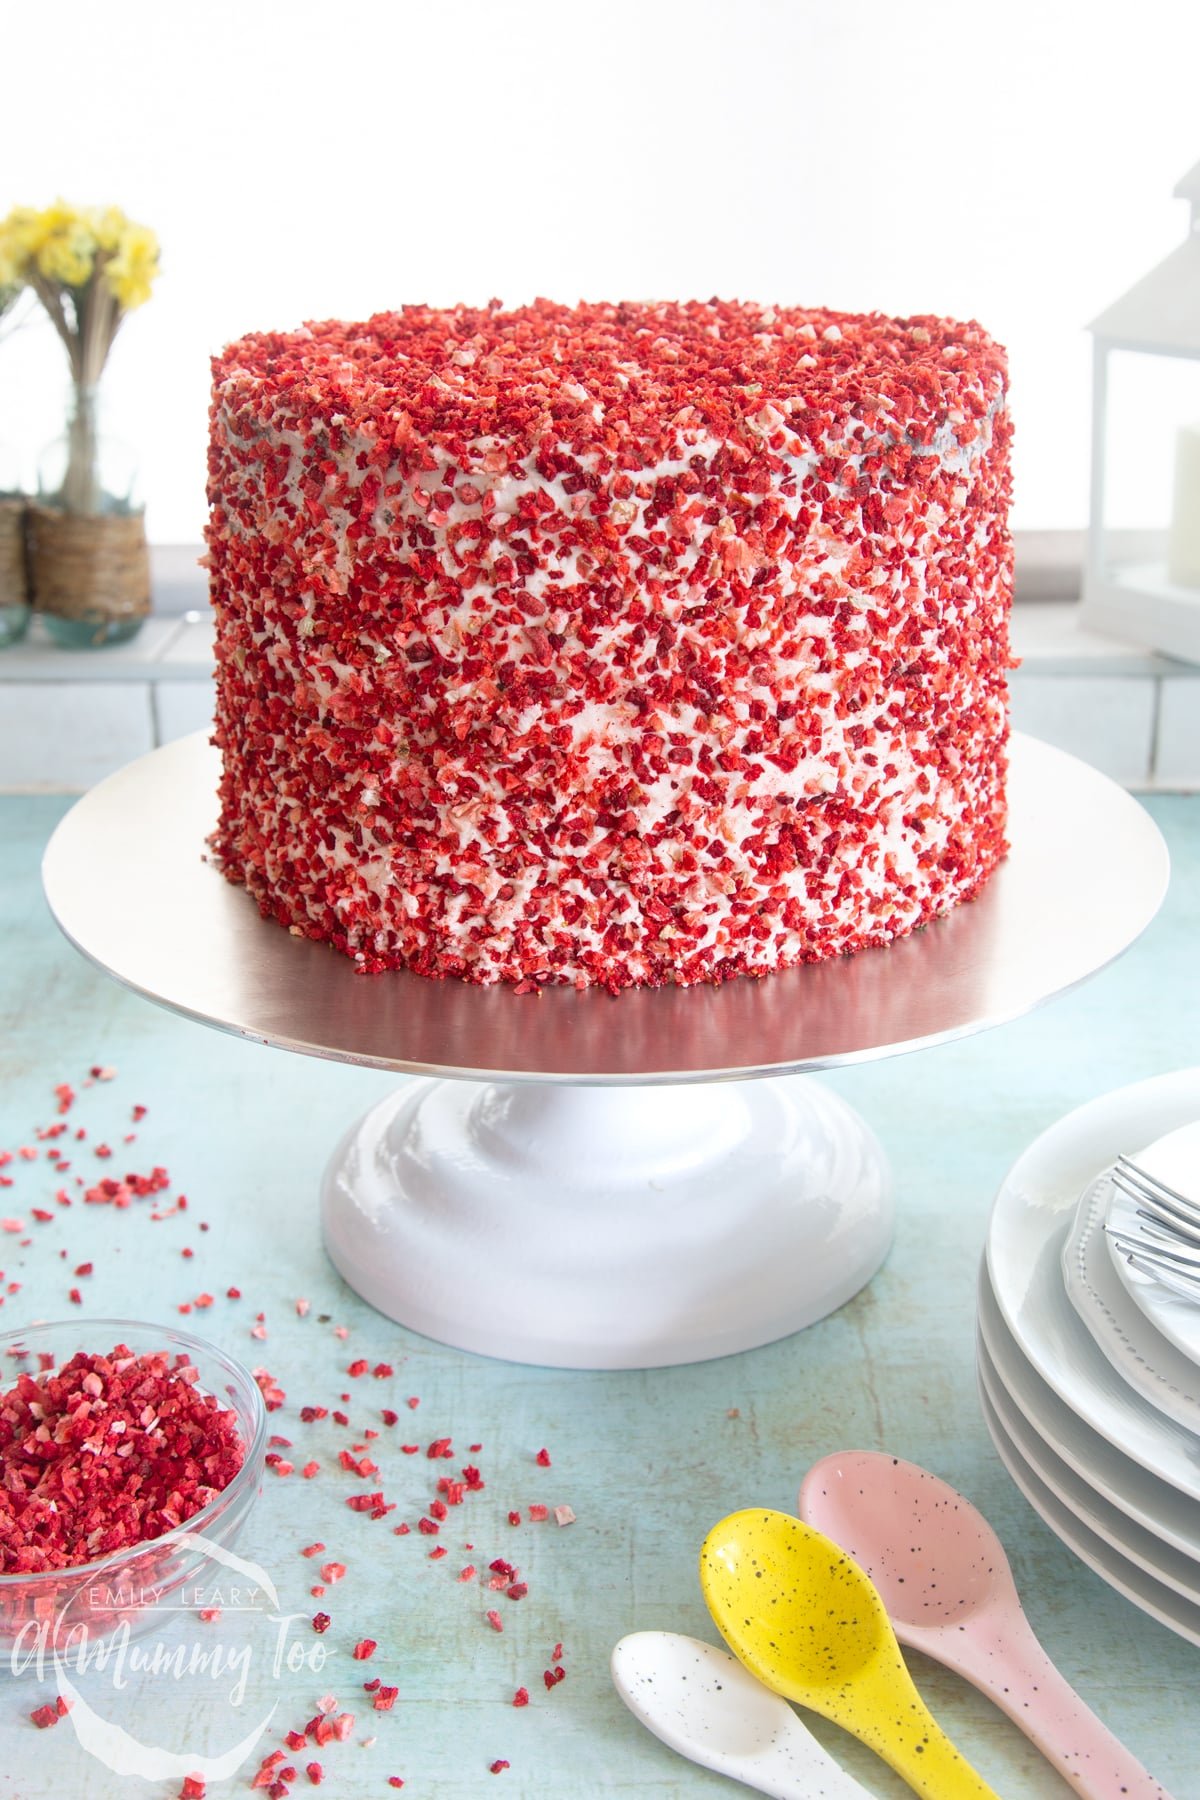
Allow your pink ombré cake to rest for an hour, then serve!
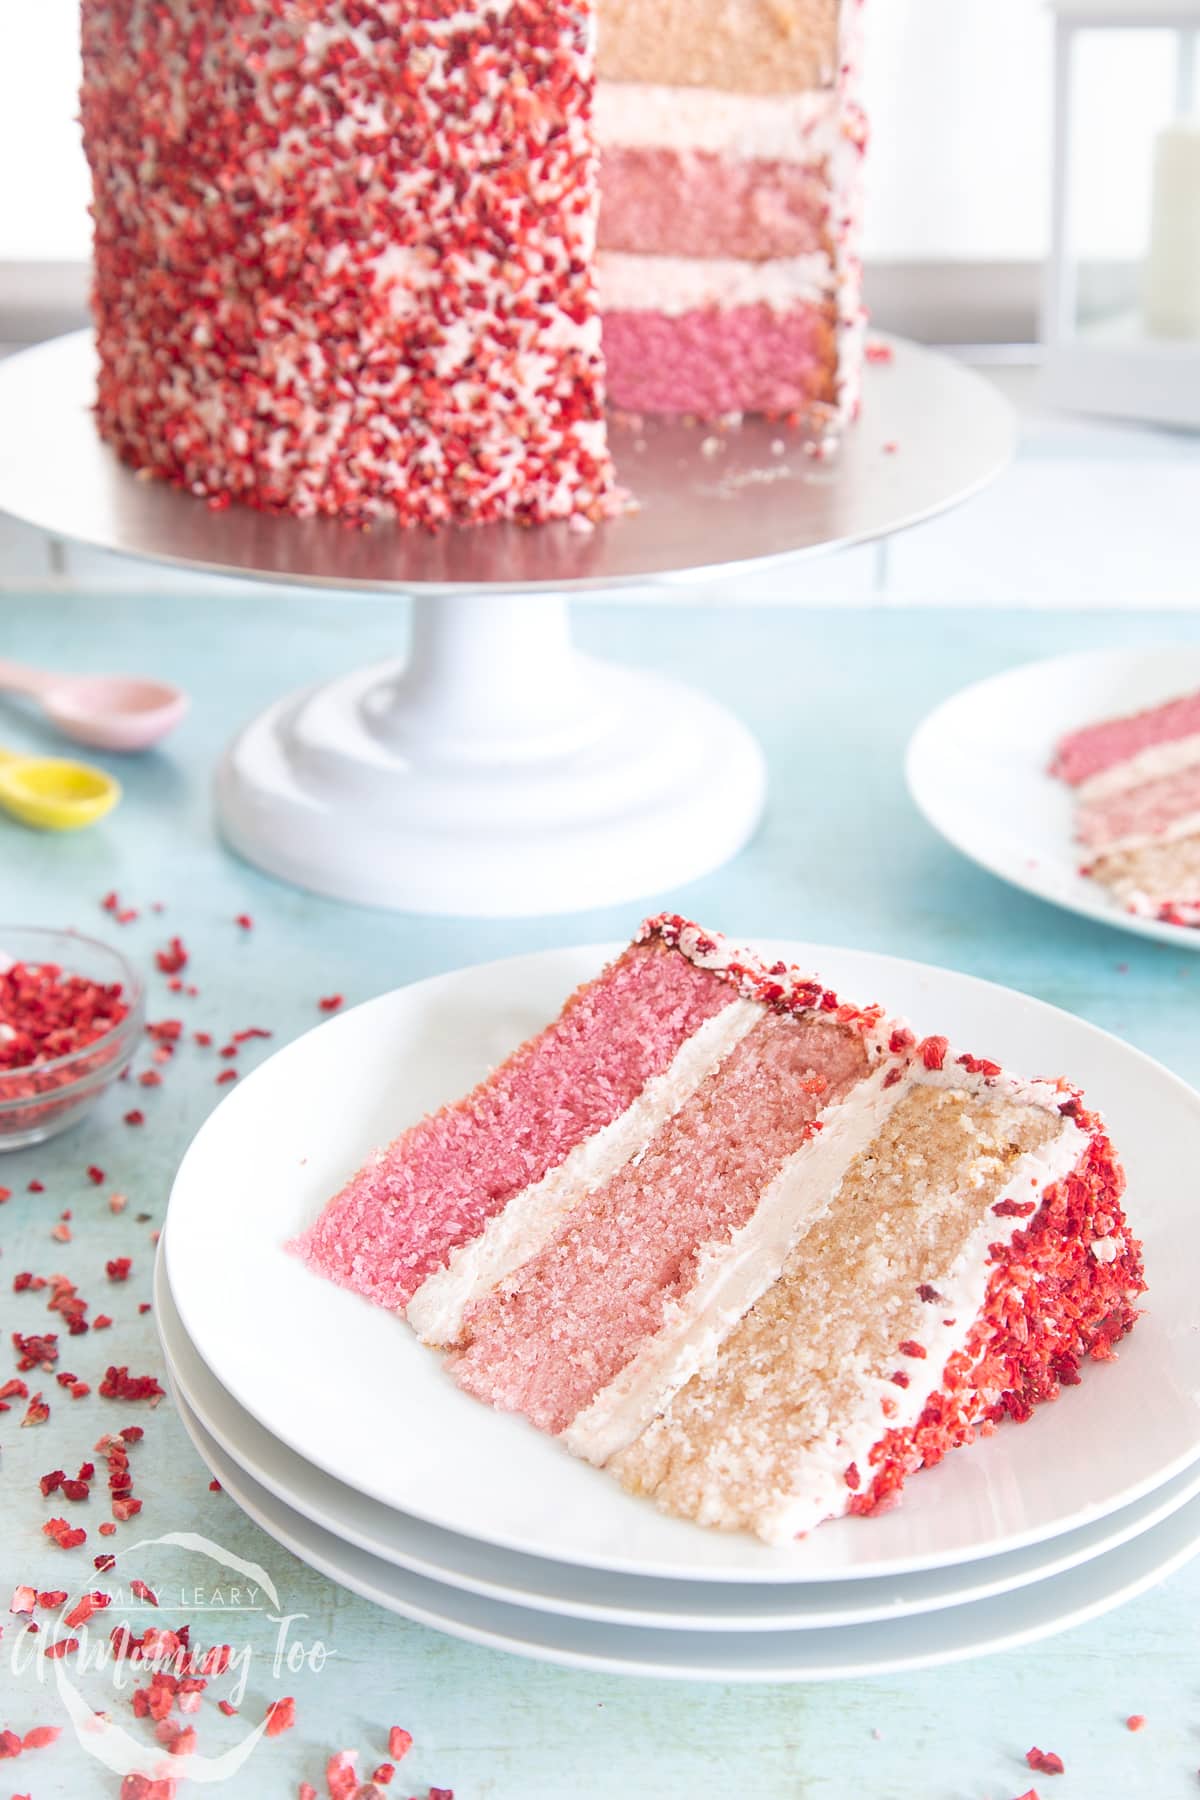
Isn't it beautiful? It sure makes an impression and would be perfect for any party with a pretty in pink theme.
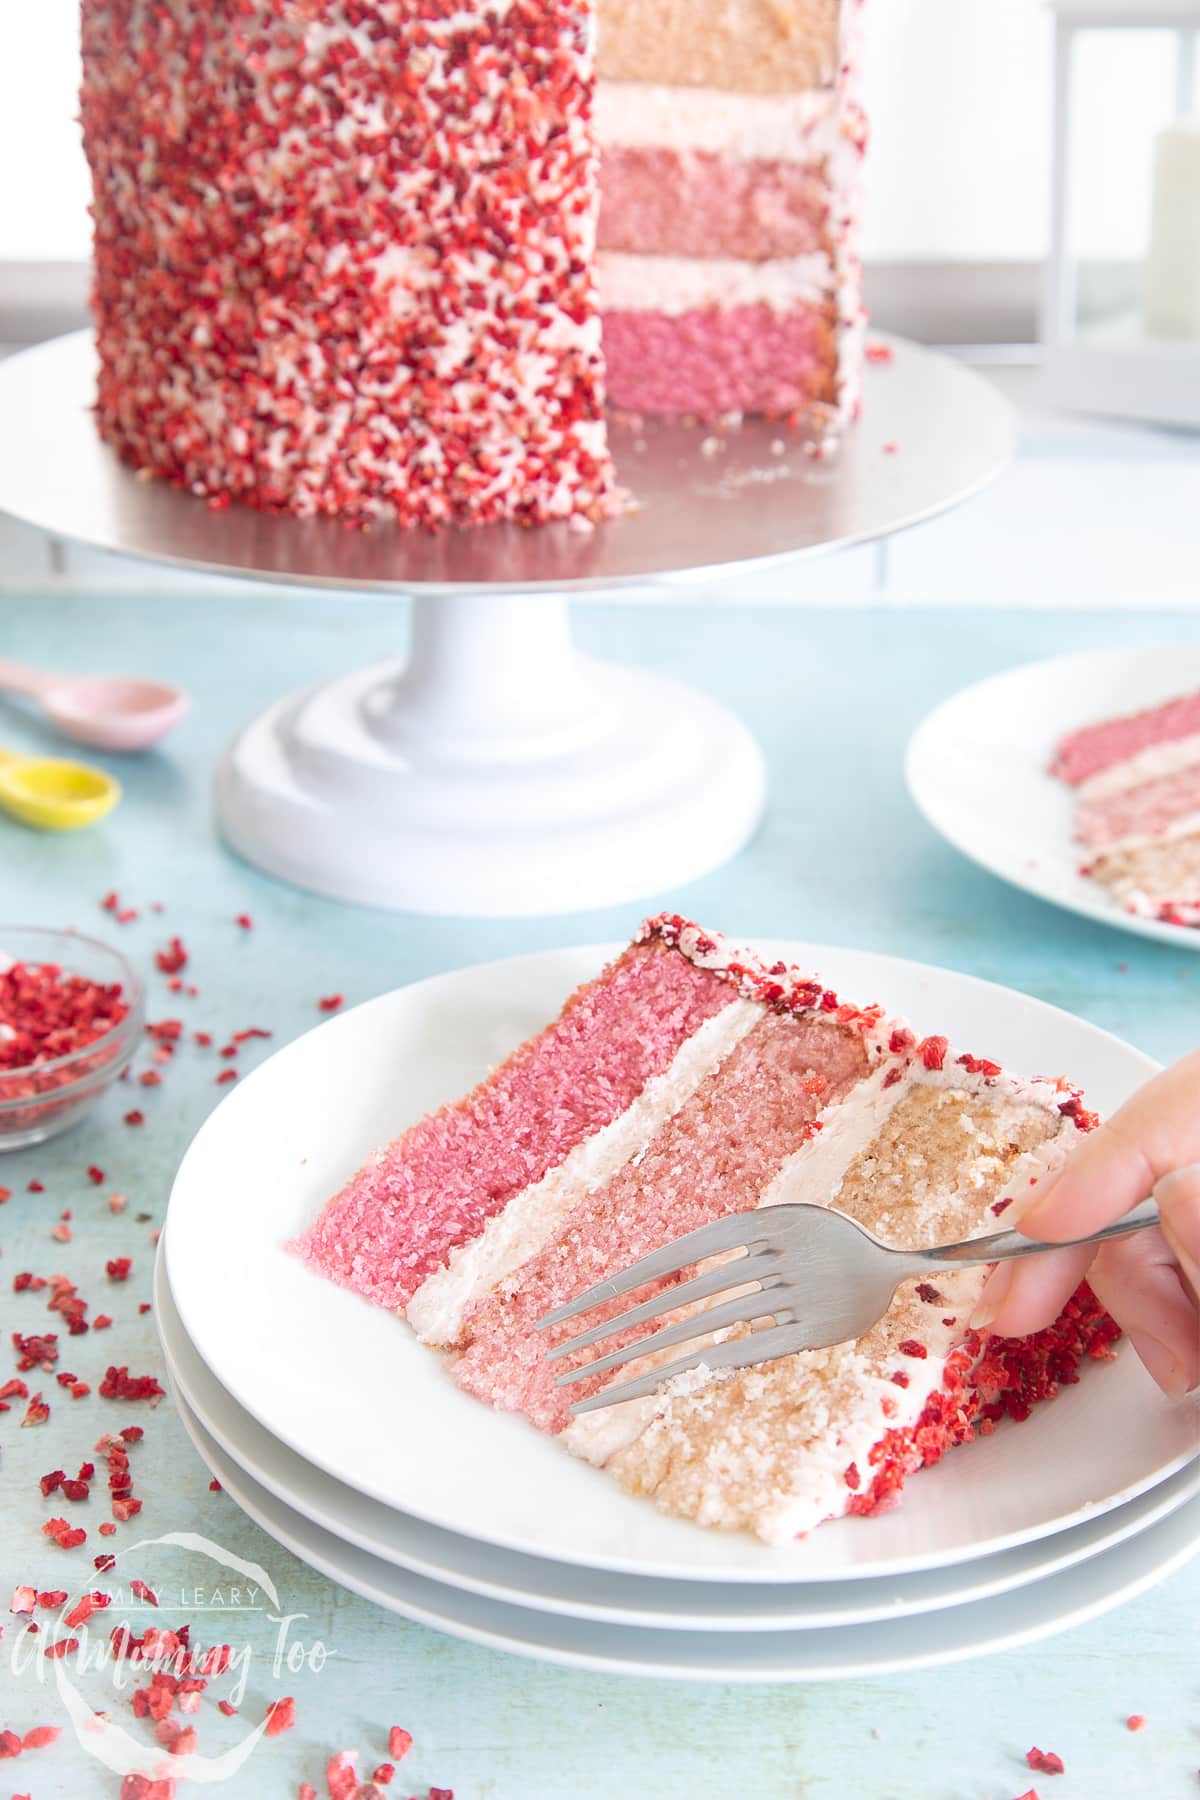
Pointers, tricks and troubleshooting tips for the perfect pink ombré cake
Is pink ombré cake easy to make?
Yes, this is an easy recipe, but it does involve a few extra steps to get three different shades of pink.
Never fear, I've done all the testing and trial runs of this cake so if you follow the steps in the recipe it will come out perfectly every time.
As with all baking, care should be taken when measuring out the ingredients to make sure the balance is right. Take your time and enjoy the process.
One of the best things about this cake is it's covered in freeze-dried strawberries so you don't need to worry about getting the buttercream expertly smooth.
This cake is beautiful and impactful in its simplicity - a perfectly pink ombré cake!
Will I need any special equipment to make a pink ombré cake?
A few bits of baking equipment will make your life easier.
The main things you will need to make a pink ombré cake are plenty of mixing bowls, spoons, and three 20cm cake tins. If you have a hand whisk or stand mixer that will help, and a rotating cake stand will make decorating easier but is not essential.
If you scroll down to the bottom of this page you'll find the full list of equipment in the recipe card below.
Where can I buy pink food colouring?
Most large supermarkets have really well stocked baking sections, so head there and see if you can find a good pink.
I recommend using a gel food colouring rather than the liquid ones. The gels tend to be more stable when baked so will the intensity of colour you see in the batter before the cakes go into the oven should survive the baking process.
You can easily find gel food colouring online too, in an extensive rainbow of colours. You could do a different colour ombré cake for each family member's birthday this year!
Where can I buy freeze dried strawberry pieces?
For the amount you need for this recipe, I find it best to order them online. You can get them in the supermarket but they only come in tiny packets for a little sprinkle, not enough to cover a whole cake! I like to get these 70g bags from Amazon as they last for ages.
Can I make this recipe without the freeze-dried strawberry pieces?
You can use any type of sprinkle you like to decorate your pink ombré cake. I love using these freeze-dried strawberries because they have such a vibrant colour and add an extra burst of strawberry flavour to the cake.
Go ahead and use whatever sprinkles you like. Most supermarkets have pink sprinkles - often with a few different shades and shapes, which would work really well. Edible flowers are so pretty too.
It's much easier to use the same sprinkles all over, but if you're a really capable bake, you could try to create an ombré on the outside of the cake using three shades of sprinkles.
How can I tell if my eggs have gone bad?
In the UK, eggs are produced to a food safety standard called the British Lion Code of Practice and have a stamp on the shell of a red lion.
Eggs produced under the Red Lion code don't actually have to be stored in the fridge, though they should be kept somewhere cool with a constant temperature under 20C. Since even cool kitchens might fluctuate over 20C while cooking dinner, for example, it's safest to put them in the refrigerator.
Eggs should be kept at a steady cool temp, so if your kitchen is hot and your fridge/pantry is cold, take just what you need for the dish you're cooking and leave the rest of the box where it is to avoid temperature fluctuations.
In the UK, your eggs bear a Best Before End Date, they may be safe to use past that date as long as they show no signs of spoilage. If they bear a Use By Date, then they should not be eaten past that date.
If you are worried your eggs might have gone off, crack one into a small bowl. That way, you can check the egg without contaminating your other ingredients.
Look to see if your egg looks normal and discard if there's any discolouration. You can then smell the egg - gone off eggs have an unavoidably bad smell so discard if they smell even slightly rotten.
If you have any concerns please speak to your health professional as this website does not offer medical advice.
Can I just use whole eggs rather than egg whites?
In this recipe, we're using just the egg whites to help create the palest cake batter possible. To create the ombré effect there is only a slight colour difference between each cake layer and this subtlety is much harder to achieve when the egg yolks are included too.
The usual lovely golden colour of sponge cakes comes from the egg yolk and butter but this would compete with the pink colouring we're adding, which is why it's important to separate the egg whites from the yolk.
It can be a bit fiddly to separate the yolks. I find it easiest to separate them by cracking the egg in half over a bowl, and transferring the yolk back and forth between the two shell halves whilst allow the white to fall into the bowl below.
You can also crack each egg into your hand and simply let the egg white fall through your fingers leaving you to drop the yolk in a separate bowl. You can even get various little gadgets that promise to separate eggs for you.
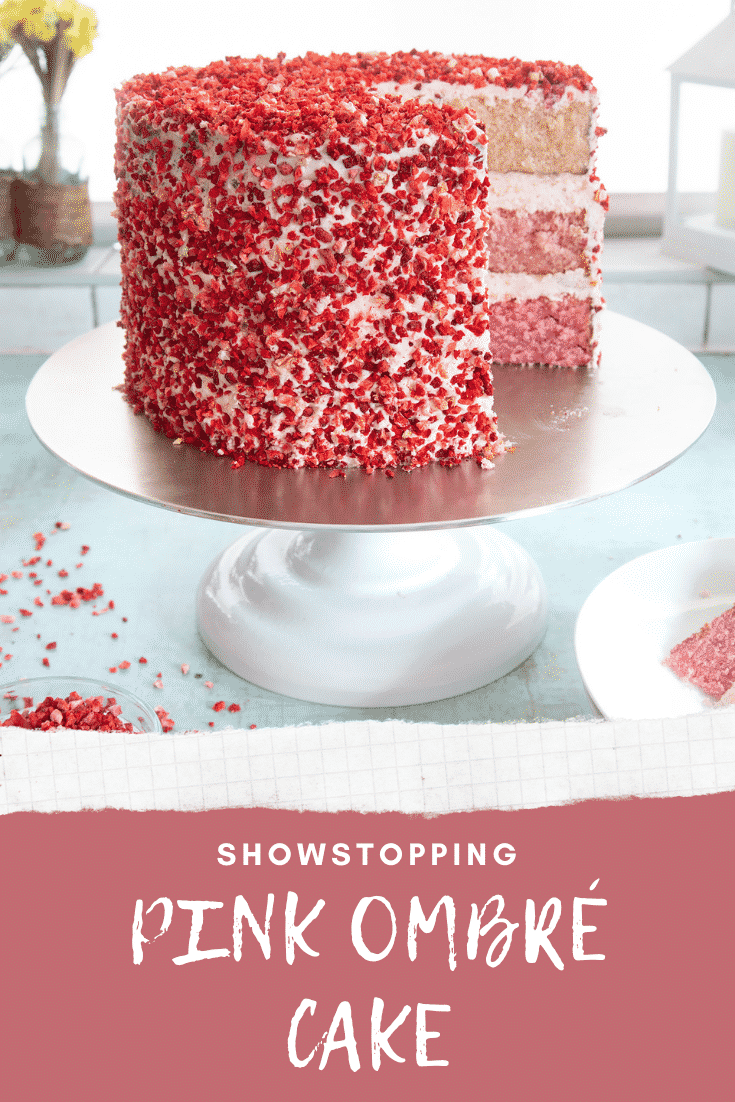
What should I do with the leftover yolks?
You could use them in another recipe like fresh homemade pasta or make really rich scrambled eggs for lunch. Egg yolks are also called for in my spicy mayo and my meat-free carbonara.
If you don't want to use the yolks the same day you make your cake, you can also freeze them. Pop the egg yolks into a suitable container - an icecube tray is great if you want to keep them as individual yolks. Cover well and don't forget to label with the date.
Egg yolks will keep in the freezer for up to a month. Thaw them out in the fridge for a few hours, ready for making a hollandaise sauce or custard later on. Once thawed, the yolks need to be used within 24 hours.
I haven’t got vegetable oil can I use something else?
Cake batter is a delicate balance and it's best to try to stick to the ingredients as directed in the recipe since they have been tried and tested together.
You can use rapeseed oil or sunflower oil, but don't be tempted to use something like olive oil or sesame oil as they have a stronger flavour and usually a darker colour than vegetable oil.
Although I haven't tried it, you could probably use a solid vegetable fat like Trex/Cristo a go. This might change the crumb of the cake slightly, so let me know how you get on.
Is pink ombré cake suitable for vegetarians?
Yes, this recipe is suitable for vegetarians. You will need to double-check the food colouring you use as some brands and colours contain animal products.
Is pink ombré cake suitable for vegans?
This recipe is made using eggs as well as dairy milk and butter, so would not be suitable for a vegan.
I haven't tried this recipe using plant-based alternatives yet, but you could certainly give it a go.
When selecting your alternatives keep in mind you want the batter to stay as pale as possible.
For the egg whites, I would suggest using one of the following options (each = 1 egg, so multiply as needed for any given recipe).
- 1 tablespoon of crushed chia seeds or flax seeds mixed with 2 tablespoons of water and left for 10 minutes in the fridge.
- 3 tablespoons of aquafaba (the water you get in a tin of chickpeas).
- 3 tablespoons of applesauce (bear in mind this will add sweetness).
For the butter, you can use a solid vegetable fat like Trex, or vegan butter - aiming for one that is not dyed very yellow.
I find that unsweetened soya milk is usually the best option to replace dairy milk in baking.
You will also need to double-check the food colouring you use as some brands and colours contain animal products.
Is pink ombré cake gluten-free?
This pink ombré cake is made with wheat-based self-raising flour so would not be suitable for a gluten-free diet.
If you want to try making it gluten-free, you could try using gluten-free self-raising flour.
I haven't tested this recipe with gluten-free flour yet, but I always recommend using a good quality brand, which will usually be made from a blend of different flours such as rice flour, and oat flour, raising agents, of course, and usually a binding agent such as xanthan gum.
If making this cake for somebody who needs to avoid gluten in their diet, you should also check the label of all ingredients to make sure that they don't contain any traces of gluten. This includes checking the flavouring and decorative elements.
Is pink ombré cake keto-friendly?
Pink ombré cake is made with flour and sugar, making it high in carbohydrate and therefore not suitable for a ketogenic diet.
Is pink ombré cake healthy?
This is a show-stopping celebration cake that is high in sugar and fats so should be enjoyed for special occasions in a sensibly-sized portion.
Is pink ombré cake safe to eat while pregnant?
There is nothing in this recipe that should pose a risk to a woman whilst she is pregnant as long as the ingredients are in good condition and the cake is made hygienically and safely.
Advice regarding egg safety whilst pregnant varies from country to country. In the UK, the NHS has a great resource on foods to avoid whilst pregnant.
If you have any concerns please seek help from a medical professional. This website does not offer medical advice.
What goes well with pink ombré cake?
I always love a good cuppa with a slice of cake. If you've made this for a big celebration birthday, why not pop a bottle of something bubbly, with a non-alcoholic option for the kids, of course!
Can I add extra strawberries to the sponge or filling?
I think the amount of freeze-dried strawberries all over the cake is enough.
You could add layers of sliced strawberries in between the cake and filling layers, but bear in mind that strawberries have a very high water content that releases once they're sliced, so they might make the cakes go soggy over time.
To reduce the risk of sogginess, cut the strawberries into thin slices, lay them out on clean kitchen towel and pat dry to absorb some of the moisture. Laying them evenly on top of the first layer of cake on top of the buttercream, adding the next cake and repeating until you get to the top.
How should I store pink ombré cake?
To keep it at its best, pink ombré cake should be stored in the fridge in an airtight container. This might involve switching around some shelves inside your refrigerator, since this is a tall cake.
If you don't have a cake dome, find a container that will fit the cake and use it upside down i.e. stand the cake on the inside of the lid of the box, then use the box as the lid. This way you don't have to try and get it in and out of a box and it's easy to get a slice when you need to.
Another trick if you don't have a big enough container is to put the cake on a plate or keep it on the cake board, and then use a large bowl upside down as a lid over it to protect the cake. Check the cake will fit under the bowl before squashing it underneath!
How long does pink ombré cake keep?
When stored in the fridge, this pink ombré cake will keep for up to 5 days. You can also freeze this cake and it will keep for up to 2 months in the freezer.
Can I leave pink ombré cake out on the counter?
No, this pink ombré cake should not be kept out on the counter. Once the cake has rested and been served it needs to be kept in the fridge.
It should not be left out for more than a couple of hours after decorating as otherwise there is a risk of unsafe bacterial growth.
Can I make parts of the pink ombré cake ahead?
Yes, by all means, you can save a bit of time and prepare some elements ahead. This is a great way to spread out the party prep so that you just need to decorate on the day. It's less stressful than trying to bake and decorate in one day, especially if you might otherwise not have enough time for the cakes to cool.
The buttercream can be mixed and stored in the fridge in an airtight container or ready to go in the piping bag, you can do this the day before. When you come to use the buttercream let it come up to room temperature for half an hour before you try and spread it.
The cake batter needs to be made just before baking, but you could bake the cakes and store them in the fridge overnight before decorating the next day. To do this, allow the cakes to cool on a wire rack before trimming, then wrap well and pop in the fridge until you're ready to decorate.
Another trick for making ahead that is popular with professional cake makers is to use the freezer. Yes, your undecorated cakes can be frozen so you can make them well in advance.
To do this, ponce the cakes have cooled, wrap them well in food wrap and a final layer of tin foil to help protect them and pop them into the freezer. They will keep in the freezer for up to 2 months.
You can defrost the cakes overnight in the fridge. Once thawed, these cakes can't be re-frozen.
Can I keep pink ombré cake in the refrigerator?
Yes, this pink ombré cake needs to be kept in the fridge when it is not being served.
Can I freeze pink ombré cake?
Yes, you can freeze pink ombré cake. Depending on how much you have leftover you can cut the remaining cake into slices, or keep a larger portion of the cake in one.
I like to cut my ombré cakes into slices before placing them in their container with a piece of baking paper between them. This helps keep the frosting intact, plus I can defrost my cake slice by slice as and when I want it.
Use a container that won't leave too much airspace around the cake. This will reduce the risk of the cake being damaged by freezer burn.
You also need to freeze the cake as soon as possible after serving. Don't let the cake sit in the fridge for a few days before you freeze as it then won't be safe to do so.
What is the best way to defrost pink ombré cake?
Depending on the size of the piece of cake, it can defrost quite quickly. Thaw it out in the fridge to maintain a low temperature as the cake isn't suitable to be defrosting using heat, such as a microwave. Keeping it cold also reduces the risk of bacterial spread.
A slice will defrost in an hour or so in the fridge, while a bigger piece might take about 6 hours, or overnight. When the cake is thawed, it will need to be eaten within 24 hours, and any remaining cake cannot be refrozen.
Can I make pink ombré cake in a different quantity?
Yes, you can make this pink ombré cake in different sizes, or with more layers.
On the recipe card below you'll find the number of servings shown in slices, this can be amended by clicking the number, a slider with come up that you can move and adjust to get the amount you want to make. All the ingredients will update automatically to the correct ratio, some of the ingredients will go into decimal places, so round up or down slightly if you need to.
The recipe is set to make 32 slices with three layers of cake using 20cm cake tins.
If you want to still create a 3 layer cake but have different size tins follow these ratios below to get enough batter, and set the number of slices on the slider as follows:
- 18cm tins need 81% of original ingredients = 26 servings
- 23cm tins need 132% of original ingredients = 42 servings
- 25cm tins need 156% of original ingredients = 50 servings
- 30cm tins need 225% of original ingredients = 72 servings
How about if you want to make an extra layer? Well, the default recipe makes 3 layers, shown as 32 slices, so you can use a bit more maths to make a taller cake.
To make extra layers, use these amounts on the slider:
- 32 servings on the slider = enough batter for 3 layers
- 42 servings = 4 layers
- 53 servings = 5 layers
For a three-layer cake or more, you might need dowling (long sticks) to support the layers. Here is a great explanation on how to dowel a cake.
If you have any questions about changing the quantities, just ask!
How do I cut my cake into 32 slices?
It might be a bit tricky to cut this tall cake into 32 classic wedge slices. If you prefer thicker slices, then of course go for it, just bear in mind that this will change the nutritional values of each serving.
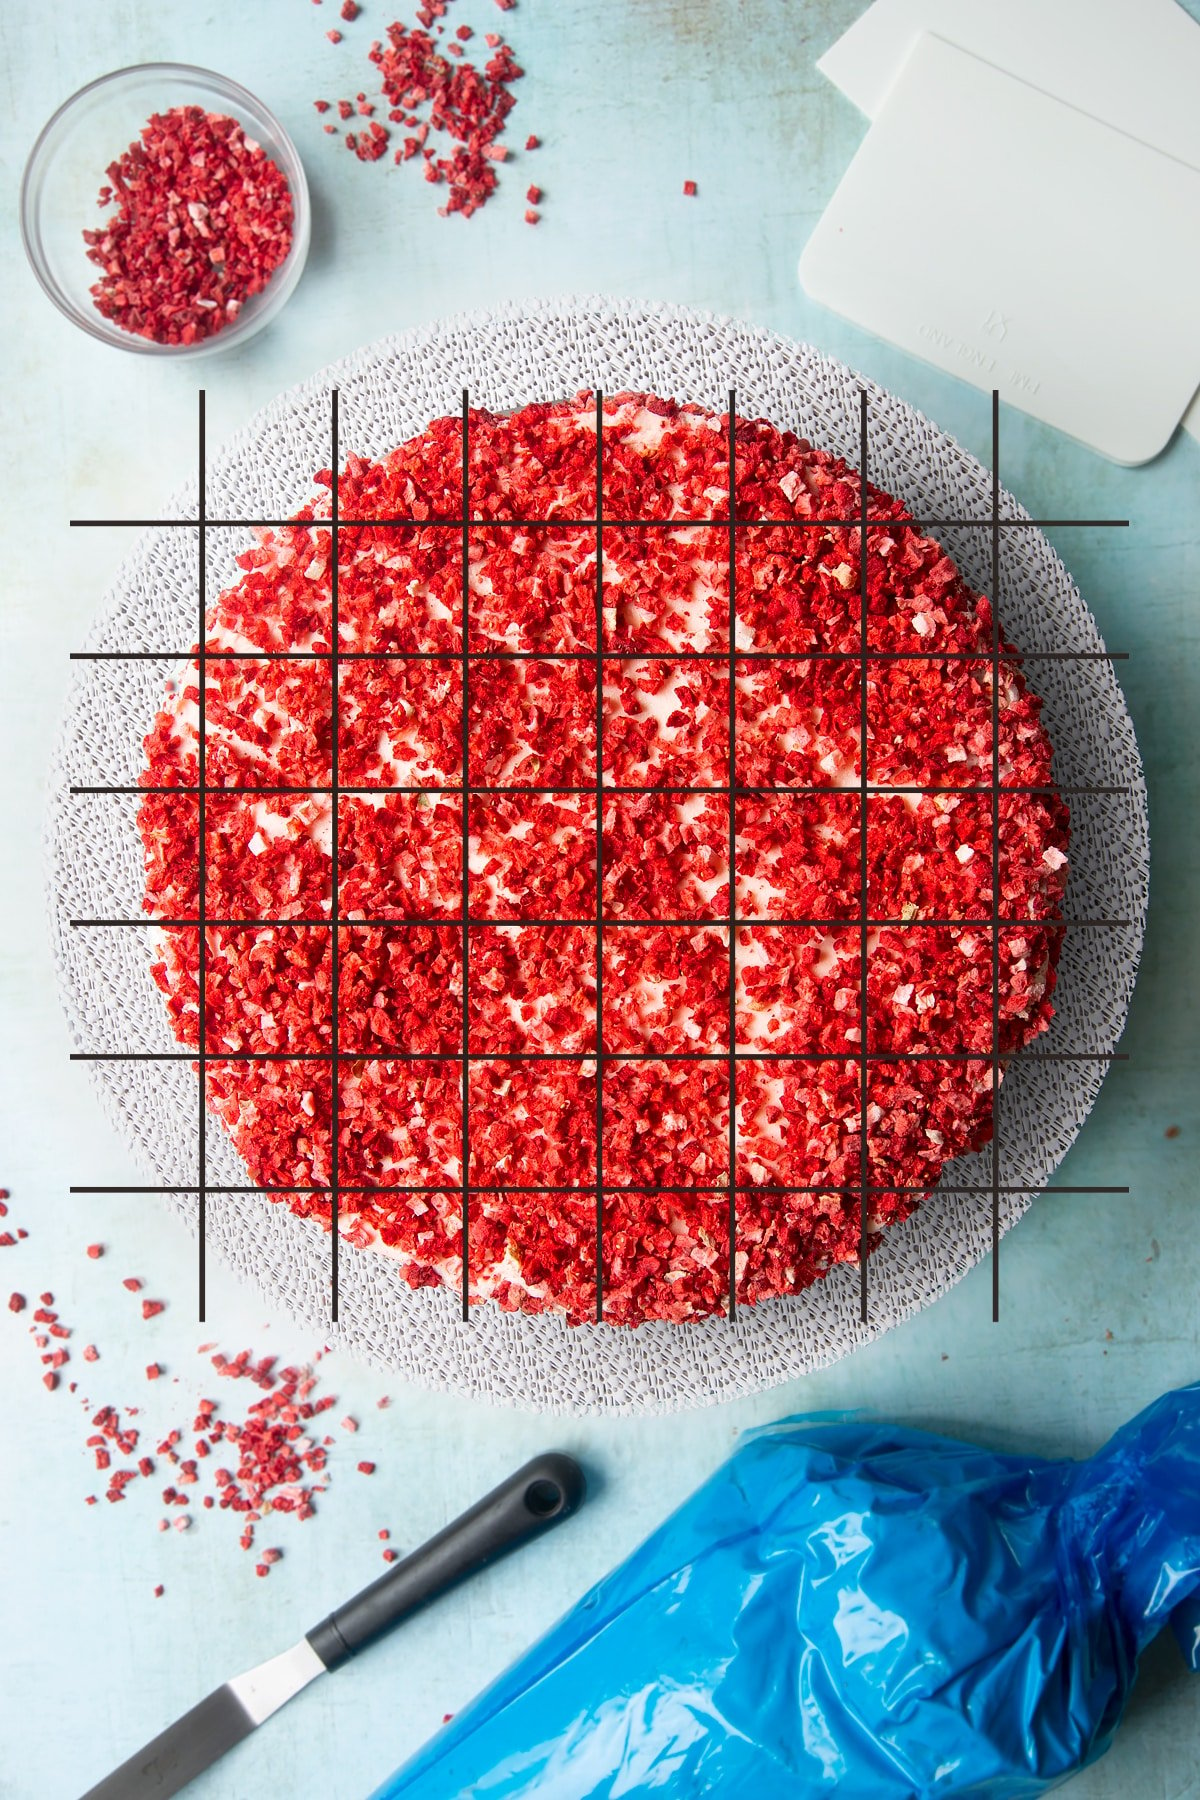
Alternatively, you can use the grid method which divides the cake more evenly into tall, square pieces. You will probably get a few small corner edge pieces - perfect for those who want a small piece or who love frosting.
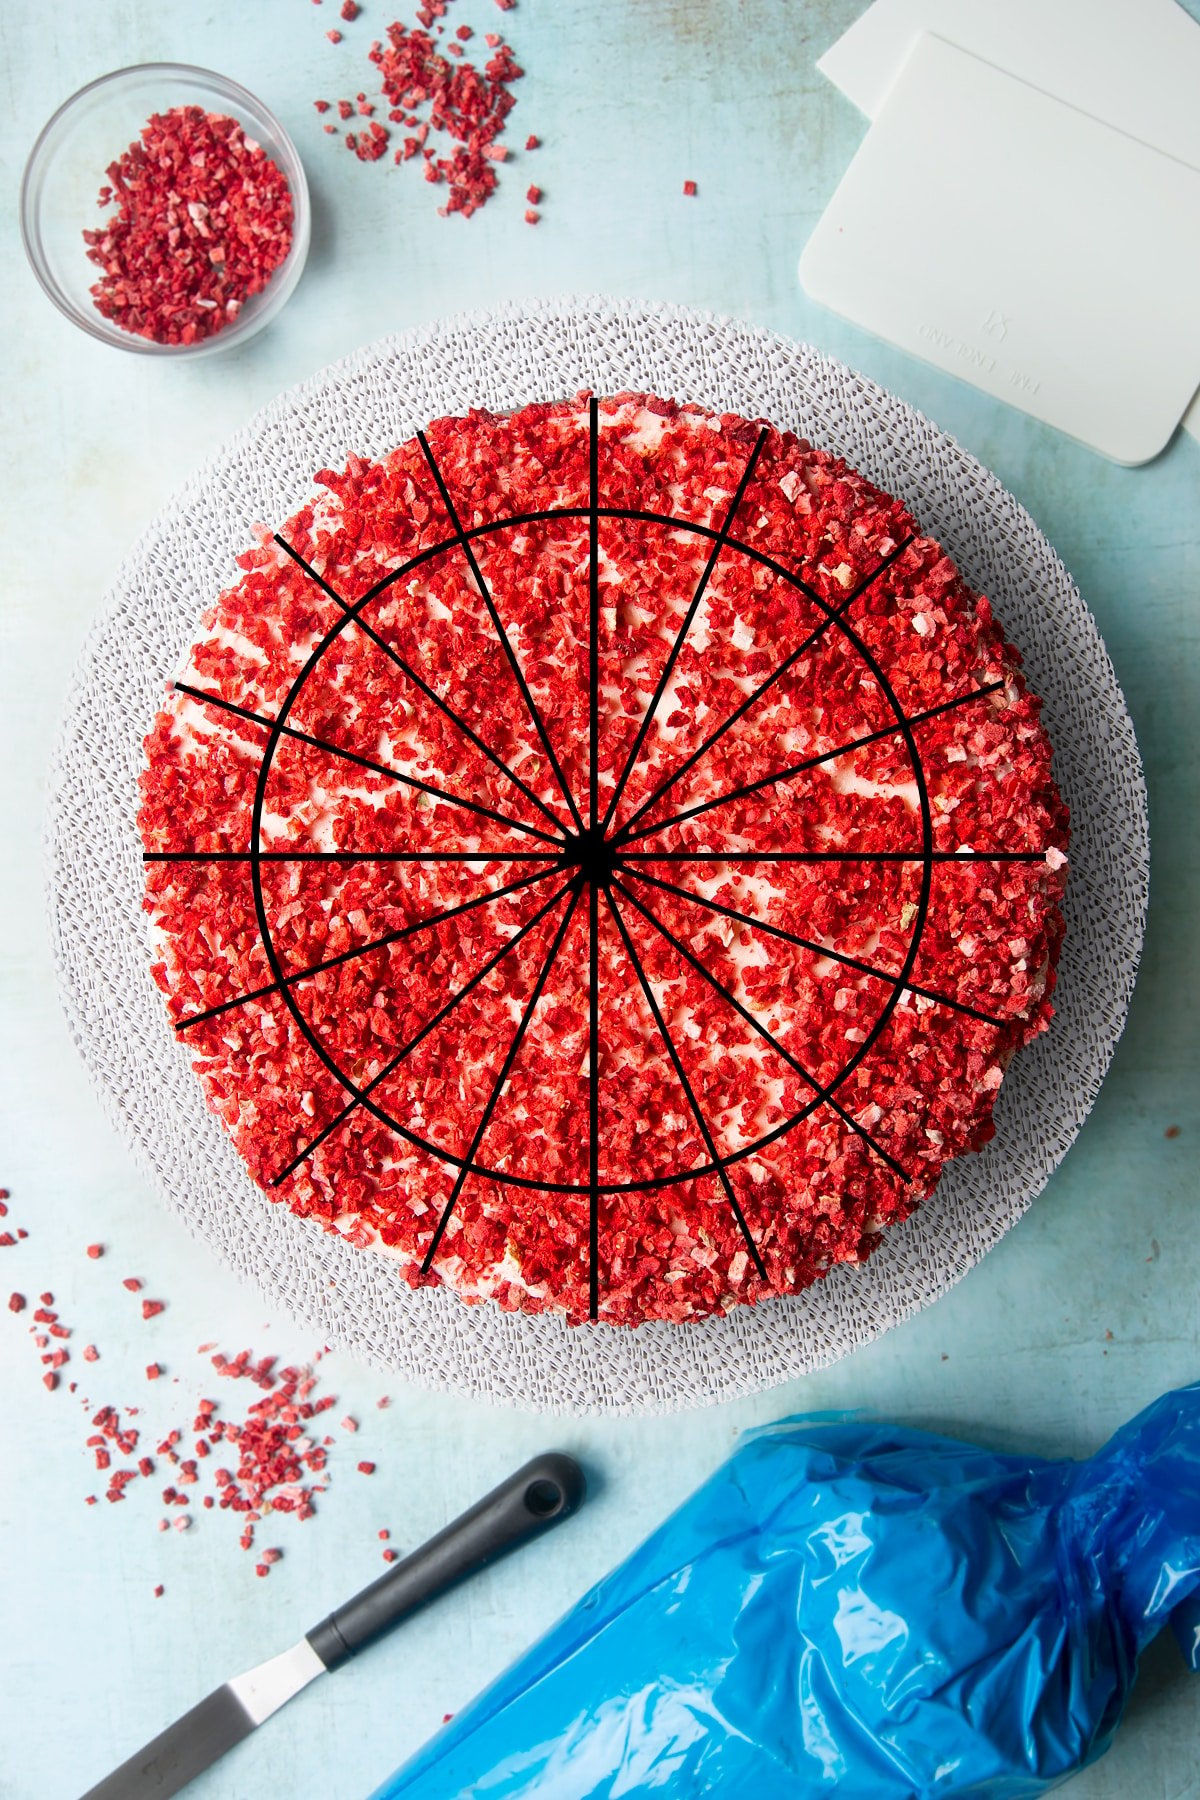
Yet another method involves cutting the cake into 16 wedges and then cutting an inner circle, thereby giving you 32 pieces. Let me know if you give it a go!
Can I make pink ombré cake as individual cupcakes instead?
I haven't tried it, but I think the best way to get a pink ombré effect in individual cupcakes would be to carefully build the three shades of cake batter, one on top of each other into the cupcake cases. The layers won't be defined and level like in the full size cake, but you should get some beautifully subtle gradient of colour.
The recipe is set to make 32 servings, which will make enough batter to create about 36 cupcakes, so reduce this with the slider on the recipe card if you want to make fewer cupcakes.
Make the batter as you would for the larger cakes, and once you've got 3 bowls of cake batter, spoon them into the cupcake cases carefully using a teaspoon.
Start with a teaspoon or two of the darkest pink at the bottom of each case, you can tap the tray to level them out. Then add a teaspoon or two of the next shade (don't tap this time) and finally finish off with the palest batter.
As these cakes are smaller they will take less time to bake, 20-25 minutes should be enough.
And as you're not using buttercream between each layer, only as a topper, you will probably only need about a third of the amount to cover 36 cupcakes, set the recipe to 10 slices to get the right frosting quantities to cover the cupcakes.
Can I make pink ombré cake in a stand mixer such as a KitchenAid or Kenwood Mixer?
Yes, a stand mixer like a KitchenAid is the perfect bit of kitchen kit for baking as it takes out all the hard work of whisking and mixing. When using a stand mixer, always start slow as not to create a flour or icing sugar storm in the kitchen.
To make the cake batter, add the sugar, egg whites, milk, butter, oil, strawberry essence, and self-raising flour to the bowl, and with the whisk or paddle attachment mix slowly, increasing the speed gradually to medium until everything is well incorporated.
You might need to scrape the sides of the bowl down to make sure all the ingredients are mixed in. Try not to overwork the batter, it just needs to be whisked together until you have a smooth, pale mixture.
I find it best to mix the food colouring in by hand as you need to divide the batter between three bowls to get the different shades of pink.
A stand mixer can also be used to make the buttercream. First, soften the butter with the whisk attachment on medium until it's light and smooth. Next, add the icing sugar and start beating on the lowest speed, building up to full speed once the sugar has been incorporated into the butter.
You might want to add half the sugar and mix before adding the rest. Again scraping the sides down with a spatula is important to make sure all the sugar is mixed in. Aim for a really fluffy, pale buttercream. It should significantly increase in volume.
Now you can add the vanilla extract and a small amount of pink food colouring for a final mix.
How can I make sure my sponges are perfectly cooked?
Before you start, get the oven ready. To ensure each layer of the cake is baked evenly, you want them to be as close as they can be to the middle of the oven so arrange the shelves as necessary, before preheating the oven to 180C (160C fan / 350F).
Next, line your tins. Having the tins lined in advance means you can avoid leaving the batter sitting too long waiting to go in the oven.
The easiest way to line a circular cake tin is to cut a square of parchment paper that it the width of the tin. Keeping the middle point, fold this in half, and then into quarters, then again and again until you have a narrow triangle. Now you can now simply snip a slight curve along the top (the opposite end to the middle point) and when you open it out, you'll have a circle that't just the right size for your base.
You can then cut a long strip to cover the sides. If you have shallow tins, make sure the paper comes up higher than the tin so that it can support the cake as it rises.
Now, onto the batter, make sure to carefully weigh out all your ingredients and make sure they are well incorporated. Weigh the finished batter and divide evenly into three bowls so you can add the gradual shades of pink. Transfer each bowl of cake batter into a tin and put them in the oven.
Set a timer so you know when to check the cakes. You can keep an eye on them through the oven door. Don't be tempted to open the door as the cakes might not rise properly.
Once the cakes have risen and you think they are cooked you can test one by gently pressing into the top, it should feel firm and spring back.
If you're still not sure they are done you can use a skewer to test the middle. Insert the metal skewer into the middle of the cake and pull it out - it should come out clean without any wet batter on.
Since your cakes will probably be shared between two shelves, its best to check all of them as they may bake at slightly different speeds. Sometimes the sponge I have on the low layer needs a couple of extra minutes.
Why did my cakes lose their colour while baking?
The outsides of the cake will take on a gold brown baked colour as they bake, you can check the inside colour when you trim the tops off the cakes. It's this internal colour that's important to create the ombre effect, so hopefully, they are still pink on the inside.
The colour may have changed if you've used liquid food colouring rather than gels. The gel food colourings are much more stable and hold up better in the heat of the oven.
Also, make sure to separate the yolks and only use the egg whites in the batter. Making the cake batter as pale as possible is important to ensure the intensity of pink colour.
Why did my cakes turn out overcooked?
If your cakes turn out overcooked, this might be because the oven was too hot, or the cakes were cooked for too long.
The temperature dials on ovens are not always an accurate representation of the actual temperature in the oven. If you find bakes are often burning in your oven, try setting the dial to 10 or 20 degrees lower than the recipe recommends. You could also try using an oven thermometer to check the temperature inside the oven.
Always set a timer when baking. I like to set a timer a few minutes shorter than the time it says on the recipe so I can have a peek through the oven door and check how things are coming along.
Why did my cakes turn out wet in the middles?
Wet middles are a sign that the cakes haven't been in the oven long enough, or the oven isn't hot enough.
Try to preheat the oven when baking. This way you know the cakes will be cooked at a constant temperature.
If the cakes are still wet in the middle you need to return them to the oven to finish baking, test them again after 5 minutes. To make sure the middles are cooked use a skewer to test them, it should come out clean without a trace of wet batter.
Once your cakes are out of the oven, don't be tempted to wrap them and put them in the refrigerator or freezer while still hot. Not only is this poor food safety practice as it warms up other items in the fridge/freezer, if can also cause your cakes to become dense and seem soggy/undercooked. Allow them to cool slowly on a wire rack for perfectly light and beautiful sponges.
Why didn’t my cakes rise?
A number of factors can affect the rise of cakes. If your cakes didn't rise, have a think if any of the following things might have happened and try to fix them for next time.
Firstly, we're using self-raising flour, so the raising agent has already been added to the flour rather than putting in baking powder. The effectiveness of the raising agent in self-raising flour lessens over time, so if your flour is old, it may mean the cakes won't rise as well as it should. If you think your flour has lost its power, you can add 1-2 teaspoons of baking powder depending on if you think the flour has lost a little or all of its raising agent.
When you're mixing the batter, don't overwork it as this can make it tough, or introduce too much air, causing an unstable rise. Just mix enough to combine your ingredients and no more.
You cake batter should be put into its tins and into the oven as swiftly as possible. If the batter is left to sit out for a long time on the side, or remixed after being left to sit, any air that has developed in the batter will be knocked out resulting in flat cakes.
It's also important to get the oven temperature right. Too hot and the cakes will rise quickly and then collapse. Too cold and the cakes won't rise much at all. Preheat your oven so the cakes are baked at a constant heat and use an oven thermometer if you want to make sure it's the correct temperature.
Opening the oven door is another no-no when baking cakes because you'll letting the heat out, causing a rapid drop in temperature inside the oven which in turn can cause your cakes to collapse. If you need to check the progress, do so by looking through the glass on the oven door until you're confident your cakes are baked.
How can I add/change the flavours in this cake?
You can easily change the flavours of this cake by using a different extracts - there are so many available. Keep in mind that many flavour extracts are concentrated, so you might only need a few drops.
Some natural flavour additions like chocolate or coffee could be lovely too, but would really affect the colour you can achieve, so only consider these if you're looking to do a brown ombre, for example.
How about making a green ombré pistachio cake with crushed up pistachios on the outside instead of freeze-dried strawberries? Or have a riot of colour with orange flavoured cake, blue ombré, and multi-coloured hundreds and thousands for the sprinkles to decorate.
What is the origin of the ombré cake?
Ombré literally means shades in French and is used to mean a blending of a colour from light to dark like a gradient.
Ombré cakes have grown in popularity over the last few years, and now you can create one at home! I love watching the surprise on people's faces when they cut into the cake to reveal the beautiful colour inside this deceptively simple cake.
Pin this pink ombré cake
Pink Ombré Cake Recipe
Ingredients
For the sponges
- 12 large free range egg whites
- 600 g (4 cups + 2 tbsp) self-raising white flour (self rising flour)
- 600 g (3⅓ cups) white caster sugar (superfine sugar)
- 300 g (2 sticks + 5 tbsp) salted butter very soft
- 200 ml (½+⅓ cup) vegetable oil (canola oil)
- 1 tsp strawberry extract
- 180 ml (⅔ cup + 2 tbsp) whole milk
- 2-4 tsp pink food colouring amount needed depends on pigment concentration
For the frosting
- 500 g (4½ sticks) salted butter softened
- 1 kg (8 cups) icing sugar (powdered sugar)
- 1 tsp vanilla extract
- ½ tsp pink food colouring amount needed depends on pigment concentration
To decorate
- 30 g (1¼ cups) freeze dried strawberry pieces or pink/purple/red sprinkles of your choice
Equipment
- 3 Round 20cm (8") nonstick cake tin
- Tall side scraper
- Cake decorating turntable
Instructions
- Grease all three cake tins and line their bases and sides with circles of baking paper.
- If you’re using shallow tins, be sure to make the baking paper walls taller so that the cake has room to rise,
Make the batter
- Preheat the oven to 180C (160C fan, 350F).
- You're going to put all the ingredients into a large mixing bowl. I usually start with the sugar as it's least likely to get stuck to the bottom of the bowl.
- Add the egg whites, butter, oil, strawberry extract, milk and flour.
- Beat until smooth. Your batter should now be very pale - almost white.
Colour the batter
- Divide the batter evenly between 3 bowls. If you want really equally sized cakes, you can weigh the whole batter and then divide by 3 to figure out how much batter to put in each bowl. This will vary very slightly according to the exact weight of the eggs.
- Colour the first bowl pale pink, the second bowl a deeper pink, and the final bowl a vibrant pink. You will need to experiment with your particular brand of food colouring to decide how much each bowl needs.
Fill the tins and bake
- Spoon each bowl of cake batter into the tins.
- Place your cakes in the oven. You’ll probably need to use two shelves so aim to get both as close to the centre of the oven as possible, although it’s less of an issue with a fan oven.
- Bake for approximately 40 mins until springy on top. Allow to cool in the tins for 5 minutes, then transfer to wire racks to cool completely.
- Once cool, if your cakes have domed, trim off the tops to make them level.
- You should also trim off the tops if they're a little brown as this will put brown crumbs in your frosting. They tend to catch if you put them too high in the oven.
Make the buttercream
- Put the butter in a large bowl. Whip until creamy - this makes it easier to combine it with the icing sugar.
- Add the icing sugar and vanilla extract.
- Beat together, starting very slowly at first to avoid a sugar cloud, then increase in speed until the frosting has roughly doubled in volume (due to the incorporation of air) and looks pale and fluffy.
- Add a little bit of pink food colouring and whisk through - you're only looking to achieve a pale pink.
- At this point, I like to transfer the frosting to a piping bag and snip off a wide tip, but you can just spoon the frosting from the bowl onto the cake, if you prefer.
Assemble the cake
- Place the pinkest cake on a cake turntable.
- Spread with frosting about 2cm (3/4 inch) thick, all the way to the edges.
- Carefully place the slightly paler cake on top, checking to make sure the cake is still level all the way round.
- Spread with another layer of frosting.
- Lay the final, palest cake layer on top. Again, check that it's level.
- Now cover the whole cake - top and sides - with the remaining frosting. Use a palette knife or tall cake scraper to smooth your frosting. It doesn't need to be perfect.
- Now scatter the freeze dried strawberry pieces all over the cake. Patting gently with handfuls of the strawberry pieces can help them to adhere. Take your time for an even finish.
- Allow your cake to rest for an hour, then serve!
Video
Notes
Nutrition
Pin this pink ombré cake
More showstopping cake recipes to try
Have you got my book?

'This is a great kids cookery book. Emily is a star' - Simon Rimmer
'The book I'd like to force into any mother's kitchen' - Prue Leith
"A fab book with a plan." - Jane Devonshire, 2016 Masterchef UK winner
'Emily has managed to combine her mummy knowledge and passion for food to make a truly helpful and brilliant cookbook' - Priya Tew, RD, BSc (Hons), Msc
Get Your Kids to Eat Anything is an achievable 'how to' for parents in the battle to overcome picky eating and 'make new the norm'. Emily Leary's unique 5-phase programme looks at the issue of 'fussy eating' in a holistic way that links imagination with food, and which situates parents alongside - not in opposition to - their children.


Veenas says
Your Photos Shows How to Make it. Photos Are Nice. Thank You For Sharing.
Kate - Gluten Free Alchemist says
So pretty! Sometimes less is definitely more. And I am a huge fan of freeze dried fruit. Just need to make me a gluten free version now xx