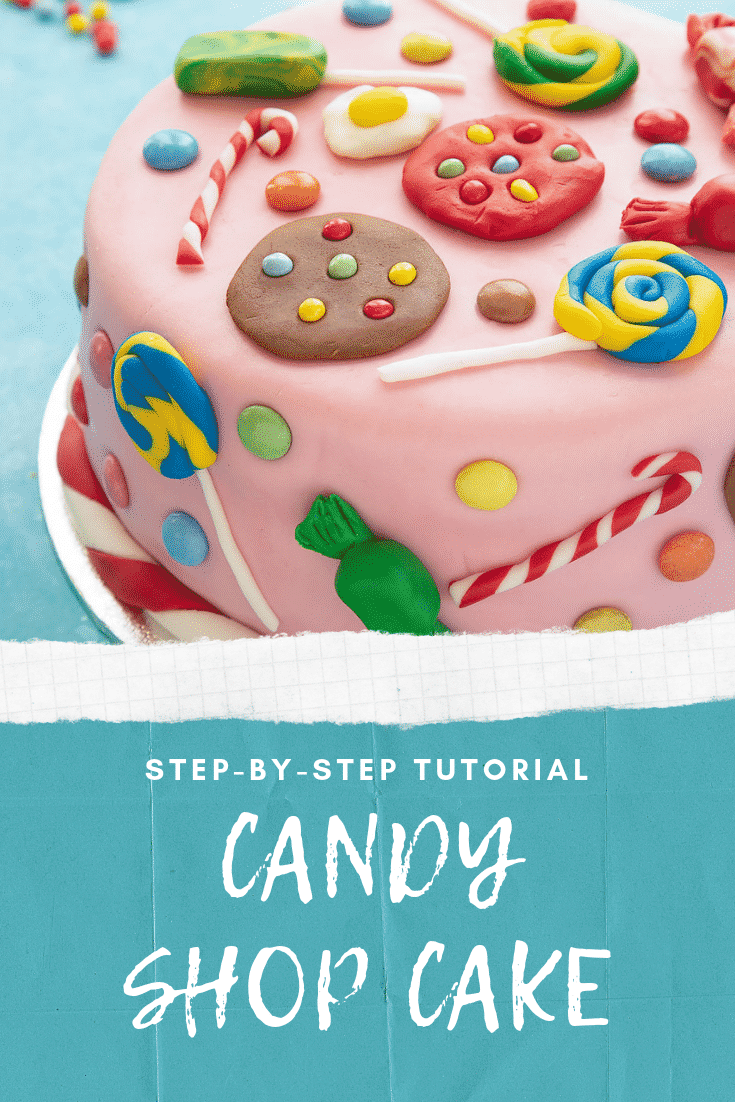
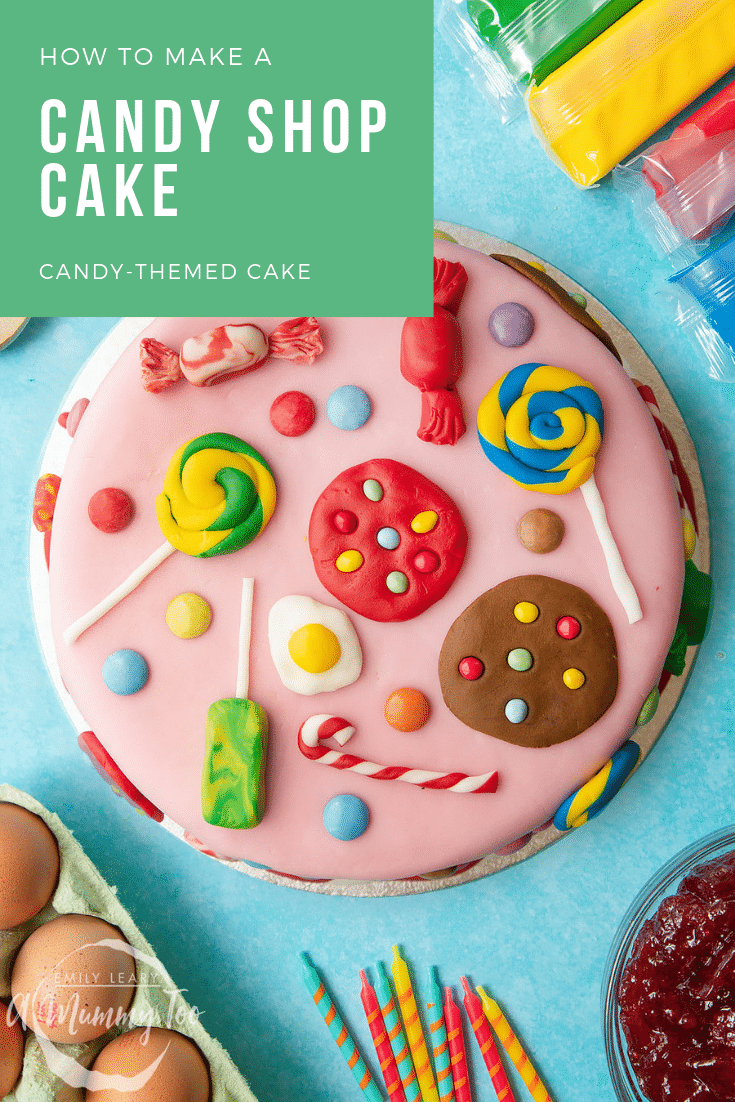
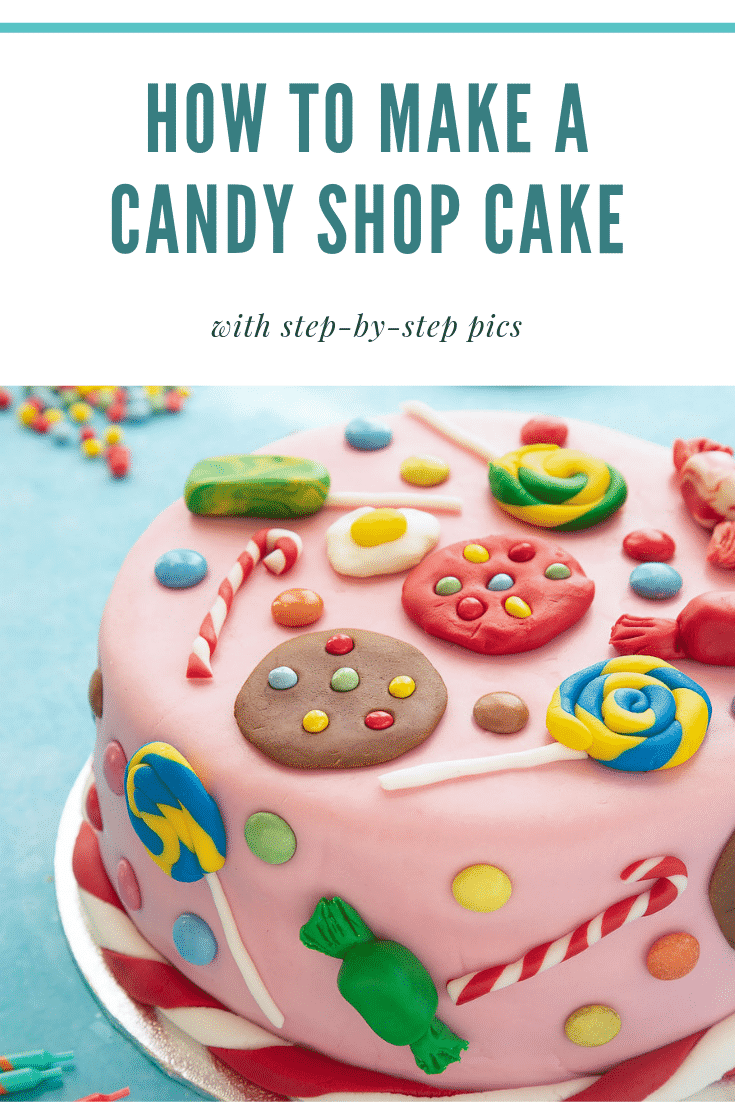
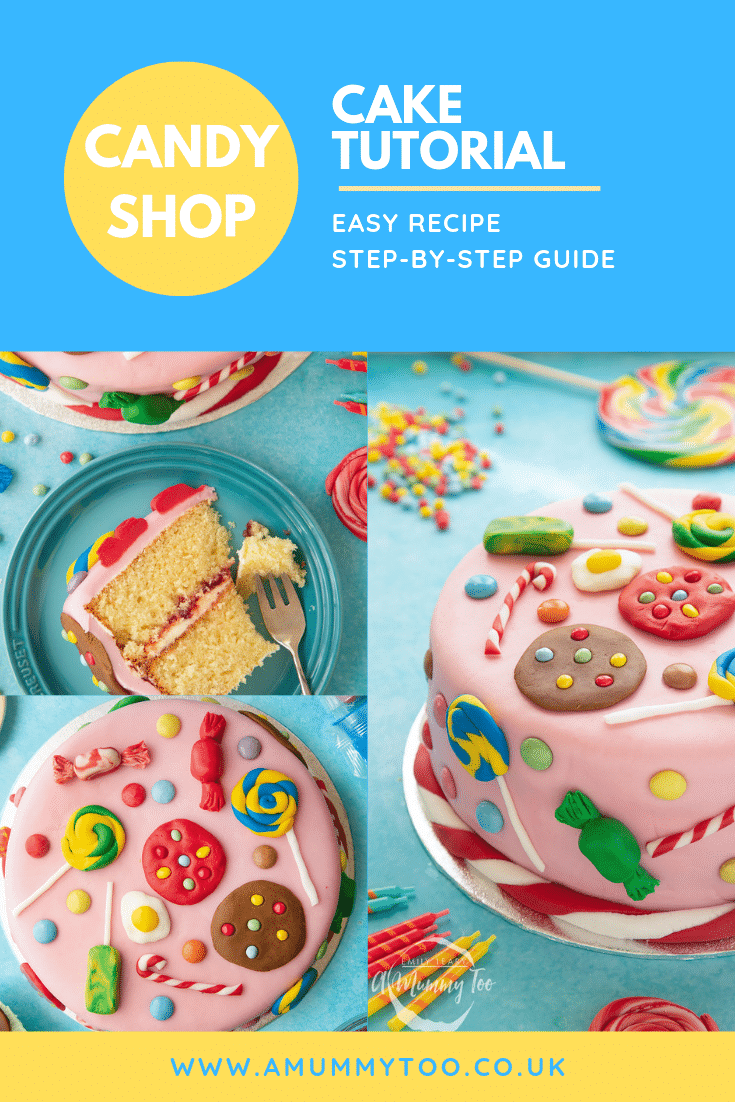
Isn’t this sweet shop cake super fun?! Well, the good news is, it's as tasty as it looks! And the really good news? It's quick and easy to make!
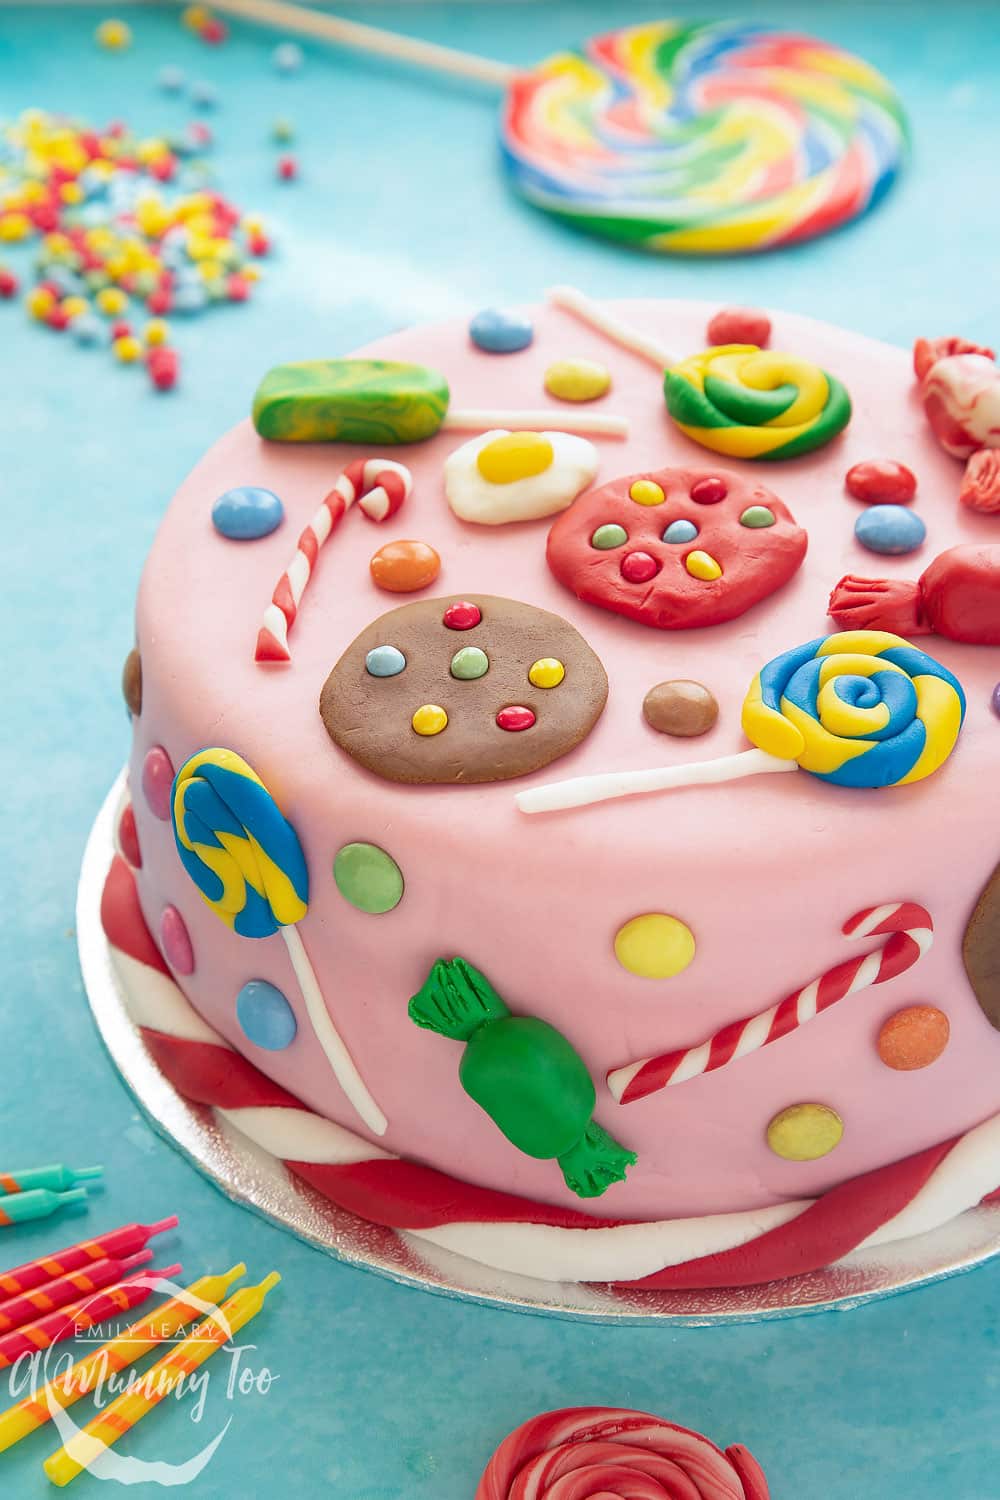
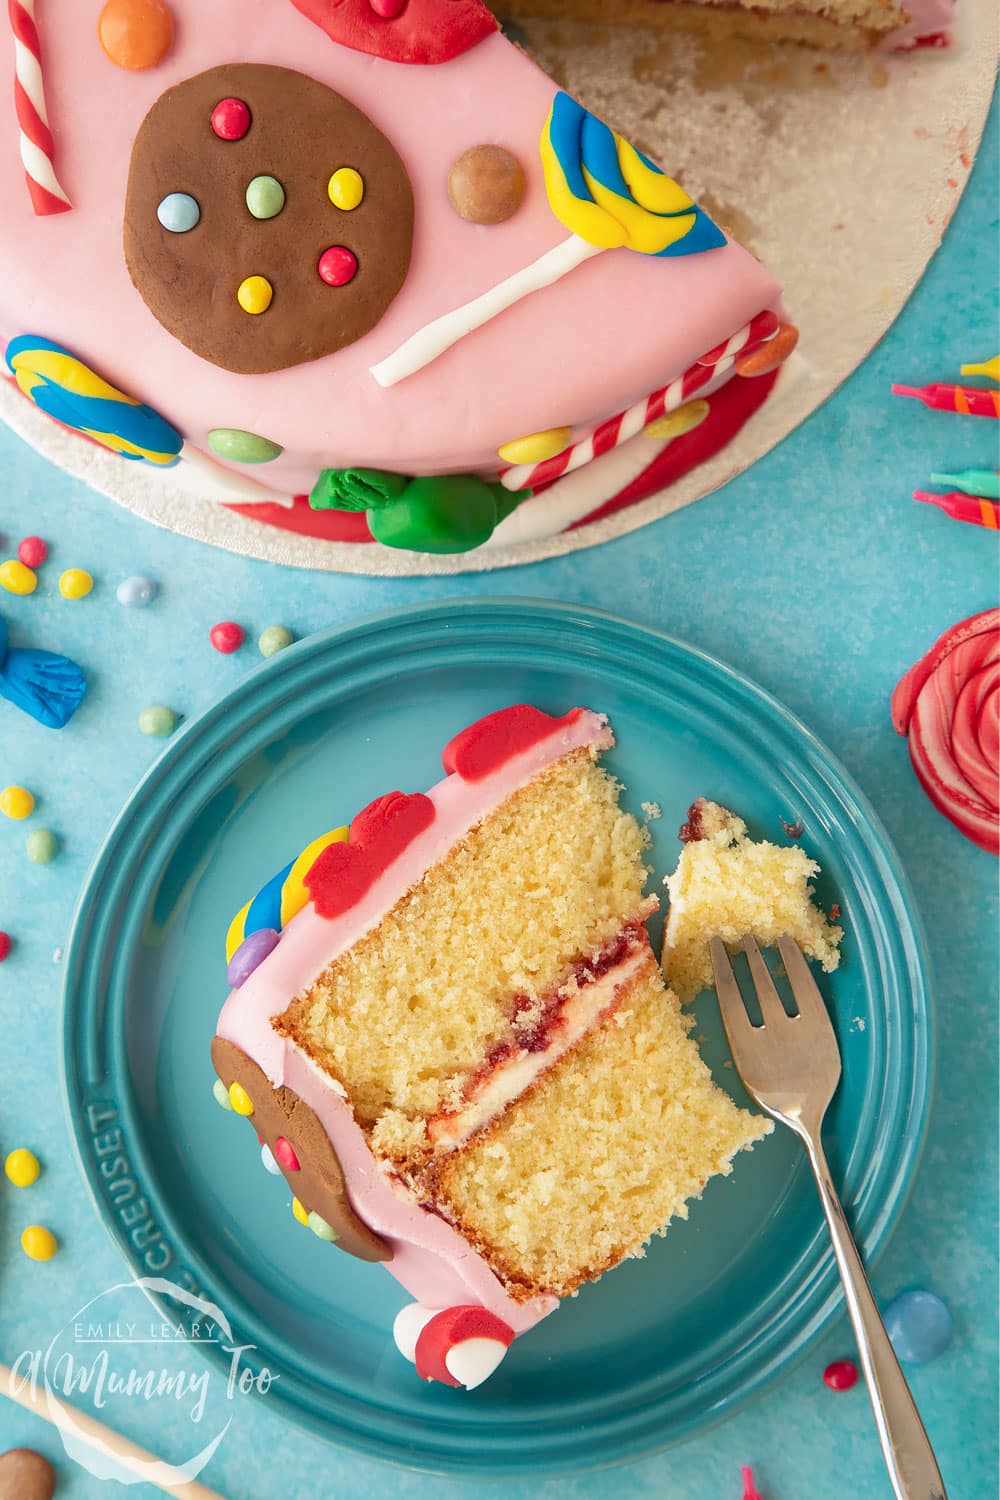
All of the sweet decorations are made with sugar paste (also known as fondant icing), which covers a gorgeous Victoria sponge, sandwiched with a traditional filling of strawberry jam and vanilla buttercream. SO good!
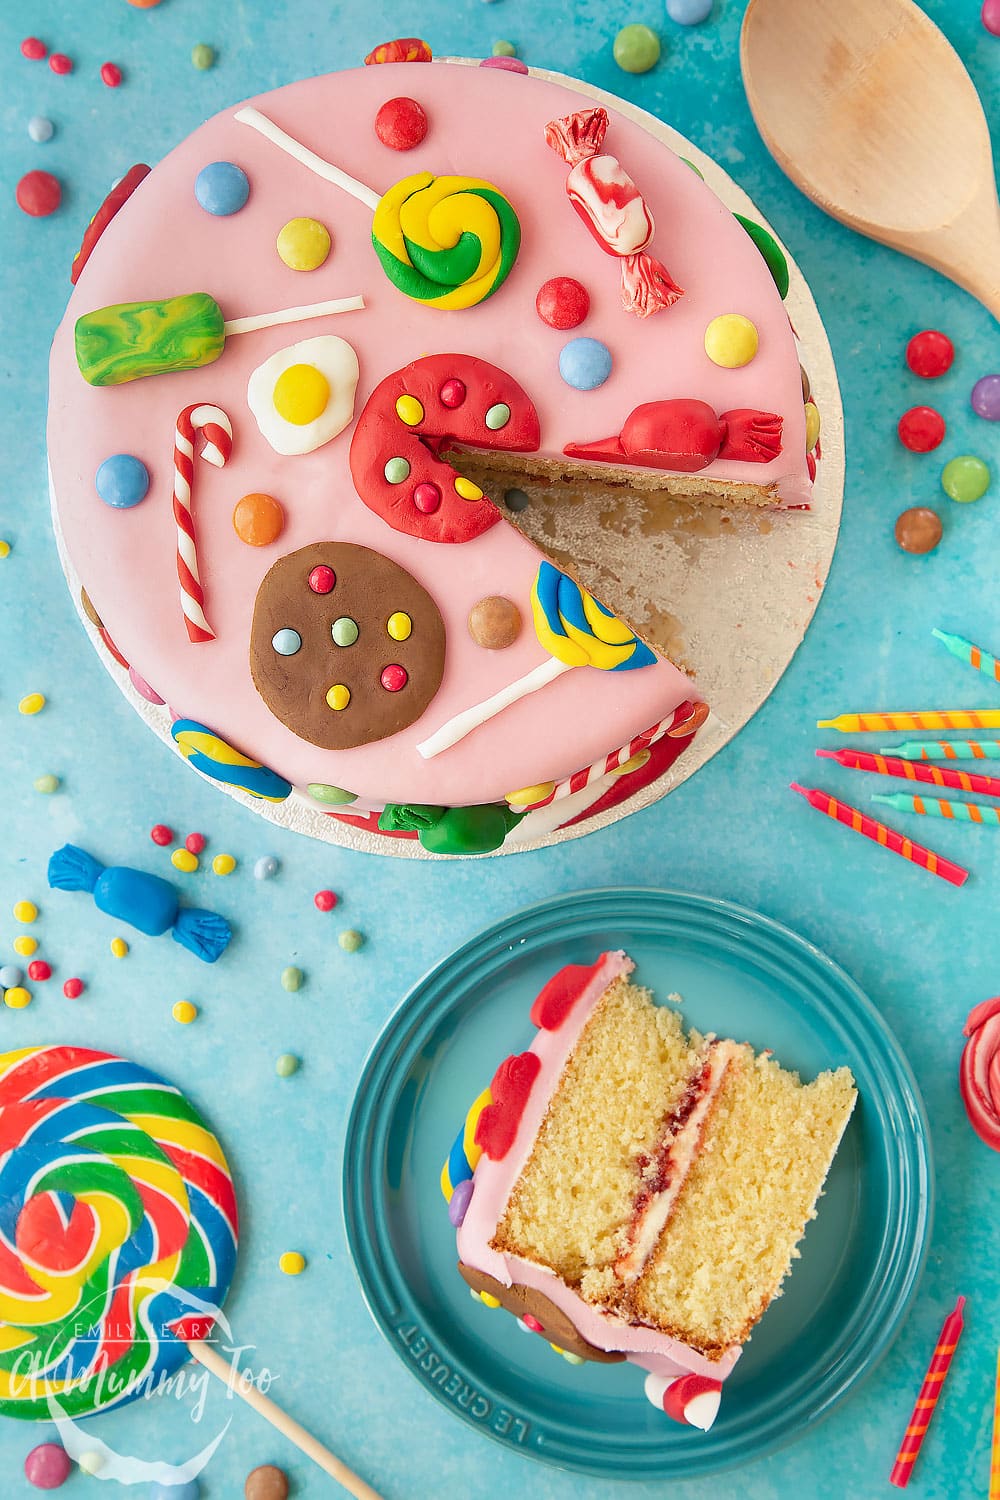
I get a lot of readers asking how to make the perfect Victoria sponge, and this really is the best recipe, following the traditional method, with step-by-step photos so that you can get perfect results.
And you can have masses of fun making the classic sweets to go on top. From lollypops to drumsticks, candy canes to wrapped candy, cookies and more! Look at that fried egg! So cute!
Ready to get baking? Here's what you'll need to do.
Ingredients
For the sponge
- 400 g (2½ cups) white caster sugar (superfine sugar)
- 300 g (2¾ sticks) salted butter
- 1 tsp vanilla bean paste
- 6 medium free range eggs
- 400 g (2⅔ cups) self-raising white flour (self rising flour)
For the filling
- ½ tsp vanilla bean paste
- 300 g (2⅓ cup) icing sugar (powdered sugar) powdered sugar
- 150 g (1 stick + 3 tbsp) salted butter
- 200 g (½ cup + 3 tbsp) jam
To cover
- 1 kg (2.2 lb) pink sugar paste (you will have offcuts)
- 100 g (3½ oz) red sugar paste
- 100 g (3½ oz) white sugar paste
To decorate
- 300 g (10 oz) assorted sugar paste colours I used red, white, blue, yellow, green, black and brown
- 2 tbsp mini chocolate beans e.g. mini UK smarties
- 2 tbsp chocolate beans e.g. UK smarties
Equipment
- 2 Round loose-bottomed 20cm (8") nonstick cake tin
Instructions
Preheat the oven to 180C (160C fan).
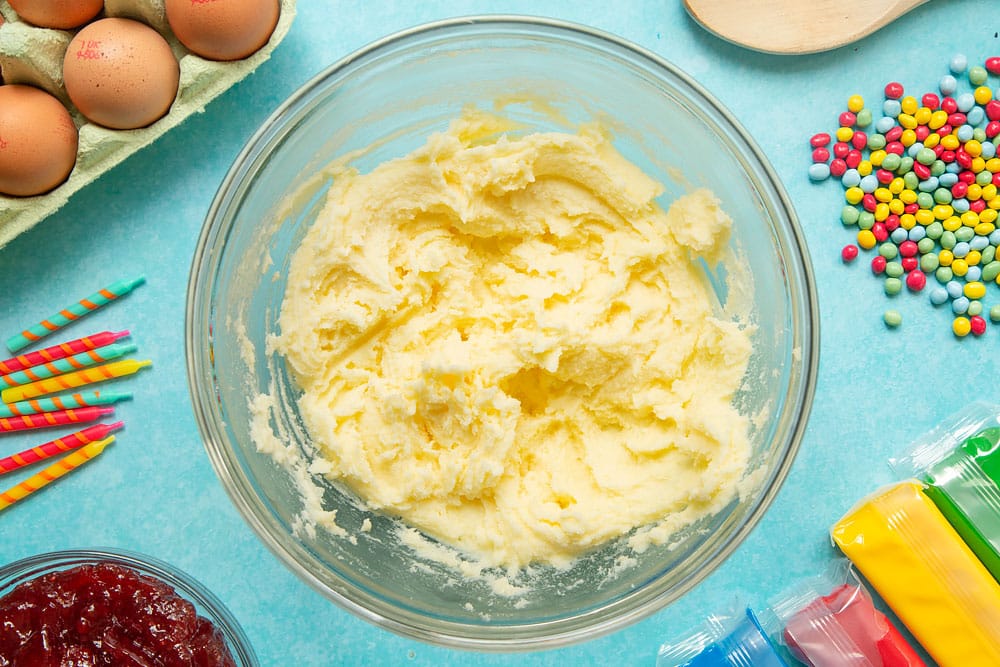
Put the butter and sugar in a large bowl.
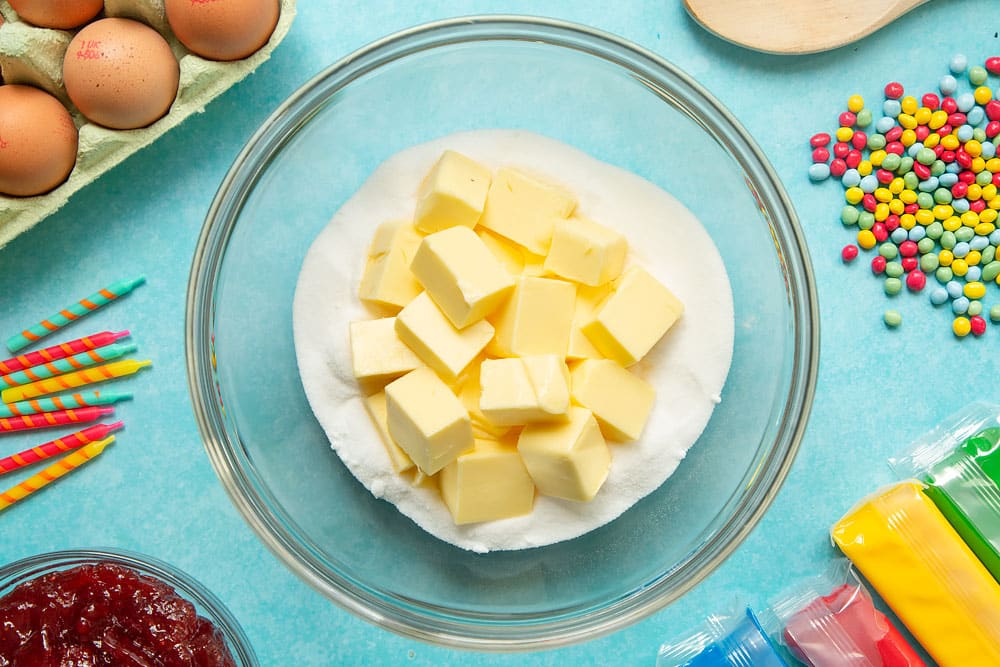
Stir or whisk together until pale and fluffy - it's easiest to use an electric whisk for this.
Beating the sugar and butter together in the way helps achieve a lump-free batter, and also begins to incorporate air into your mix. More air means a lighter sponge.
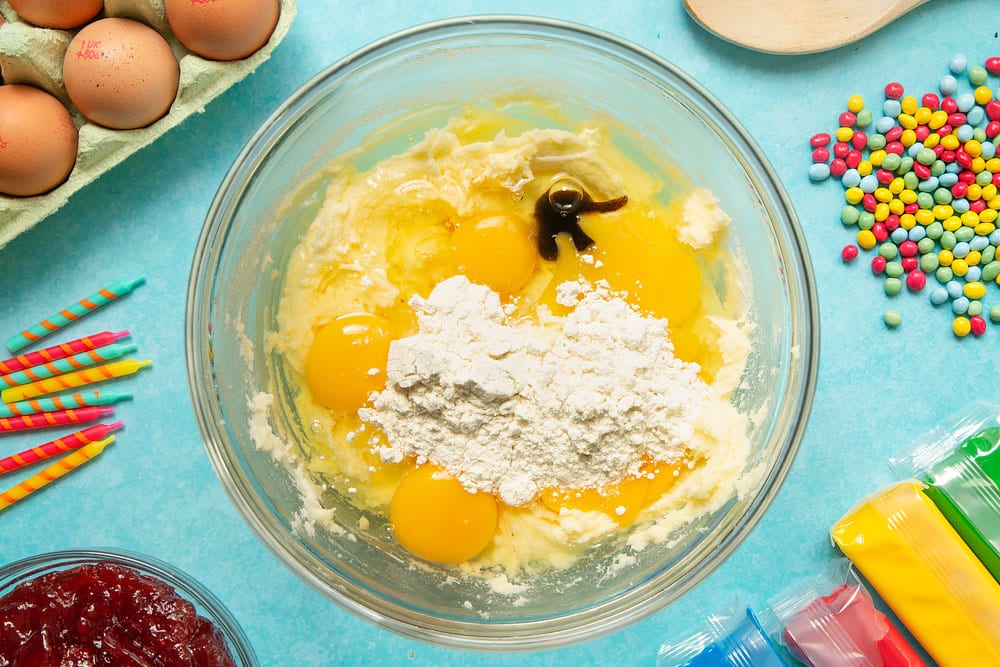
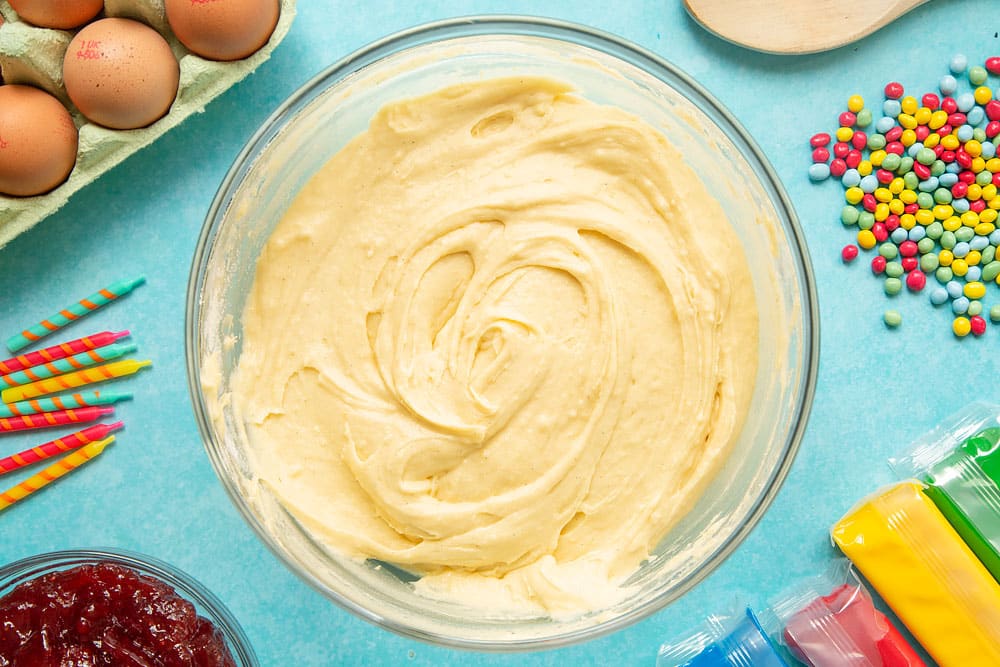
Add the eggs and vanilla to the bowl, along with a couple of spoonfuls of the flour - this helps to prevent the mix from curdling.
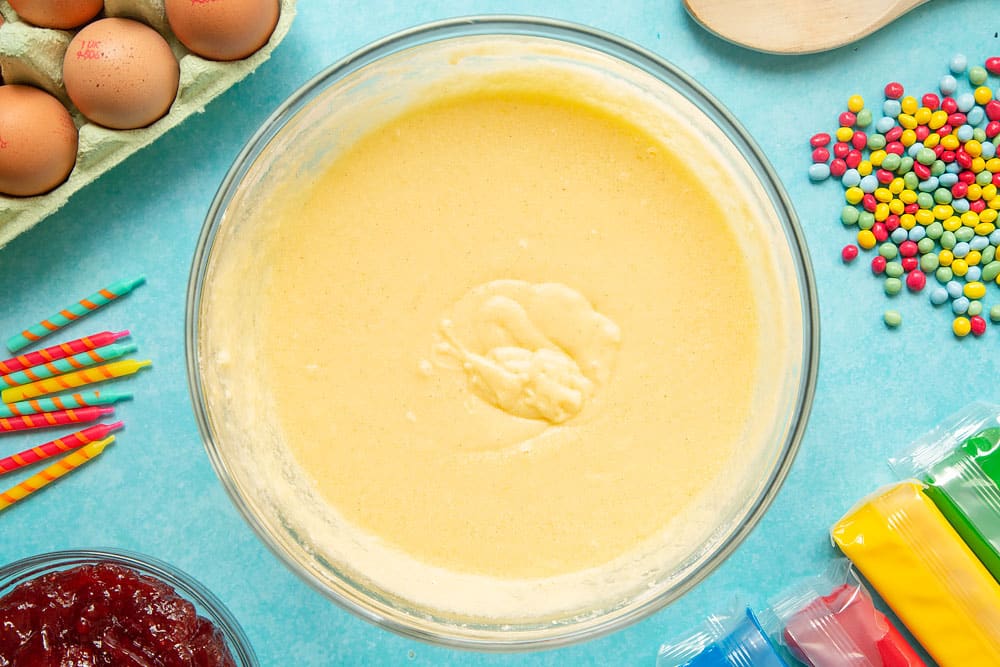
Mix or whisk until you have a smooth, thin batter.
Sift the remaining flour into the bowl - this helps to remove lumps and incorporate more air.
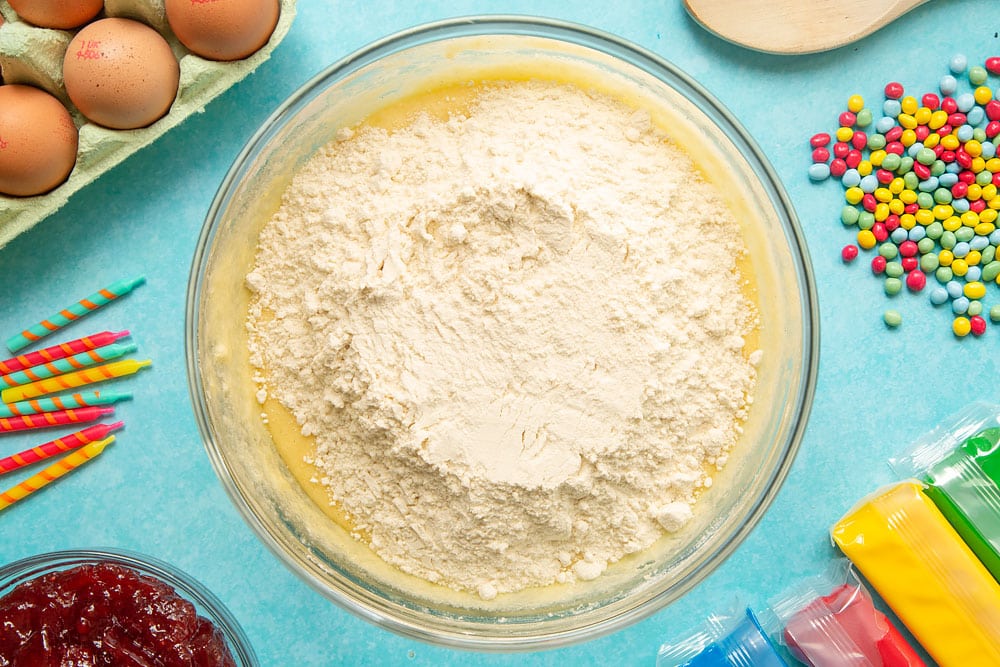
Gently fold through with a metal spoon or silicone spatula until the flour is entirely incorporated. Try not to over-mix your batter and this can make the final sponge a little tough.
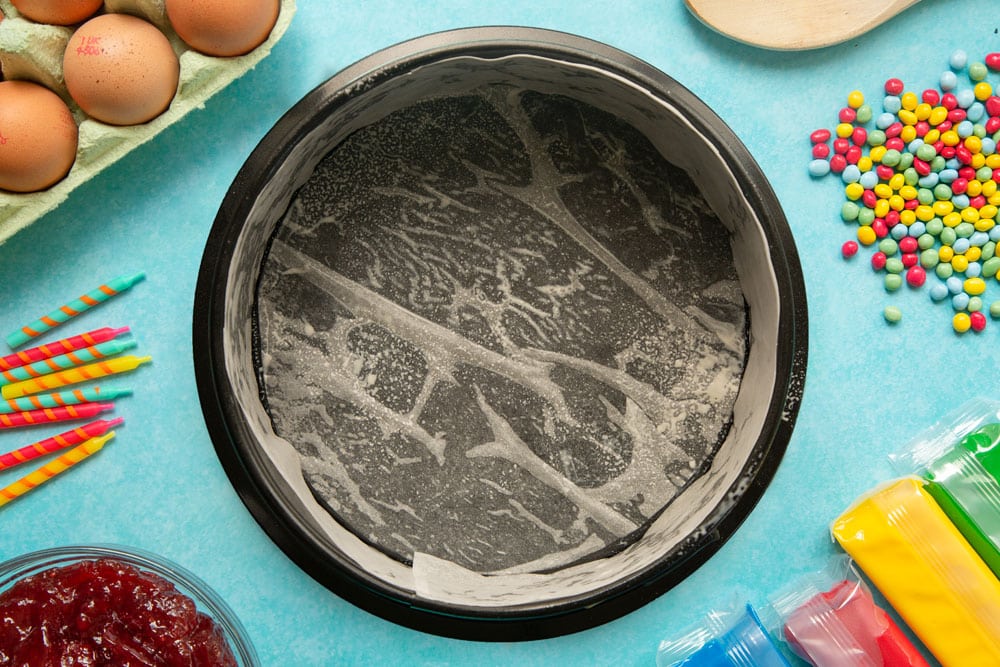
Grease two loose-bottomed, straight-sided, 20cm cake tins and then line the bottom and sides of both with baking paper.
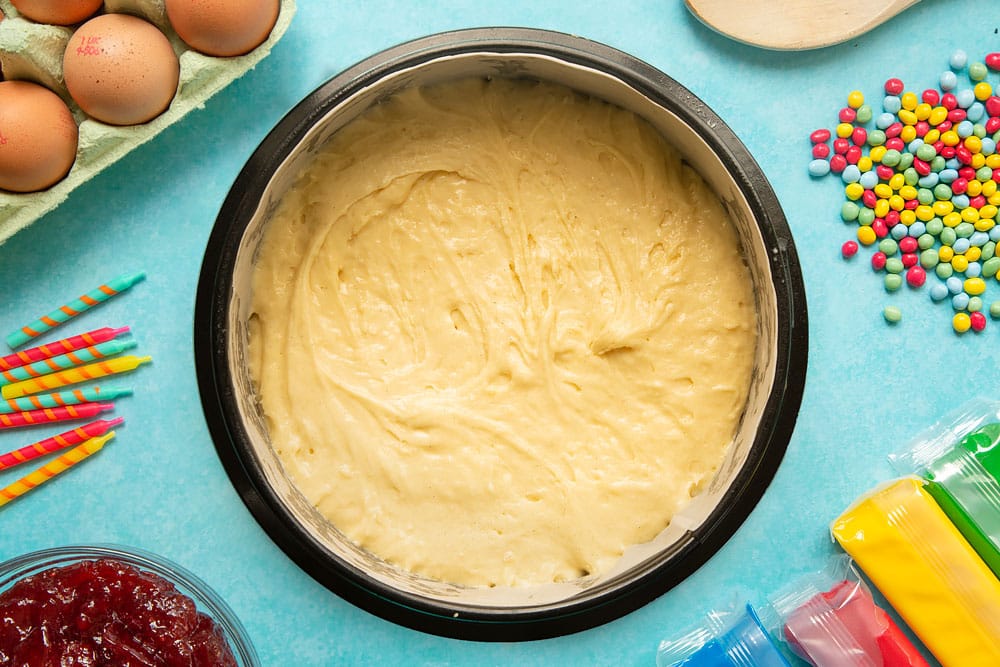
Divide the batter evenly between the two tins and gently level off.
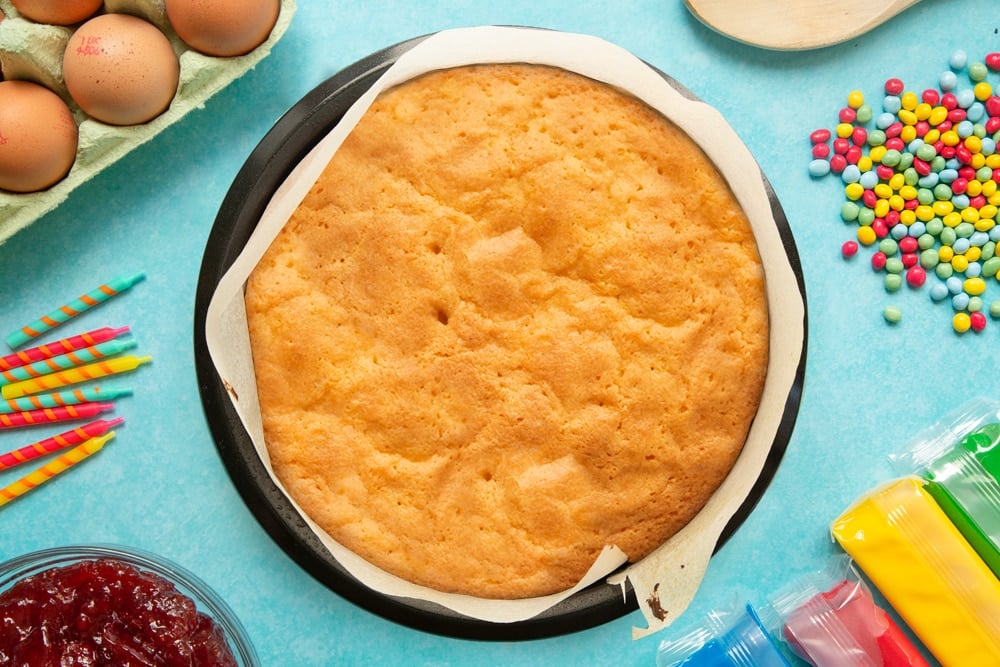
Bake for approximately 20-25 minutes until the cakes are risen and gently golden.
Allow to cool on a wire rack until cool enough to handle, then release the cakes from their tins and return them to the wire rack to cool completely.
The low baking temperature should have ensured that your cakes didn't dome much during baking, but if need be, you can trim the very tops of your cakes off to allow them to sit flat.
In a fresh bowl, combine your vanilla, icing sugar (powdered sugar) and butter.
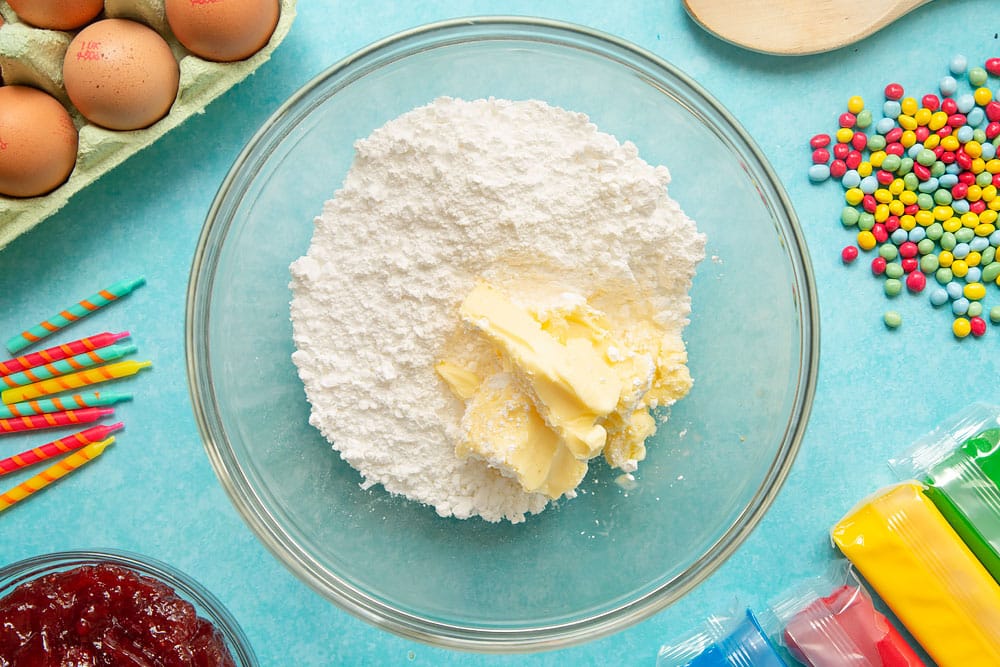
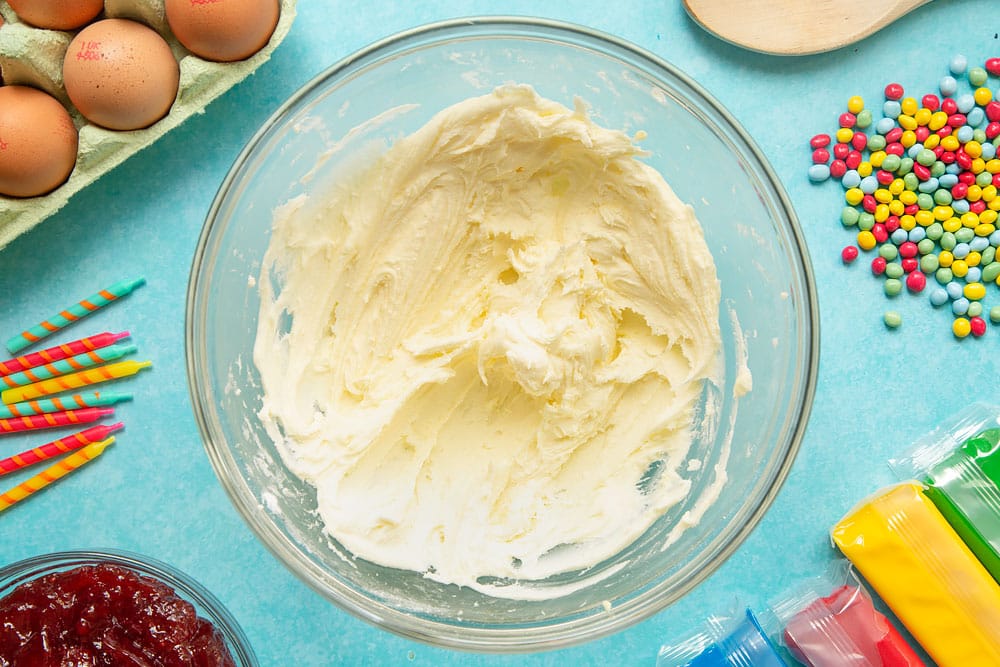
Mix slowly at first until your mix begins to come together, then beat more rapidly until you have a light, fluffy frosting that has significantly increased in volume. I prefer to use an electric whisk for this.
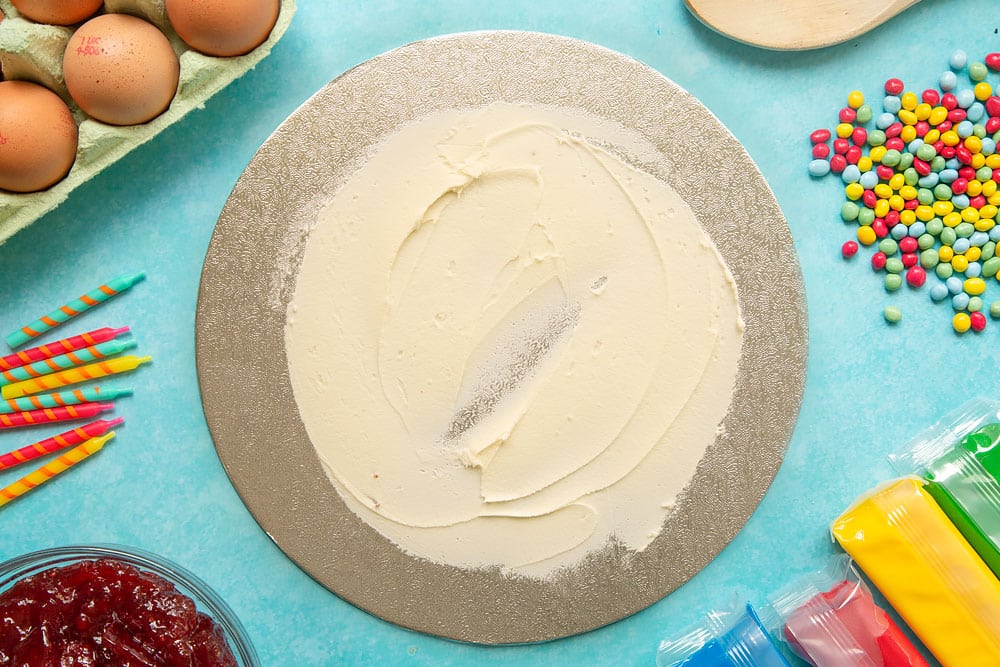
Take a completely flat board or plate, at least 25cm in diameter and spread a thin layer or frosting onto the center. This will help stop your cake from sliding around during decoration.
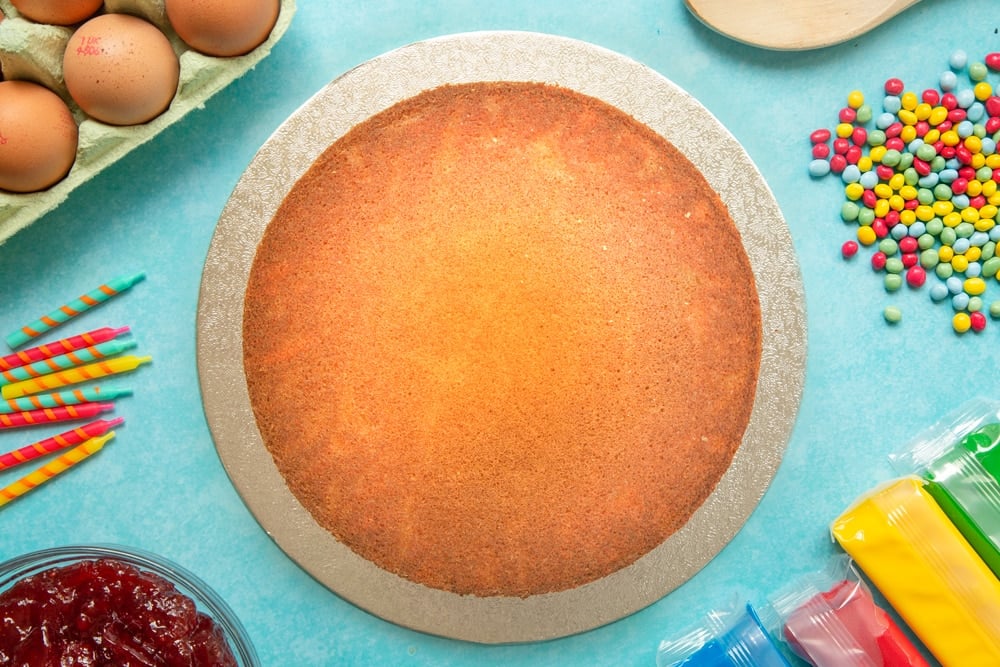
Place one of your cakes top down on the board.
Spread with about half the remaining frosting.
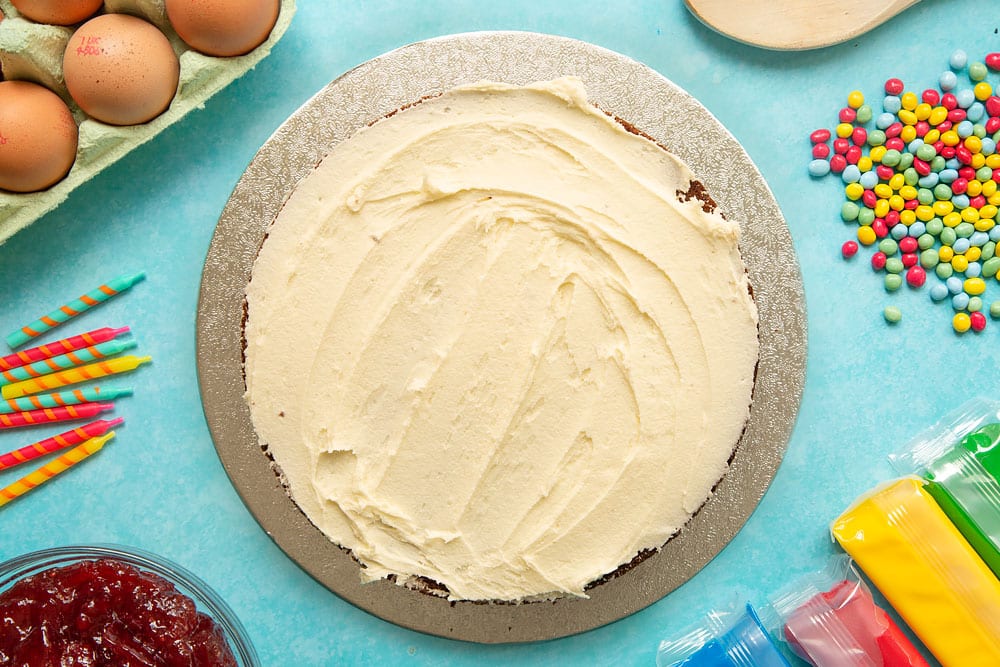
Gently spread your jam on top of the frosting - you might not need all of the jam.
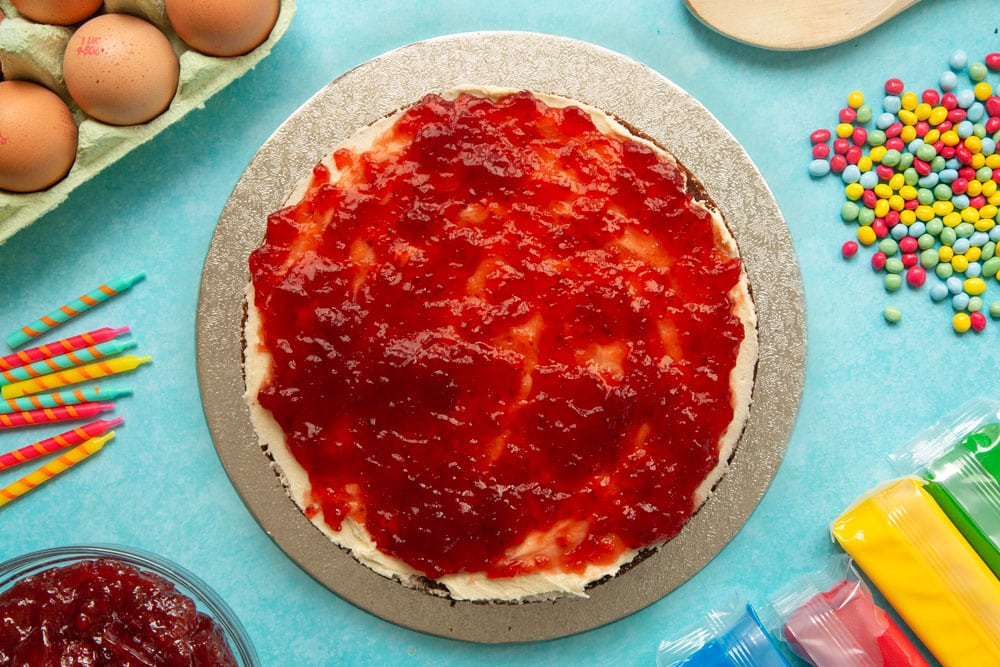
Place your second cake on top of the jam, again top-down to give nice clean edges.
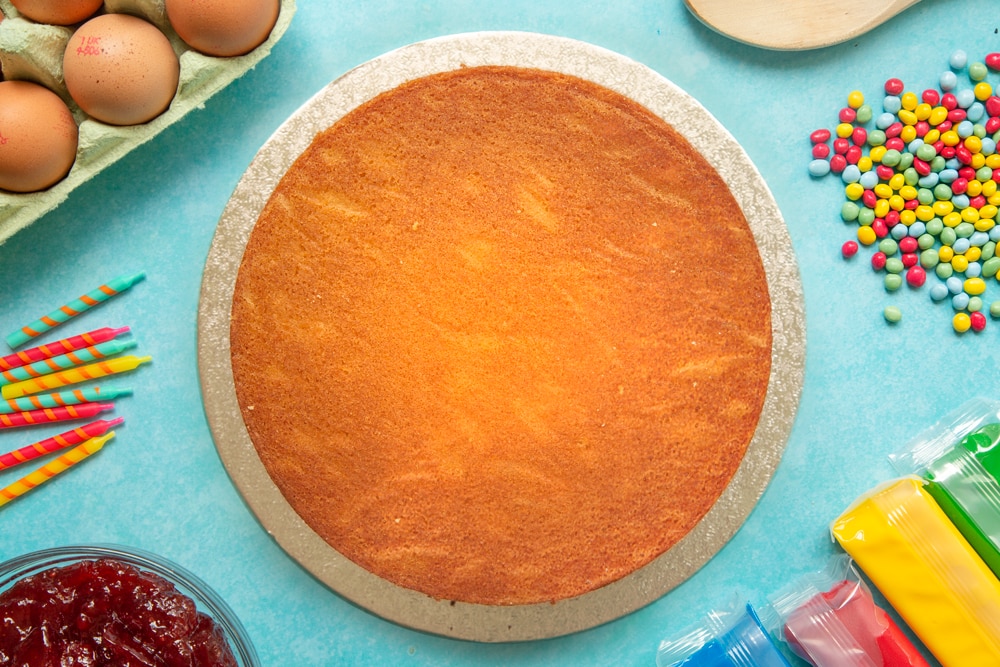
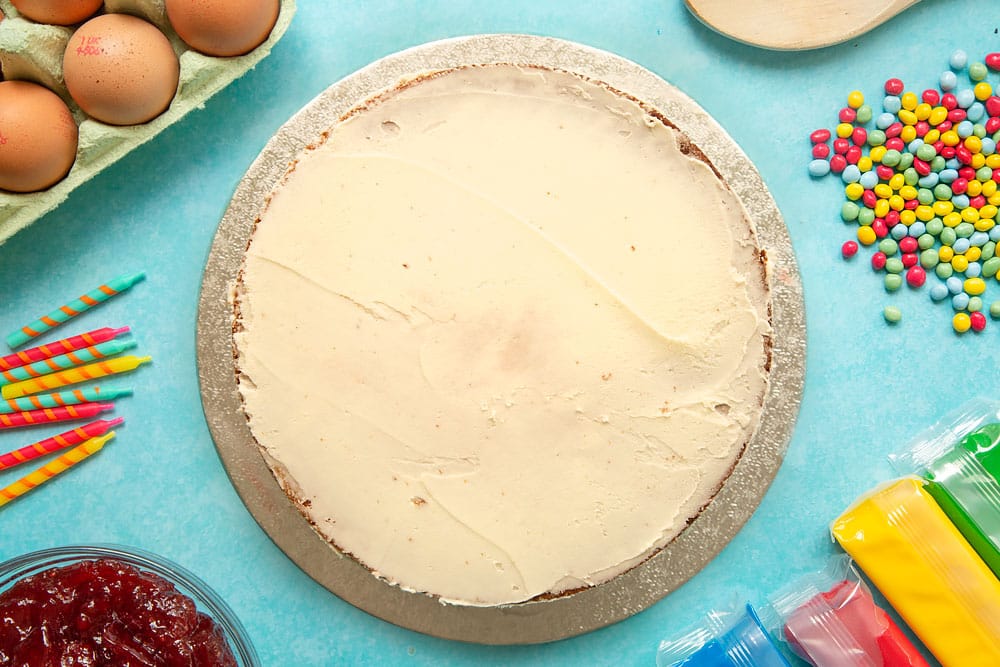
Use the remaining frosting to cover the whole cake. This only needs to be a thin layer, but aim to get it nice and even.
The frosting here will serve two purposes: first, it will hold any loose crumbs in place that could spoil the look of the sugar paste and second, it will help the sugar paste to stick to the cake.
Now place your cake in the freezer while you prepare the covering. This will help it firm up which in turn will make it easier to decorate. If you don't have room in the freezer, a cold fridge will do.
Roll your pink sugar paste out to for a disc about 35cm in diameter.
I find the easiest way to do this is to place the sugar paste between two pieces of baking paper and the roll out with a rolling pin. This means it doesn't stick to the countertop, is easy to shape, and easy to lift on to the cake.
Lay your sugar paste over the cake and allow the sides to drop down.
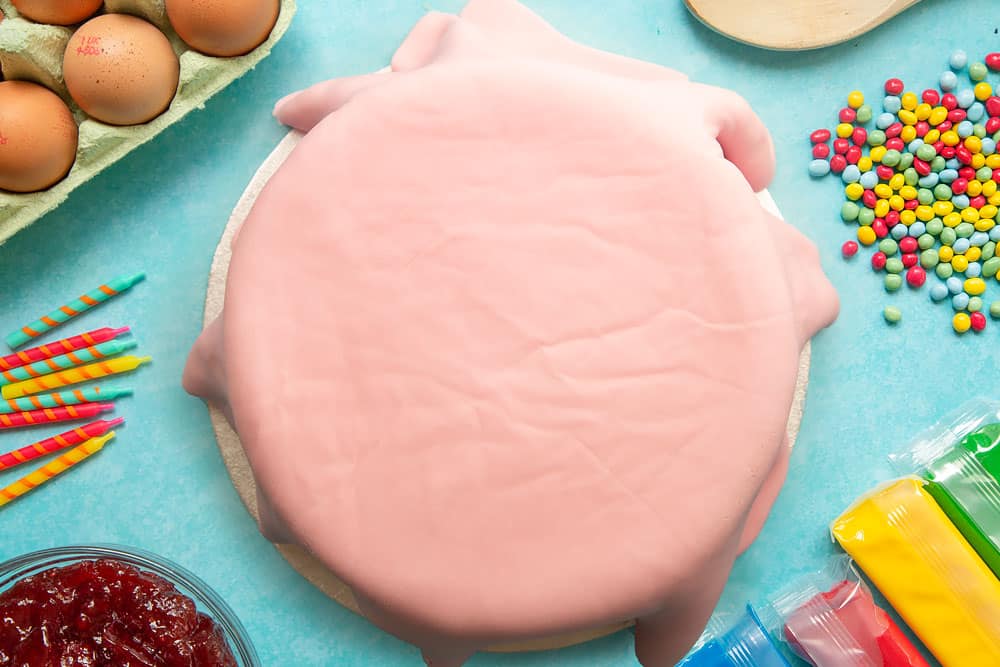
Working gently, ease the sugar paste down the sides of the cake. Sugarpaste can tear, but if you encourage it rather than pull on it, it will adapt to the shape of the cake.
If you have any tears, creased or mottled areas, just massage the surface very lightly with the palm of your hand until it smooths.
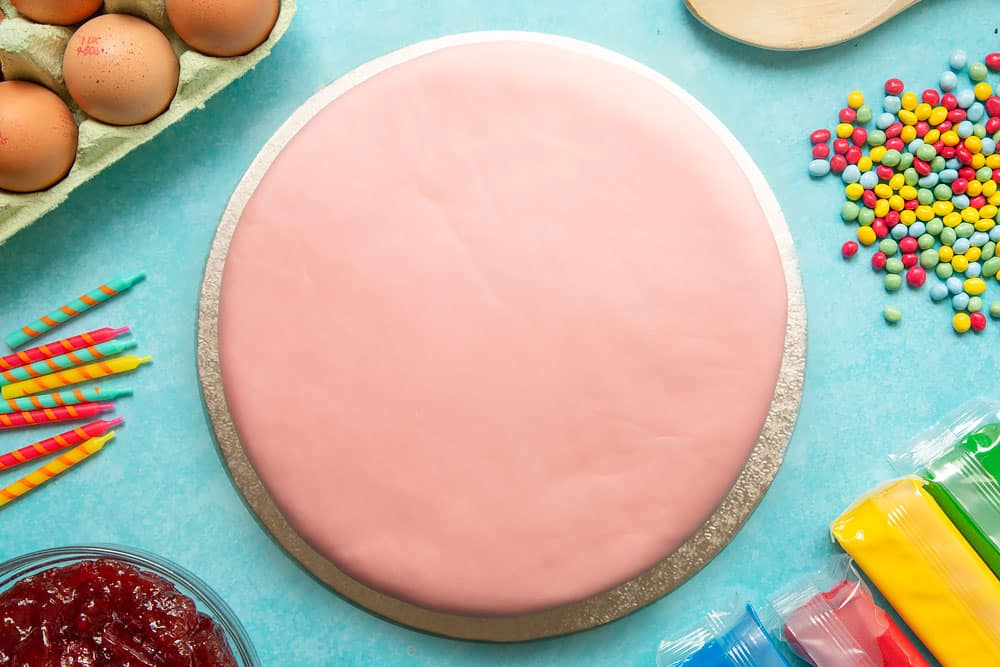
Trim off any excess sugar paste at the base of the cake. Don't worry if it's not perfect as we're going to make a decoration to wrap about it.
Roll the 100g red sugar paste and 100g white sugar paste out to form two lengths, each about 30cm long.
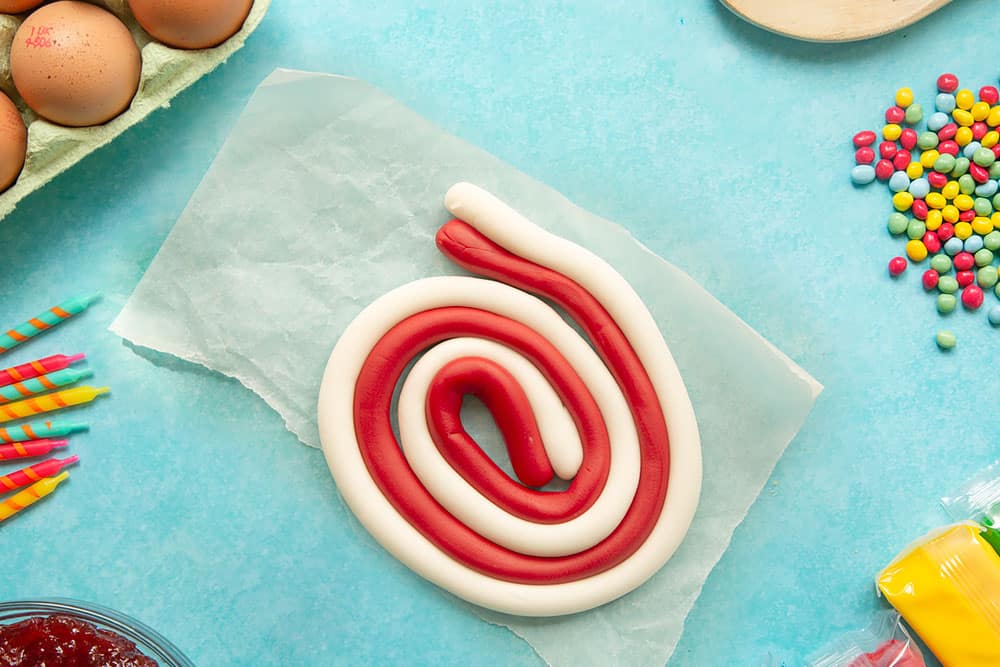
Twist the two lengths of sugar paste together all the way along.
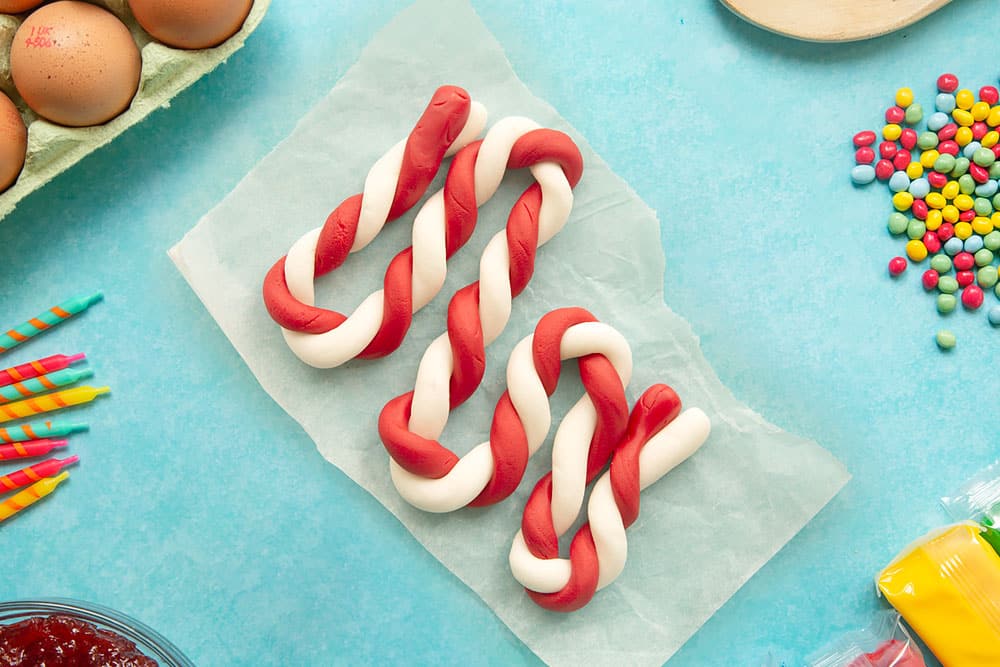
Arranging the sugar paste in one long length on the counter, gently roll the sugar paste until you have a striped length approximately 65cm long.
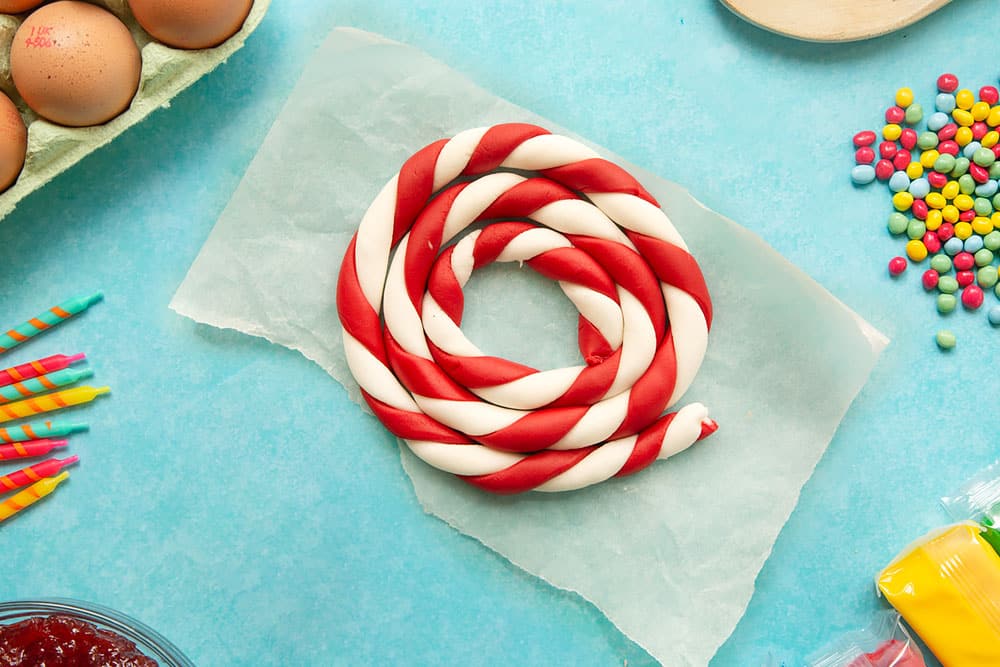
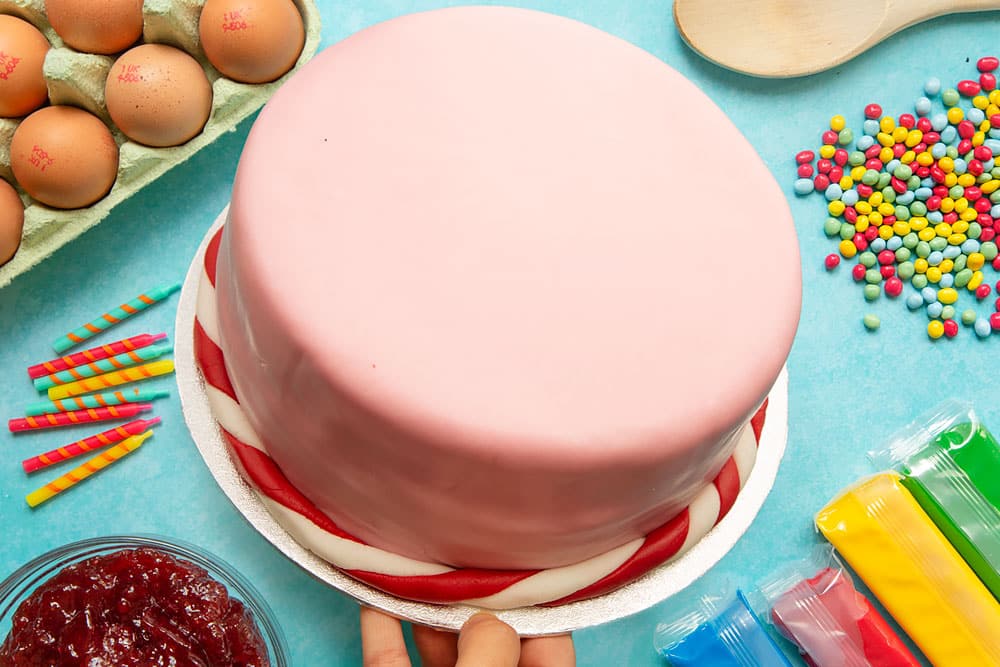
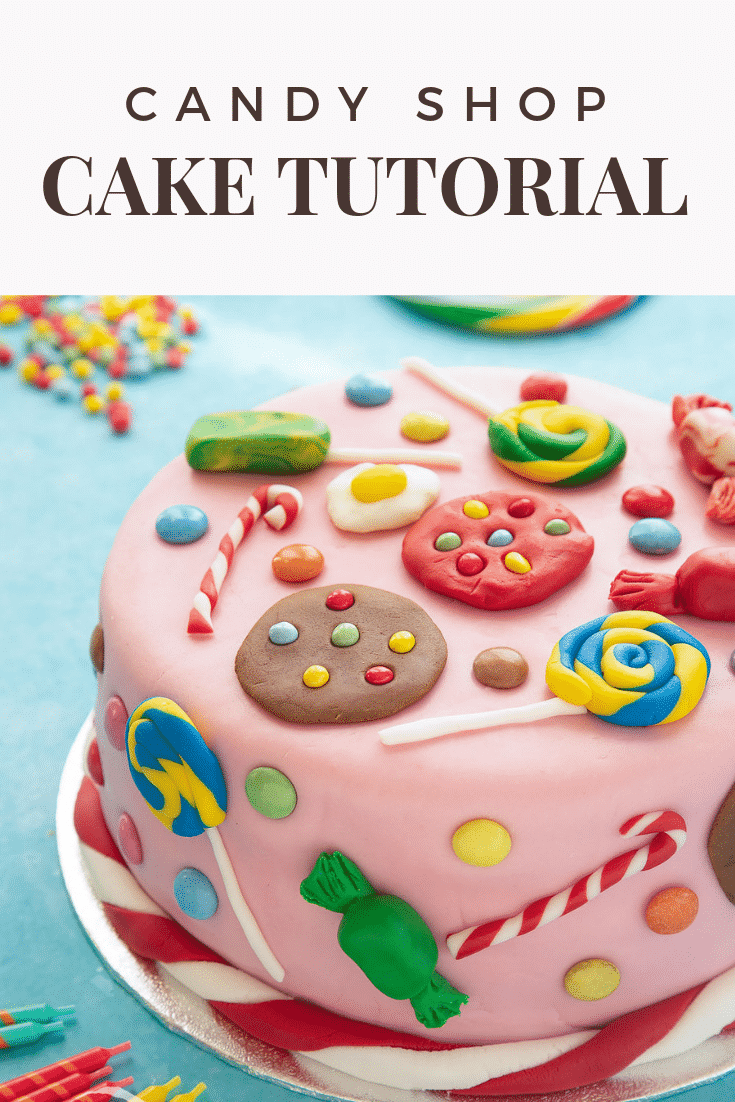
Carefully wrap the red and white sugar paste around the base of the cake, trimming off any excess.
With care, you should be able to make the stripes match, smoothing the join until it no longer shows.
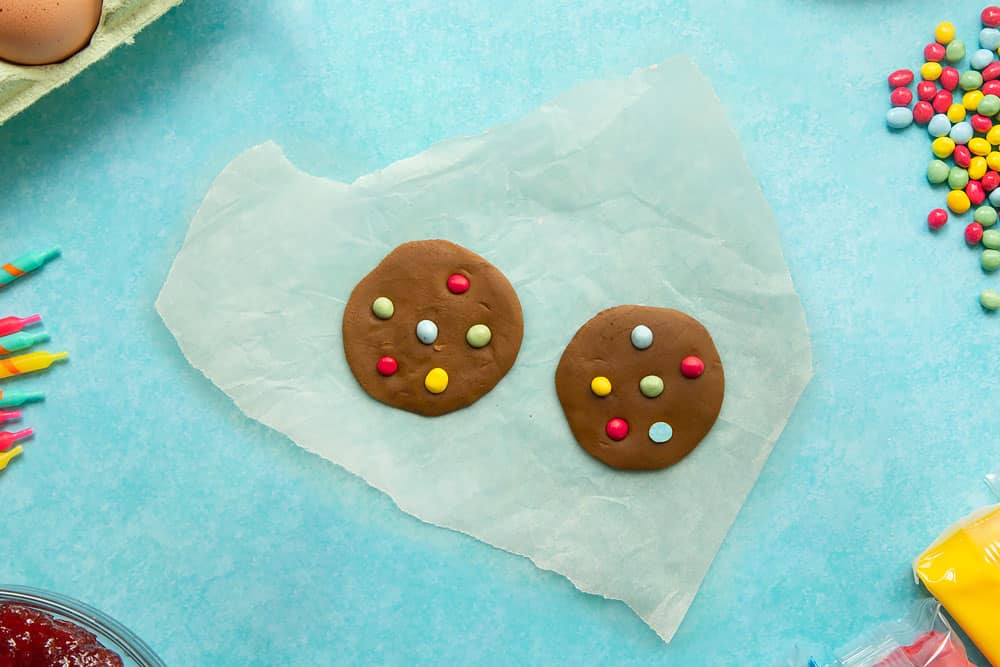
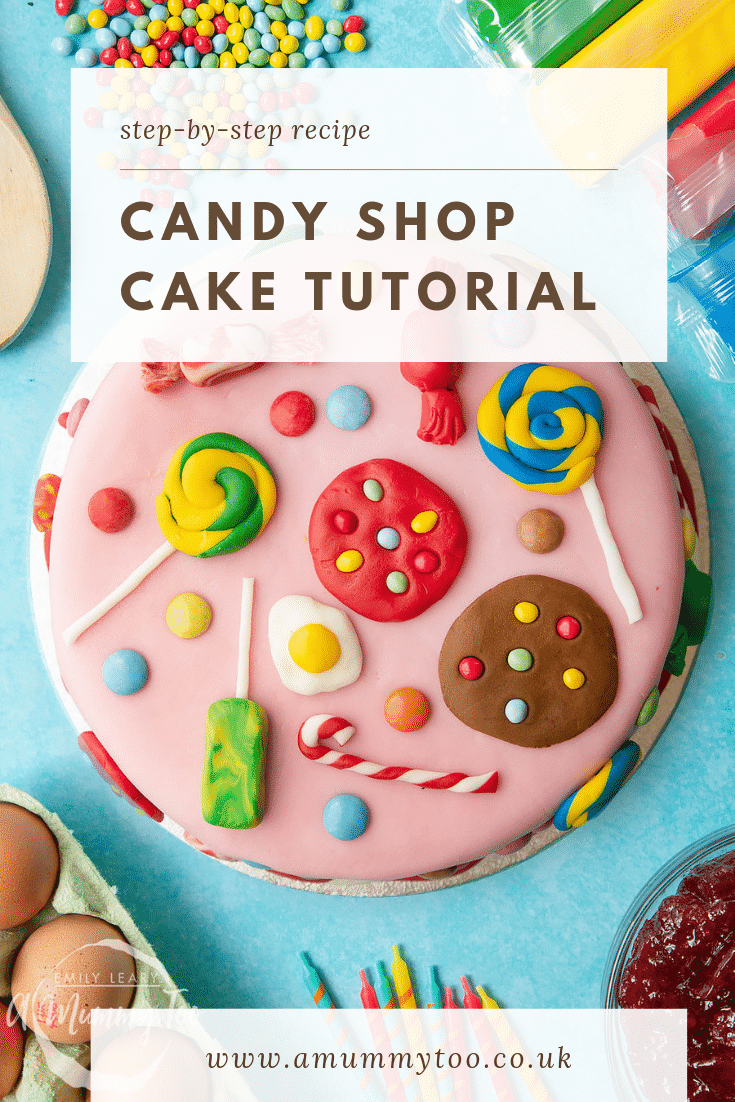
Now to make the decorations. Use brown and/or red sugar paste to form little flat discs, then decorate them with the mini chocolate beans to look like cookies.
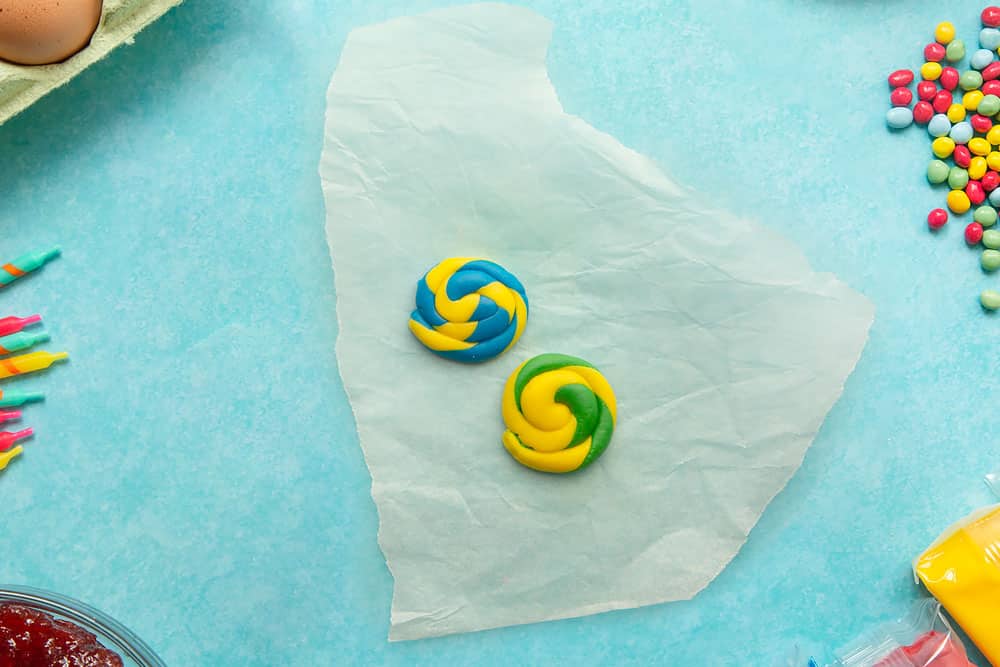
Using the same twist and roll technique we used earlier, you can twist and combine any two colours and then roll them up to look like lollypops - just add a little white sugar paste to look like the lolly stick!
Use the rest of your sugar paste to create more of your favourite candies. We made fried eggs, candy canes and more, pressing them gently onto the top and sides of the cake.
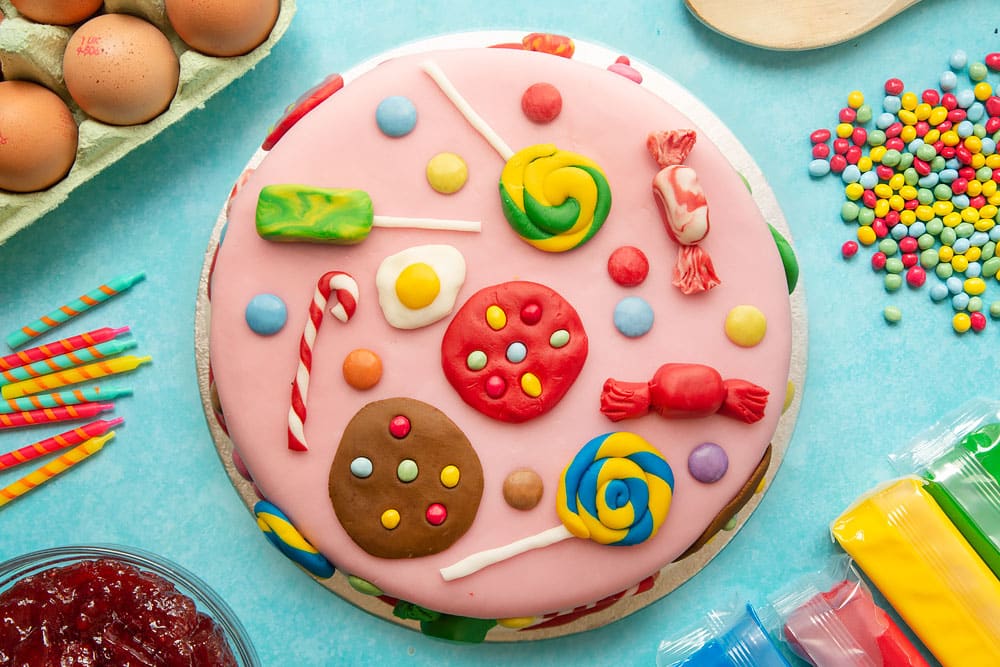
And there you have it! A really easy but totally effective sweet shop cake, that tastes as good as it looks!
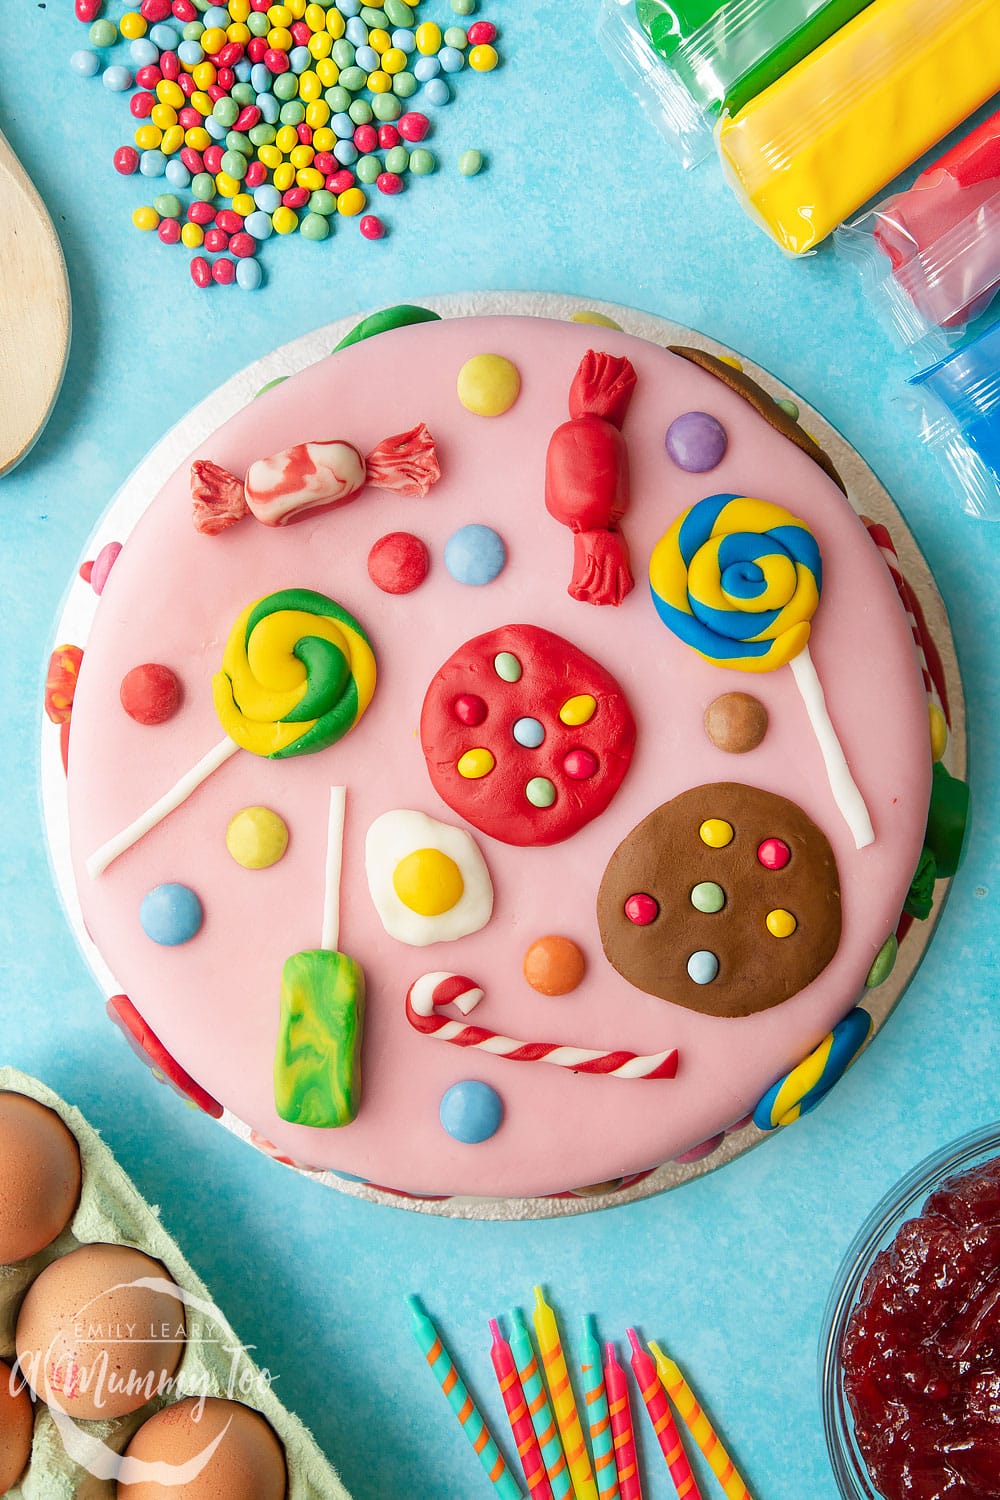
More tips for the perfect sweet shop cake
If you want to be even more certain of perfect results when you make your own candy shop cake, here are all the tips you'll ever need!
Where does Victoria sponge come from? Why is it called Victoria sponge? What is Victoria sponge cake?
The Victoria sponge, also known as the Victoria sandwich, is a British invention, named after Queen Victoria who was a big fan of sponge cake with afternoon tea.
Victoria sponge has its roots in the classic pound cake (which uses a pound of flour, butter, eggs and sugar) that became popular in the 18th century.
The difference between a classic pound cake and a Victoria sponge is the addition of baking powder, which was discovered by Alfred Bird in 1843, and which allowed the cake to rise higher and have an even lighter, softer crumb.
In terms of ingredients and taste, Victoria sponge is similar to other classic cakes such as genoise, Madeira, and yellow cake, although each of these has a slightly different method so they are not exactly the same.
Can I make this Victoria sponge using a food processor?
If your food processor comes with a whisk rather than blade attachment and can be put on a low setting, then you can use it to cream the butter and sugar together if you like, and you could also blend in the eggs.
However, I would recommend folding in the flour by hand, without using your food processor. This is because cake batter can be easily overworked. Blending in a food processor may change how well the cake rises and may make the end texture tough if the blades knock out the air and stretch the gluten.
Can I make this Victoria sponge without an electric whisk?
Using an electric whisk to make your Victoria sponge is handy because you can beat lots of air into your butter and sugar mixture really quickly, and it will help beat your eggs through the mix quickly too.
But you can absolutely make this Victoria sponge without an electric whisk, you will just have to be prepared to give the mixture a little more elbow grease! A manual hand whisk will make things a little quicker than a spoon alone.
While it will definitely take longer if made your cake entirely by hand, Victoria sponges have been being baked since, unsurprisingly, the Victorian times, long before electric whisks were invented!
Do I need special equipment to make this Victoria sponge?
You could make this sponge with just scales, a spoon, a mixing bowl, measuring spoons, a little baking parchment and a couple of sandwich tins.
However, your bake will be quicker and easier if you have two cake tins with loose bottoms and an electric whisk.
If you don’t want to invest in loose-bottomed tins, you can just turn your cakes out onto the cooling rack. As long as they’re properly lined, they should come out easily.
Alternatively, try laying an extra two strips of baking paper in a cross in your tin before you line it to create four tabs long tabs that go up past the sides of the cake tin. This will allow you to lift the sponges out once cool.
Can I make this Victoria sponge in a stand mixer such as a Kitchenaid or Kenwood Chef?
A stand mixer with a flat beater or whisk attachment should work well to beat your butter and sugar, and then your eggs.
Just remember to fold the sifted flour in by hand as a stand mixer may be too rough with the batter, which can knock out the air, or make the batter tough.
Can I make this Victoria sponge using the all in one method?
Victoria sponge recipes are generally quite forgiving, so if you are in a hurry, you could pop all of the sponge ingredients into the bowl and beat them all at once. It will work!
However, for best results, it’s advisable to make the batter in stages so that you can incorporate plenty of air without overworking the gluten in your mixture, which can make for a tough sponge.
By creaming the sugar and butter first, combining the other egg, then folding in the flour - you’ll be left with a beautifully smooth and airy sponge.
Can I make this Victoria sponge without weighing scales?
As with many baking recipes, it’s important to get the quantities of each ingredient spot on, so it’s important to use weighing scales. I’ve provided the weights in both grams and ounces to suit your preference.
Can I make this recipe in one deep tin instead of two sandwich tins?
In theory, yes, you can make this cake in one deep tin. However, when you change the shape of the tin you're baking with, it changes other factors that affect how well the cake turns out, and things can go awry.
If you replace two 20cm sandwich tins with one 20cm cake tin filled with all of the cake batter, you will double the volume of batter per tin, but reduce the surface area, as the cake will now be twice as deep.
This could mean that your cake cooks on the outside before it is ready in the middle, or you could find it rises too much or sinks in the middle.
If you’re determined to use a single tin, I’d recommend lowering the temperature to 140C fan, and being prepared to keep an eye on the cake past its recommended baking time until it looks cooked through. Then, use the skewer test (pushed into the centre, it should come out clean) to make sure your cake is cooked through.
I must stress again, though, that in order to cook a Victoria sponge cake this size properly and maintain its structure, it's always best to use two tins. If you only have one tin to hand you could bake the first half while the remaining batter sits in the fridge and leave it to cool while the second cake bakes.
Could I turn this recipe into individual Victoria sponge cupcakes or muffins?
Yes, this recipe will fill two 12-hole muffin trays lined with muffin cases. Just be aware that the cooking times may reduce, so pay attention to them during the last 10 minutes of baking to ensure they don’t overbake.
Remove once gently golden and press the tops to ensure they are firm. You can also use a skewer pushed into the centre to check if they’re cooked through. It should come out clean.
Can I make this Victoria sponge as a traybake?
While I haven't tried this exact better as a traybake, it should work well. Just be aware that by spreading the cake batter in a large flat tin, you are potentially increasing the surface area, so the cooking time may vary.
If you want to check your cake is done in the middle then use a flat skewer and push it into the centre of the cake - it’s ready when it comes out clean.
Can I bake this Victoria sponge in a loaf tin?
You could certainly make this sponge in a loaf tin, although the change in shape would change the cooking time.
I’d recommend splitting between two loaf tins. Otherwise, the size of the cake may mean it does not cook properly in the middle. You may also need to adjust the cooking time, so keep an eye on your cakes as they bake.
Does it matter with this Victoria sponge recipe if I add jam or buttercream first?
It doesn’t really matter if you spread the jam or buttercream first, although I find it's slightly easier to spread the buttercream to give a good base, then the jam is easier to spread on top and slips a little less.
Can I use fresh cream instead of buttercream in this cake?
If you whip your cream first then you can use it in place of buttercream, but I would recommend against it as the cream make sink into the sponge rather than sitting on top of it.
In addition, whipped cream isn’t as sturdy as buttercream, so if used as a filling it might spill out the sides of your cake when you assemble it, and it won’t provide as sturdy a base for the fondant.
Furthermore, fresh cream goes off more quickly than buttercream, meaning your cake would have to be kept in the fridge rather than at room temp and wouldn’t keep for long.
For those reasons, using cream in place of buttercream is not recommended for this recipe.
If you really want to use fresh cream, I would recommend leaving it out of the filling and instead adding it to the top of the cake when it's time to serve.
Can I leave out the buttercream altogether in this sweet shop cake?
If you're not a fan of buttercream then you can absolutely leave it out of a Victoria sponge as the strawberry jam should be enough to stick the two halves together.
However, in this recipe, without the buttercream around the outside of the cake, the fondant will have nothing to stick too and so won’t cover the cake well.
If you really don’t like buttercream, you could brush the cake all over with some apricot jam thinned with water, then cover with a thin layer of rolled out marzipan. The fondant layer could then be applied on top. Don’t forget this will introduce nuts to your cake when considering dietary requirements.
Can I leave out the strawberry jam in this sweet shop cake?
If you're not a fan of strawberry jam then you can use other flavours of jam, or leave it out entirely.
The cake should work perfectly and you’ll have plenty of sweetness from the buttercream and fondant. You could increase the quantity of buttercream and use extra in the centre of your cake, if you wish.
Can I use a different flavour of jam to fill my Victoria sponge?
Absolutely! Any sort of jam works well as a filling in this Victoria sponge recipe.
Why not try raspberry jam which adds a lovely, slightly tart flavour? Or apricot jam for a more subtle, fruity flavour?
If you're feeling really adventurous then lemon curd or chocolate hazelnut spread work well too.
Can I use fresh fruit instead of jam?
You can use fresh fruit instead of jam, but you will lose the benefit of the stickiness of the jam that helps hold the two halves together.
Furthermore, fresh fruit has a high water content, so if you put some in the middle of your Victoria sponge, the liquid will seep into the cake fairly quickly,
A cake with fresh fruit will also be more perishable and will need to be kept in the fridge in an airtight container.
For the above reasons, I’d recommend leaving fresh fruit out of the filling and instead adding it to the top of the cake when it's time to serve.
Can I make this Victoria sponge without eggs?
Sponge cakes really benefit from eggs. It’s not just the taste - eggs add moisture and colour, and act as a binding agent, helping to combine the different ingredients together.
However, if you cannot use eggs in your baking, the following options can be considered as a replacement for one egg. You might not get quite the same rise and texture as you would normally, but you should get a decent sponge:
Egg alternatives (each = 1 egg so multiply as needed for the recipe)
- Store-bought egg replacement powder (use as directed on the packet).
- 1 tablespoon of crushed chia or flax seeds mixed with 2 tablespoons of water and left for 10 minutes in the fridge.
- 3 tablespoons of aquafaba.
- 3 tablespoons of applesauce.
- Half of a medium-sized banana, mashed. It's best to use fairly ripe bananas for this as they will match a lot better and bind your ingredients together more effectively
Note: I have not tested all of these replacements, so let me know how you get on.
Can I make this Victoria sponge with plain flour?
Plain flour doesn’t have a raising agent, whereas self-raising flour is a mixture of plain flour and baking powder.
Baking powder consists of bicarbonate of soda (baking soda), which is alkaline, and cream of tartar, which is a dry acid.
When liquid is added and the batter begins to bake, the components in baking powder react and start to form carbon dioxide gas. This is what gives your sponge its lovely light quality.
For this reason, it's best to use self-raising flour in this recipe, but if you don't have any to hand then it's easy to make your own. Simply add two teaspoons of baking powder to every 150g of plain flour in a bowl and sift them together - job done!
This particular recipe uses 400g self-raising flour, so if you use plain flour instead, you’ll need to add about 5 ⅓ tsp of baking powder.
Can I make this Victoria sponge without butter?
Yes, you can make this Victoria sponge without butter, just substitute for the same amount of margarine or Stork.
Look for a margarine with a high fat content, ideally over 75%. Otherwise, the high water content of the margarine will affect your bake. You can also use vegetable oil or any other flavourless oil with very good results.
Do I have to use caster sugar in this recipe?
Caster sugar crystals are very small which helps them to dissolve more easily, but granulated sugar, golden caster sugar and brown sugar will all work, they’ll just give a slightly different texture.
Do not use icing sugar / powdered sugar in this recipe as the crystals are too fine.
Can I make this Victoria sponge recipe without sugar?
Sugar lends not only sweetness, but also structure and texture to the cake, so I wouldn’t recommend leaving it out.
I have not experimented with artificial sweeteners, but if you give this a go, do let me know.
A note for your experiments: not all artificial sweeteners are created equal - aspartame isn’t stable under high heat, so it’s best to use something like sucralose (Splenda) as directed. You can also replace only some of the sugar with an artificial sweetener if your aim is to cut down rather than entirely cut out the sugar.
Of course, the decorations on this cake are made with sugar paste, so you would need to leave those out entirely.
My Victoria sponge batter is thick, can I thin it?
Yes, if your batter is a little too thick then you could use a splash of milk, yogurt or buttermilk to thin it out.
Add just a small splash at a time and carefully incorporate it into your batter, repeating until you have the desired consistency.
Can I make Victoria sponge without vanilla extract?
Yes, you can leave the vanilla out of this recipe and it will still taste delicious.
There are plenty of options if you still want a subtle aroma of something tasty. I really enjoy adding the zest of half a lemon but there are plenty of fruit extract flavourings that would also be very nice such as orange, raspberry and lemon.
Why did my Victoria sponge batter split/curdle?
When you beat your eggs into your creamed butter and sugar mix, you are looking to form a smooth ‘emulsion’ of liquid and fat.
Splitting or curdling is when your batter seems to divide into fattier and waterier components. It may look wrinkled, or like scrambled eggs. Don’t panic!
Splitting usually occurs when the creamed butter/sugar and the eggs are at very different temperatures. Cold eggs can cause the butter to harden up quickly, preventing the emulsion from forming.
This is a common problem in countries where eggs are traditionally stored in the fridge, so to get around it, simply remove the quantity of eggs and butter you’ll need from the fridge before you start baking and allow them to come up to room temperature before you start.
In this recipe, you’ll also note I recommend adding a spoonful of flour in with the eggs before you beat them into the butter. This can help encourage the emulsion and avoid curdling.
Overmixing the ingredients past the point where they have been successfully incorporated with each other can also sometimes lead to a split batter, so as soon as it looks lump-free, stop beating.
Finally, if you have split your batter, all is not lost. You may well find that it comes back together once you fold in the flour. And if not, while you may get a slightly more uneven bake and take a slight hit on the texture, it will certainly turn into a delicious cake. You might not even be able to tell the difference!
My Victoria sponge will not rise. Why is my Victoria sponge flat? Why is my Victoria sponge sinking in the middle?
If your cake didn't rise, there are a few possible reasons.
- Your oven may be running hotter than the dial suggests, meaning the cake rose too fast to support its own weight.
- If you beat too much air into the cake, it can rise too fast and then collapse.
- Opening the oven door during baking can cause the temperature to drop rapidly, causing the cake to lose height.
- Slamming the oven door during baking can also mean that the air is knocked out.
- Using a too narrow tin can mean that the mix is too deep to cook all the way through and so isn't able to hold its structure.
Why is my Victoria sponge dense?
A dense sponge is usually the result of adding too much flour, so check that your quantities are correct.
You may have also opened the oven door while baking which could cause the cake to collapse and come out denser.
Self-raising flour also has a shorter shelf life than plain flour, so make sure that the flour you used is in date or it may have lost some of its effectiveness, meaning your cake will not rise as much as it otherwise would.
How can I tell when my sponge cake is ready?
If you insert a flat skewer into the centre of the cake and pull it out, it should come out clean. If you notice anything has stuck to the skewer than the cake needs longer in the oven.
Try to err on the side of caution when it comes to checking on your cake, as opening and closing the oven door before the cake is ready even once is not ideal, but doing it multiple times is even worse.
As you get more used to baking and the quirks of your particular oven, then you will get a feel for when a sponge cake is done without having to risk opening the oven before it's ready.
Why is my Victoria sponge dry? Why does it have hard edges?
A dry sponge is usually an overbaked sponge. Recipes will always give you a baking time, but every oven is different and even with all of our dials set to the same number, temperatures can vary wildly.
I generally look at the baking time recommended in a recipe and then start keeping an eye on my cake 10 minutes before the end so that I can ensure I take it out at just the right time.
What is the best way to store fondant covered Victoria sponge?
As with most sponge cakes, this fondant-covered sweet shop Victoria sponge is best eaten the same day.
However, if you want to keep it for longer, you can. Just place it in an airtight container (I put it on my cake stand with lid) in a cool place out of direct sunlight.
How long will this fondant-covered Victoria sponge keep?
Stored in an airtight container in a cool place, your fondant-covered cake will keep for 3-4 days.
The texture may dry out slightly during that time, depending on the heat and humidity in your kitchen.
Can I put this fondant-covered Victoria sponge in fridge?
You can store your sweet shop cake in an airtight container in the fridge if you like, but it’s likely that the fondant covering will ‘sweat’, meaning it will release moisture.
For this reason, it is better stored at room temp.
Can this fondant covered Victoria sponge recipe be frozen?
Just like with refrigerating, freezing a fondant covered cake can cause the icing to sweat as it comes back up to room temp, but it’ll still be tasty!
If you want to freeze your cake, cut it into individual slices and place in an airtight container so that you can just take what you need when you want it.
If I make extra sugar paste decorations, how long will they last?
Sugarpaste keeps for a long time, so if you have any leftover decorations store them in an airtight container somewhere cool and dry - they should keep for at least a month and then you can use them on future cakes!
Is this Victoria sponge cake healthy?
As with most sponge cakes, this recipe uses a lot of sugar and fat so it's quite calorie-dense.
It’s best enjoyed as an occasional treat, as part of a balanced diet.
Is this Victoria sponge recipe gluten-free
This recipe is not gluten free as it uses wheat flour.
I have not tried making a gluten-free version yet myself, but if you want to, I would recommend using self-raising gluten-free flour, plus a teaspoon of xanthan gum.
You will also need to check the packaging of the other ingredients you use to ensure they are gluten-free, as some may have been produced in a factory that handles gluten.
Is this sponge cake recipe vegetarian or vegan?
This recipe is vegetarian.
It is not vegan due to the use of eggs, butter and chocolate beans, but if you want to substitute those out, I have included advice above.
Is this sponge cake recipe nut-free?
Yes, this Victoria sponge with fondant decoration is happily 100% nut-free.
As with all allergies and sensitivities, please check the packaging of all of the ingredients you use to ensure they are nut-free, as some may have been produced in a factory that handles nuts.
What is sugar paste?
Sugar paste is a type of icing that acts like a sort of edible modelling clay. It’s usually made from sucrose and glucose, so it’s pretty much pure sugar.
It typically comes in many different colours and can be rolled to cover cakes, or shaped by hand to create all sorts of decorations, from flowers to candy!
Is sugar paste the same as fondant icing?
Yes, unless you really get into the finer points of cake making, you’ll find that sugar paste and fondant icing are essentially the same thing.
You might also find sugar paste referred to as just fondant. Other names include modelling paste, ready to roll icing, gum paste, royal icing, sugar dough, and sugar paste. It is also sometimes known as just ‘icing’.
Sugar paste is not the same as buttercream, frosting or the type of icing that is pipeable or spreadable consistency.
Can I use modelling chocolate instead of sugar paste?
Modelling chocolate (also sometimes called chocolate leather or plastic chocolate) could be used in place of the sugar paste used on top of this cake, but it’s not as easy to get hold of, nor as easy to work with, so I would recommend against it.
Can I use marzipan instead of sugar paste?
You could cover this cake with coloured marzipan instead of sugar paste, yes, although it is not as easy to mould with and does not come in ready coloured blocks like sugar paste.
It will also add an almond flavour to your cake, and is not suitable for those who require a nut-free recipe.
Do you need any special fondant icing decorating tools for this recipe?
No, you won’t need any special fondant modelling tools.
You'll only need your hands and a rolling pin! A fondant rolling mat is handy, but I find it easiest just to roll the fondant between two pieces of baking paper.
Where can you buy sugar paste?
It’s easy to buy sugar paste.
It’s available in all major supermarkets, and you can also buy it online from Amazon or any number of baking or craft shops.
Can I colour sugar paste myself?
Sugar paste is sold in all manner of colours, and you can achieve still more by mixing different coloured fondant together. For example, I achieved the soft pink hue in this recipe by mixing a more garish pink sugar paste with white sugar paste.
You can also colour sugar paste yourself using gel colouring. Just add a drop into the middle of a ball of sugar paste and knead until the colour is evenly distributed.
What does sugar paste taste like?
Fondant icing is essentially sugar, and that’s what it tastes like! It has a pleasantly gummy, smooth texture that dissolves in the mouth as you chew.
Can I flavour my sugar paste?
You can indeed flavour your sugar paste.
This is best done using flavour essences, but do so sparingly, as adding too much could cause your sugar paste to become too wet to work with.
Why is my fondant icing not setting?
Your sugar paste shapes should firm up as they dry, but for this recipe, you don't need your sugar paste to dry hard, so don’t worry!
Why is my fondant icing cracking?
If you start to shape a piece of fondant, leave it in the air and then start shaping it again, you may find that it cracks as the outside is now more dry than the inside.
The surface of your sugar paste will begin to dry the moment the air reaches it. I keep all of my fondant in an airtight tub or ziplock bags until I’m ready to use that particular piece.
My sugar paste is too dry to model with. What can I do if my sugar paste is too hard?
Ideally, you’re best off using fresh sugar paste to make this recipe, but if you find yours has begun to dry out, you can save it.
Take your sugar paste and knead it as best you can. You will find that the dry parts begin to spread through the sugar paste so that it feels almost gritty - don’t worry!
Place your sugar paste on a microwave-safe plate and place in the microwave for 10 seconds. Grease your hands with vegetable oil and knead the sugar paste until it’s as smooth as possible.
Repeat the process as many times as necessary until your fondant is soft and smooth again.
Take care as sugar can get very hot and the microwave can create ‘hot spots’ that appear in otherwise cool-feeling sugar paste.
What should I do if my fondant icing too soft, sticky, melting or runny? Can I still model sugar paste in hot weather?
If your fondant is too soft, it is probably because your kitchen and/or your hands are too warm. Try to bring the temperature of both down, if you can.
I have permanently cold hands, but if yours are hot, try running them under cool water for a few seconds, dry thoroughly, and then go back to modelling your sugar paste.
If your fondant feels wet, try adding a tiny bit of icing sugar (powdered sugar) and knead through until fully combined.
My fondant icing is not rolling out. How can I roll fondant icing without it sticking?
My favourite way to roll out sugar paste without it sticking is to place it between two sheets of baking paper. That way, it’s mostly protected from drying out, it can’t stick to my surface or my rolling pin, I have good control over the shape, and it’s easy to keep it to a consistent thickness.
If you don’t have baking paper to hand, you can try dusting your surface with cornflour. However, I find that can leave marks on my fondant.
How can I get my fondant icing to stick to my cake?
The layer of buttercream all over your cake is really important as that’s what helps your sugar paste to stick and to sit smoothly on your cake.
If you really don’t like buttercream, you could brush the cake all over with some apricot jam thinned with water, then cover with a thin layer of rolled out marzipan. The fondant layer could then be applied on top. Don’t forget this will introduce nuts to your cake when considering dietary requirements.
What is the best way to apply fondant icing to a cake?
I highly recommend rolling your sugar paste between two sheets of baking paper as described above.
Then, once you’re ready to use it to cover your cake, just peel off one side of the paper, and use the other paper to lift the fondant onto the cake before peeling it away. Easy!
My fondant icing is not smooth? How can I fix it?
You can usually fix small tears and cracks on your sugar paste covered cake by simple rubbing with the palm of your hand. The gentle pressure plus the slight heat from your hand should help smooth out any little imperfections.
If your sugar paste has areas of ‘elephant skin’, it may be because that spot dried out too much before you applied the fondant. Try adding a dab of vegetable oil and then gently rub smooth.
If you want a really professional finish with crisp, smooth edges, you could invest in a cake edge smoother, which does the same job as your hand but keeps everything perfectly flat, smooth and even.
Print for later
Sweet Shop Cake Recipe
Ingredients
For the sponge
- 400 g (2½ cups) white caster sugar (superfine sugar)
- 300 g (2¾ sticks) salted butter
- 1 tsp vanilla bean paste
- 6 medium free range eggs
- 400 g (2⅔ cups) self-raising white flour (self rising flour)
For the filling
- ½ tsp vanilla bean paste
- 300 g (2⅓ cup) icing sugar (powdered sugar) powdered sugar
- 150 g (1 stick + 3 tbsp) salted butter
- 200 g (½ cup + 3 tbsp) jam
To cover
- 1 kg (2.2 lb) pink sugar paste (you will have offcuts)
- 100 g (3½ oz) red sugar paste
- 100 g (3½ oz) white sugar paste
To decorate
- 300 g (10 oz) assorted sugar paste colours I used red, white, blue, yellow, green, black and brown
- 2 tbsp mini chocolate beans e.g. mini UK smarties
- 2 tbsp chocolate beans e.g. UK smarties
Equipment
- 2 Round loose-bottomed 20cm (8") nonstick cake tin
Instructions
To make the sponge
- Preheat the oven to 180C (160C fan / 350F).
- Put the butter and sugar in a large bowl. Beat together until pale and fluffy.
- Add the eggs and vanilla to the bowl, along with a couple of spoonfuls of the flour to prevent curdling. Beat until you have a smooth, thin batter.
- Sift the remaining flour into the bowl and gently fold through until the flour is entirely incorporated. Don't over-mix.
- Grease and line two loose-bottomed, straight-sided, 20cm cake tins, then divide the batter evenly between them and level off.
- Bake for approximately 20-25 minutes until the cakes are risen and gently golden.
- Allow to cool on a wire rack until cool enough to handle, then release the cakes from their tins and return them to the wire rack to cool completely.
- If necessary, once cool, you can trim the very tops of your cakes off to allow them to sit flat.
To fill and assemble
- In a fresh bowl, beat your vanilla, icing sugar (powdered sugar) and butter together until light, fluffy and significantly increased in volume
- Take a completely flat board or plate, at least 25cm in diameter and spread a thin layer or frosting onto the center to help stop your cake from sliding around.
- Place one of your cakes top down on the board, then spread with half the remaining frosting.
- Gently spread your jam on top of the frosting – you might not need all of the jam.
- Place your second cake on top of the jam, again top-down to give nice clean edges.
- Use the remaining frosting to cover the whole cake in a thin layer.
- Now place your cake in the freezer to firm up the frosting while you prepare the covering. If you don’t have room in the freezer, a cold fridge will do.
To cover
- Roll your pink sugar paste out to for a disc about 35cm in diameter. It's easiest to do this between sheets of baking paper, or on a cornflour dusted surface.
- Lay your sugar paste over the cake and allow the sides to drop down. Then, working gently, ease and smooth the sugar paste down the sides of the cake until fully covered and trim off any excess at the base.
- Roll the 100g red sugar paste and 100g white sugar paste out to form two lengths, each about 30cm long. Twist the two lengths of sugar paste together all the way along, then gently roll until you have a striped length approximately 65cm long.
- Carefully wrap the red and white sugar paste around the base of the cake, trimming off any excess. With care, you should be able to make the stripes match, smoothing the join until it no longer shows.
To decorate
- Use brown and/or red sugar paste to form little flat discs, then decorate them with the mini chocolate beans to look like cookies.
- Using the same twist and roll technique we used earlier, you can twist and combine any two colours and then roll them up to look like lollypops – just add a little white length of sugar paste to look like the lolly stick!
- Use the rest of your sugar paste to create more of your favourite candies. We made fried eggs, candy canes and more, pressing them gently onto the top and sides of the cake.
Video
Notes
Nutrition
Pin for later
Loved my sweet shop cake? Try these fabulous cake recipes!
Have you got my book?

'This is a great kids cookery book. Emily is a star' - Simon Rimmer
'The book I'd like to force into any mother's kitchen' - Prue Leith
"A fab book with a plan." - Jane Devonshire, 2016 Masterchef UK winner
'Emily has managed to combine her mummy knowledge and passion for food to make a truly helpful and brilliant cookbook' - Priya Tew, RD, BSc (Hons), Msc
Get Your Kids to Eat Anything is an achievable 'how to' for parents in the battle to overcome picky eating and 'make new the norm'. Emily Leary's unique 5-phase programme looks at the issue of 'fussy eating' in a holistic way that links imagination with food, and which situates parents alongside - not in opposition to - their children.


Annmarie Mallia says
The decorations made woth sugar paste are only placed on the sugar paste or an edible glue was used? Thanks
Emily Leary says
I just press them on because sugar paste sticks to sugar paste, but you can do a light brush of water or vodka on the surface when it makes contact, if you wish. Or edible glue would work too for an extra secure fix.
Sunil Dogra says
I will definitely this try and share my feedback with you. Thank for sharing.
Emily Leary says
Awesome. I look forward to hearing how you get on!
Sim @ Sim's Life says
What an absolutely fabulous cake and a total crowd pleaser! Certainly given me ideas for the next birthday cake I bake, not entirely sure it will be as spectacular though! Sim x
Emily Leary says
Honestly, I'm not that good with sugar paste and Miss J is 7 and made several of the decorations, so if we can do it, you definitely can!
Kim Carberry says
I'm not much of a baker but I think even I could manage this one. It looks fantastic x
Emily Leary says
Yay. Send me a pic if you do make it!