
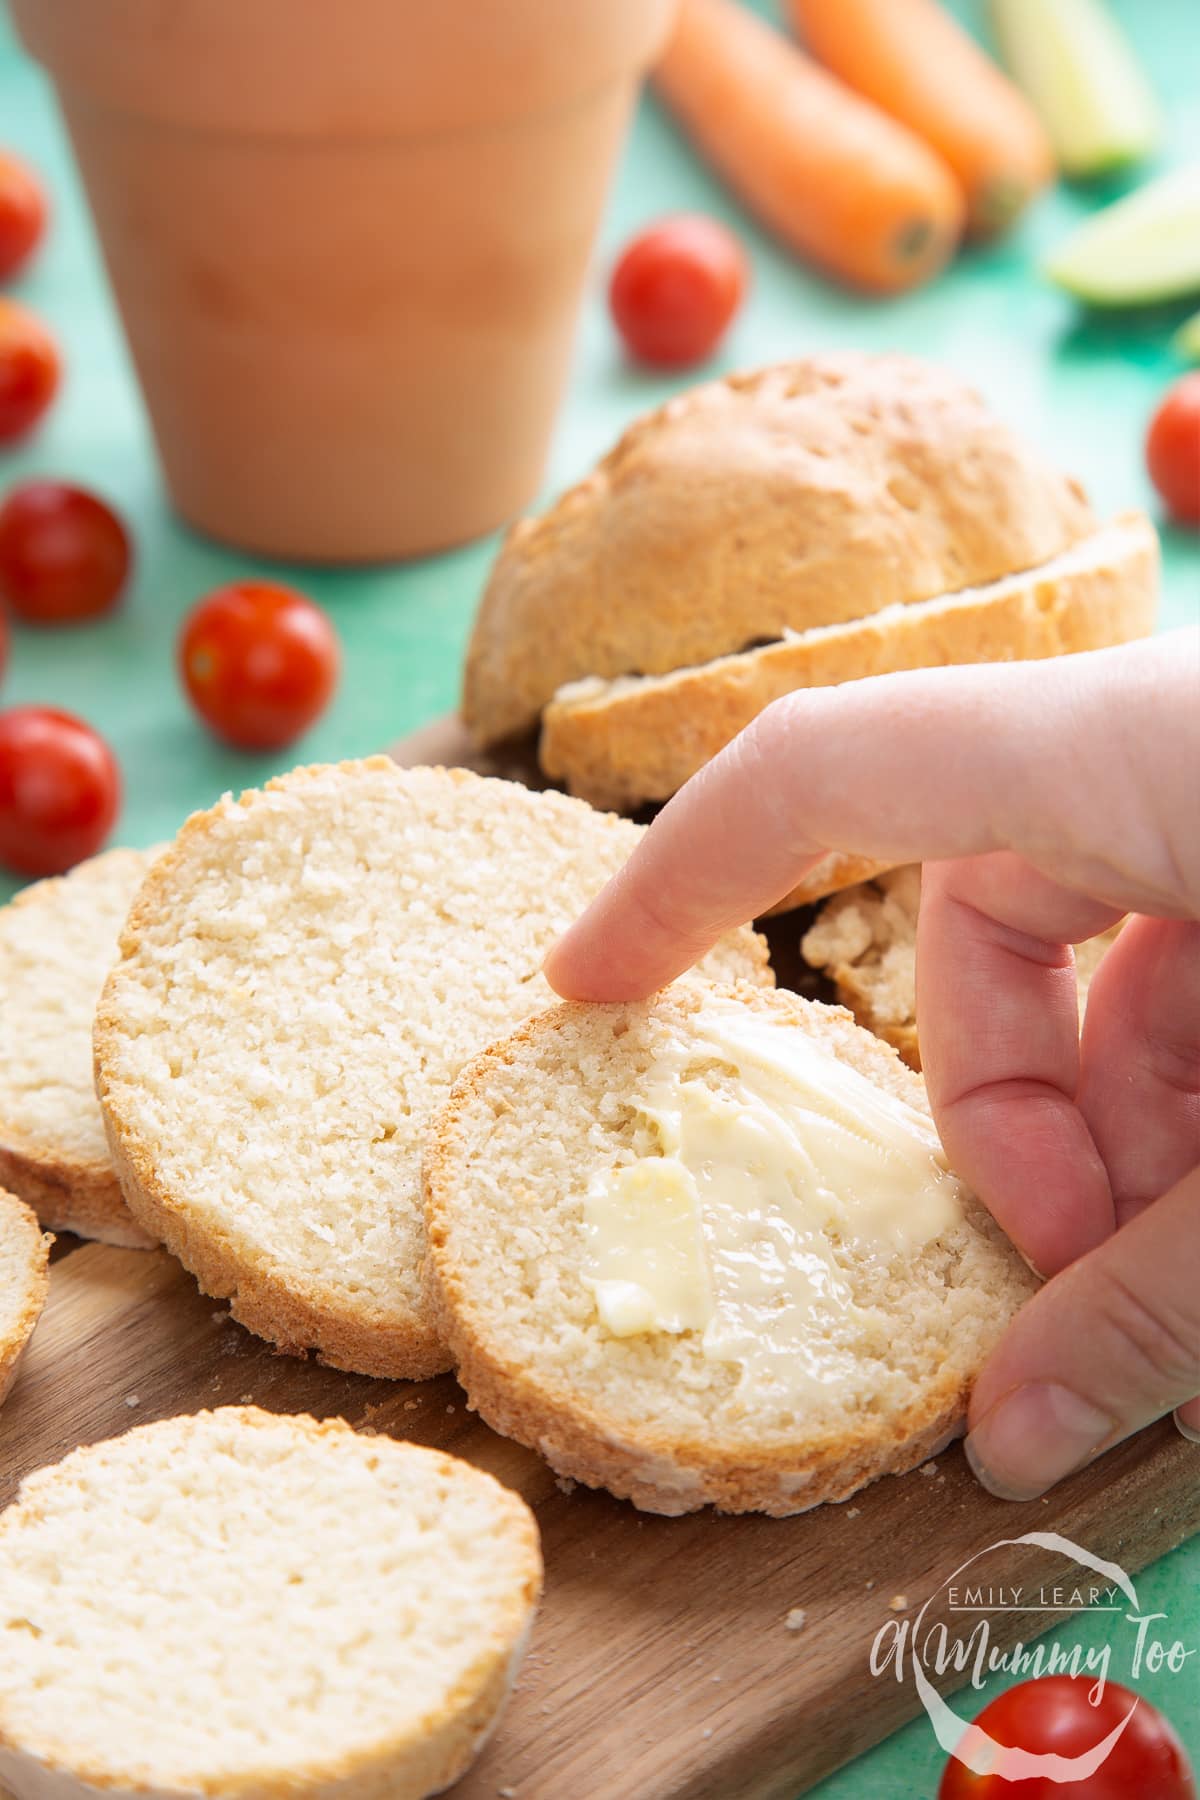
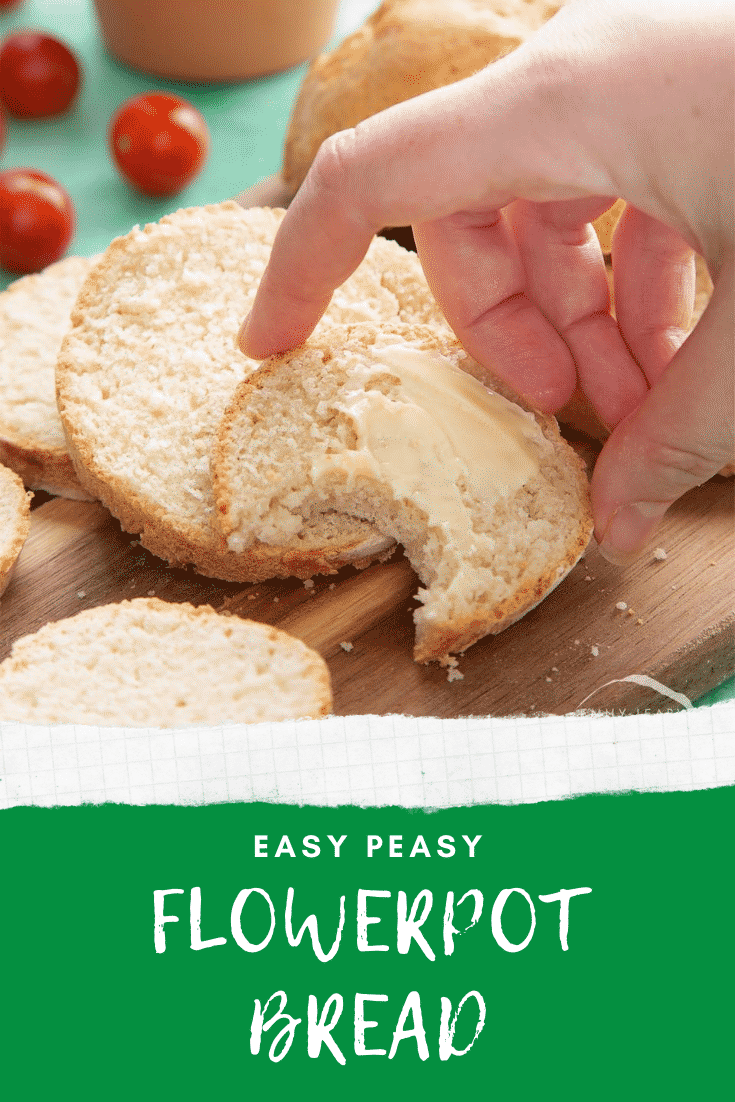
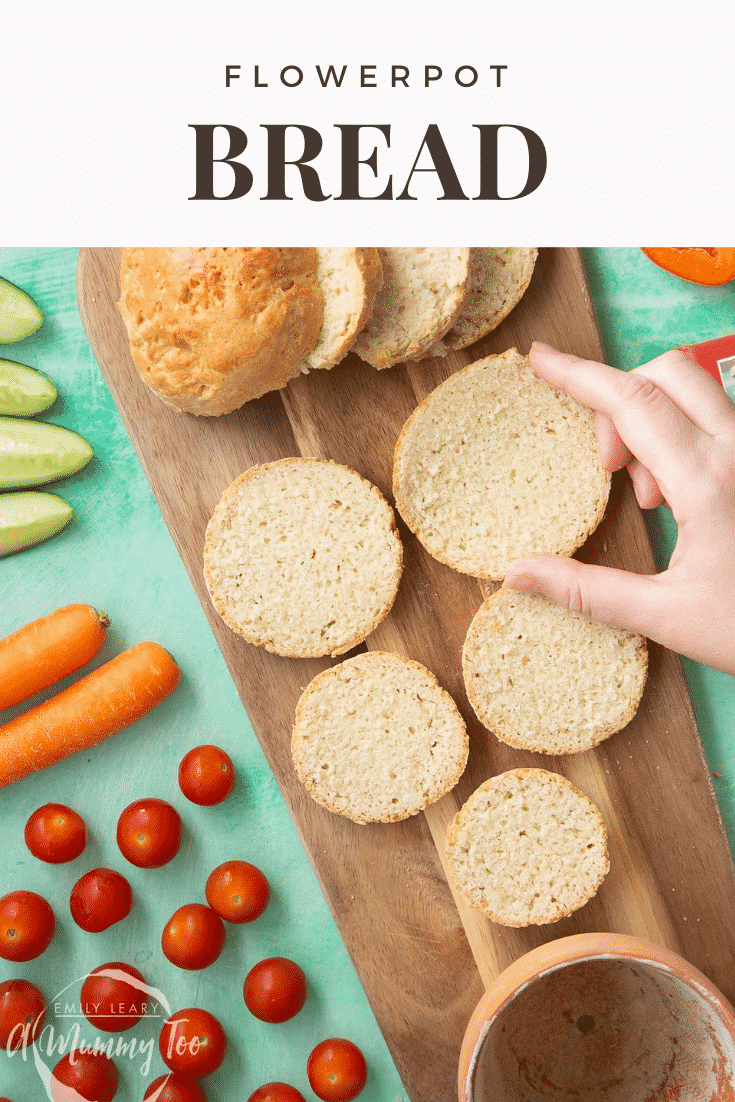
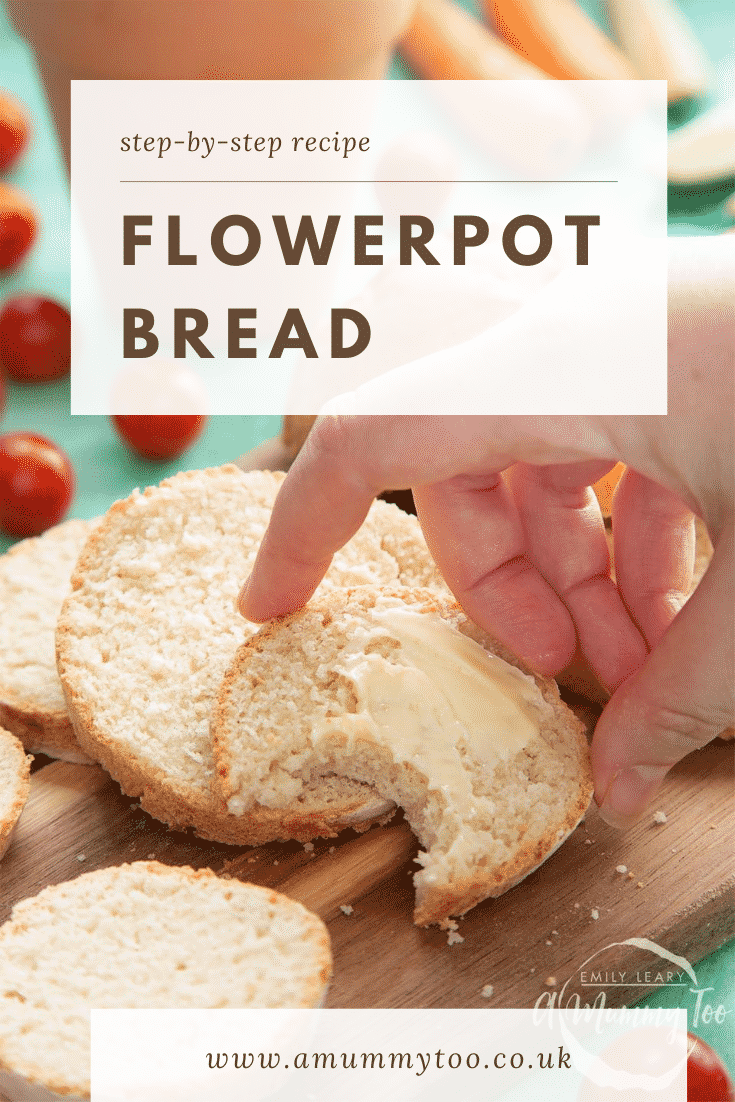
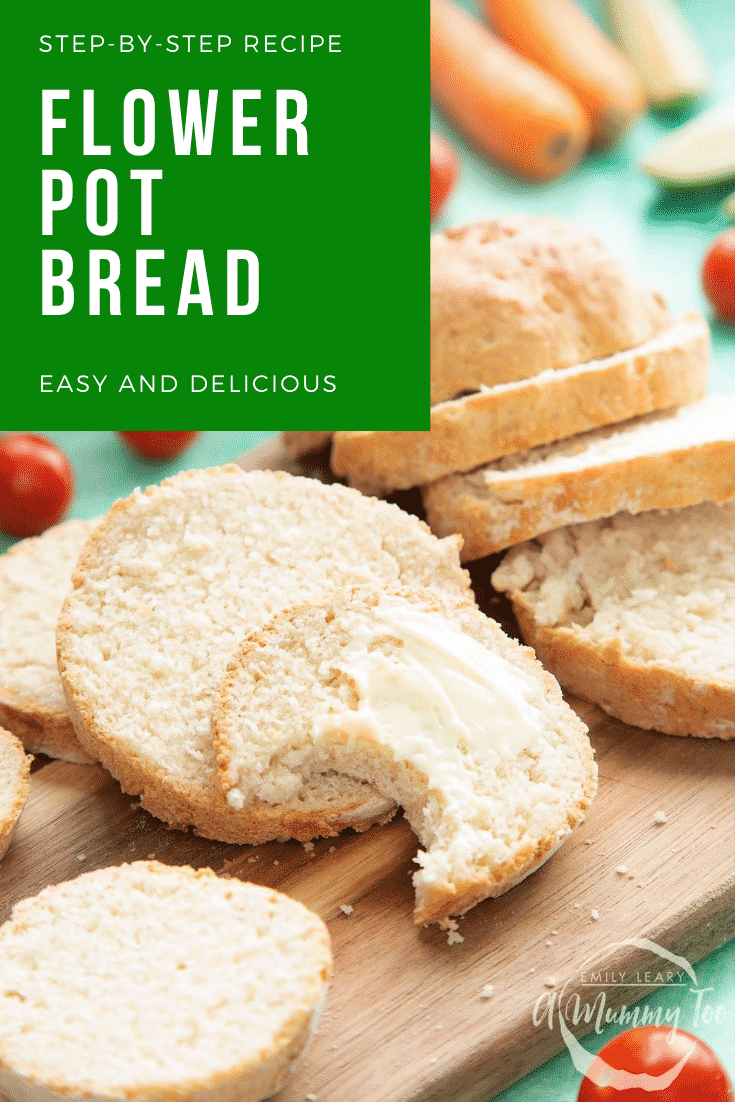
With no yeast and no need to knead or prove, this flowerpot bread is quick to make and tastes delicious! Kids will enjoy mixing the dough almost as much as they enjoy eating this yummy bread.

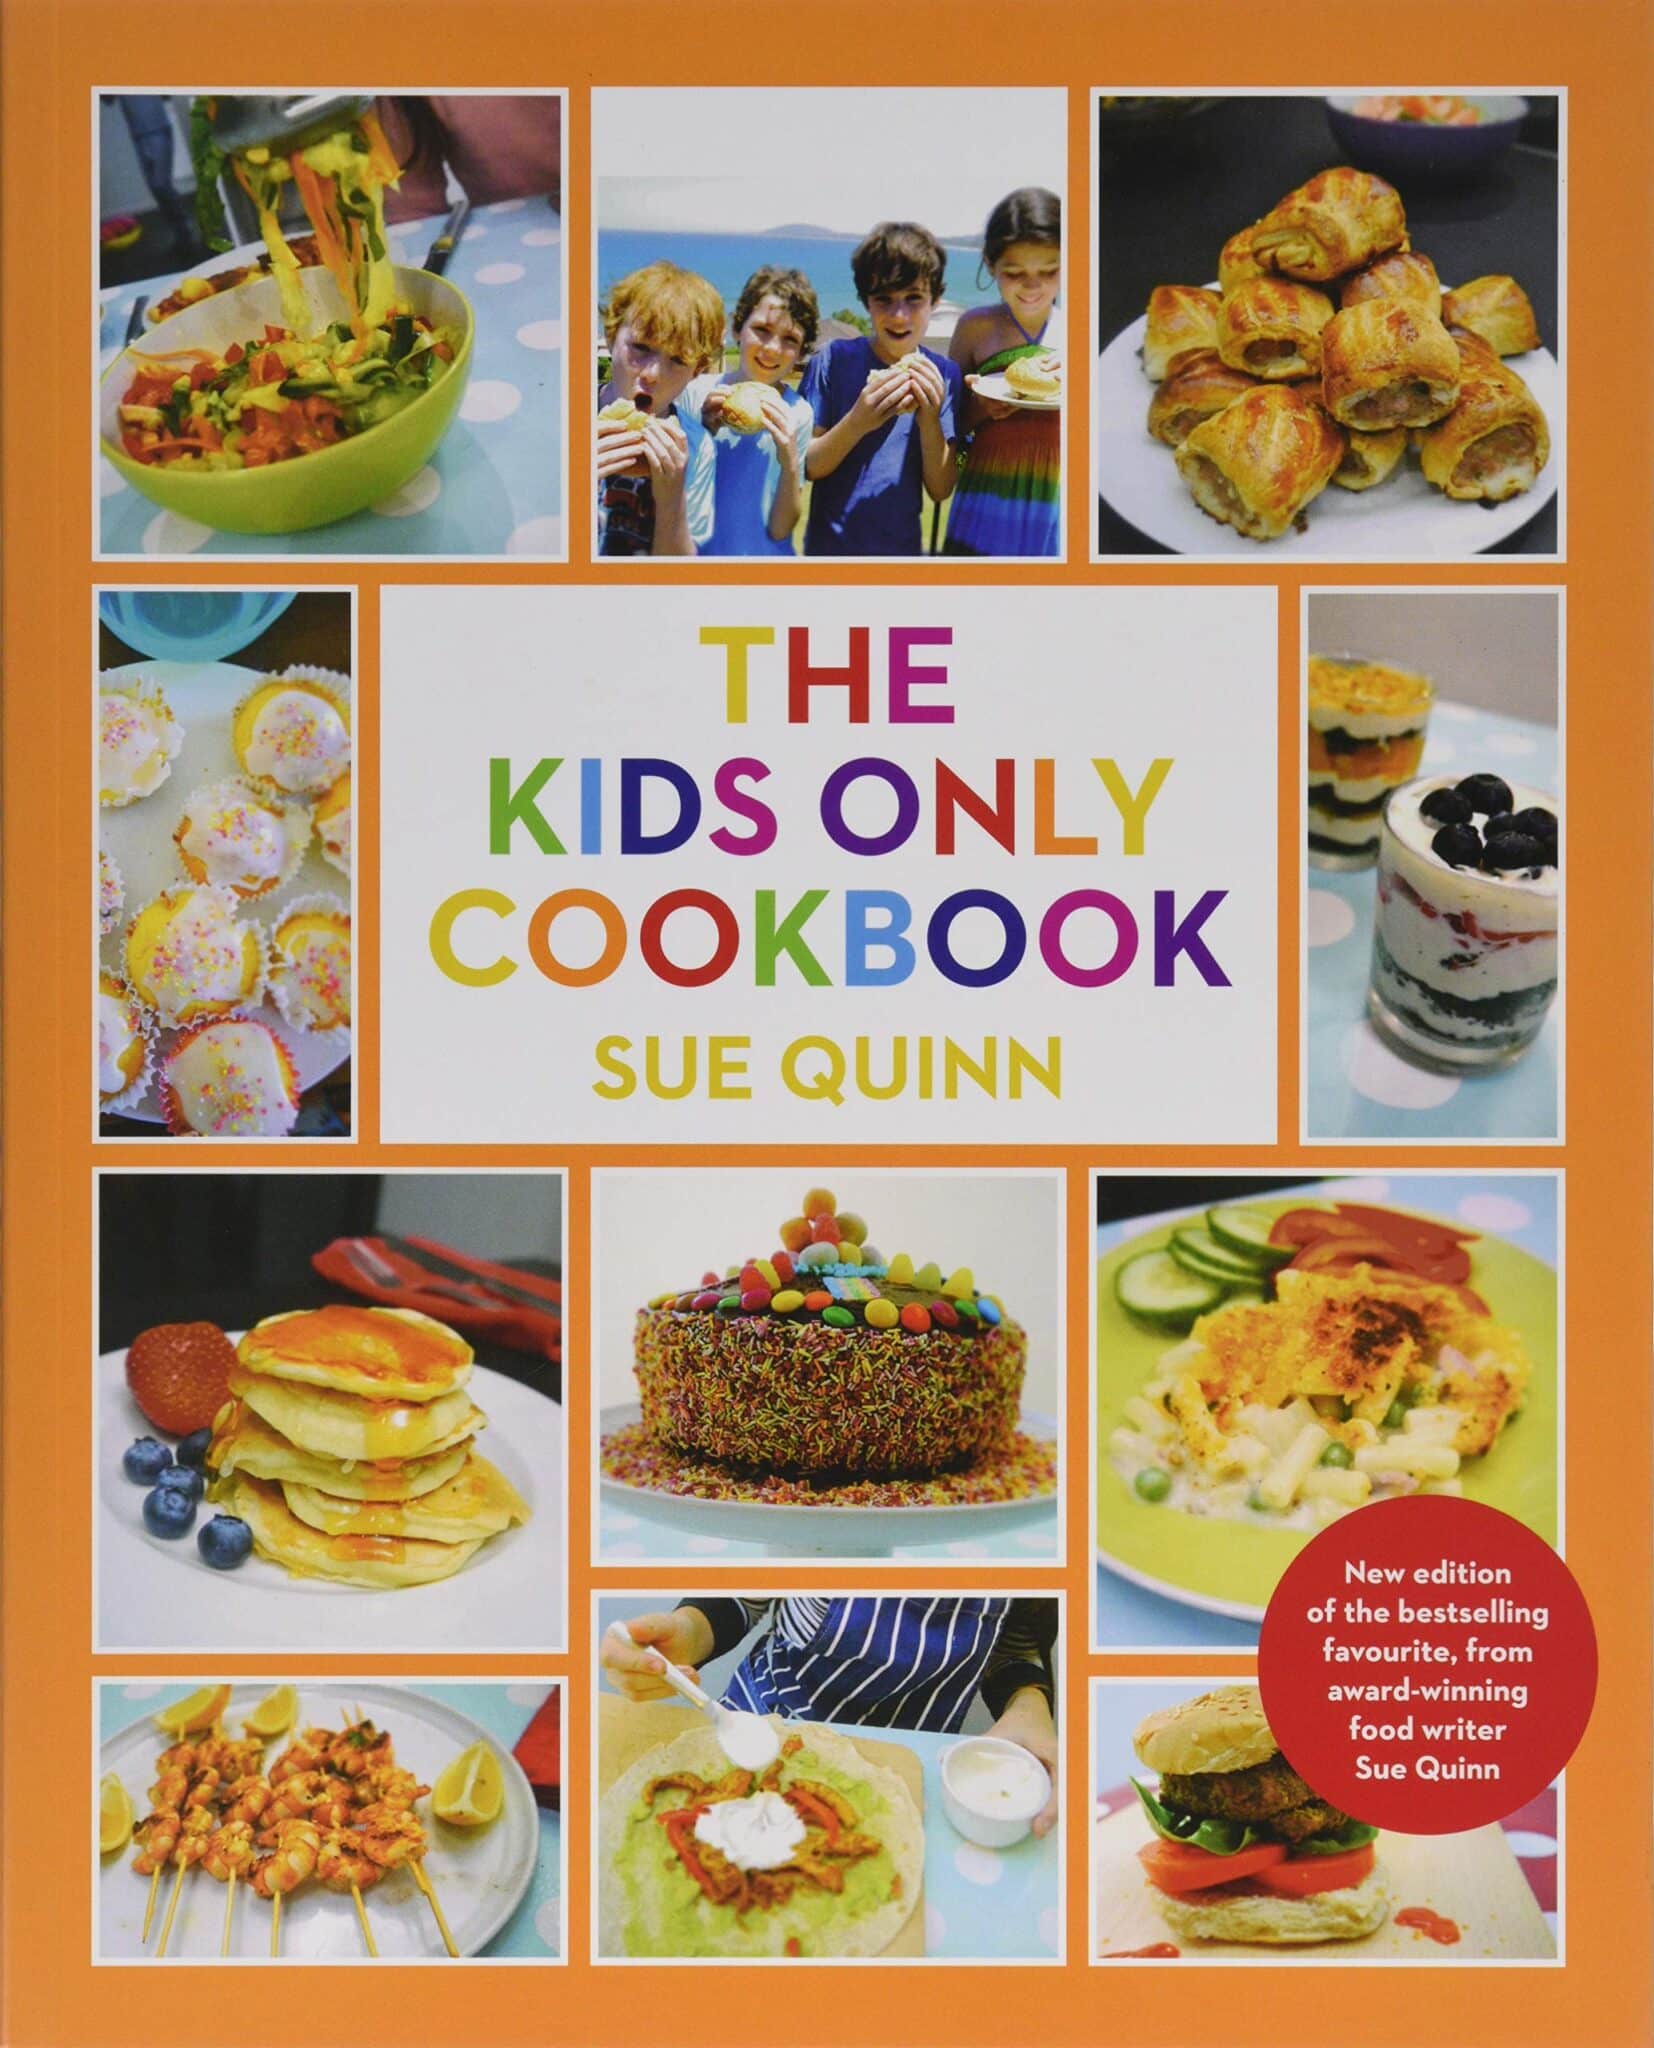
This recipe comes from The Kids Only Cookbook by Sue Quinn. It's an illustrated recipe book, packed with 50 simple cooking ideas with a slightly irreverent edge.
For example, we love the kick'n'roll tin can ice cream, which involves packing a large tin can with ice and rock salt, filling a ziplock bag with cream, sugar and vanilla, and then popping it in the can and kicking it around the park or the beach to produce homemade ice cream!
All the recipes are written in child-friendly language with plenty of photos and easy-to-follow captions, making it an engaging and fun read.
This flowerpot bread is another example of a simple, kid-friendly recipe with a clever twist to help get the kids interested in cooking.

The kids really enjoy themselves whenever we make this recipe. You might think that it would suffer without the yeast, but it's really very good.
Think of it as almost like a giant, unsweetened scone and you should have a pretty good idea of the flavour and texture.

Here's what to do to make this fun flower pot bread.
Ingredients
- 225 g (7.9 oz) self-raising white flour (self rising flour) plus about 1 teaspoon more for flouring the pot
- 1/2 tsp salt
- 40 g (1.4 oz) salted butter plus a bit more for greasing
- 125 ml (4.2 floz) whole milk plus extra for brushing
Equipment
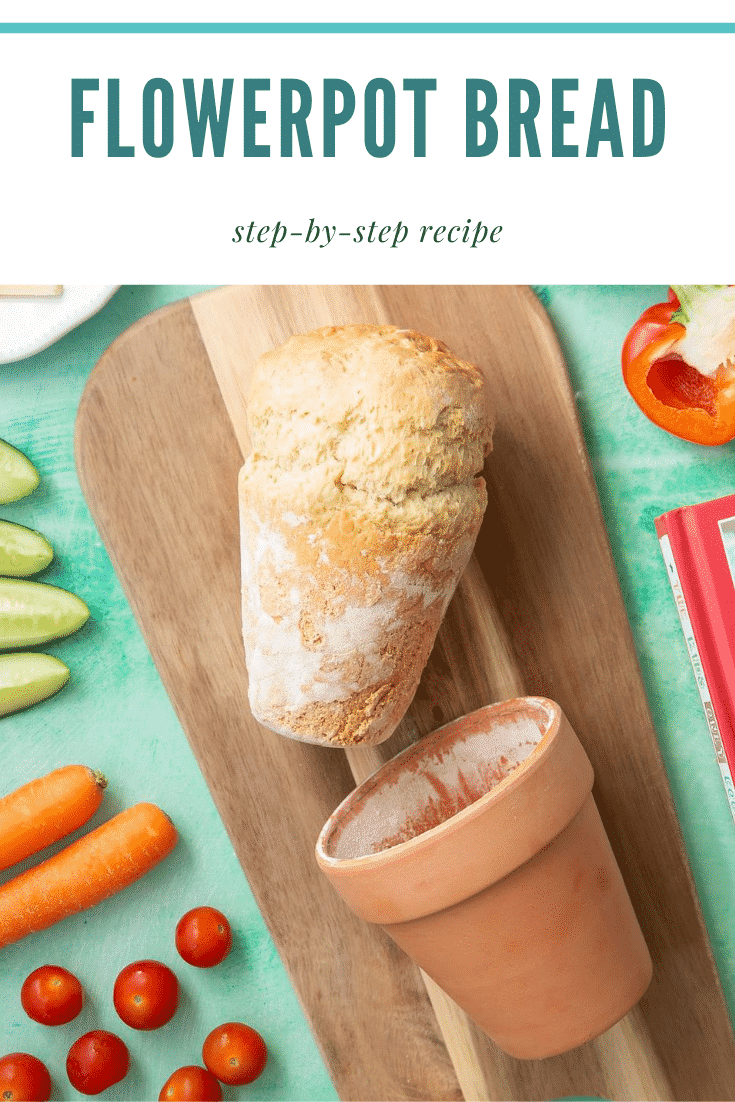
- Clean, unused 10cm (4in) wide flowerpot
Instructions
Preheat the oven to 200C (180C fan assisted, 400F).
Grease the insides of the flowerpot with butter and use a bit of kitchen roll to spread it round. Hold the pot sideways and sprinkle in about ½ teaspoon of flour. Turn the pot, shaking it as you go, until the insides are covered in flour.

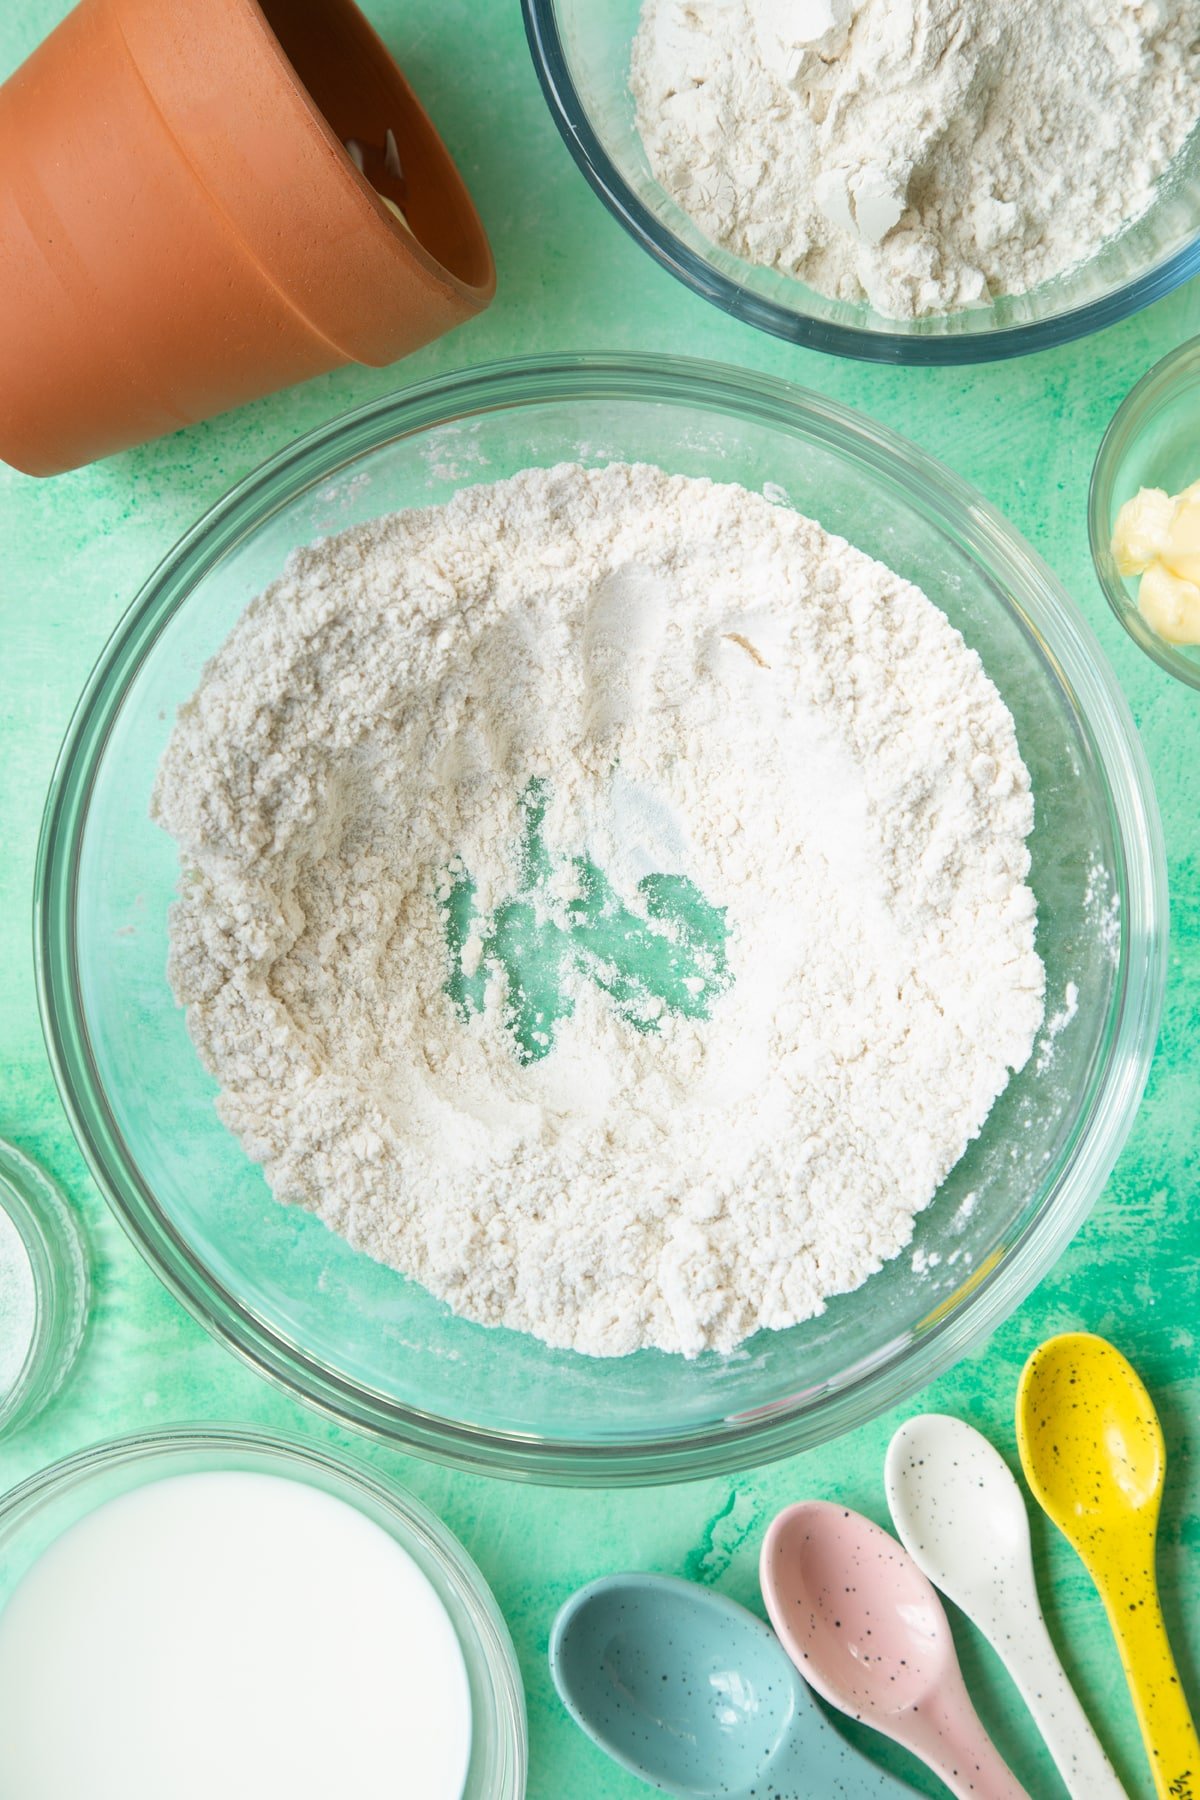
Put the flour and salt into a large bowl.
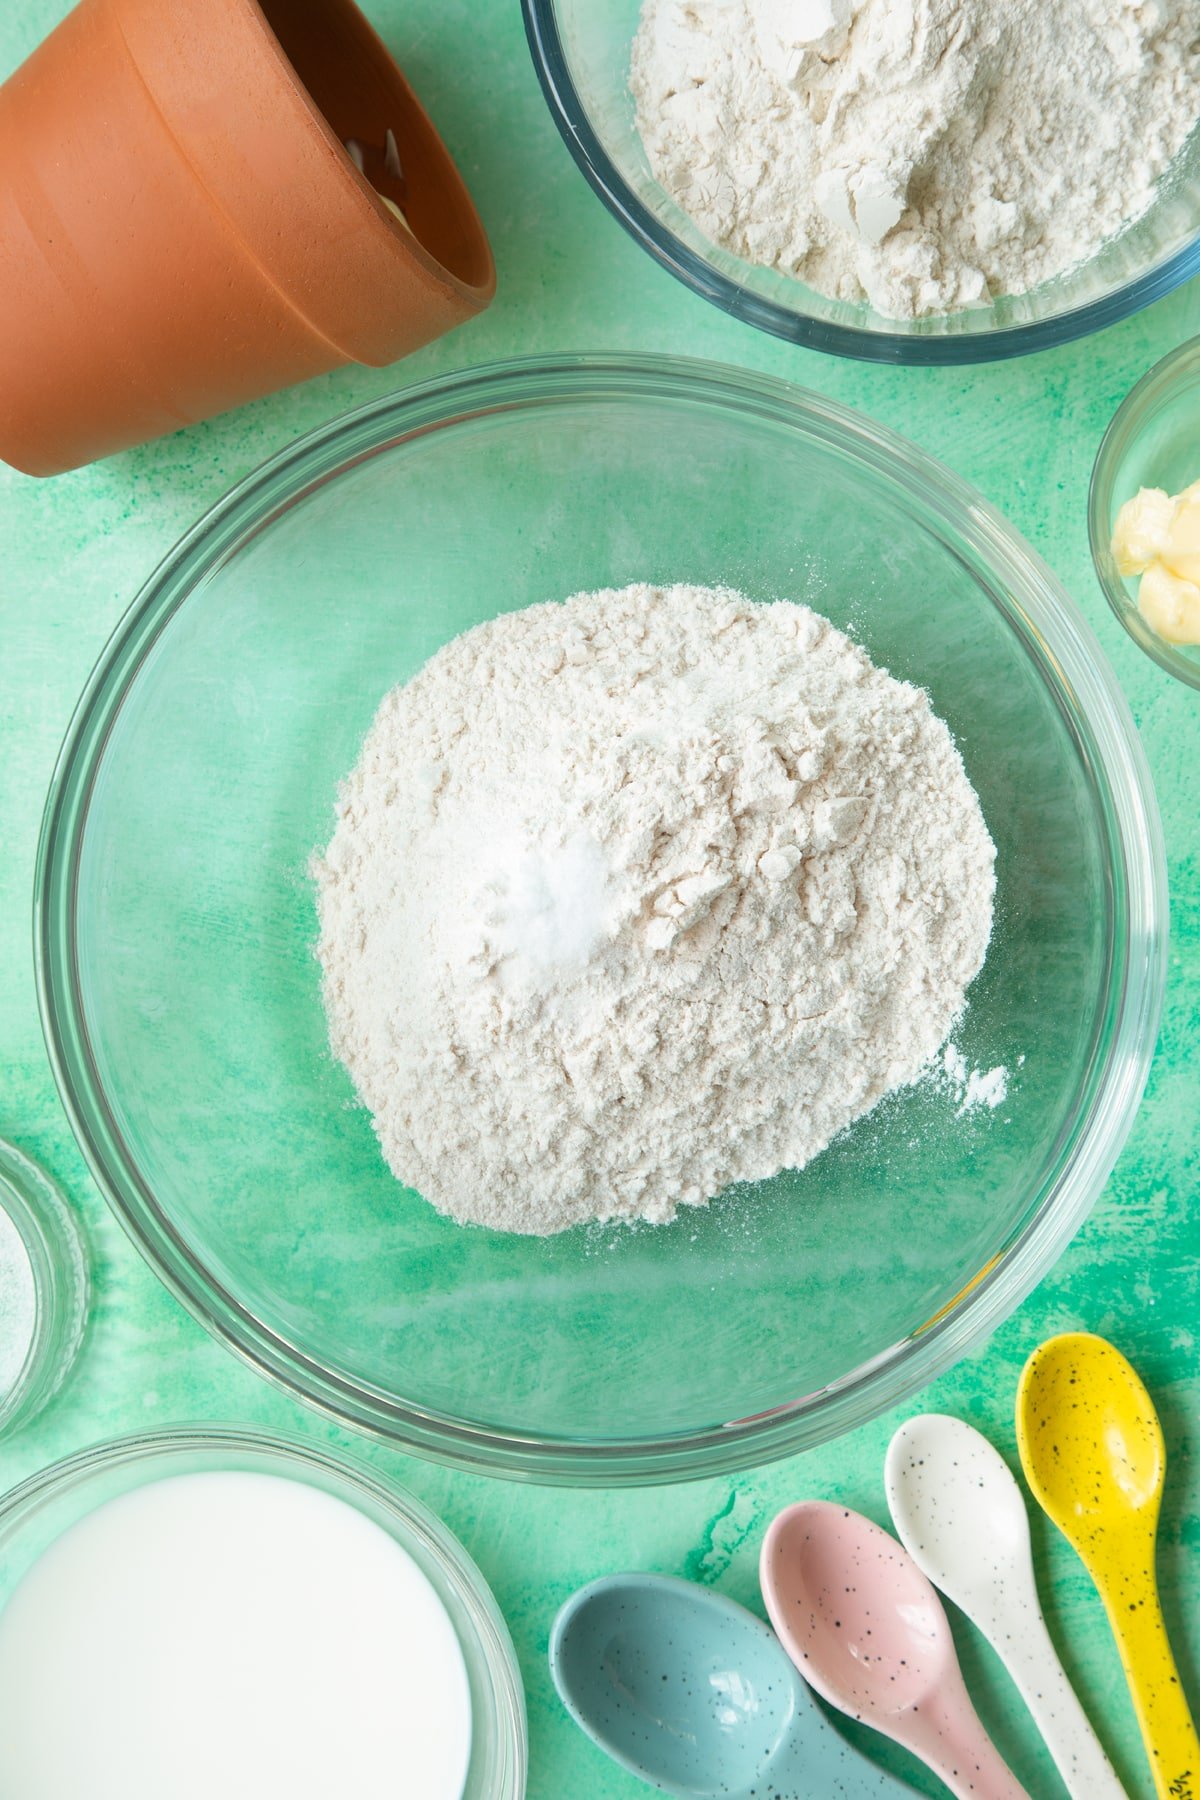
Cut up the cold butter and add to the bowl.

Rub it into the flour with your fingers. You don’t want any lumps of butter left.
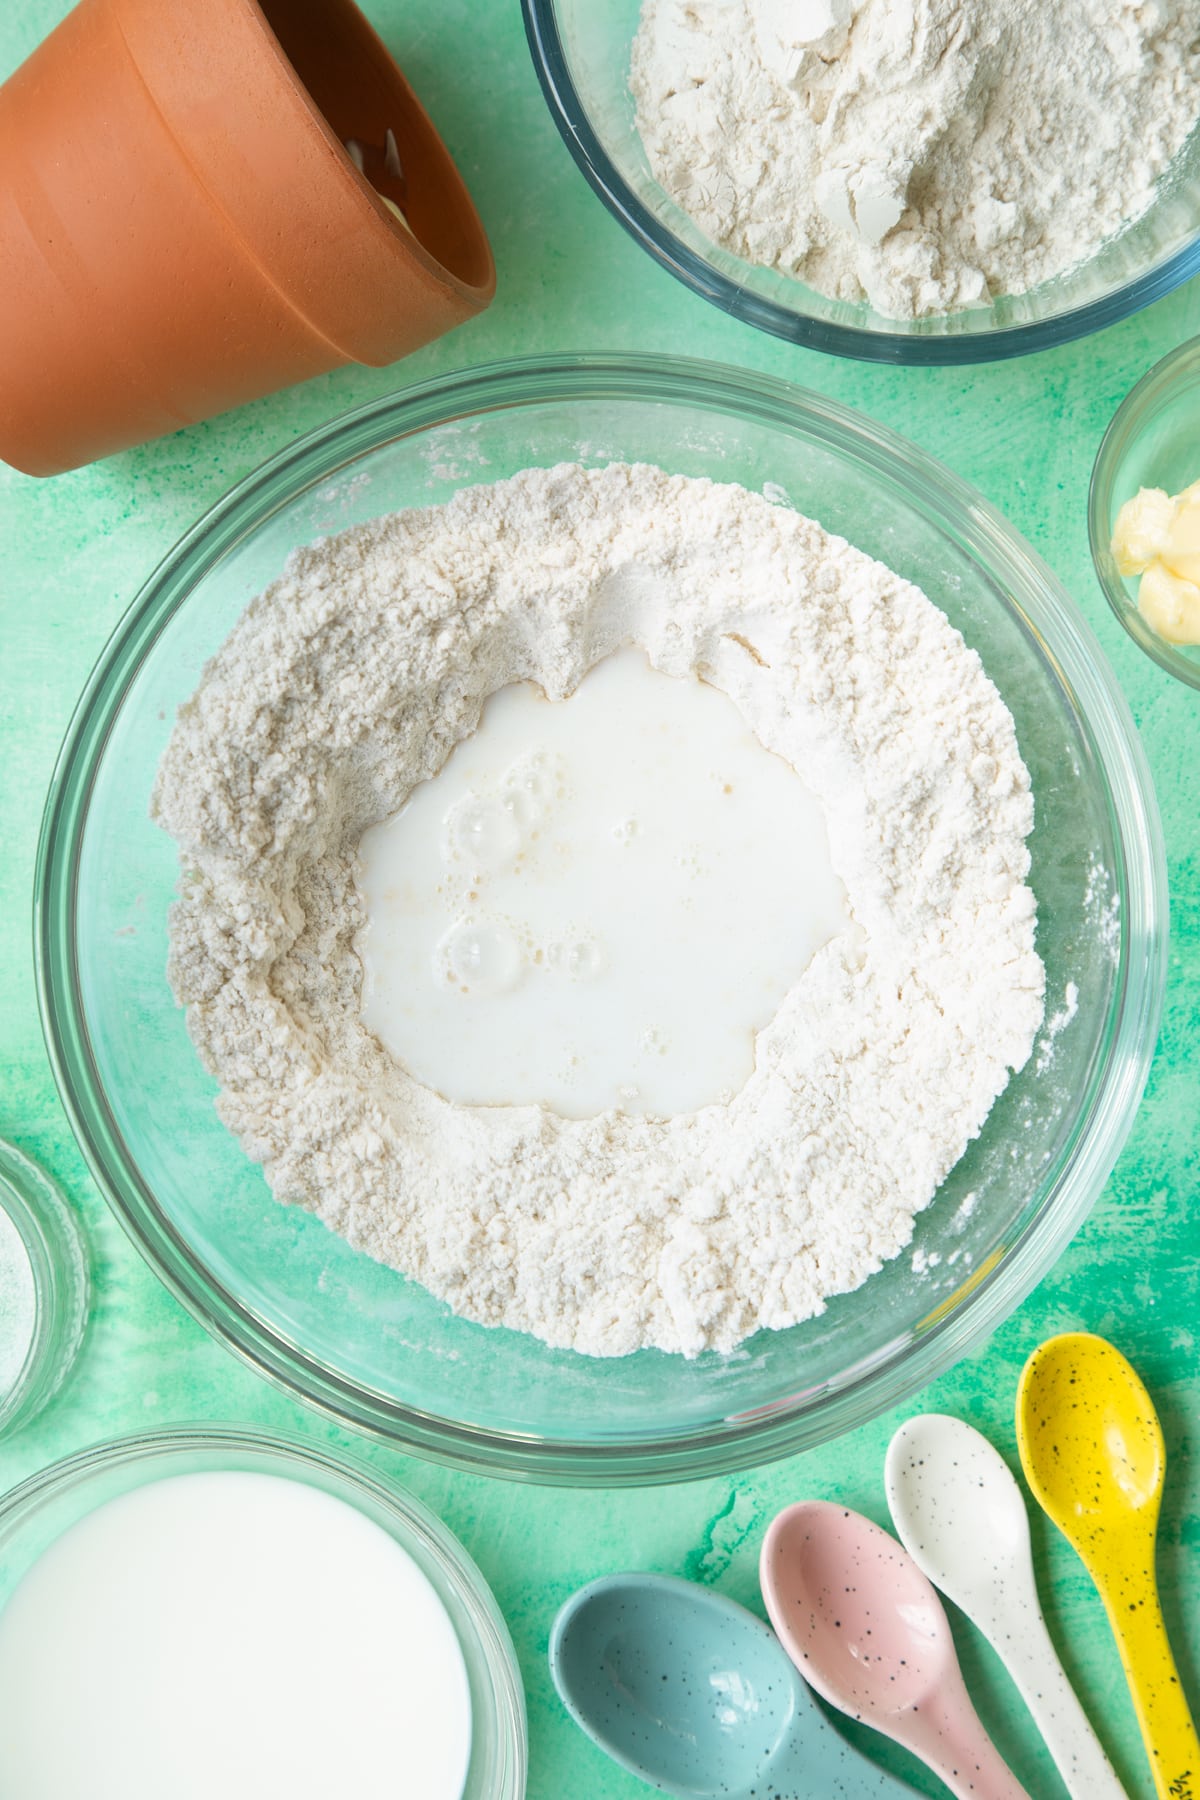
Make a hole in the flour so that you can see the bottom of the bowl. This is called a “well”.
Add the milk. Mix to make a sticky dough.
When the dough begins to look a bit scraggily, start using your hands.
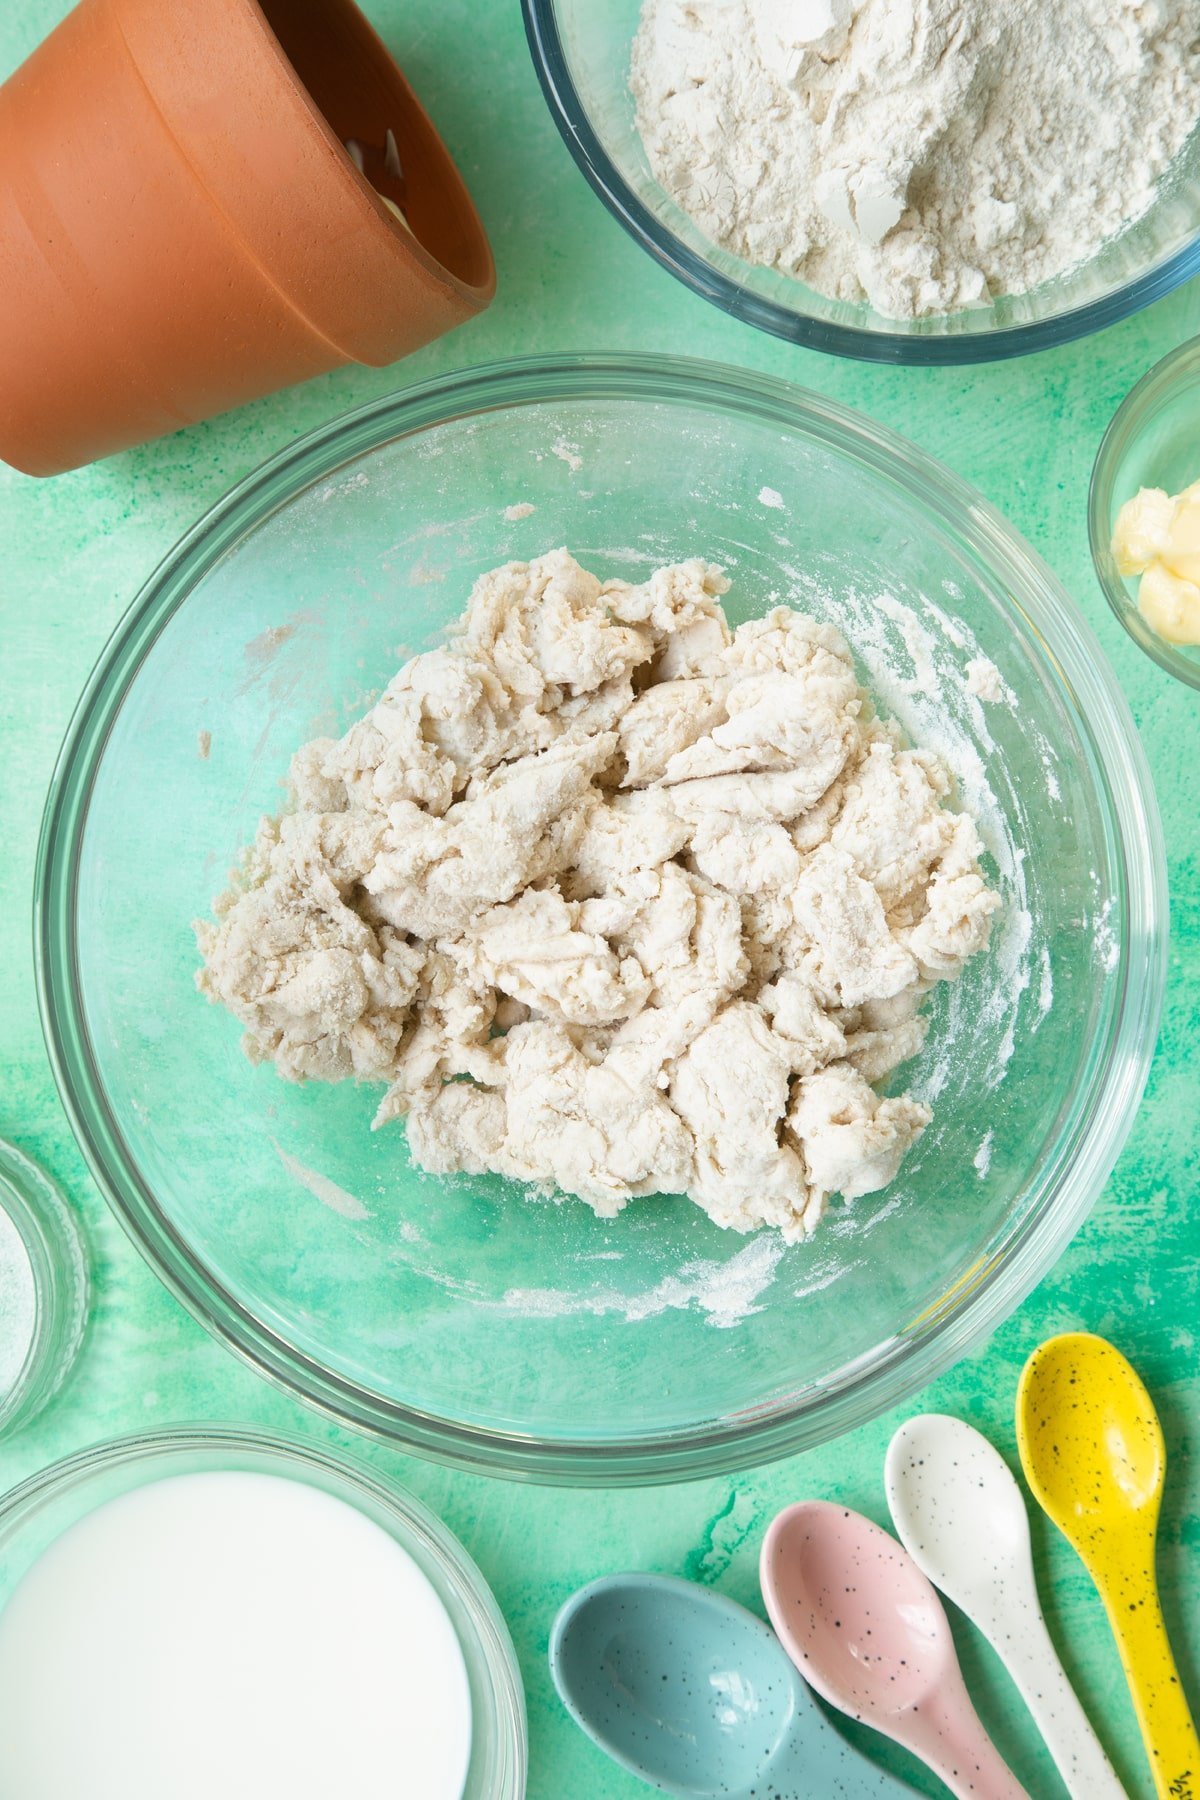
Add a tiny bit more milk to the mixture if needed until you can bring the mixture together in a ball.
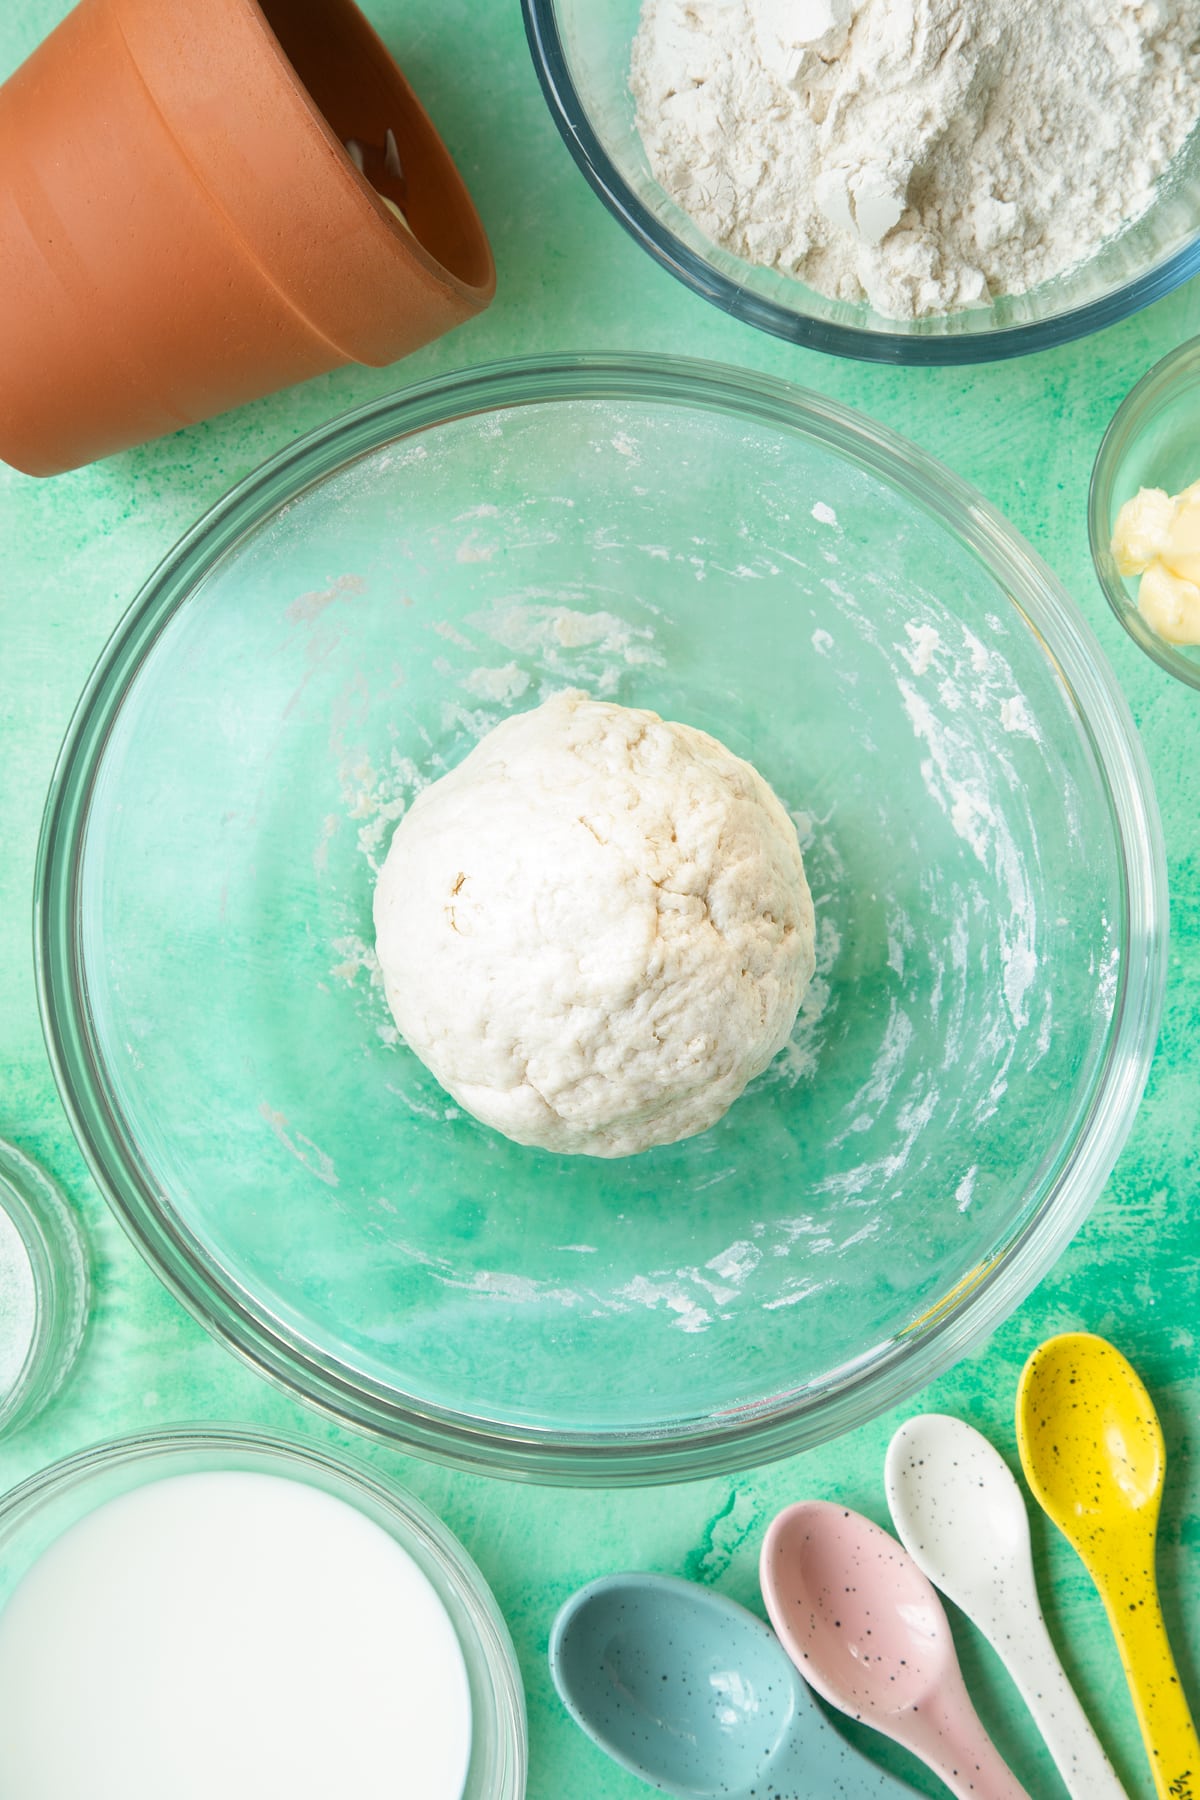
Form into a rugby ball shape and put into the flowerpot. Brush the top with milk.
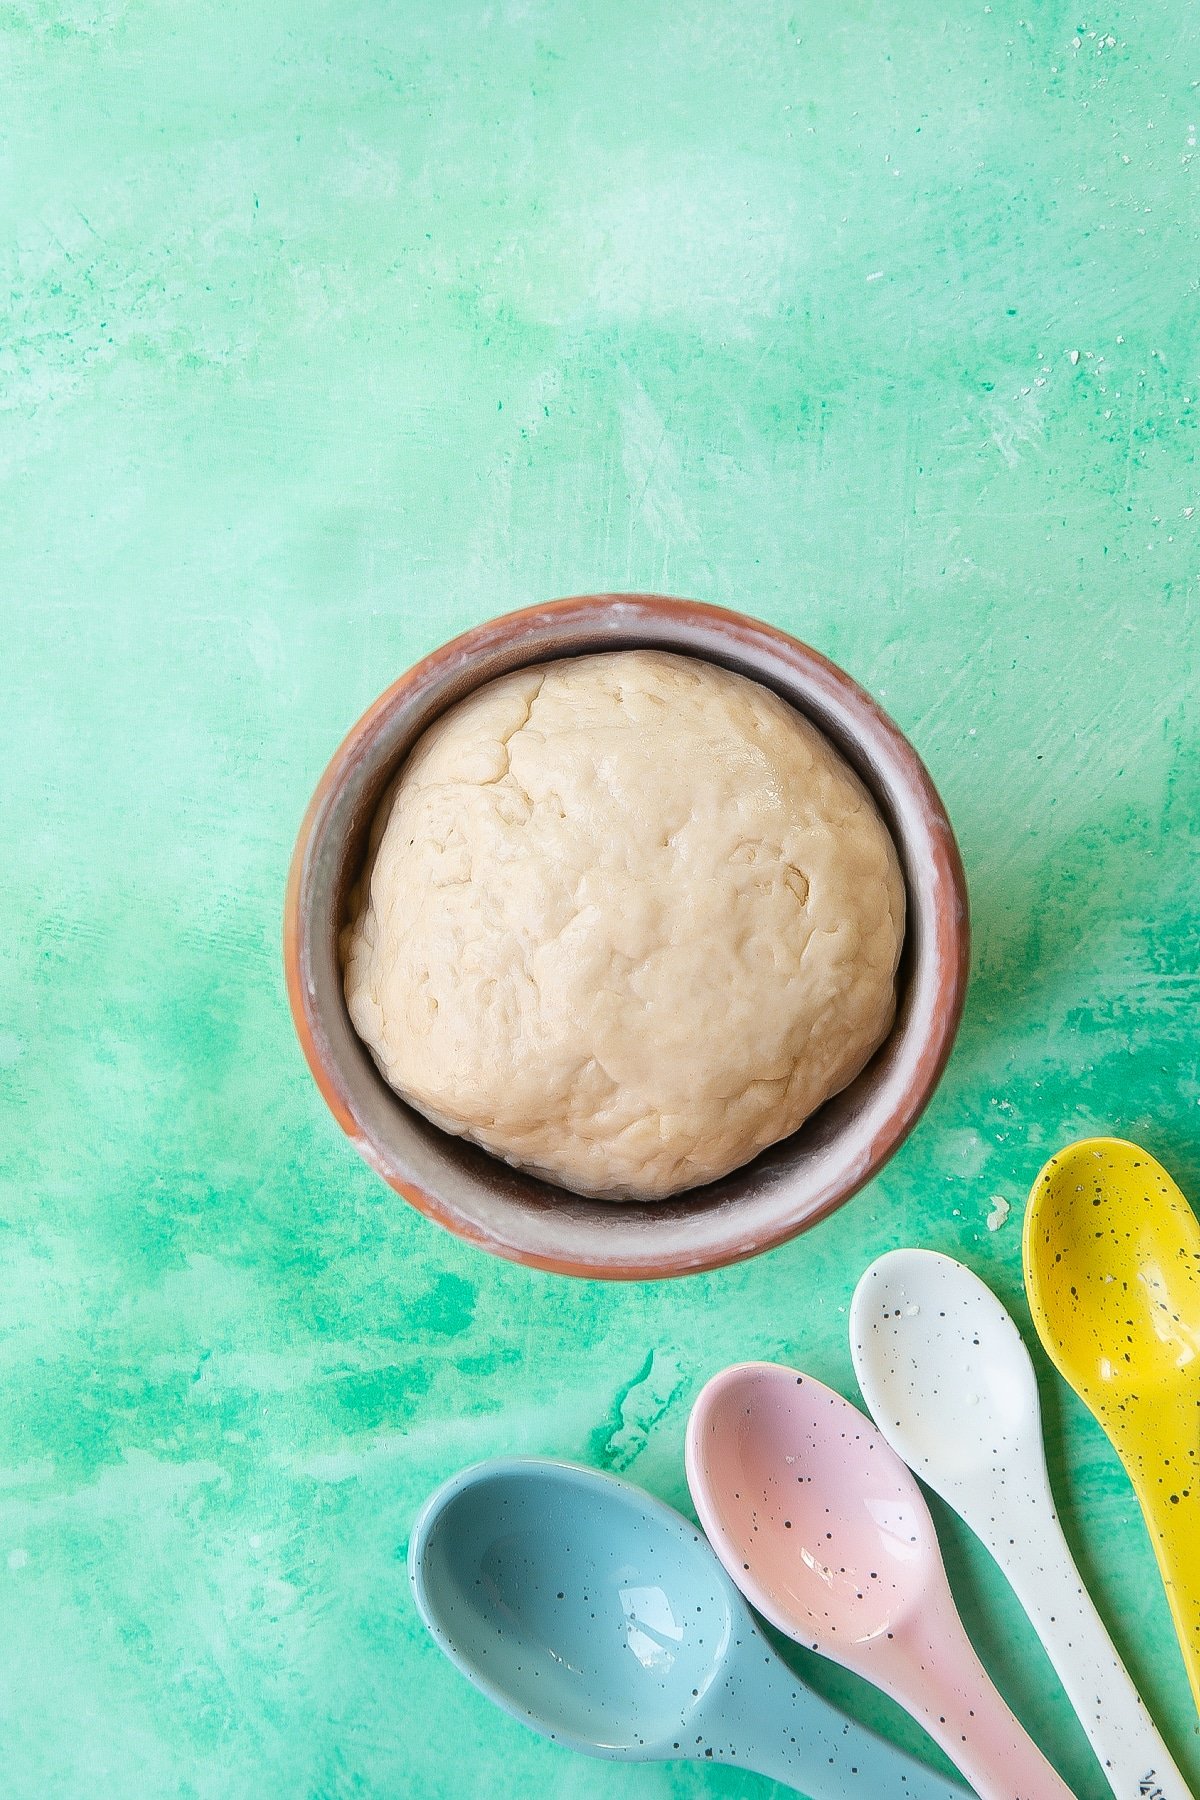
Wearing oven gloves, put the pot into the oven and set the timer for about 30 minutes, then check your bread. The exact time will depend on the size of your flowerpot so keep an eye on its progress.

We used a 10cm wide pot and it took about 50 minutes. When your bread is ready, the kitchen should smell like bread and the top of the loaf should be hard and golden.
Leave your bread to sit in its pot for at least 10 minutes. When the pot is cool enough to handle, very carefully run a flat, blunt knife around the sides between the bread and the pot. Tip upside down to release.

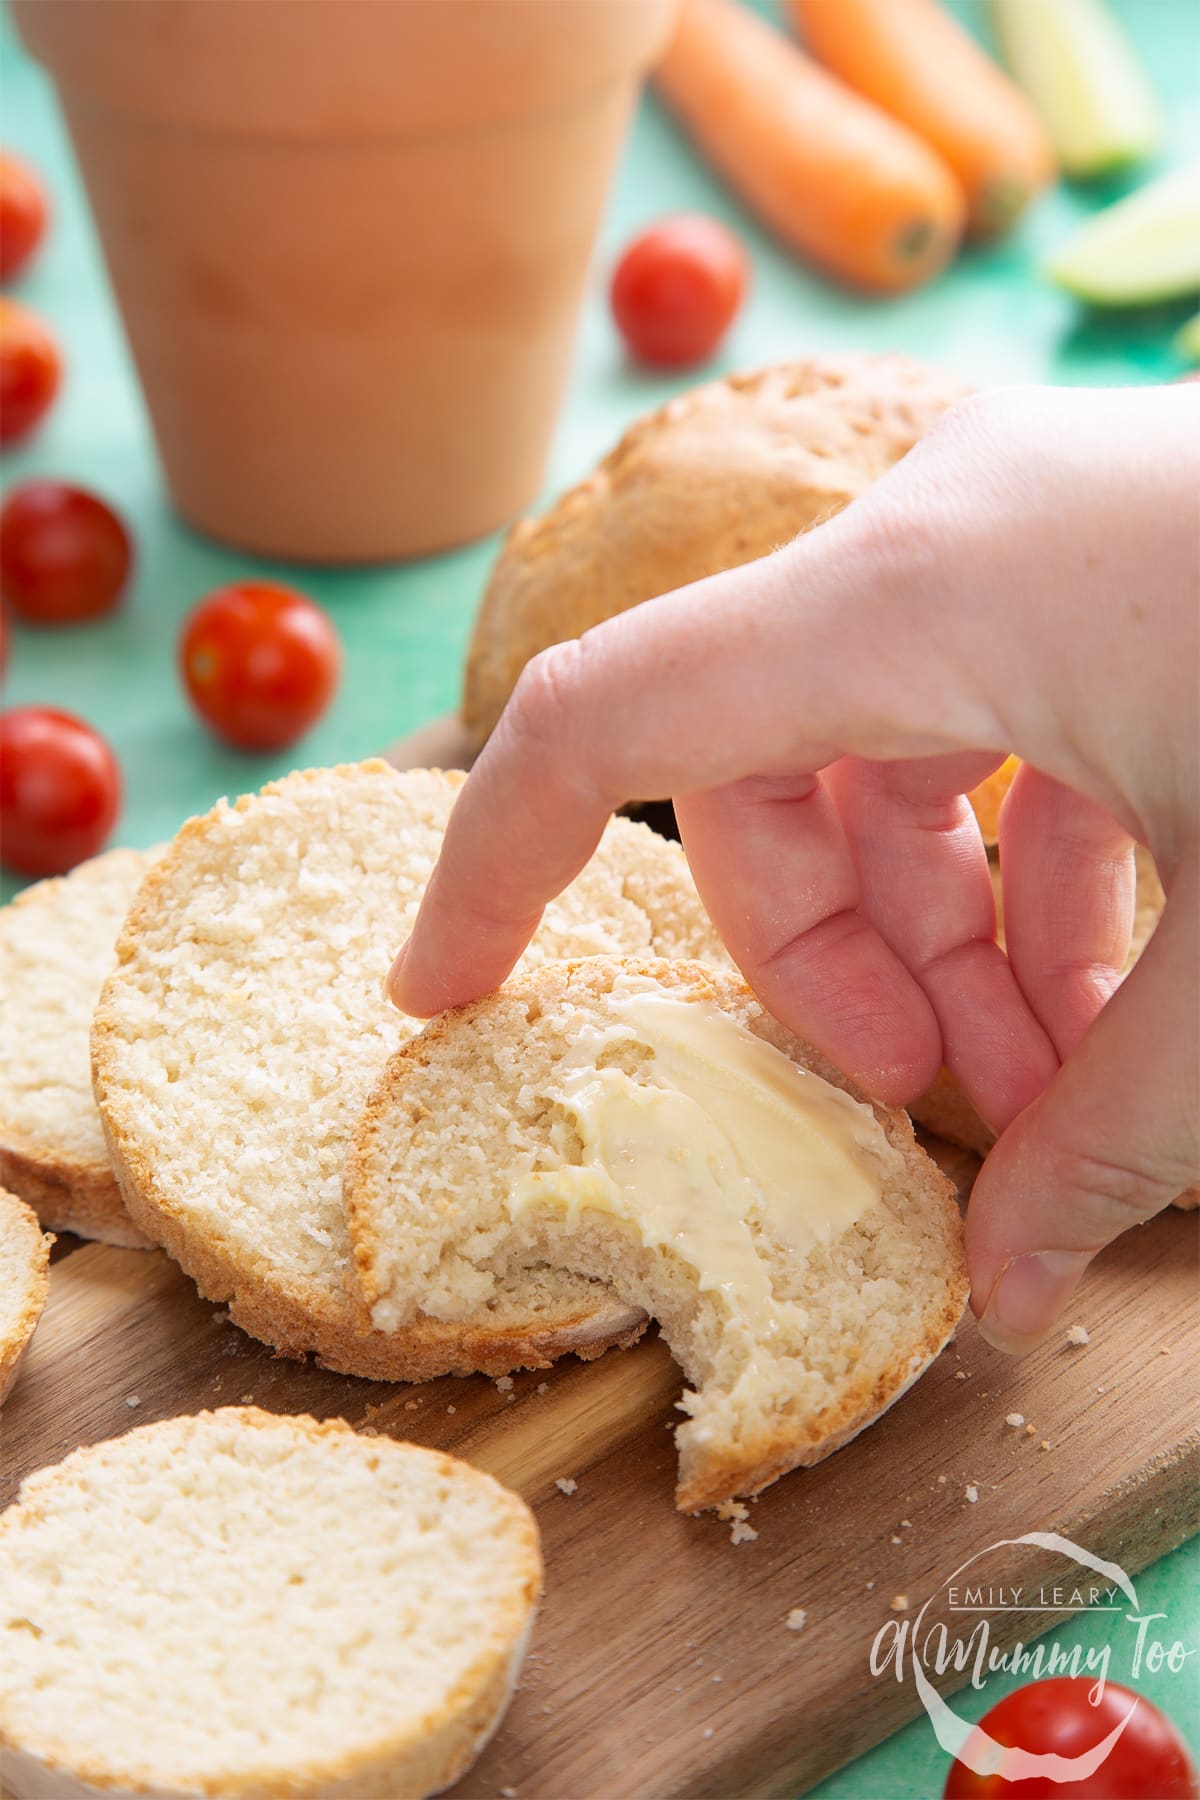
Allow the bread to cool completely before slicing.

It's best served with butter and some honey or jam.

It doesn’t stay fresh for long but it tastes brilliant toasted.
x

Are you tempted to try this flower pot bread?
Let me know if you try it!

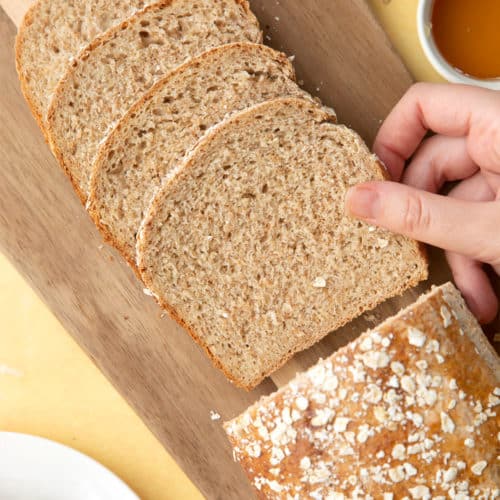
For more ideas try my bread recipes, like this honey and oat bread.
Print this flowerpot bread recipe
Here's the recipe for this flower pot bread again in an easy to print format.


Flowerpot Bread Recipe
Ingredients
- 225 g (7.9 oz) self-raising white flour (self rising flour) plus about 1 teaspoon more for flouring the pot
- 1/2 tsp salt
- 40 g (1.4 oz) salted butter plus a bit more for greasing
- 125 ml (4.2 floz) whole milk plus extra for brushing
Equipment
- Clean, unused 10cm (4in) wide flowerpot
Instructions
- Preheat the oven to 200C (180C fan assisted, 400F).
- Grease the insides of the flowerpot with butter and use a bit of kitchen roll to spread it round. Hold the pot sideways and sprinkle in about ½ teaspoon of flour. Turn the pot, shaking it as you go, until the insides are covered in flour.
- Put the flour and salt into a large bowl.
- Cut up the cold butter and add to the bowl.
- Rub it into the flour with your fingers. You don’t want any lumps of butter left.
- Make a hole in the flour so that you can see the bottom of the bowl. This is called a “well”.
- Add the milk. Mix to make a sticky dough.
- When the dough begins to look a bit scraggily, start using your hands. Add a tiny bit more milk to the mixture if needed until you can bring the mixture together in a ball.
- Form into a rugby ball shape and put into the flowerpot. Brush the top with milk.
- Wearing oven gloves, put the pot into the oven and set the timer for about 30 minutes, then check your bread. The exact time will depend on the size of your flowerpot so keep an eye on its progress. We used a 10cm wide pot and it took about 50 minutes. When your bread is ready, the kitchen should smell like bread and the top of the loaf should be hard and golden.
- Leave your bread to sit in its pot for at least 10 minutes. When the pot is cool enough to handle, very carefully run a flat, blunt knife around the sides between the bread and the pot. Tip upside down to release.
- Allow the bread to cool completely before slicing.
Video
Nutrition
Disclosure: we were sent the Kids Only Cookbook for review.
Pin this flowerpot bread recipe

More bread recipes to try


Have you got my book?

'This is a great kids cookery book. Emily is a star' - Simon Rimmer
'The book I'd like to force into any mother's kitchen' - Prue Leith
"A fab book with a plan." - Jane Devonshire, 2016 Masterchef UK winner
'Emily has managed to combine her mummy knowledge and passion for food to make a truly helpful and brilliant cookbook' - Priya Tew, RD, BSc (Hons), Msc
Get Your Kids to Eat Anything is an achievable 'how to' for parents in the battle to overcome picky eating and 'make new the norm'. Emily Leary's unique 5-phase programme looks at the issue of 'fussy eating' in a holistic way that links imagination with food, and which situates parents alongside - not in opposition to - their children.