You can do all the prep in the world in the run-up to Christmas but on the big day itself, you still need to tackle the turkey.
I’ve put together a whole host of turkey tips to help make your Christmas or Thanksgiving run as smoothly as possible.
How to prepare a festive turkey
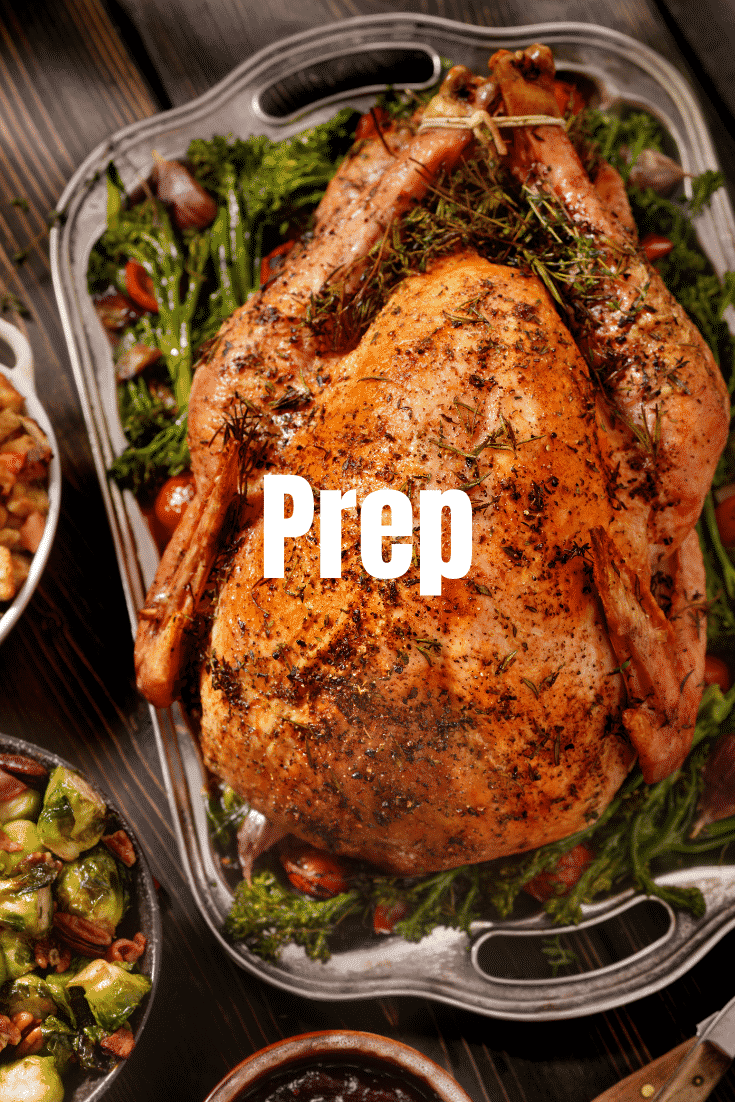
Turkey has a tendency to dry out if it isn't dressed properly. No, that doesn't mean it needs a Christmas jumper! Dressing’ is just a term that refers to any seasoning and preparation that the turkey needs before cooking.
To help your turkey win "best dressed", I've pulled together a few simple prep tricks to make sure you get a succulent turkey, every time.
How to remove giblets from a turkey
The first thing you’ll need to do is check that there aren’t any giblets or other extras inside the cavity of the turkey.
Giblets refer to the innards, such as the heart, kidneys, liver and gizzard, as well as the neck. Not all birds come with the giblets, but sometimes they are wrapped inside a plastic pouch in the cavity of the turkey, which makes it's extra important to check they aren’t included so you don’t have a melted plastic surprise centre rendering your turkey inedible.
Giblets are included so that you can make a stock from them if you choose, but feel free to discard them if not.
You can freeze giblets to use later, but only if your retrieve them immediately from a fresh bird. You can't refreeze giblets that have already been frozen and defrosted as this is a health risk. Check the label on your bird for more information.
How to make a base for your roasting tin
The next thing to think about is what your turkey will sit on in the oven. If your turkey sits directly on the base of the roasting tin, it can catch underneath and lose its moisture, so a base layer is really important.
A simple bed of chopped vegetables can be enough to help protect the turkey from sticking to the pan. To do this, chop a couple of carrots, an onion or two and a couple of sticks of celery into big even-sized chunks and line the base of the pan.
With the vegetable bed in place, stand the turkey, breast side up, on top and you're base is does - just make sure it'll still fit in the oven with the extra height! A vegetable base like this will also give you a bonus treat of extra delicious melt in the mouth veg that has absorbed some of the turkey’s juices.
How to prepare a turkeys wings and legs for cooking
Turkey legs have a tendency to splay out while cooking, which doesn't look very appealing and can cause them to burn. To avoid this, simply tie the turkey legs together with kitchen string as you would a chicken. It's a simple way to help keep the bird’s shape, retain moisture in the legs and breasts, and avoid burnt or dry turkey.
Wings, too, are prone to drying out and even burning before the rest of the bird is cooked, so it's a good idea to tuck them underneath to keep them moist.
An added benefit of having the turkey tied and tucked neatly is that it will take up less space in the oven, freeing up valuable real estate that's always very welcome at Christmas Day/Thanksgiving!
How to season your turkey with butter
When it comes to seasoning, lots of us keep it classic with just a sprinkling of salt and pepper rubbed over the top, while some people swear by rubbing a generous layer of butter under the skin of the breasts.
To put the butter under the skin, first, wash your hands and ensure you're not wearing any rings or bracelets. This is important both for hygiene purposes and because rings may otherwise tear the skin of the turkey.
Put a few tablespoons of butter in a bowl so that you won't have to touch the main packet once you've handled the raw poultry. You can add pepper and other herbs and spices to the butter. Make sure it's softened but not melted.
Now, find the area at the highest point of the turkey, where the breasts meet the cavity, usually also the point where the legs are tied. Find the edge of the skin and lift it a little so that you can gently slide your fingers under the skin.
Start on one side of the turkey breast and work your fingers down until you have made a space between the skin and the flesh and you can fit your fingers most of the way down. There will be a natural divide between each breast so you will need to repeat the process on the other breast.
Sometimes you won’t be able to go too far down as the skin might be too delicate. Don’t try to force it or you’ll rip the skin.
Once you’ve loosened the skin of the breasts from the flesh you can then gently feed in a few teaspoons of butter. Try and work it down with your fingers into an even layer. This layer of butter will help add moisture to the breasts, which are always the first part to dry out as they’re usually in the hottest part of the oven.
Decorate your turkey with herbs
If you’re feeling adventurous, you can now slide fresh sage leaves under the skin, pressed into the layer of butter to give bags of flavour and a pressed flower effect on your turkey breasts once it’s cooked. This does need to be attempted with care as the leaves can catch on the skin and tear it.
How to cover a turkey with bacon
Some people choose to layer bacon over the top of their turkey. This adds a lovely flavour, of course, but it also gives the turkey extra protection from drying out. You can even weave the bacon into a lattice to give it a more picture-perfect look, if you like.
Another simple way to ensure your turkey breasts stay moist is to cover your turkey with foil until the last 30 minutes of cooking time. This will let your turkey cook through properly without exposing the skin to too much heat. Just remember to remove the foil for the last half hour so your turkey skin will turn that classic golden brown.
How to brine your Christmas/Thanksgiving turkey
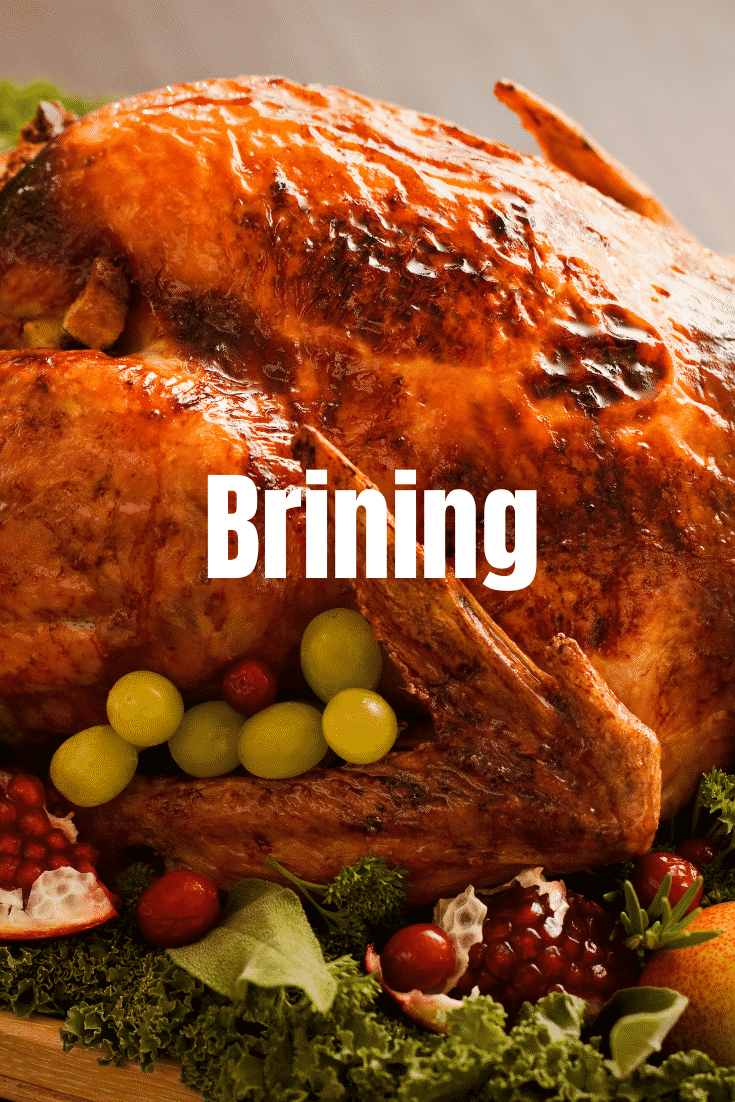
Brining is a seasoning/prep process that involves giving your turkey a salt soak. It takes more planning ahead than the above methods, but people who brine their turkey swear by it to get a succulent and evenly seasoned bird.
The differences between wet brining and dry brining
There are two main types of brining: dry brining and wet brining.
Dry brining involves covering your turkey in a layer of salt and leaving it for a couple of days wrapped up and sealed in the fridge. At first, the salt draws out the moisture but then the meat reabsorbs the liquid and holds on to it better. Think of it like squeezing a sponge so you can then soak up more water.
Wet brining is similar, but involves leaving your turkey to soak for 1-2 days in a mixture of salted and seasoned liquid, so that it absorbs the liquid, flavour and salt. This will add moisture to the meat and help it stay juicy and tender while cooking.
To wet brine you’ll need a container big enough to hold your turkey and the liquid. This can be tricky if you have a big bird so you could buy a brining bucket like this one. However, you’ll need to make sure it fits in your fridge first!
The best brining solution for turkey: Liquid, salt and sugar
You’ll need to make enough to ensure you submerge your bird fully in the liquid. This amount will be based on the size of your container. So if you get a 20-litre brining bucket you’ll probably need to make at least 10-15 litres of brine (as your turkey will take up space in the bucket too).
The general rule is that you should use 100g (5 1/2 tablespoons) salt for every litre (quart) of liquid. For your liquid base you can use water or you can make a mixture of water and alcohol like gin, brandy or even bourbon. Adding a little sugar (about half the quantity of salt) can help add sweetness to the meat.
How to flavour your brine
There are many ways you can flavour the brine for your turkey, but it comes down to personal preference. Many people include Christmas spices like cinnamon, cloves, nutmeg and juniper, along with citrus, rosemary, thyme and sage.
Find the right balance for you and feel free to experiment with different flavours.
Classic flavourings include:
- Peppercorns
- A few cloves of raw garlic
- A raw onion chopped in half
- Bay leaves
- Fresh herbs like sprigs of rosemary thyme, sage, parsley, mint
- Pickling flavours like coriander seeds, dill, mustard seeds
- An orange, lemon or lime (halved) or just the zest
- A couple of chunks of ginger
- Juniper berries
- Cinnamon sticks
- Cloves
- Chilli flakes or fresh chillies
- Cranberries, apple, pear
Alternative brine flavours
Alternatively, you could experiment with flavours from around the world. For example:
- Introduce Southeast Asian flavours by making a brine with spring onions, lemongrass, garlic, soy, ginger/galangal and fresh chilli.
- Take inspiration from South Asian cuisine with spices like cumin, turmeric, coriander and garam masala.
- Explore Middle Eastern and Central Asian flavours for your brine by using sumac, baharat or ras el hanout.
For a more experimental taste you could even make a brine using pineapple. Pineapple has an enzyme which is often used to tenderize meat in Hawaiian cooking, so it might result in an even more succulent bird with a mild fruity flavour.
As long as the liquid and salt balance remains the same, you can experiment however you like and it won’t impact the brine's effects. Remember the flavour will be more powerful with the more flavours you add to your brine and the longer your turkey soaks in the mixture.
Brining kits
If you love the sound of brining but don't love the thought of doing calculations and inventing recipes, there are pre-prepared brine kits of dry ingredients you can either rub on the turkey for a dry brine, or add to water. You can also get brine concentrates that you simple dilute in water.
Some supermarkets might stock brine kits in the run up to Christmas or Thanksgiving, but if not don’t worry, you can easily find them on Amazon in different flavours and formats - just make sure to order in plenty of time ahead of the big day!
Stuffing a turkey
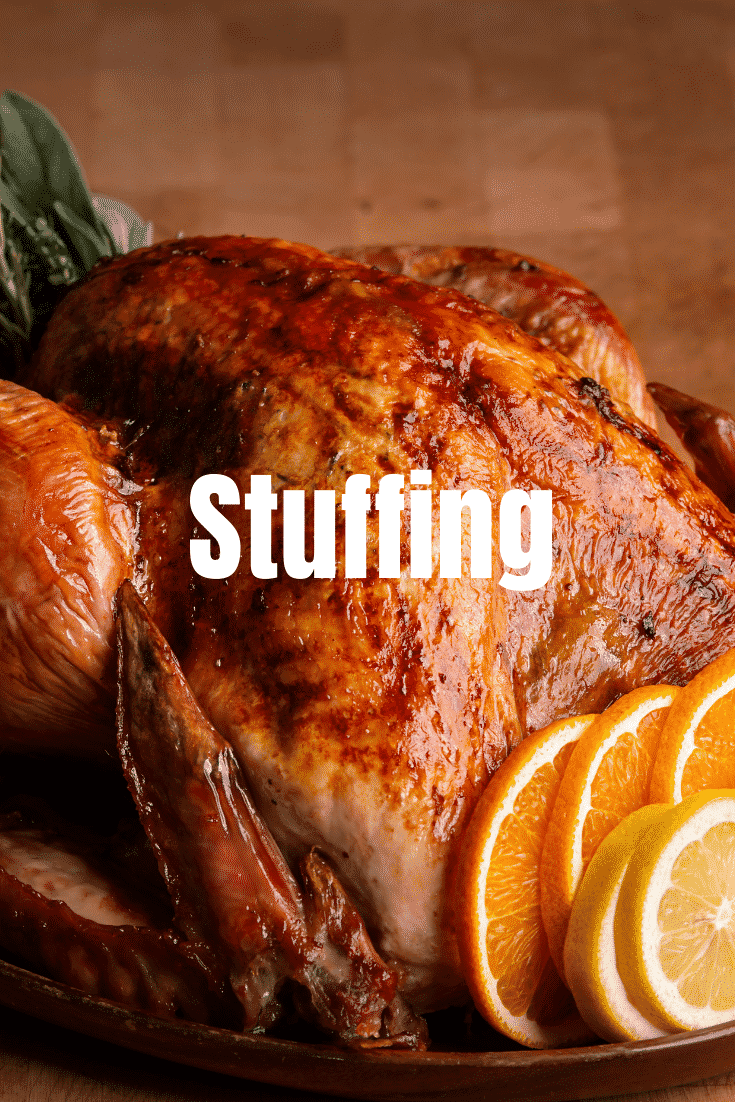
With the outside of your turkey, all prepped and perhaps brined too, it’s time to stuff your turkey with extra goodness.
I find it best to think about stuffing in two ways; one for the table, one for the bird.
The stuffing for the table can be any texture and flavour you like and seasoned to be delicious when a bite is eaten on its own. I'm not ashamed to say I love a bit of sage and onion packet mix! In contrast, the stuffing for the bird is there to infuse the meat with flavour.
How to stuff a turkey
Many people choose to place a couple of small-sized onions and cloves of garlic within the cavity and that can be quite enough to add flavour. The key thing is to make sure you don’t stuff the entire cavity of your turkey as it can affect the way it cooks and can make it unsafe as heat isn't able to permeate the whole bird evenly.
Put your stuffing in the neck cavity only and then hold the skin closed with a cocktail stick. The neck cavity will be a smaller opening at the front of the bird, between the wings, not the large cavity between the legs.
Stuffing your turkey is completely optional, so if you’re uncertain about how to stuff your turkey, it’s fine to leave it. You can cook your stuffing separately rolled into balls and brush it with oil so that it’s perfectly cooked. Or you can bake the stuffing as a sheet in an oven dish.
You can always add some separately cooked stuffing to the cavity of the cooked bird before serving if you want that classic look.
You should only stuff your turkey immediately before placing it in the oven. If you do it the night before, or stuff it and let it sit for a few hours, it can become a breeding ground for bacteria.
Stuffing inspiration
Whether homemade or store-bought, stuffing is generally is made from breadcrumbs, a binding agent, such as egg, and your favourite combination of herbs and spices and aromatics.
If you're keen to make your own, here are some great recipes for you to try this year:
- Mary Berry's pork, sage and onion Christmas stuffing
- Chestnut, bacon & cranberry stuffing
- Roast chestnut & apple stuffing
- Pomegranate and orange stuffing
How to make packet stuffing taste great
My favourite stuffing shortcut is to start with a packet of dried stuffing and add a few extras of my own.
The possibilities here are endless, just make sure that anything you're adding complements the base flavours already in the stuffing mix.
Fresh herbs, lemon zest, garlic and chilli all work well, or you could add sausage meat for an extra rich sausage stuffing.
Dried fruit is another way to add freshness to your stuffing. For example, dried cranberries or apricots can add tang or sweetness and go incredibly well with sausage stuffing.
Many brands of prepared stuffing are vegan, including Britain's favourite, Paxo. So it's an easy way to include a vegetarian (or vegan, if you don't add butter) dish to the table without having to do any extra cooking.
Make sure to check the label as some prepared stuffings might include egg or dairy products, which aren't suitable for vegans. Or they could include animal fat like beef dripping, which isn't suitable for vegetarians or vegans.
Cooking and basting
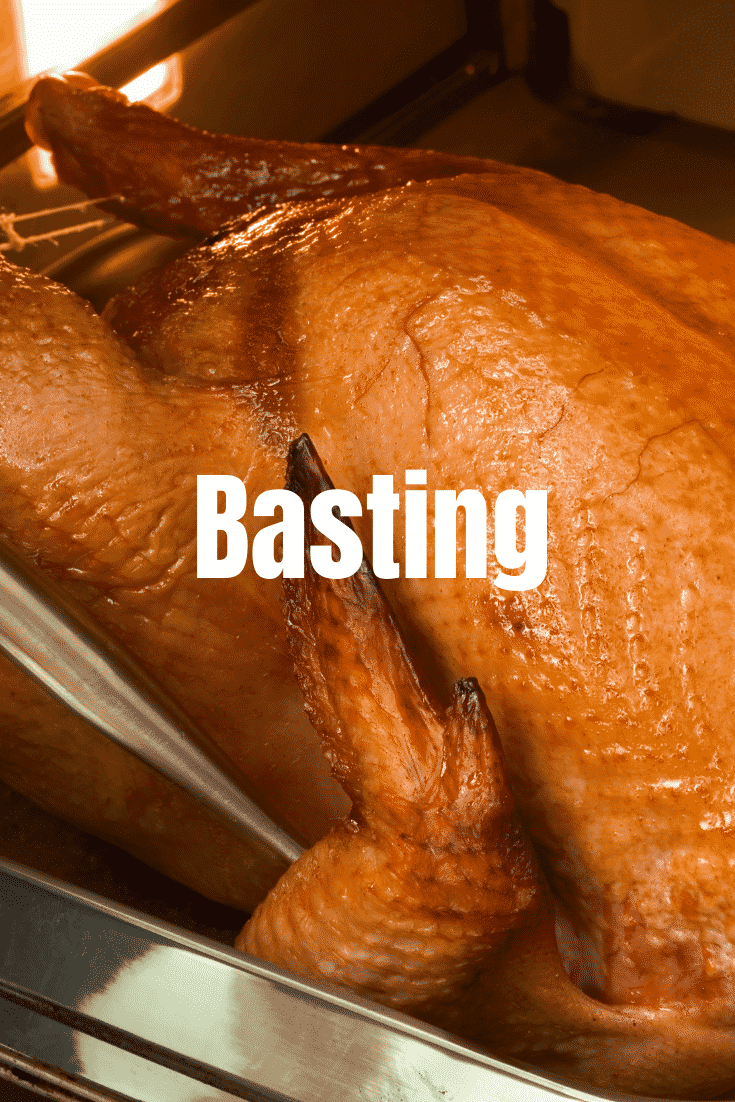
So you've prepped your turkey and it's finally ready to cook. Let's talk timings...
Cooking times
When it comes to cooking times, your turkey will probably have advice on the packet. Cooking times depend on the weight of the bird.
You should weigh your turkey after stuffing it because the stuffing will absorb heat during cooking, which means the turkey will take longer than the suggested time.
The standard way to calculate cooking time is as follows:
- If your turkey weighs under 4kg, cooking time = 20 minutes per kg + an extra 70 minutes.
- If your turkey weighs over 4kg, cooking time = 20 minutes per kg + an extra 90 minutes.
Most recipes advise that you cook a turkey at around 170C-180C (325F). Usually, your packet will give you a cooking time and temperature, so if that temperature differs, follow the pack instructions.
When to baste a turkey
To get a super succulent turkey, it's best to baste your turkey every 30-40 minutes during the cooking time. Try to do this quickly and efficiently as opening the oven too often or for too long can affect the cooking process.
Before cooking the turkey, add enough water to fill 2cm of the bottom of the baking tray. The water will ensure the chopped vegetables don't absorb all of the turkey juices and give you enough juice to baste the meat.
How to cook a turkey safely
It's crucial that you make sure your turkey is fully cooked, so if you have a meat thermometer, you should use it to check the core temperature (measured at the thickest part of the bird between the breast and the thigh) reaches at least 74C (165F).
If you don't have a meat thermometer, you can use a thin knife to pierce the point where the thigh meets the body. If the juices don't run clear, return the turkey to the oven for another 20 minutes and repeat as necessary. Once the juices run clear, this should indicate that your turkey is cooked.
How to rest a turkey
Once your turkey is cooked, you should cover it with foil and a couple of tea towels (to keep it warm) and leave it to rest. The resting time will depend on the size of your turkey, but it will usually be at least 20 minutes, so factor that into your overall timings.
Resting your turkey helps keep it succulent and also makes it easier to carve because it allows the meat to relax.
Turkey carving
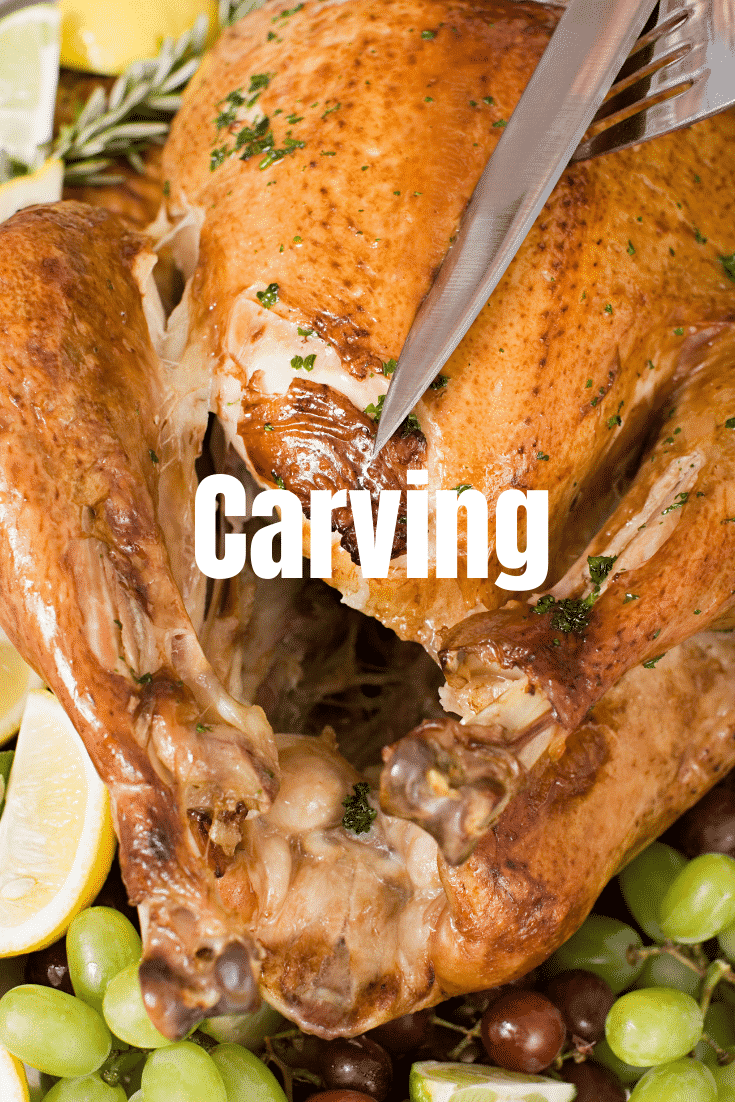
When it comes to carving the turkey, every family has their designated slicer, but carving really isn’t as hard as it looks.
Which knife to use when carving a turkey
The most important thing when carving a turkey is to make sure you use a sharp knife. If you start hacking away with a blunt knife, you’ll most likely end up with uneven slices and a lot of wasted meat left on the bone.
If you have a proper carving knife it would be best to use it. A carving knife is longer and thinner than a standard chopping knife, which allows it to bend and follow the shape of the turkey. If you don’t have a carving knife that’s fine, just be careful as you go and make sure your knife is sharp.
How to carve a turkey
Start by removing the string from the legs, then gently remove the wings. You may need to cut the skin between them to loosen them.
Next, cut through the skin between the breasts and the drumsticks so you can remove the drumsticks more easily. You might need to give them a bit of a tug where the leg joint meets the turkey.
Now that the legs and wings are out of the way, you can start to slice the breasts. You can slice pieces directly off the turkey. Or you can remove the entire breast from the bone in one piece and slice it onto a plate.
If you’re slicing from the turkey, you should use a carving fork (or regular fork) to steady the bird. Then in gentle smooth sweeping motions slice down to carve 1cm thick slices from the breast.
If you remove the entire breast you can begin from the backbone on the top centre of the bird (between the breasts). First, find the backbone with your fingers. Then slide the carving knife down and into the turkey until you hit the bottom of the carcass. Then you can just cleanly and gently lift the entire breast from the bird. Jamie Oliver has a very good example video.
Last but not least comes the dark meat. You can lift the bottom of the carcass and gently pull or slice the dark meat off with a fork, like pulled pork.
It’s best to carve your turkey in its entirety like this so you can safely store any leftover meat. Place leftover meat in sealed containers in the fridge as soon as possible. Don't let them sit out at room temperature for more than an hour.
How to make turkey gravy
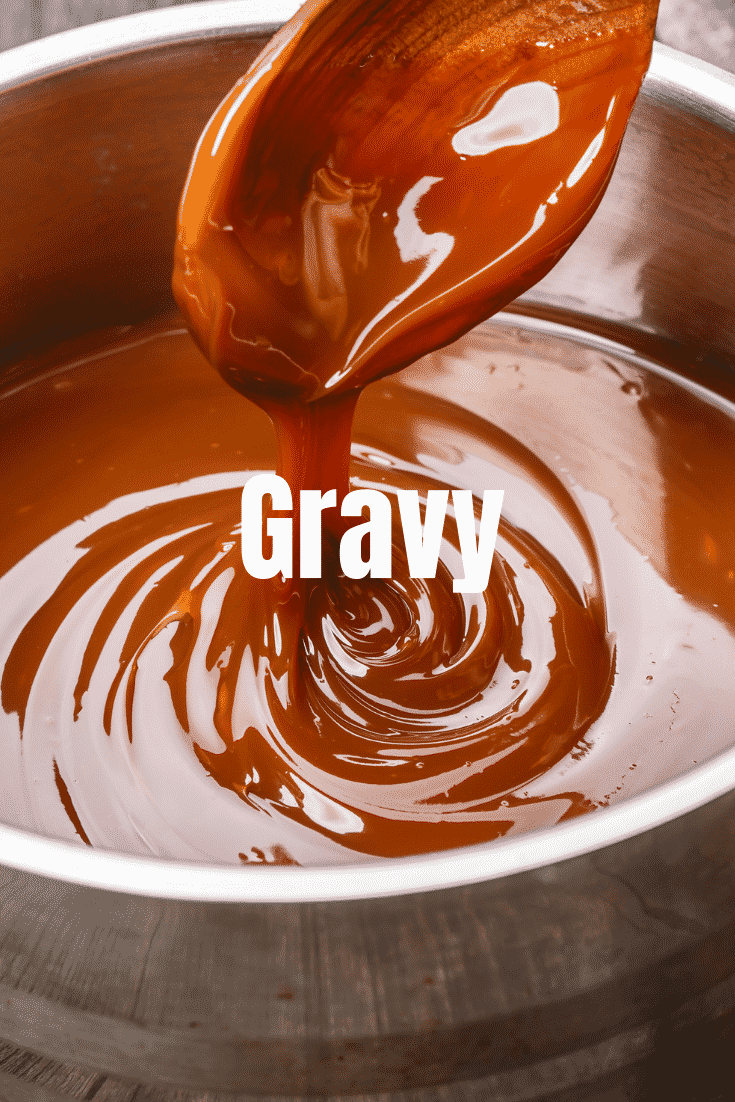
If all else fails and your turkey does end up on the dry side, don’t worry! The perfect gravy can make all the difference and bring lots more flavour and moisture to a dry cut.
A good gravy is surprisingly quick and easy to make. In fact, it’s so easy you’ll only need 4 ingredients. Cooking juices, 1 litre (1 quart) chicken stock, 1 tbsp butter and 1 heaped tbsp plain flour. If you’re cooking for people with allergies or intolerances, don't forget to factor this into your plans. For example, you would use and use, for example, gluten-free flour or dairy-free butter, as needed.
You can start make the gravy as soon as your turkey is rested. Lift your turkey from the baking tray and place it onto a serving plate or carving tray. If you placed a layer of chopped veg underneath the turkey, you should also remove them. You can serve them as little flavour bombs, or put them aside to make a leftover soup later.
Skim the fat
Now you can get to the goodness at the bottom of the pan. First skim the fat from the top, though there might not be any if the veg has absorbed it.
If you're finding it tricky to skim off the fat, place four or five ice cubes in the baking tray. The fat will cling to the ice and all you'll have to do is scoop out the ice cubes. Once the fat layer has been removed you should be able to see a layer of golden juices at the bottom of the pan.
Make the gravy
Place a sieve over a jug and carefully pour the cooking juices from the tray into it. Add chicken stock to make the contents of the jug up to a litre (quart). Next, put 1 tbsp butter and a heaped tbsp of flour into a pan and heat gently. Stir constantly until a thick paste forms. Let it bubble for a few seconds so the flour is cooked. Once the flour is cooked, gradually add the stock from the jug while continually mixing. Taste to make sure the flour taste has cooked out. If not, heat for a little longer.
How to thicken a gravy
The butter and flour mix you made should have caused the gravy to thicken up nicely. However, if it seems too thin for your liking, you can thicken it with cornflour (cornstarch).
To do this, avoid adding cornflour straight to the pot as it will form into lumps.
Instead, put a splash of cold water into your jug and mix with 1 tbsp cornflour to form a thin paste. This paste is called a 'slurry'.
Make sure the paste is totally lump-free (a sauce whisk is ideal for this job). Then add the slurry back into the gravy. Stir it continuously while heating it for a couple of minutes more until it thickens nicely.
Make sure to give your gravy a final taste to be sure the cornflour is cooked out.
You should now have a delicious gravy ready to serve in under 5 minutes! To give your gravy a bit of an ‘oomph,’ you could add in a teaspoon of mustard or Marmite at the last minute.
The best sauces to go with turkey
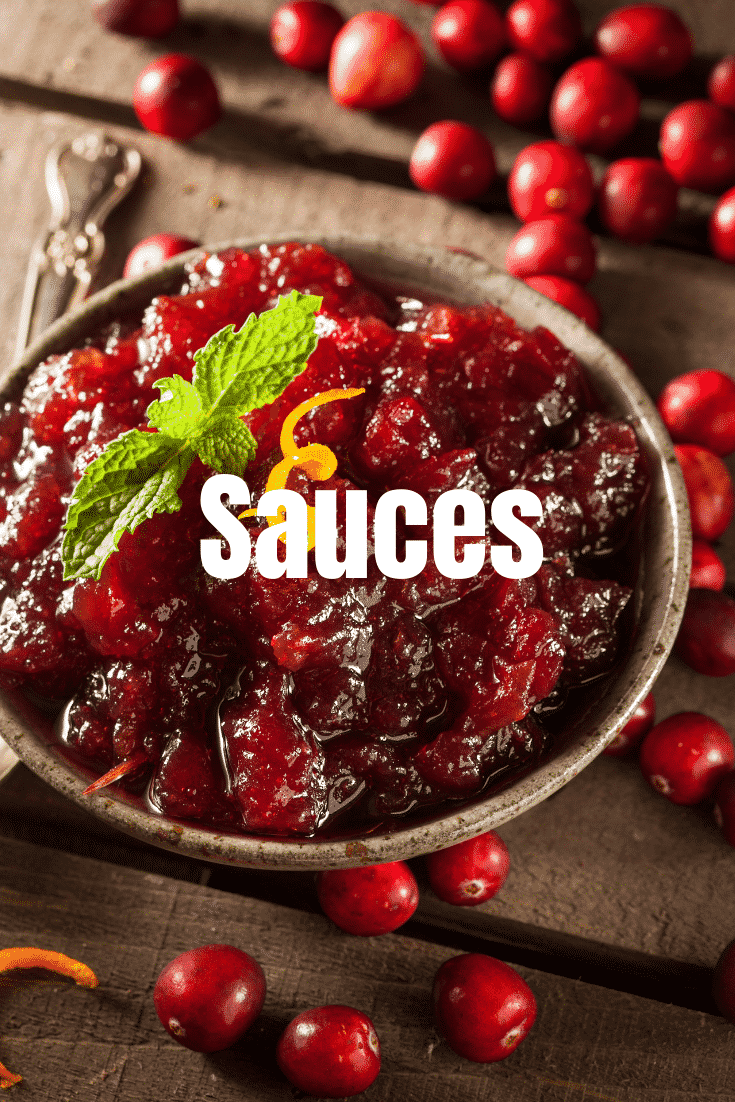
For me, gravy is the most essential sauce to serve with Christmas dinner. Though we also make a few other sauces to add moistness and flavour.
Cranberry sauce is a Christmas classic, of course, but there are plenty of other flavour combinations to try.
For example, how about serving your turkey with homemade ketchup or chutney?
How to add flavour to applesauce
You might think applesauce is strictly for pork, but the tang and sweetness can complement turkey beautifully. You could even add some spices to the sauce to give it a festive flavour. Think cinnamon, cloves, nutmeg or star anise.
You could make your spiced applesauce from scratch or can save time by heating a jar of applesauce. Then you can add any spices or flavourings you choose.
Get hot with horseradish
Horseradish is a classic roast dinner sauce which most people associate with beef. But it’s also a great way to add a kick to your turkey!
Horseradish is a root vegetable that looks similar to a parsnip. It's traditionally grated and mixed with cream and vinegar to make a sauce. If you’re a sushi fan you’ll know (and fear) the heat of wasabi. Well, horseradish is wasabi's distant, though less colourful cousin.
You’ll usually find horseradish sauce on supermarket shelves, with mustard and other sauces in jars. If you’re not in the UK, you can usually find horseradish online.
Bring on the bread sauce
Bread sauce is another Christmas classic for many families in the UK but can seems weird to those from elsewhere. Yes, it's a sauce made from bread steeped in milk!
Bread sauce was created during the medieval era, when it was common for cooks to thicken sauces using bread. The sauce is usually made from breadcrumbs, milk, cream, butter and flavourings like pepper and onion. You can usually find a sachet of dry bread sauce mix in UK supermarkets alongside the other sauces. If not, you should be able to find bread sauce mix online.
If you have some stale bread around, you can also make your own bread sauce quickly and easily. The BBC has a really easy bread sauce recipe you can try.
How to use leftover turkey
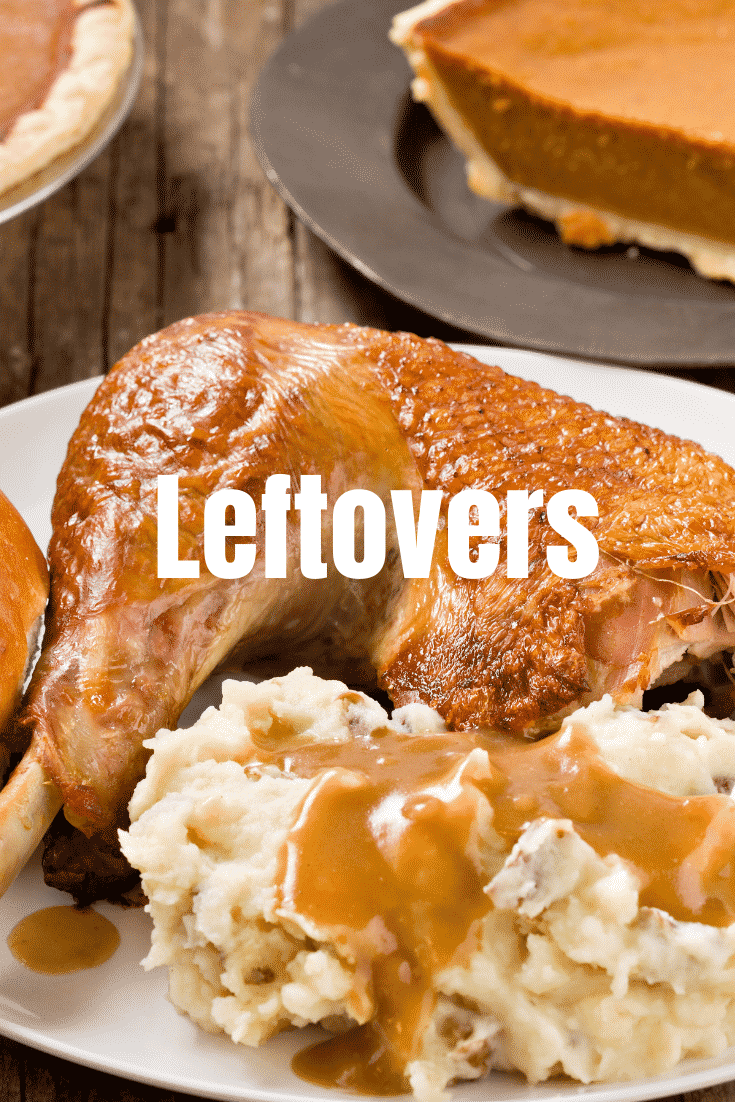
If you’re lucky enough to have any leftovers, here's how to make the most out of them.
Cooking leftover turkey
- A toasted turkey bagel is a great way to start your Boxing Day. This recipe is an easy way to help you use up any leftover turkey and stuffing. All you need to do is heat up your ingredients, fill a bagel, and then toast it.
- Clear a bit of fridge space by making a turkey soup with the leftover turkey or vegetables. A soup might be a welcome change of pace after a day of feasting on Christmas dinner and chocolates!
- Or you want something more substantial than soup, you could make my easy 30-minute leftover pie recipe. The only work needed for this recipe involves making a simple white sauce with butter, flour and milk. Then you chop up your leftovers, put them into a baking tray. Now cover everything with the sauce and top it all off with shop-bought puff pastry before baking. SUPER easy and my go-to option for Boxing Day dinner.
- Sending your guests home with turkey sandwiches is a traditional way to offload leftovers and show you care. But if you want to give them something more warming, why not try this festive slice recipe? It’s filled with leftover turkey, bacon, stuffing, cranberry sauce and white sauce. Then wrapped in a puff pastry pocket and topped with a herby cheese crumb.
Quick grazing platters
If you don’t feel like cooking in the days after Christmas but you still have guests to entertain, don’t worry! There are a few ways to serve your leftovers with minimal effort.
You could always plate your leftover turkey with a selection of dips, cheese and crackers and no one will complain! It's the perfect TV dinner and allows everyone to graze at their own pace. What's more, if everyone's using their hands, that means less washing up!
Free eBook! How to prep for Christmas cooking
If you're looking for more festive help with dinner this year, grab my free Christmas planning ebook, which comes with recipes as well as lots more prep and timing tips.

Have you got my book?

'This is a great kids cookery book. Emily is a star' - Simon Rimmer
'The book I'd like to force into any mother's kitchen' - Prue Leith
"A fab book with a plan." - Jane Devonshire, 2016 Masterchef UK winner
'Emily has managed to combine her mummy knowledge and passion for food to make a truly helpful and brilliant cookbook' - Priya Tew, RD, BSc (Hons), Msc
Get Your Kids to Eat Anything is an achievable 'how to' for parents in the battle to overcome picky eating and 'make new the norm'. Emily Leary's unique 5-phase programme looks at the issue of 'fussy eating' in a holistic way that links imagination with food, and which situates parents alongside - not in opposition to - their children.

Leave a Reply