
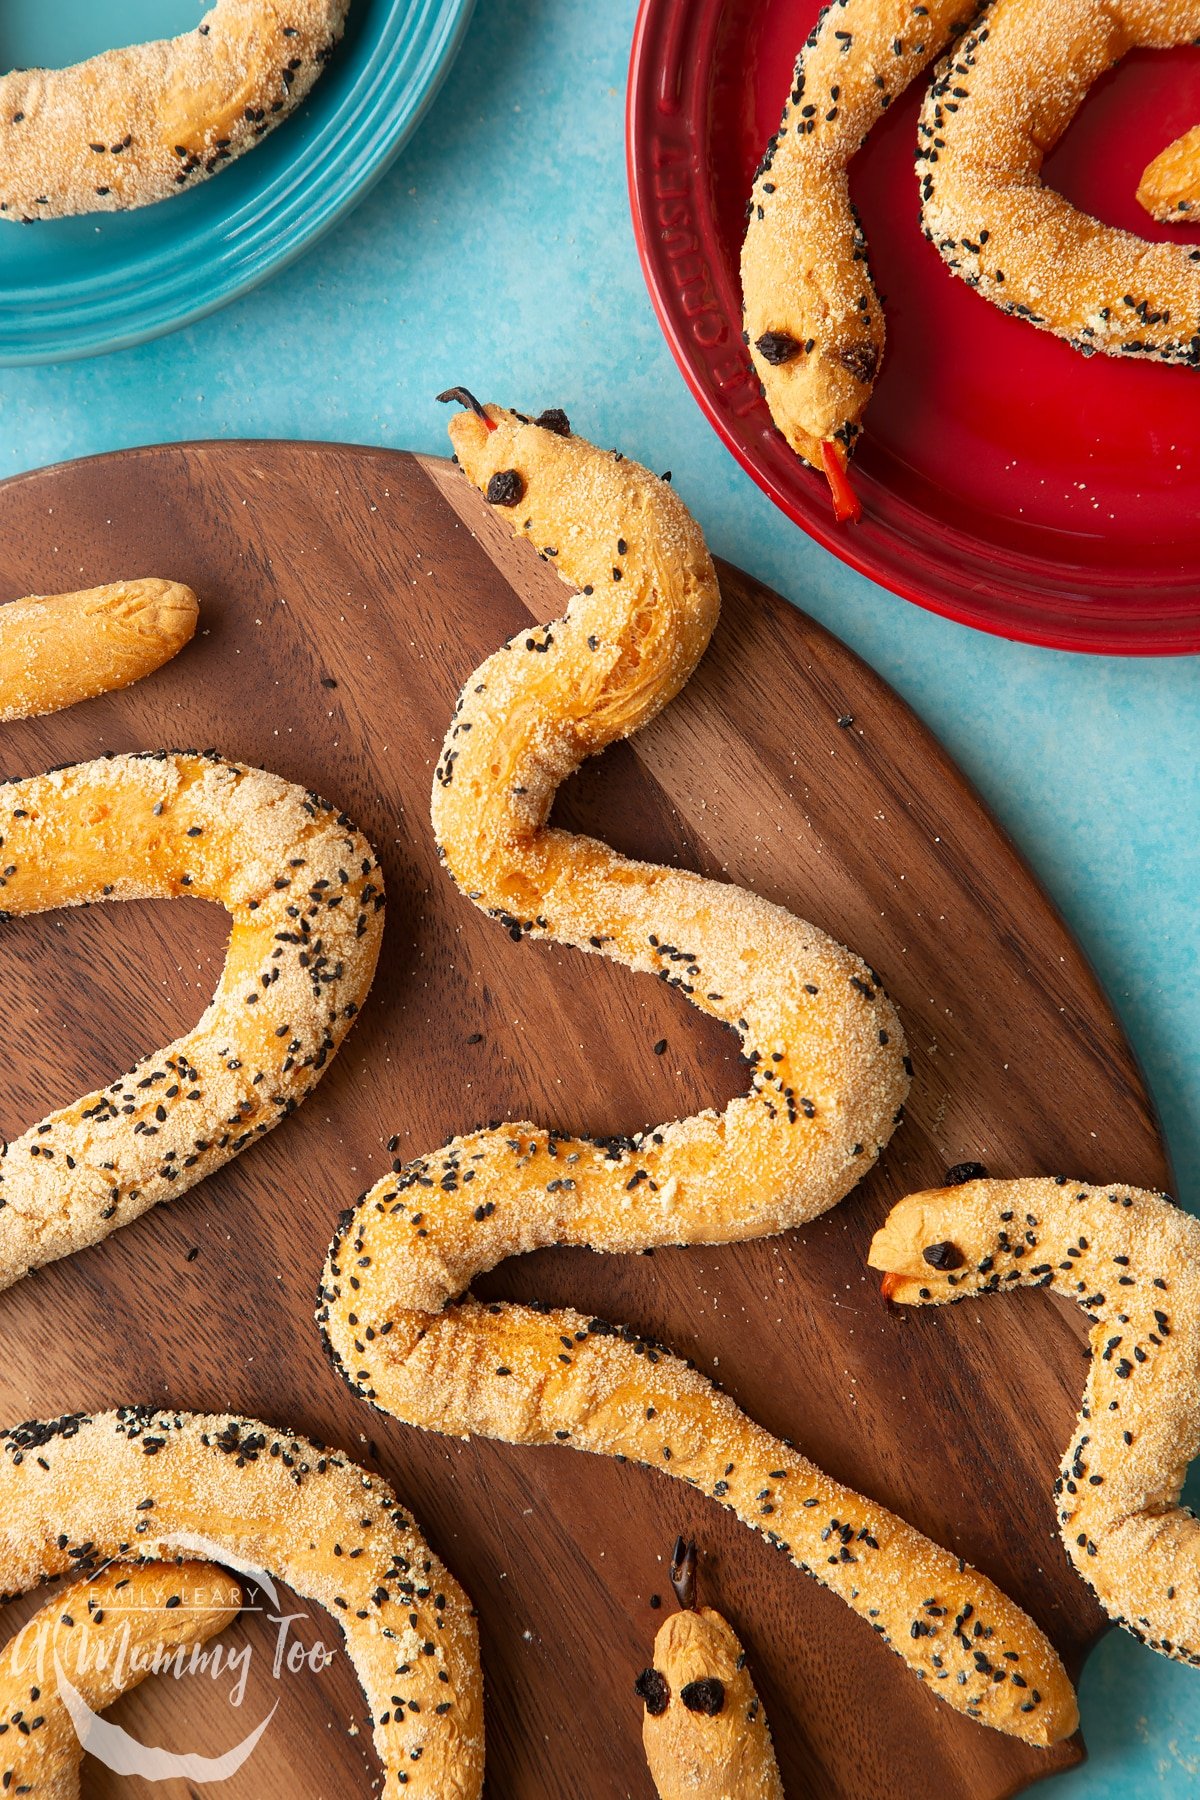
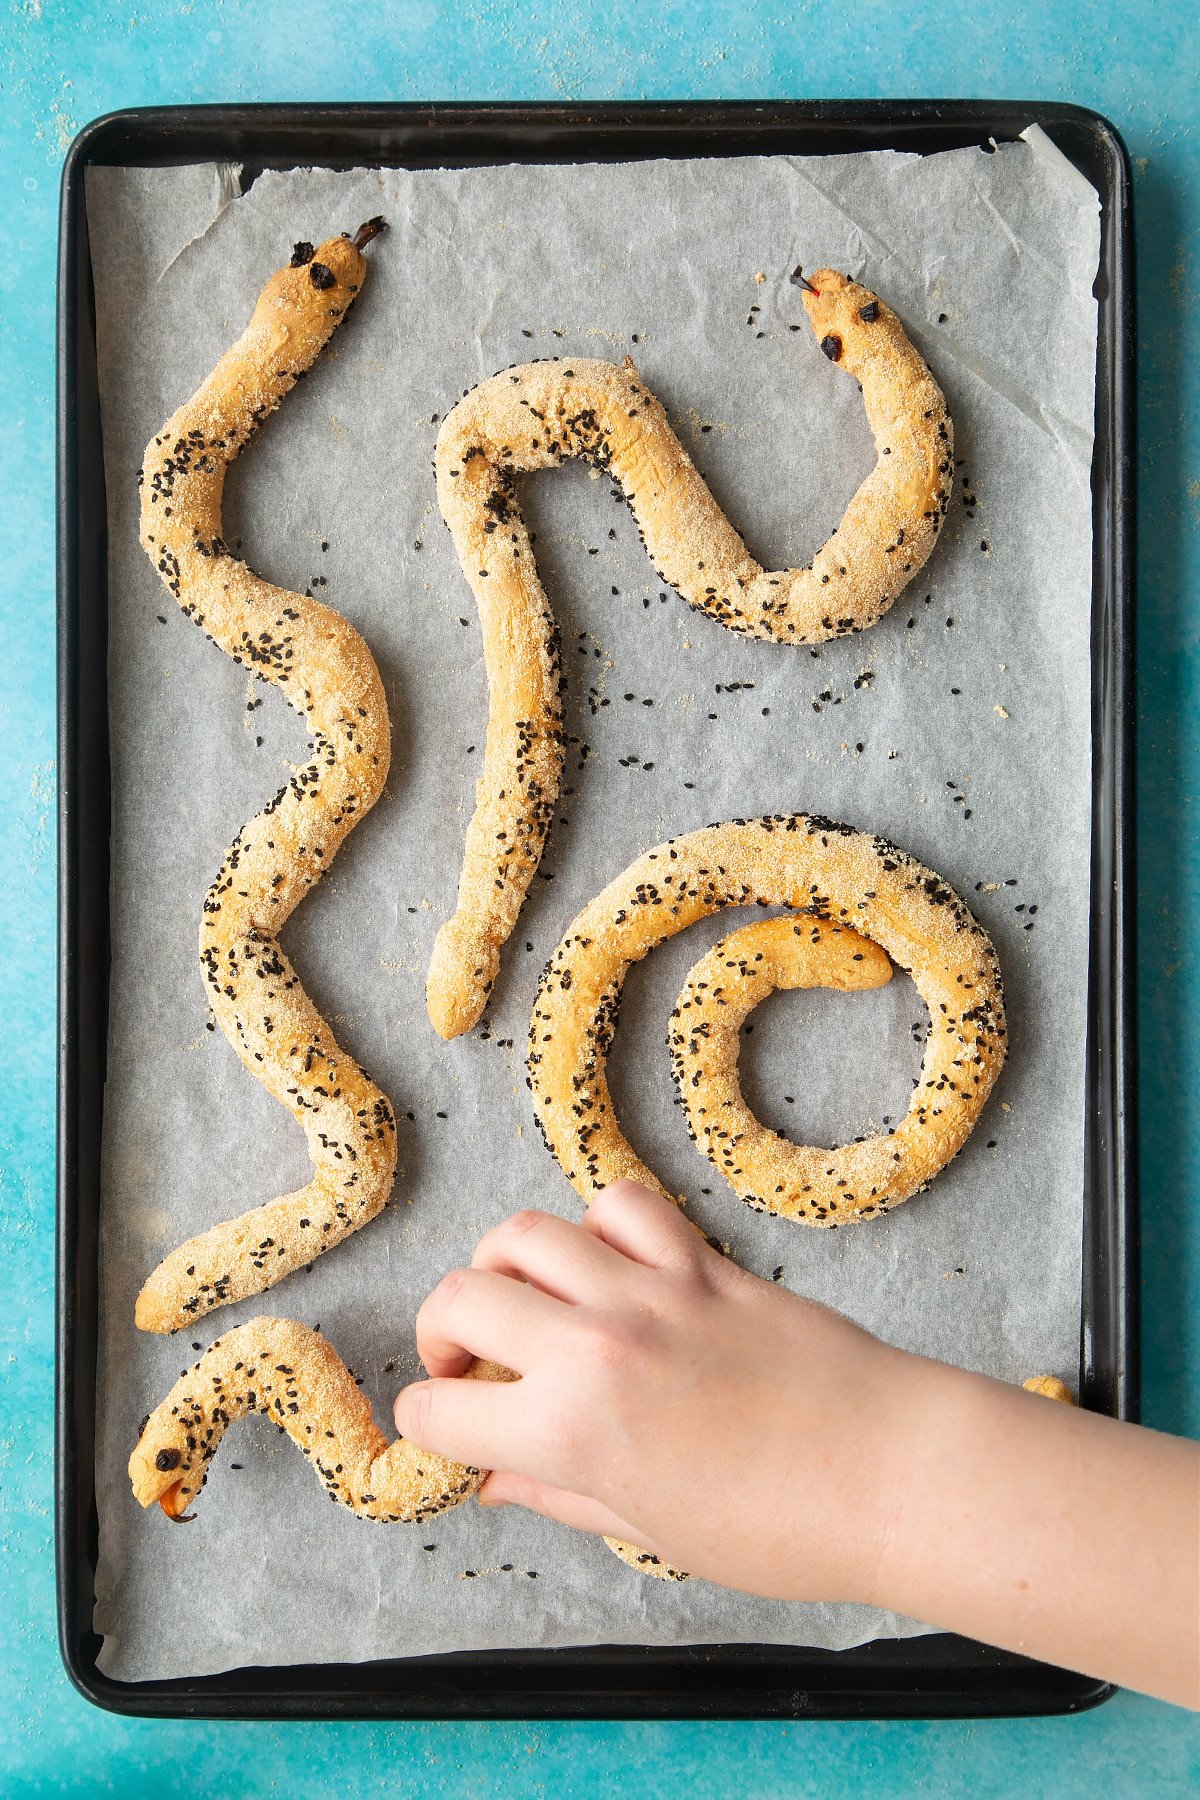
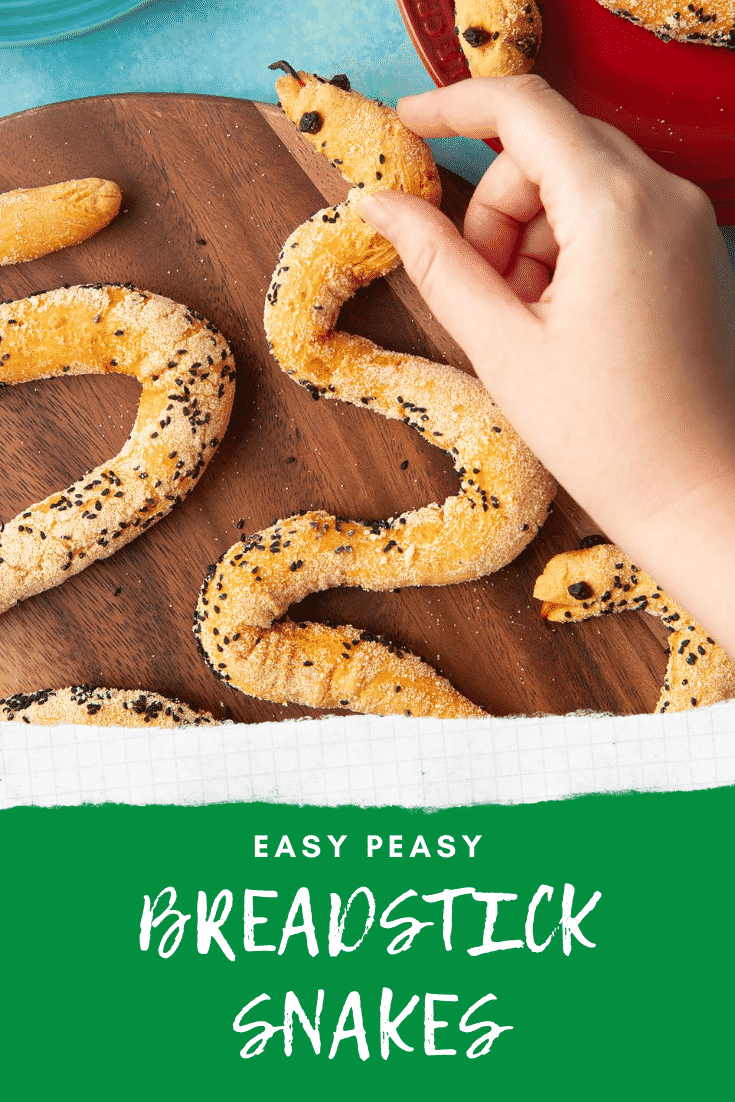
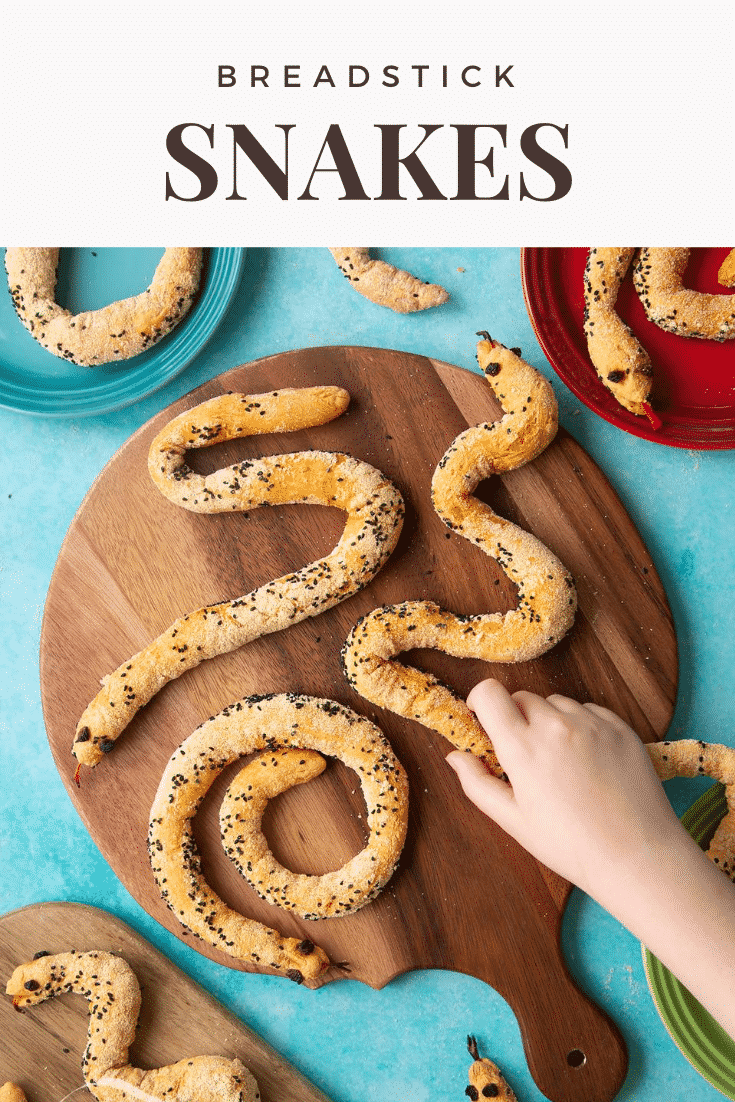
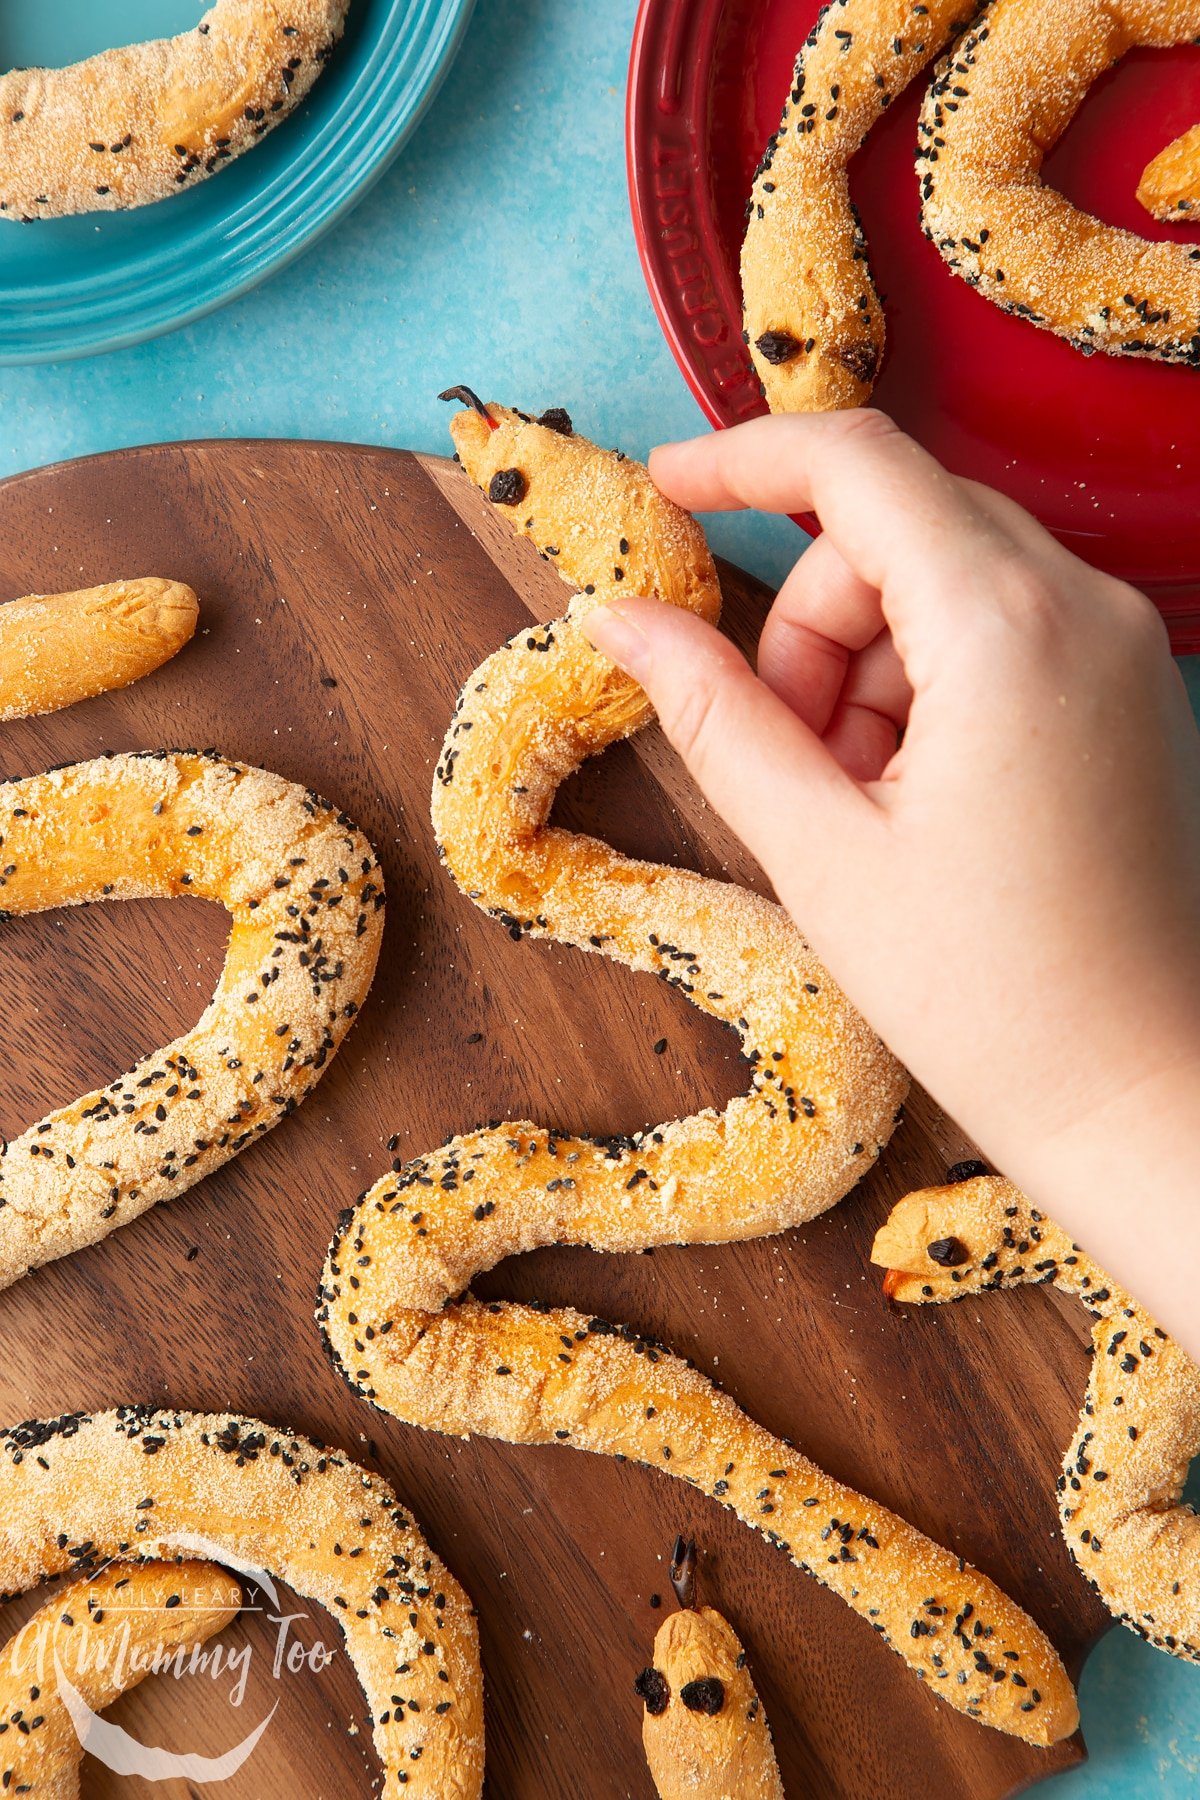
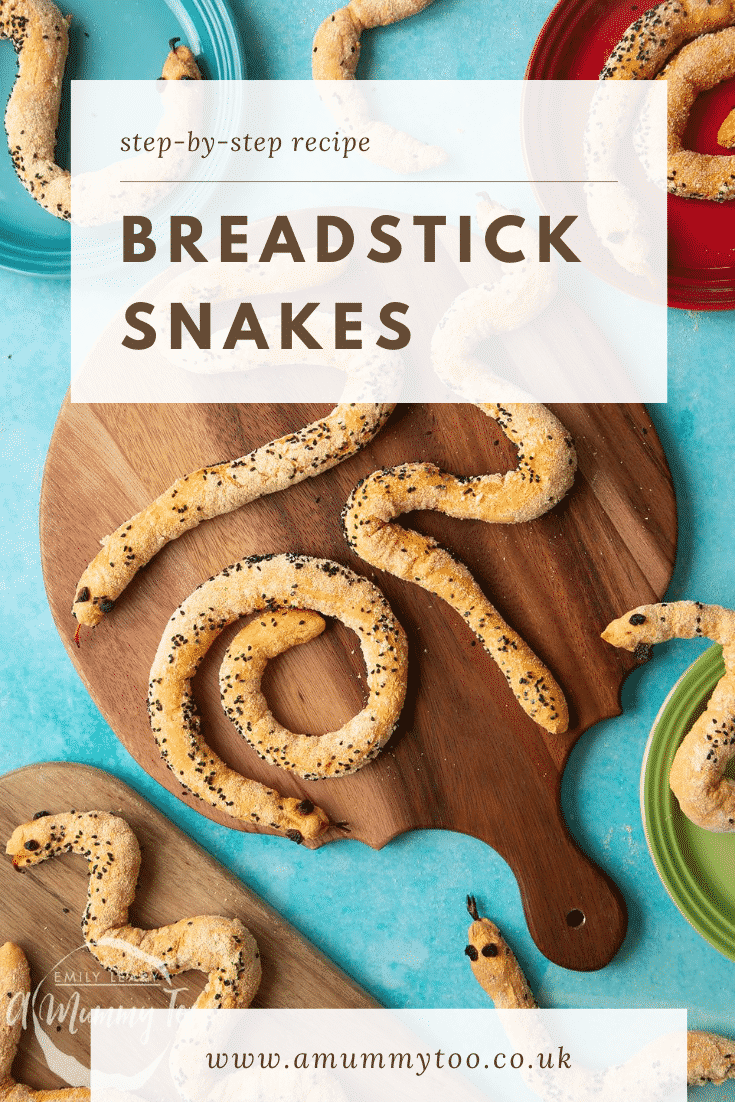
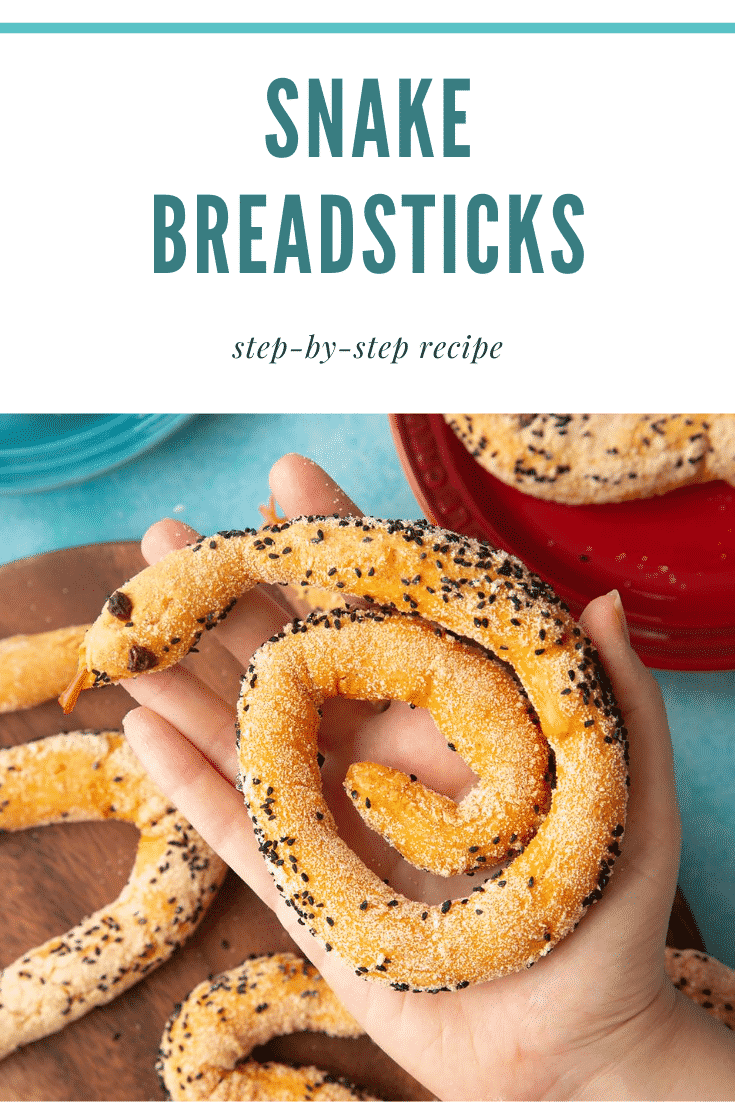
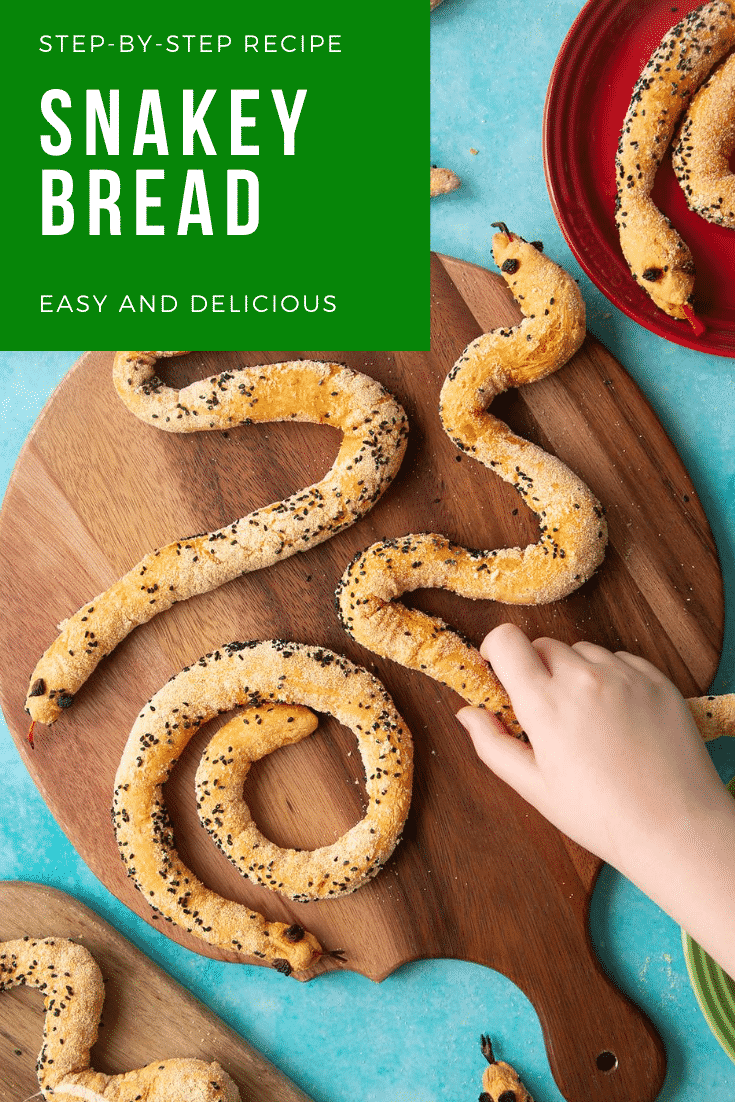
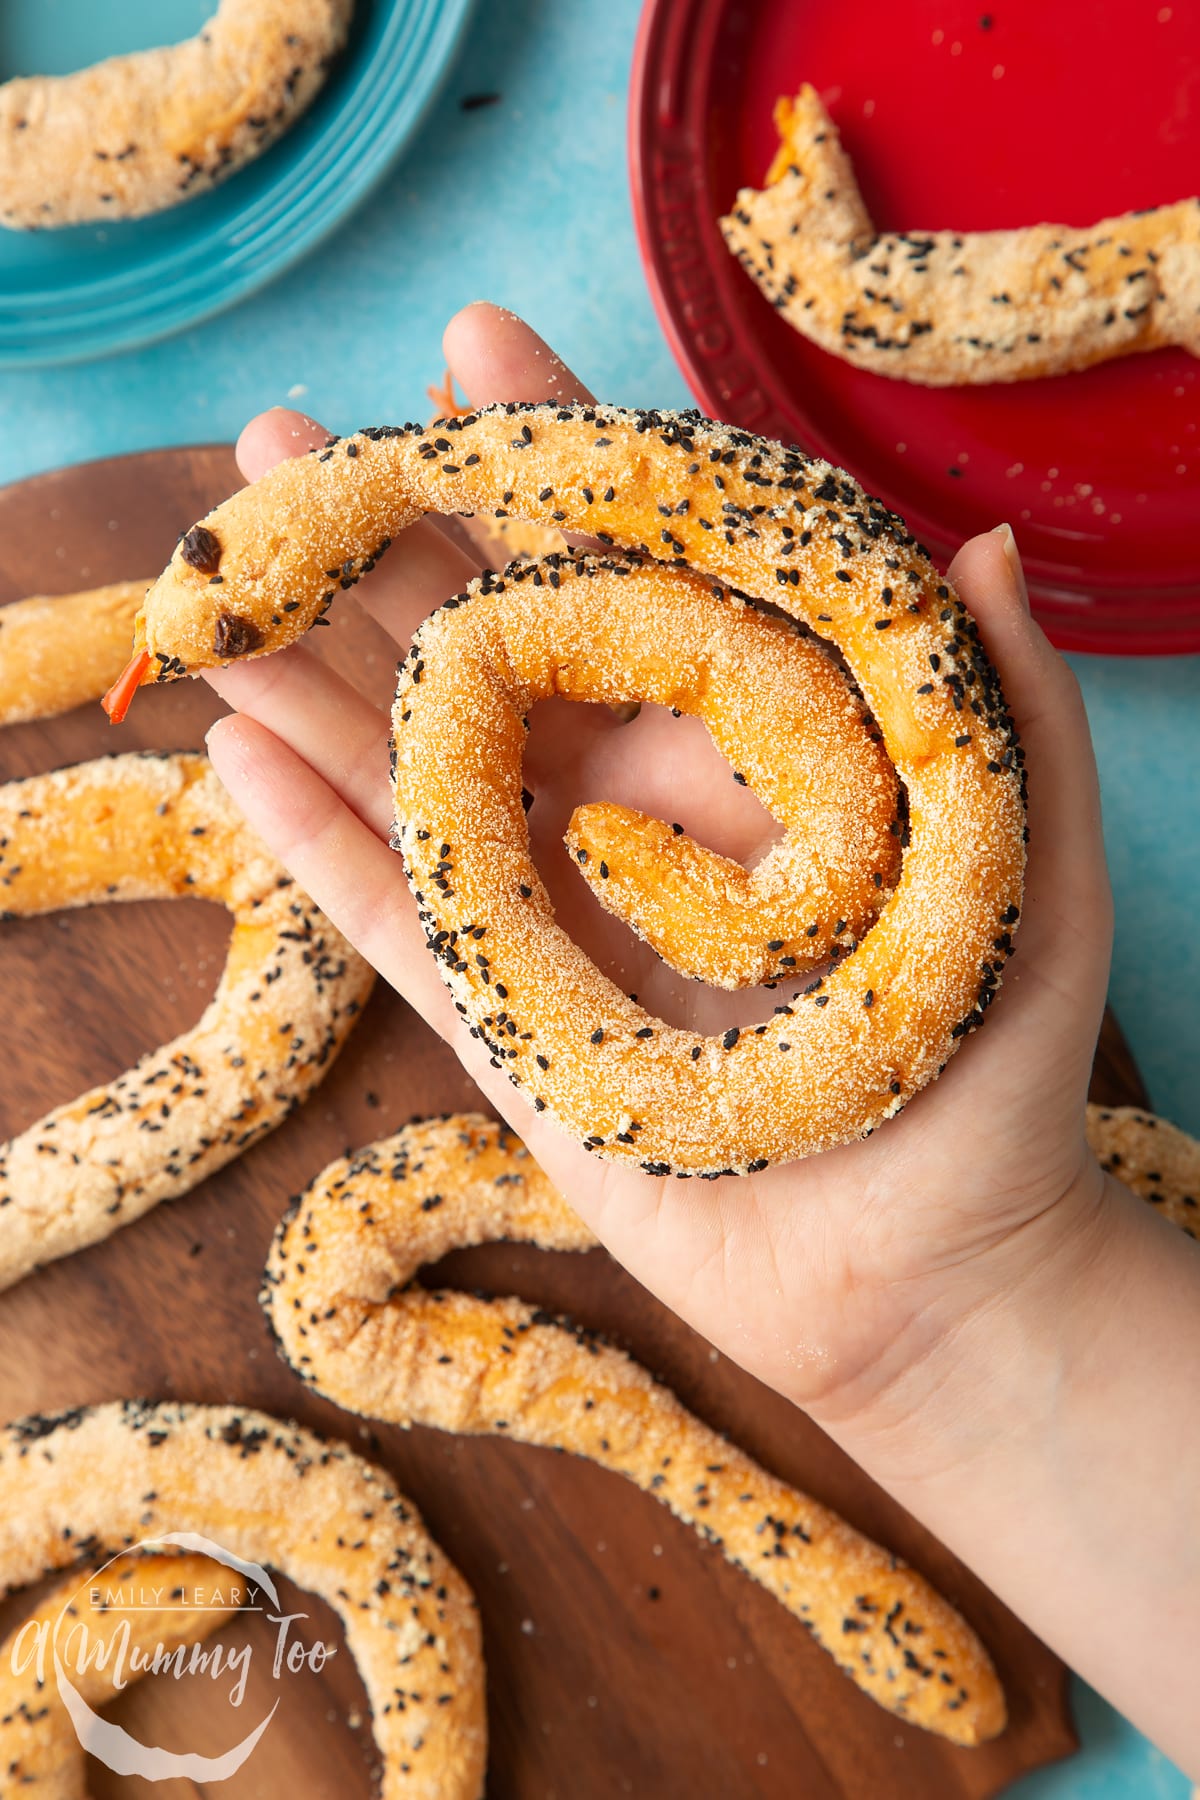
Gently flavoured with paprika, these bread snakes are soft and delicious, while a light coating of polenta and seeds adds a little crunch.
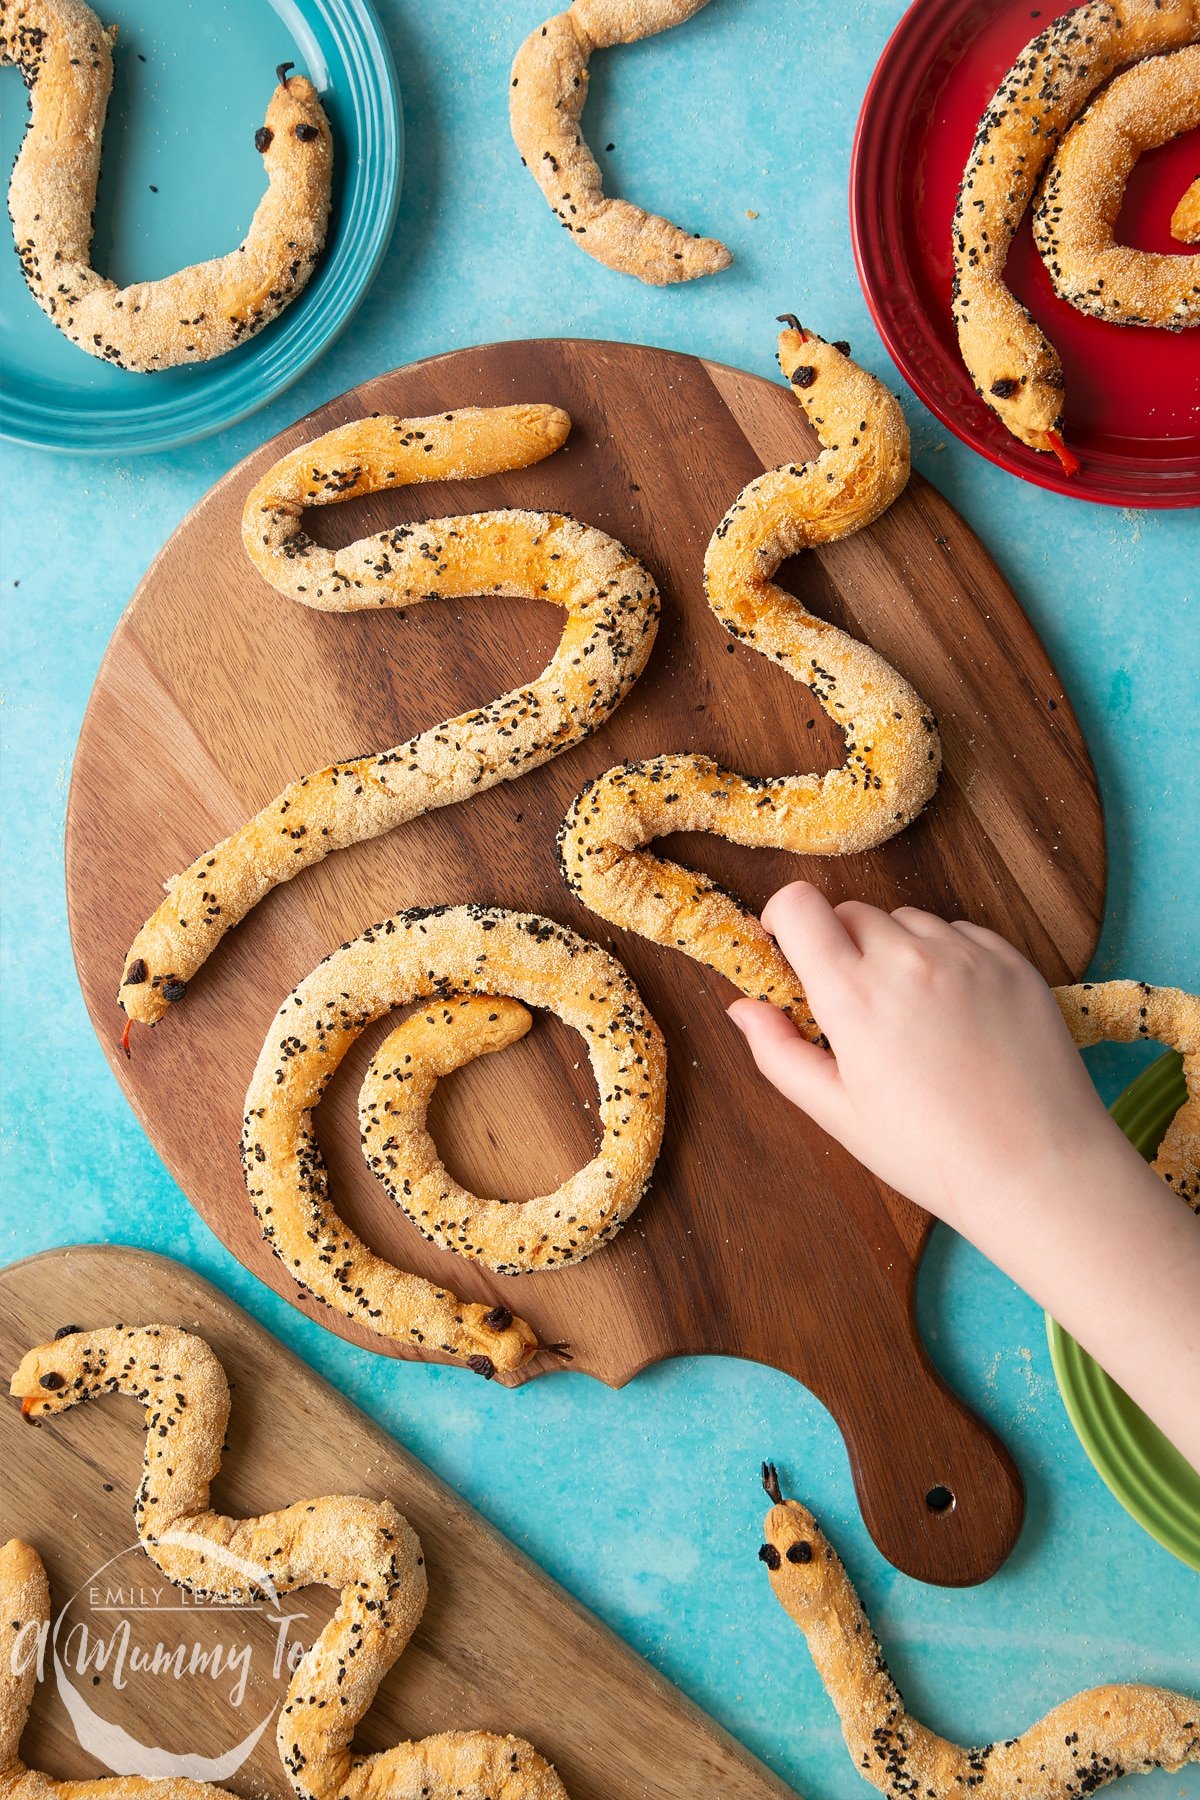
You'd never guess there's a whole carrot in the dough - it just adds a little sweetness. Plus, of course, they're ssssssssuper fun as they look like long, wiggly snakes. This makes them really enjoyable to make and hilarious fun to eat.
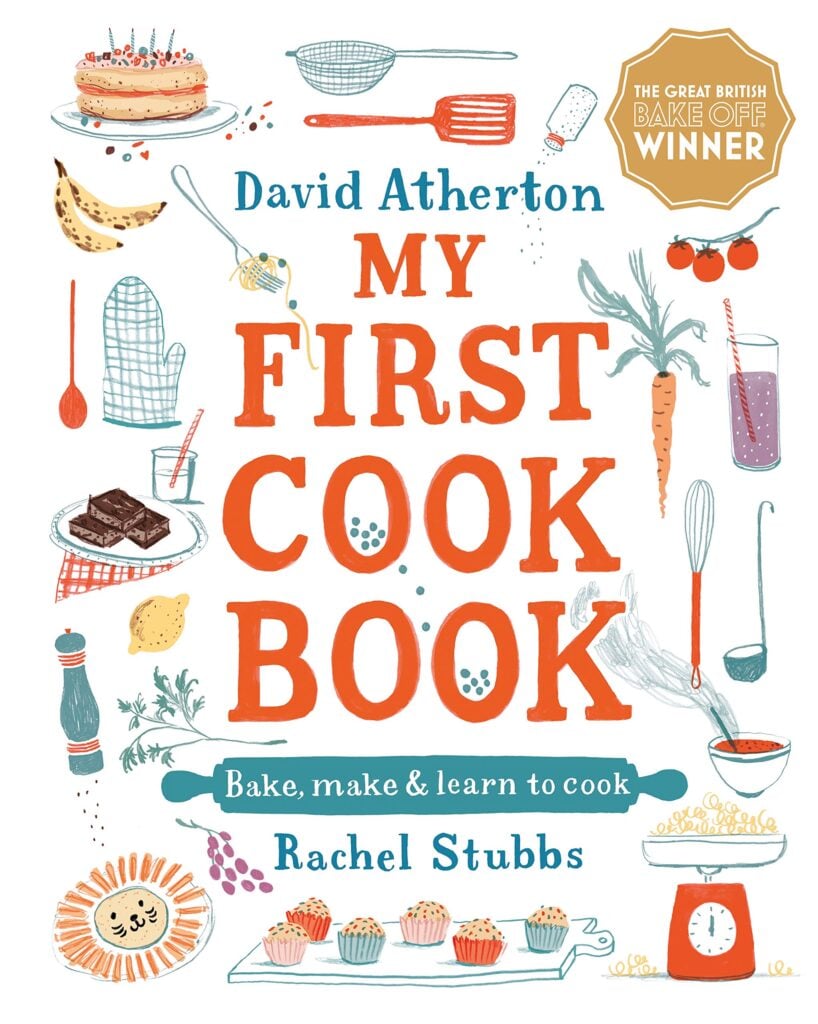
We had a brilliant time making these slithery snaky breadsticks. The recipe is from Great British Bake Off 2019 Winner, David Atherton's debut cookbook, My First Cook Book, which is beautifully illustrated by Rachel Stubbs.
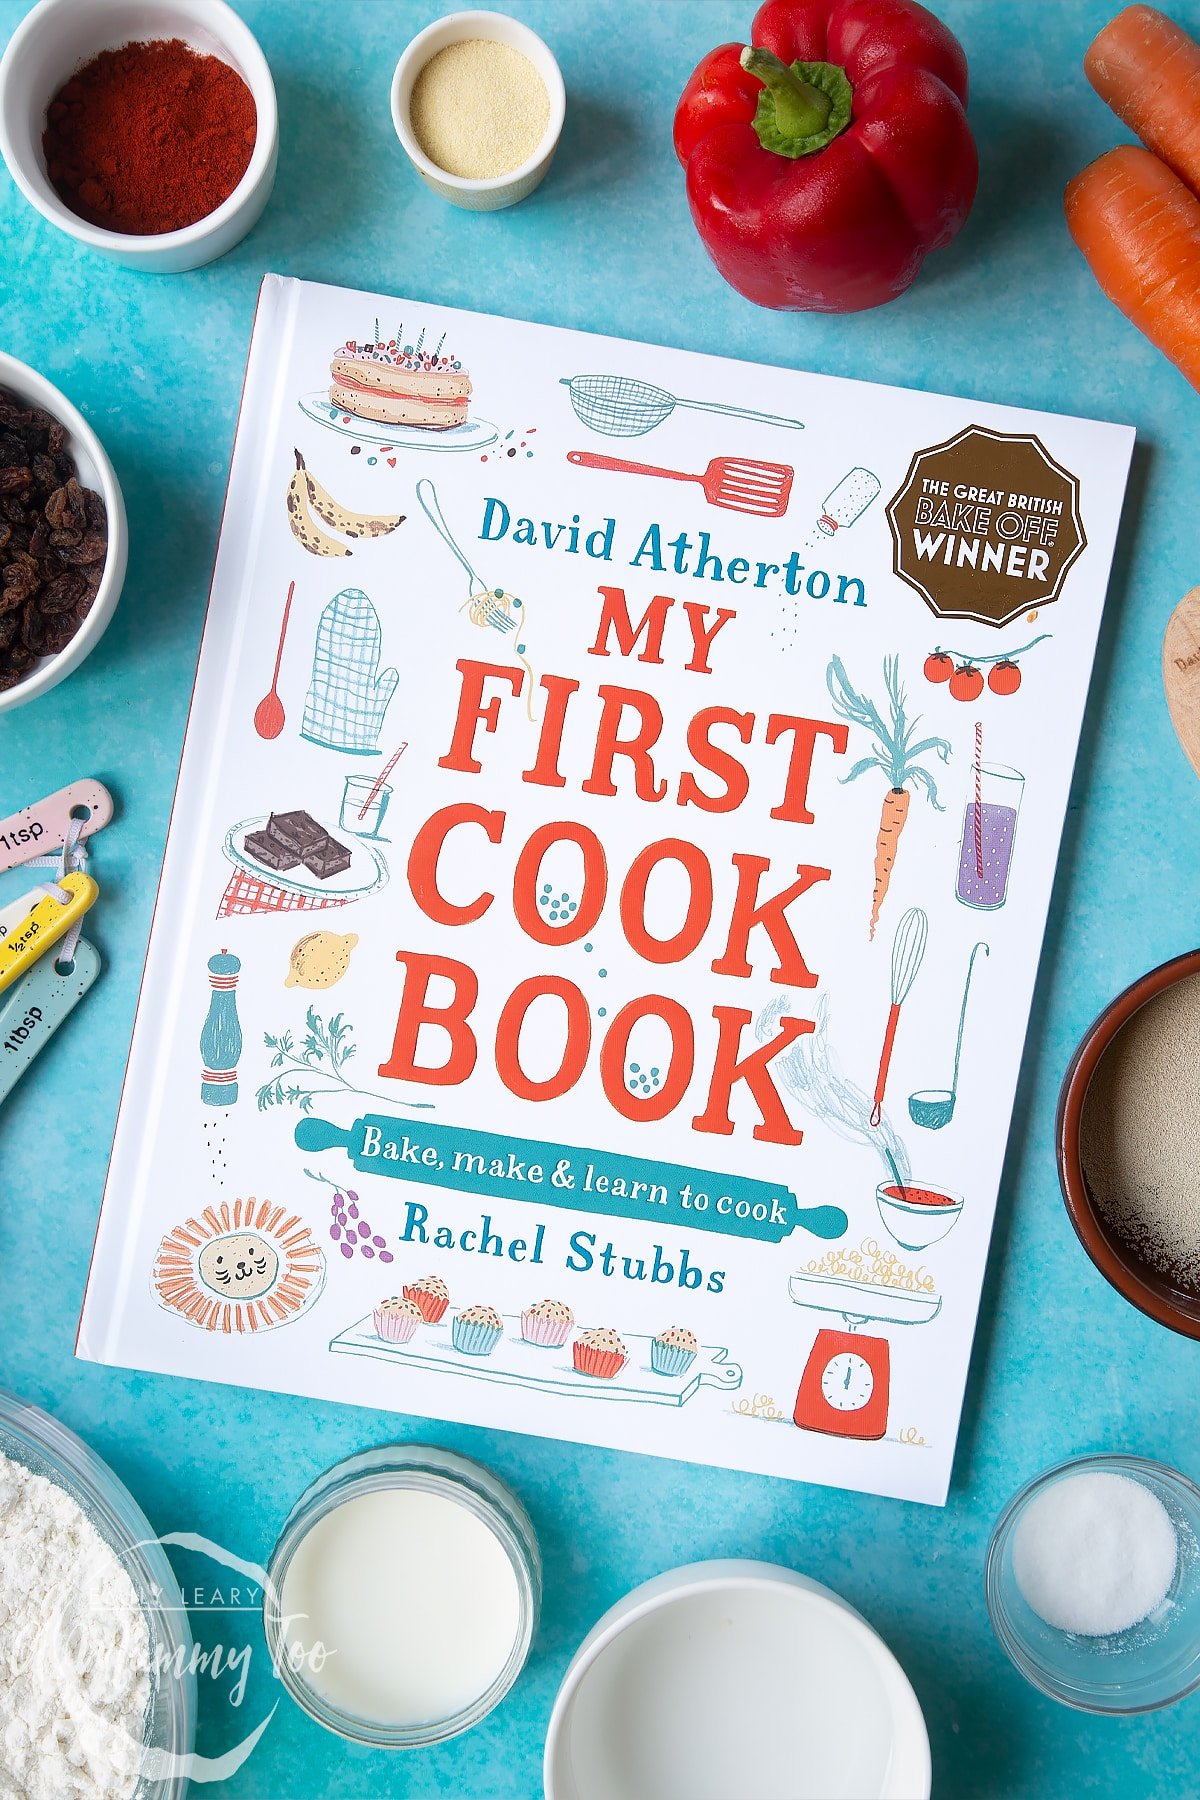
As the title suggests, My First Cookbook is aimed at getting children into the kitchen and it does this in a variety of clever, creative ways. I chatted to David and Rachel about the book, its aims and how the style came together.

"I loved my first cook book. I remember taking turns with my twin brother to pick a recipe, and my mum was always on hand to help us. For my family, food wasn't a chore, it was a time to explore and have fun together. It also taught me valuable lessons about creating tasty dishes for other people," says David.
My First Cook Book is a large format book, measuring 26cm x 32 cm (10 by 13 inches) and contains 43 recipes. Each recipe given a generous 2-page spread, meaning it’s easy to follow, even if there are several little cooks involved.
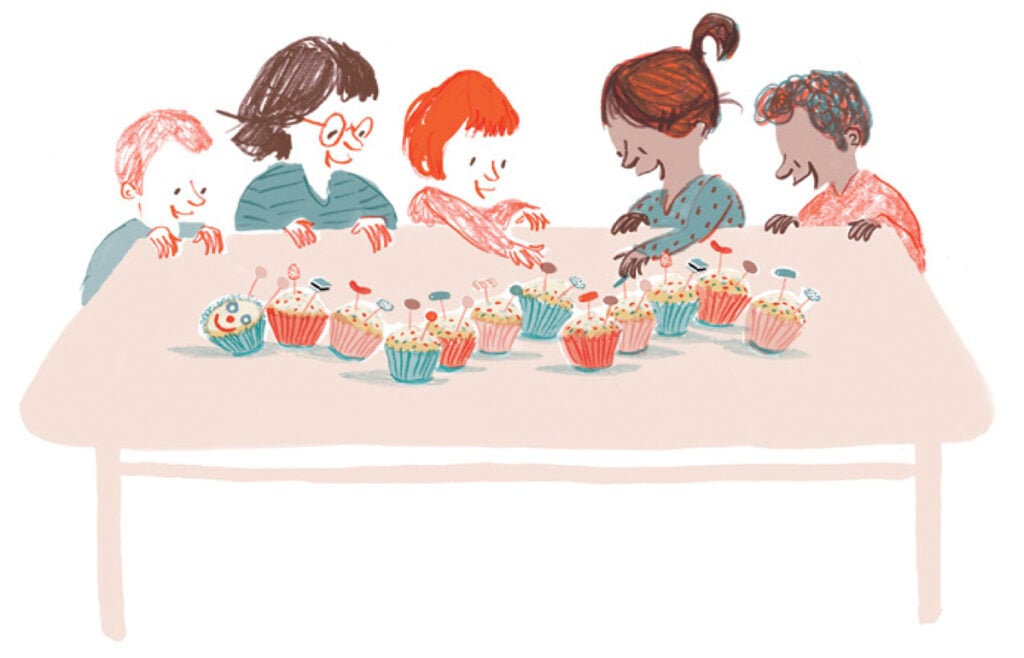
Rather than featuring a photograph of the finished dish, each double page spread features illustrations of each recipe as well as a range of families enjoying the treats together. It’s like a little visual story on every page.
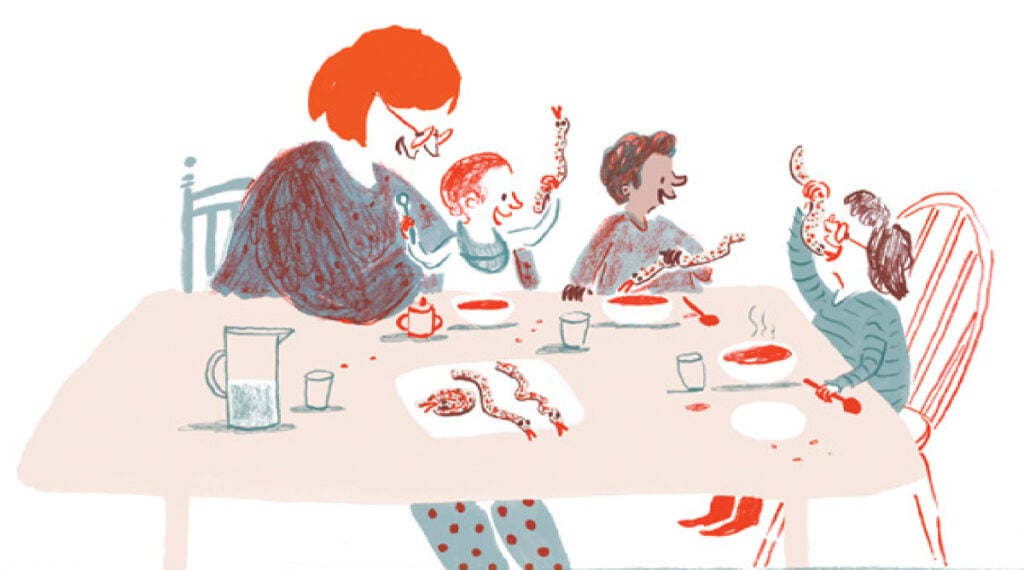
Rachel adds, “We were keen to have lots of characters and families cooking together. There are ten children and their families featured and they reoccur throughout the book.”
Noting the inclusive nature of the illustrations, David explains, "I already knew Rachel's work well and knew that kids she draws aren't necessarily gendered, which is great. I work a lot with LGBTQIA+ charities and I wanted kids to feel they could see themselves in the illustrations, not just boys playing with trucks and girls in frilly dresses."

I asked David how the decision to have illustrations rather than photos came about.
"I definitely wanted to do the book with an illustrator because while I love beautiful photos of perfectly styled food, I think sometimes it's quite tough if kids look at those and then when theirs come out of the oven, they don't look like that," David explains. "So the illustrations are really good because they don't prescribe how exactly a recipe should look, it just gives you the idea and inspiration."
Another benefit of the large format and illustrated nature of My First Cook Book is that every step of every recipe includes a detailed visual guide. This is rather rare in cookbook publishing, partly due to space and partly due to the time and complexity involved in producing that much food photography. For kids just starting out on their baking journey, these illustrations are incredibly helpful.
The recipes in My First Cook Book are themselves a little break from the norm, too. There are, of course, several kids’ cookbooks already on the market, and so coming up with a concept that brings something new to this area is no mean feat.
But as well as creating a beautifully illustrated adventure through cooking, David has also created a set of recipes that are appealing to young children and yet quite probably different from anything they or their parents have ever made before.
For example, there’s a portion of fruit and/or veg in almost every recipe, even the sweet ones. We’re talking spinach in the cupcakes, sweet potato in the brownies and avocado in the birthday cake.
David explains, “I didn't want the whole book to be a gimmick with everything a bit over the top, but at the same time, it needs to be bit different because it's all about getting kids in the kitchen having fun."
"I was a very fussy kid and the way my mum got me to try food was to get me cooking with it. I didn't want to eat spinach, but if I made something with spinach in it, then I would try it, because I'd made it.”.
No wonder, then, that the bread we made this week contains a sneaky portion of carrot!
Introducing the snaky breadsticks, David says, "I love making bread because you can bash it around with your hands. It can be tricky to roll out, but don’t rush, and eventually you’ll get a lovely long (and a little scary looking) snake.
"Remember that they will rise in the oven, so you need to make them very thin, but you can twist them into any shape you want. I like to make breadsticks swim in some soup before I bite the head off."
And these little bread snakes aren't all looks; they taste wonderful too. Just look how gorgeously soft and fluffy they are! We ate half with lunch, the rest with dinner and we're already planning our next batch.

In the book, the recipe called for poppy seeds, but we didn't have any, so we used black onion seeds (also known as nigella seeds) instead. Very tasty!
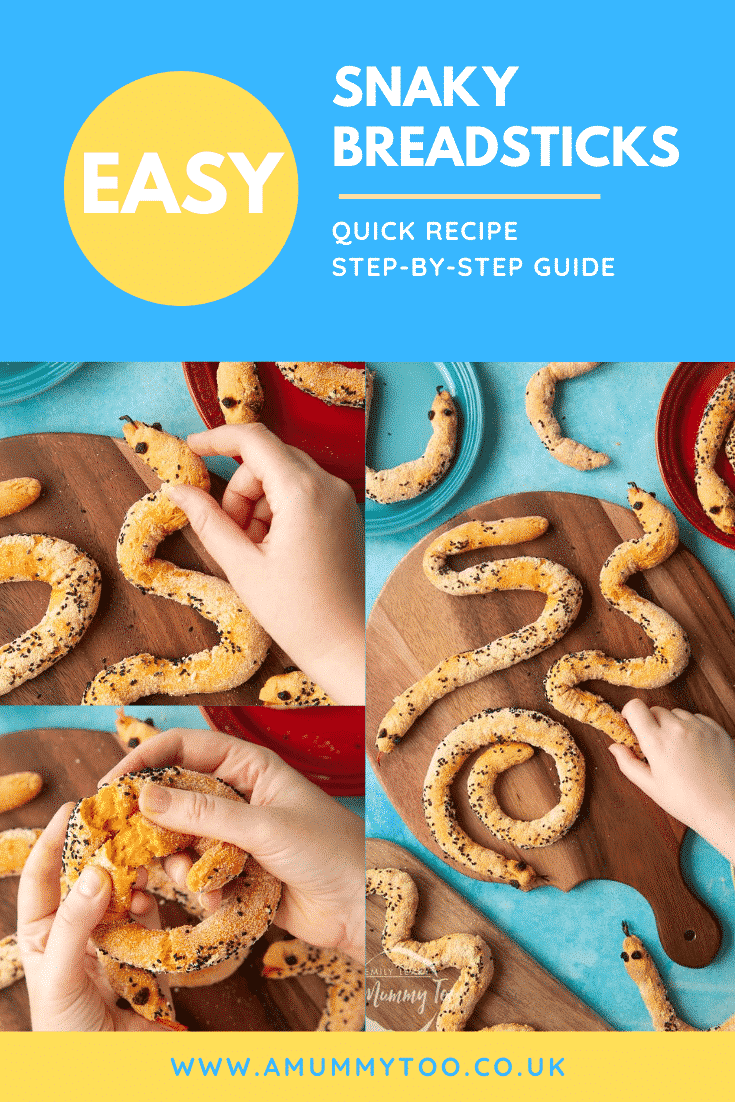
If you'd like to make these bread snakes for yourself, simply follow the recipe below!
Ingredients
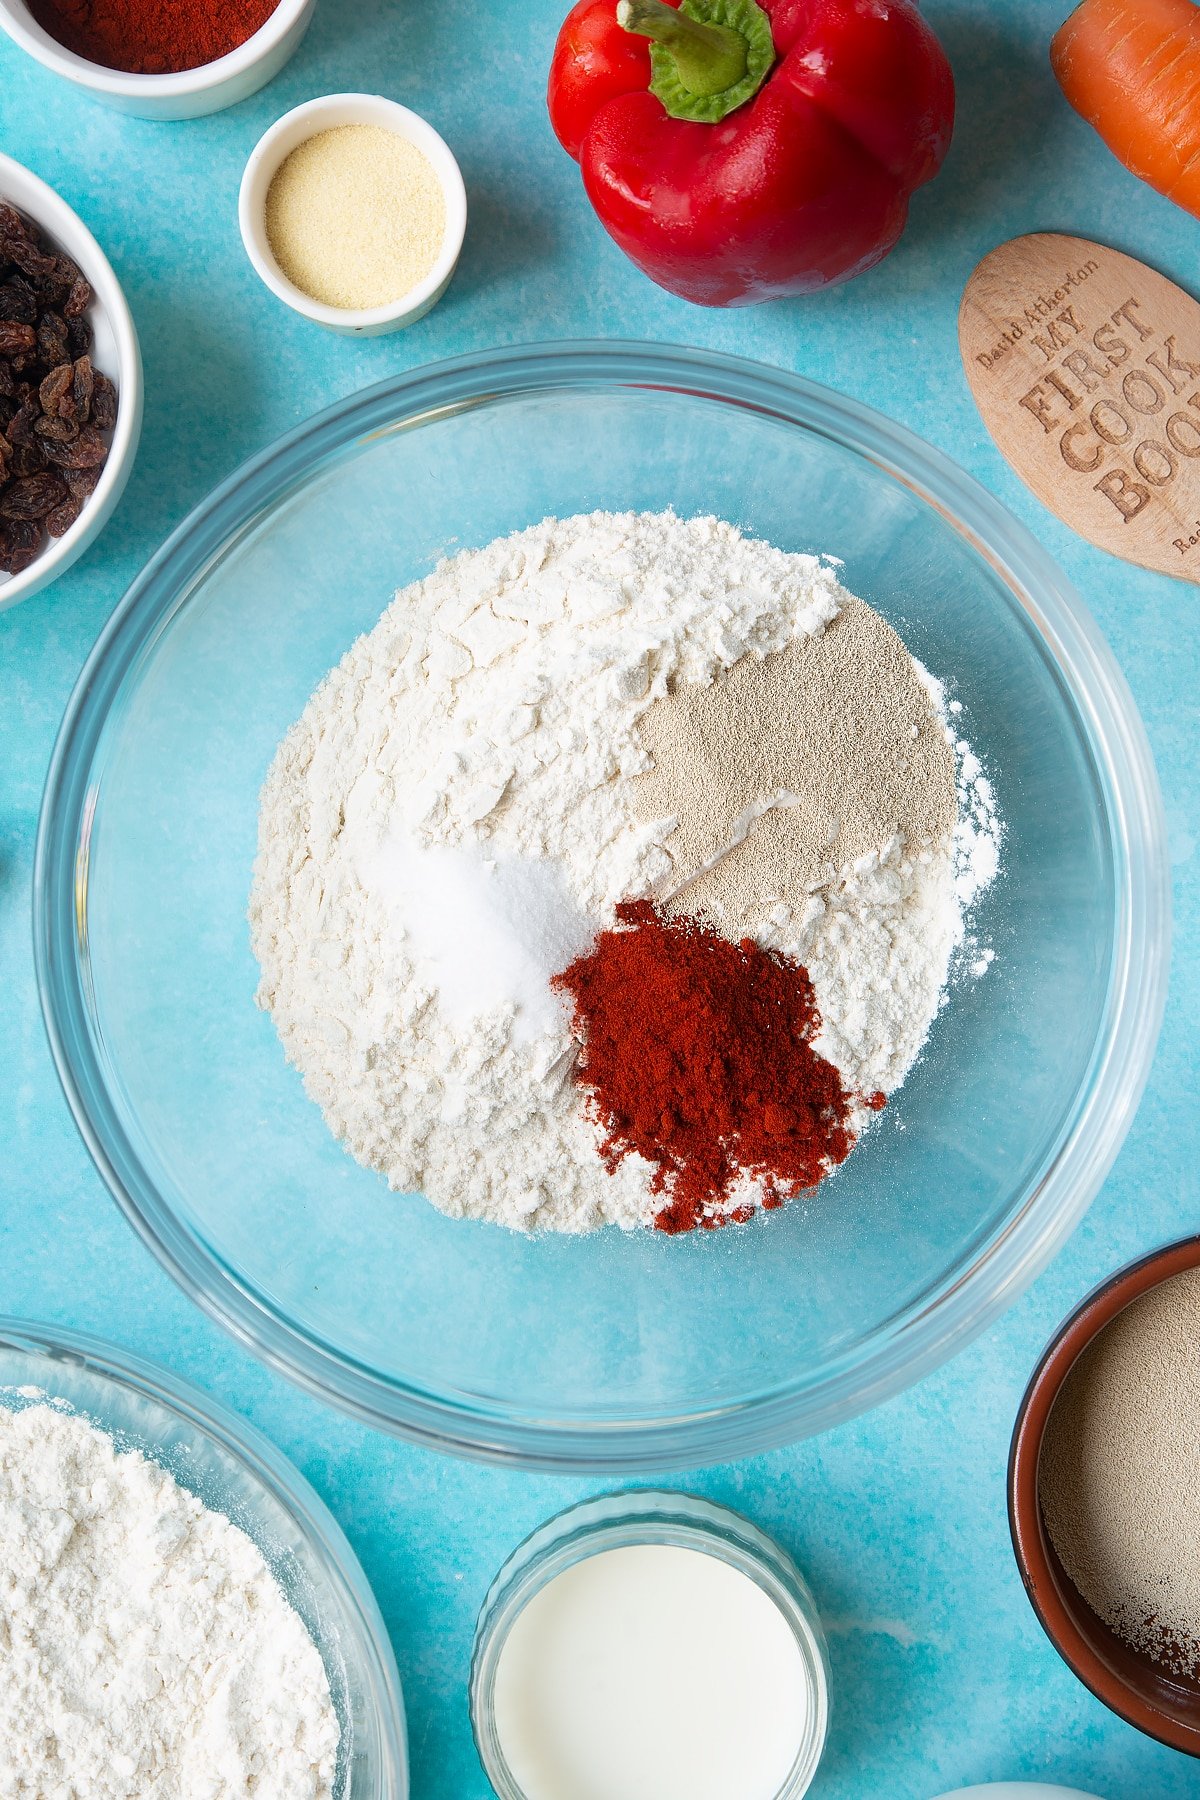
- 300 g (10.6 oz) plain white flour (all purpose flour)
- 2 tsp salt
- 2 tsp sweet paprika
- 2 tsp fast-action dried yeast
- 1 medium carrot peeled and finely grated
- 70 ml (2.4 floz) whole milk
- 100 ml (3.4 floz) warm water
- 3 tbsp coarse polenta or cornmeal
- 1 tbsp poppy seeds or nigella seeds
- 1 red bell pepper
- 16 currants or raisins, sultanas
Instructions
Preheat the oven to 180C (160C fan assisted).
Put the flour, salt, paprika and yeast in a mixing bowl.
Mix the carrot, milk and water in a jug.
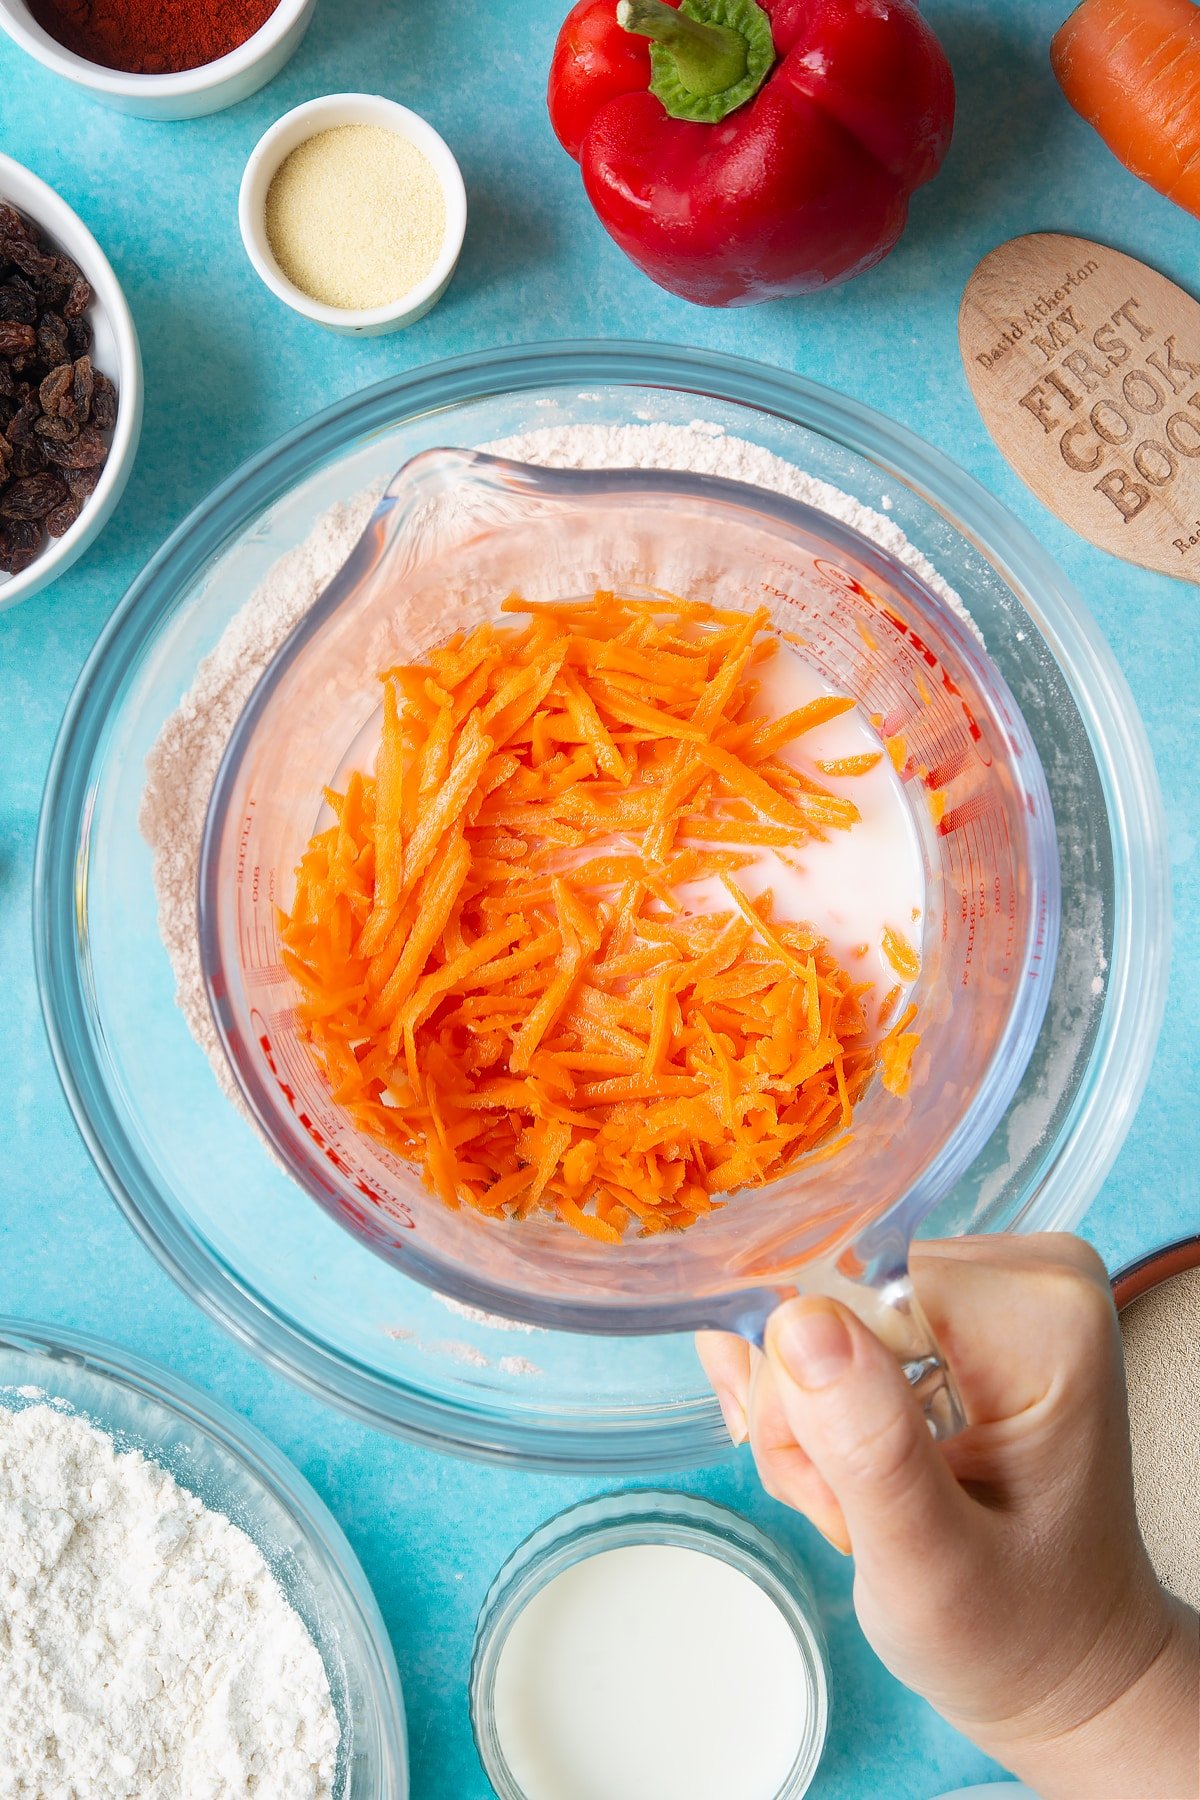
Pour the carrot mixture into the bowl.
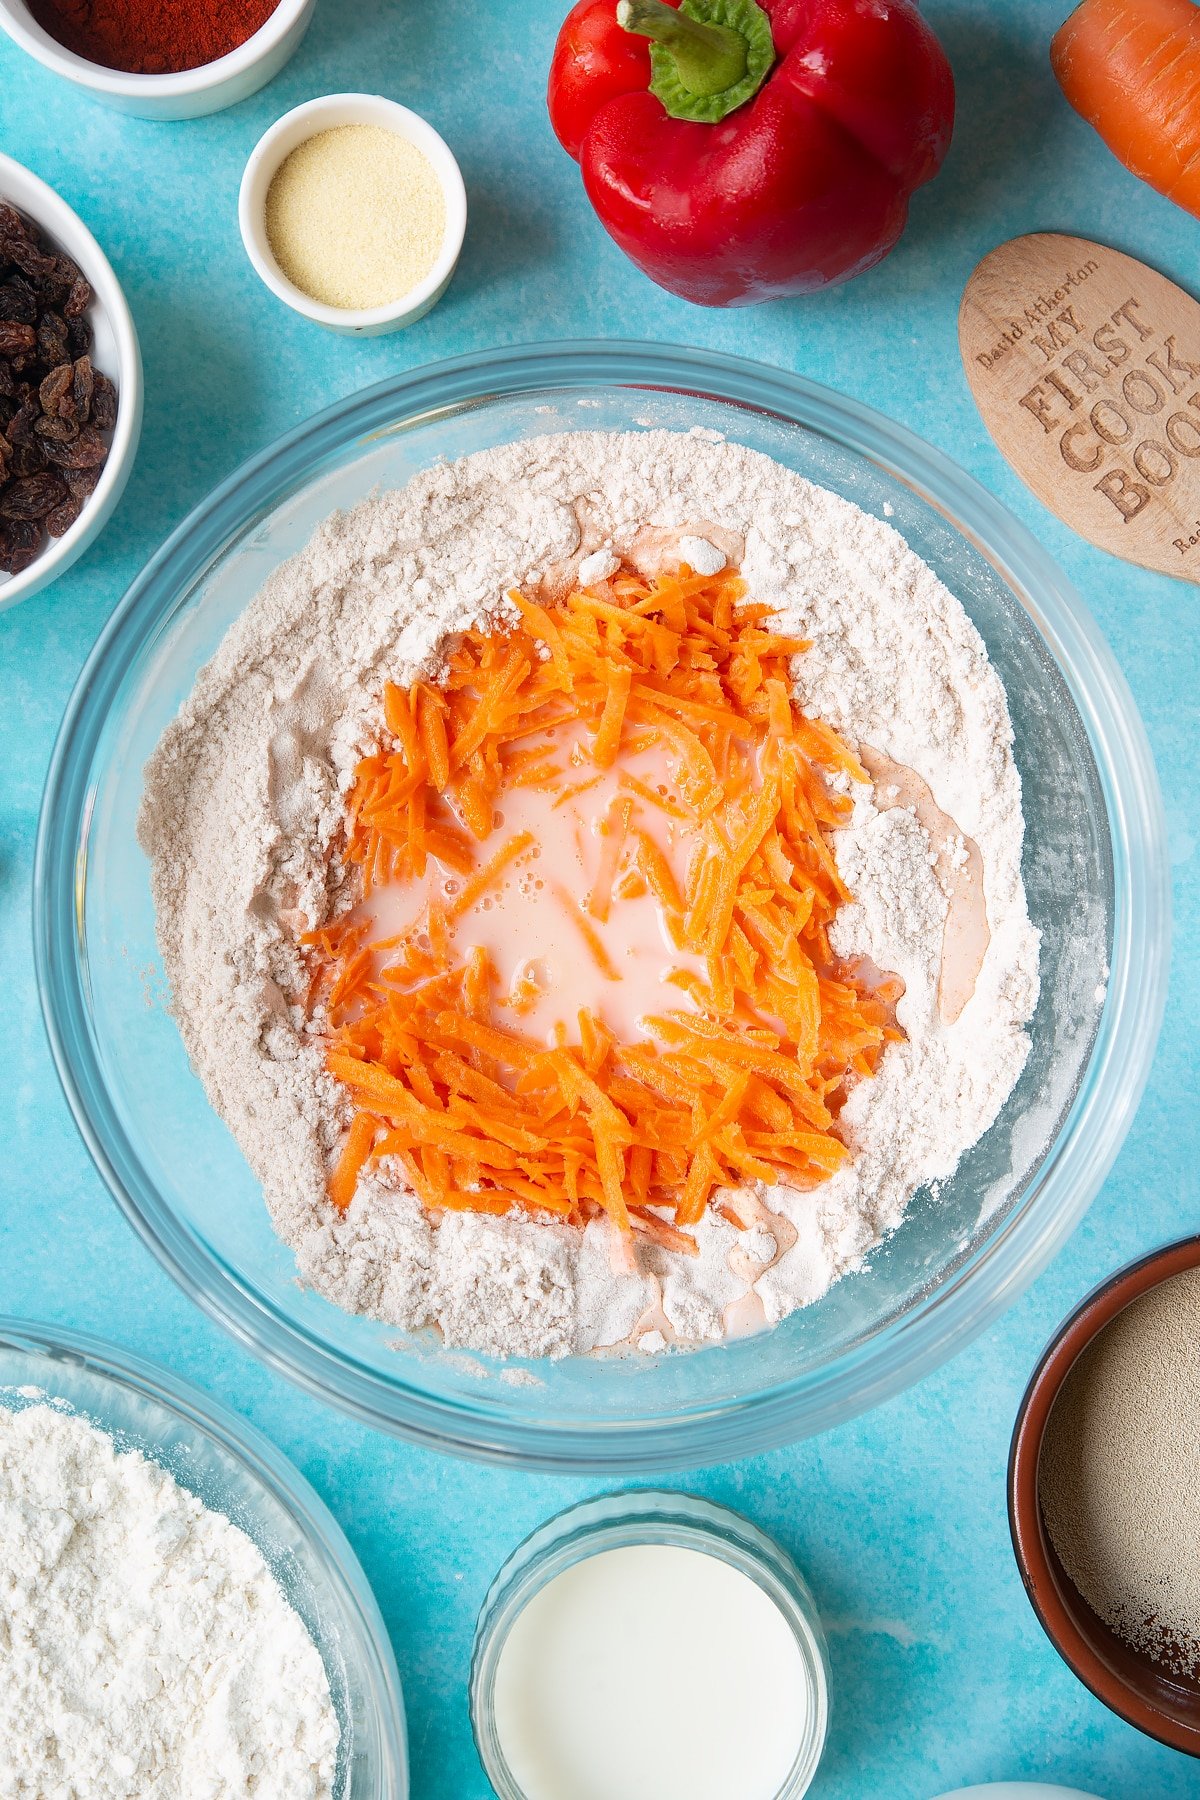
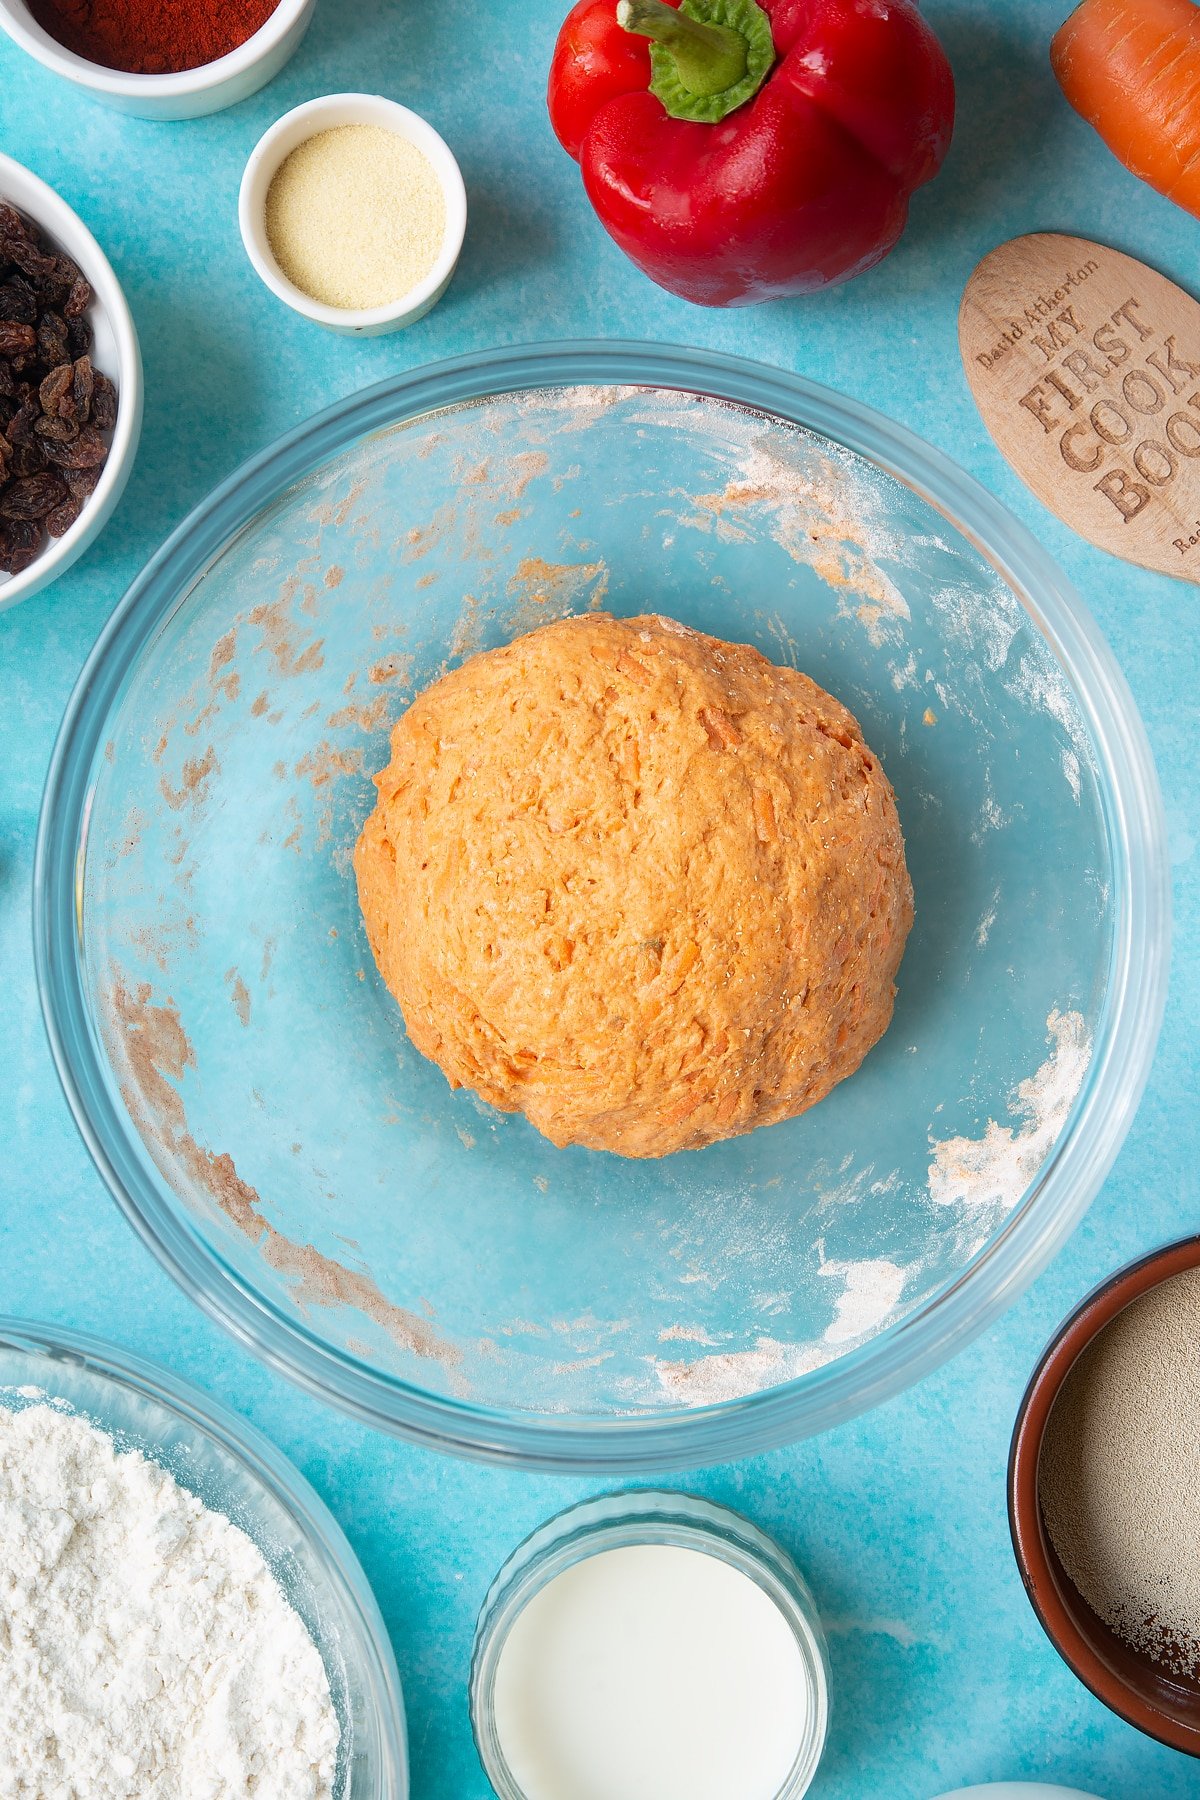
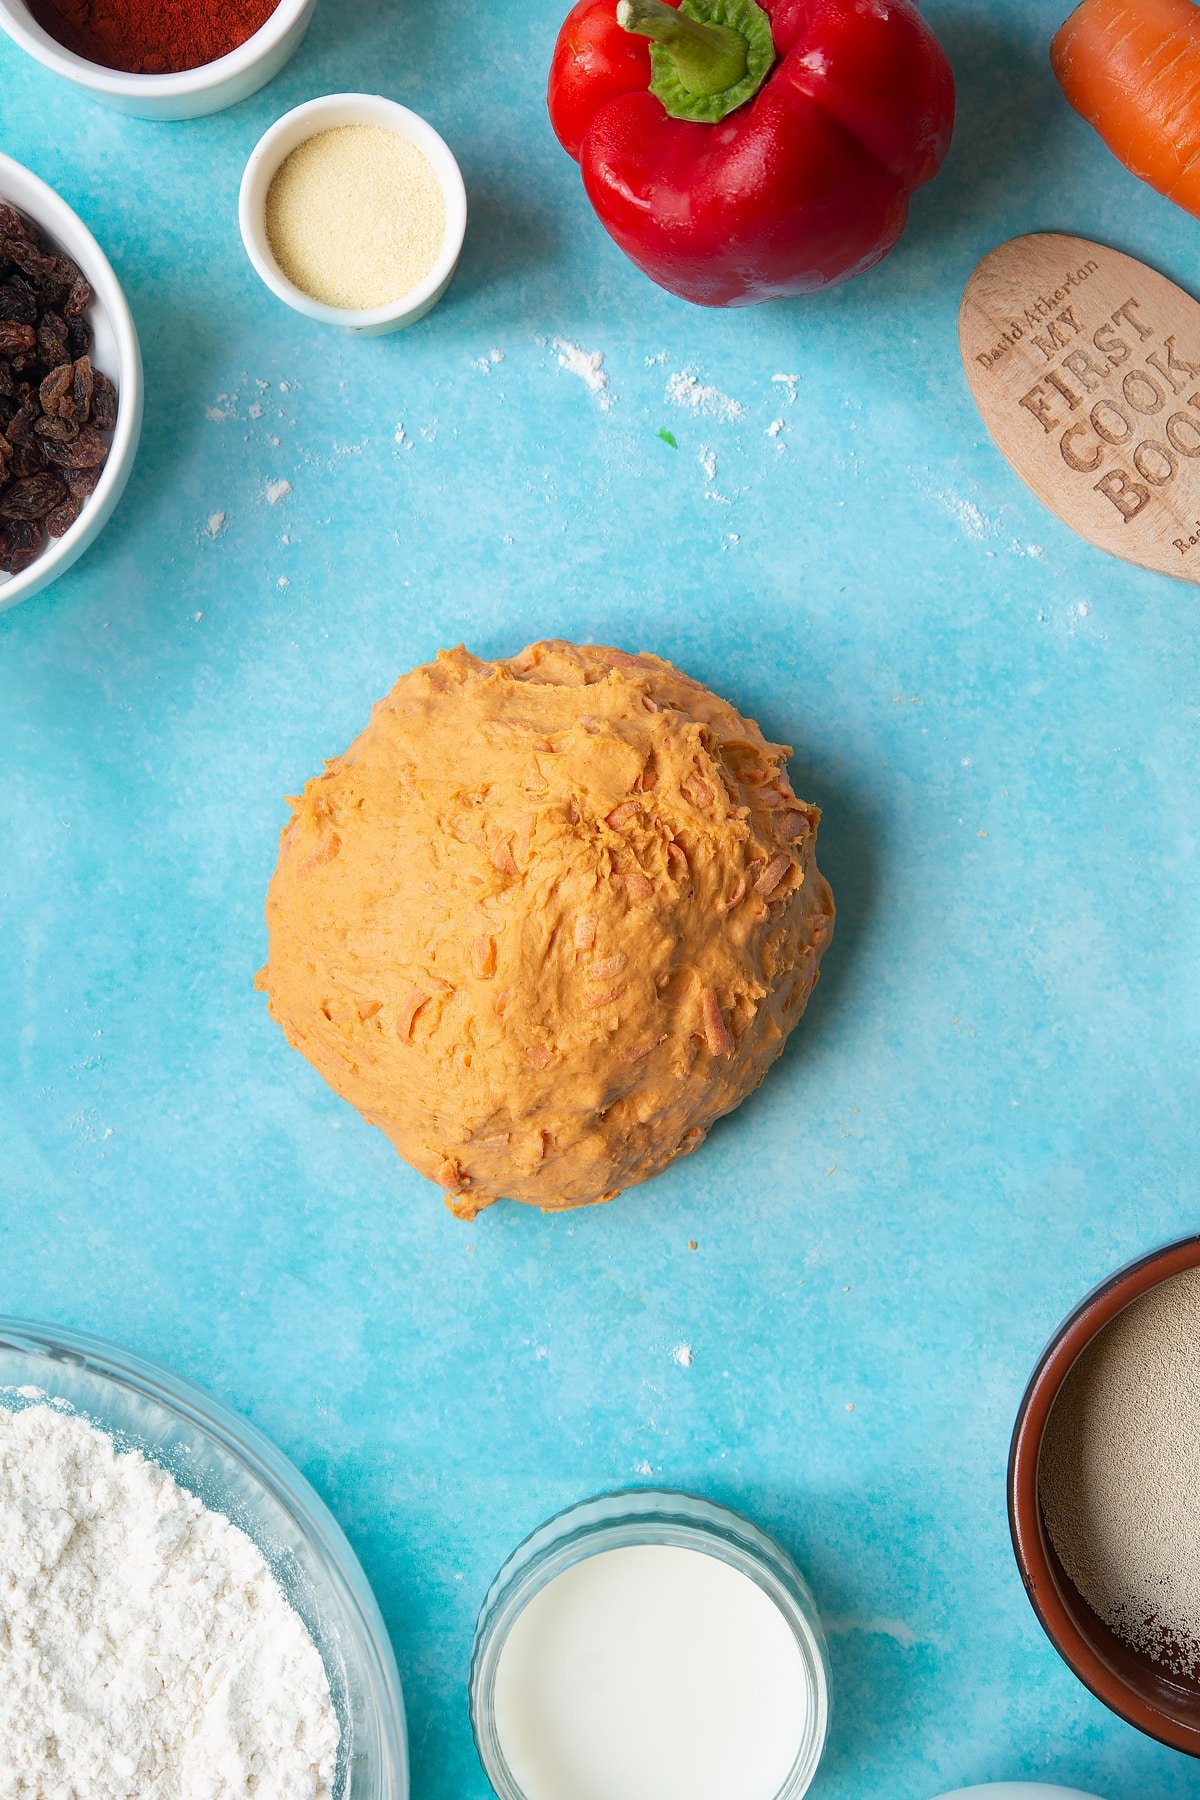
Stir until you have a sticky dough. We used our hands!
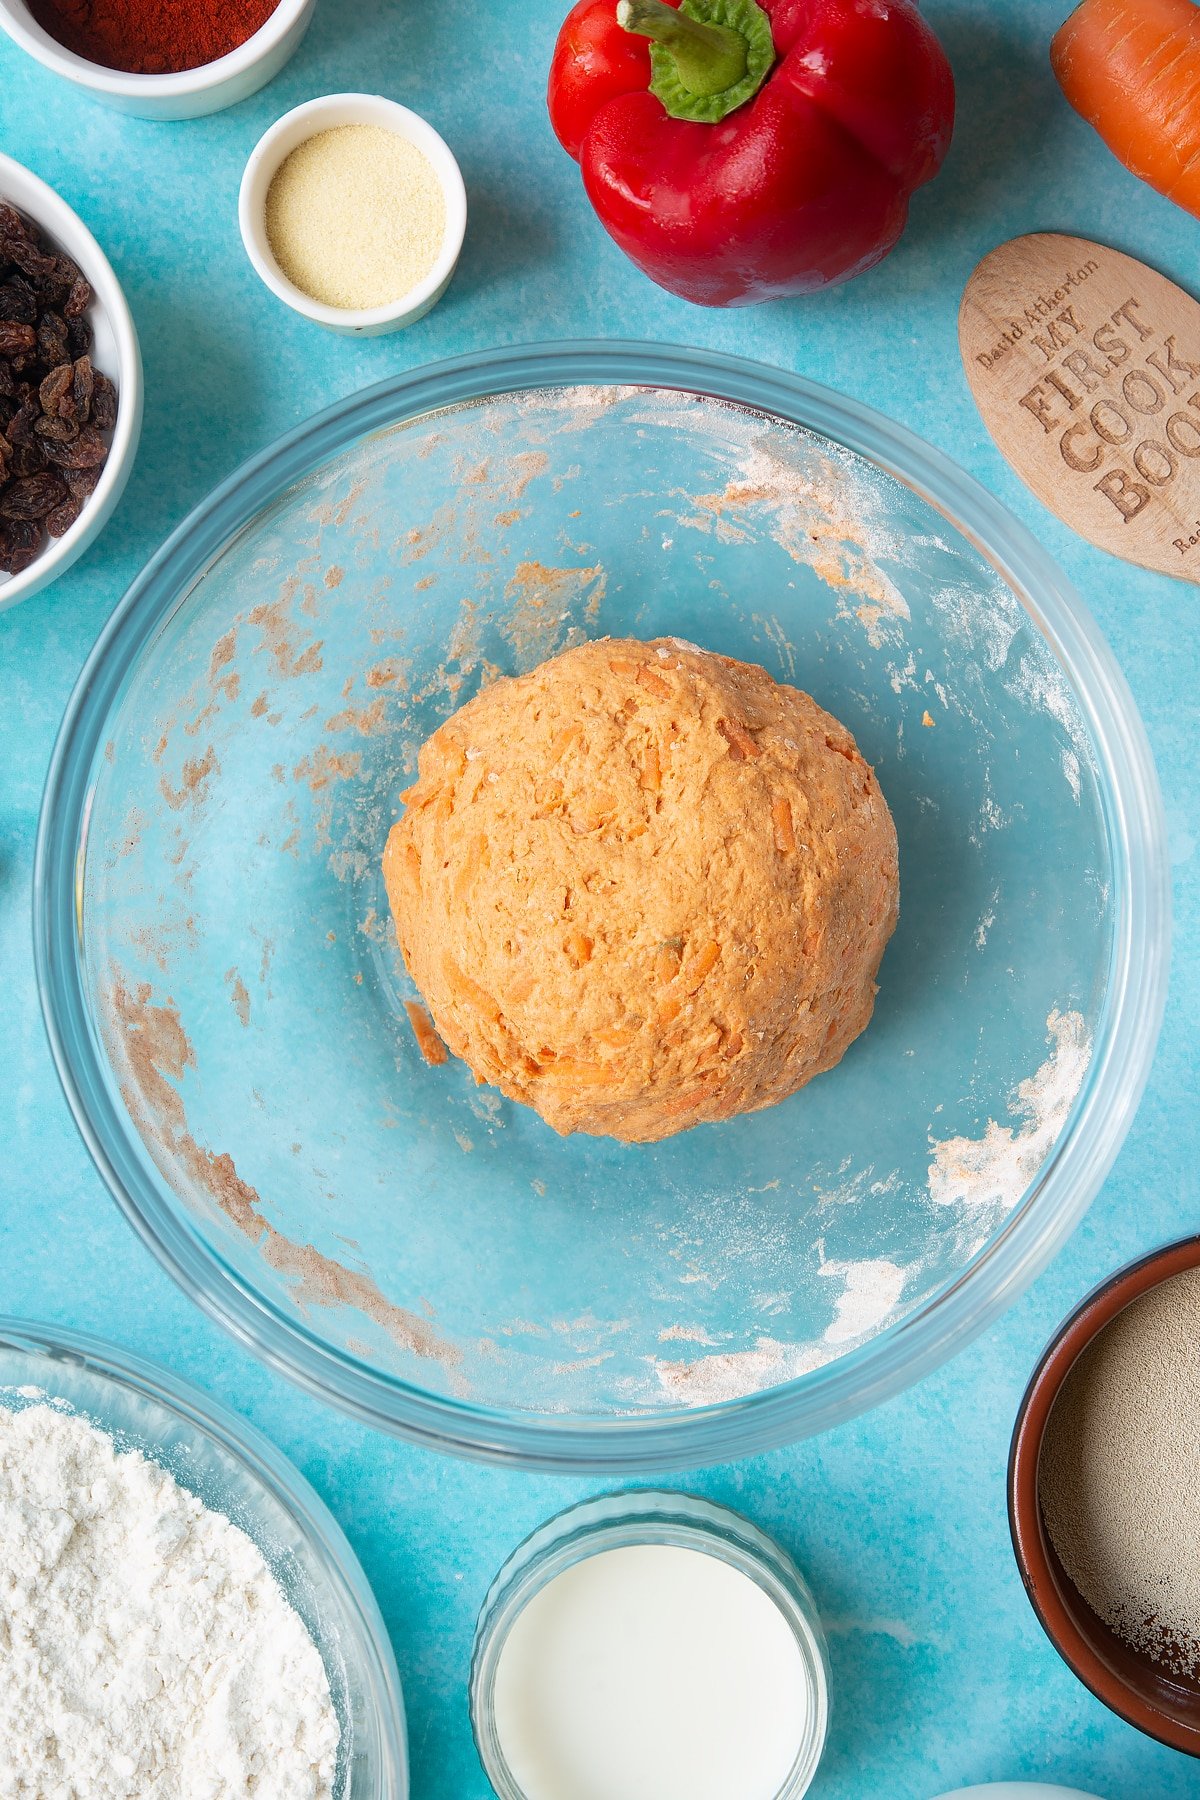
Cover with a damp cloth for 10 minutes.
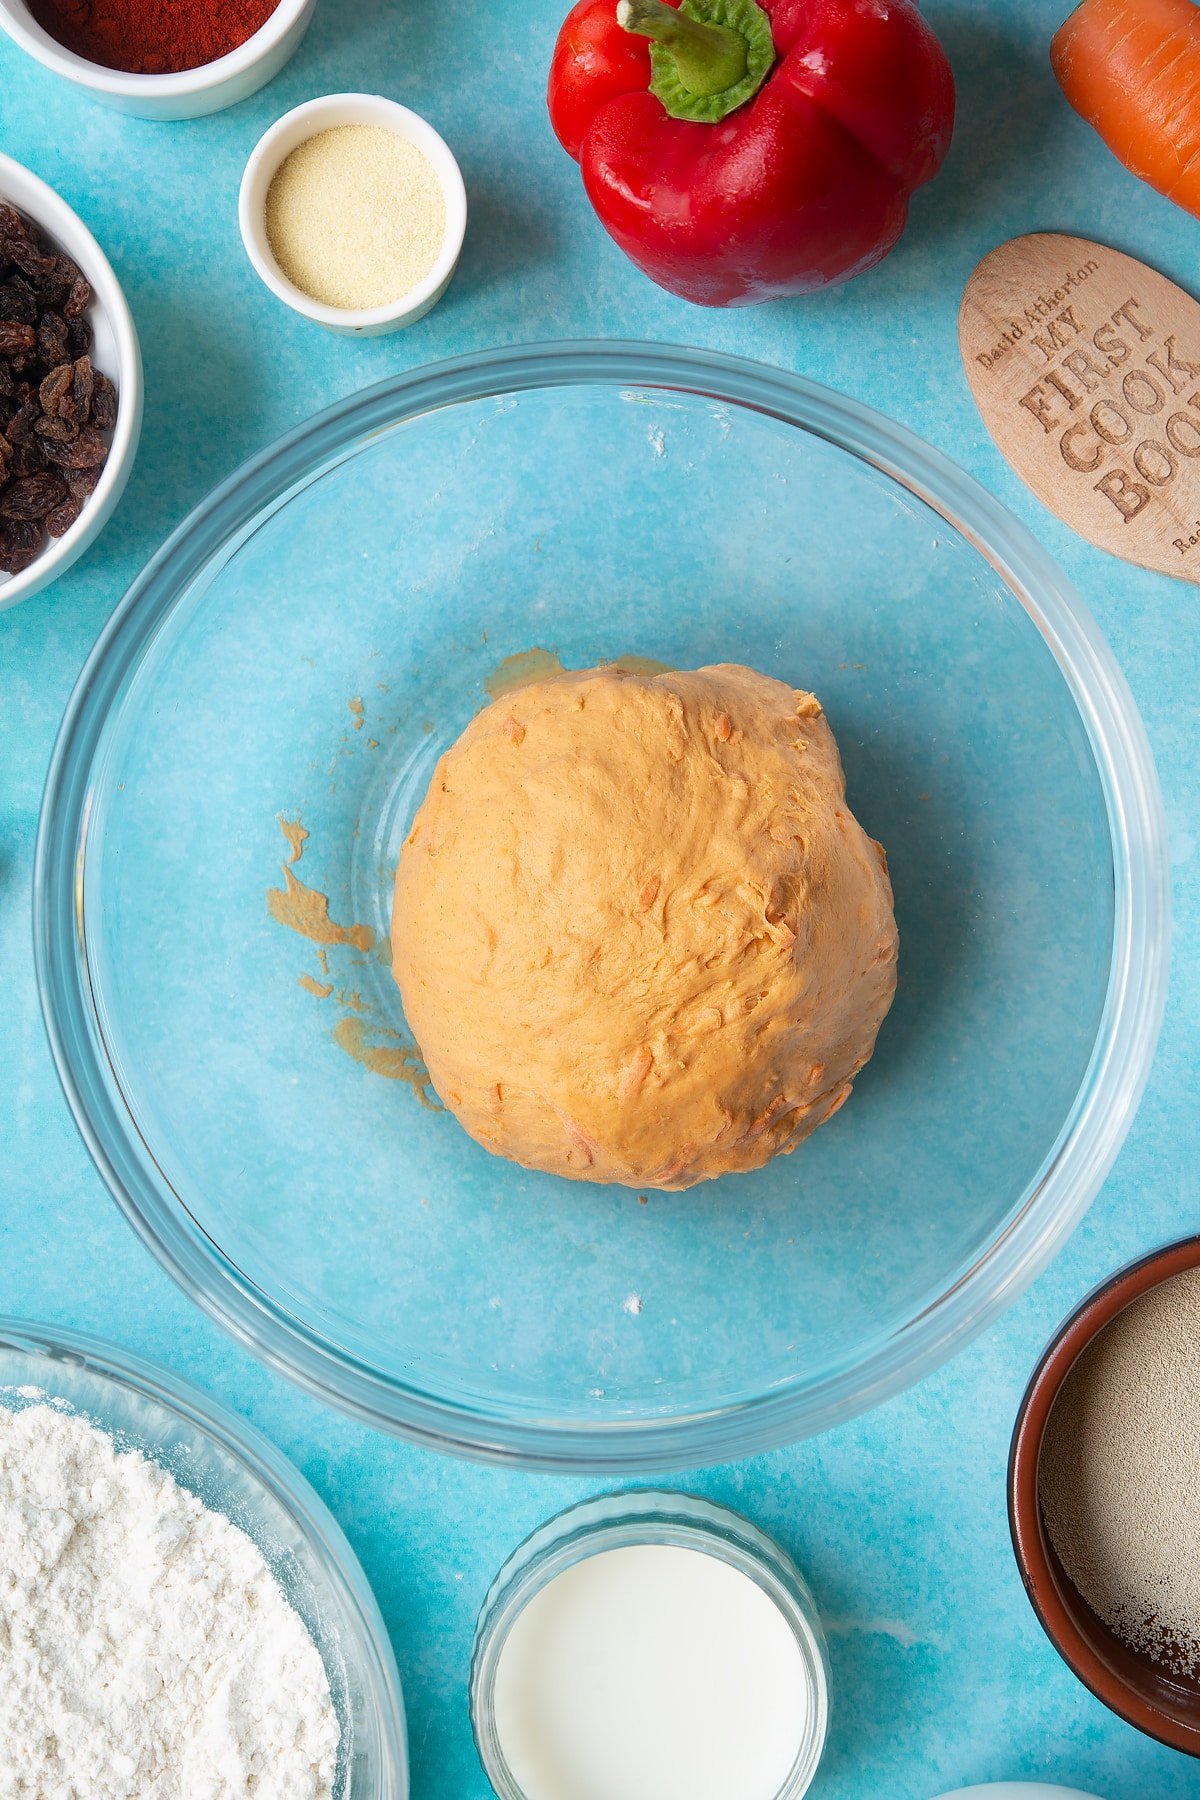
Tip the dough onto a floured surface.
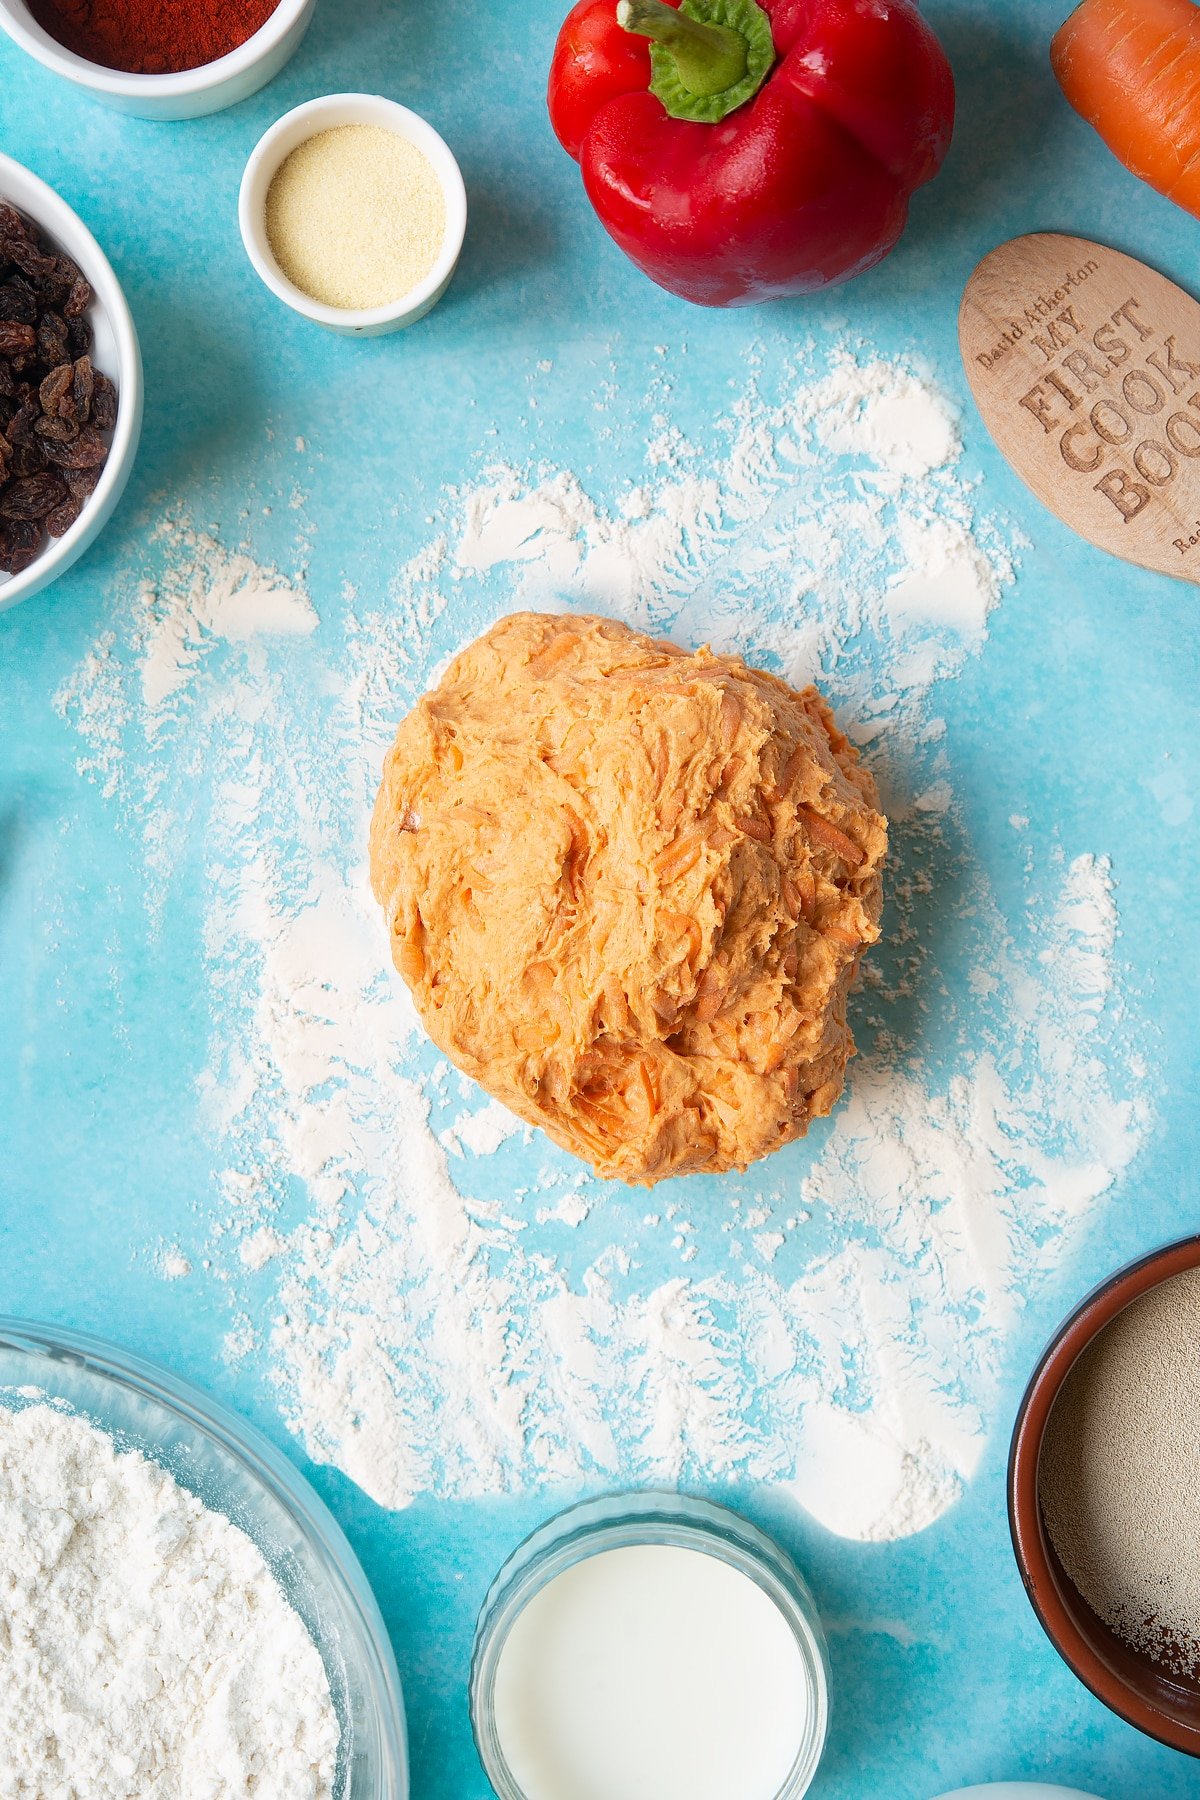
Knead for 5 minutes. (It may be sticky, but don’t add any more flour.)
Put it back in the bowl.
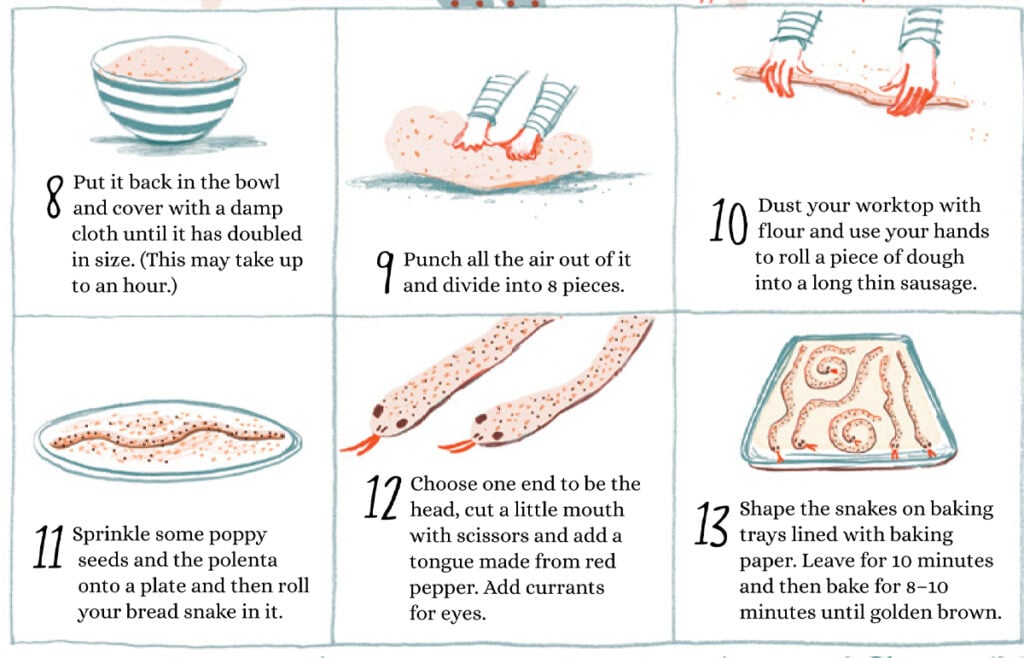
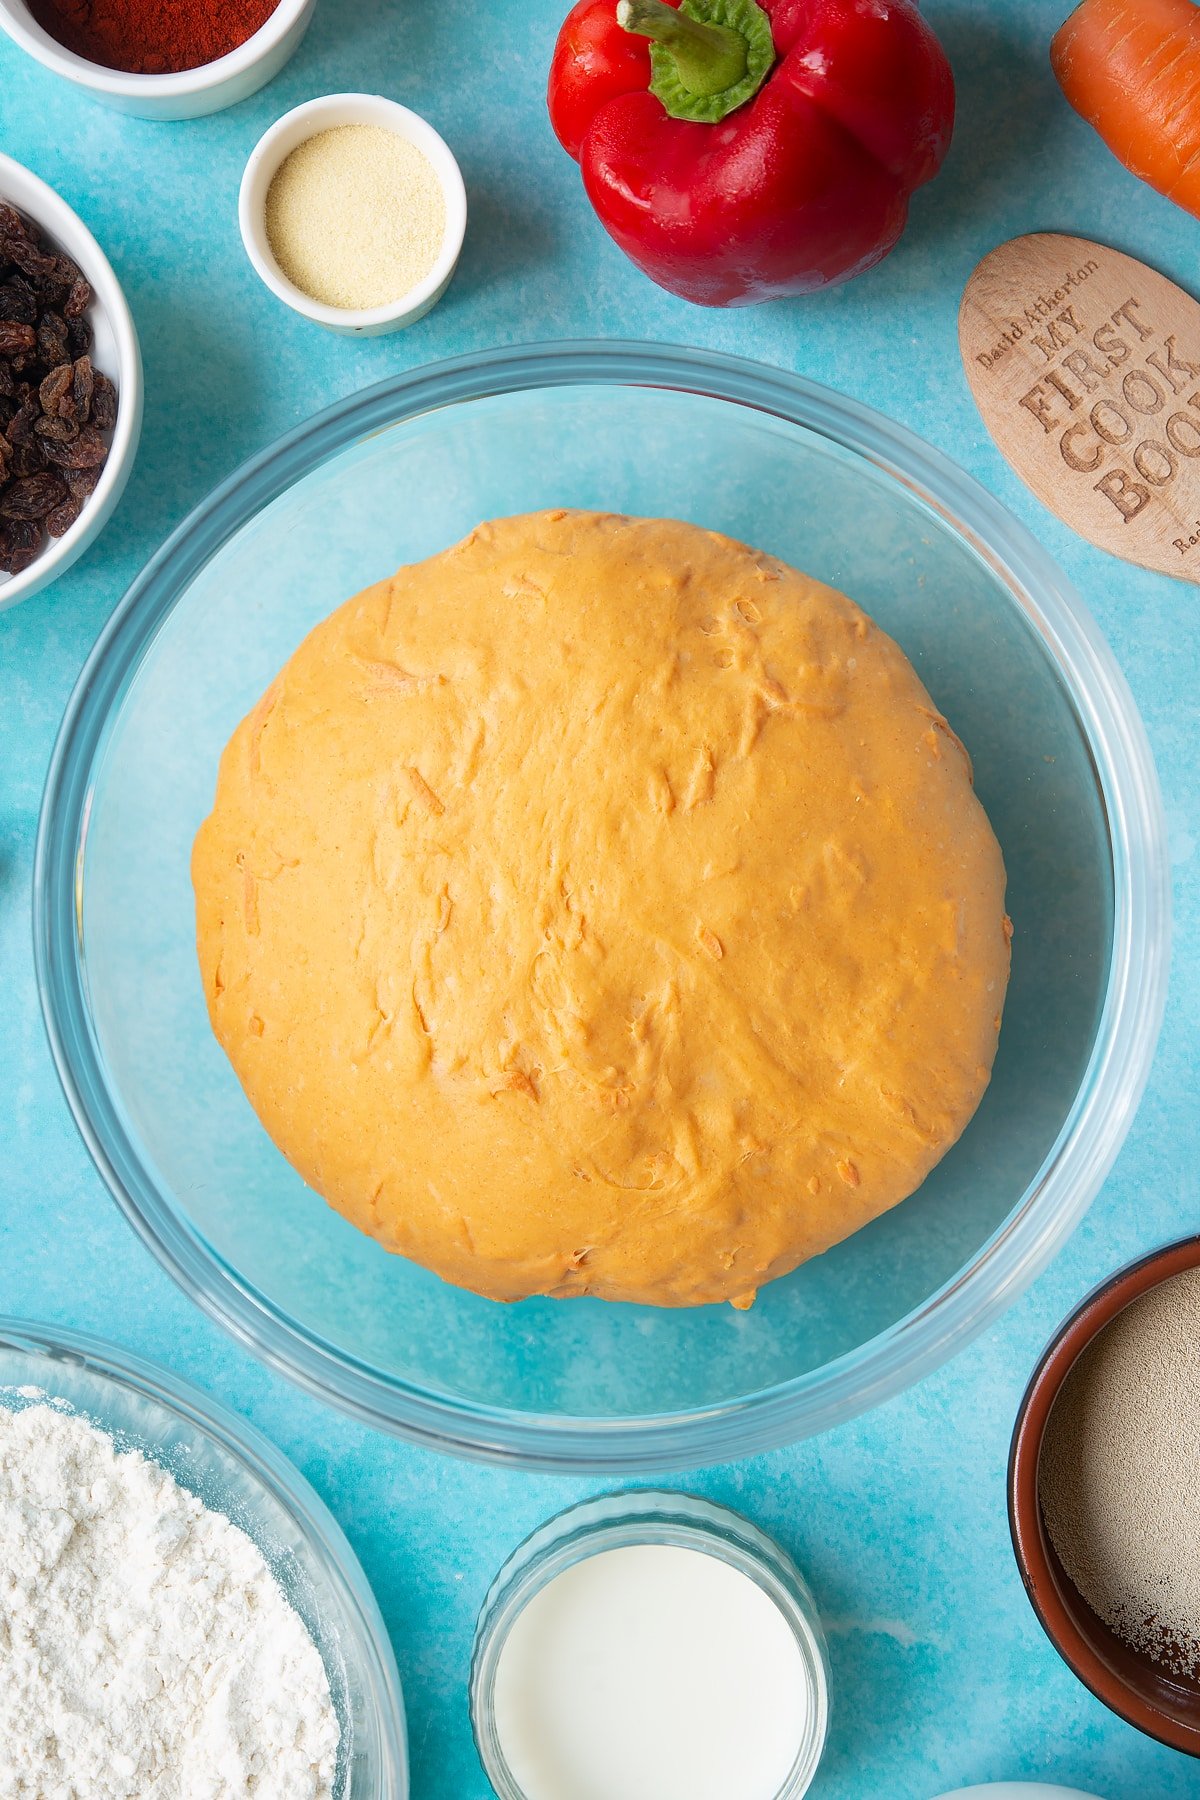
Cover with a damp cloth until it has doubled in size. (This may take up to an hour.)
Punch all the air out of it.
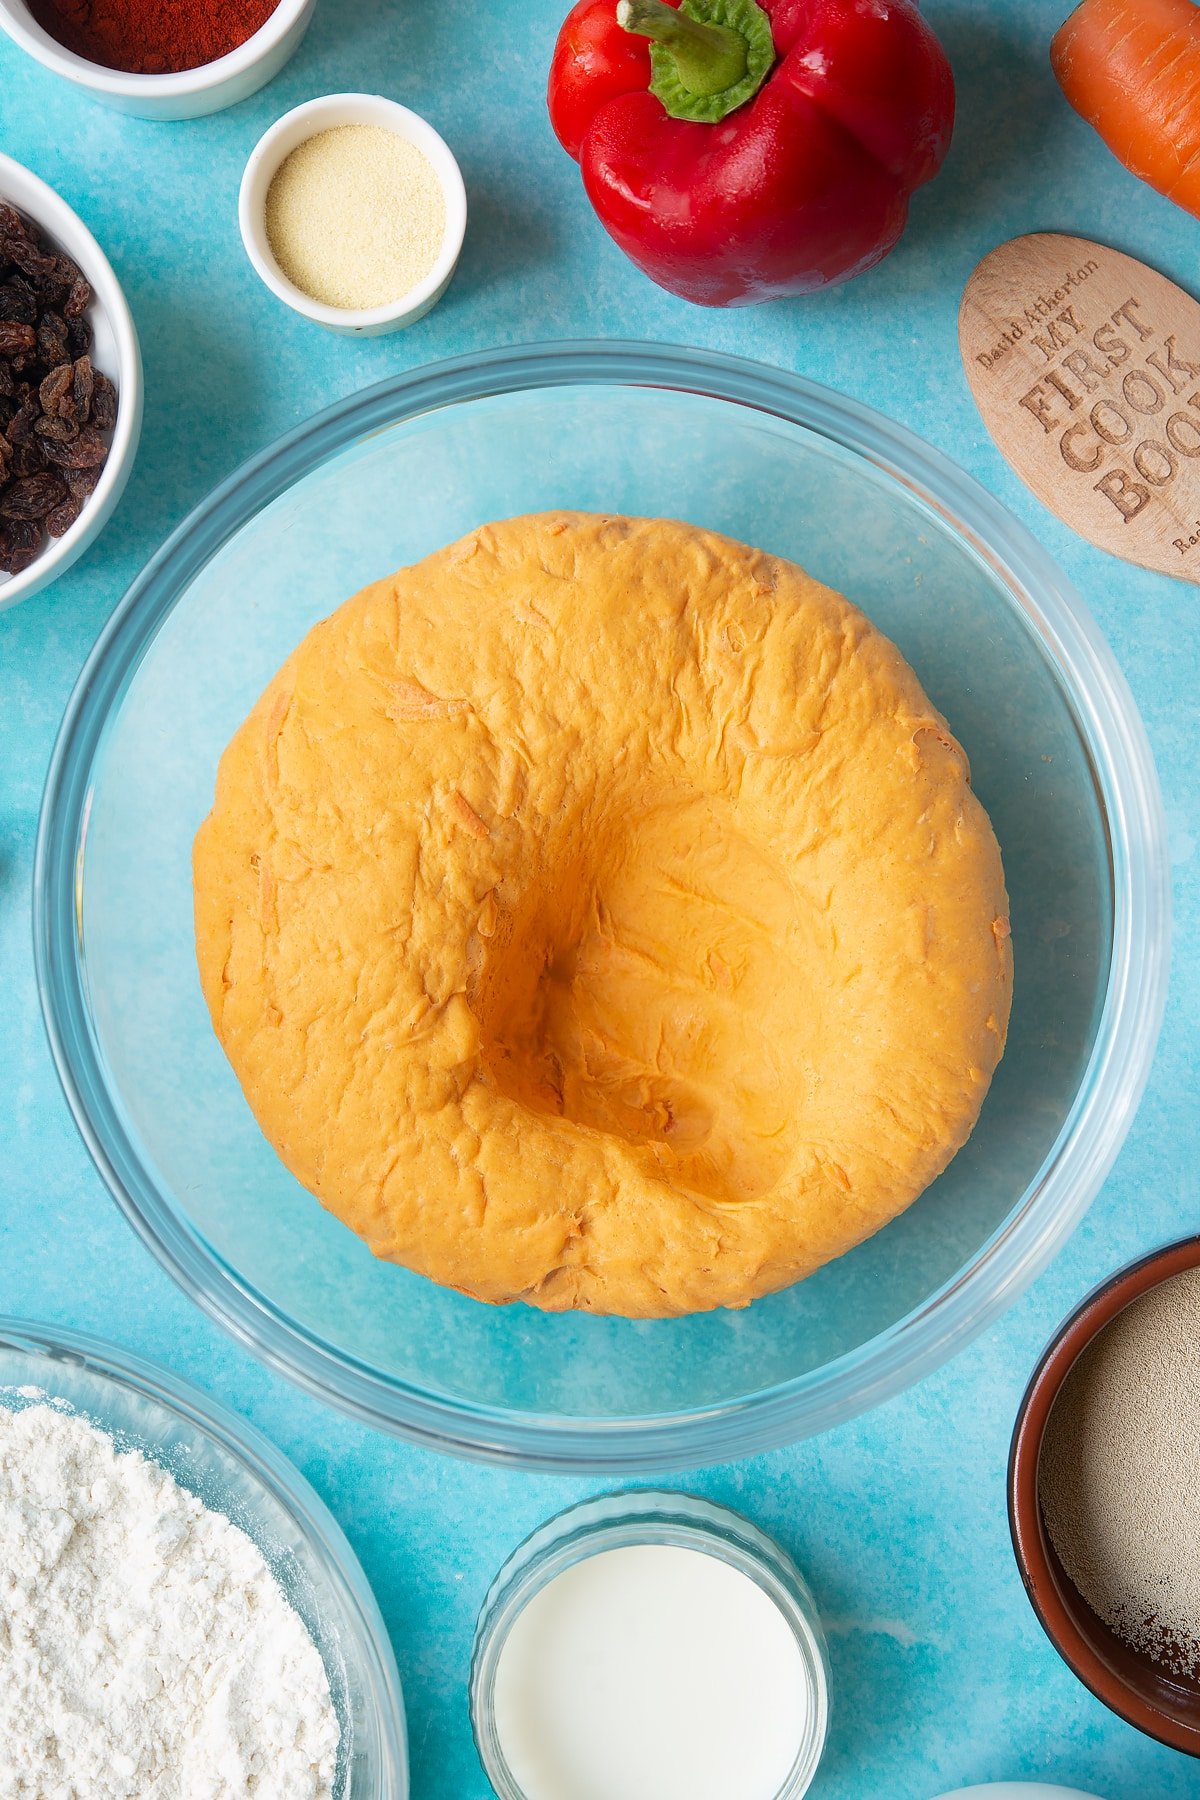
Divide into 8 pieces.
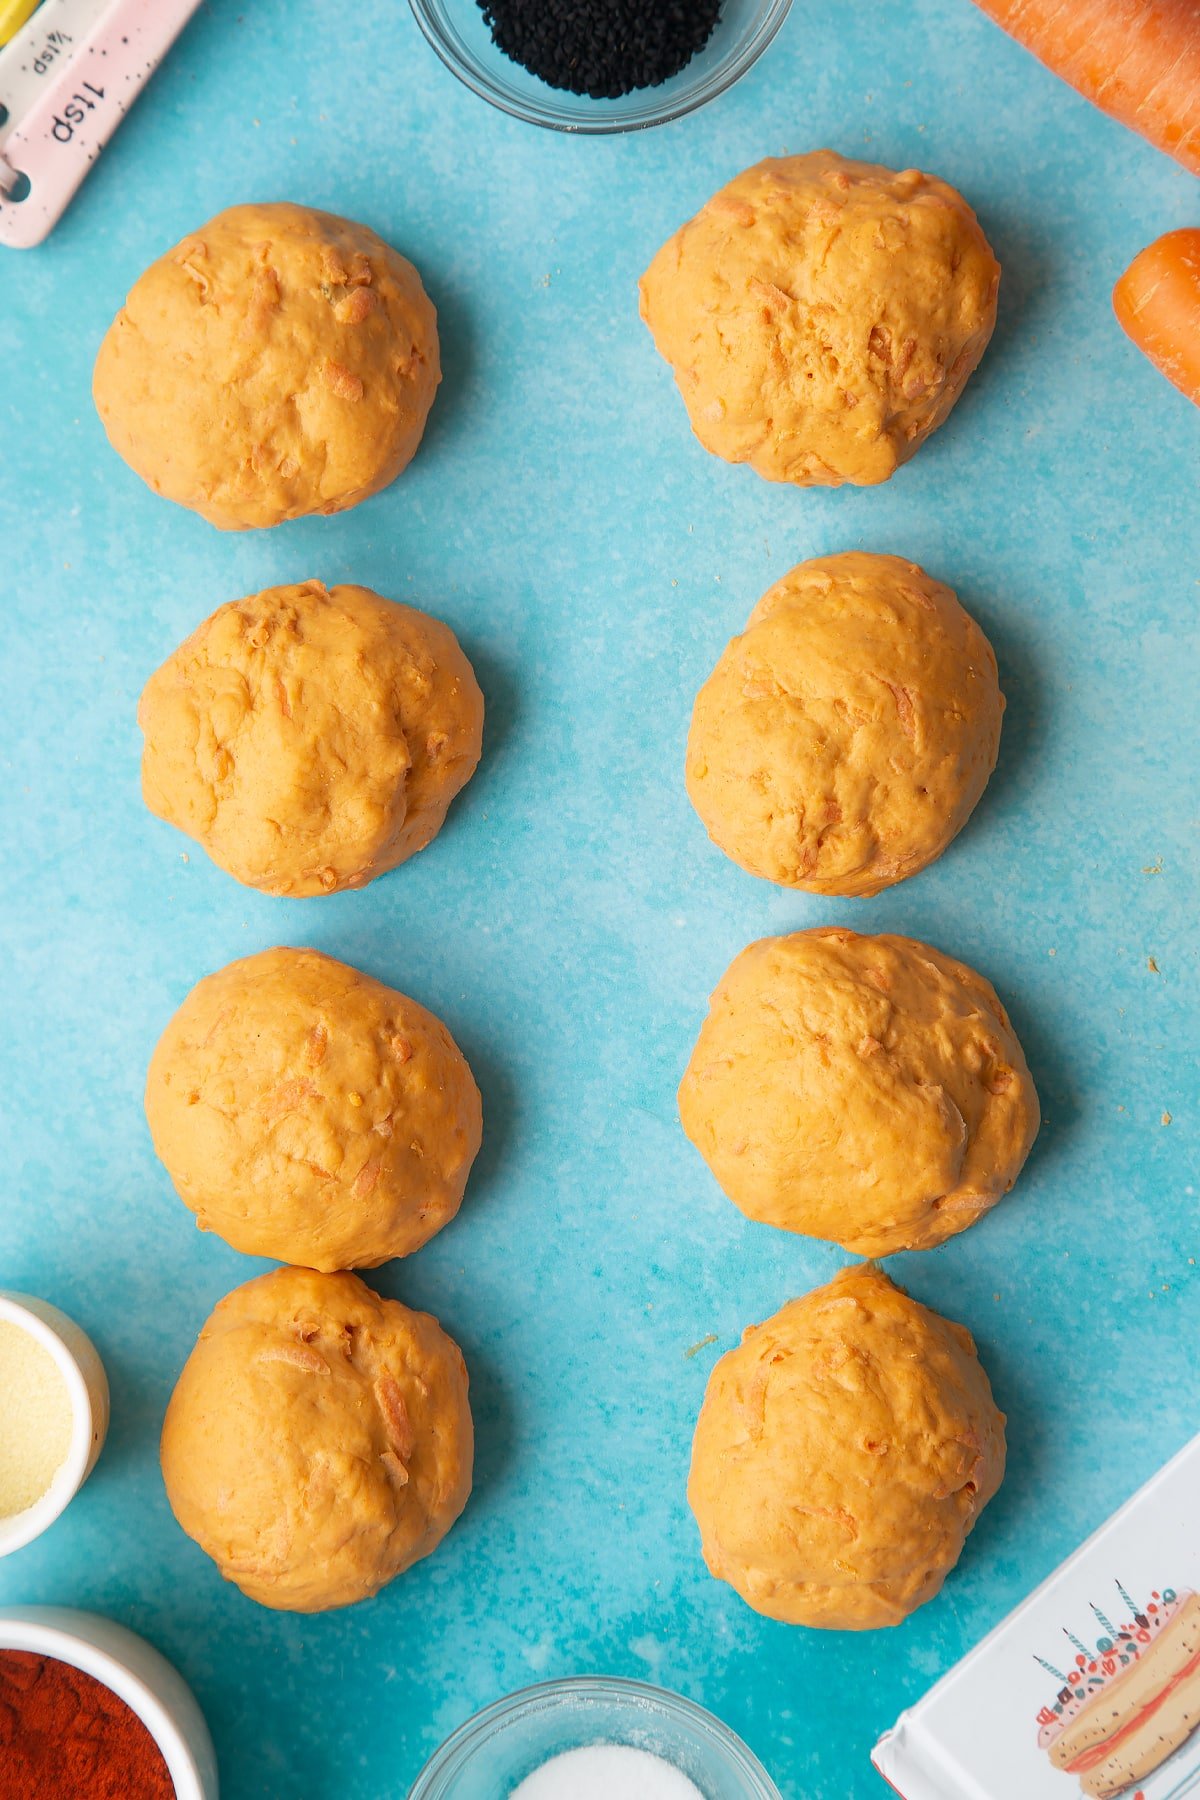
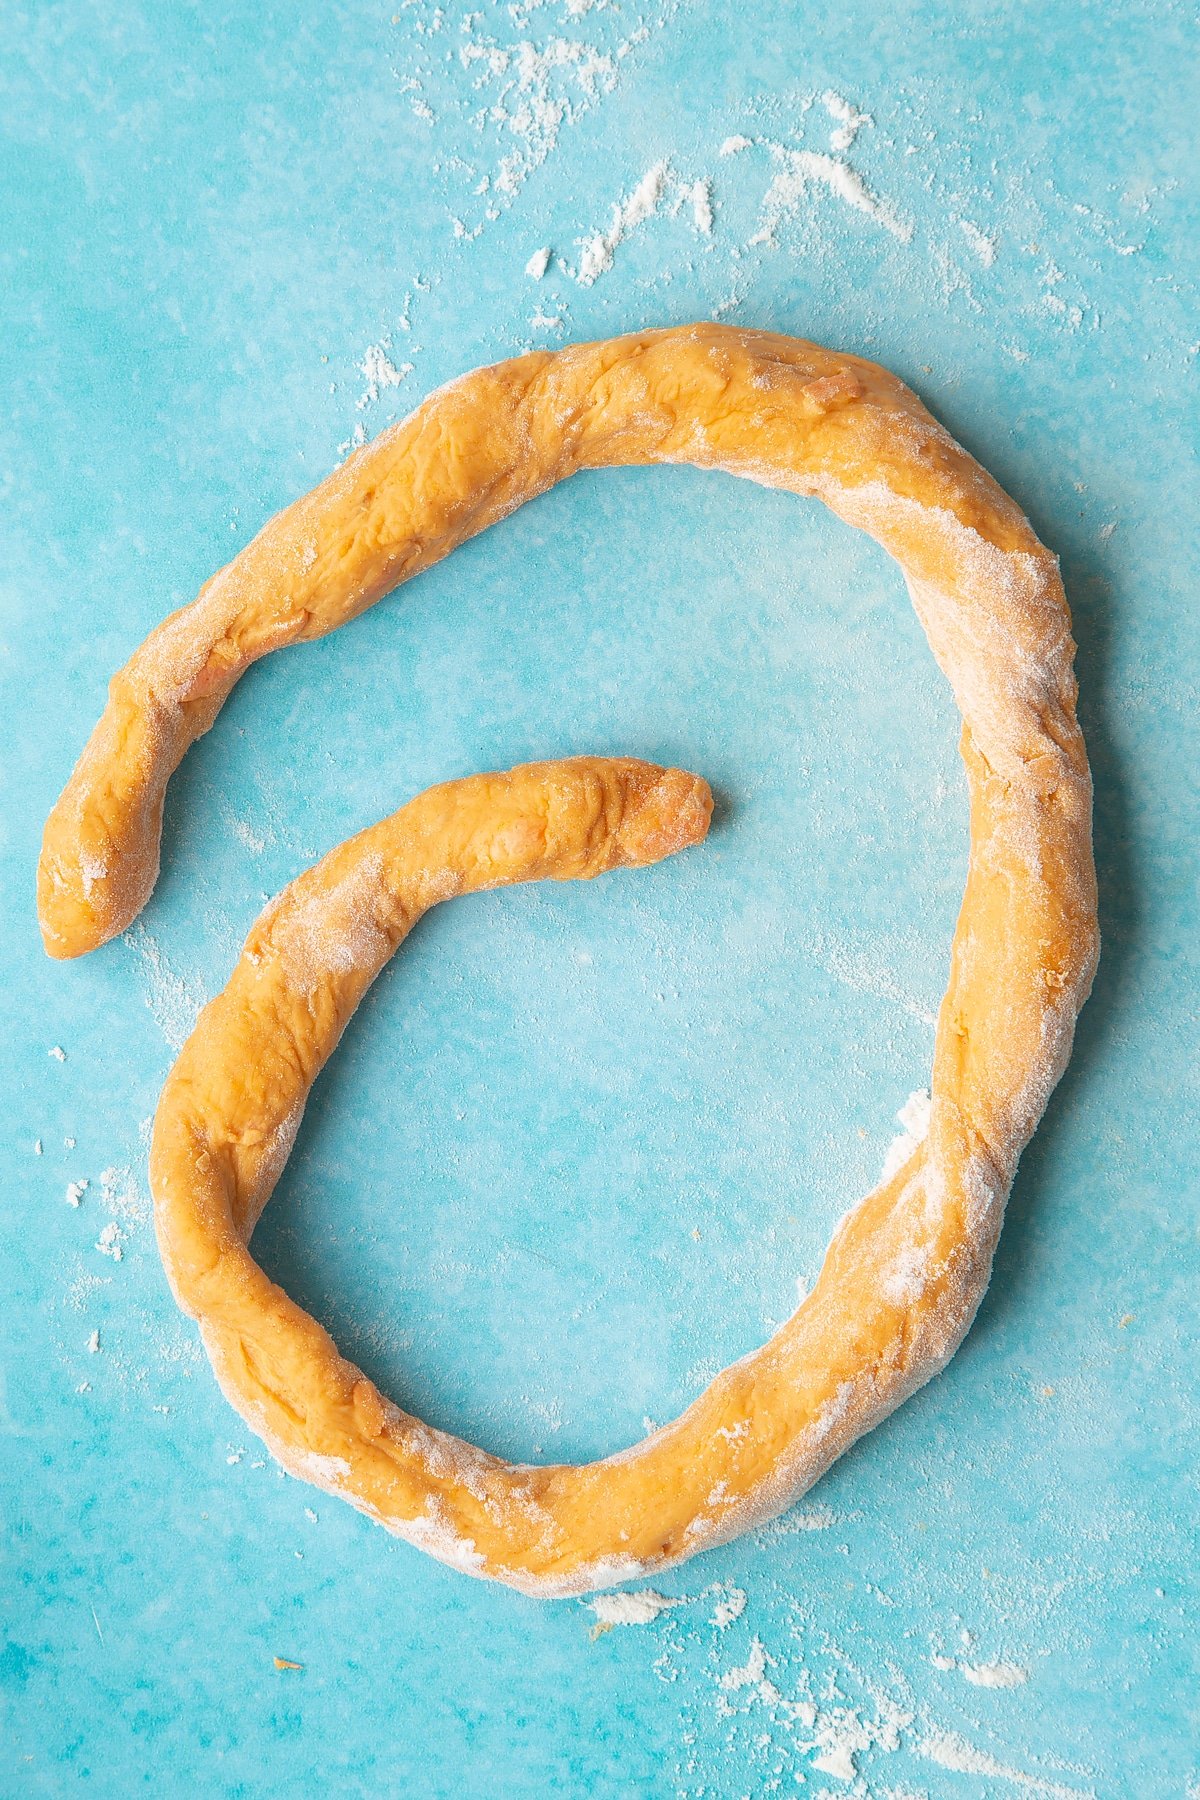
Dust your worktop with flour and use your hands to roll a piece of dough into a long thin sausage.
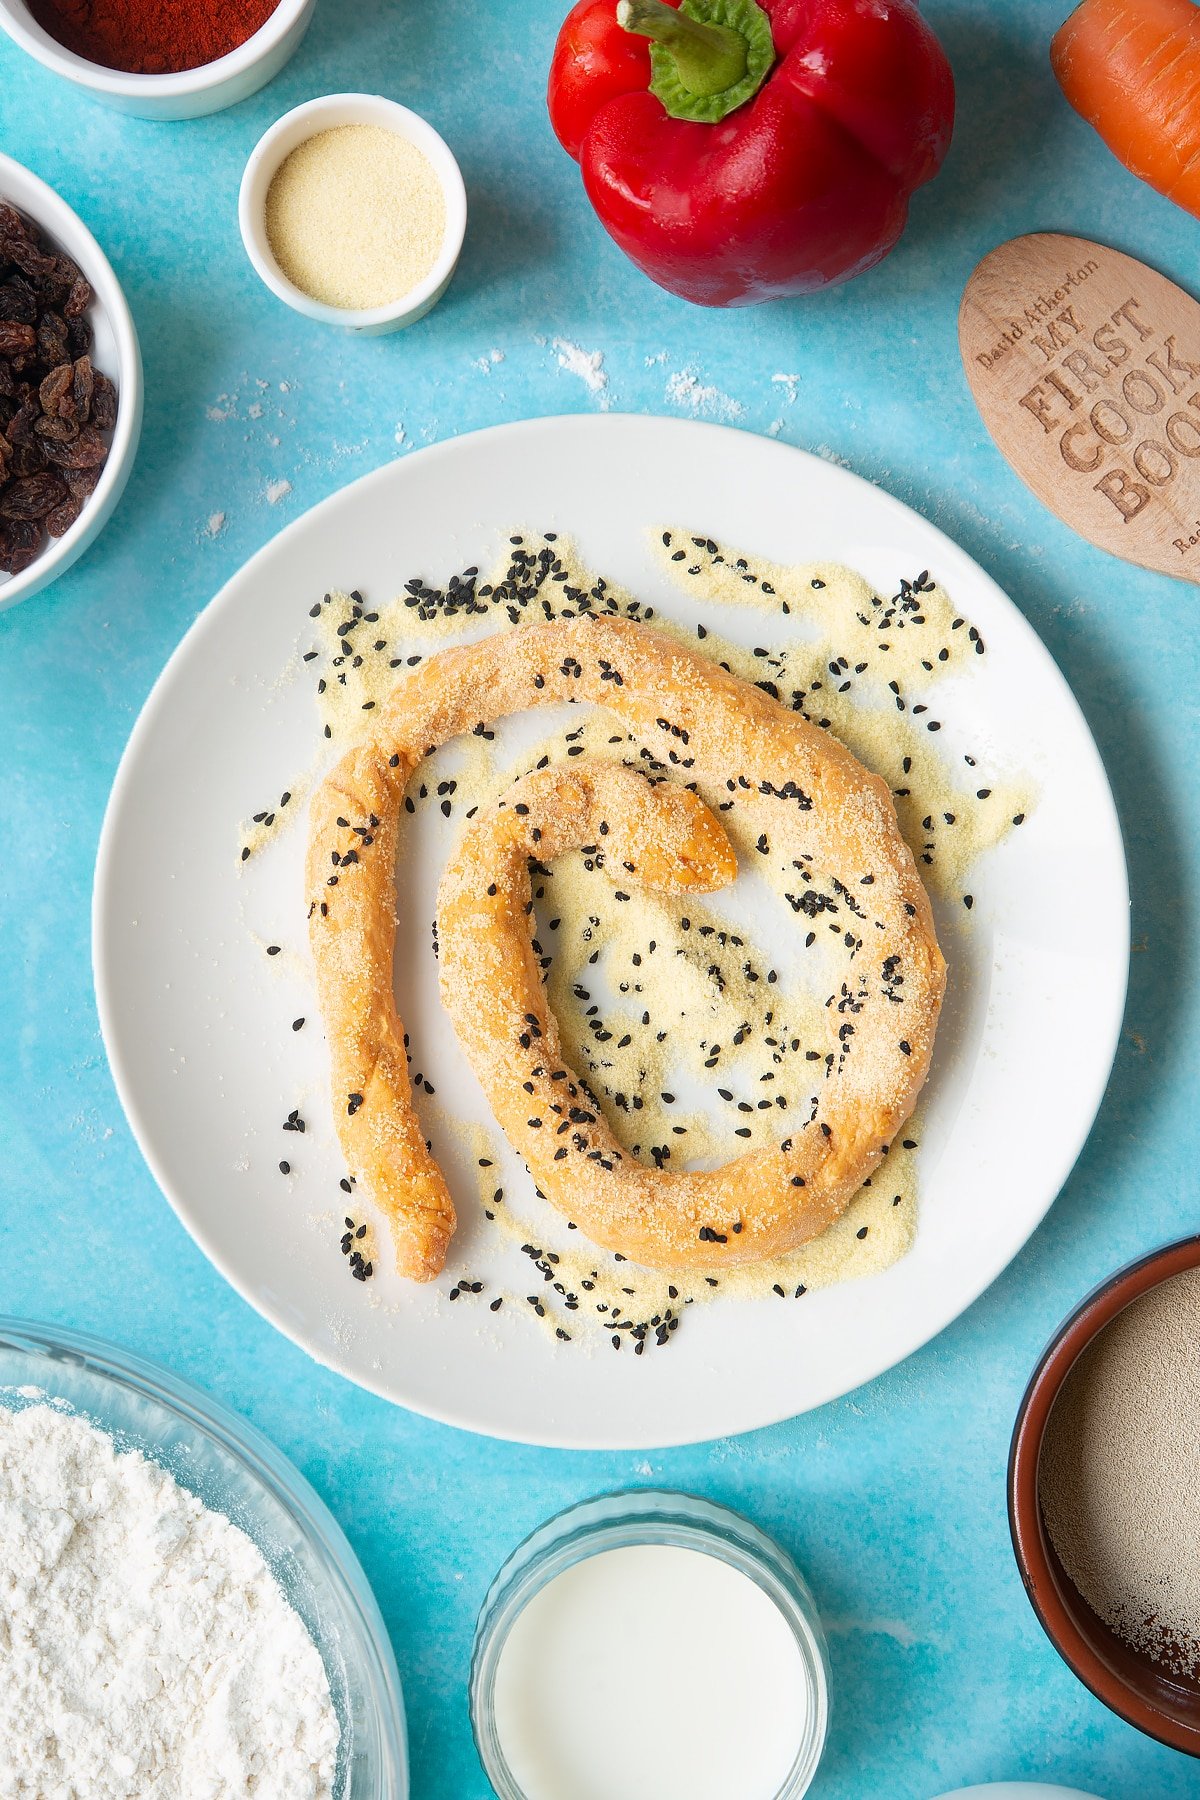
Sprinkle some poppy/Nigella seeds and polenta/cornmeal onto a plate and then roll your bread snake in it.
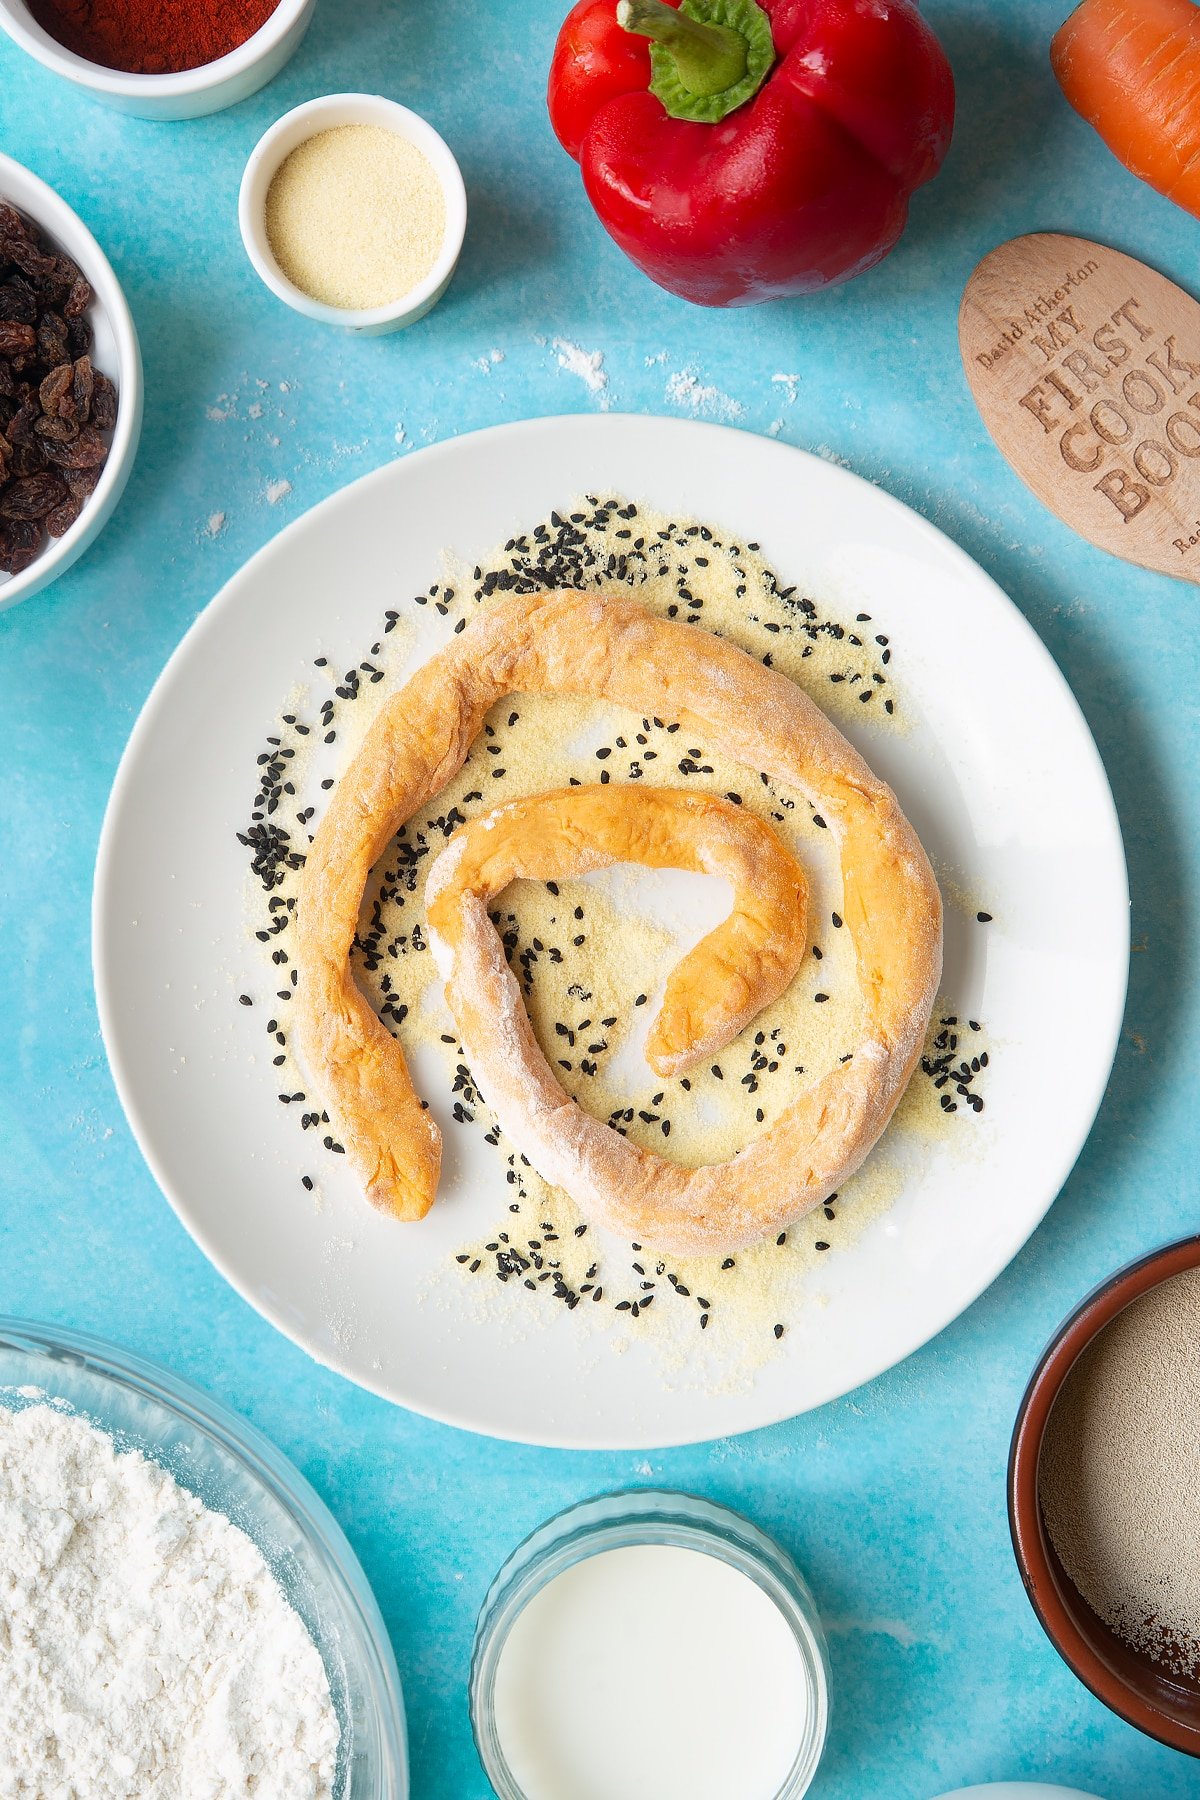
We found our bread dough had dried out a little on the surface by this point, so we sprinkled the snakes with water first before putting them on the plate to help the seeds stick.
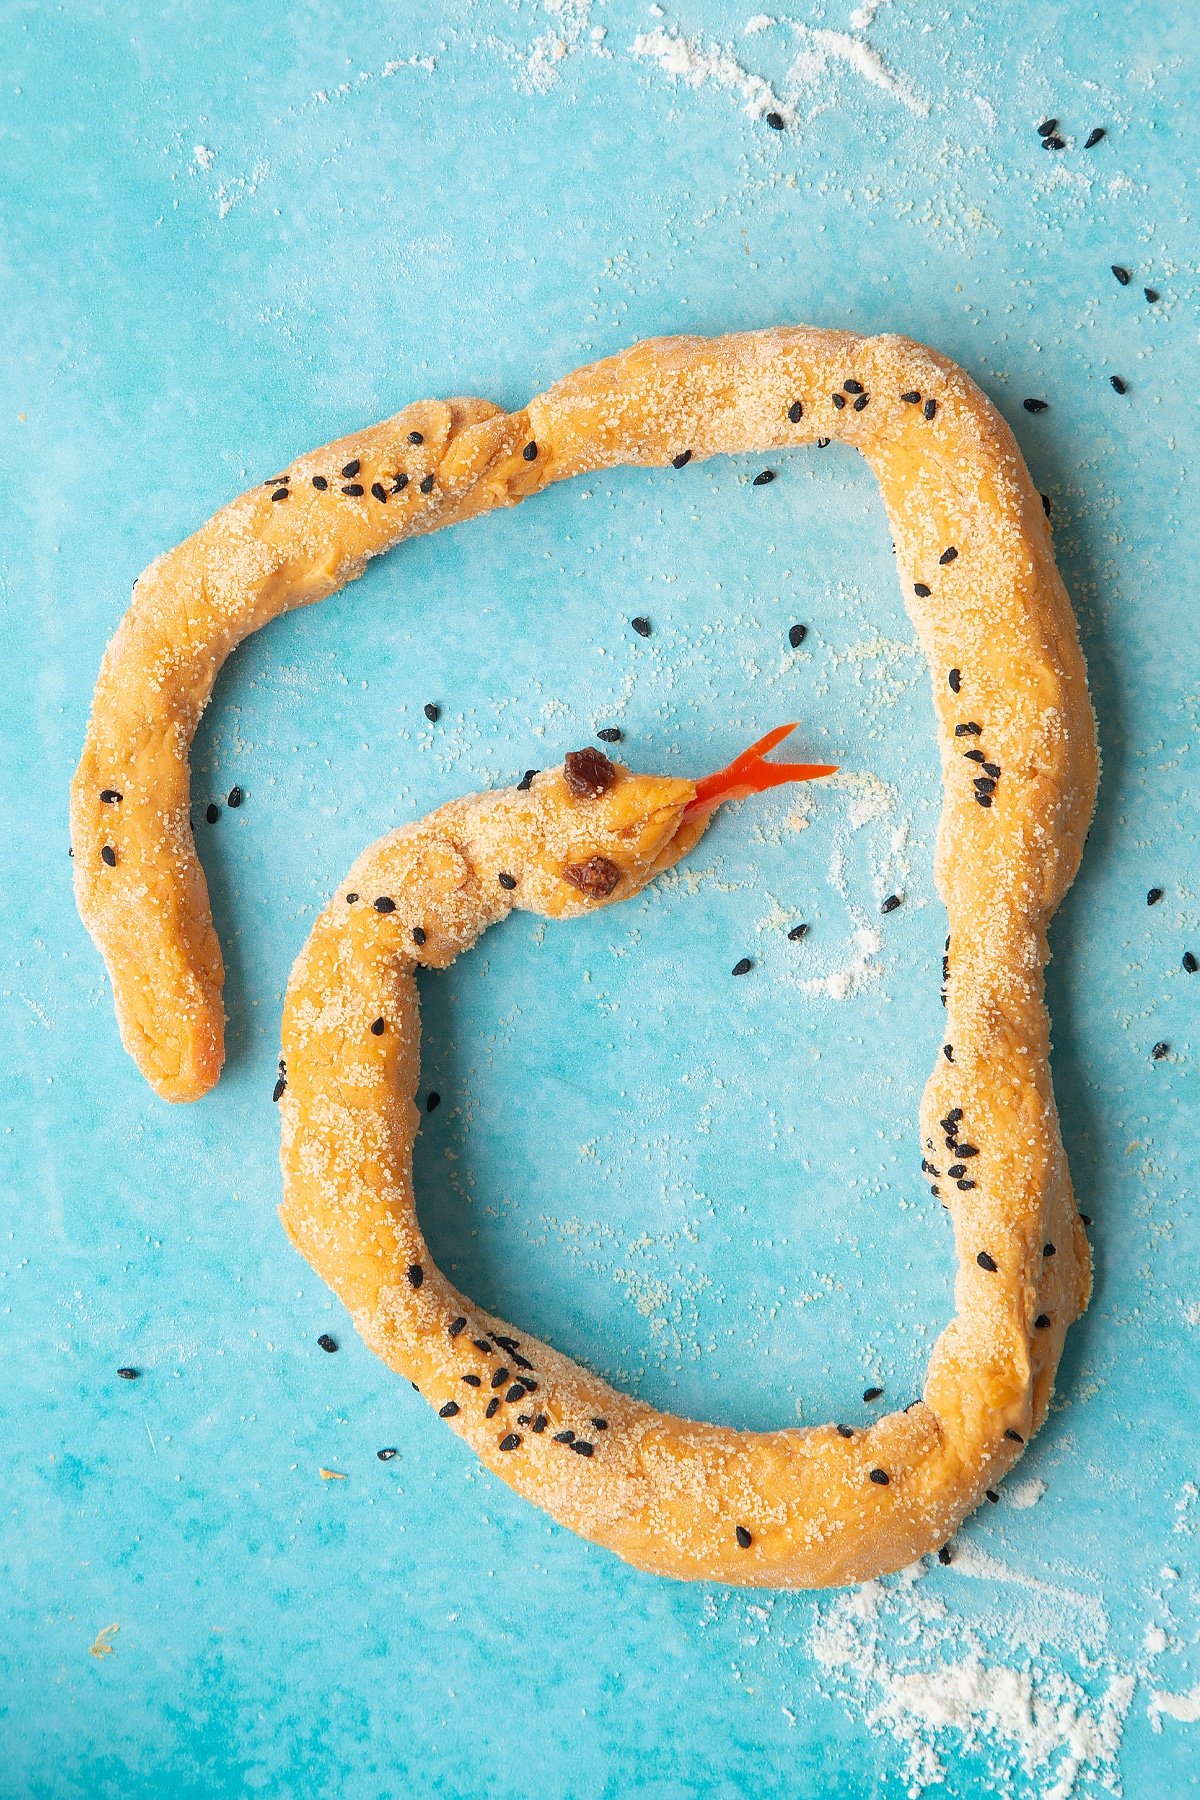
Choose one end to be the head, cut a little mouth with scissors.
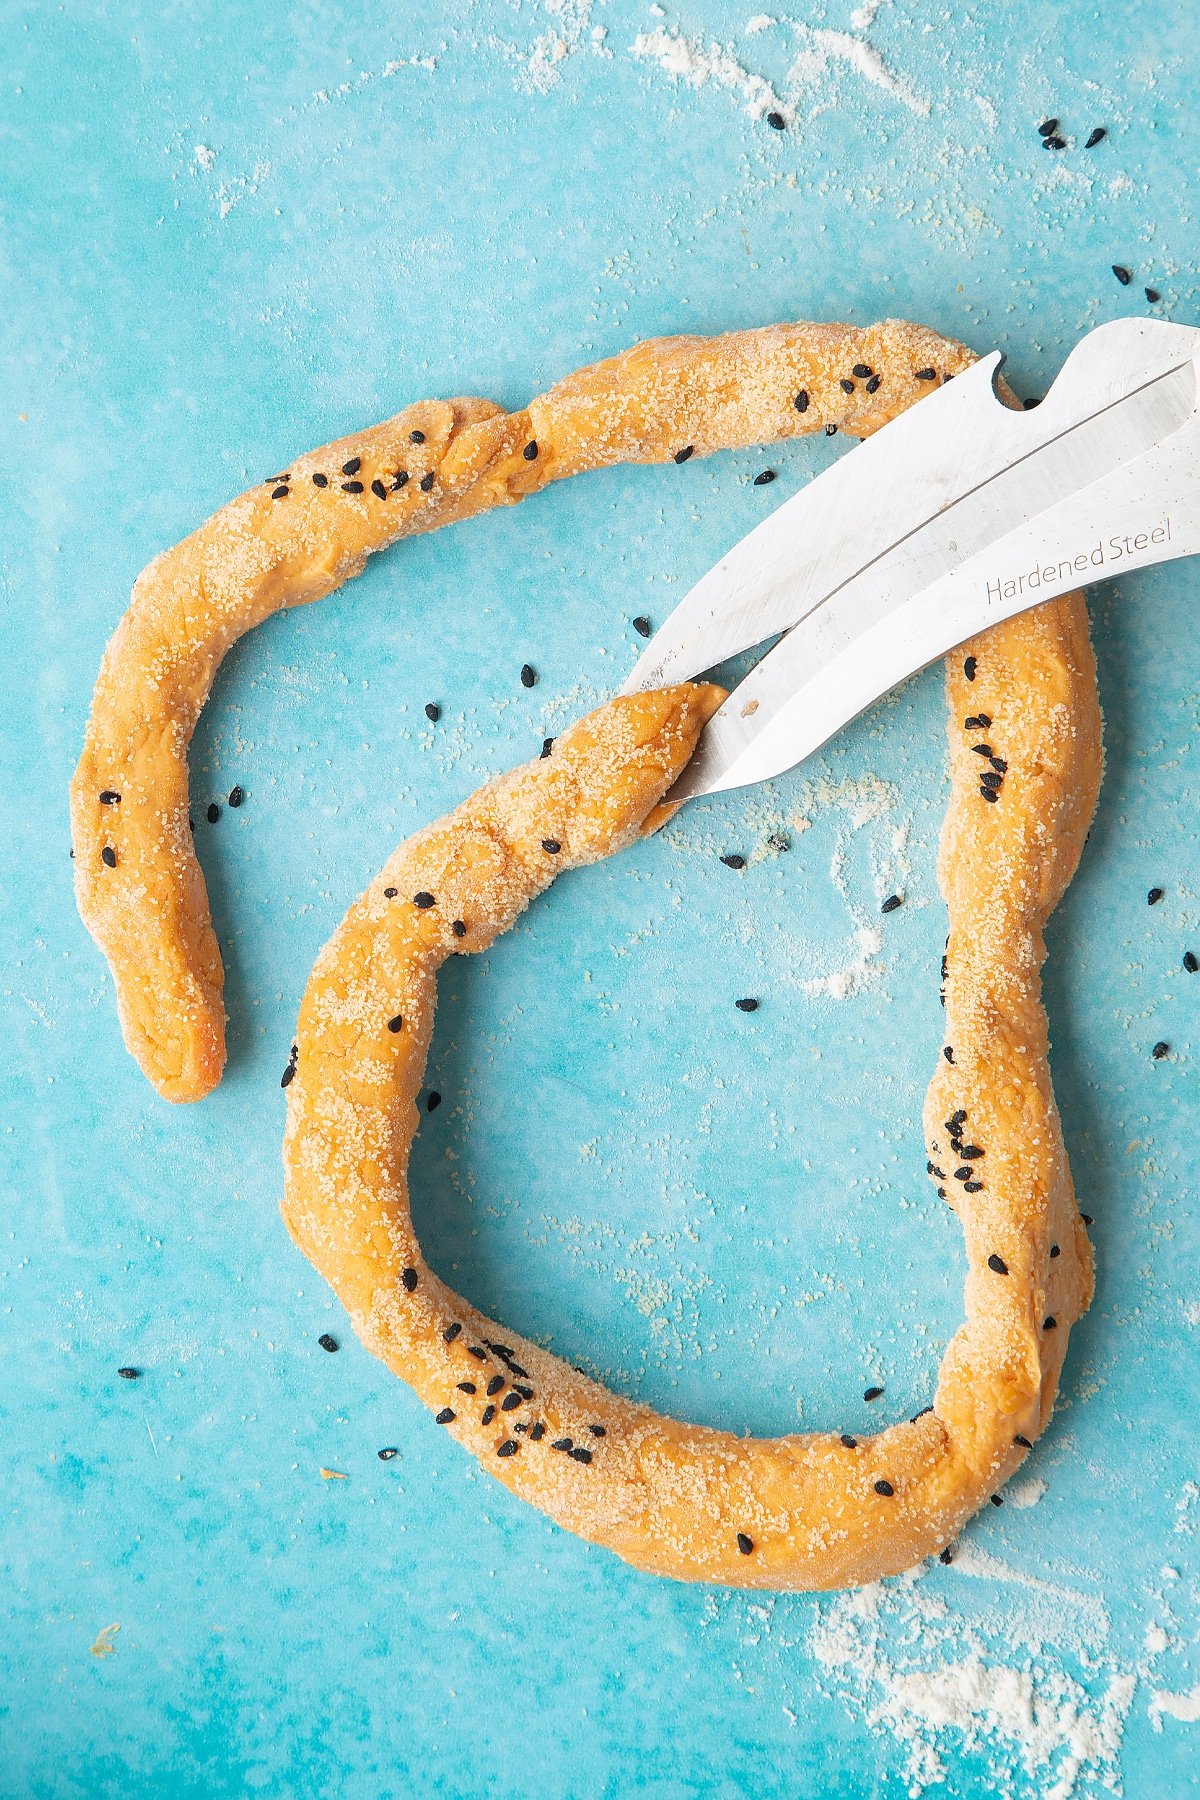
Add currants for eyes.

Add a tongue made from red pepper. Don't cut them too thin or they'll burn in the oven.
Shape the snakes on baking trays lined with baking paper.
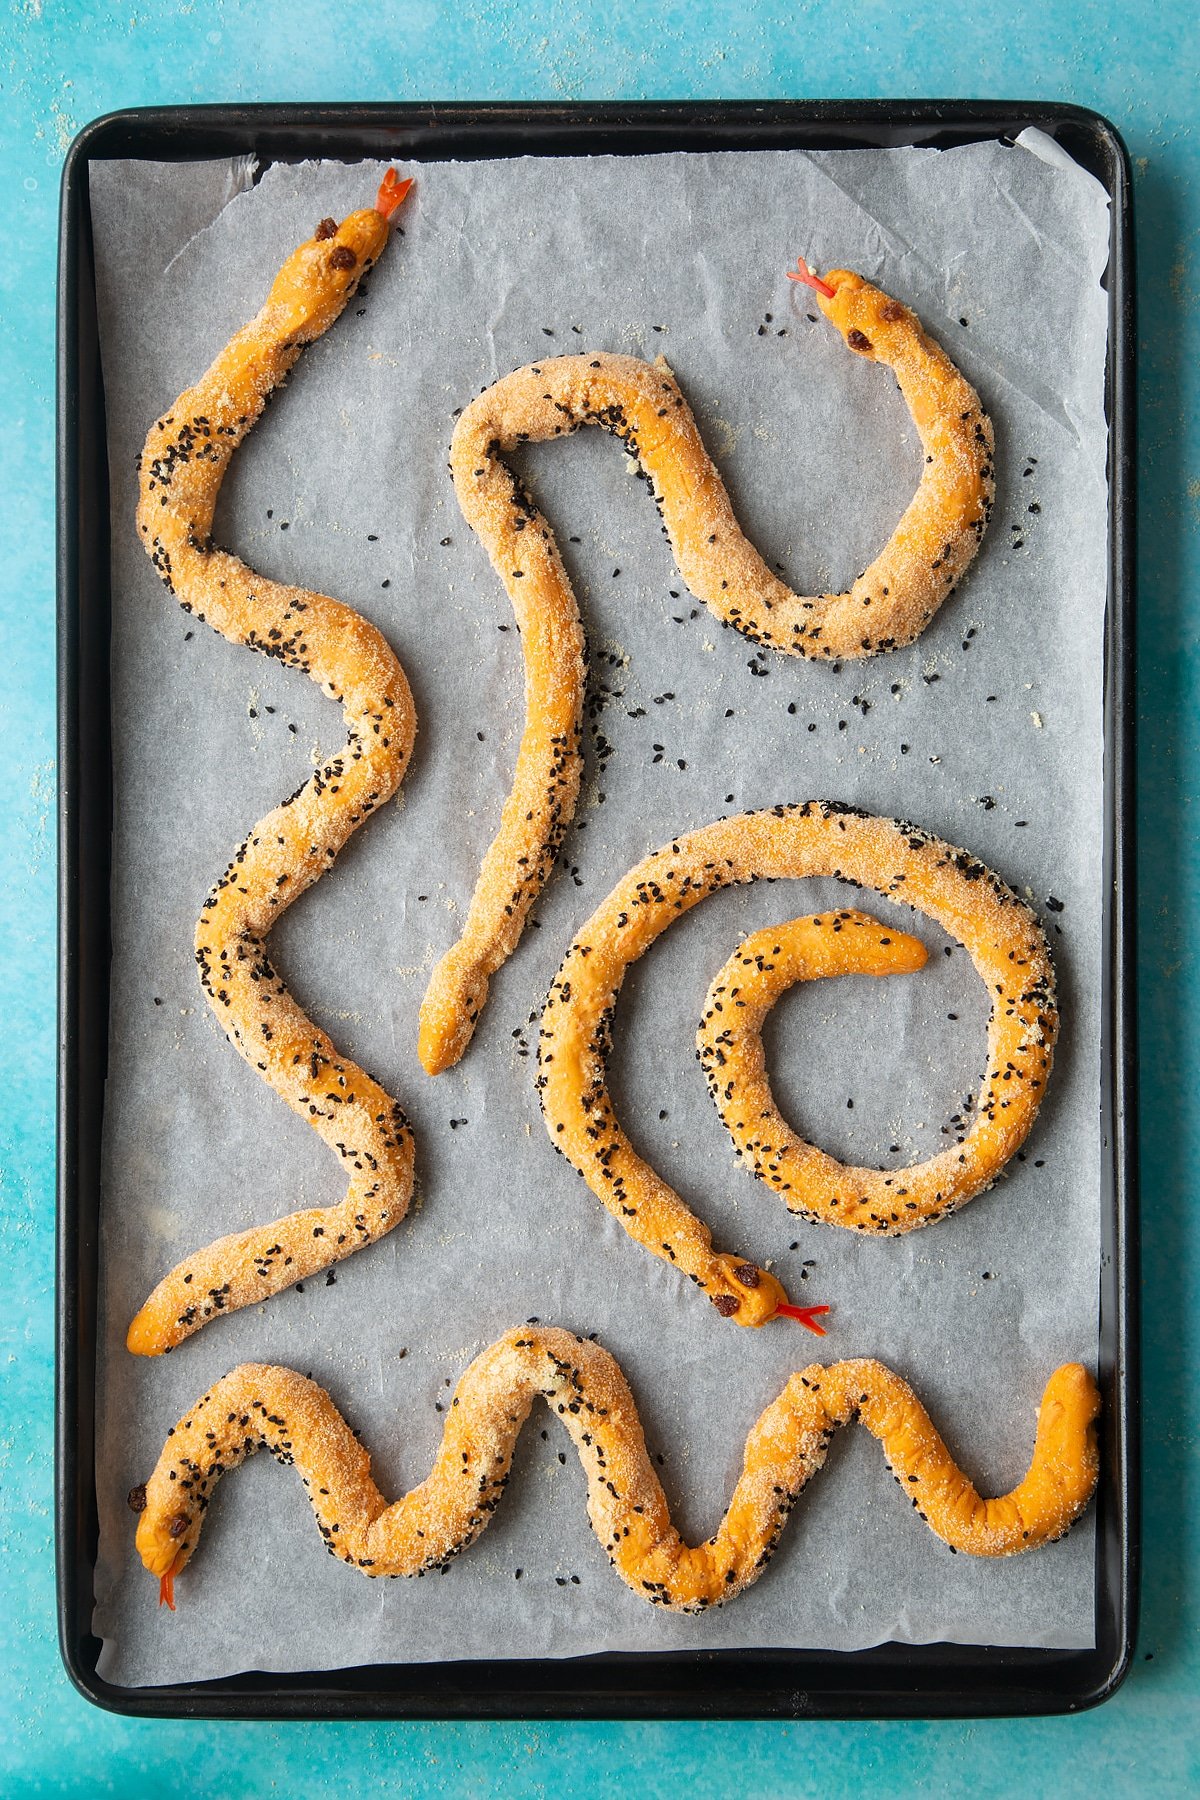
Leave for 10 minutes and then bake for 8-10 minutes until golden brown.
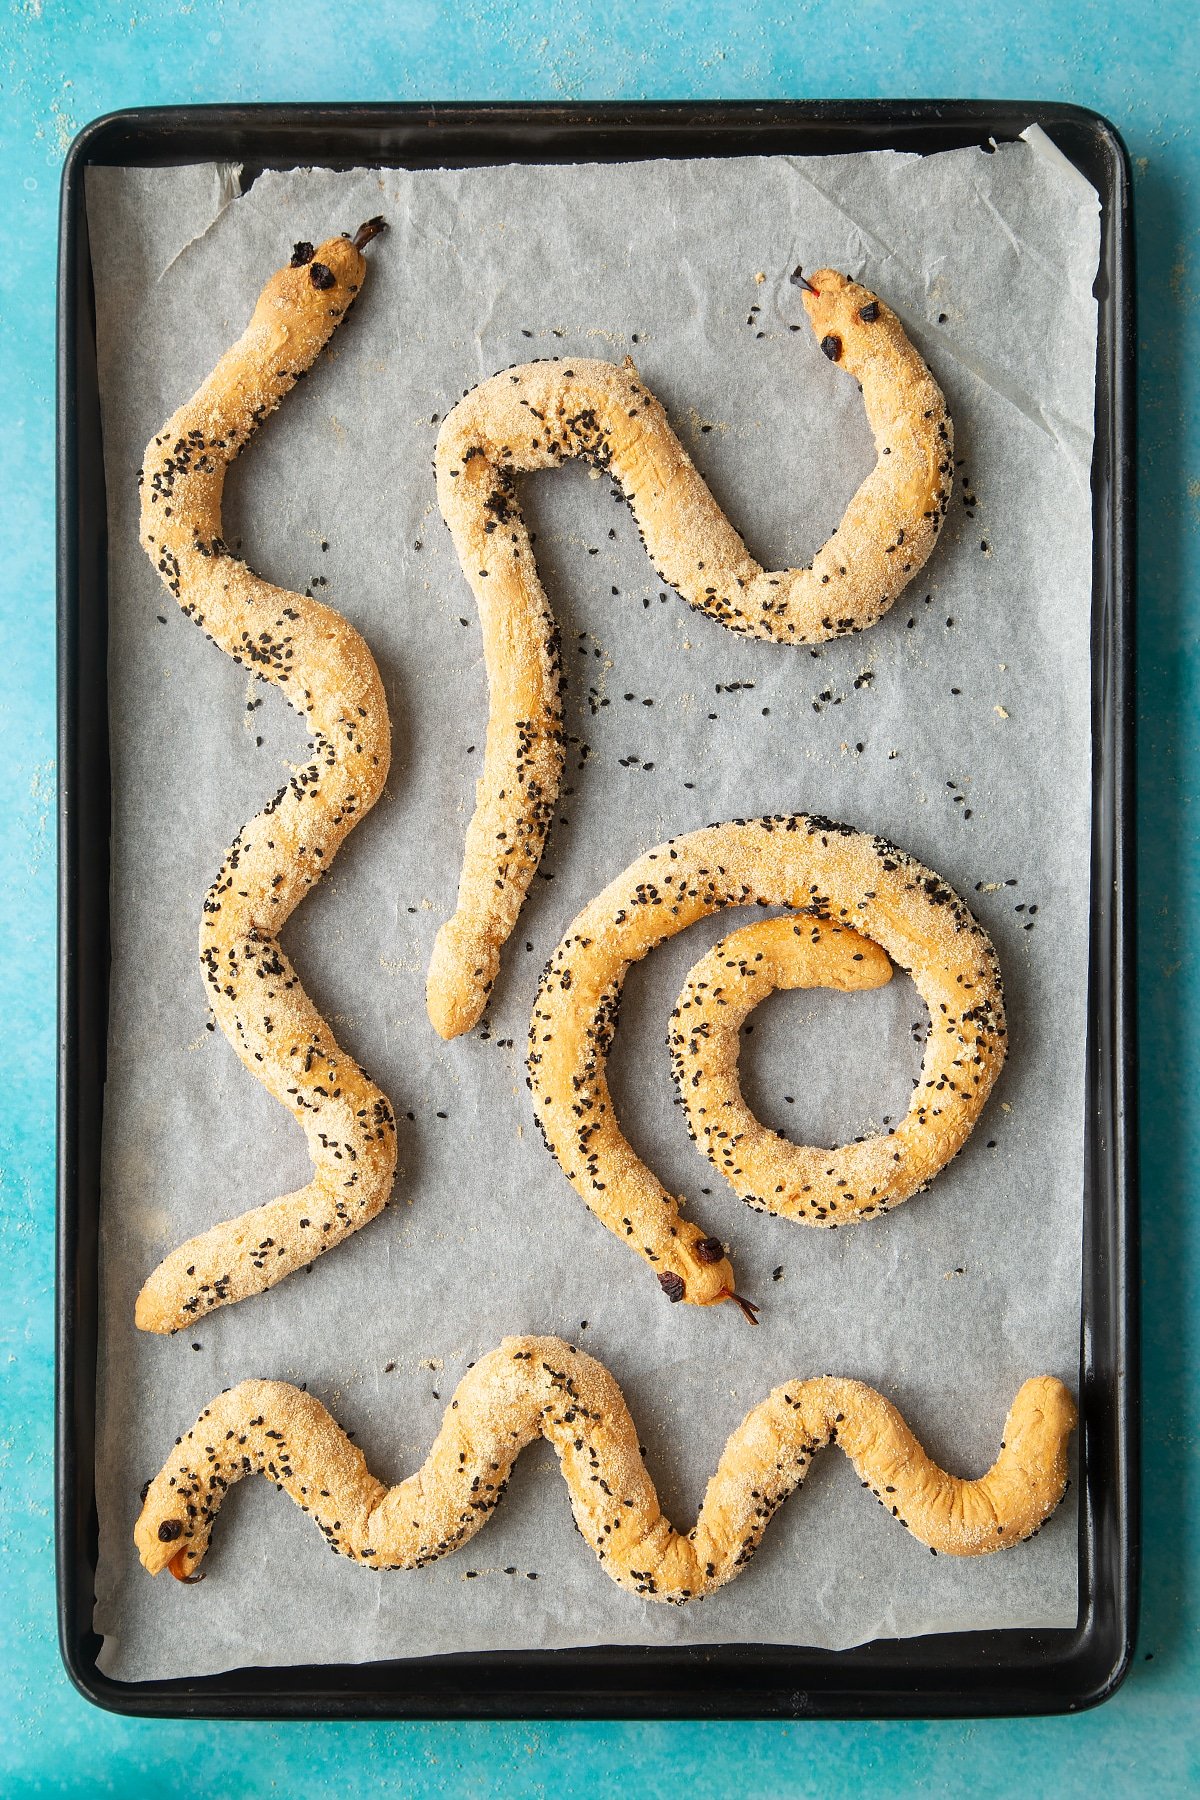
When they're cool enough to handle, you can dig in!
Will you make David Atherton's snaky breadsticks?

David Atherton's My First Cook Book, illustrated by Rachel Stubbs and published by Walker Books is out now!
Hop over to YouTube if you'd like to watch David make these snaky breadsticks - he makes less mess than we did!
Pointers, tricks and troubleshooting tips for the perfect breadsticks
Are bread snakes easy to make?
These bread snakes are incredibly easy to make. You'll only need one bowl and despite the need to knead and prove the bread, it's actually very simple. Your kids will love making them!
Will I need any special equipment to make bread snakes?
You probably have all the equipment you need to make bread snakes in your kitchen right now.
You'll just need weighing scales, measuring spoons and a measuring jug, a mixing bowl,
wooden spoon and dish towel, some scissors, a kitchen knife and a chopping board, and a baking sheet and baking paper.
Are bread snakes suitable for vegetarians?
Yes, these bread snakes are suitable for vegetarians as they contain no meat, fish or poultry.
Are bread snakes suitable for vegans?
These bread snakes aren't suitable for vegans as they contain milk, however, plant milk will work just as well and then the recipe would be suitable for vegans.
Are bread snakes gluten-free?
These bread snakes are not gluten-free as they use wheat-based flour. If you wanted to try making them gluten-free, you'd need to use a gluten-free flour. I always recommend going for a good quality blend.
Also note that the purpose of kneading wheat-based bread is to stretch the gluten. In the absence of gluten, no kneading is required, so you would effectively skip that part of the recipe. I don't know how it would turn out - let me know!
Are bread snakes keto-friendly?
Like most bread, these breadsticks are carbohydrate-based and so not suitable for a ketogenic diet.
Are bread snakes healthy?
These bread snakes are arguable healthier than your average breadstick as they contain a portion of carrot!
They can certainly be enjoyed as part of a healthy, balanced diet, alongside plenty of fresh fruit and veg.
Are bread snakes safe to eat while pregnant?
There is nothing in the bread dough that should present a risk to pregnant people if the ingredients are in good condition and have been stored correctly, and the recipe is cooked hygienically and safely.
Some medical websites recommend avoiding poppy seeds and nigella seeds in pregnancy and while breastfeeding. However, a Mummy Too does not offer medical advice. You can review the NHS advice here and you should consult with your medical professional regarding any concerns.
Are bread snakes suitable for babies and toddlers?
Babies and young children will love these breadsticks. They're very slightly sweet thanks to the carrot and paprika, they have a wonderful flavour, and they're quite soft for young palates.
For young children, I would leave out the salt, especially for babies. You may also prefer to leave out the seeds as they may be challenging for young palates.
Always give food at an appropriate size and shape for your baby or child. Cut small, round foods, like grapes and cherry tomatoes, into small pieces.
Always keep babies supported upright while eating and supervise your baby when they’re eating in case they start to choke.
The NHS has some excellent advice on feeding babies.
This website does not offer medical advice: always consult your health professional if you have any concerns.
What goes well with bread snakes?
These bread snakes can be enjoyed in so many ways! You could pack them into lunchboxes, serve them with soup, or nibble them alongside a snacky tea of whatever bits and pieces of salad, veg and meat/veggie protein you have in the fridge.
Here are some soups they'd be great to dip in to.


Can I make bread snakes recipe without seeds?
The polenta/semolina and seeds add a lovely texture and pattern to the bread snakes, but you can leave them out if you prefer.
You could also swap them for any seeds you prefer, just be aware that some seeds, such as sesame seeds, are a major allergen and shouldn't be taken into schools.
Can I use bread flour instead of plain flour?
It should be fine to use bread flour in this recipe, but plain flour works brilliantly too.
Can I add extra paprika to this recipe?
Extra paprika will be extra heat. I think the balance of flavours in these snaky breadsticks is already perfect, so if you want to add more, do so sparingly.
Can I leave bread snakes out on the counter?
Like most bread, these snake breads will go stale and hard if left out on the counter.
How should I store bread snakes?
If you have leftovers, place them in a sealed container and store somewhere cool and dark.
How long do bread snakes keep?
Properly stored in a sealed container somewhere cool, dry and dark, your bread snakes should stay good for a couple of days.
Can I keep bread snakes in the refrigerator?
Bread tends to go stale fast in the refrigerator, so I would avoid chilling your bread snakes unless your kitchen is extremely hot.
Can I freeze bread snakes?
Yes, you can freeze bread! When they're completely cool, put any leftover bread snakes in a sealed, freezer-safe container or bag with as little empty space as possible - this helps avoid freezer burn.
They should defrost really quickly at room temp.
What is the best way to reheat bread snakes?
If you'd like to re-warm your bread snakes before serving, preheat the oven to 180C (160C) fan, place the snakes on a baking tray and bake for just 3-5 minutes until warmed through.
Can I make bread snakes ahead?
If you wanted, you could do a slow prove with the dough. This means you would follow the recipe up to the point where it says to prove the dough for an hour and instead cover the bowl and place it in the fridge overnight.
The yeast would still continue to feed, produce gas and cause the dough to prove, just much more slowly. In the morning, you would allow your dough to come back up to room temp, punch it down and continue with the recipe as normal.
Can I make these bread snakes in a different quantity?
You can indeed change this recipe to make more or fewer bread snakes.
To do so, simply scroll down to the recipe card found at the bottom of this page and click or hover over the servings number. A slider will appear that you can use to adjust the serving number, which will also automatically adjust all the ingredient quantities you need.
Can I make bread snakes in a stand mixer such as a KitchenAid or Kenwood Mixer?
You could use a stand mixer with a dough hook to knead the bread dough, but since this is a recipe to make with kids, where possible I'd recommend letting them knead by hand. It's great fun!
How can I make sure my bread snakes are perfectly cooked?
Your bread snakes will get slightly paler when cooked, due the moisture and paprika content. As long as they're had the amount of time recommended in the recipe, they'll almost certainly be fine.
If you're not sure, break one open (careful of the steam!) - it should look fluffy inside. If it still looks like raw dough, your snake breads need a little longer.
Why did my snakes turn out hard, dense or chewy?
If your snake breads are hard, it may be that you over-baked them, either by leaving them in the oven too long or running the oven too hot. Lots of ovens have slightly inaccurate temperature dials, or get hotter on one side, so you might want to invest in an oven thermometer to help you get to the bottom of the problem.
It might also be that something went wrong during the proving and kneading stages, or too little liquid was added, so make sure to follow the recipe closely next time to see where you went wrong.
Why didn’t my bread snakes rise? Can yeast stop working / die?
Your bread snake dough should double in size within about an hour at the main proving stage. If it doesn't, that's a sign that your yeast may be dead.
Each teaspoon of yeast contains millions of living single-cell organisms that are officially part of the fungus family.
In dried yeast, those little organisms are still alive, but effectively dormant. Once you give them food, warmth and moisture by adding them to your bread dough they thrive, producing the air bubbles that help your bread to rise.
Despite yeast being able to survive whilst dry and in a sealed container, it can die, and this is most likely to start to happen after the container has been opened for the first time and especially if you leave the container open.
If you don't bake all that often, the sachets of yeast that only contain about 7g per packet are great, because they mean you'll only be opening what you need, rather than unsealing a large amount of yeast you might not get around to using for a while.
If you do have an opened container of yeast, make sure to seal it again as soon as you've removed what you need, and then place the container somewhere cool and dark, such as a cupboard or pantry.
How can I tell if my yeast is dead?
There will usually be a best before end date on your yeast, which should give you a clue, but for the reasons described above, your yeast may die off long before that date.
If you suspect your yeast might be dead, put a few tablespoonfuls of warm (not hot) water in a cup with 1/2 tsp of yeast and 1/2 tsp sugar. Stir gently and leave the mixture alone for 10-15 minutes (it might take less time if your kitchen is warm).
When you return, the top of the mixture should be covered with a pale foam. If nothing has happened, your yeast is probably partially or completely dead. In this case, you need to throw it out and buy some new yeast.
Why did my bread snakes' red pepper tongues burn?
If you cut the red pepper tongues really thin like we did, they may catch and turn a bit black in the oven. David recommends cutting chunkier tongues to avoid this!
Can I add/change the flavours in my bread snakes?
The flavours in these breads are already amazing, but if you fancied experimenting, you could try swapping the paprika for curry powder or dried herbs. You could even roll the snakes in finely grated hard cheese. The possibilities are endless!
Print this bread snakes recipe

Bread Snakes Recipe
Ingredients
- 300 g (10.6 oz) plain white flour (all purpose flour)
- 2 tsp salt
- 2 tsp sweet paprika
- 2 tsp fast-action dried yeast
- 1 medium carrot peeled and finely grated
- 70 ml (2.4 floz) whole milk
- 100 ml (3.4 floz) warm water
- 3 tbsp coarse polenta or cornmeal
- 1 tbsp poppy seeds or nigella seeds
- 1 red bell pepper
- 16 currants or raisins, sultanas
Instructions
- Preheat the oven to 180C (160C fan assisted).
- Put the flour, salt, paprika and yeast in a mixing bowl.
- Mix the carrot, milk and water in a jug.
- Pour the carrot mixture into the bowl and stir until you have a sticky dough.
- Cover with a damp cloth for 10 minutes.
- Knead the dough on a floured surface for 5 minutes. (It may be sticky, but don’t add any more flour.)
- Put it back in the bowl and cover with a damp cloth until it has doubled in size. (This may take up to an hour.)
- Punch all the air out of it and divide into 8 pieces.
- Dust your worktop with flour and use your hands to roll a piece of dough into a long thin sausage.
- Sprinkle some poppy/Nigella seeds and polenta/cornmeal onto a plate and then roll your bread snake in it.
- Choose one end to be the head, cut a little mouth with scissors and add a tongue made from red pepper. Add currants for eyes.
- Shape the snakes on baking trays lined with baking paper.
- Leave for 10 minutes and then bake for 8-10 minutes until golden brown.
Video
Notes
Nutrition
Pin this snaky breadsticks!
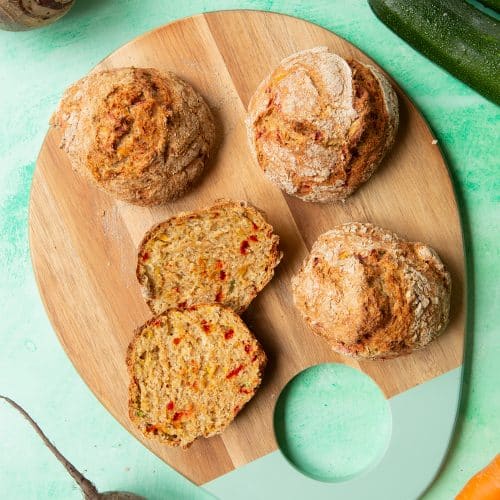
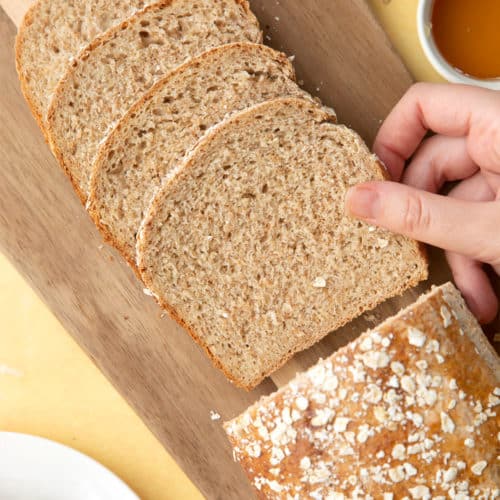
More bread recipes to try

Have you got my book?
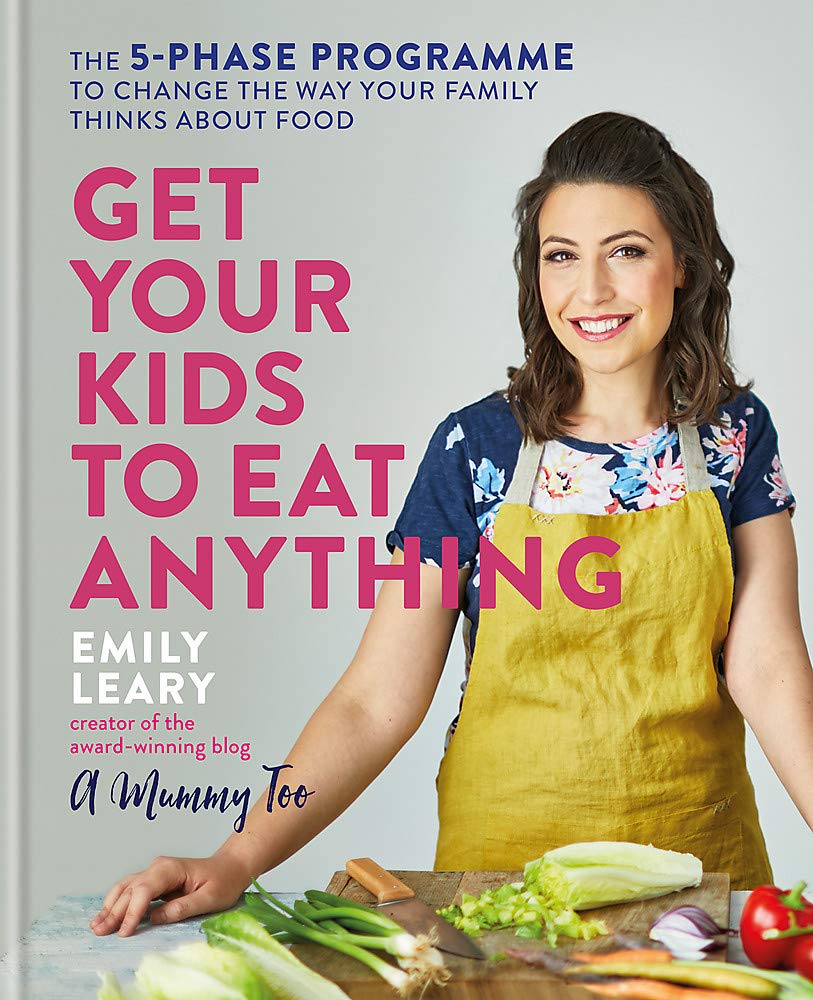
'This is a great kids cookery book. Emily is a star' - Simon Rimmer
'The book I'd like to force into any mother's kitchen' - Prue Leith
"A fab book with a plan." - Jane Devonshire, 2016 Masterchef UK winner
'Emily has managed to combine her mummy knowledge and passion for food to make a truly helpful and brilliant cookbook' - Priya Tew, RD, BSc (Hons), Msc
Get Your Kids to Eat Anything is an achievable 'how to' for parents in the battle to overcome picky eating and 'make new the norm'. Emily Leary's unique 5-phase programme looks at the issue of 'fussy eating' in a holistic way that links imagination with food, and which situates parents alongside - not in opposition to - their children.
Leave a Reply