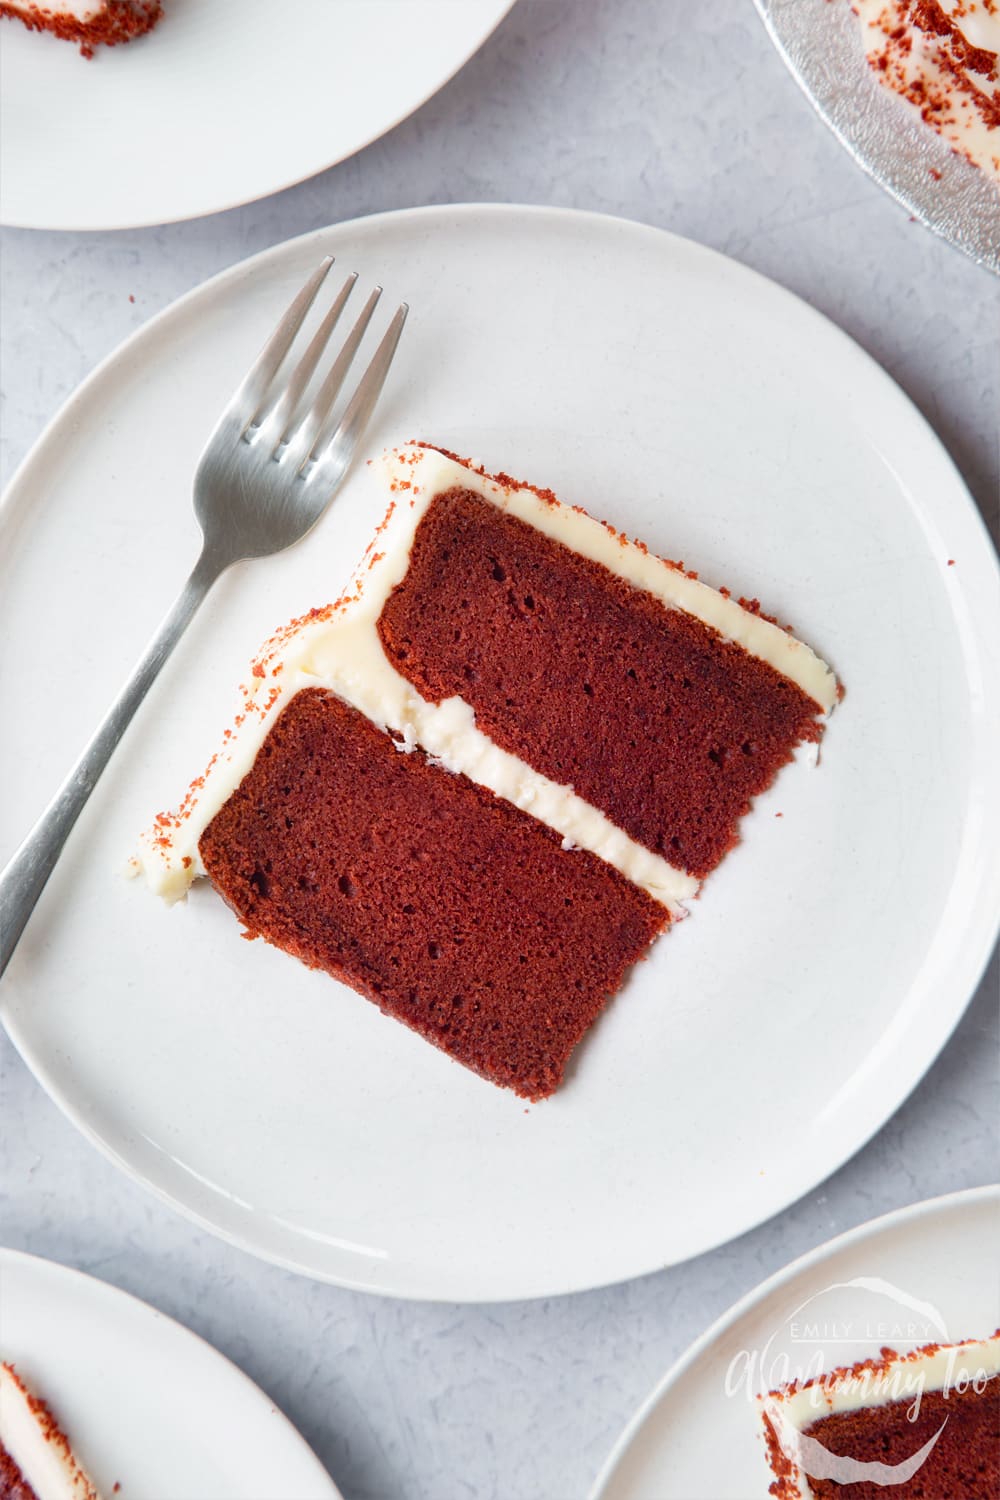
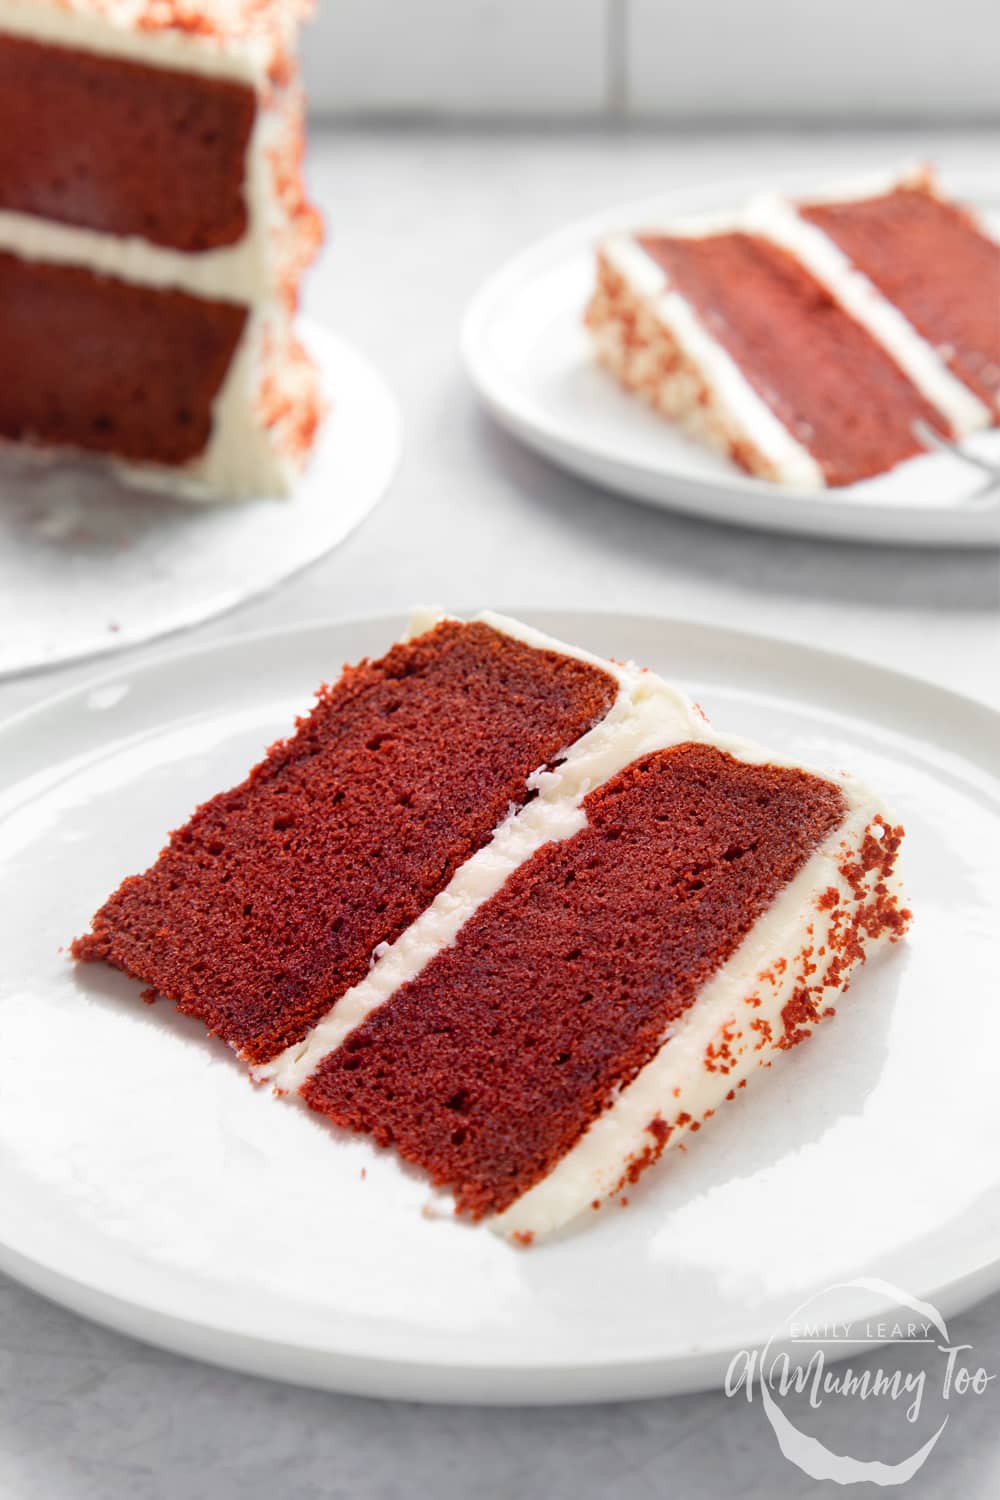
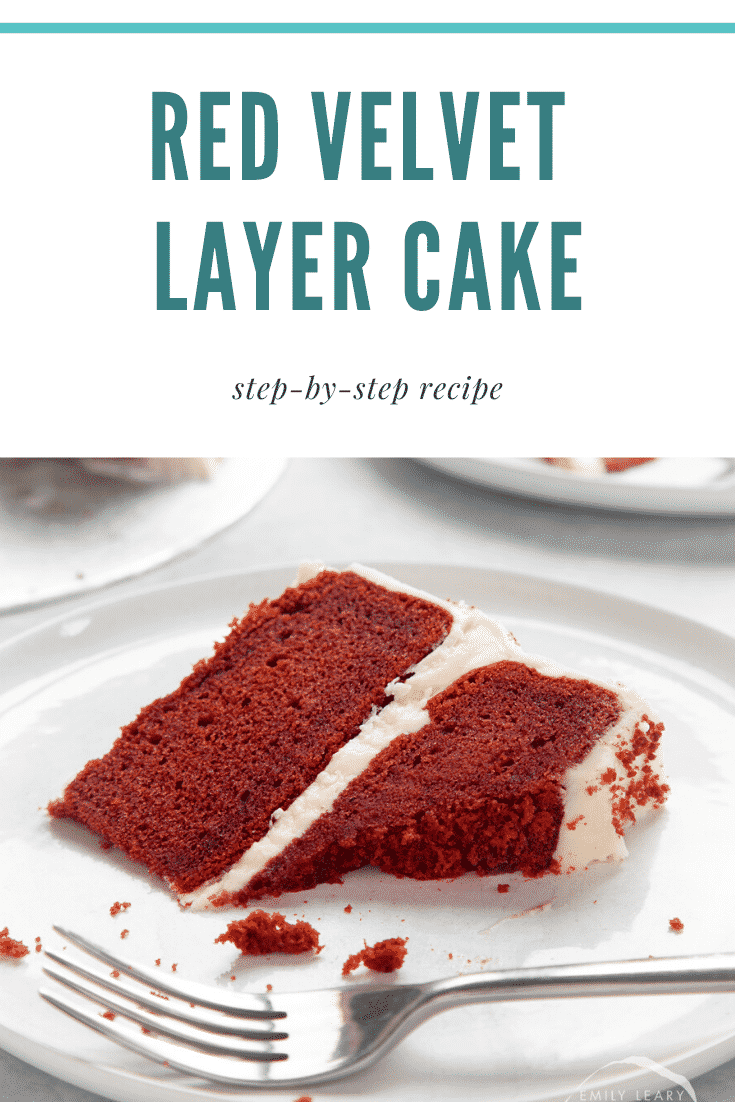
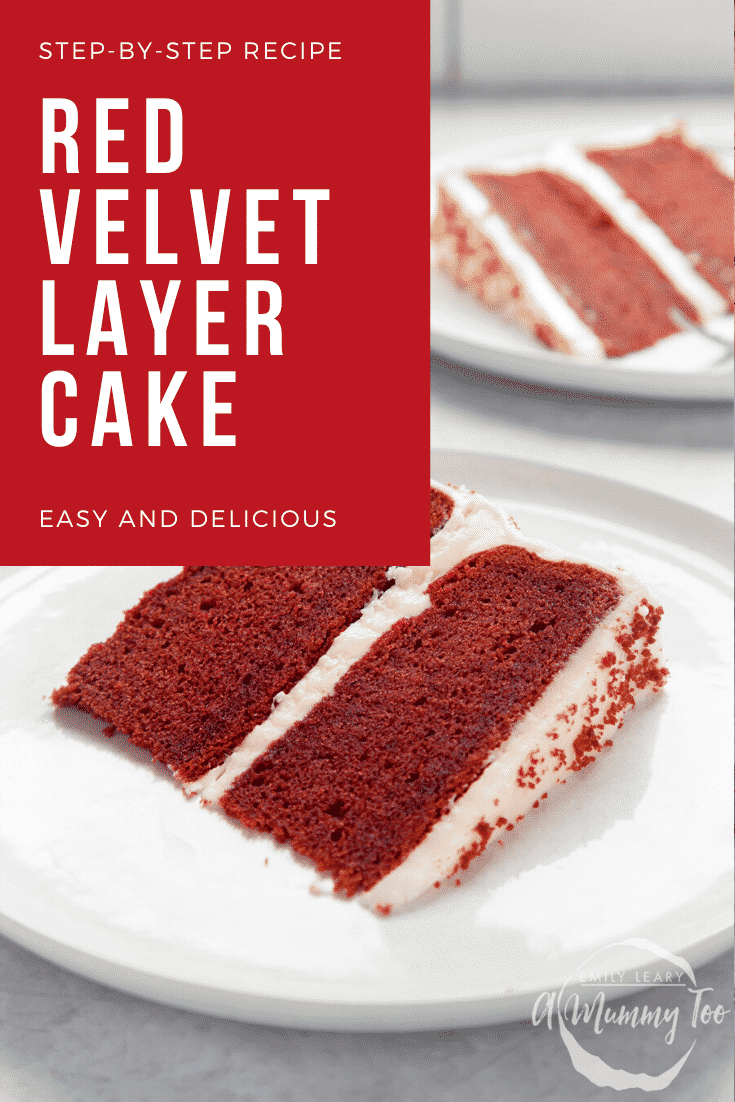
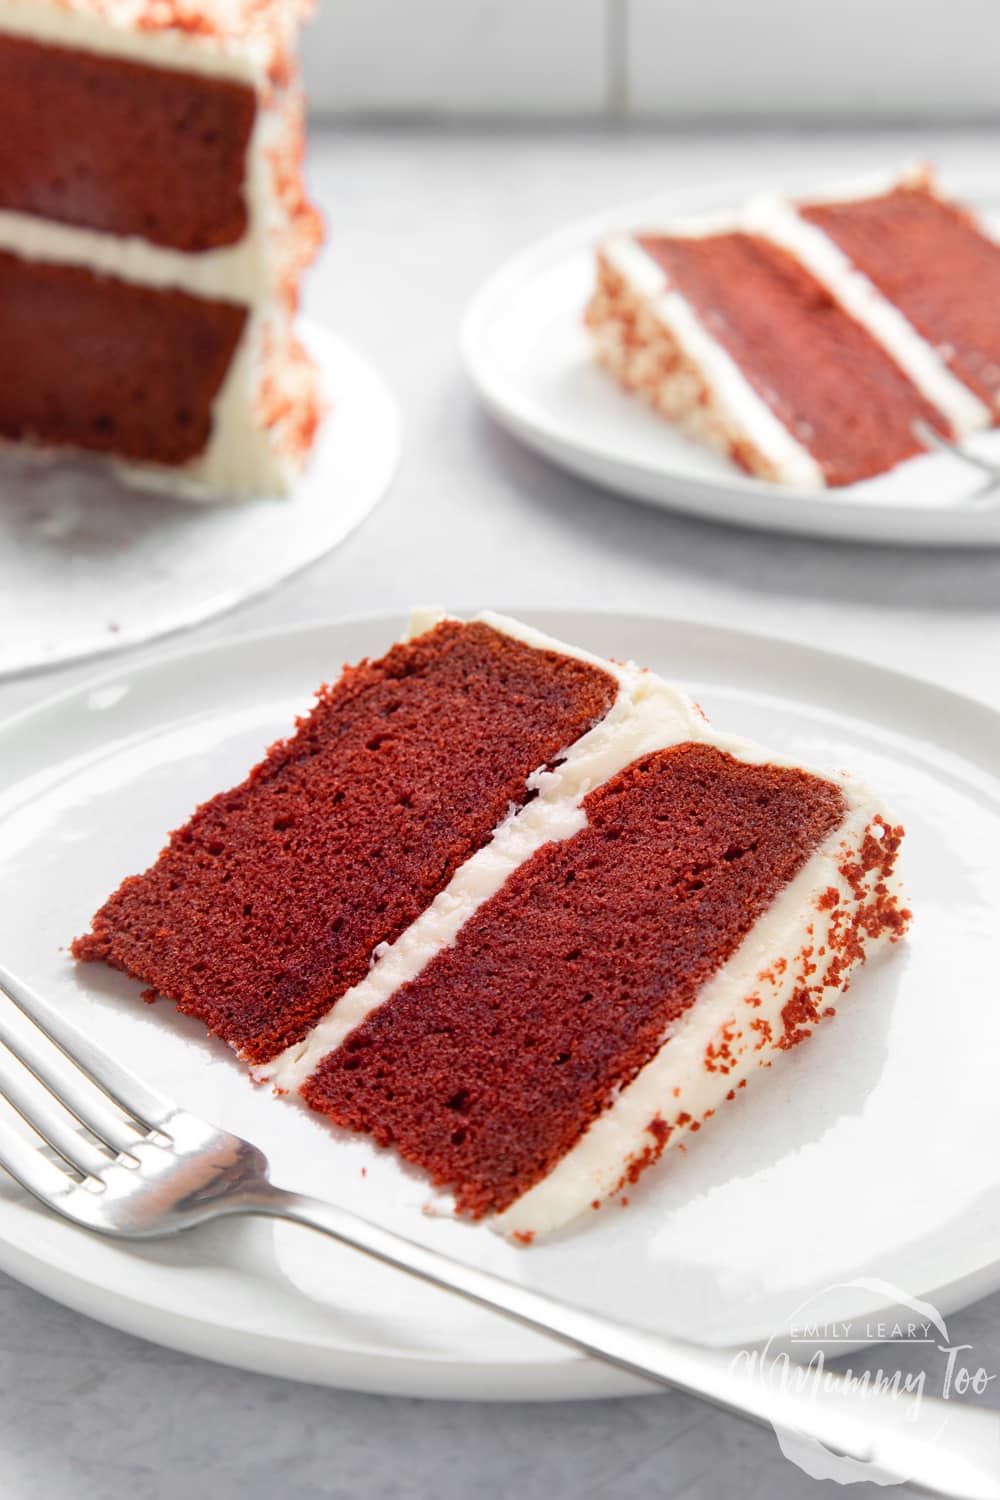
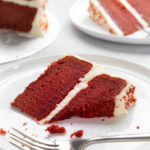
This filled red velvet cake has a gorgeously light and velvety sponge, just as it should, paired with a stunningly sweet and smooth cream cheese frosting.
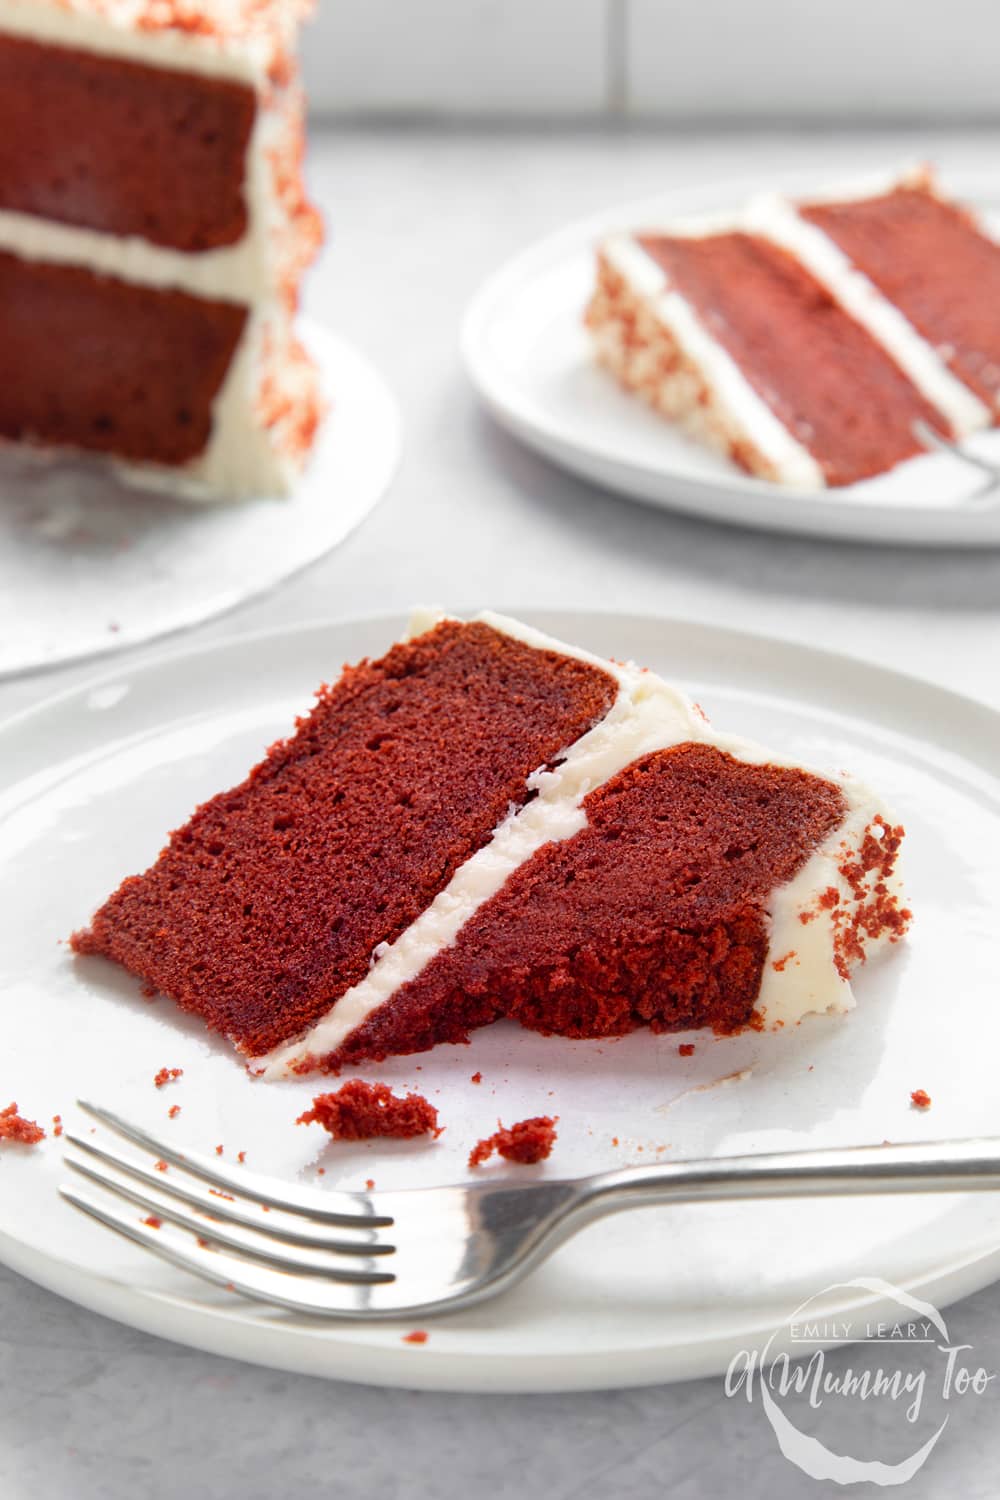
Too many red velvet cake recipes are simply standard sponges with food colouring, which kind of irks me because a red velvet cake should be more than just red, it should be velvety!
The trick to getting the perfect velvety texture isn't just in the balance of ingredients, it's also in the preparation method, so follow along now for the dreamiest filled red velvet cake there is.
Ingredients
For the red velvet sponge
- 8 medium free range eggs
- 400 g (2¾ cups) self-raising white flour (self rising flour)
- 400 g (2¼ cups) white caster sugar (superfine sugar)
- 400 g (3½ sticks) margarine
- 120 ml (½ cup) whole milk
- 4 tbsp cocoa powder (dutch processed)
- 4 tsp red food colouring gel vegetarian if required
For the cream cheese frosting
- 200 g (¾ cup + 2 tbsp) full fat cream cheese
- 100 g (7 tbsp) margarine
- 1 tsp vanilla extract
- 900 g (7 cups) icing sugar (powdered sugar)
Equipment
- 2 Round loose-bottomed 20cm (8") nonstick cake tin
Instructions
Make the red velvet sponge
Preheat the oven to 180C (160C fan, 350F).
Put the flour, sugar, and cocoa in a bowl.
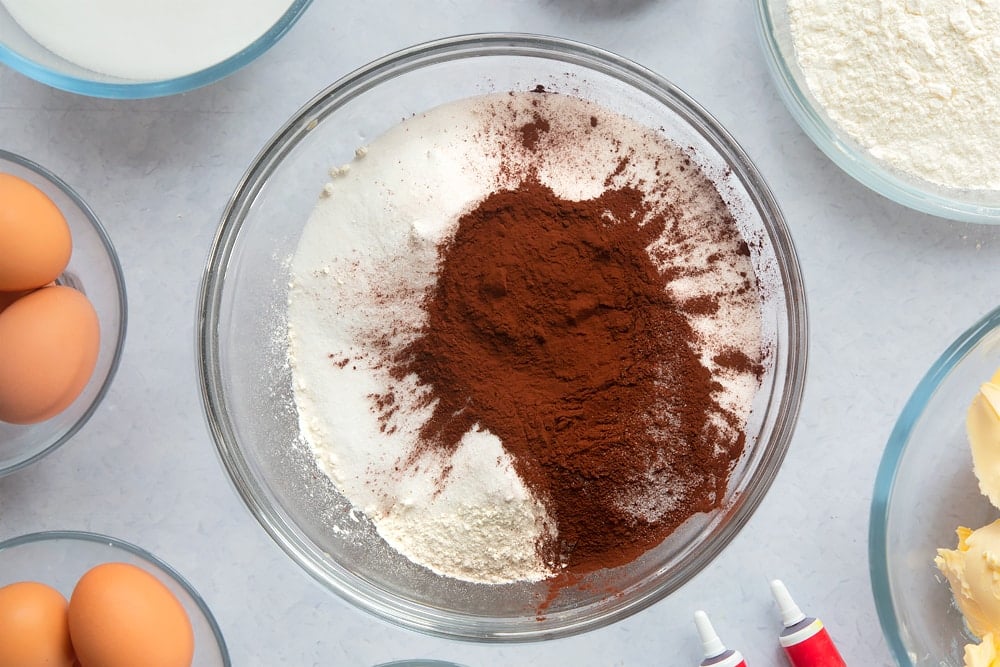
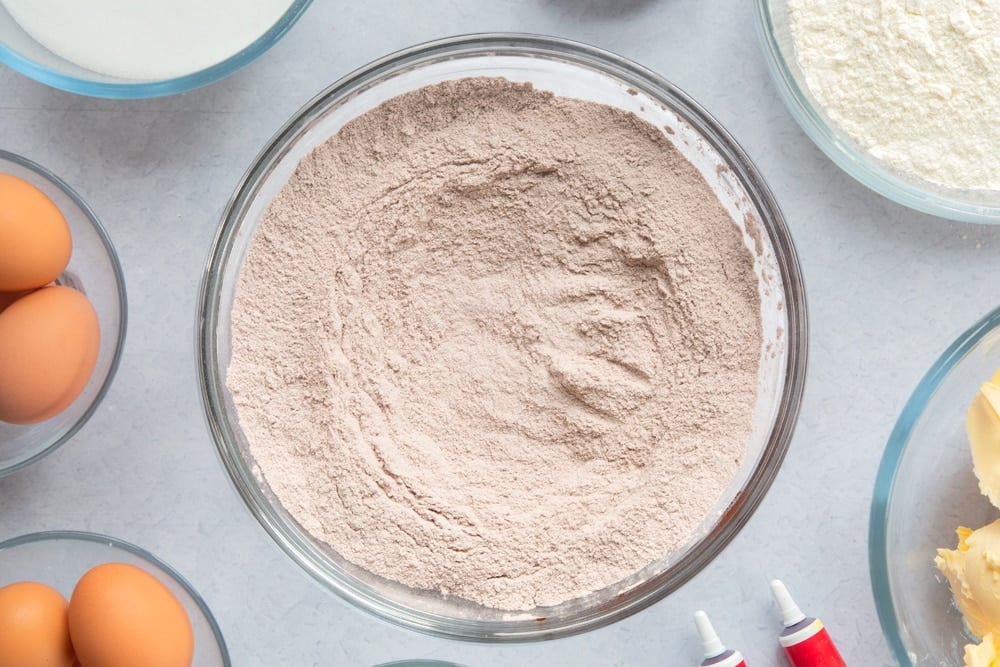
Whisk to combine.
Add the margarine, eggs, milk and food colouring.
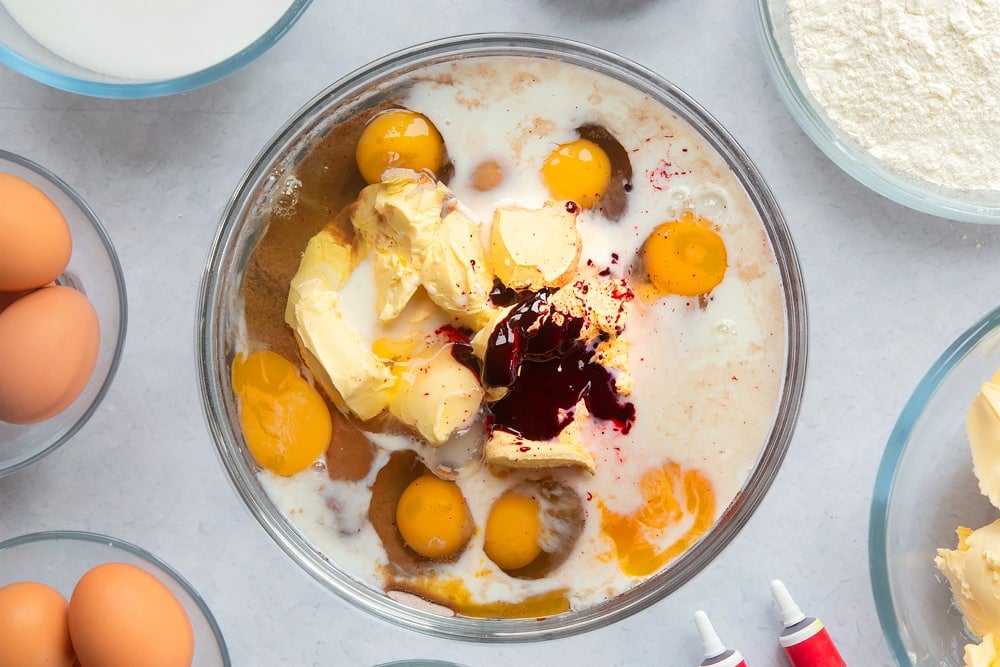
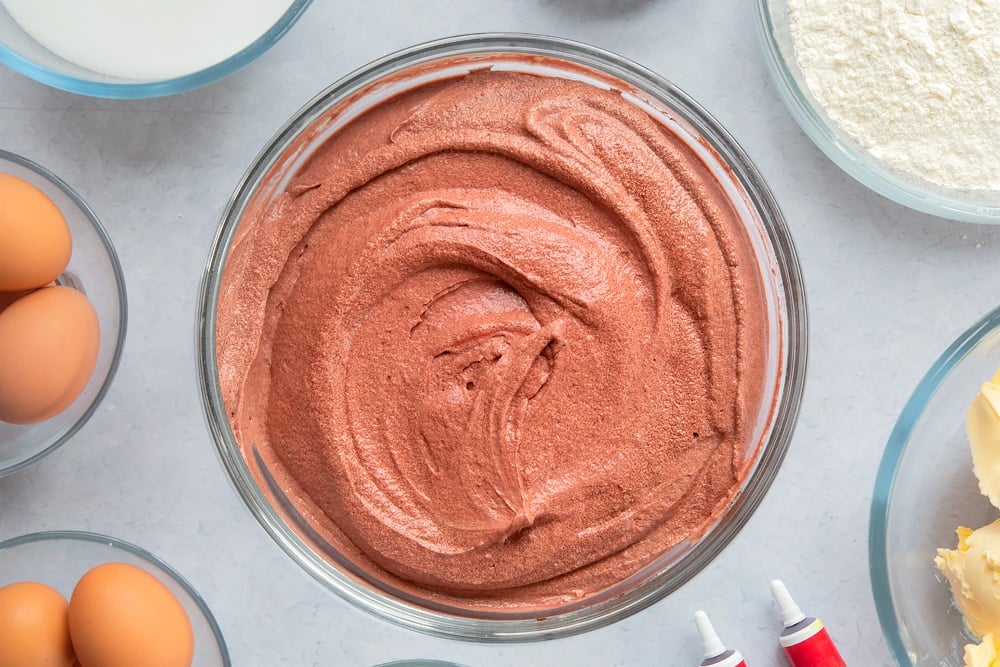
Whisk for about 2-3 minutes with an electric whisk until pale and smooth.
You're probably thinking that seems like a long time for a cake batter, but it's this part of the process that helps achieve the velvety sponge texture.
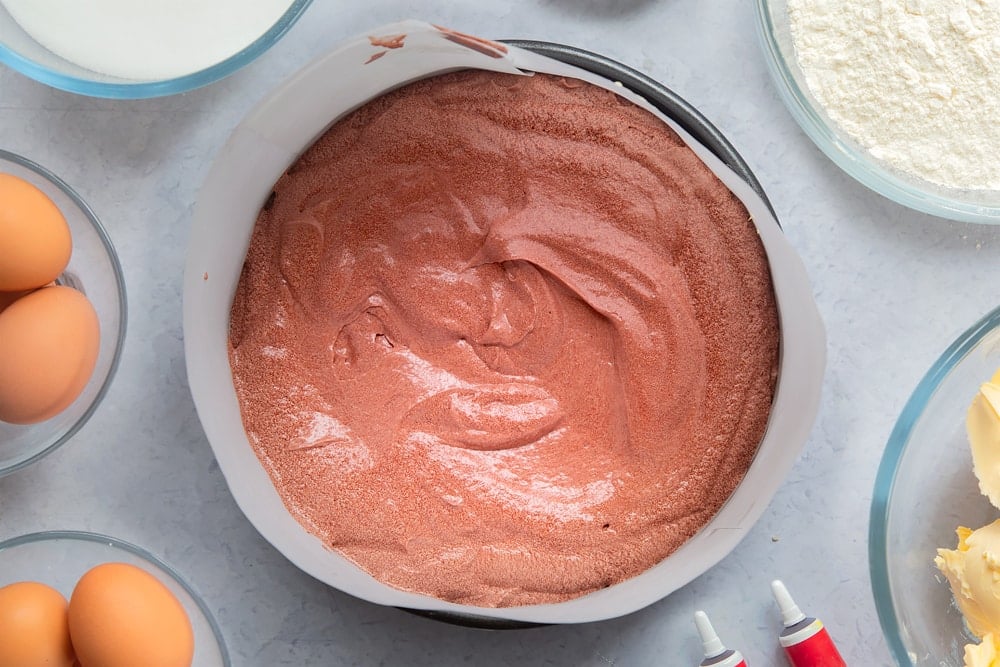
Line two 20cm cake tins with baking paper. I'd recommend making the paper lining quite high to allow for the cakes rising.
Spoon the cake batter evenly between them.
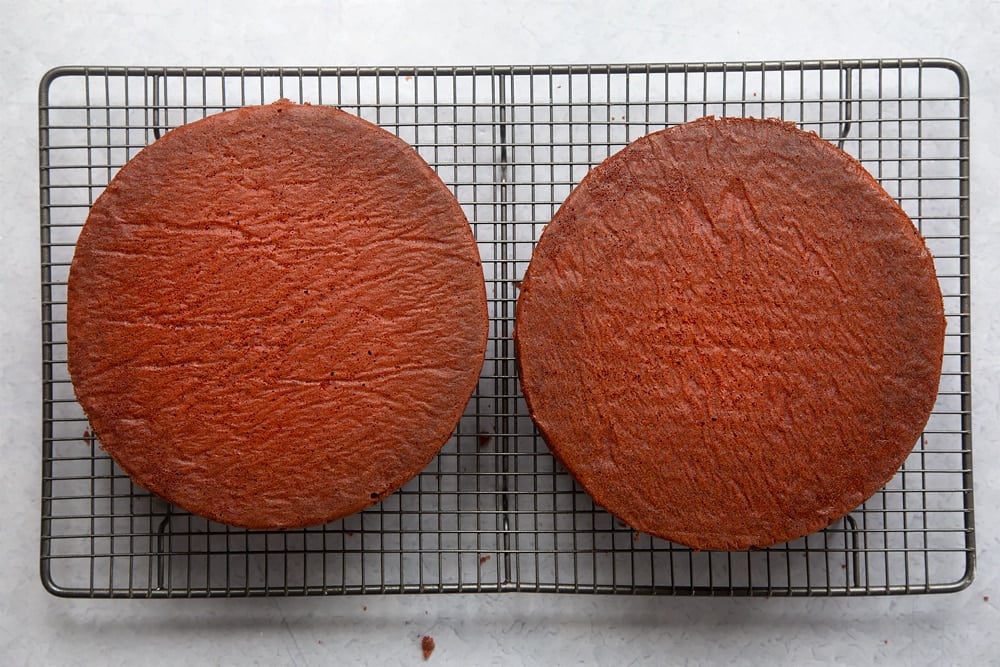
Place your cakes in the oven for 20-30 mins until springy on top. Transfer to a wire rack to cool completely.
Make the cream cheese frosting
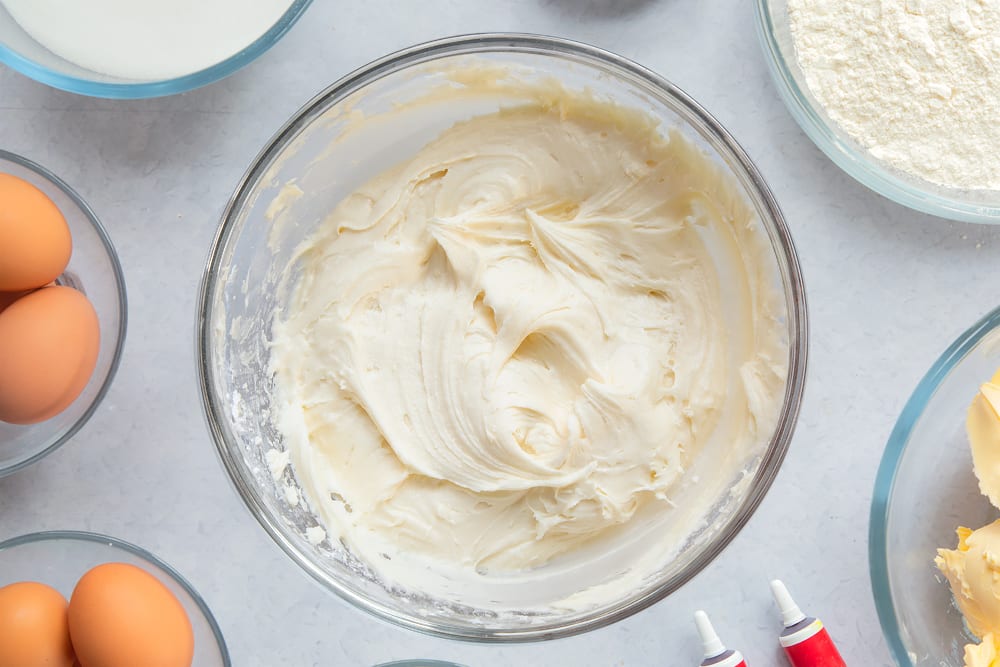
Put the cream cheese and margarine in a clean bowl.
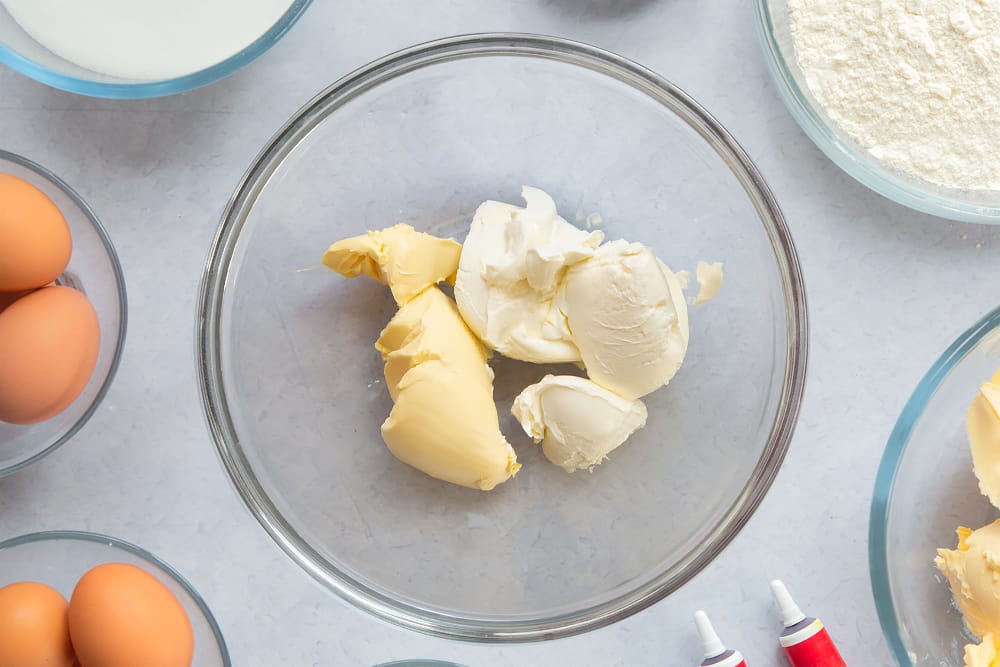
Beat briefly to combine and loosen, then sieve in half the icing sugar and add the vanilla.
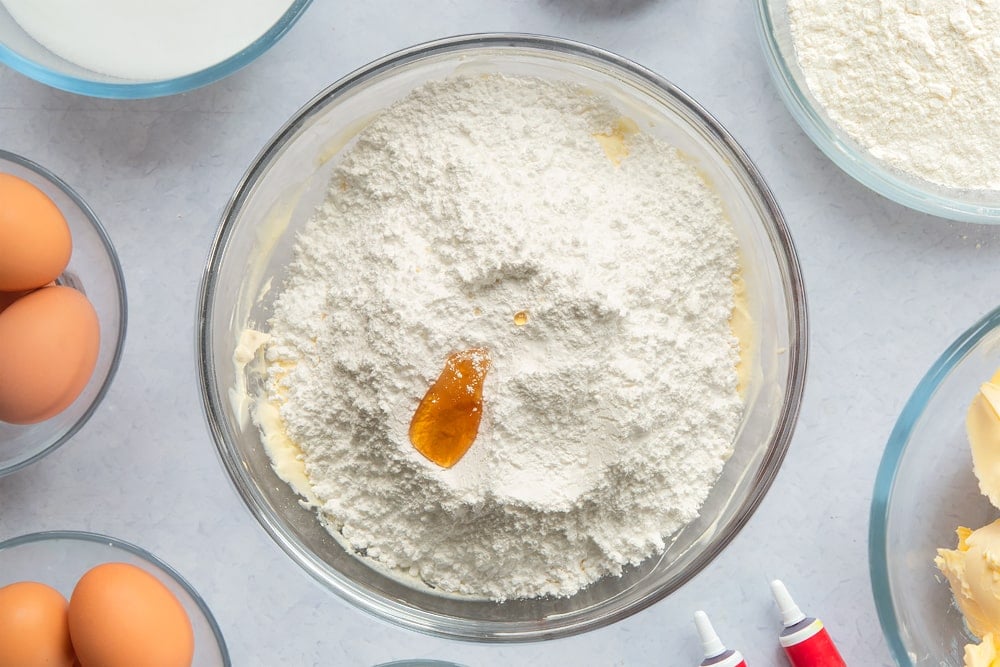
Whisk until smooth.
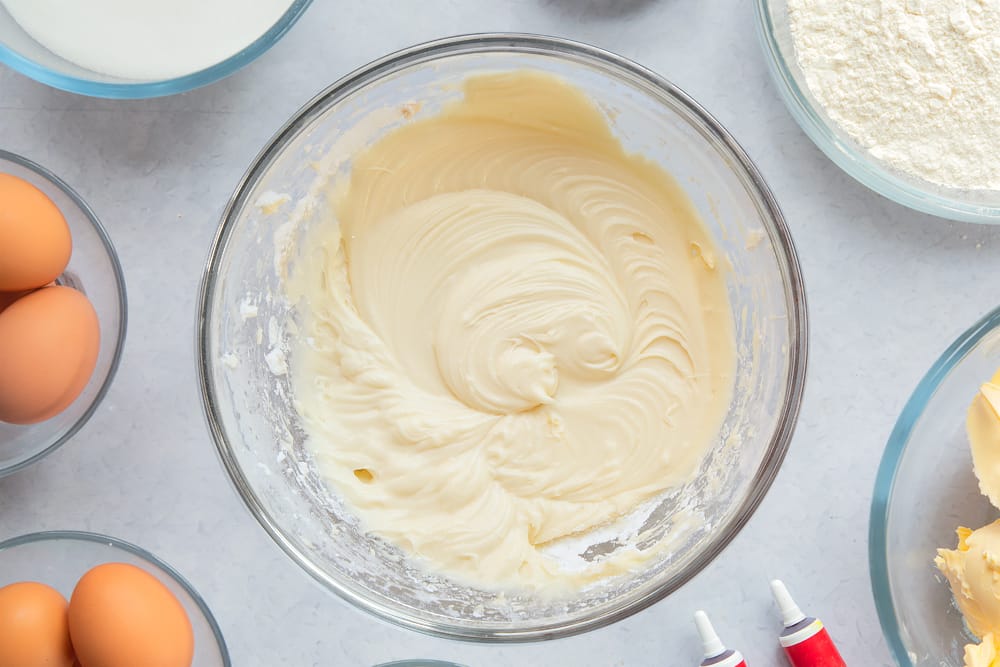
Add the remaining icing sugar.
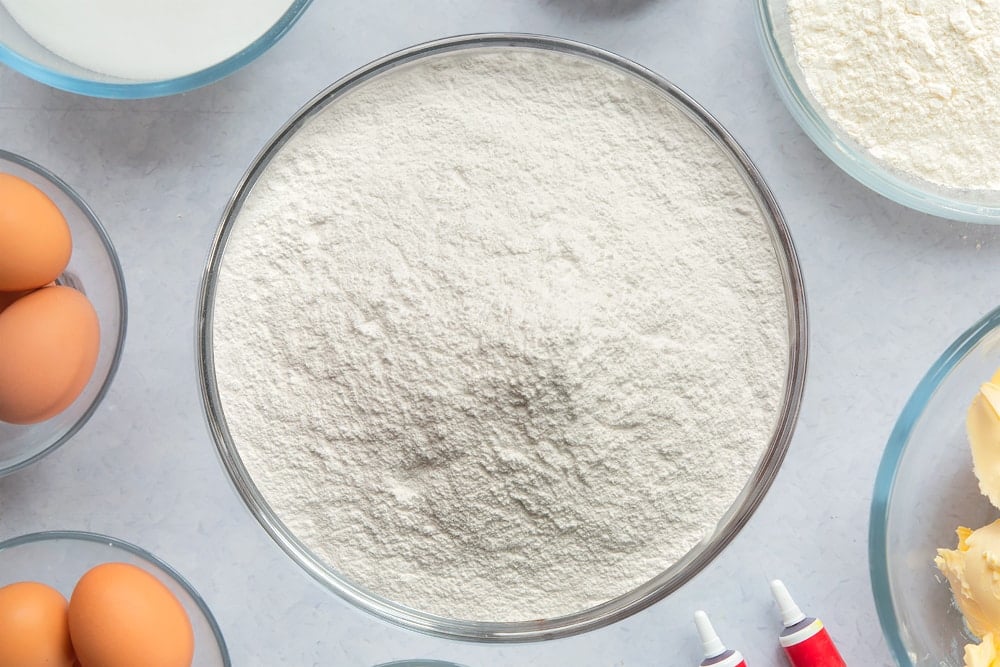
Whisk again until combined.
Assemble the cake
Trim the tops of the cooled cakes so that they are flat on top.
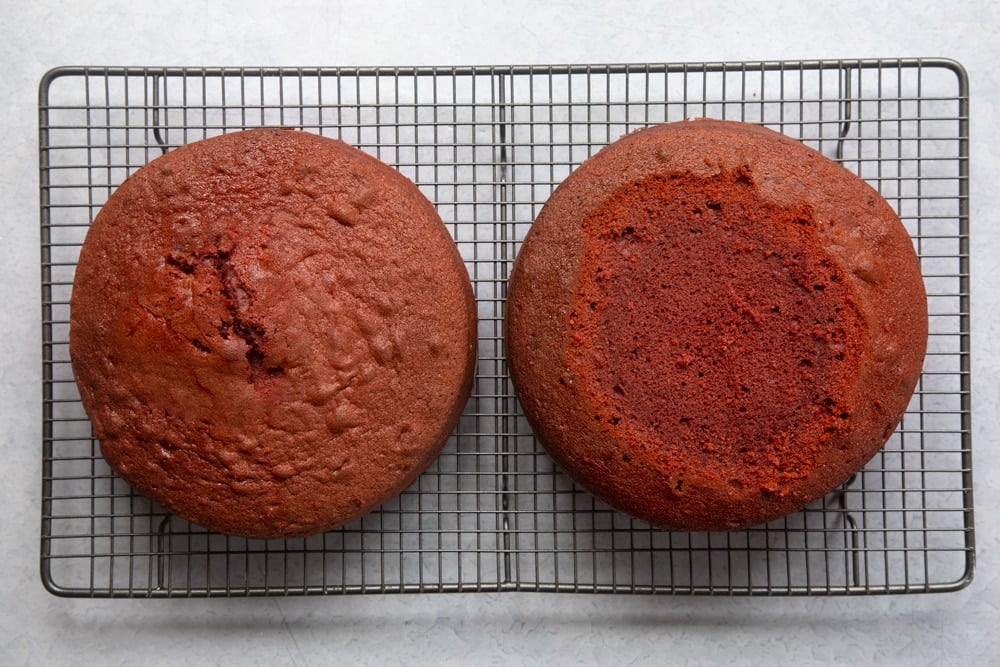
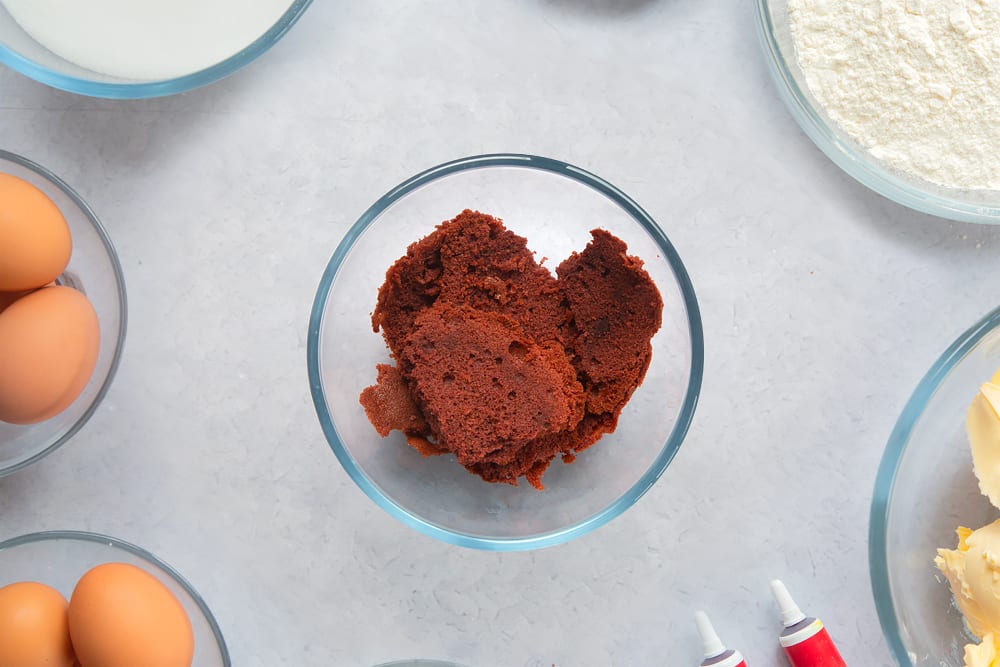
Don't discard the tops - set them aside in a small bowl.
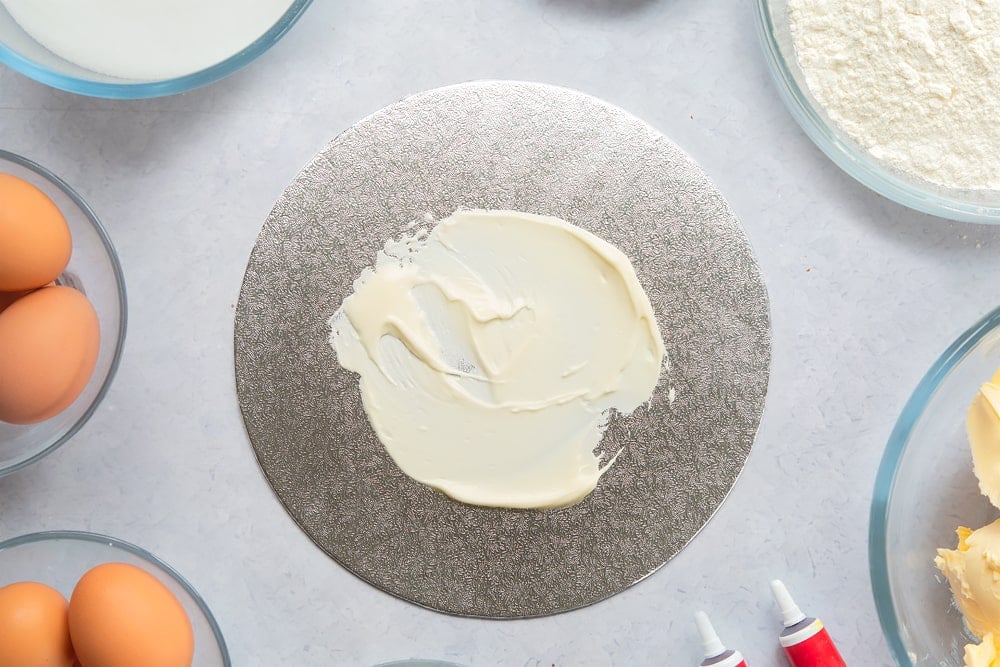
Spread a little of the cream cheese frosting onto the centre of your cake board - this will help the cake stay in place.
Place the first cake on the board, cut side down so that you have a nice smooth surface to work on.
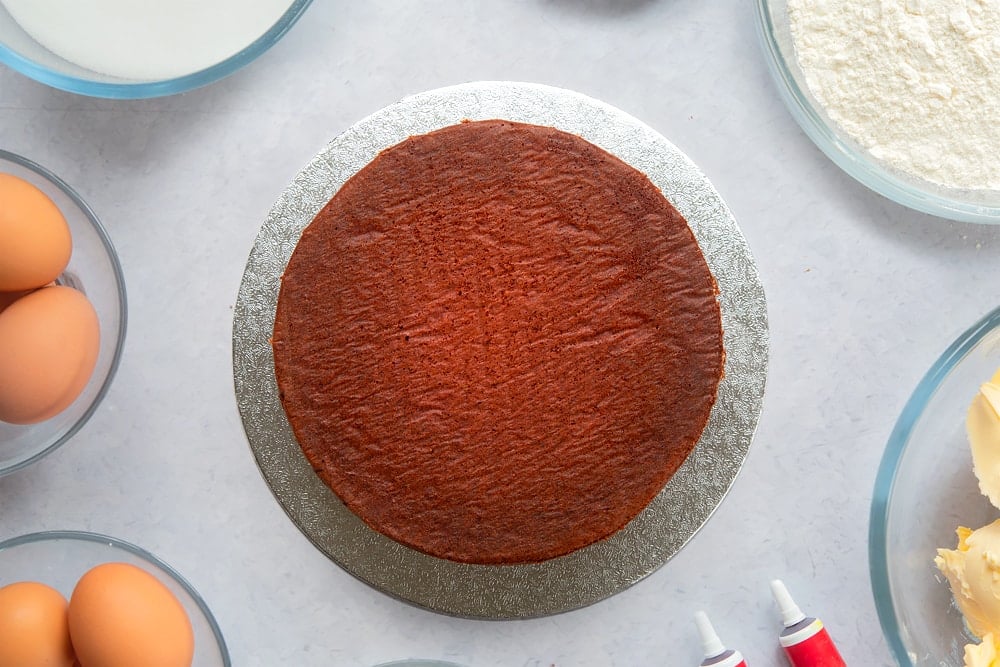
Spoon about a third of the frosting onto the cake and spread gently to the edges.
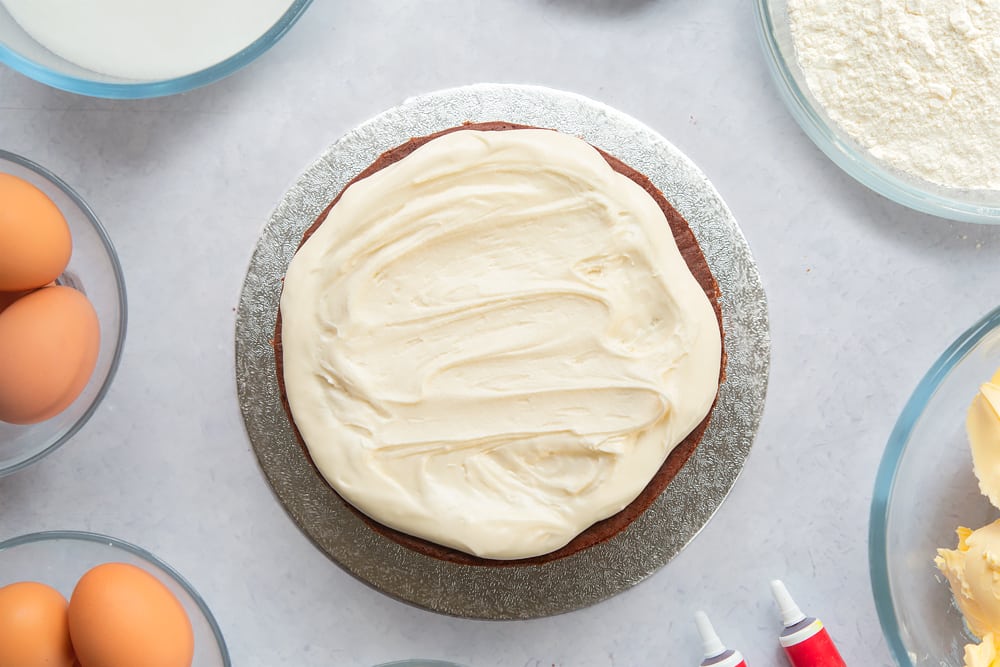
Place the second cake on top - again, place it cut side down to give a smooth, level top.
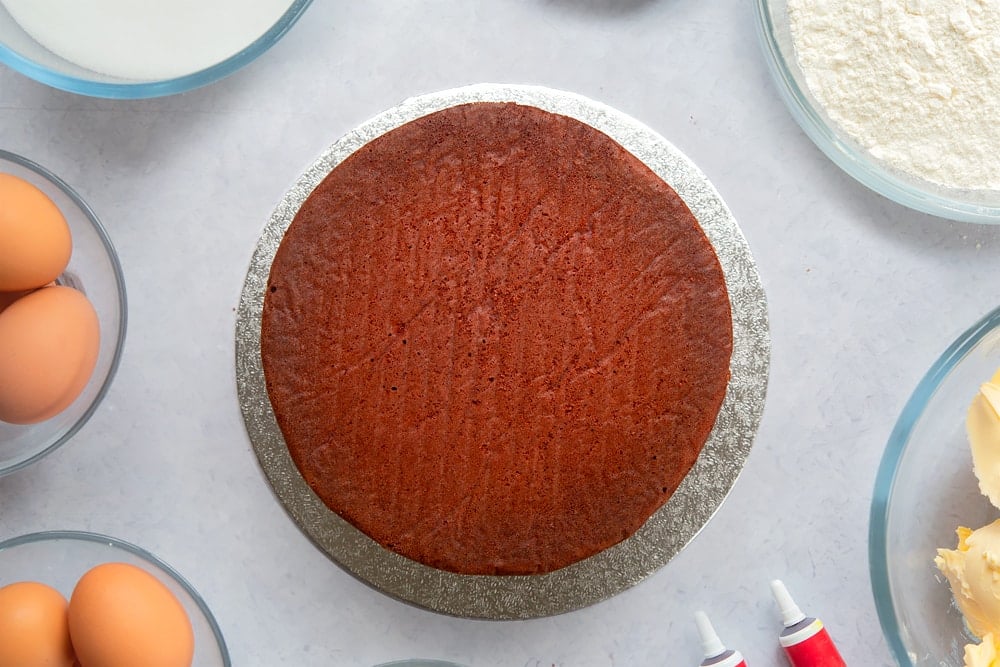
Spread the remaining frosting to completely cover the cake on the top and the sides.
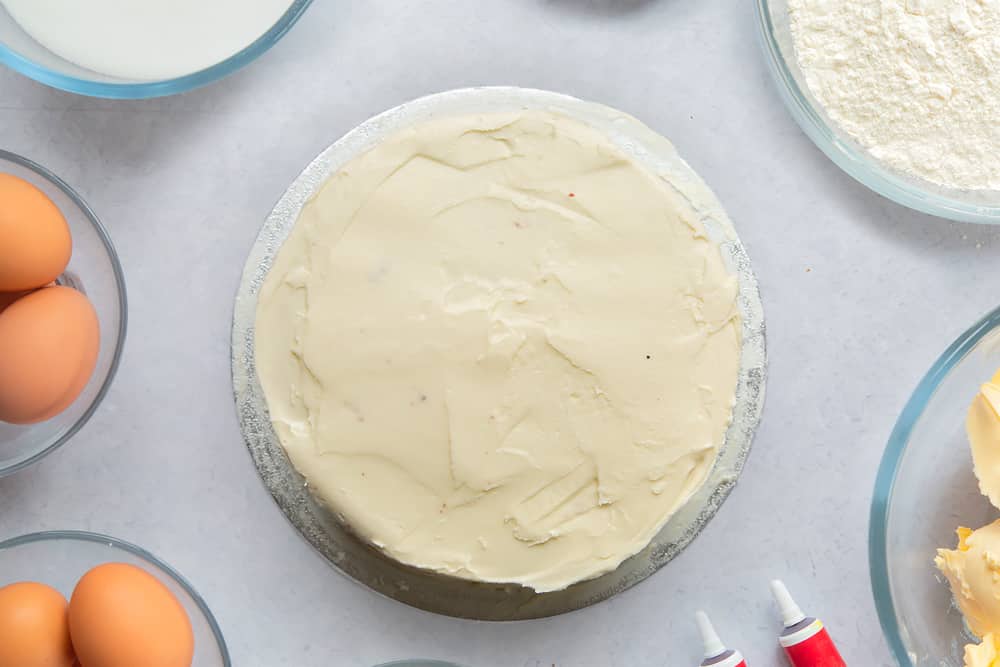
Grab the bowl of cake offcuts you saved from earlier and crumble it up as finely as you can.
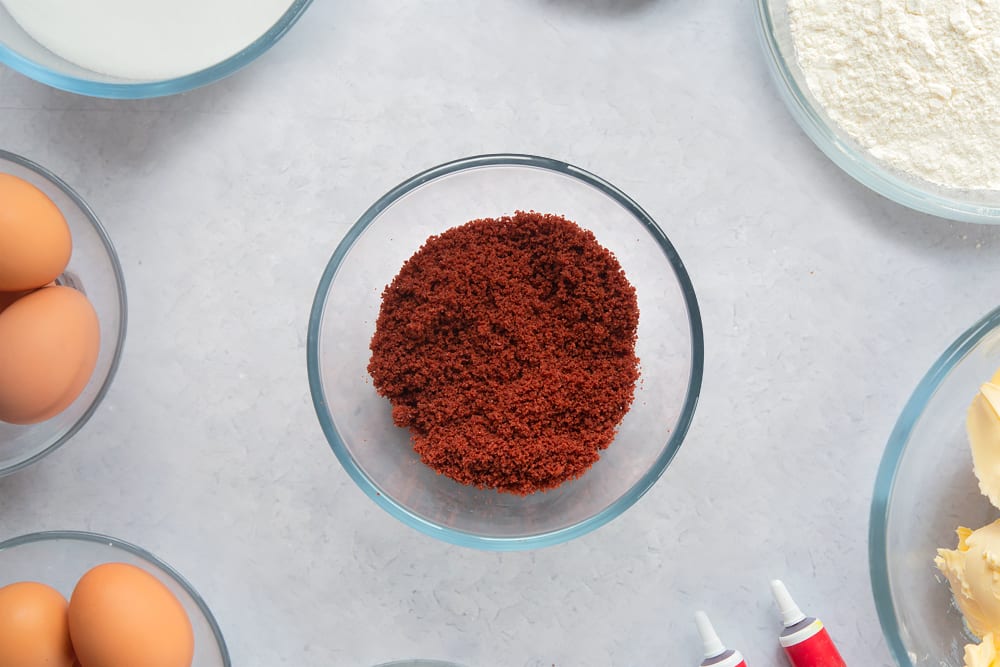
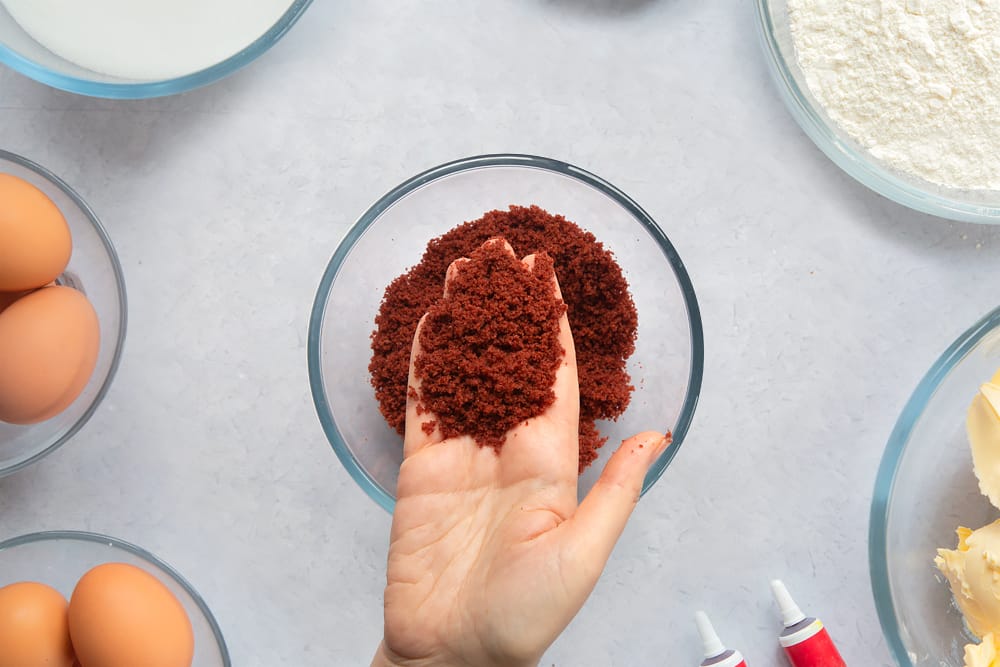
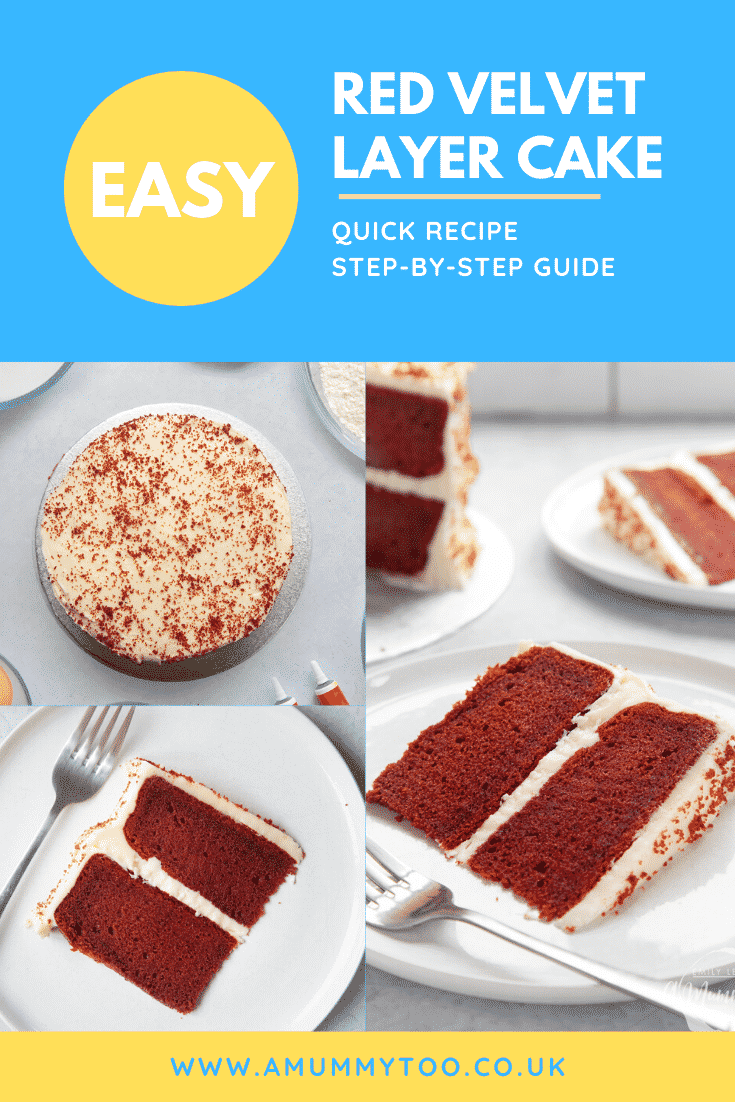
Sprinkle the crumbled cake over the frosting, aiming to cover the top and sides to create decorative red speckles.
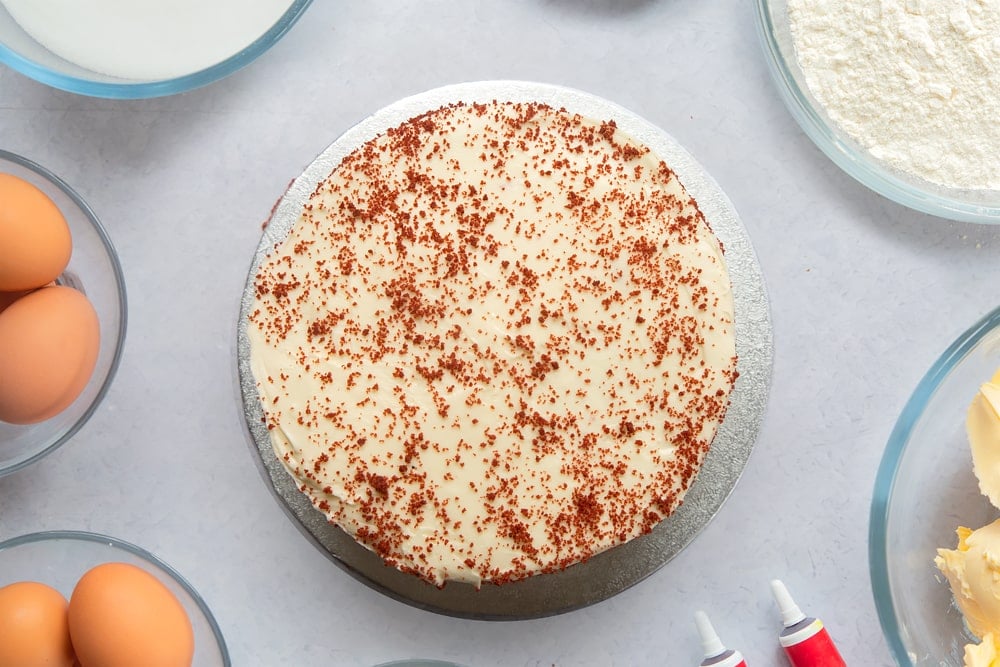
Chill the cake for another 10 minutes, then dig in!
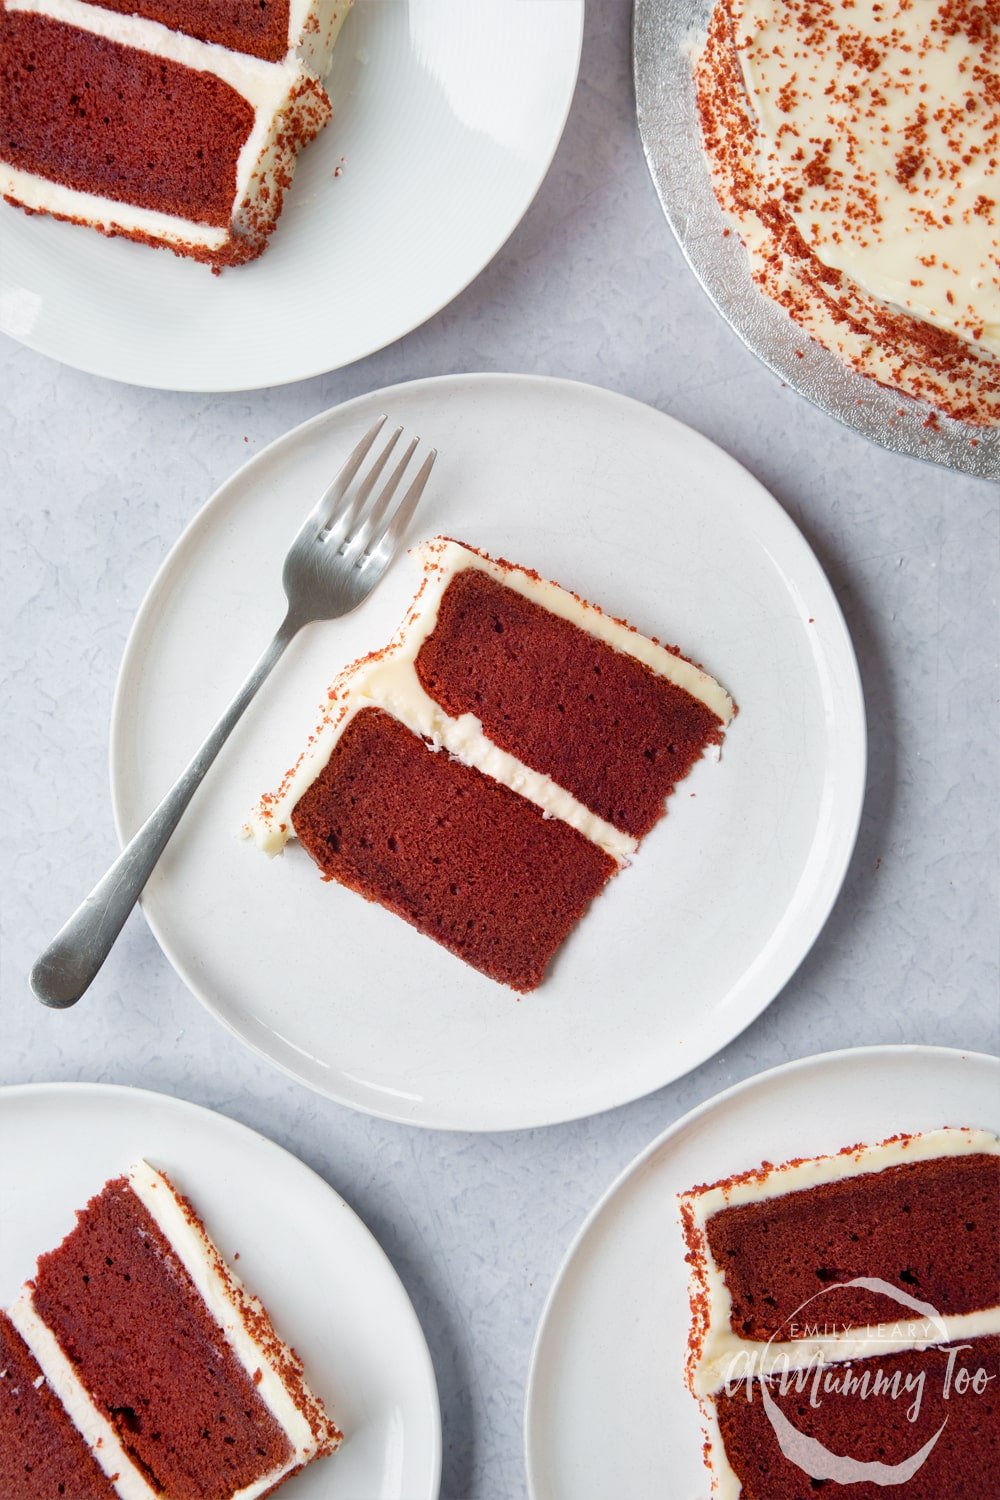
I think it's the prettiest cake you can possibly make. And doesn't that red hue make you just want to dive right in?
Pointers, tricks and troubleshooting tips for the perfect filled red velvet cake
Is filled red velvet cake easy to make?
It's especially easy to make this red velvet cake because all of the sponge ingredients go into a single bowl and are beaten together at the same time, so it requires very little effort!
The frosting is easy to make too. Just be sure to follow the instructions carefully so that you get thick, spreadable frosting.
Will I need any special equipment to make filled red velvet cake?
You don't need any special equipment to make this filled red velvet cake.
It's easiest to use an electric whisk to beat the batter and frosting, but if you don't have one, a standard whisk and plenty of elbow grease will also do the job.
If you only have one 20cm cake tin, you could bake half the batter, turn it out to cook and then bake the other.
Finally, if you have a palette knife and/or cake smoother, it will make it easier to apply the frosting, but if you don't have those, even a basic butter knife will get the job done.
What kind of food colouring is best?
Most supermarkets sell two main types of food colouring: liquid colouring, which tends to come in a bottle, and gel colouring, which tends to come in a pot or tube.
Liquid colour is generally the cheapest, and while it will add pigment to frosting and sugar paste, it has down sides.
Using liquid food colouring adds extra moisture to your recipe and you might find that you can't get the intensity of colour you want without making your sugar paste mushy, your frosting too thin or your batter too watery.
Gel colouring, on the other hand, is much more concentrated than liquid colouring, so you need to add much less to get the desired effect.
The other big downside is that the liquid colouring you can buy in supermarkets is, generally speaking, not bake stable. Have you ever added some liquid colour to your cake batter, seen it turn a vibrant red, popped your cake in the oven, then gone to take it out only to find your cake has returned to its original yellow hue? That's what happens when your colouring isn't bake stable. Annoying, huh?
The good news is that gel food colouring is almost always bake stable, meaning if you put a red batter in the oven, you'll get a red sponge. Hurrah!
For these reasons, I always recommend choosing gel food colouring for your bakes. If unsure, you can check the label to make sure its bake stable.
Where can I buy gel food colouring?
Gel food colouring is available in the baking aisle of most supermarkets, or online. A popular brand in the UK is Dr Oetker, which works well.
Which cream cheese is best?
I recommend using full fat cream cheese.
In the US, cream cheese tends to come in a block and is quite firm. In the UK, it tends to come in a tub and can be quite soft, which can result in quite a runny frosting.
When you open your tubs, drain off any spare liquid straight away - it should pour out of the tub easily.
I tested this recipe with Philadelphia full fat cream cheese, which is on the softer side and it works well.
Why did my cream cheese frosting go runny?
It's important to get the right quantity of fat (margarine and cream cheese), liquid (vanilla essence) and icing sugar. Too much fat or liquid and your frosting will not hold its shape. Follow the recommend ingredient quantities closely.
If you open your cream cheese and it has excess liquid visible in the tub, pour that away before use.
Over-beating your frosting can also cause it to collapse so only whisk until you have the desired consistency.
Personally, I find the frosting made entirely from UK cream cheese simply doesn’t hold its shape well, which is why I use some margarine in this recipe. It helps the frosting to hold together better. You won't get the results you need if you use entirely cream cheese.
If you find that you followed all the instructions but your frosting is still a little bit too loose to work with, cover it and pop it in the fridge for 15 minutes - you should find that it firms up considerably. You could also chill your cake while doing so that the sponge helps keep the frosting cool.
How can I tell if my cream cheese had gone off?
Cream cheese comes with a Use By date which should always be heeded. Never eat cream cheese that is past its Use By date, even if it looks fine.
It's really important to practice good food safety practices from end to end. So keep your cream cheese chilled at all times and only use clean utensils if taking cream cheese from the tub/packet. Cream cheese that is contaminated with food crumbs will often go bad or mould much quicker.
Always replace the top firmly on your cream cheese tub or, if using foil-wrapped cream cheese, place it in a sealed container once opened.
Cream cheese should always be stored in the fridge and never left out on the counter. If your cream cheese has been left out for longer than an hour, then best to discard it.
Once your cream cheese has been opened/unwrapped, it will go off more quickly than an opened container. Check the product packaging for advice such as "consume within 1 week of opening" - you can write the date on the packaging, if you like, to help you remember when to throw it out.
If your cream cheese is within the safe window, dates wise, then you can use your senses to judge if your cream cheese is safe to eat.
First, look. If your cream cheese has started to look dry and cracked, with liquid pooling around it, it is past its best and should be discarded.
Likewise, if there is any visible mould or discolouration on your cream cheese, throw the whole tub away.
If everything looks good, smell your cream cheese. It may smell sour or just "off". This is another sign that your cream cheese is not safe to eat.
If your cream cheese looks and smells absolutely fine, has been used and store correctly and is within the Use By period, then you can give it a small taste.
If it tastes in any way sour or unusual then it is best to discard it. If it tastes fine after all those other tests, you should be safe to go ahead and use it.
Is filled red velvet cake suitable for vegetarians?
This filled red velvet cake is totally suitable for vegetarians.
However, to be on the safe side I'd recommend that you check the labels on all ingredients. Sometimes, for example, animal rennet might be used in the production of the cheese.
Is filled red velvet cake suitable for vegans?
This filled red velvet cake is not suitable for vegan as it contains dairy margarine, dairy cream cheese, dairy milk
However, if you wanted to try to convert it to a vegan recipe, then you could try using a plant-based margarine, plant-based milk and a plant-based cream cheese, such as coconut cream cheese
You'd also need an egg replacer. The following is a list of egg alternatives that usually work with cake. Each one is equal to 1 egg so you should multiply by eight for this particular recipe.
- Store-bought egg replacement powder (use as directed on the packet).
- 1 tablespoon of crushed chia or flax seeds mixed with 2 tablespoons of water and left for 10 minutes in the fridge.
- 3 tablespoons of aquafaba.
- 3 tablespoons of applesauce.
- Half of a medium-sized banana, very well mashed. It’s best to use fairly ripe bananas for this as they will mash more easily and bind your ingredients together more effectively.
Please note that I haven't tried this myself so I am not certain of the results you would get. I would love to hear how you get on and you try it
Is filled red velvet cake gluten-free?
This filled velvet cake is not gluten-free as it contains wheat flour.
However, if you want to try making it gluten-free then I recommend using a good quality, gluten-free self-raising flour.
This type of flour is usually made from a variety of different grains and starches (e.g. rice, potato, tapioca, maize and buckwheat) and also usually contains a binding agent such as xanthan gum alongside the raising agent.
You should also check the packaging on your gluten-free flour as there may be specific advice on any adjustments needed to get the best results.
I haven't tried using gluten-free flour for this recipe, so I'd love to hear how you get on
Is filled red velvet cake keto-friendly?
This recipe is not suitable for a ketogenic diet as it contains large amounts of flour and sugar, which contribute to a high carbohydrate content.
Is filled red velvet cake healthy?
Like most cakes, this one is high in fat and sugar, so should be enjoyed as an occasional treat in moderation as part of a healthy and well balanced diet.
Is filled red velvet cake safe to eat while pregnant?
There is nothing in this recipe that should present a risk to pregnant people if the ingredients are in good condition and have been stored correctly, and the recipe is cooked hygienically and safely.
A Mummy Too does not offer medical advice. You can review the NHS advice here and you should consult with your medical professional regarding any concerns.
What goes well with filled red velvet cake?
Filled red velvet cake is stunning to serve by itself since you already get the velvety, gently chocolaty sponge paired with the sweet, creamy, cool frosting.
However, if you wanted to, you could serve your cake with some chocolate or vanilla ice cream, or with some freshly sliced strawberries
Can I make filled red velvet cake without food colouring?
If you don't add any food colouring to this recipe, your cakes will probably turn out a golden chocolate shade, thanks to the cocoa content.
If you're worried about E-numbers, you could opt for a natural food colouring, such as PME 100% Natural Food Coloring, for example.
You could also make your own natural food colouring by finely grating some beetroot into the recipe. I haven't tried using beetroot with this particular cake so if you try it, please let me know how you get on
Can I make filled red velvet cake without cream cheese frosting?
You can certainly make this cake without the frosting - the sponge is delicious by itself.
Can I use store-bought frosting?
If you prefer, you could use a shop-bought tub of frosting.
Just be aware that shop-bought frosting doesn't tend to be as good at holding its shape as homemade frosting, so you may find that the cake slides around a little and the whole things needs a lot of chilling to work well.
I haven’t got cream cheese, can I use butter?
Yes, you can use butter instead of cream cheese. I'd recommend using 450g butter and 900g icing sugar.
Can I add extra cocoa to my filled red velvet cake?
The cocoa is supposed to contribute gently to the red velvet flavour, rather than turning into a full on chocolate cake.
You can add another tablespoon, if you like, but bear in mind that the more you add, the more you will alter the texture and colour.
You might also find that your cake seems less sweet the more cocoa you add.
If you experiment, let me know how it goes.
Can I leave filled red velvet cake out on the counter?
Do not leave your cake out on the counter as you risk allowing the bacteria in the food, particularly the frosting, to multiply to unsafe levels.
How should I store filled red velvet cake? Can I keep filled red velvet cake in the refrigerator?
Red velvet cake has a cream cheese frosting so should be kept in the fridge.
Once your cake is fully constructed it should go into the refrigerator within 1 hour.
To keep it fresh, transfer it to a sealed container or cover with a cake dome.
How long does filled red velvet cake keep?
If properly stored, well-covered in the refrigerator within an hour of making, your red velvet cake should keep for three to five days.
Can I make filled red velvet cake ahead?
Yes, this filled red velvet cake lends really well to being made ahead.
You can make the sponges, cool them completely and then wrap them well and place them in the fridge or freezer overnight, then continue decorating.
You could also make the cream cheese frosting in advance but make sure to get it straight into the fridge well covered.
You may find that it goes too stiff to work with if it stays in the fridge overnight, but beating it with an electric whisk should bring it back to texture.
Personally, to avoid complications, I would suggest making the sponges the night before and the cream cheese frosting on the day.
Can I freeze filled red velvet cake?
Yes, you can freeze filled red velvet cake.
Make sure to transfer your cake to an airtight, freezer-safe container. You'll want to leave a little extra space to avoid smearing the frosting, but try to avoid leaving too much as the more air there is in your container, the more likely your cake is to develop frost.
I like to cut my red velvet cake into slices before placing them in their container with a little space or baking paper between them. This helps keep the frosting intact, plus I can defrost my cake slice by slice as and when I want it.
What is the best way to defrost filled red velvet cake?
Remove your filled red velvet cake from the freezer and place, covered, in the refrigerator to thaw overnight.
Can I make filled red velvet cake in a different quantity?
Yes, you can make this filled red velvet cake in different sizes.
Scroll down to the recipe card towards the bottom of this post and hover your mouse (or tap your finger) over the portion number - it's set to 16 by default.
You will then be shown a slider, which you can move up and down to change the number of portions the recipe will make. As you do so, all of the ingredient quantities will automatically change accordingly.
The easiest way to make this cake in a different quantity is to add layers, but how? Well, the default recipe makes 2 layers, shown as 16 slices, so you can use a bit of maths to make a taller cake.
To make extra layers, use these amounts on the slider:
- 16 servings on the slider = enough batter for 2 layers
- 24 servings = 3 layers
- 32 servings = 4 layers
For a three-layer cake or more, you might need doweling (long sticks) to support the layers. Here is a great explanation on how to dowel a cake.
If you have any questions about changing the quantities, just ask!
Can I make filled red velvet cake in a different shaped tin/tray?
You can make this cake in a different shaped tin or tray.
Just bear in mind that if the tray or much bigger or much smaller than the recommended 20cm round sandwich tins, this will probably affect the baking time.
Generally speaking, wide shallow cakes will cook more quickly than the same batter cooked in a narrow, deep tin.
Keep an eye on your cake throughout baking and be sure to avoid opening the oven until it looks like it has set all the way across.
Next, press a finger gently on the top to make sure it's firm and finally, push a skewer into the centre, right to the bottom - it should come out completely clean. If so, your cake is ready.
Can I make red velvet cake in individual portions?
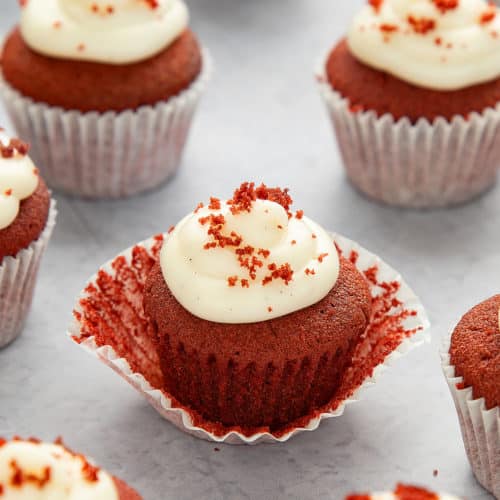
You can indeed make this recipe in cupcake form. Here's my recipe for mini red velvet cupcakes!
Can I make filled red velvet cake in a stand mixer such as a KitchenAid or Kenwood Mixer?
The red velvet batter recipe is perfect for making in a stand mixer. You can simply put all of the sponge ingredients into the bowl of the mixer and then turn it on, whisking until you have a perfectly creamy consistency.
You could also use your stand mixer to make the frosting. If you do, make sure you keep an eye on it so that you don't over-mix the frosting. Once you've reached the desired texture, as over mixing can cause the frosting to collapse or loosen.
How can I make sure my filled red velvet cake is perfectly baked?
Make sure your cakes are cooked all the way through before removing from the oven. Don't be tempted to even open the oven until they look set and dry all the way across.
Looks good? Press a finger gently on the top of the centre - it should feel firm and spring back.
Springy? Push a skewer into the centre, right to the bottom - it should come out completely clean. If so, your cake is ready.
Check both cakes individually as one may cook slightly faster than the other.
Why did my red velvet cake turn out dry?
Dry cake is usually down to either an incorrect balance of ingredients or too long in the oven.
Follow the quantities of the ingredients closely and keep an eye on your cake so that it does not bake past the point where it is set.
Why did my red velvet cake burn?
If your cake burned, it was quite simply in the oven too long - keep an eye on it so that you can remove it before that happens next time.
If you find that your cake is overcooked or even burnt on the outside before it has had a chance set in the middle, then you probably have your oven temperature too high.
Lots of ovens run hotter or colder than their dial suggests. I'd recommend investing in an oven thermometer so that you can keep an eye on the true temperature.
Why didn’t my red velvet cake rise? Why did my red velvet cake turn out dense?
If your cake turns out very dense, it could be that the raising agent in flour is no longer working properly. Try adding a teaspoon of baking powder next time and invest in some new flour when you can.
It could also be that it was removed from the oven before it was fully baked through, meaning it collapsed and became dense while cooling.
Why did red velvet cake turn out undercooked?
If your cake is removed from the oven before it's properly baked through, then it will inevitably seem wet, dense or undercooked.
It's really important that you bake your cake properly. First, look through the oven door. Does it look set and dry all the way across? If it doesn't, then it isn't ready.
Second, carefully open the oven, trying not to bang or disrupt the cake. Gently press a finger onto the top in the centre - it should spring back. If it doesn't, your cakes are not ready so carefully close the oven door again.
If your cake passes the first two tests, then gently slide the oven shelf open and push a skewer into the centre of the cake. If the skewer comes out absolutely clean, the cake is ready.
If you find that you need to bake the cake for longer than the recipe suggests, know that this actually isn't unusual. Lots of ovens run hotter or colder than their dial suggests.
Consider investing in an oven thermometer so that you can keep better track.
Also, remember that not all ovens are created equal and some are simply better at circulating heat evenly than others. Baking is an art as much as it's a science, so you do need to use your judgment and get to know your oven to get the perfect bake.
Why did my cake sink in the middle?
A cake that sinks in the middle is nearly always a result of opening the oven door too soon.
This is because as a cake rises, it develops little pockets of gas produced as the raising agents (bicarbonate of soda and cream of tartar) react together in the wet batter.
If you open the door too soon, the batter will not be firm enough to keep those little air pockets in place and so it will collapse. Once this has happened, it's really hard for the cake to recover. Even if it continues to rise once you've closed the door again, you may still see a dip in the middle.
You're also very likely to see a dip in the middle if you slam the oven door after checking on the cake as this can shake the delicate crumb structure and cause it to collapse.
Alternatively, if your oven is running too hot, the cake may rise too quickly on the outside and then collapse in on itself because the internal structure is set enough to hold its shape.
It could also be that you use too much or too little raising agent, so measure them closely and consider investing in some new self-raising flour as it can lose its raising potency over time.
How can I add/change the flavours in my filled red velvet cake?
I think the flavours in this cake are perfect; just as a red velvet cake should be.
However, if you wanted to add more flavour, you could try adding a hint of strawberry essence to the sponge, or a drop of peppermint essence to the frosting. Be sure to use flavourings like these sparingly so that you don't overwhelm the natural flavours of the cake.
You could also try sprinkling freeze-dried strawberries over the top of the frosting in place of the crumbled sponge used in this recipe.
What is the origin of red velvet cake?
Red velvet cake recipes can be traced back to the early 20th century in Maryland, United States of America.
Before that, in the 19th century, people were already enjoying “velvet cake”, which as you'd expect had a soft and velvety crumb.
It’s through that it was during rationing in World War Two that bakers began to use boiled beetroot to colour their cakes and make them more appetising. Other versions of the cake use a reaction between the cocoa and vinegar to release the naturally red coloured anthocyanins in the cocoa.
The popularity of the red velvet cake grew in the 40s and 50s and really hit its stride in the 2000s. Today it tends to be coloured with red food colouring.
Filled Velvet Cake Recipe
Ingredients
For the red velvet sponge
- 8 medium free range eggs
- 400 g (2¾ cups) self-raising white flour (self rising flour)
- 400 g (2¼ cups) white caster sugar (superfine sugar)
- 400 g (3½ sticks) margarine
- 120 ml (½ cup) whole milk
- 4 tbsp cocoa powder (dutch processed)
- 4 tsp red food colouring gel vegetarian if required
For the cream cheese frosting
- 200 g (¾ cup + 2 tbsp) full fat cream cheese
- 100 g (7 tbsp) margarine
- 1 tsp vanilla extract
- 900 g (7 cups) icing sugar (powdered sugar)
Equipment
- 2 Round loose-bottomed 20cm (8") nonstick cake tin
Instructions
Make the red velvet sponge
- Preheat the oven to 180C (160C fan, 350F).
- Put the flour, sugar, and cocoa in a bowl.
- Whisk to combine.
- Add the margarine, eggs, milk and food colouring.
- Whisk for about 2-3 minutes with an electric whisk until pale and smooth. You're probably thinking that seems like a long time for a cake batter, but it's this part of the process that helps achieve the velvety sponge texture.
- Line two 20cm cake tins with baking paper. I'd recommend making the paper lining quite high to allow for the cake rising.
- Spoon the cake batter evenly between them.
- Place your cakes in the oven for 20-30 mins until springy on top. Transfer to a wire rack to cool completely.
Make the cream cheese frosting
- Put the cream cheese and margarine in a clean bowl.
- Beat briefly to combine and loosen.
- Sieve in half the icing sugar and add the vanilla.
- Whisk until smooth.
- Add the remaining icing sugar.
- Whisk again until combined.
Assemble the cake
- Trim the tops of the cooled cakes so that they are flat on top.
- Don’t discard the tops – set them aside in a small bowl.
- Spread a little of the cream cheese frosting onto the centre of your cake board – this will help the cake stay in place.
- Place the first cake on the board, cut side down so that you have a nice smooth surface to work on.
- Spoon about a third of the frosting onto the cake. Spread gently to the edges.
- Place the second cake on top – again, place it cut side down to give a smooth, level top.
- Spread the remaining frosting to completely cover the cake on the top and the sides.
- Grab the bowl of cake offcuts you saved from earlier and crumble it up as finely as you can.
- Sprinkle the crumbled cake over the frosting, aiming to cover the top and sides to create decorative red speckles.
- Chill the cake for another 10 minutes, then dig in!
Video
Notes
Nutrition
Pin this filled red velvet cake for later
More cake recipes to try
Have you got my book?

'This is a great kids cookery book. Emily is a star' - Simon Rimmer
'The book I'd like to force into any mother's kitchen' - Prue Leith
"A fab book with a plan." - Jane Devonshire, 2016 Masterchef UK winner
'Emily has managed to combine her mummy knowledge and passion for food to make a truly helpful and brilliant cookbook' - Priya Tew, RD, BSc (Hons), Msc
Get Your Kids to Eat Anything is an achievable 'how to' for parents in the battle to overcome picky eating and 'make new the norm'. Emily Leary's unique 5-phase programme looks at the issue of 'fussy eating' in a holistic way that links imagination with food, and which situates parents alongside - not in opposition to - their children.



Leave a Reply