
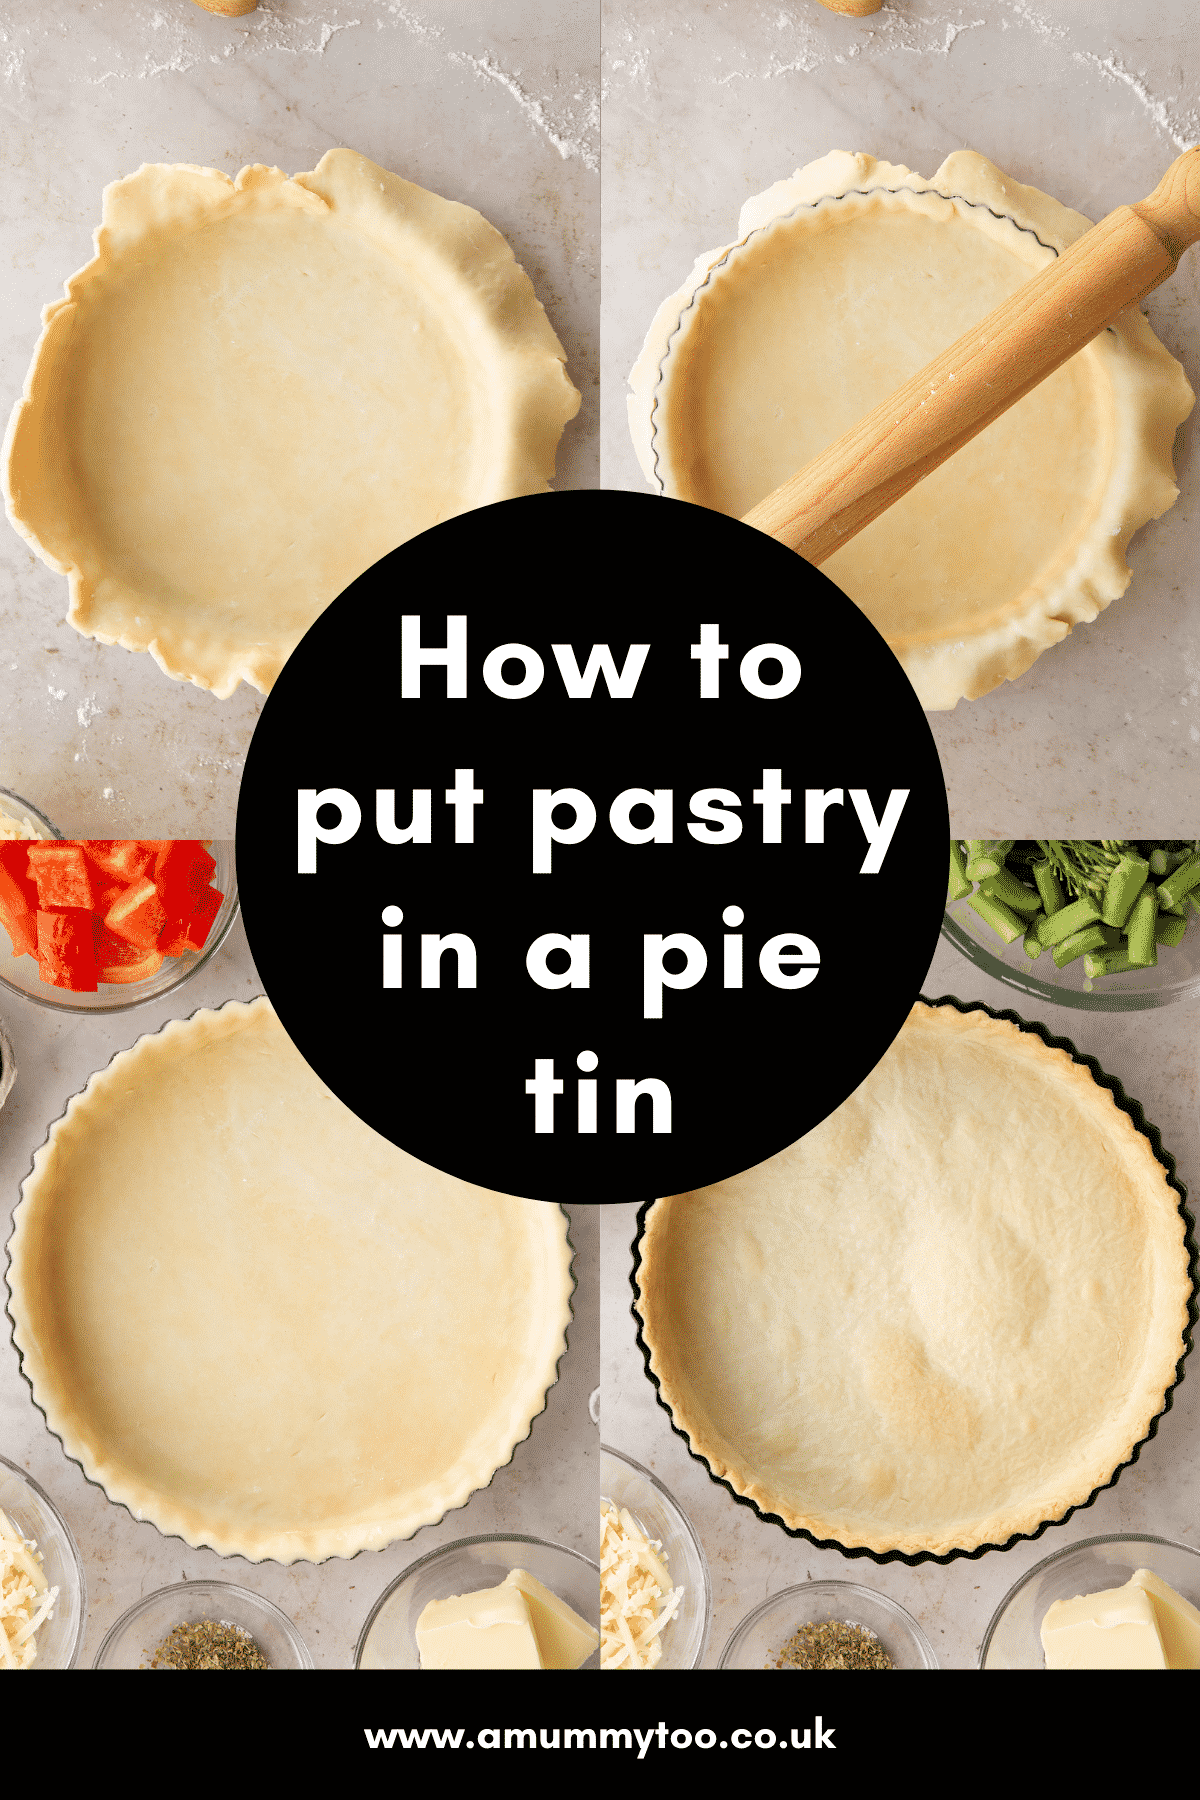
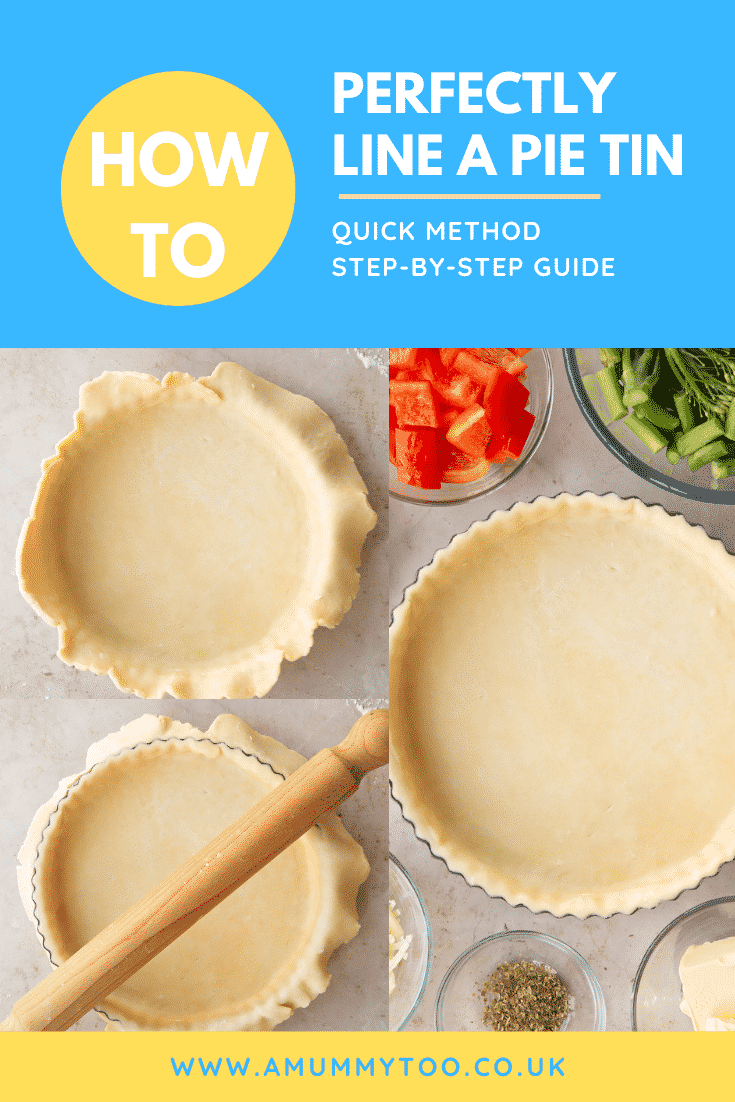
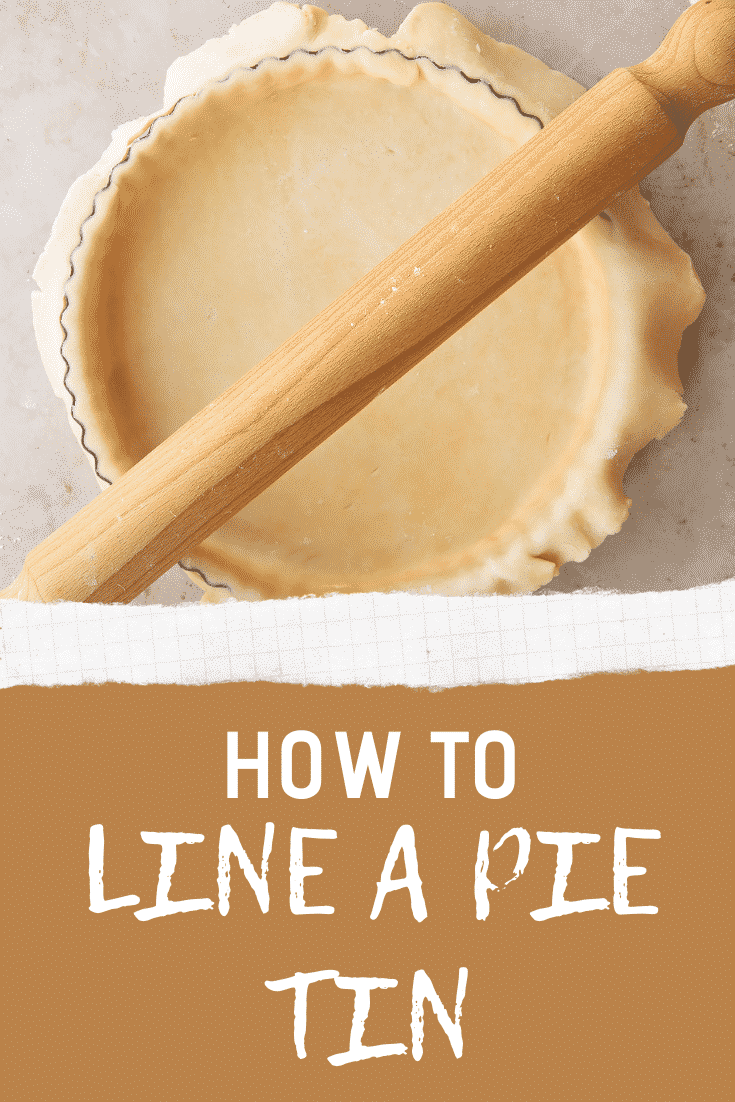
A perfect pie, quiche or tart starts with a perfect pastry case. Here's how to put pastry in a pie tin so that it turns out beautifully.
In this detailed guide, I'll explain:
- How to make shortcrust pastry - a good pastry case starts with a reliable shortcrust pastry that rolls out well and doesn't tear when lining your tin.
- How to roll your pastry out - including tips to avoid cracking and tearing
- How to line your tin - lifting the pastry into the tin, fitting it perfectly and trimming neatly
- How to blind bake - that extra step some recipes call for, where you'll part-bake the pastry case before filling
I've included loads of tips at every stage to cover all the most common pitfalls and ensure you'll be producing perfect pie cases in no time.
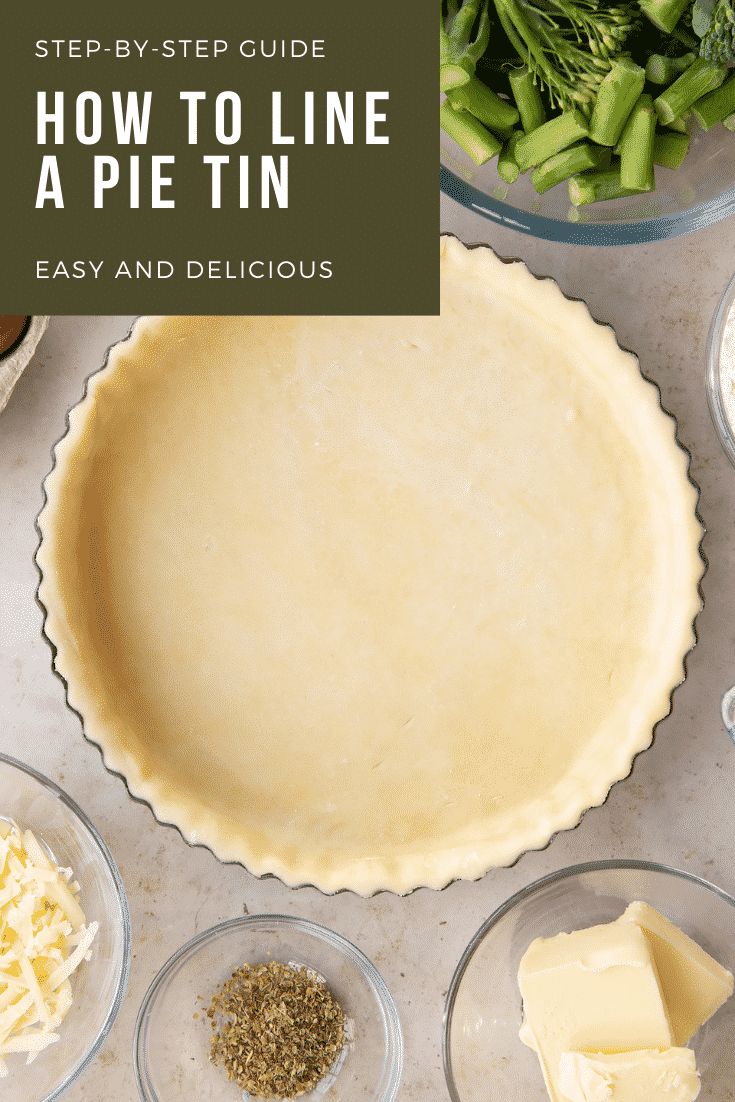
Ingredients
- 200 g (1⅓ cup) plain white flour (all purpose flour)
- 100 g (7 tbsp) salted butter cold and cubed
- 2 tbsp water
Instructions
Make your pastry
A good pastry case starts with a good, reliable shortcrust pastry that rolls out well and doesn't tear when lining your tin. If you're following a different recipe, you can skip this section.
Make sure the butter is nice and cold. Cut it into small cubes and place in a bowl with the flour.
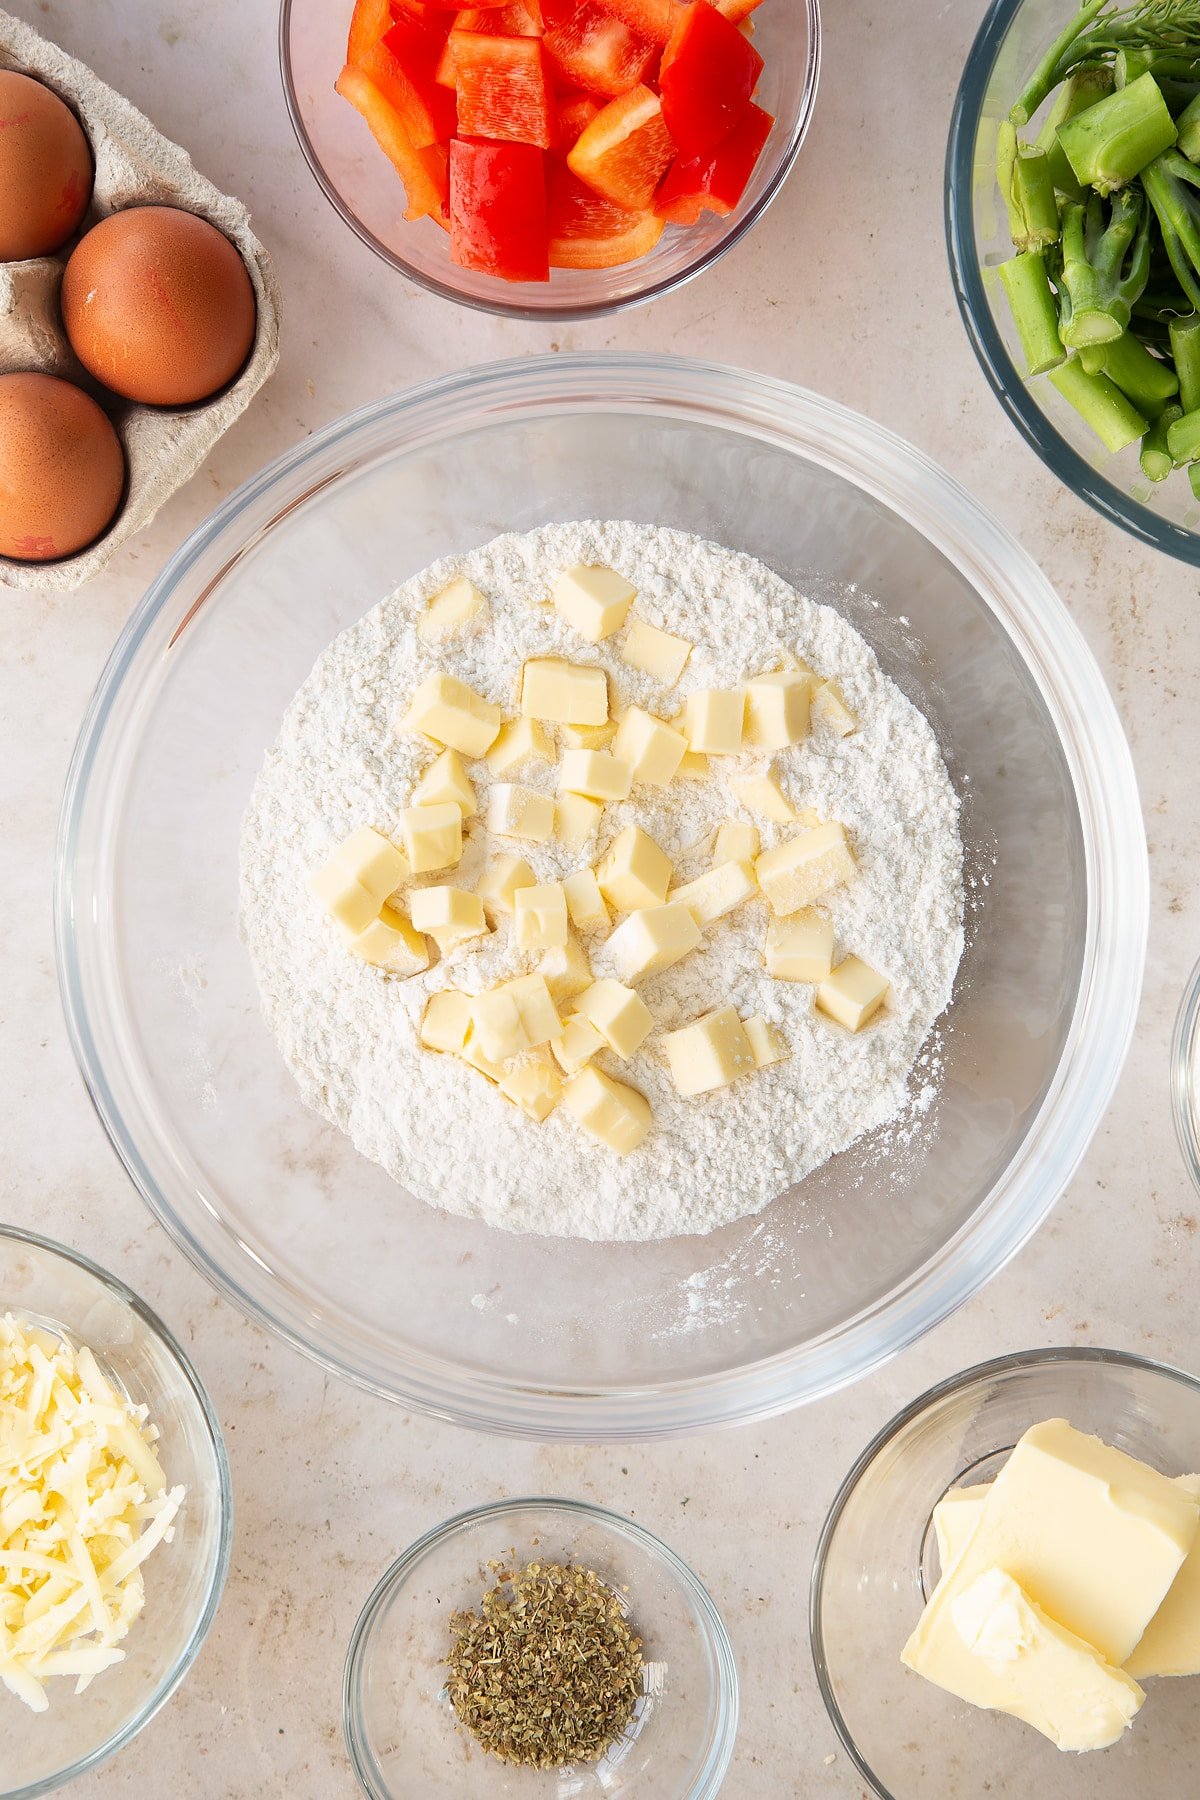
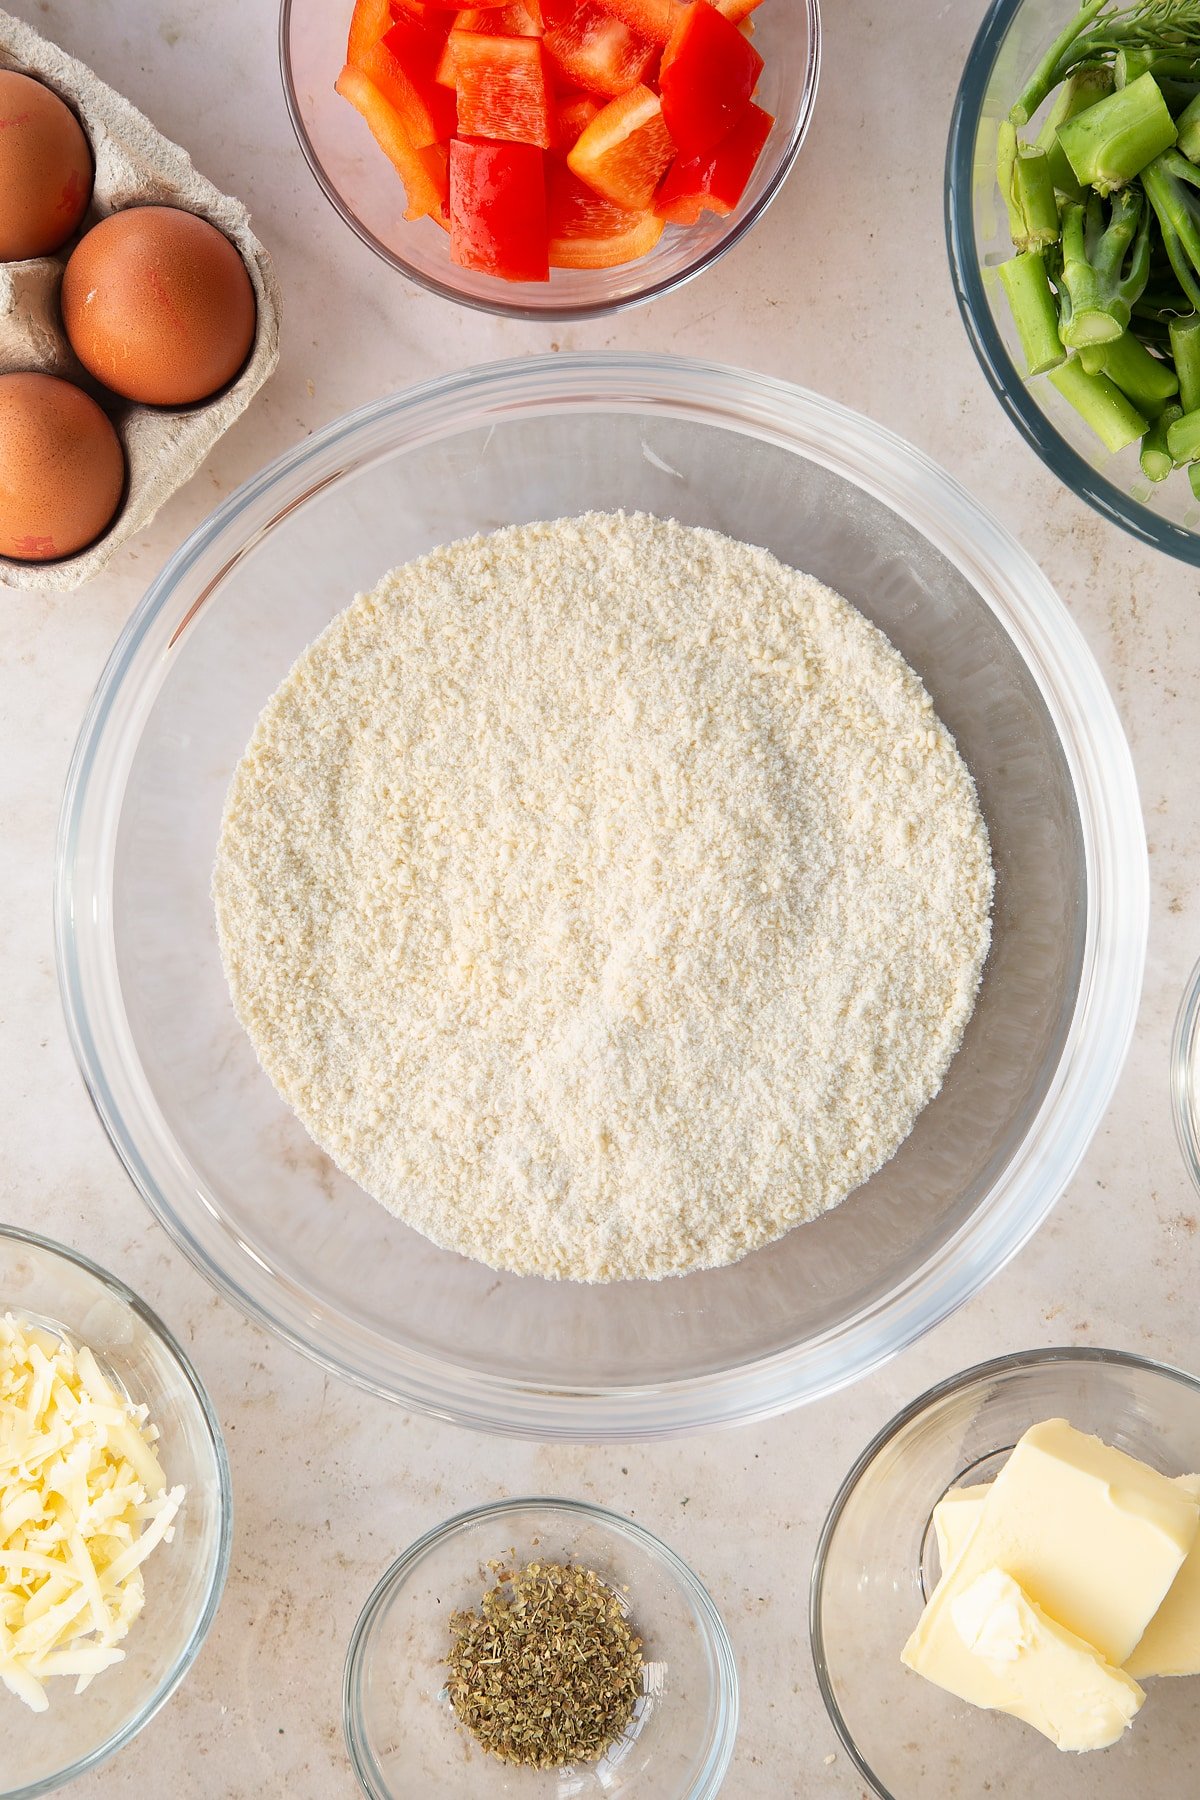
Rub together quickly and efficiently, letting it fall through your fingers back into the bowl until you have something resembling fine breadcrumbs.
You can do this by pulsing in a food processor, if you prefer - this is a particularly good idea if you have very hot hands as they can melt the butter and make the pastry greasy.
If you shake the bowl, it should bring any remaining lumps of butter to the top for you to rub in.
Add the 2 tbsp of ice cold water - it needs be cold to keep the butter cold and prevent the pastry from becoming greasy.
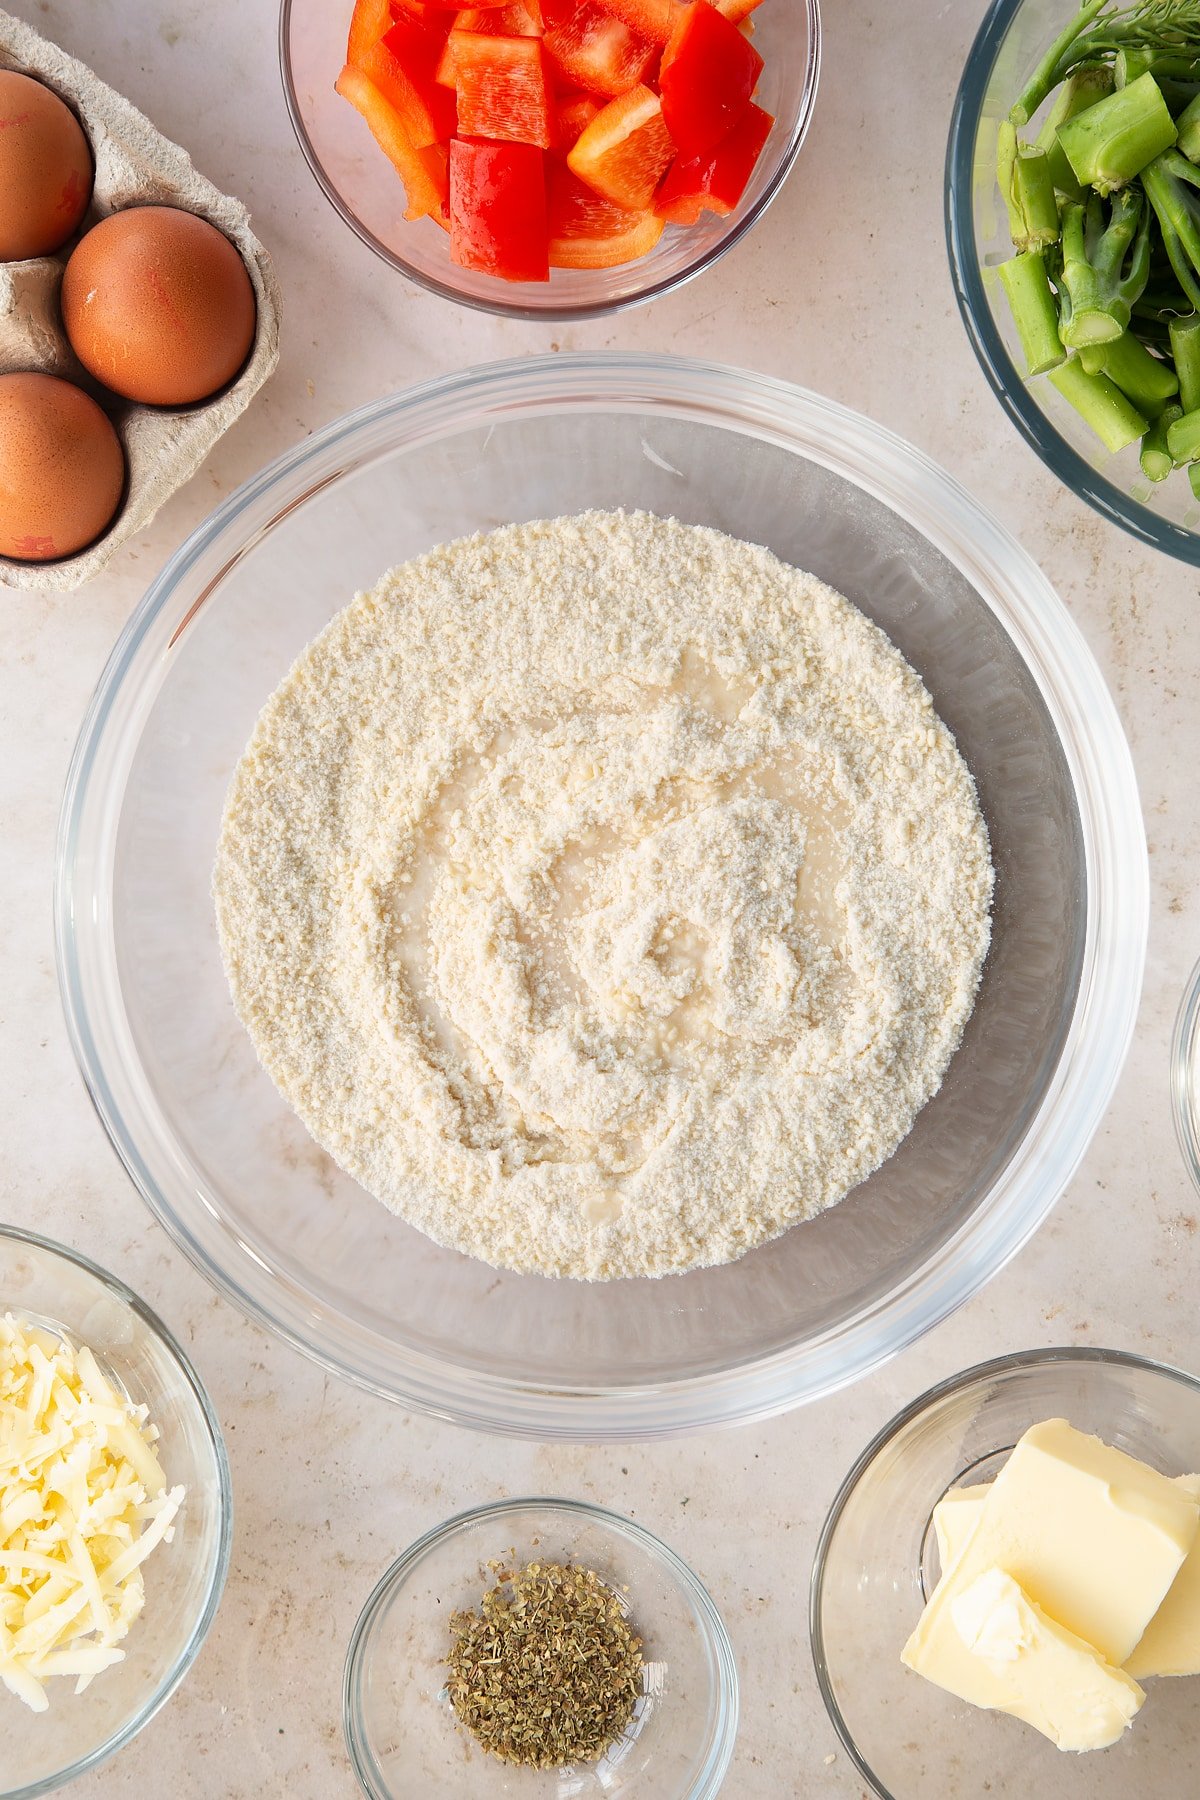
Cut the liquid through the crumb with a cutlery knife until it starts to stick together in clumps with no dry flour at the bottom.
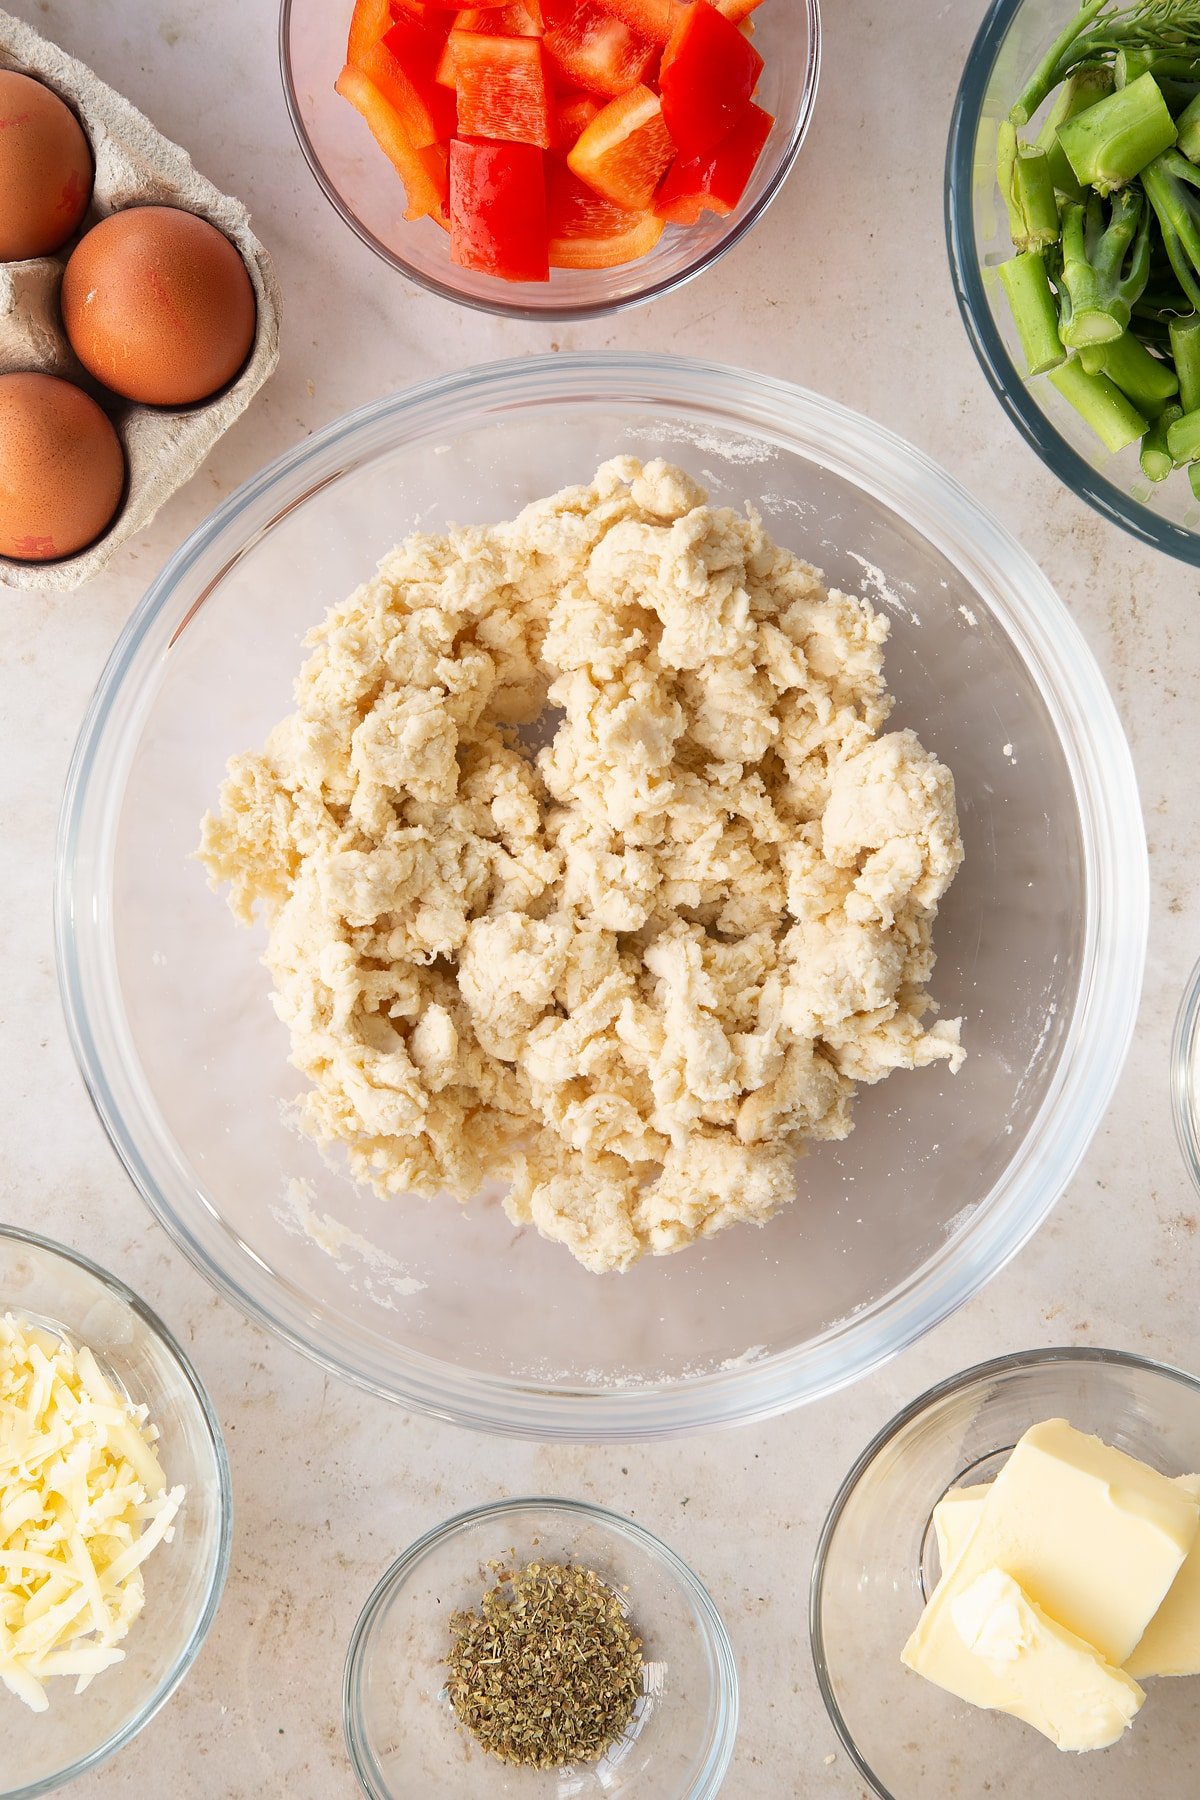
If it still seems really dry, add another drop or two of water but try not to add more as a wet dough may result in a tough pastry or a soggy bottom.
Shape the pastry quickly into a ball. You don't need to knead it like you would bread as that would make it tough, but you will probably need to fold it over a few times to get an even texture with no dry patches or wet streaks.
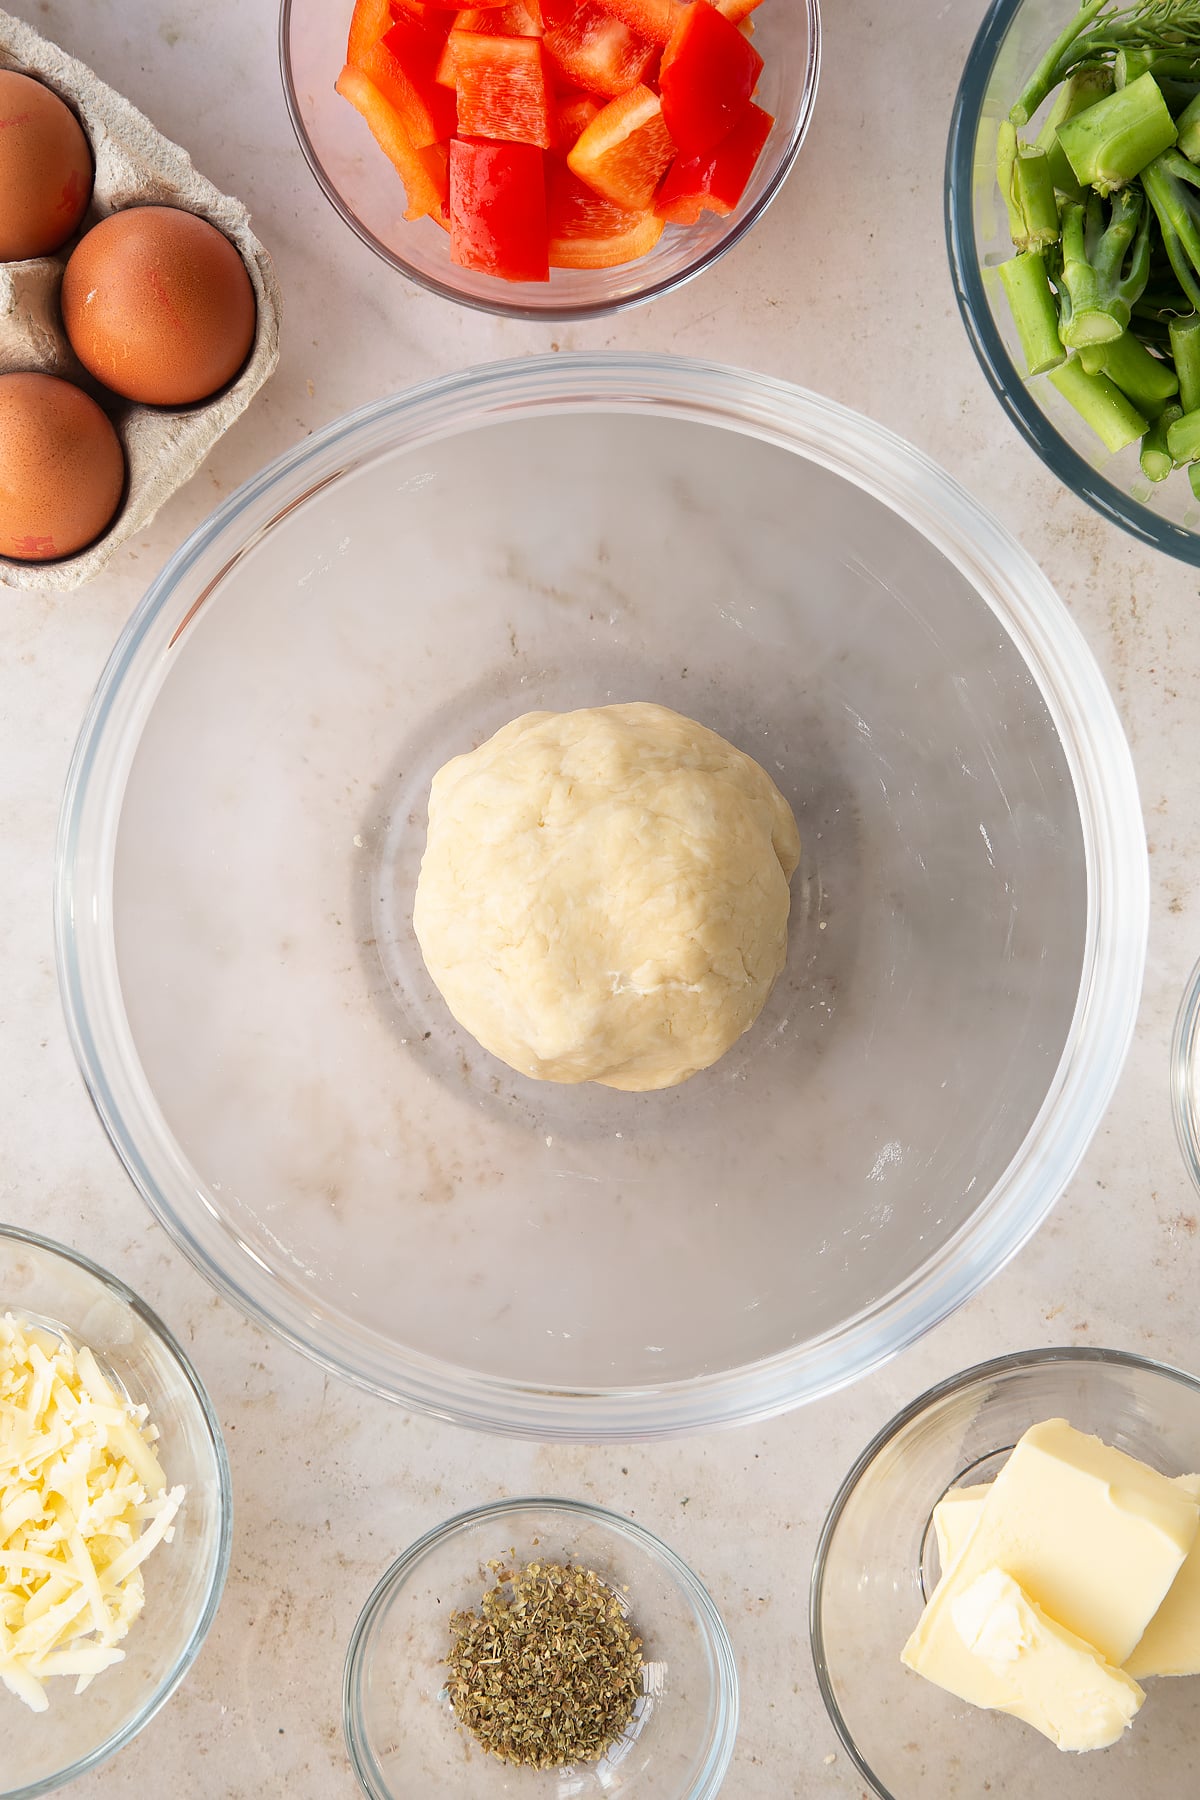
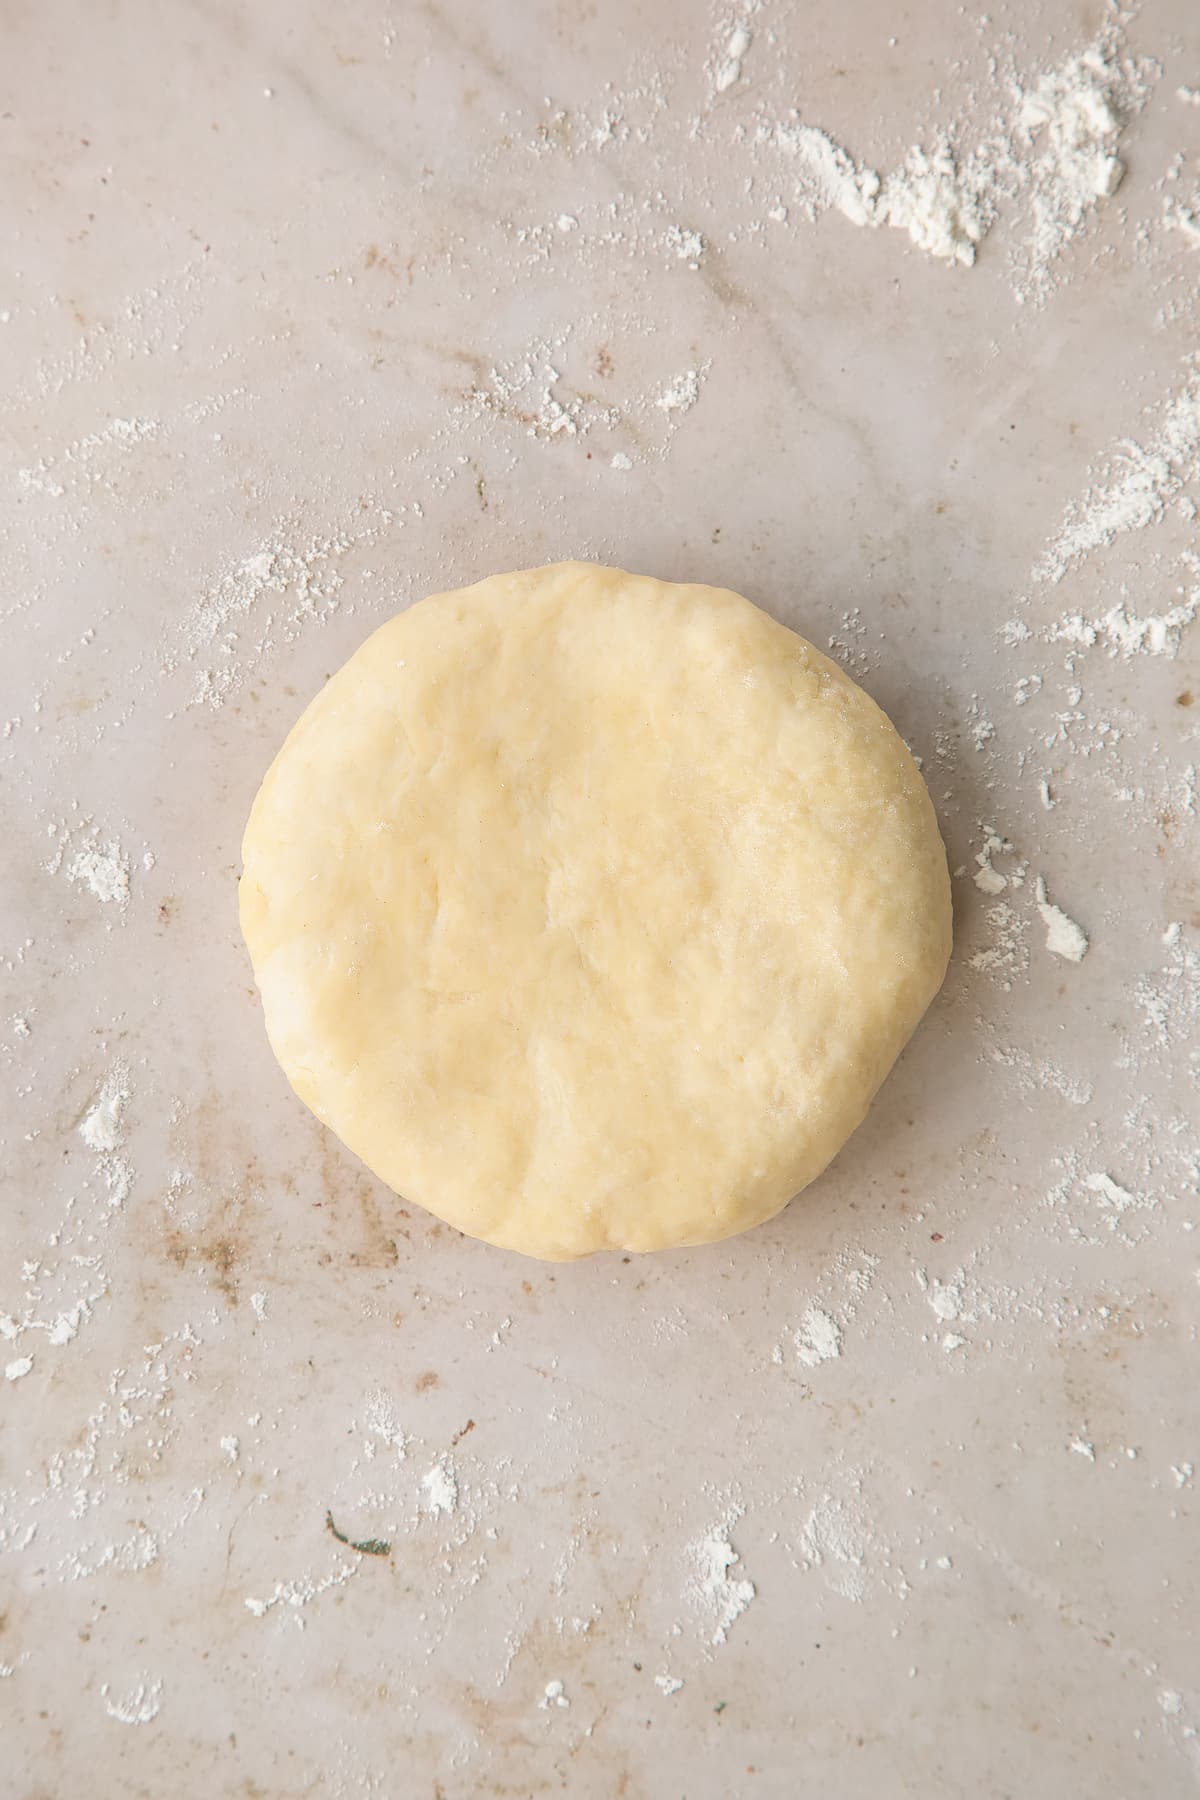
Flatten the pastry into a thick disc to make it easier to roll out later, wrap and pop in the fridge for at least 10 minutes to firm up.
Rolling your pastry out
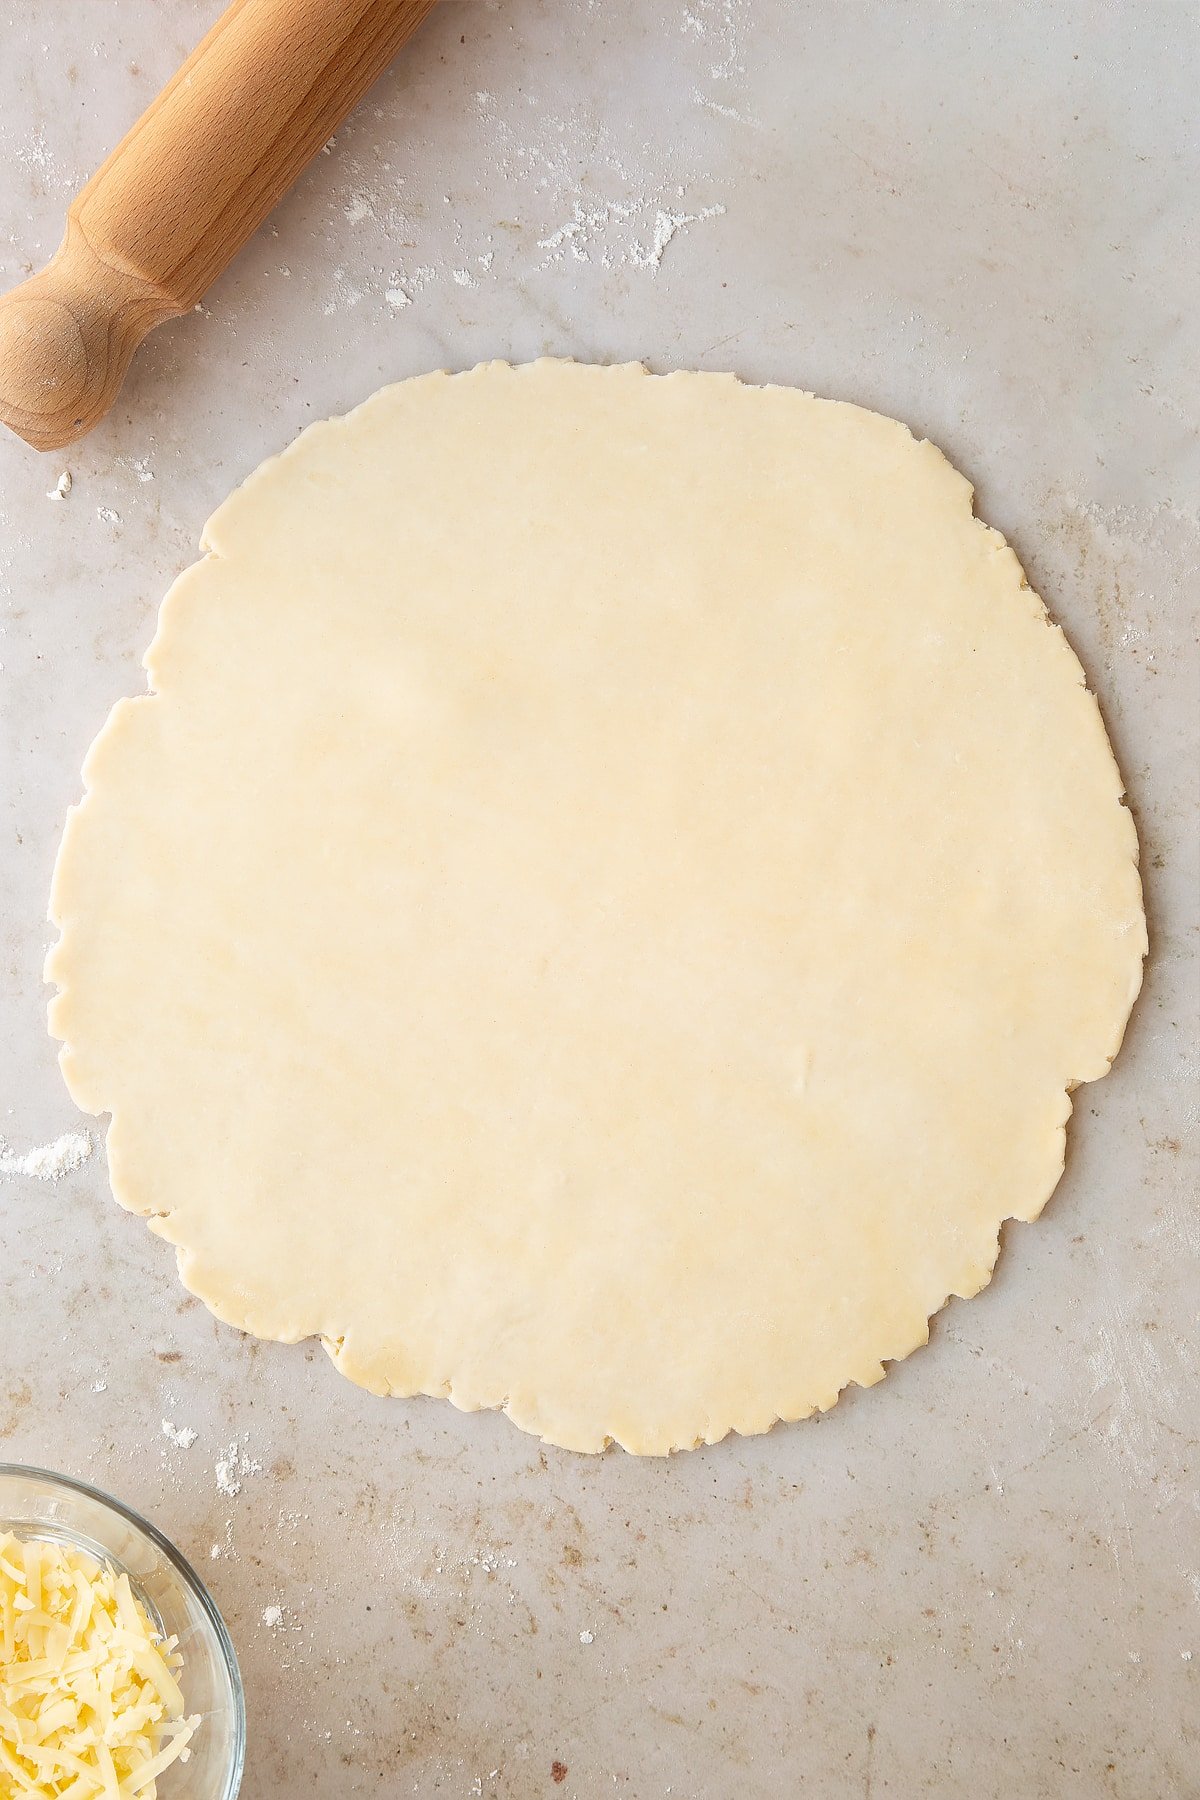
Lightly flour your surface - if you put loads of flour down, it will dry out your pastry and make it harder to roll.
Flour your rolling pin, too, to stop it from sticking.
A common problem when rolling out pastry is that the edges crack and these cracks are only amplified as the pastry is rolled larger.
To avoid this, you can press gently down on your pastry all the way across - pressing not rolling - then turn the pastry 90 degrees and repeat until the pastry is quite large and thin. This method is called ridging and can really help keep your pastry cohesive and even.
You can then switch to a standard rolling action, continuing to rotate the pastry now and then and adding a touch more flour to your surface where necessary to avoid sticking.
Your pastry is ready to use when the pastry is 3-5cm (1-2 inches) wider than your tin.
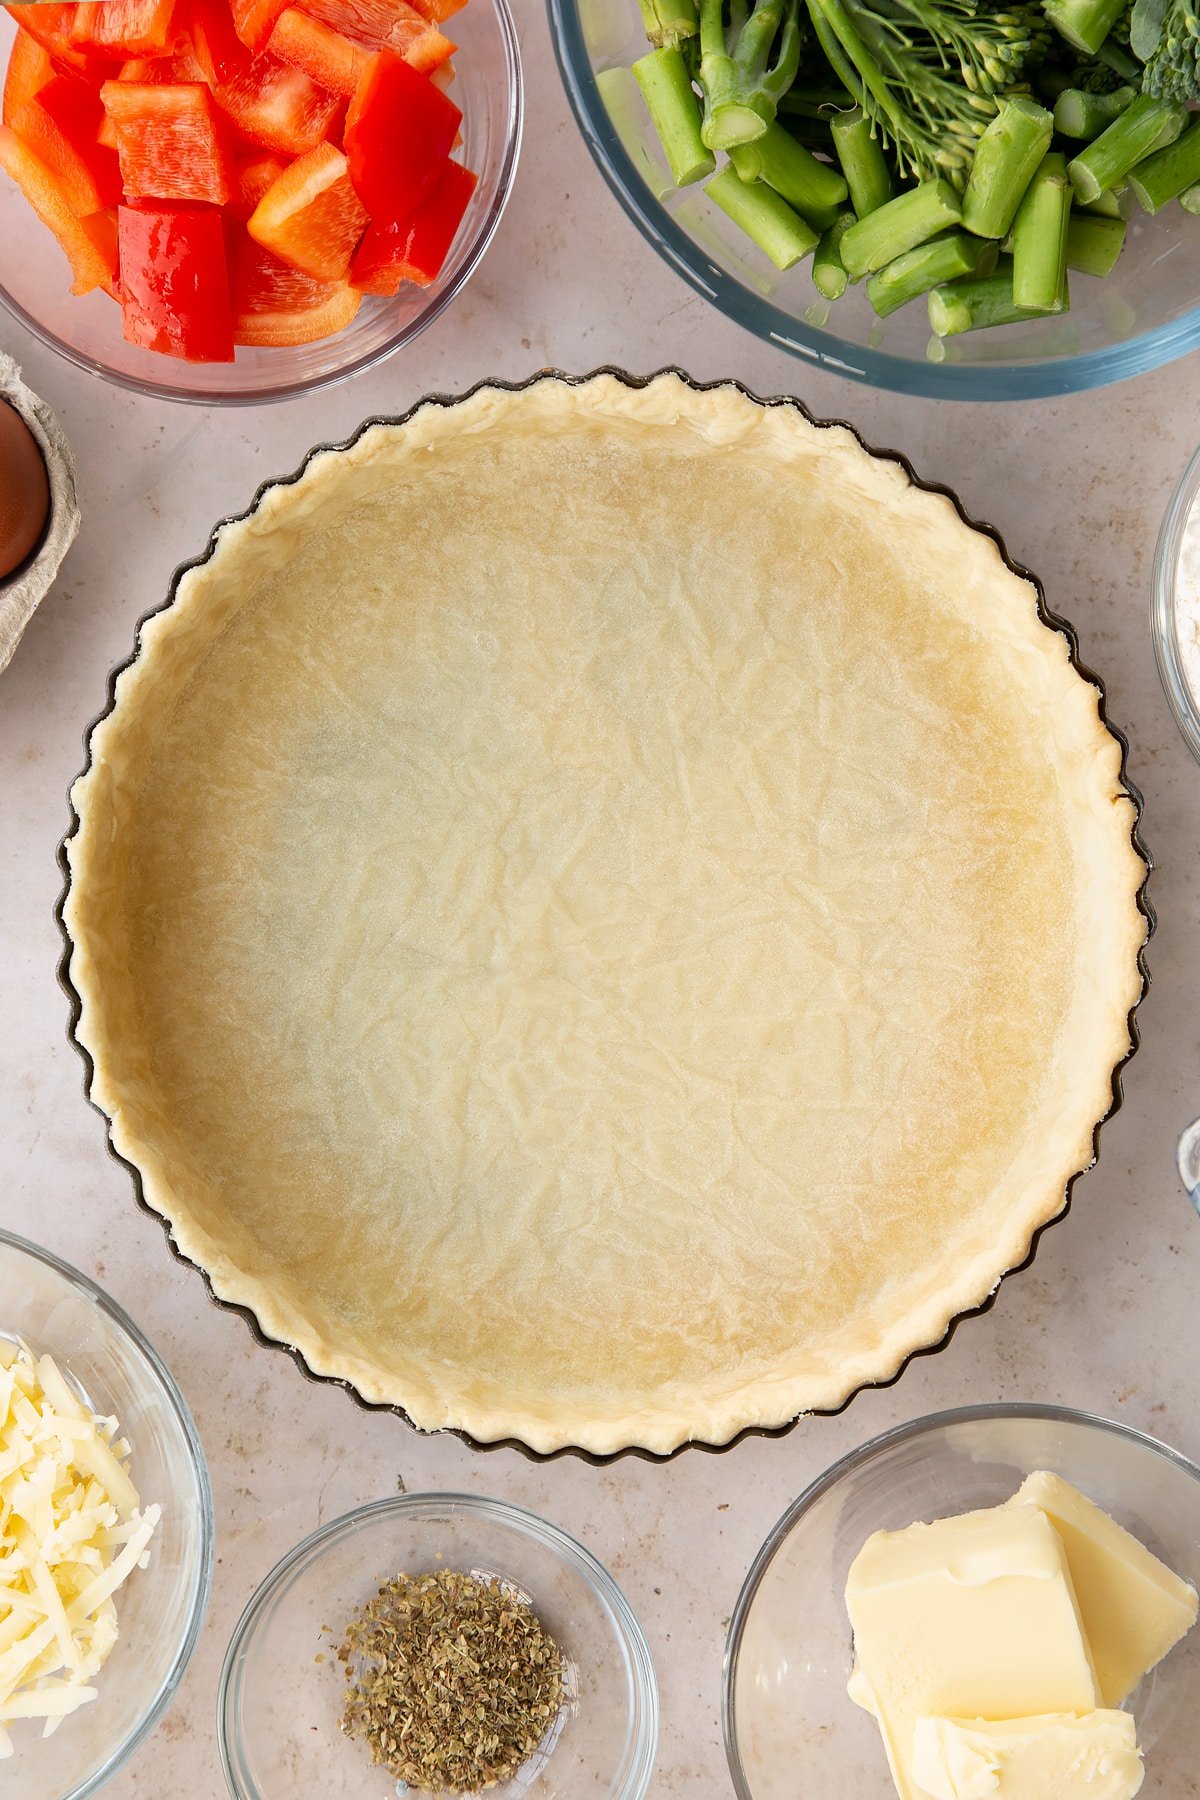
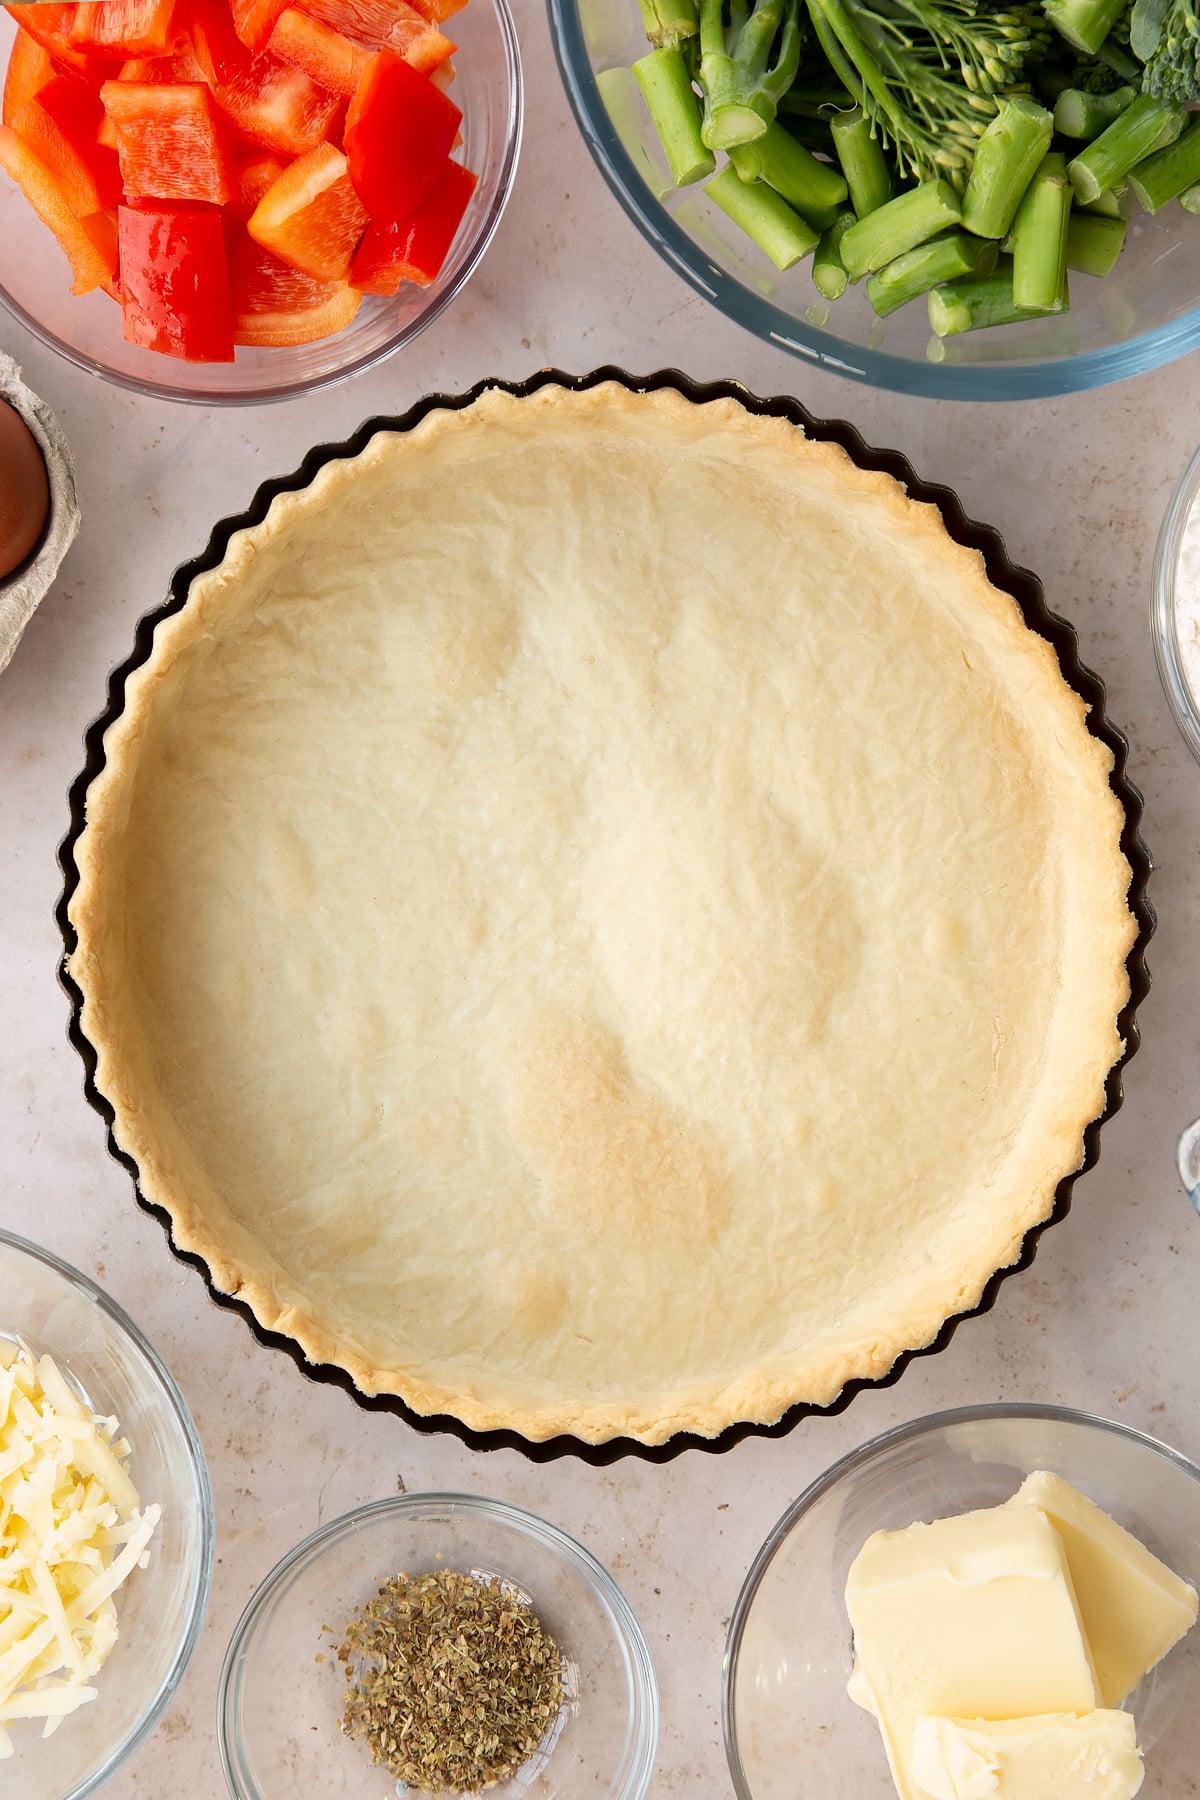
Line your pastry case
Loosely roll your pastry around the rolling pin and then lift it unroll into the tin.
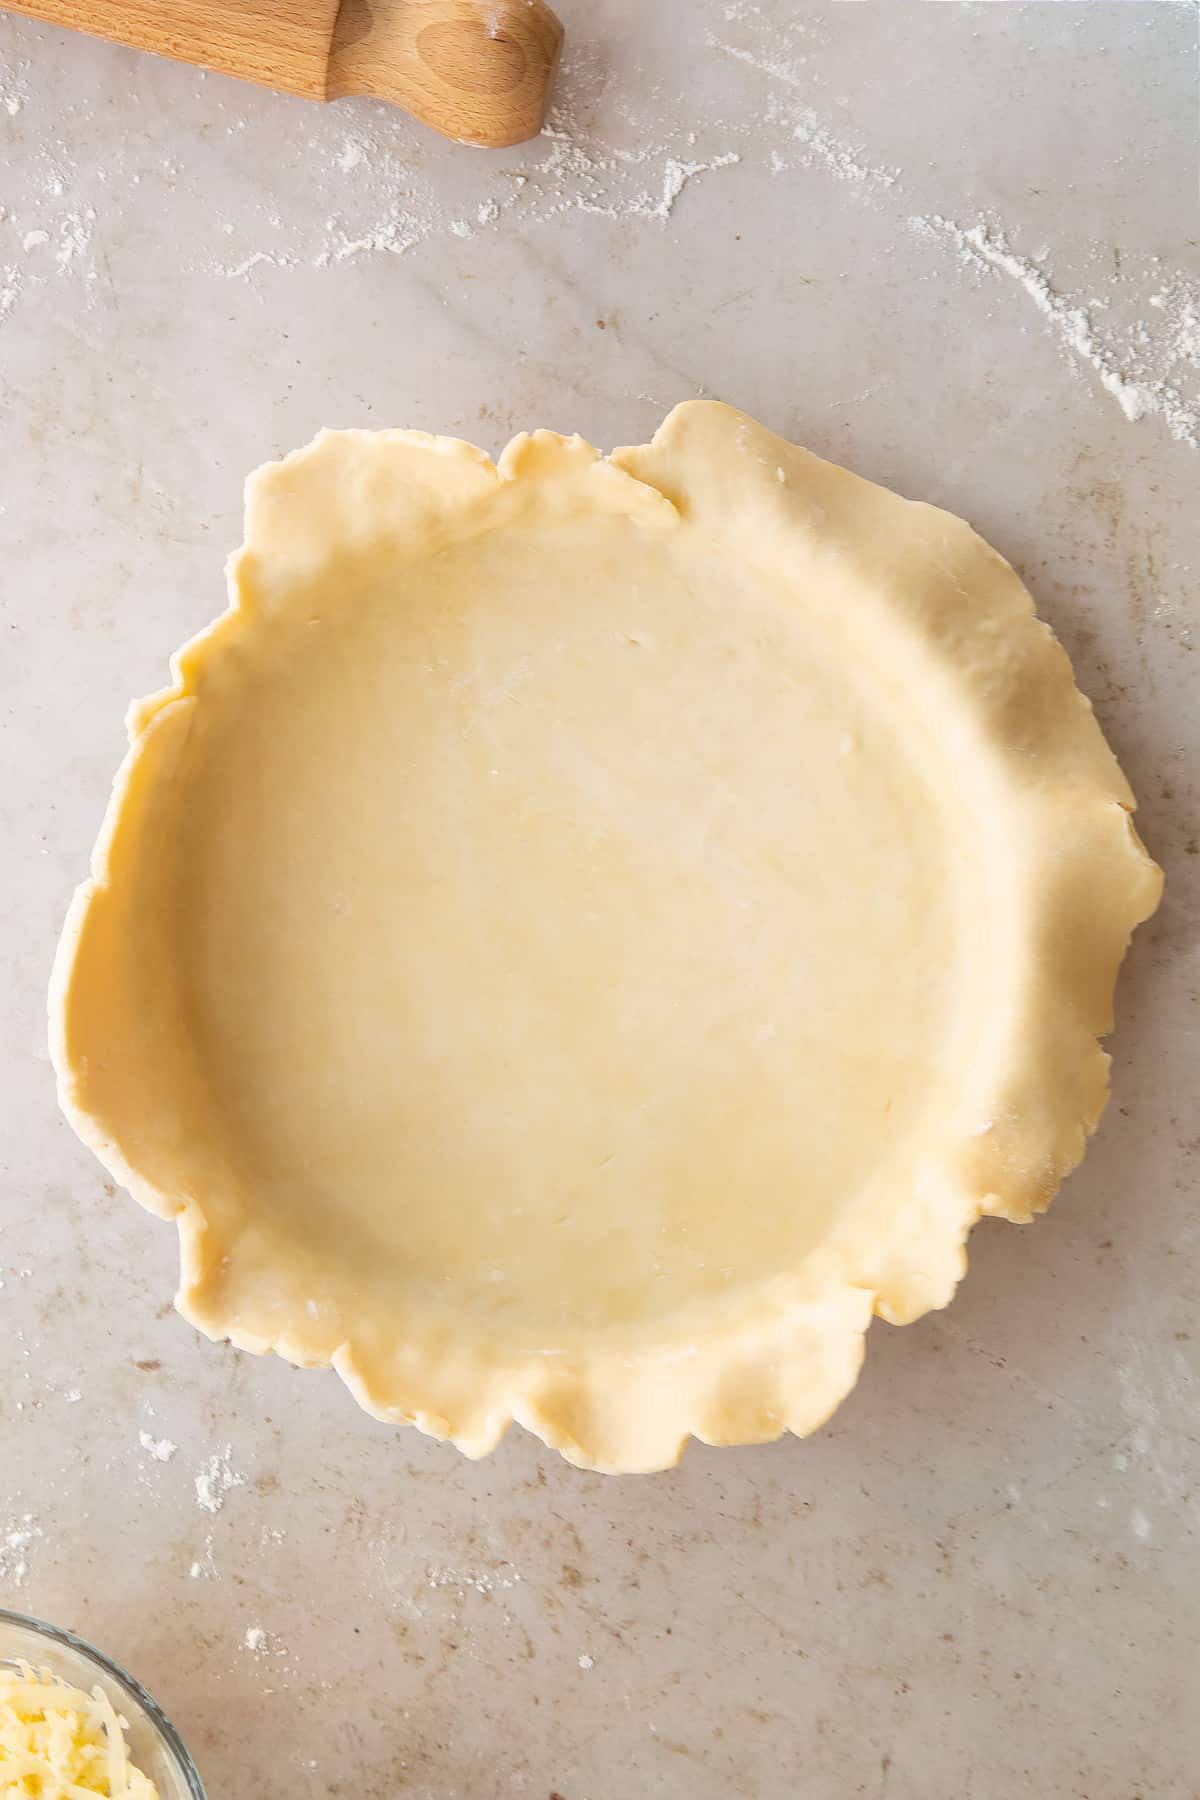
Pull the sides of the pastry inwards and tuck the corners right in, working all the way around so that there are no air bubbles.
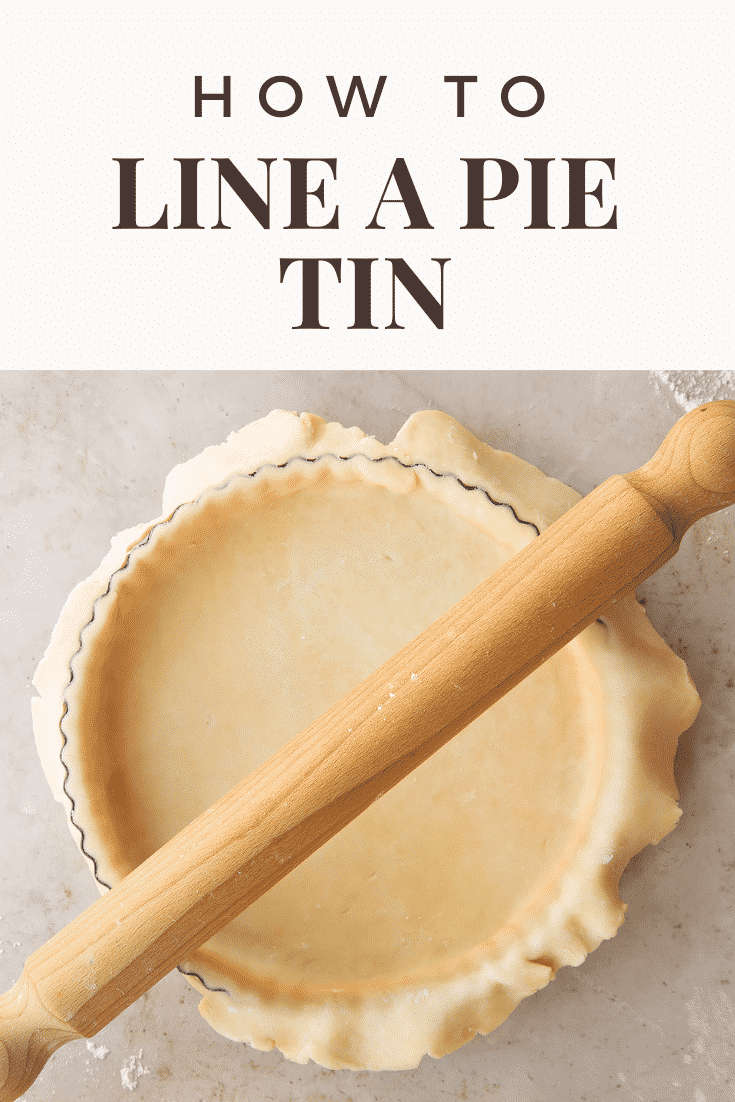
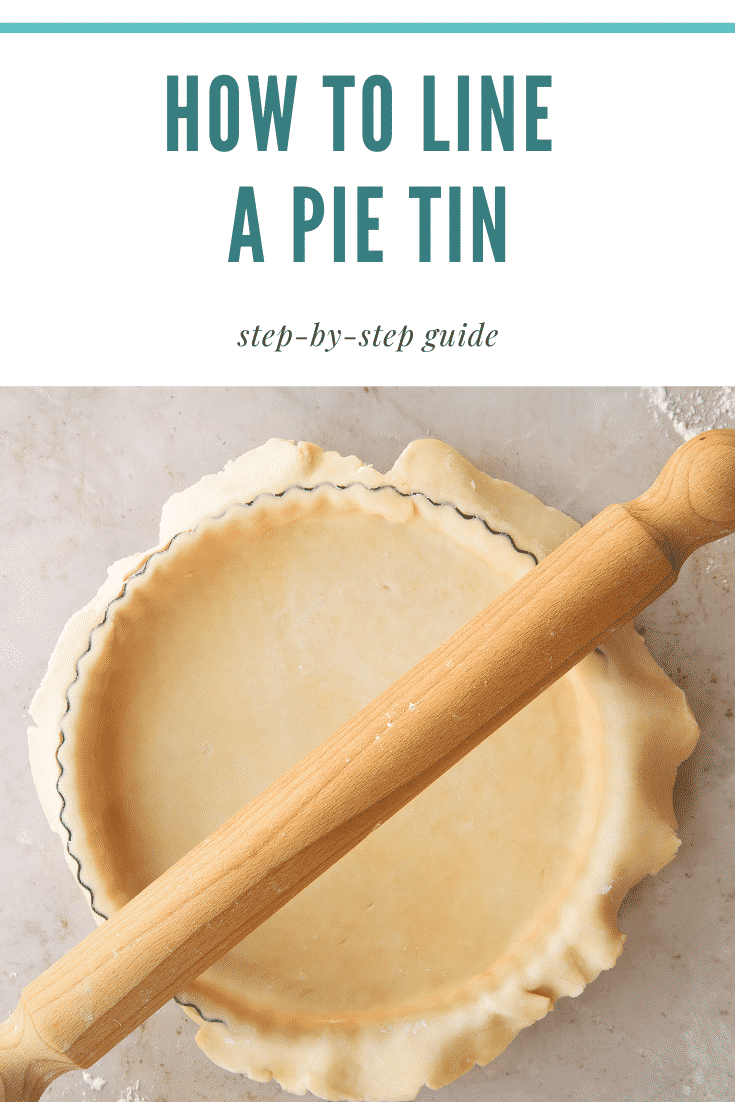
Now, with the excess hanging over the edges of the tin, roll your rolling pin over the top of the tin to neatly trim off the excess.
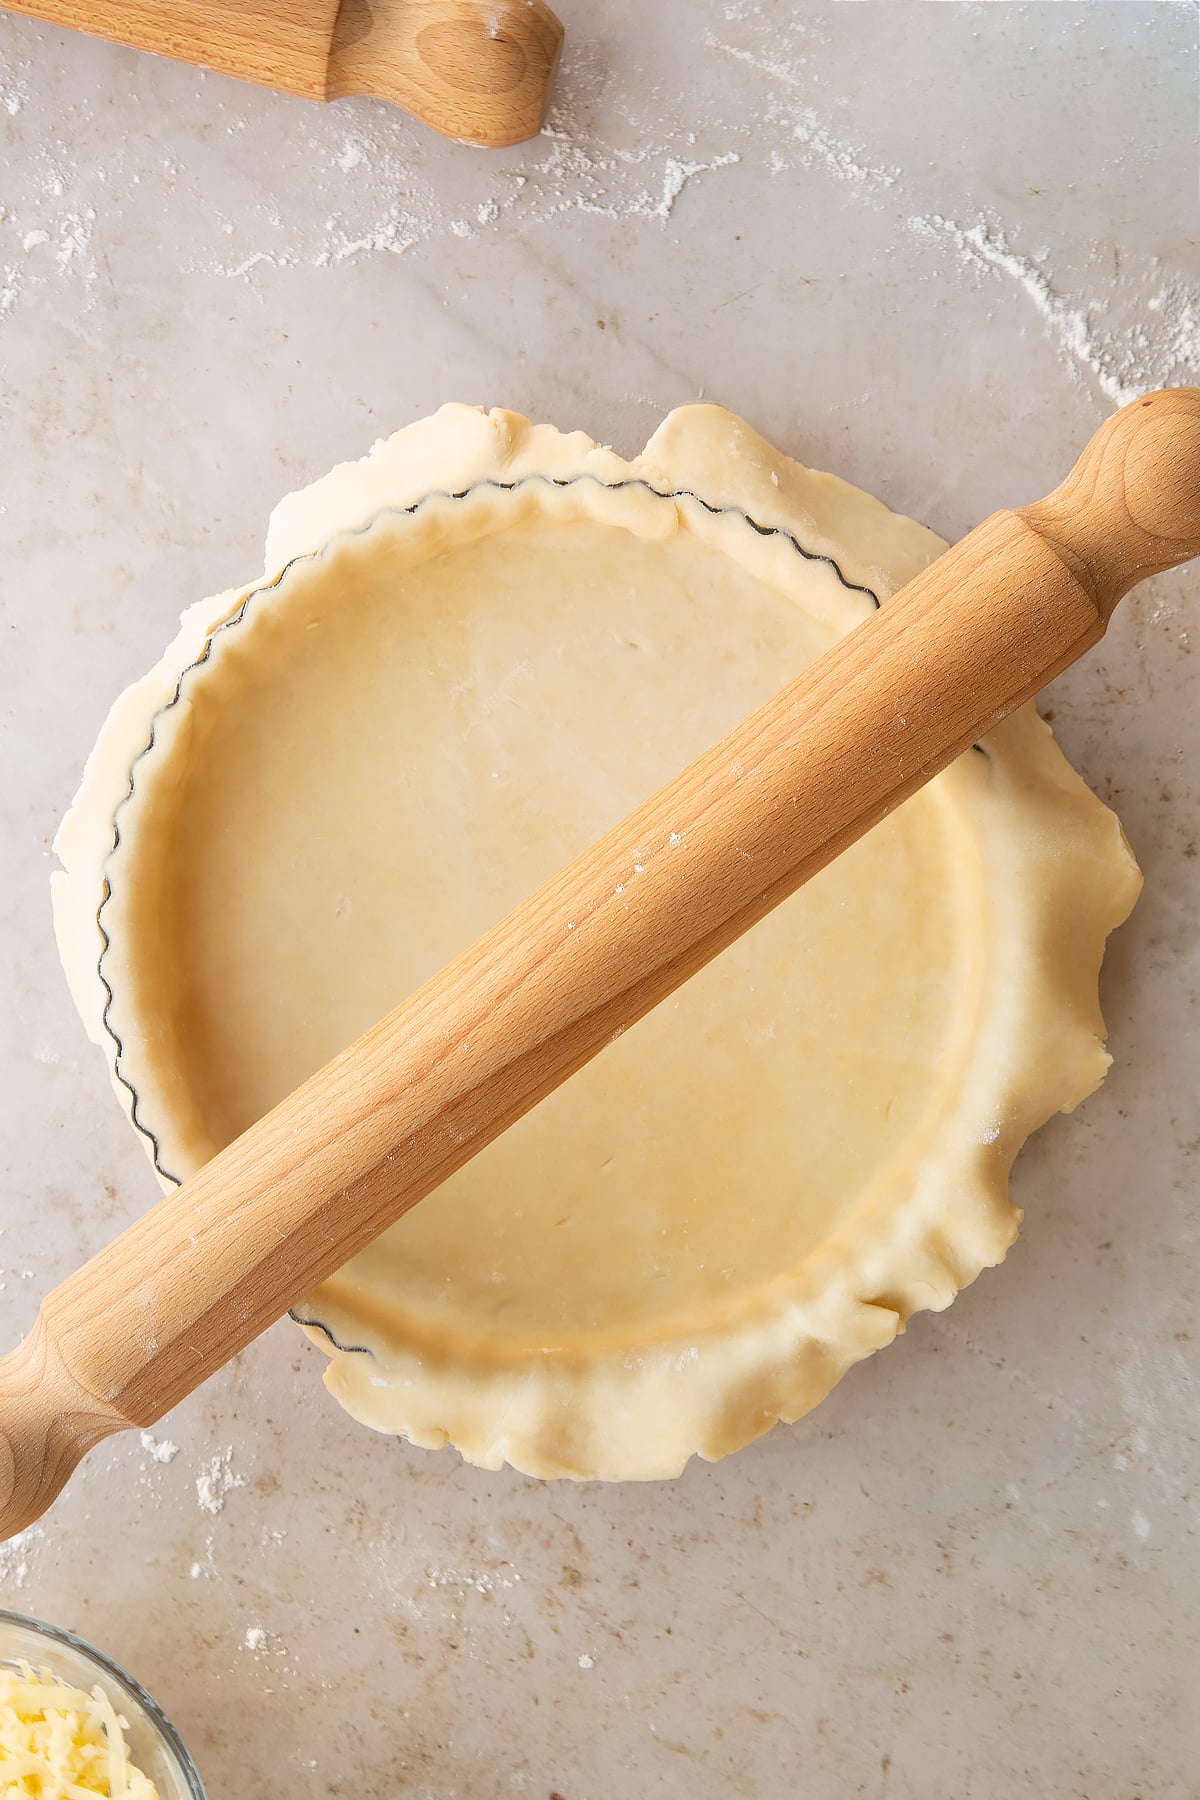
If your tin has a lip or a more blunt edge, this method won't work, so instead cut all the way around with a sharp knife.
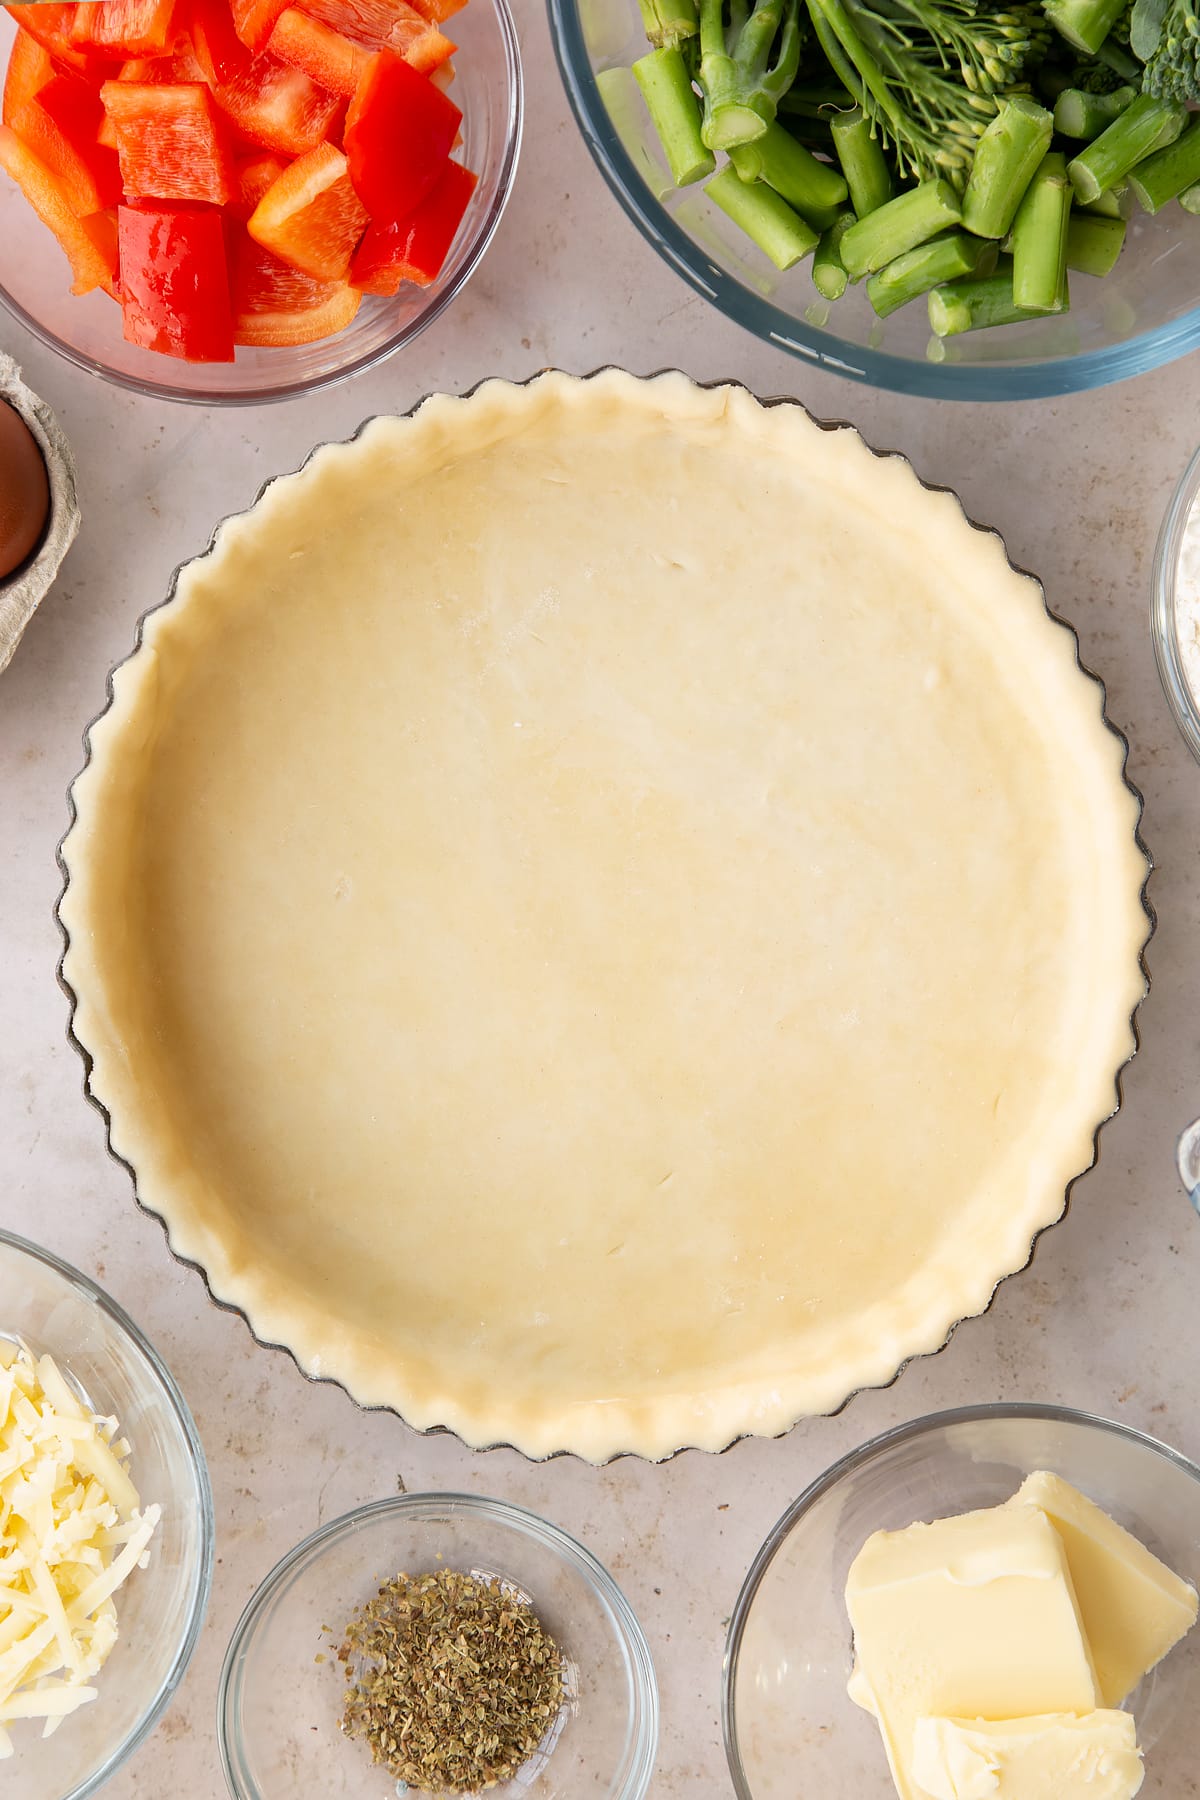
You have now lined your pastry case!
A handy tip at this stage is to chill your case in the refrigerator until it feels hard when pressed. This simple step will ensure it holds its shape when baked.
Blind bake your pastry case
Some recipes mean you can add the filling straight to the raw pastry case and bake, but sometimes, a recipe will ask you to 'blind bake' the pastry case.
All this means is that you need to part cook the pastry case before you add your fillings.
It's not too tricky to do, but many recipes don't include detailed instructions, so the following steps work for a 23cm (9 inch) pie tin.
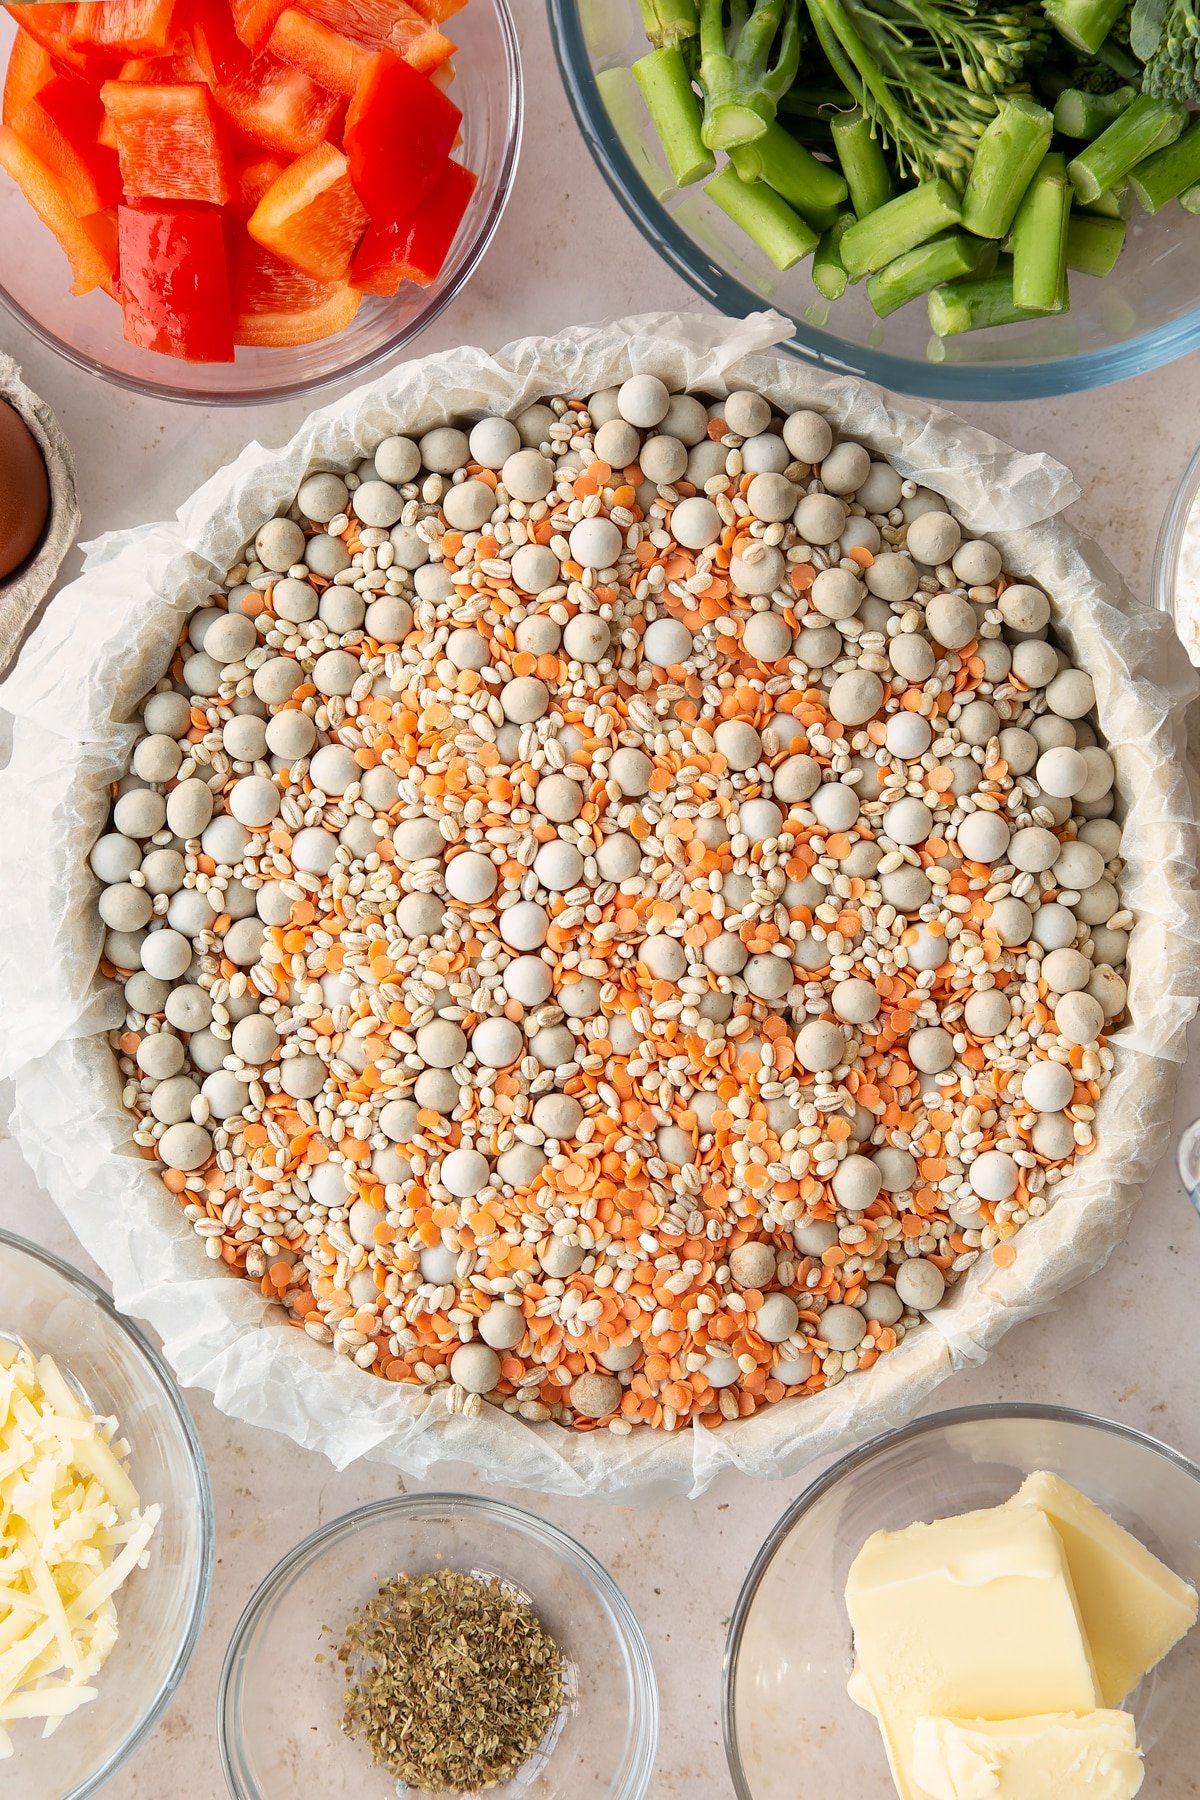
Step one is to scrunch up some baking paper and use it to closely line the inside of the pastry case. Really tuck the paper into the inside corners so that it can support the pastry well.

Now, fill the paper with baking beans making sure to work them into the corners. Some baking beans are really quite big, so I like to use some smaller dried beans or pulses to fill in the smaller spaces and ensure I get into the corners.
Make sure the beans fully support the sides of the pastry but leave a shallower dip in the middle.
Place the tin in the oven and bake for 15 minutes. Lift out the baking paper with the beans (careful, they’ll be very hot) and have a look at your pastry. It should look dry at the sides but will probably still be a bit doughy on the base.
Return to the oven for a further 5 minutes until it looks dry all the way across. If there are any air bubbles on the base, you can gently smooth them down with the back of a spoon.
Your pastry case is now ready to fill and bake with whatever filling the recipe calls for.
Print this guide to how to put pastry in a pie tin
How to Put Pastry in A Pie Tin
Ingredients
- 200 g (1⅓ cup) plain white flour (all purpose flour)
- 100 g (7 tbsp) salted butter cold and cubed
- 2 tbsp water
Instructions
Make your pastry
- A good pastry case starts with a good, reliable shortcrust pastry that rolls out well and doesn't tear when lining your tin. If you're following a different recipe, you can skip this section.
- Make sure the butter is nice and cold. Cut it into small cubes and place in a bowl with the flour.
- Rub together quickly and efficiently, letting it fall through your fingers back into the bowl until you have something resembling fine breadcrumbs.
- You can do this by pulsing in a food processor, if you prefer - this is a particularly good idea if you have very hot hands as they can melt the butter and make the pastry greasy.
- If you shake the bowl, it should bring any remaining lumps of butter to the top for you to rub in.
- Add the 2 tbsp of ice cold water - it needs be cold to keep the butter cold and prevent the pastry from becoming greasy.
- Cut the liquid through the crumb with a cutlery knife until it starts to stick together in clumps with no dry flour at the bottom.
- If it still seems really dry, add another drop or two of water but try not to add more as a wet dough may result in a tough pastry or a soggy bottom.
- Shape the pastry quickly into a ball. You don't need to knead it like you would bread as that would make it tough, but you will probably need to fold it over a few times to get an even texture with no dry patches or wet streaks.
- Flatten the pastry into a thick disc to make it easier to roll out later, wrap and pop in the fridge for at least 10 minutes to firm up.
Rolling your pastry out
- Lightly flour your surface - if you put loads of flour down, it will dry out your pastry and make it harder to roll.
- Flour your rolling pin, too, to stop it from sticking.
- A common problem when rolling out pastry is that the edges crack and these cracks are only amplified as the pastry is rolled larger.
- To avoid this, you can press gently down on your pastry all the way across - pressing not rolling - then turn the pastry 90 degrees and repeat until the pastry is quite large and thin. This method is called ridging and can really help keep your pastry cohesive and even.
- You can then switch to a standard rolling action, continuing to rotate the pastry now and then and adding a touch more flour to your surface where necessary to avoid sticking.
- Your pastry is ready to use when the pastry is 3-5cm (1-2 inches) wider than your tin.
Line your pastry case
- Loosely roll your pastry around the rolling pin and then lift it unroll into the tin.
- Pull the sides of the pastry inwards and tuck the corners right in, working all the way around so that there are no air bubbles.
- Now, with the excess hanging over the edges of the tin, roll your rolling pin over the top of the tin to neatly trim off the excess.
- If your tin has a lip or a more blunt edge, this method won't work, so instead cut all the way around with a sharp knife.
- You have now lined your pastry case!
Blind bake your pastry case
- Some recipes mean you can add the filling straight to the raw pastry case and bake, but sometimes, a recipe will ask you to 'blind bake' the pastry case.
- All this means is that you need to part cook the pastry case before you add your fillings.
- It's not too tricky to do, but many recipes don't include detailed instructions, so the following steps work for a 23cm (9 inch) pie tin.
- Step one is to scrunch up some baking paper and use it to closely line the inside of the pastry case. Really tuck the paper into the inside corners so that it can support the pastry well.
- Now, fill the paper with baking beans making sure to work them into the corners. Some baking beans are really quite big, so I like to use some smaller dried beans or pulses to fill in the smaller spaces and ensure I get into the corners.
- Make sure the beans fully support the sides of the pastry but leave a shallower dip in the middle.
- Place the tin in the oven and bake for 15 minutes. Lift out the baking paper with the beans (careful, they’ll be very hot) and have a look at your pastry. It should look dry at the sides but will probably still be a bit doughy on the base.
- Return to the oven for a further 5 minutes until it looks dry all the way across. If there are any air bubbles on the base, you can gently smooth them down with the back of a spoon.
Nutrition
Pin this guide to how to put pastry in a pie tin
Pastry recipes to try


Have you got my book?

'This is a great kids cookery book. Emily is a star' - Simon Rimmer
'The book I'd like to force into any mother's kitchen' - Prue Leith
"A fab book with a plan." - Jane Devonshire, 2016 Masterchef UK winner
'Emily has managed to combine her mummy knowledge and passion for food to make a truly helpful and brilliant cookbook' - Priya Tew, RD, BSc (Hons), Msc
Get Your Kids to Eat Anything is an achievable 'how to' for parents in the battle to overcome picky eating and 'make new the norm'. Emily Leary's unique 5-phase programme looks at the issue of 'fussy eating' in a holistic way that links imagination with food, and which situates parents alongside - not in opposition to - their children.
Ian says
Interesting! I use the rolling pin as both measure, rolling pin and then delivery tool over the tin - it saves folding, which creates thin lines in the pastry. Secondly, if you are pre-baking, then leave the edges long - they will simply regress from the edge in pre-baking, so allow for it.
Good Luck!
Emily Leary says
Thanks Ian - this method doesn't leave any lines at all in the pastry for me.
I find with the rolling pin method, there's sometimes a tendency for the pastry to tear or develop holes as it's pushed in. It may well be because I'm not an expert at it, but that's precisely why the method I describe is foolproof...it's great because it's hard to get wrong, even if the recipe calls for very thin pastry, I never get any holes or tears.
Aly says
I was taught differently at college.Take your rolling pin and use it to measure across and up the sides.When you roll it out to your measurements and then a then a little more.Having said that the amount of pastry I made on a daily basis and bases I lined it came down to measuring by eye and just knowing.
Jayne says
To do list for tomorrow:
Go out and buy pastry case
Learn how to make pastry
USE THIS GUIDE!
This reminds me of the t-shirt folding guide that went round the net a few years ago, so simple and clever, thanks for sharing!
Actually Mummy... says
Yes I do. I buy the case ready made from Sainsbury *hangs head in shame*
jenny paulin says
thats brilliant! thanks for sharing x
maggy, Life At The Zoo says
Oh you are clever, I always break mine and then squish it back together again!
Maggy
Liz Burton says
Very nice.
Do you have any tips to stop it shrinking when you blind bake it? That's my problem and it drives me nuts!!
Emily Leary says
Thanks - I do indeed! When you get to step three (ie when the pastry is in but not yet trimmed) line it with baking paper and fill with clay baking beans, then bake blind. When it comes out of the oven, let it cool a little and only then trim the edges down. You should then find that it doesn't shrink.
Liz Burton says
I'm 'virtually' kissing your feet right now.
Thank you.