These lemon fondant fancies are dainty, sweet and delicious little sponge cakes with a wonderful zing of lemon.
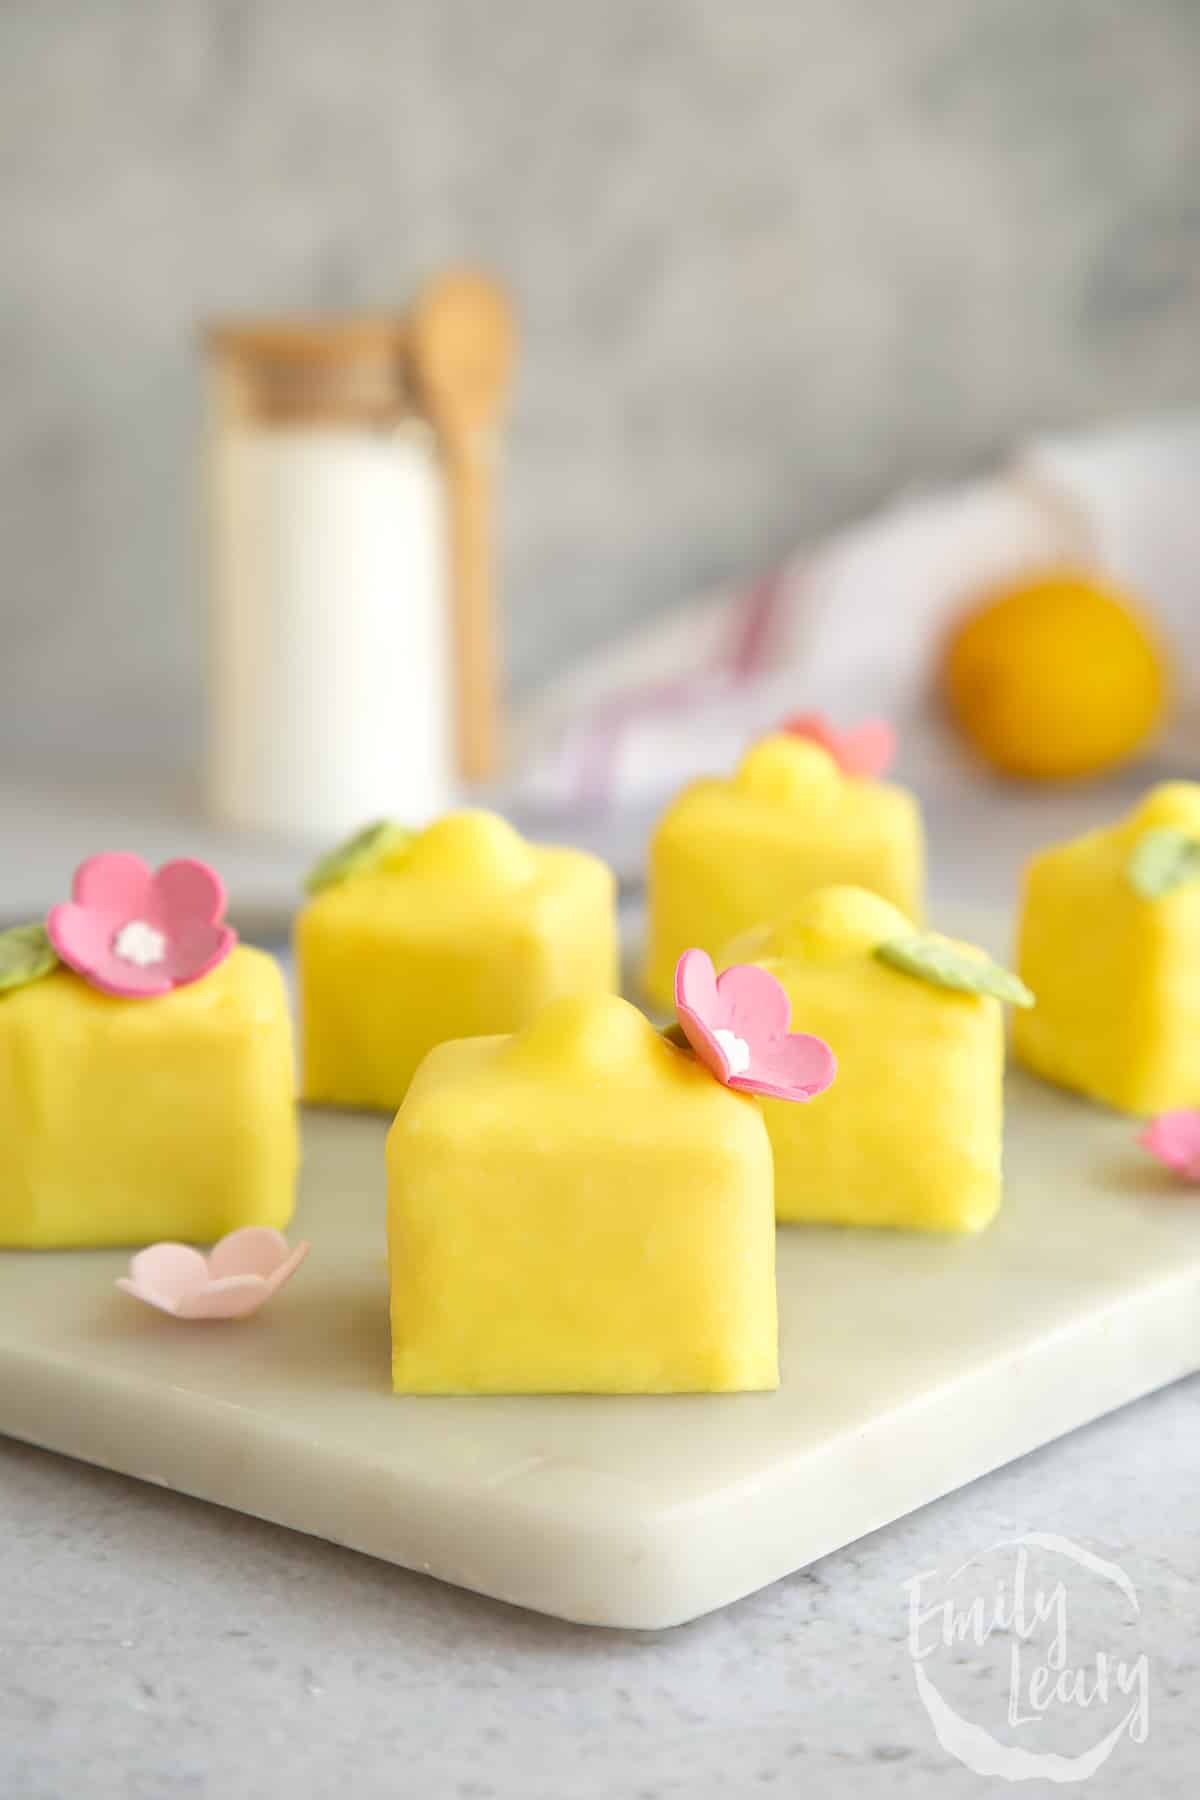
They consist of a small cube of delicate vanilla sponge, sandwiched with vanilla buttercream, wrapped in marzipan, topped with that distinctive buttercream hat and light iced in a yellow hue to complete the look.
If you've ever considered trying to make your own fondant fancies, but have been put off by how fiddly it looks, I promise you this recipe is the one to try.
Fondant fancies are, undeniably, quite a few stages involved in making them, but each stage itself is actually rather easy, so with a bit of patience and a lot of fun, you'll have a beautiful, delicious result.
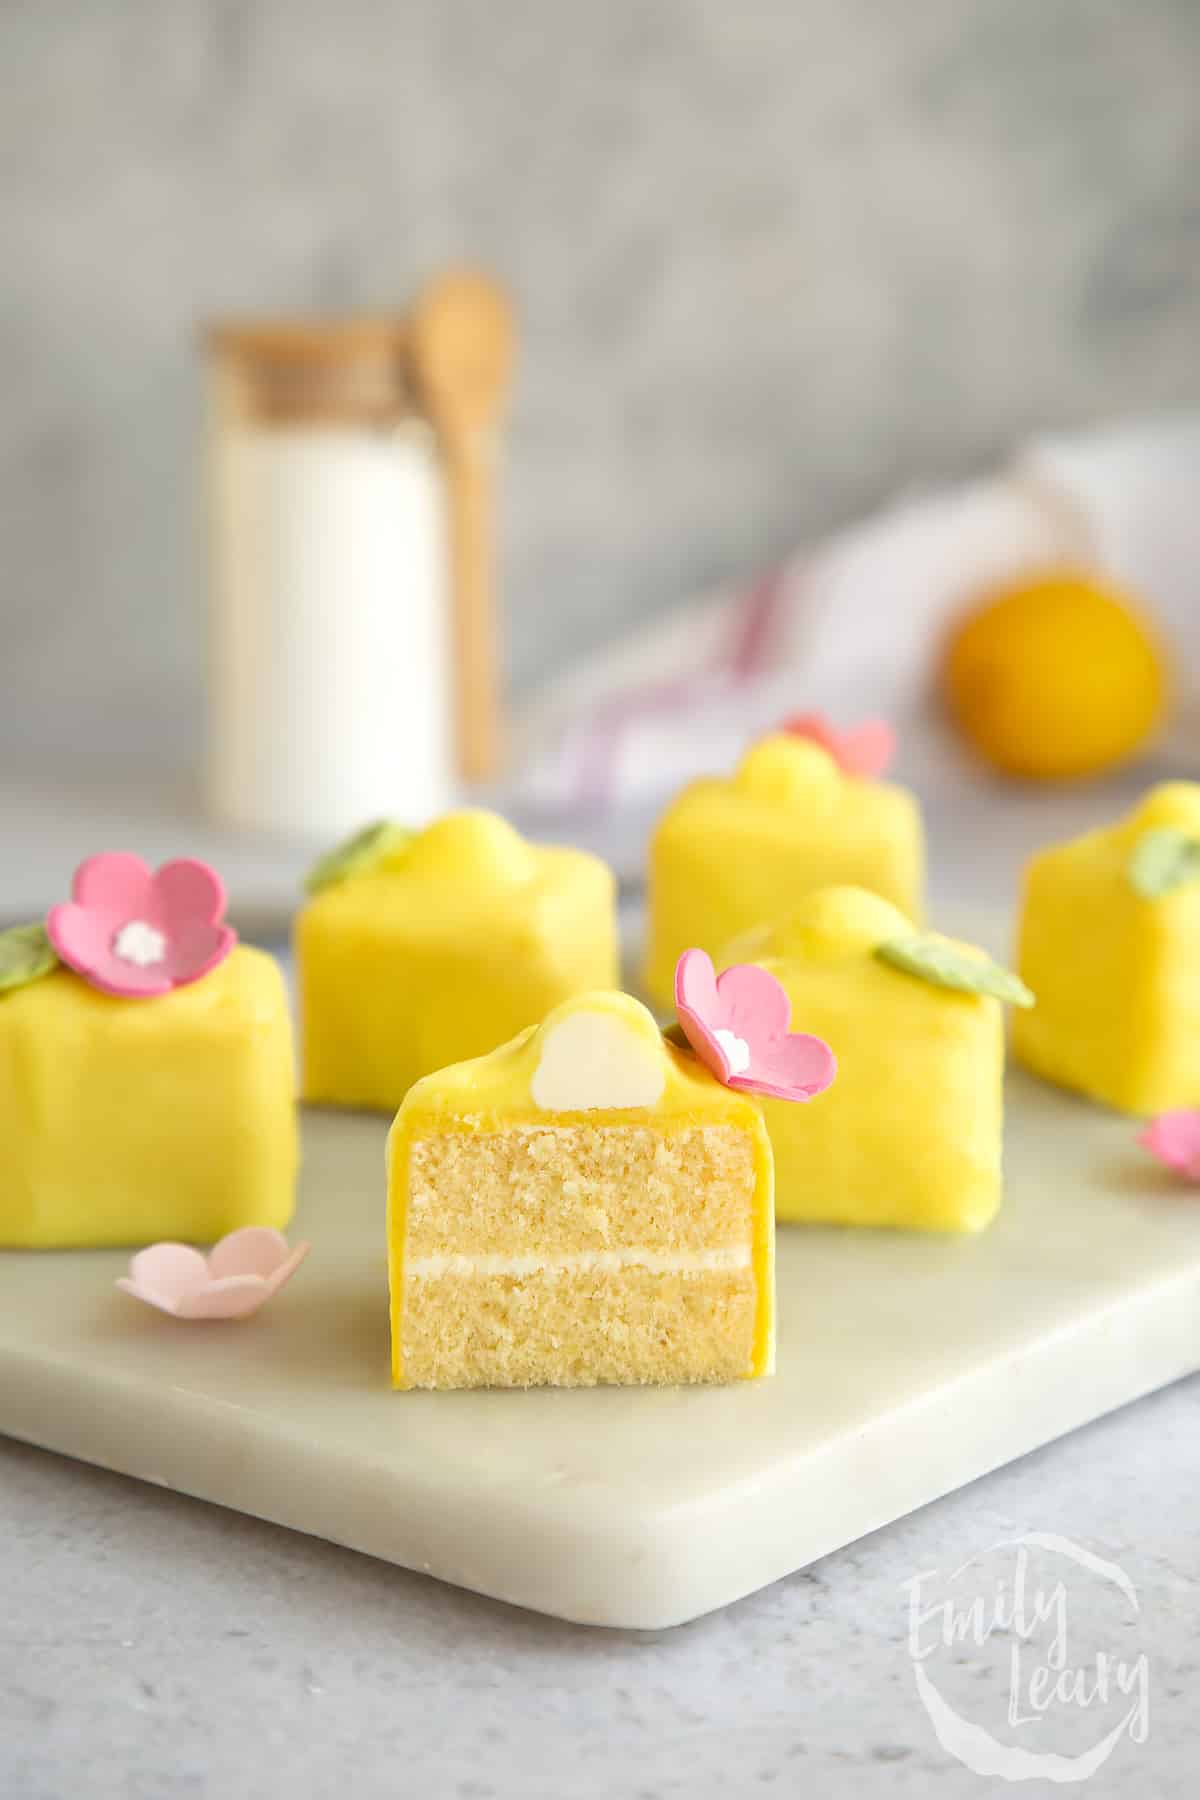
Despite common being known as "French fancies", it turns out that fondant fancies are actually a British invention! They were first created by British baking company, Mr Kipling and launched in the 1960s.
Mr. Kipling marketed them as French fancies, probably because tiny desserts like this are known in French patisserie as petit four, or glacé petit four when referring specifically to tiny iced cakes like these.
Whatever you call them, they're certainly delicious! Why does everything taste better in miniature??
Back in 2015, I teamed up with Dr. Oetker and the gorgeous Stacey Solomon to create a host of tips, videos and step-by-step guides to help you become an even better baker.

You can watch Stacey and I make lemon fondant fancies below. Our version that day included a rose flavoured layer and sugared rose petals, so you can pick up some extra tips too!
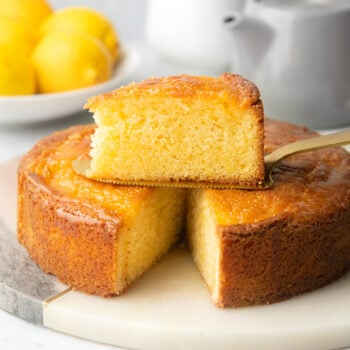
Here's the recipe for lemon fondant fancies. And if you love zingy lemon flavoured desserts, be sure to check out my incredible lemon drizzle cake next.
Ingredients
For the sponge
- 115 g (1 stick) baking margarine
- 115 g (⅔ cups) white caster sugar (superfine sugar)
- 2 medium free range eggs beaten
- 115 g (⅔ cup + 2 tbsp) plain white flour (all purpose flour)
- ½ tsp baking powder
- ½ tsp lemon extract
For the buttercream
- 115 g (1 stick) unsalted butter softened
- 200 g (1½ cup + 1 tbsp) icing sugar (powdered sugar)
For the icing
- 454 g (1 lb) marzipan
- 600 g (22 oz) white sugar paste
- ½ tsp lemon extract (see notes)
- Yellow gel food colouring
To finish
- Mini flower icing decorations
Equipment
Instructions
Make the sponges
Preheat the oven to 190C (170C fan, 375F).
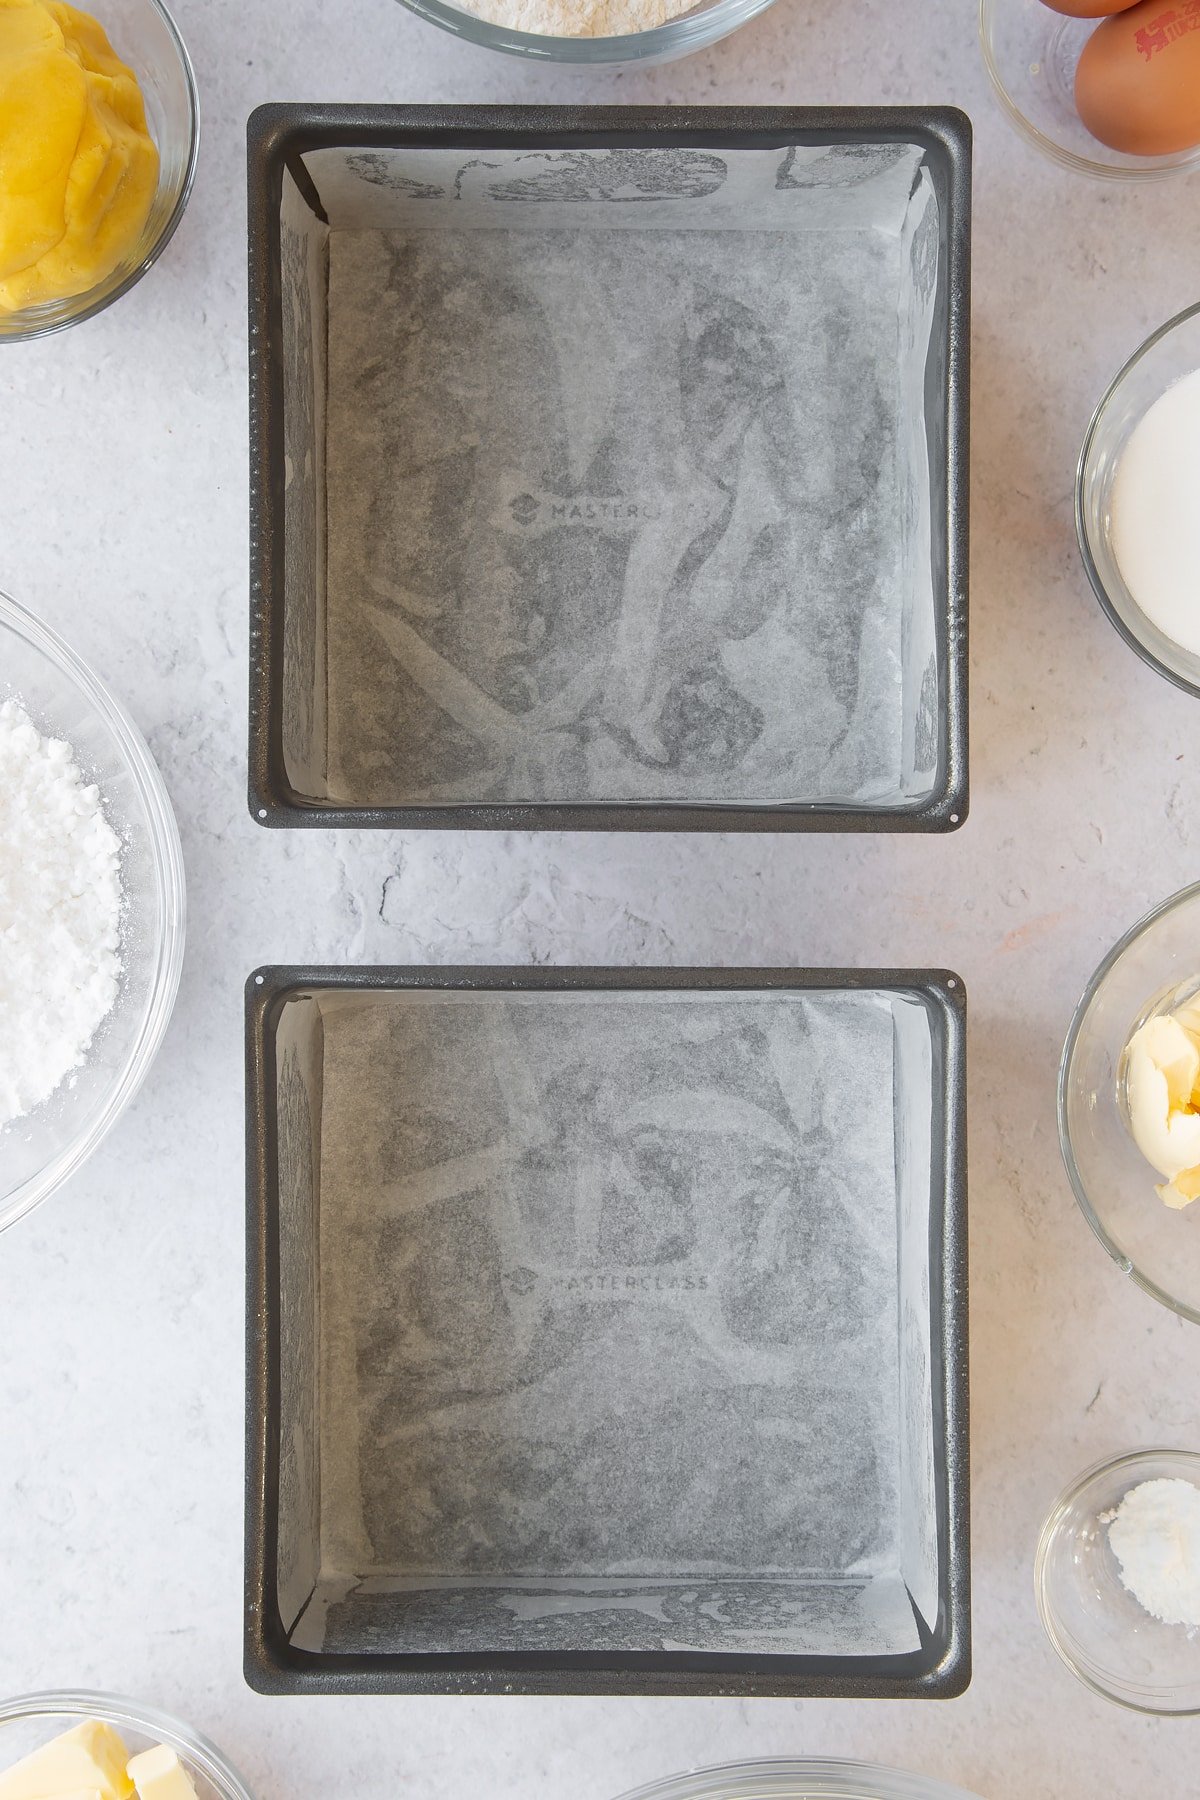
Grease and line two 18cm (7inch) square cake tins.
Put the margarine with the sugar in a large mixing bowl.
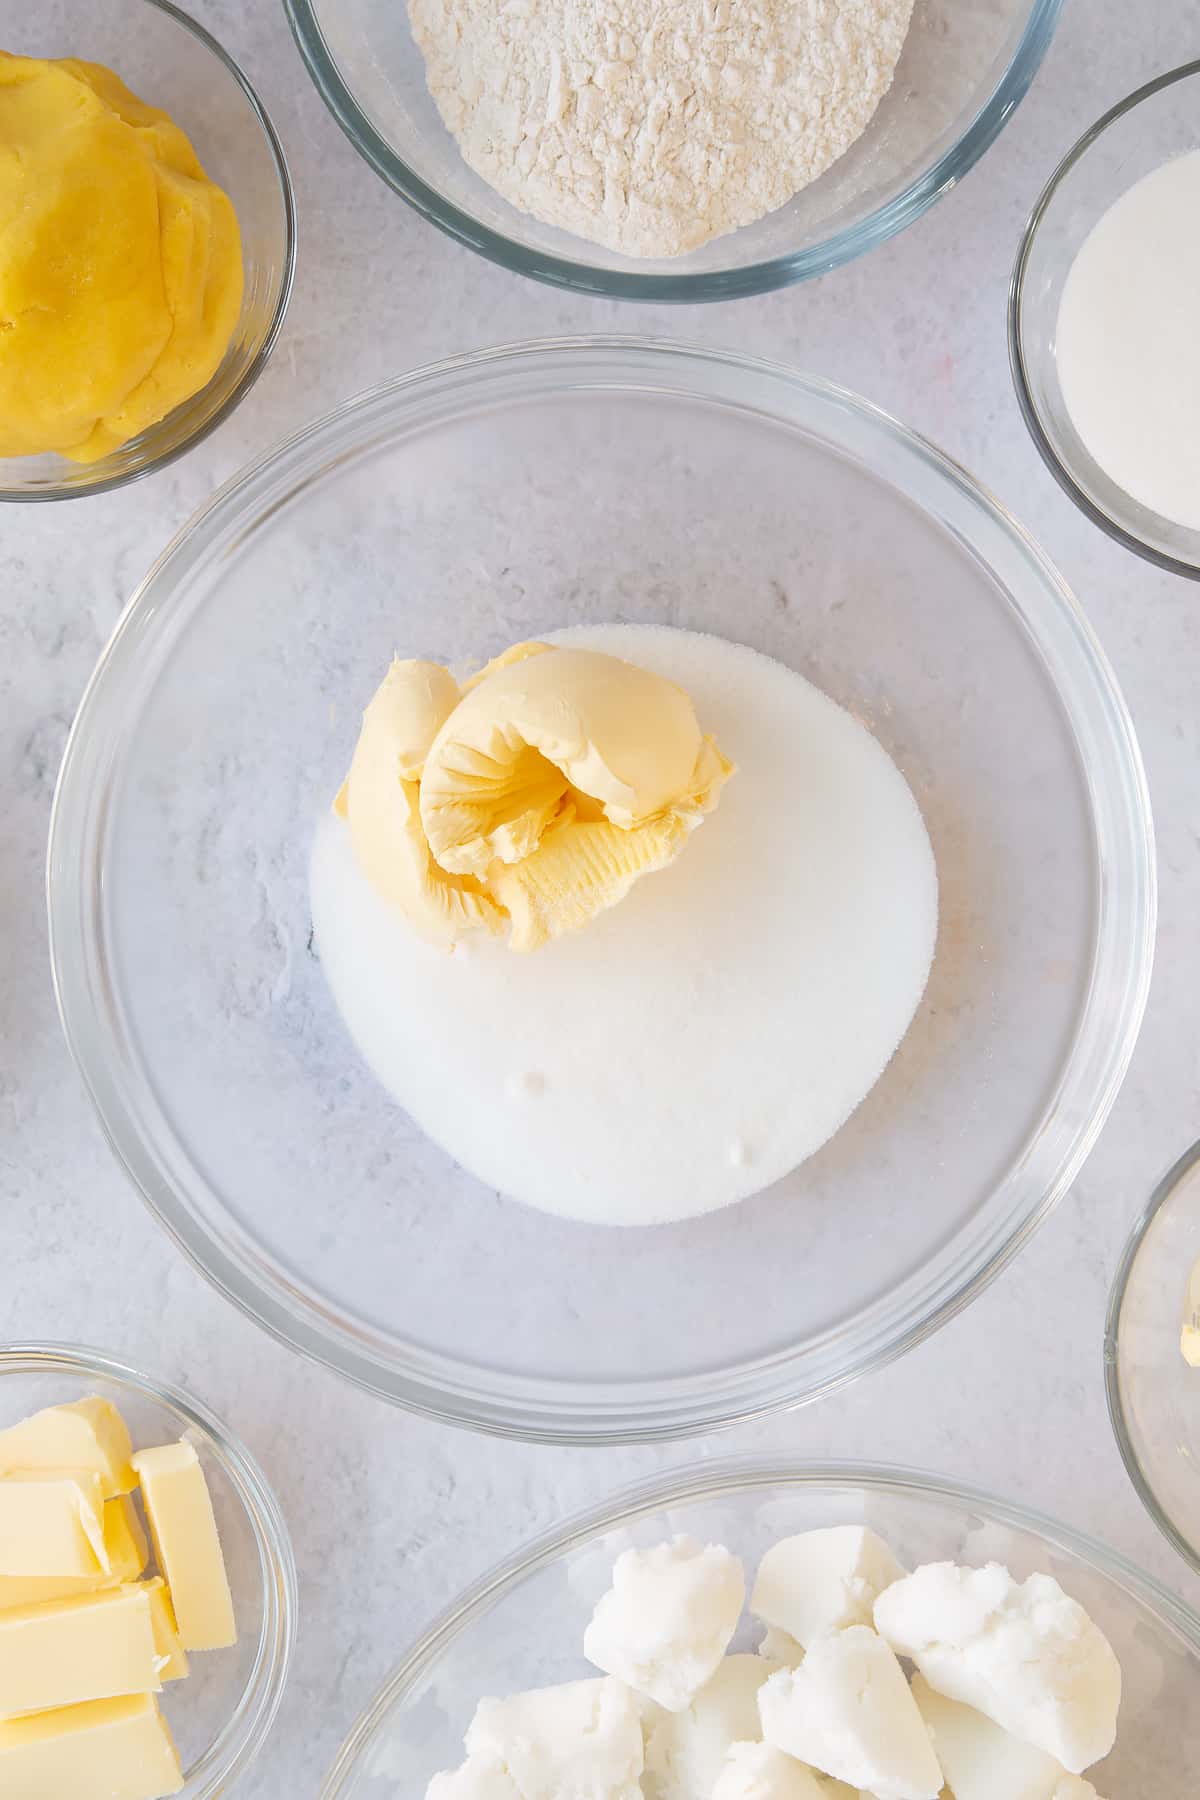
Whisk until pale and light in texture.
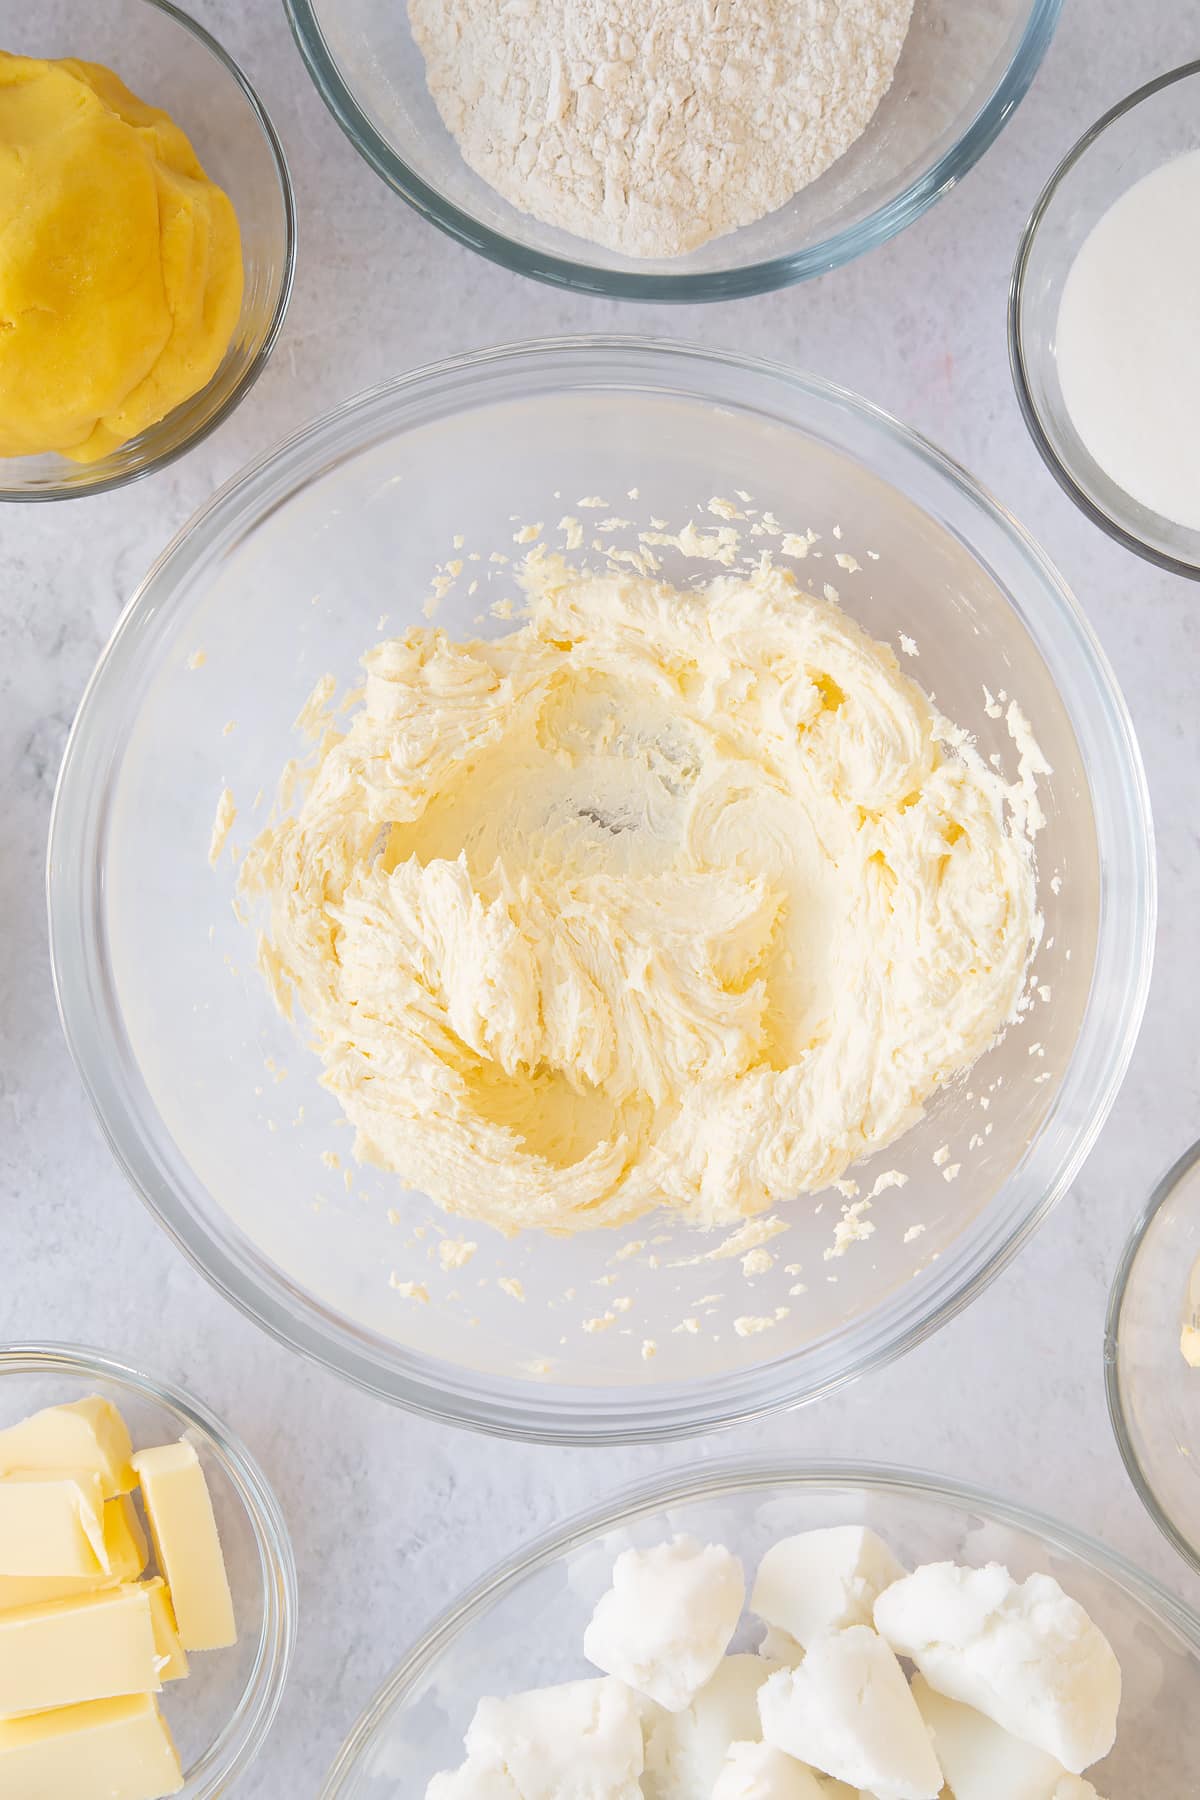
Gradually whisk in the eggs, one by one.
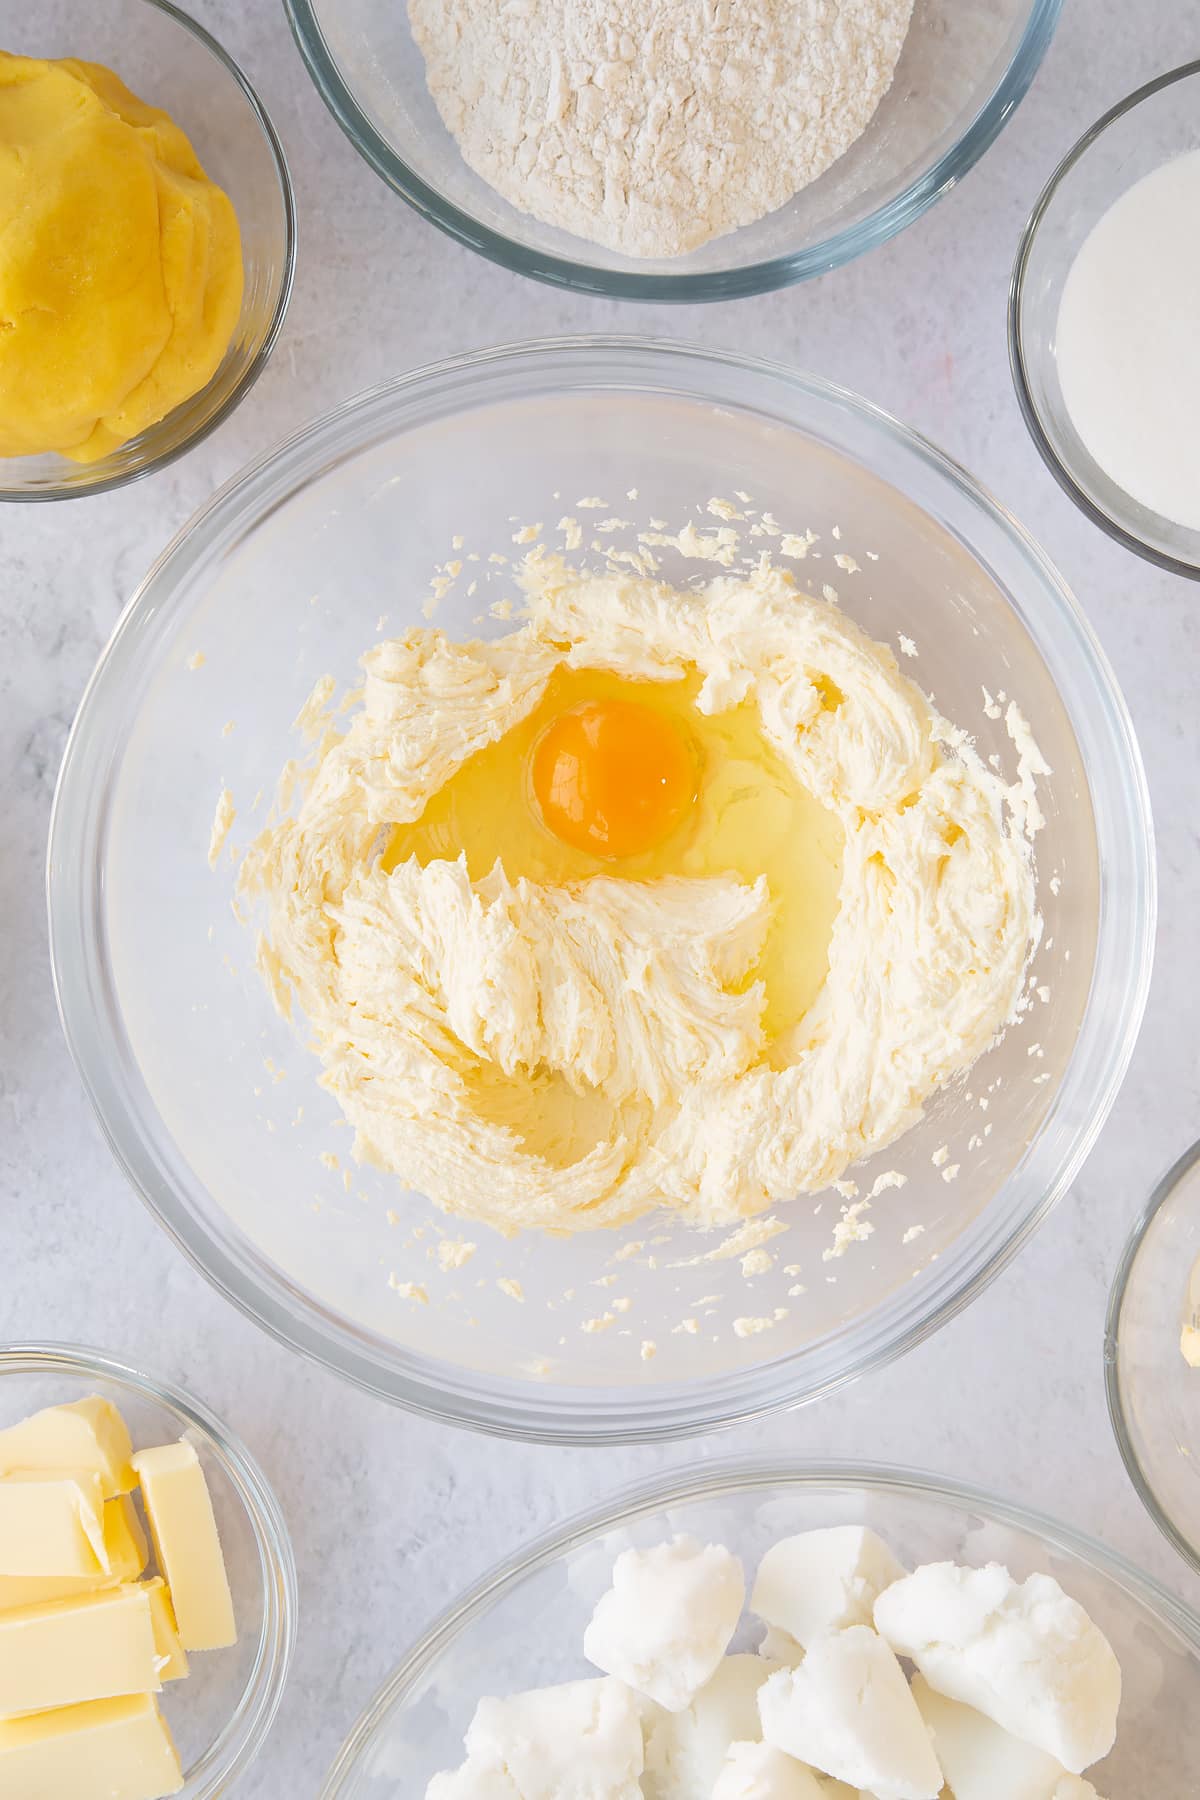
Stir in the lemon extract.
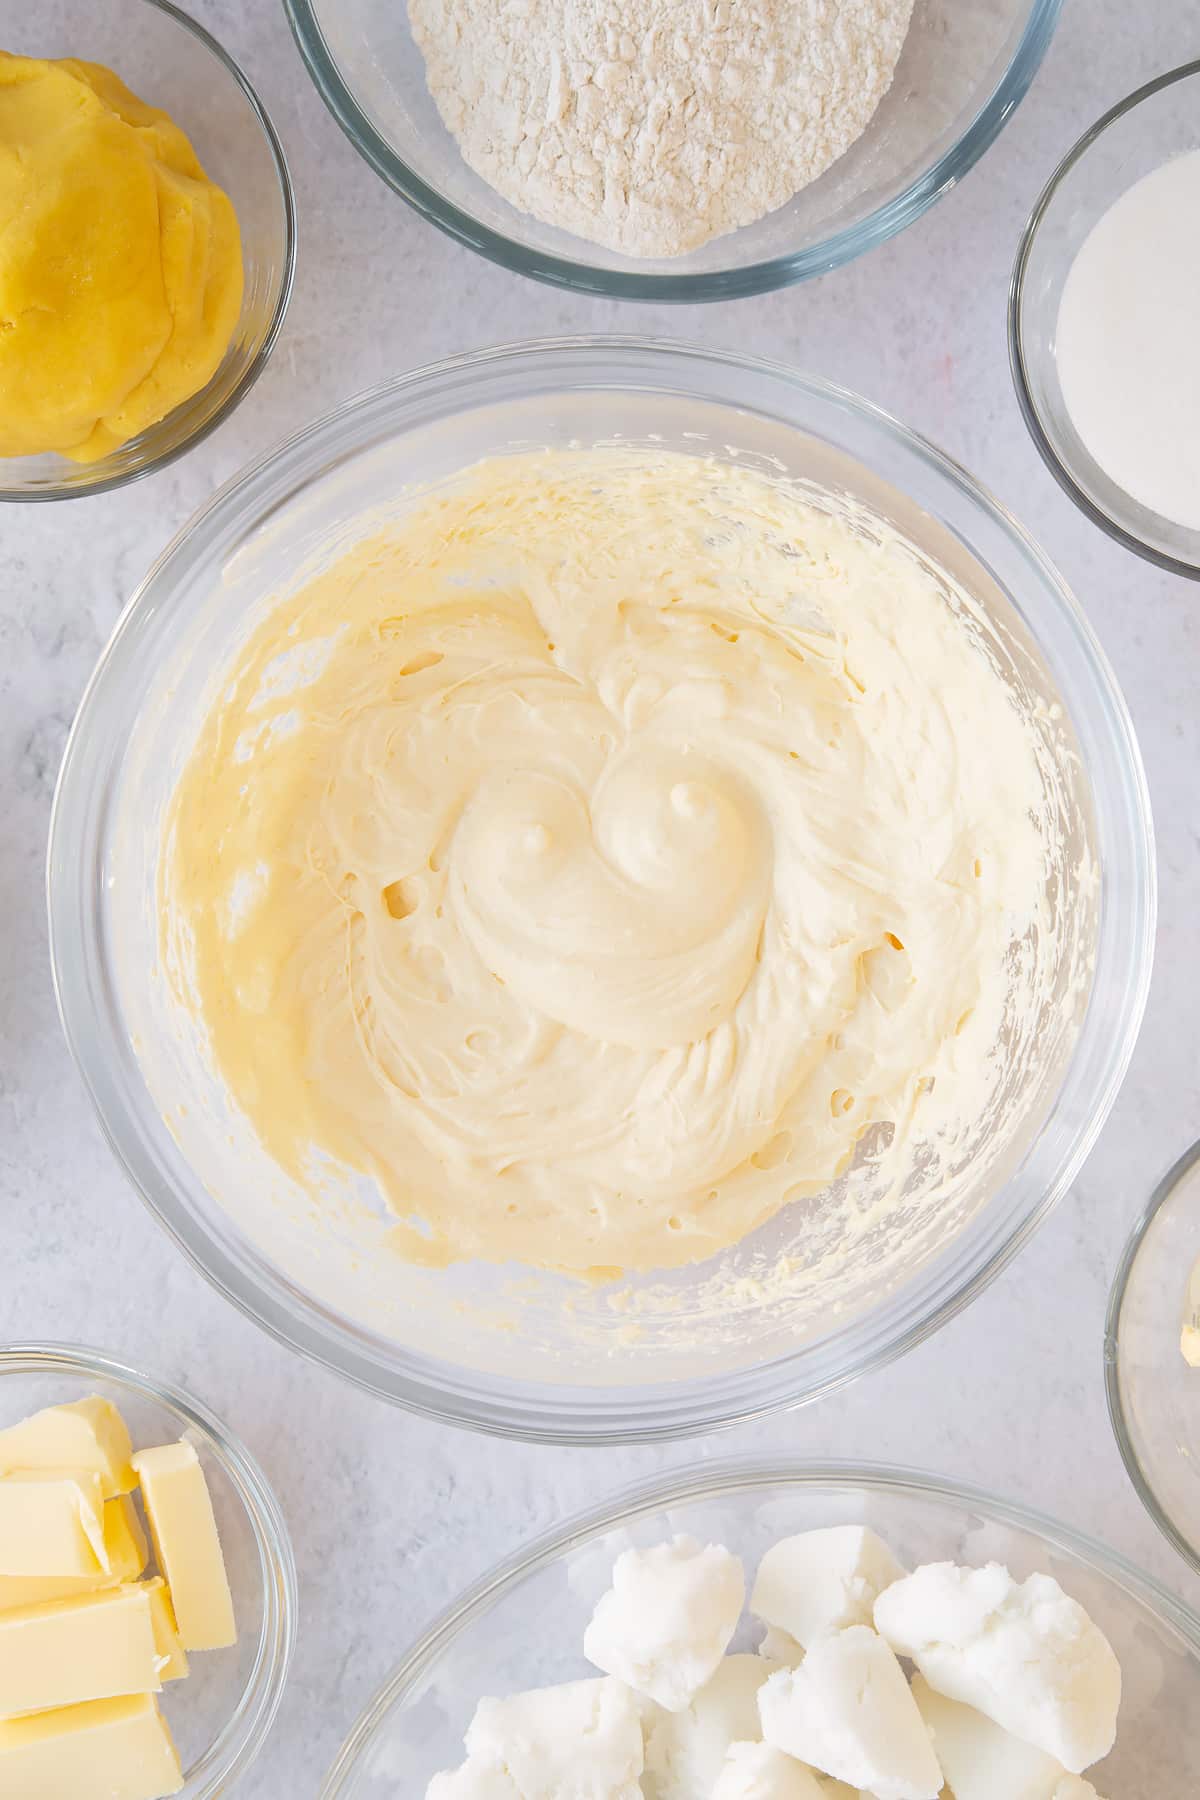
Sift in the flour and baking powder.
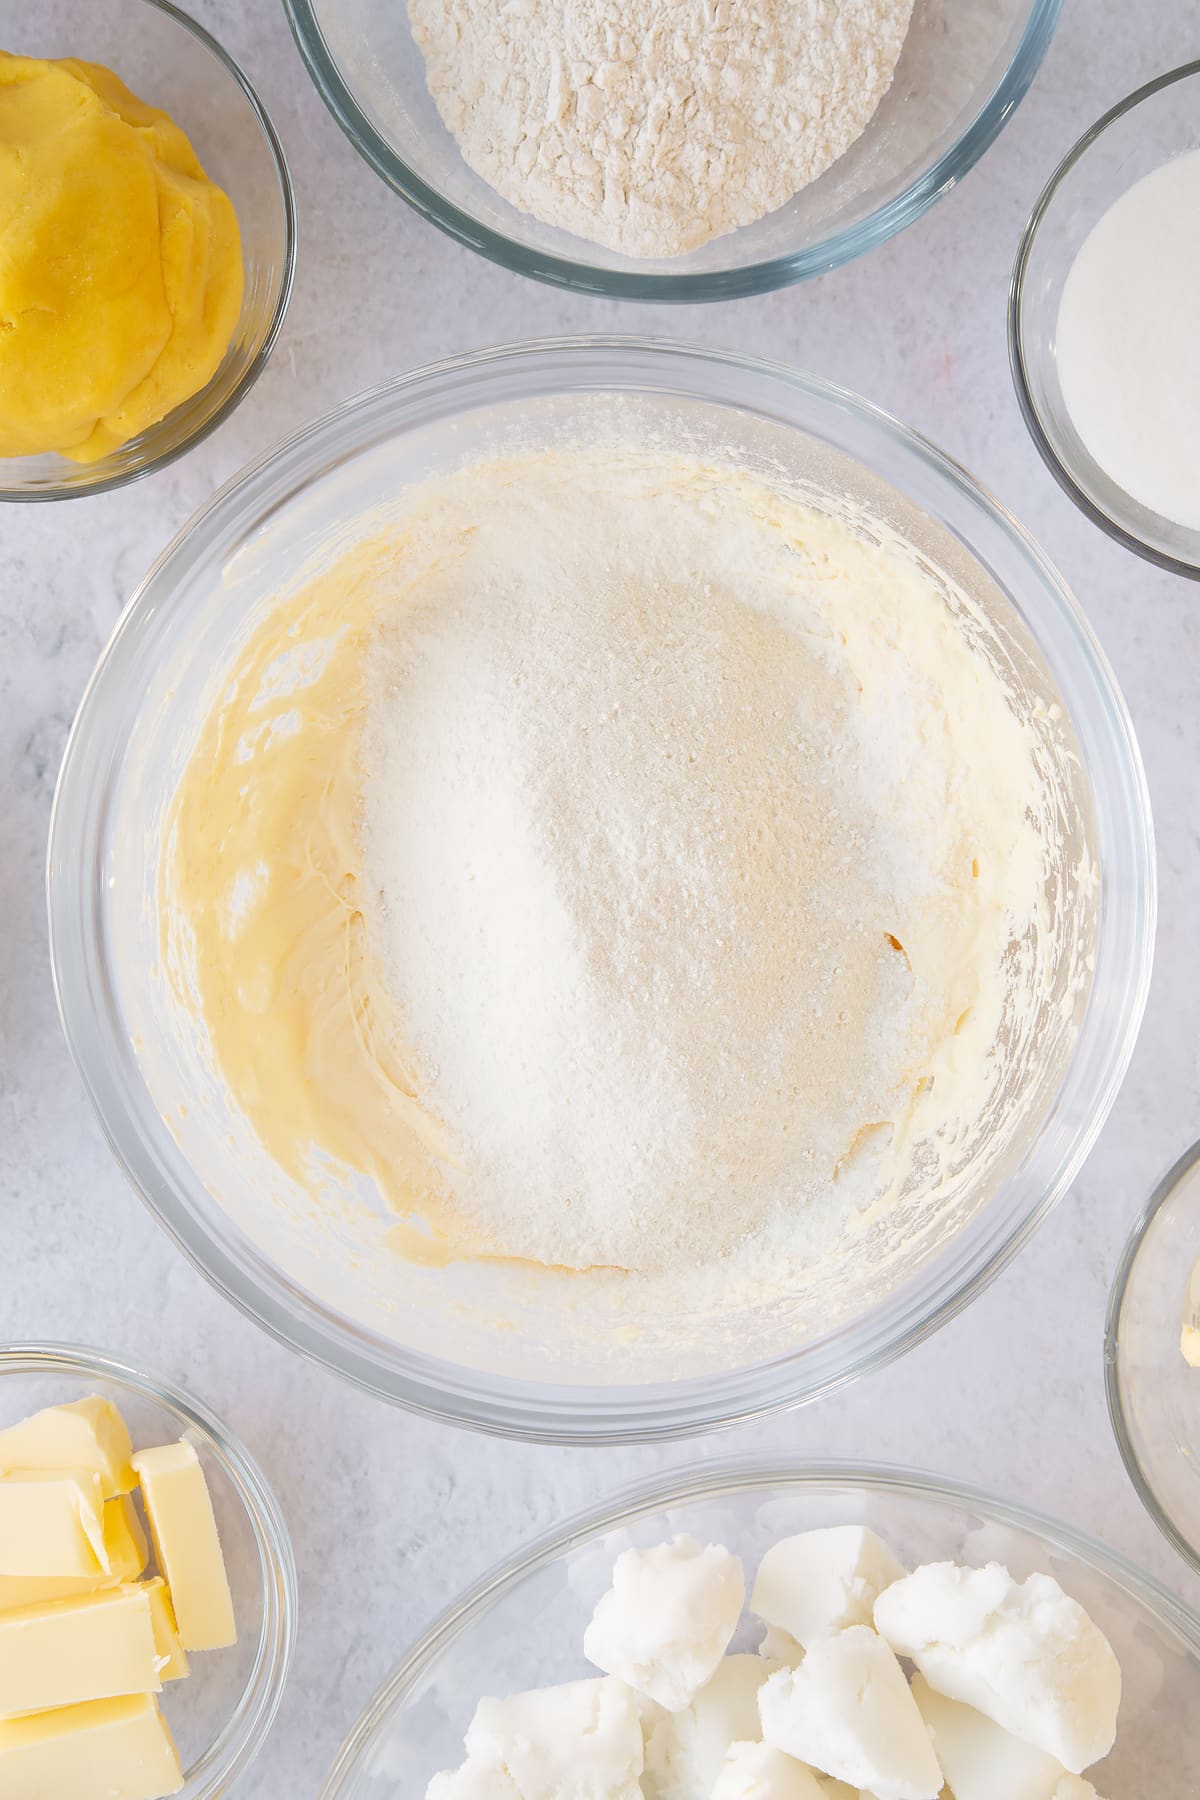
Fold together.
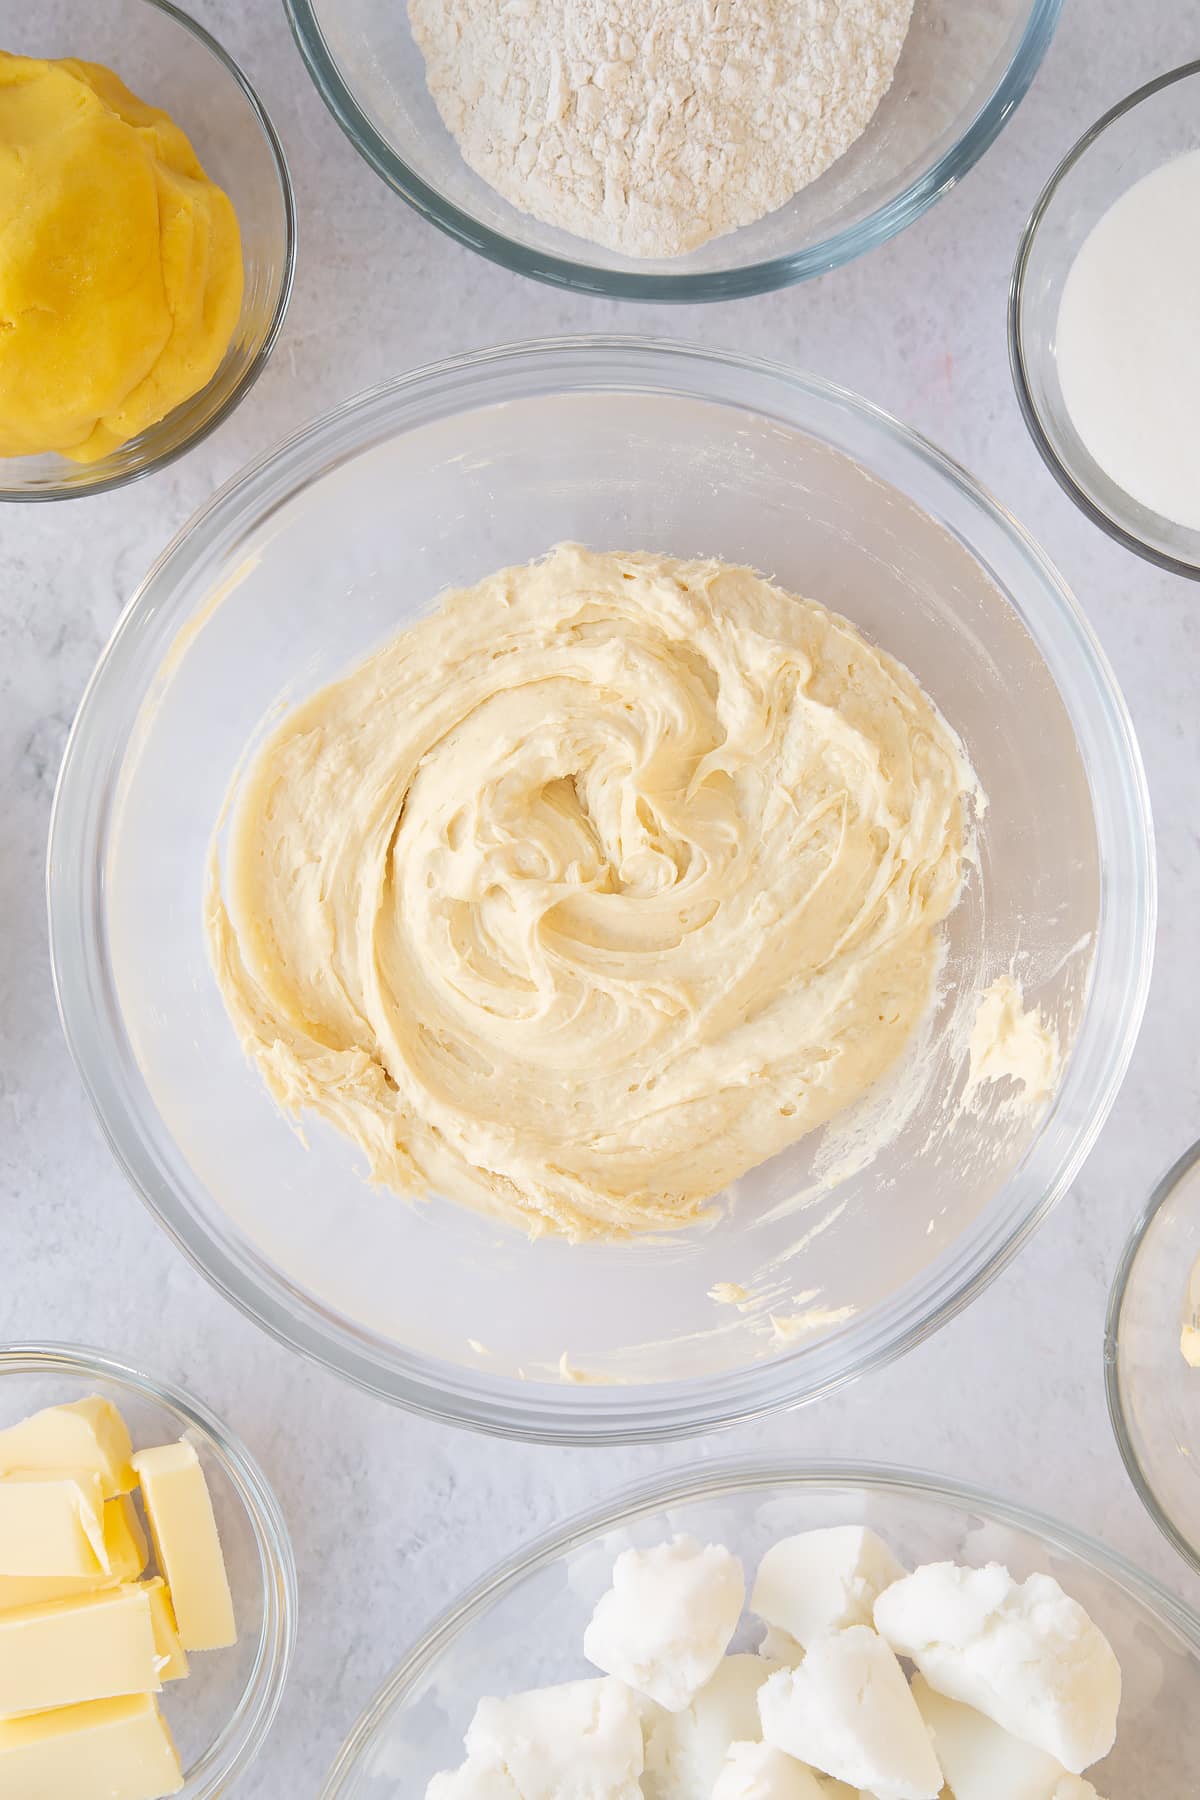
Spoon the batter into the prepared tins, sharing equally between them and level off.
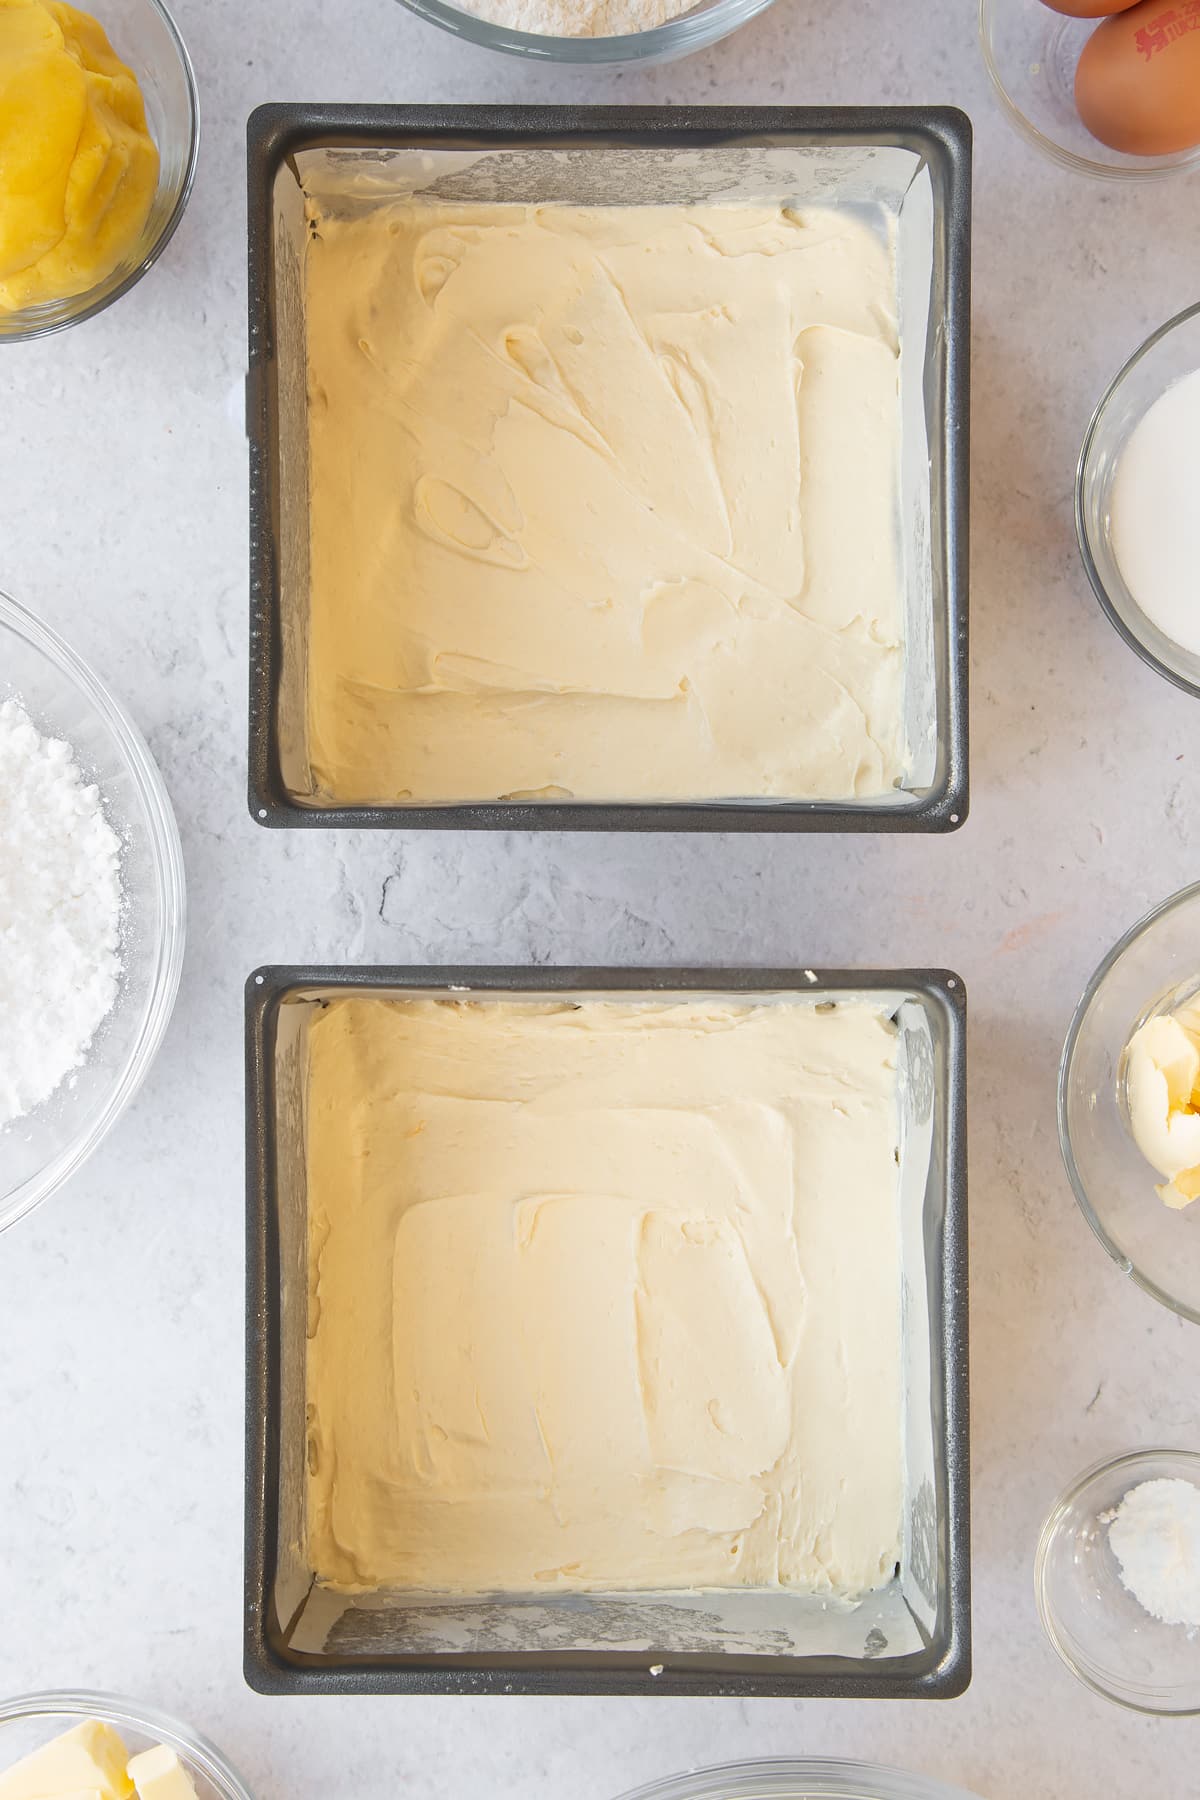
Bake for 10-12 minutes until risen and firm to the touch.
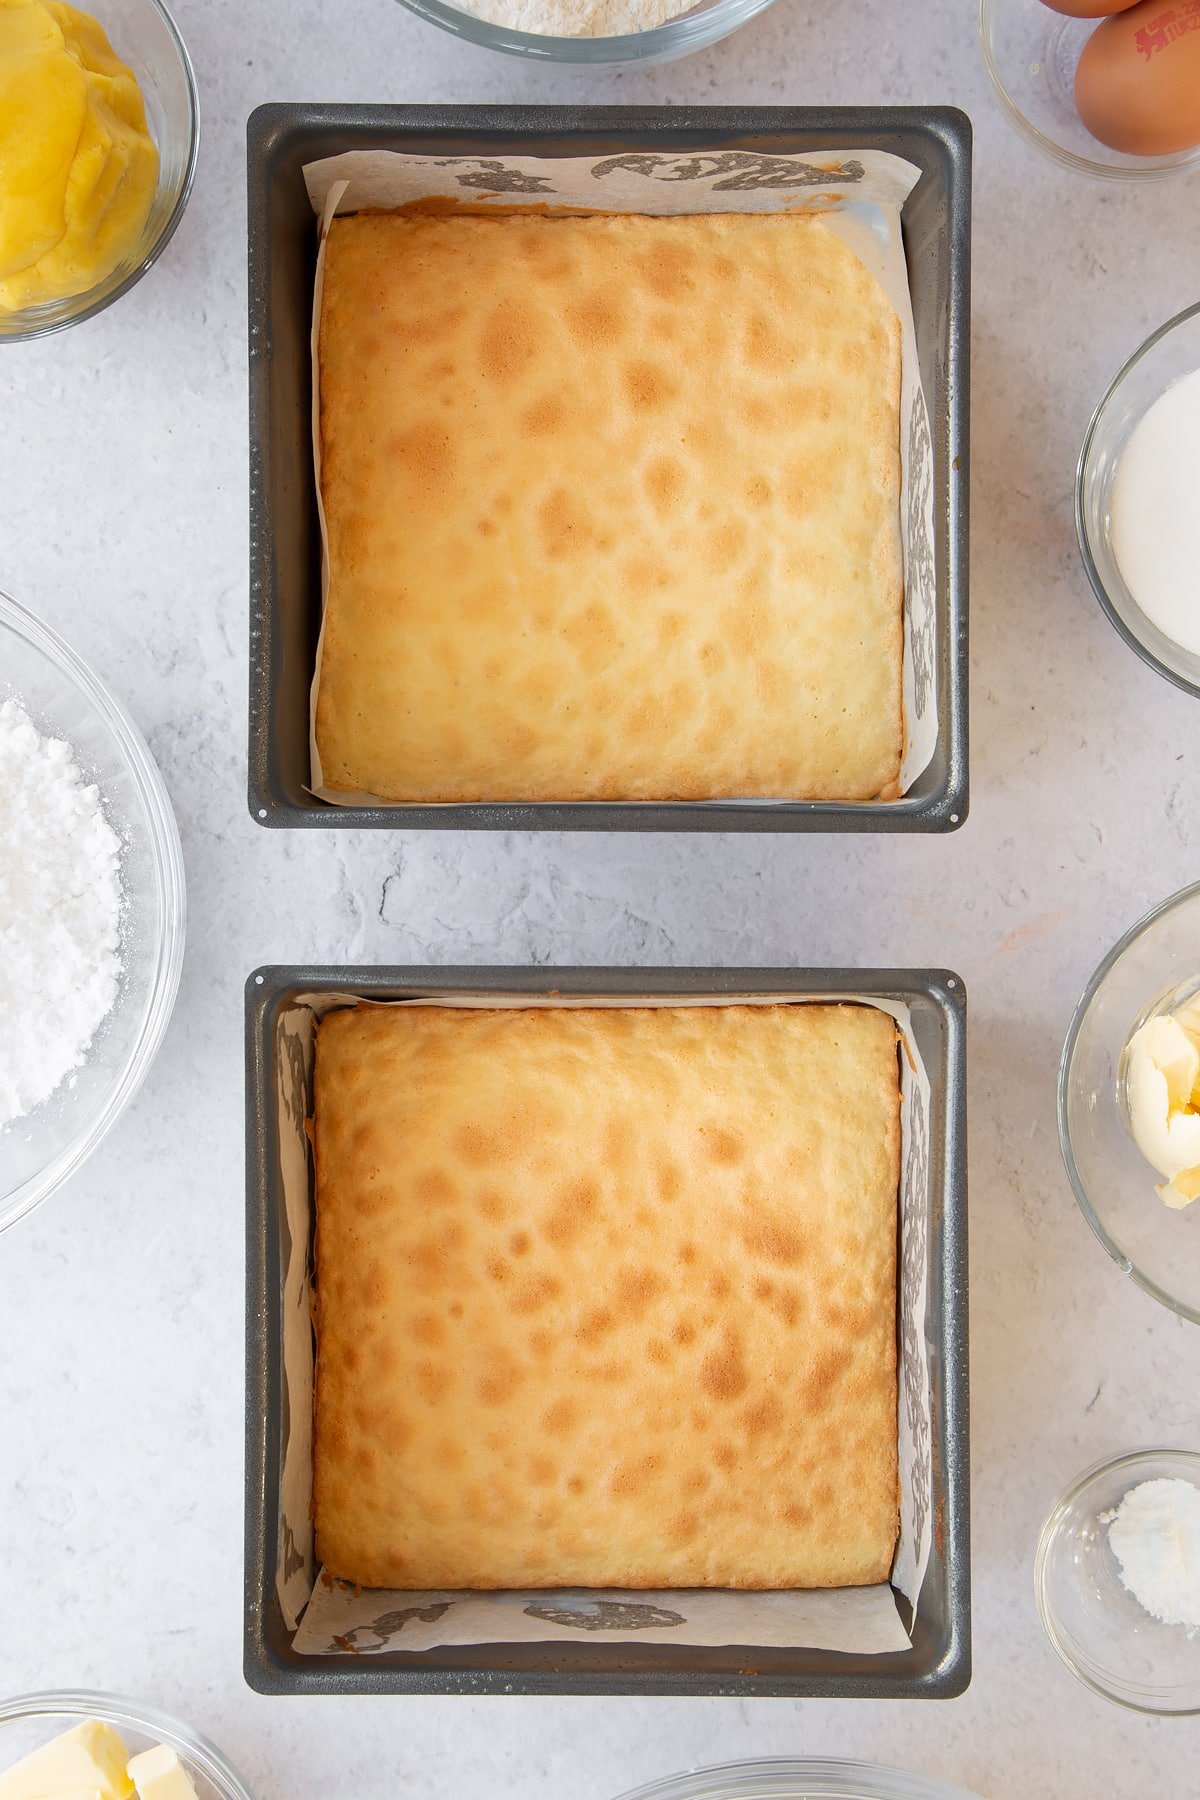
Turn on to a wire rack to cool completely.
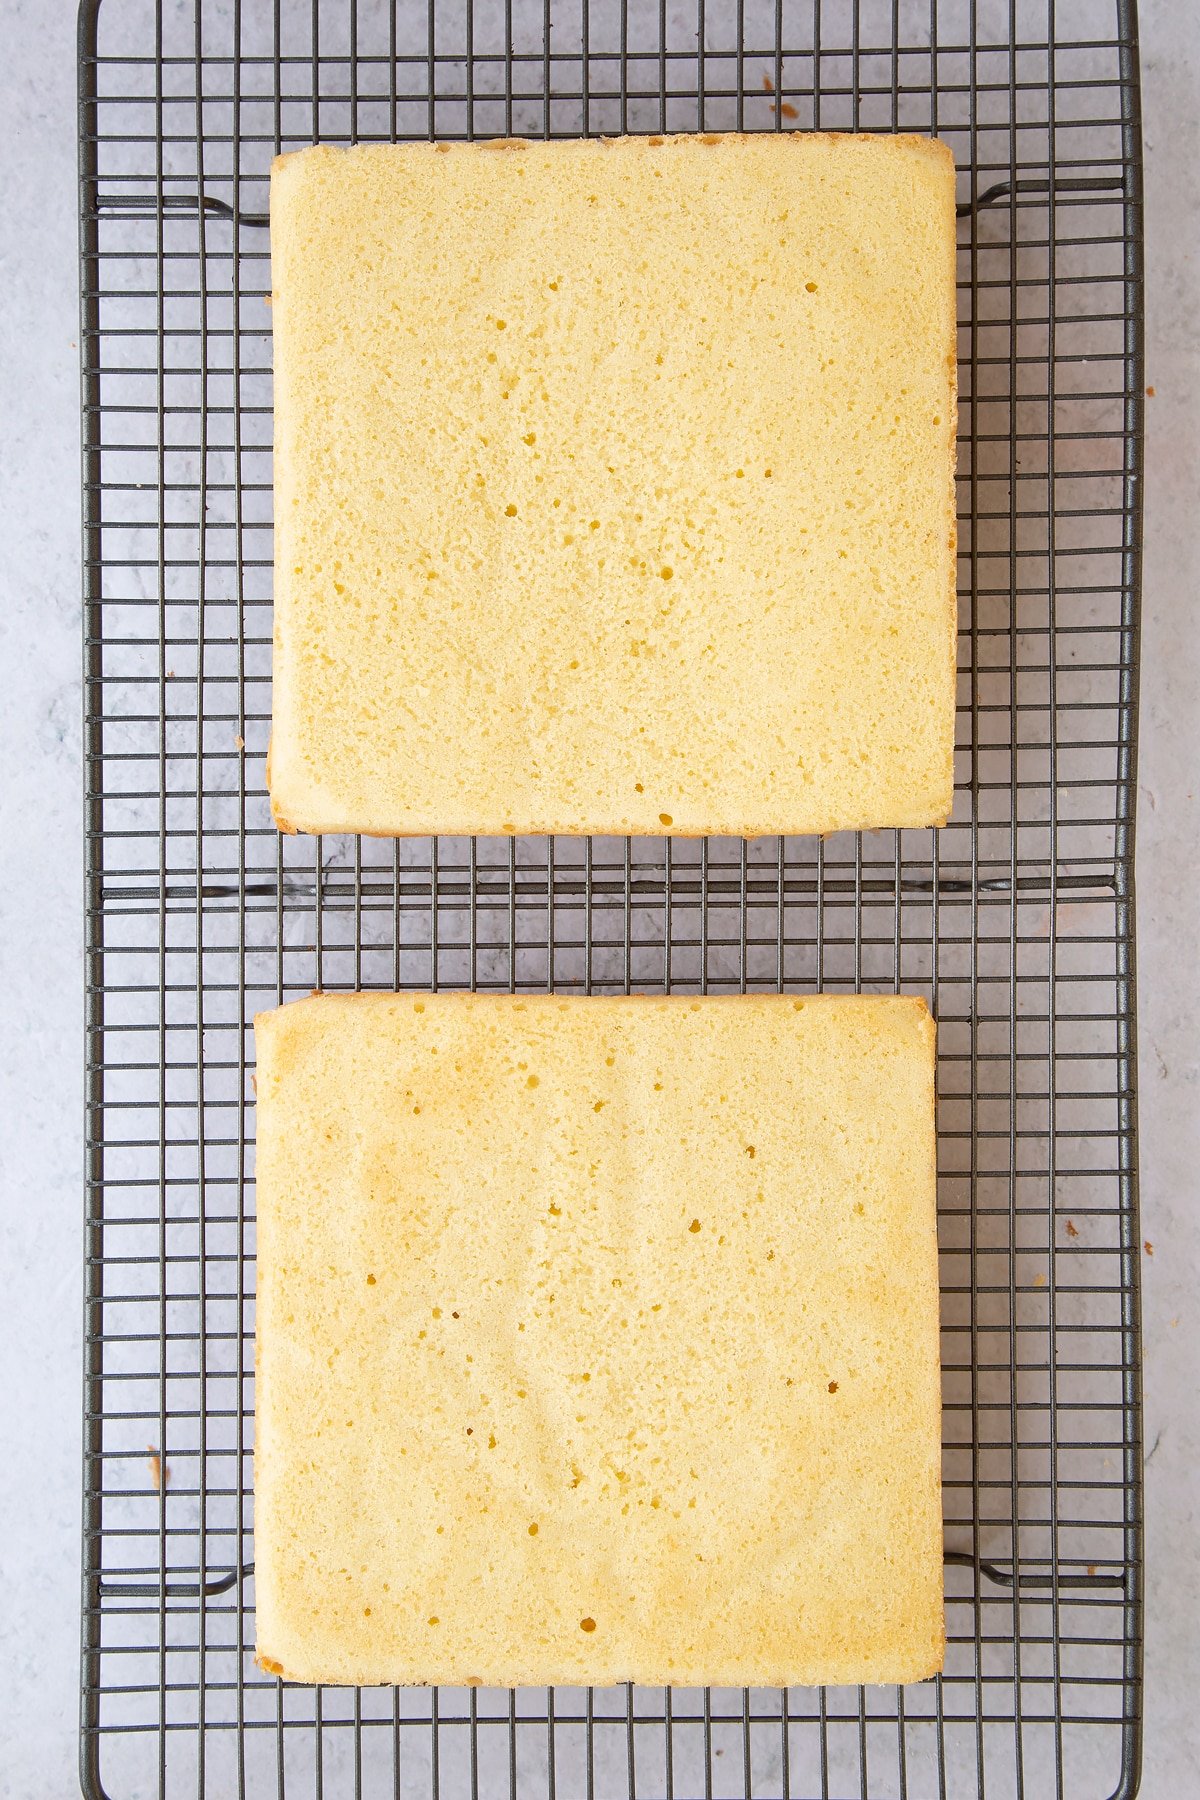
Make the buttercream
Put the softened butter in a mixing bowl.
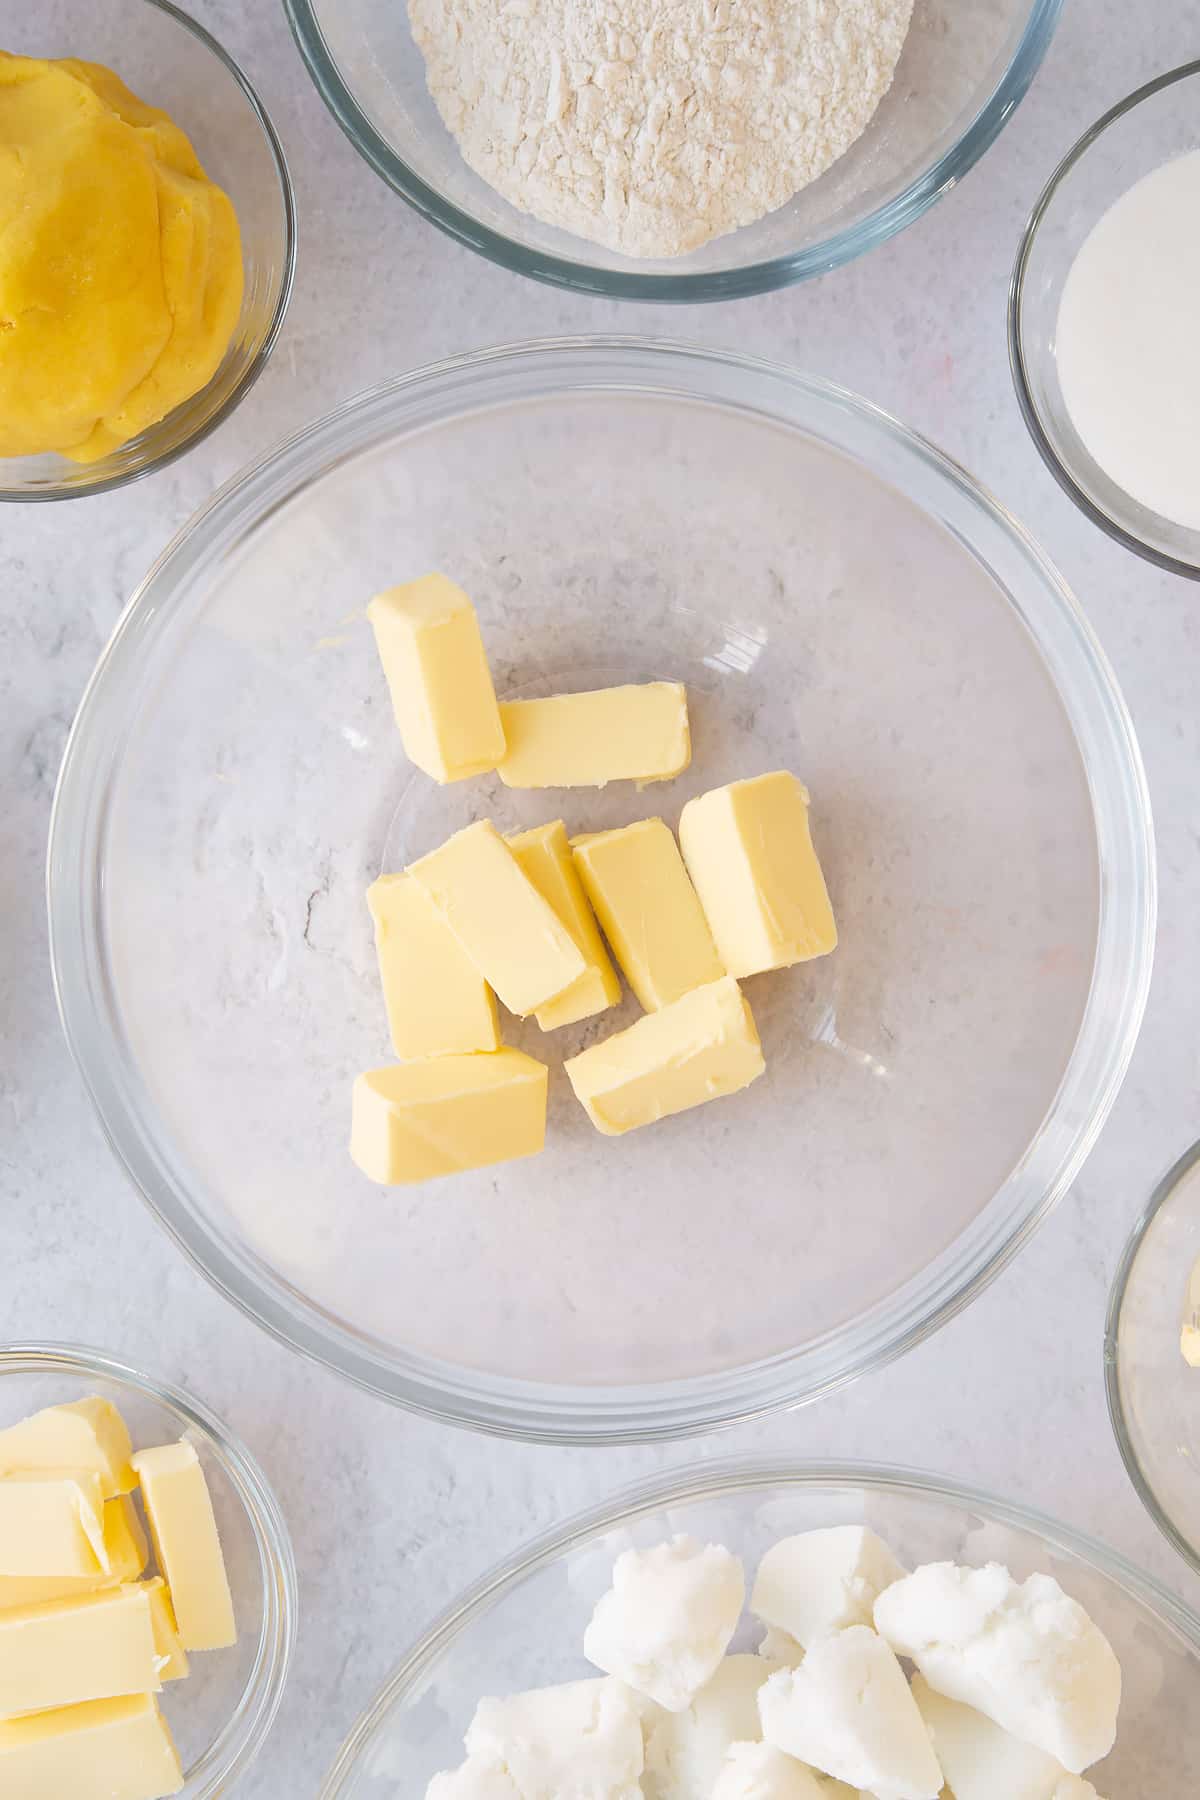
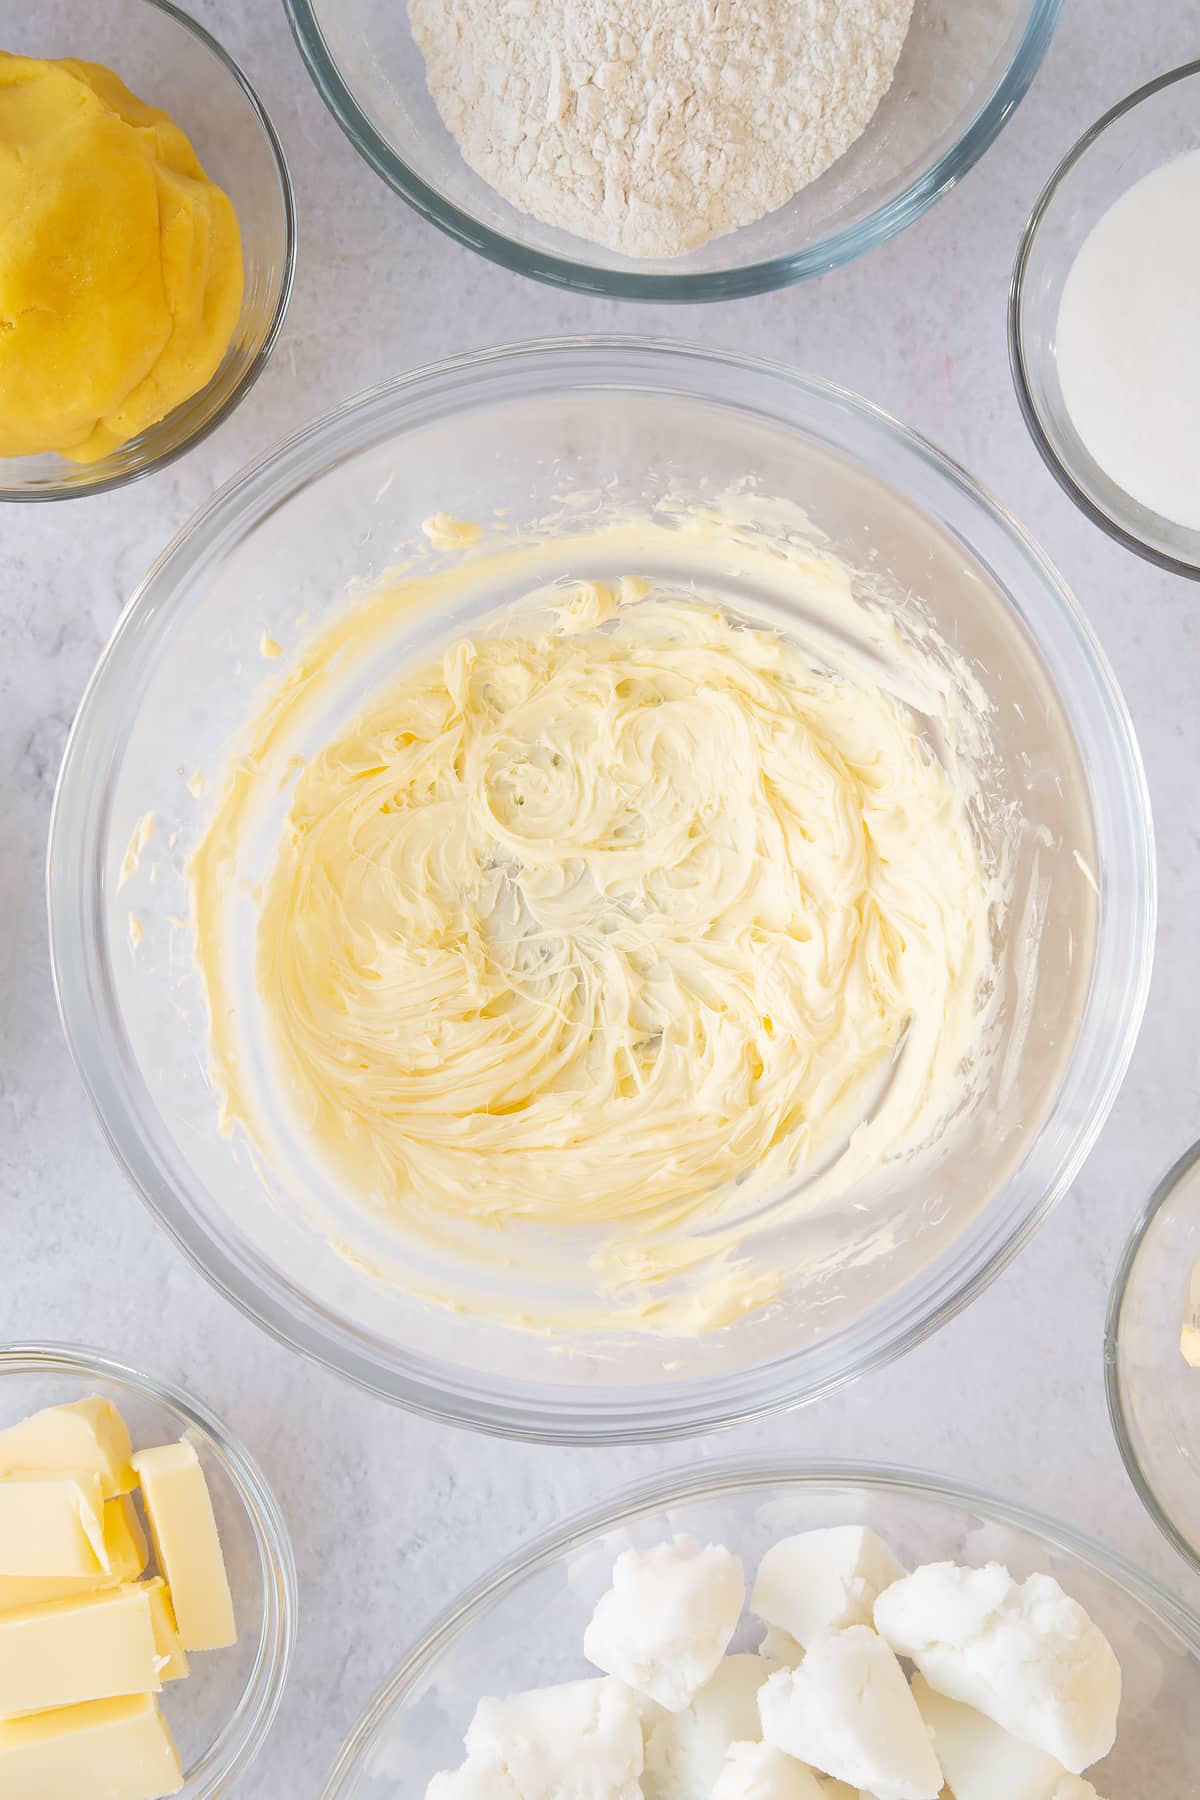
Whisk until creamy and pale.
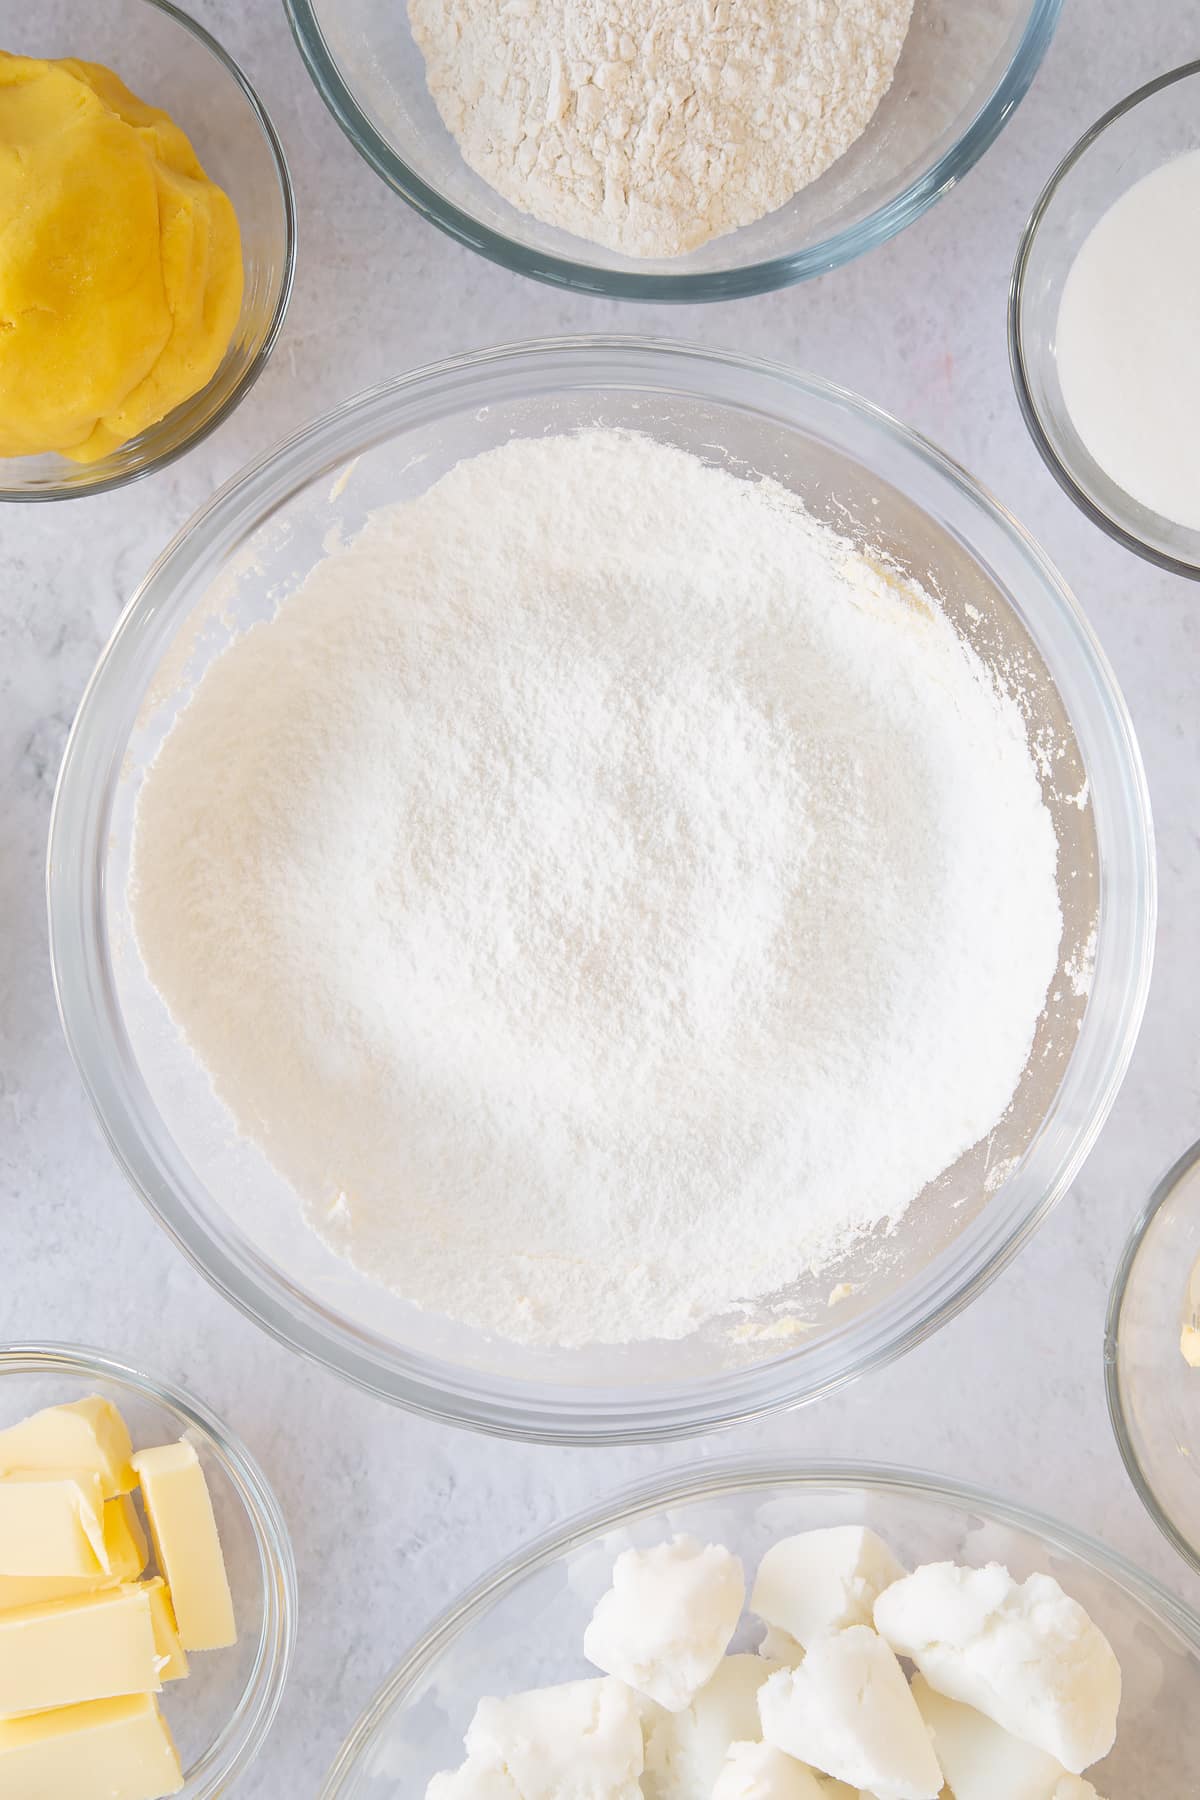
Sieve in the icing sugar.
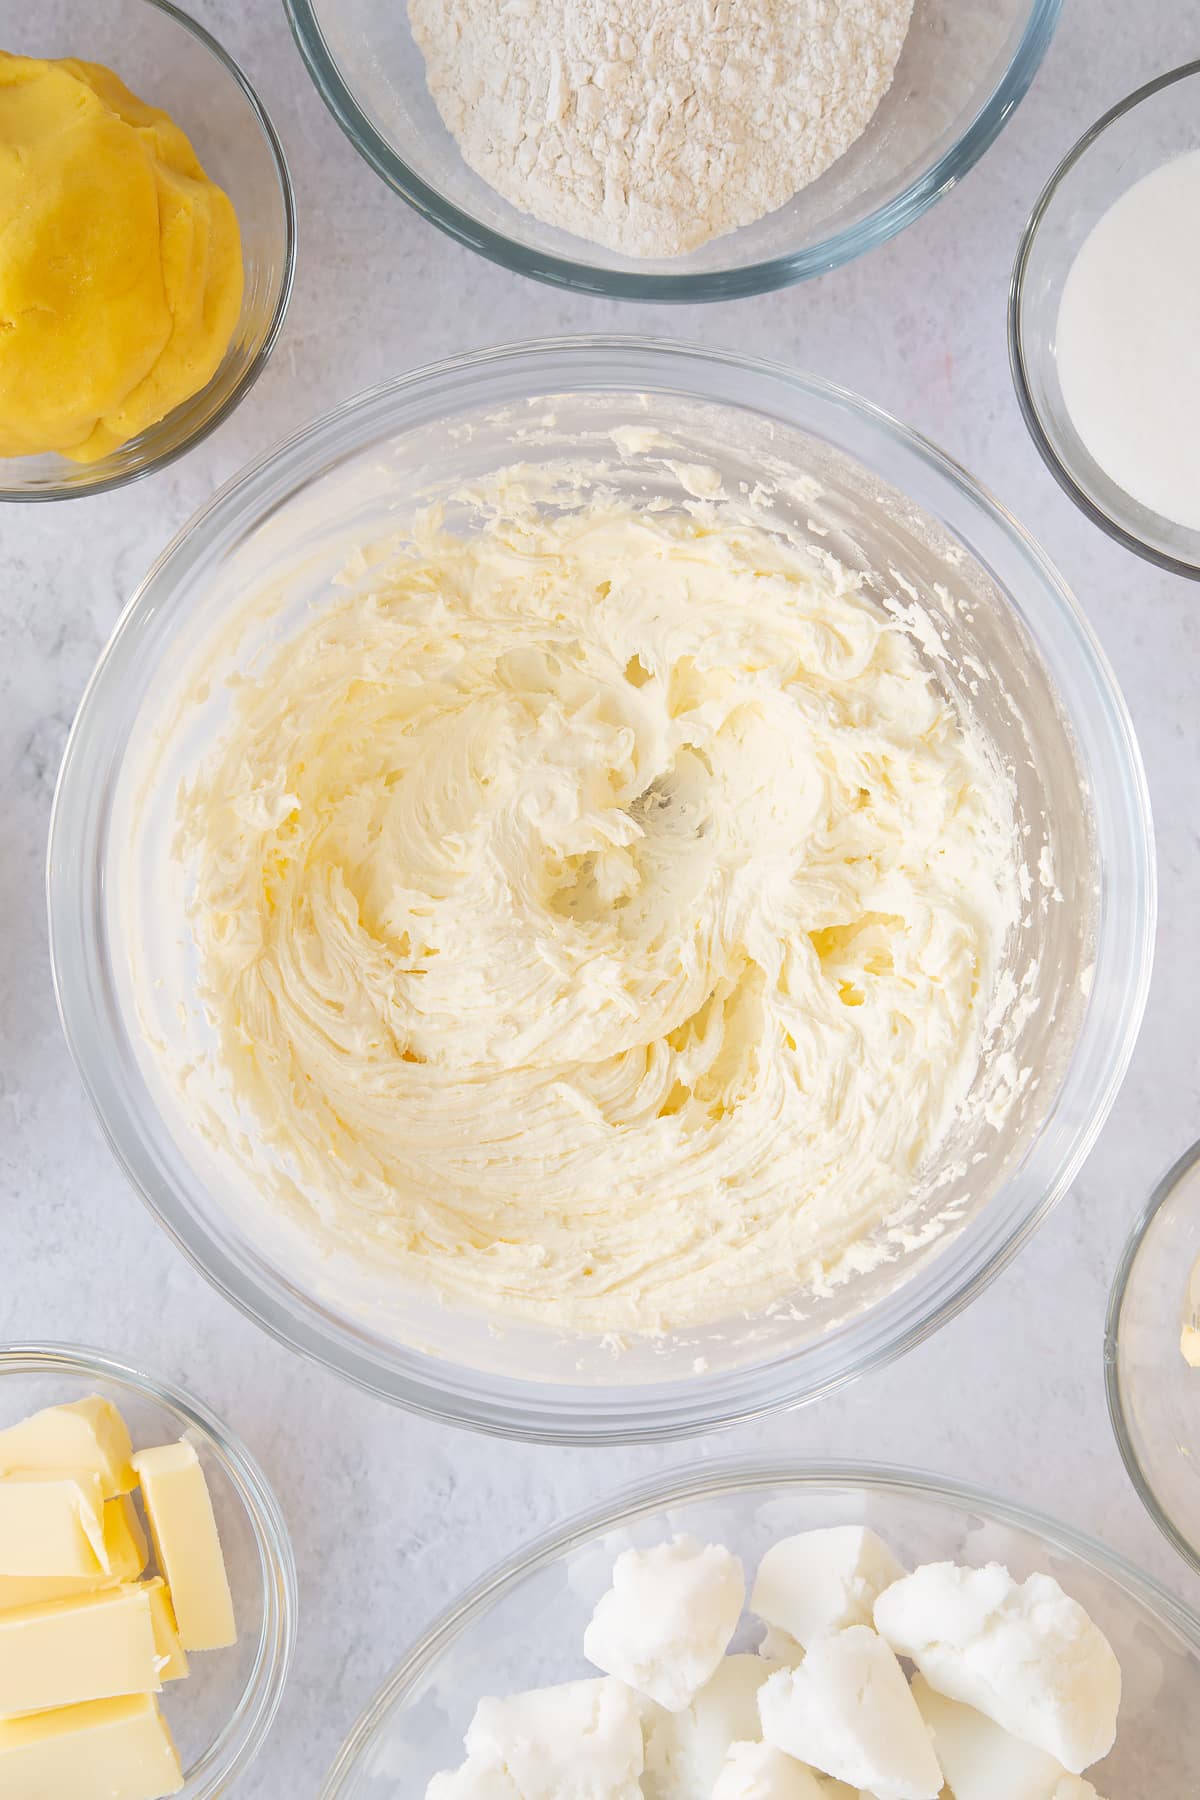
Whisk, starting slow and speeding up until you have a smooth, spreadable icing
Assemble the sponges
Trim the tops of your sponge as sparingly as possible to remove the crust.
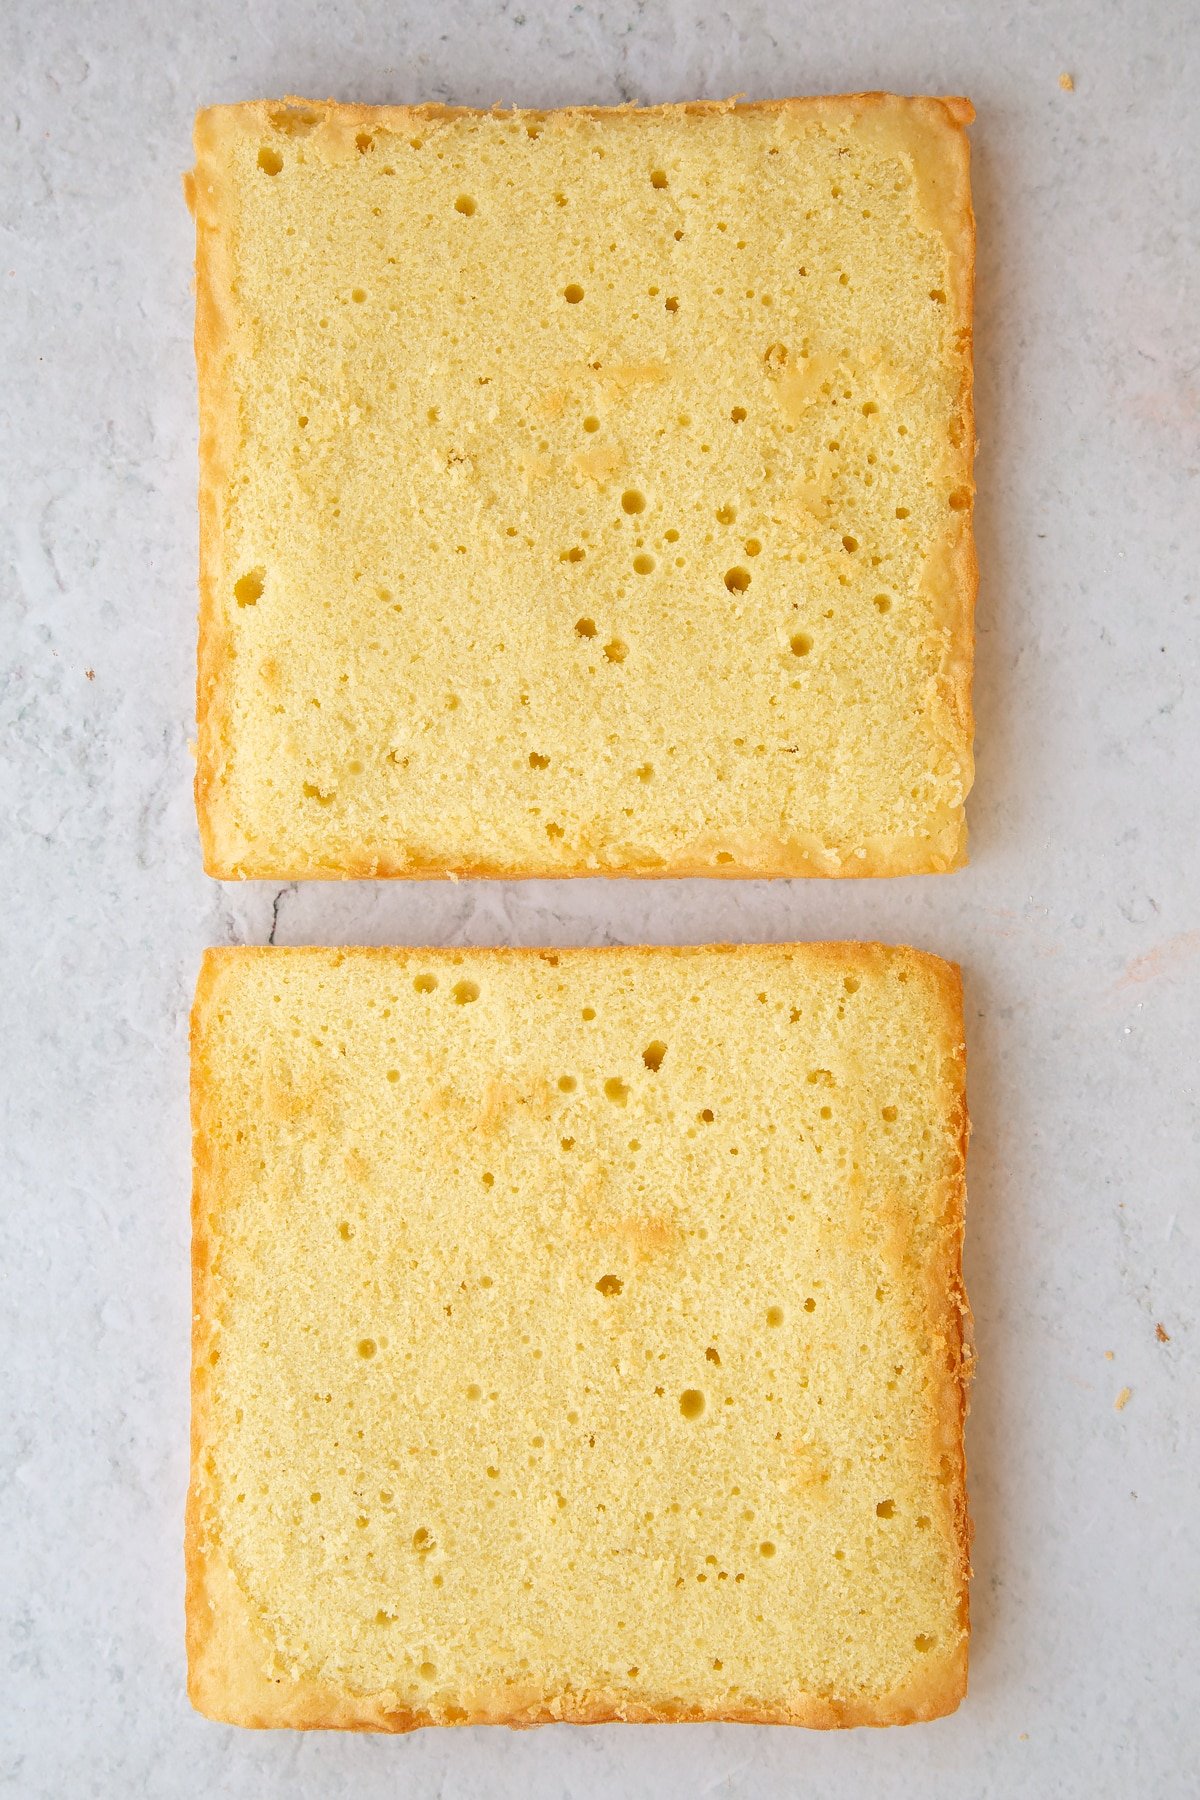
Spread a thin layer of buttercream onto one sponge.
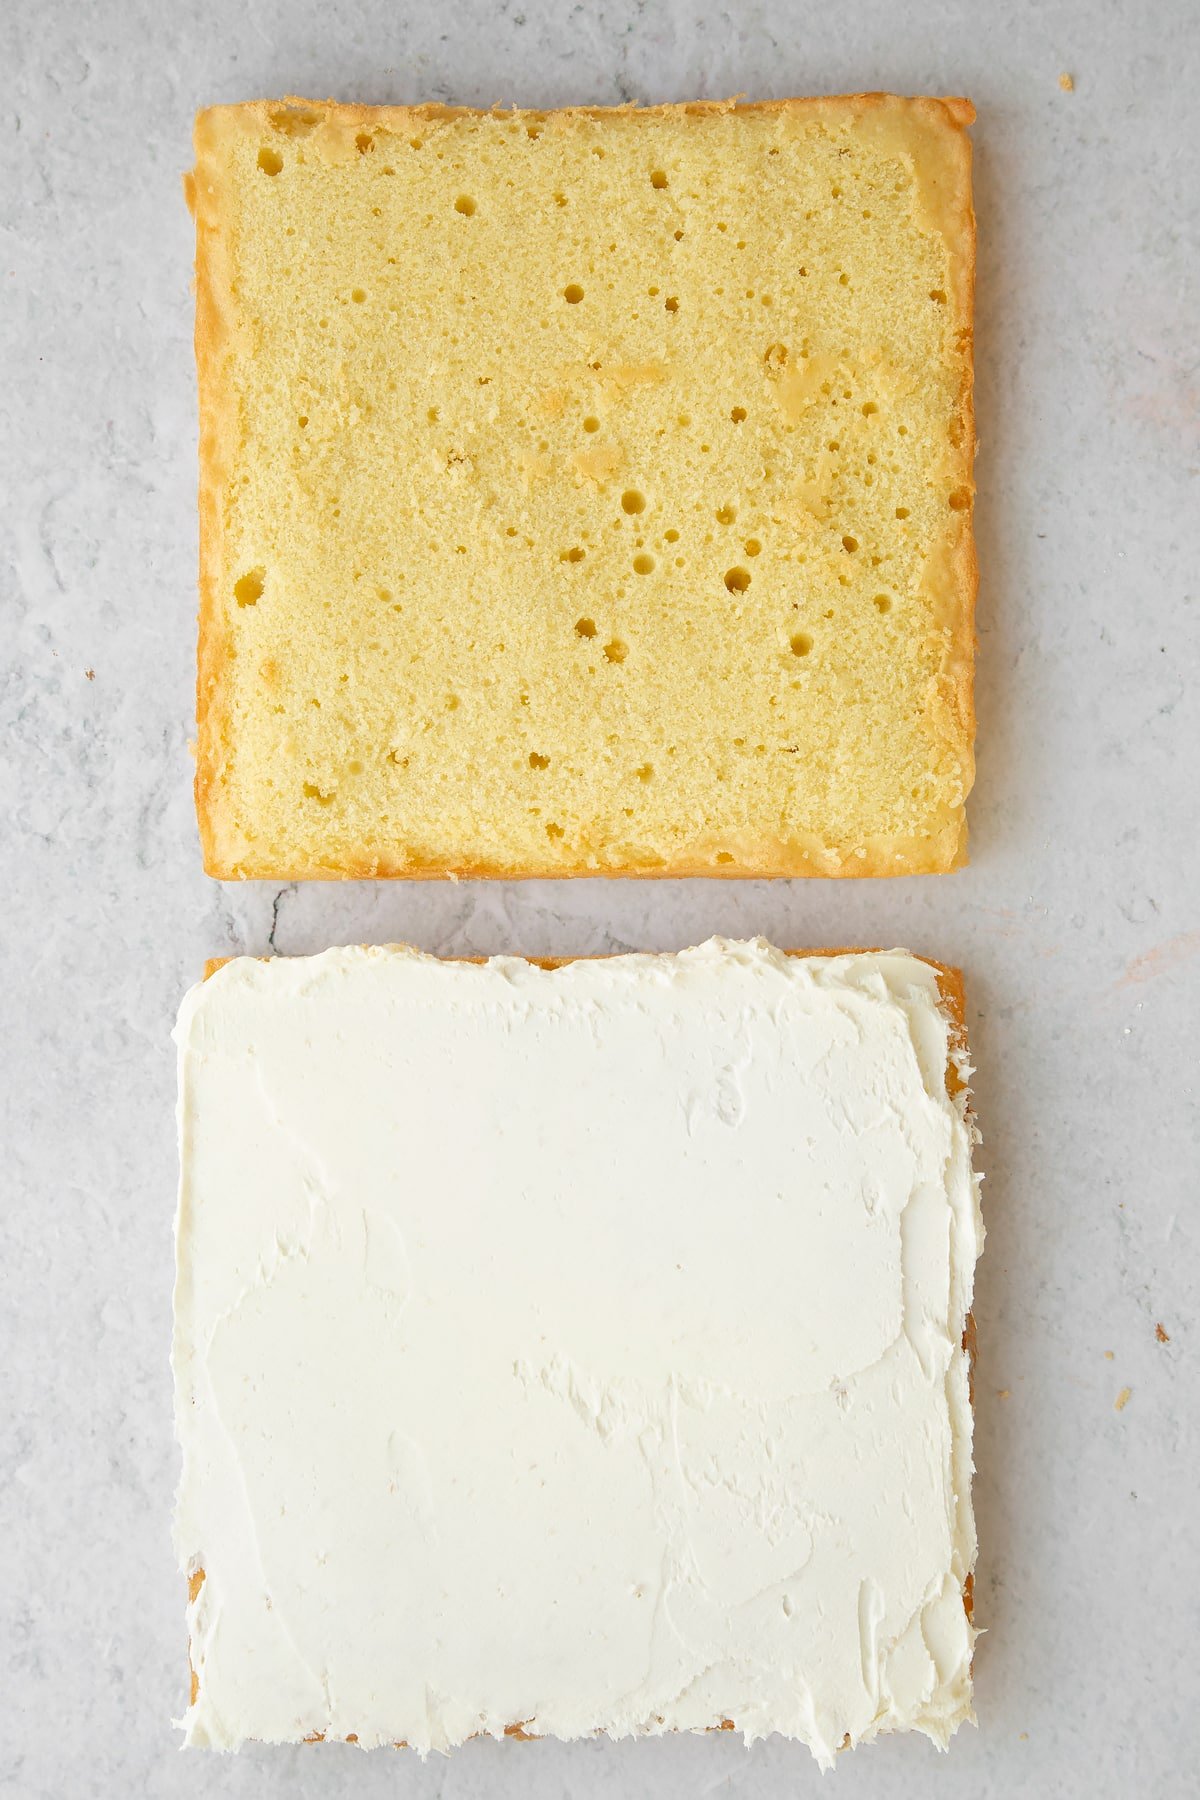
Now place the other on top to form a neat sandwich.
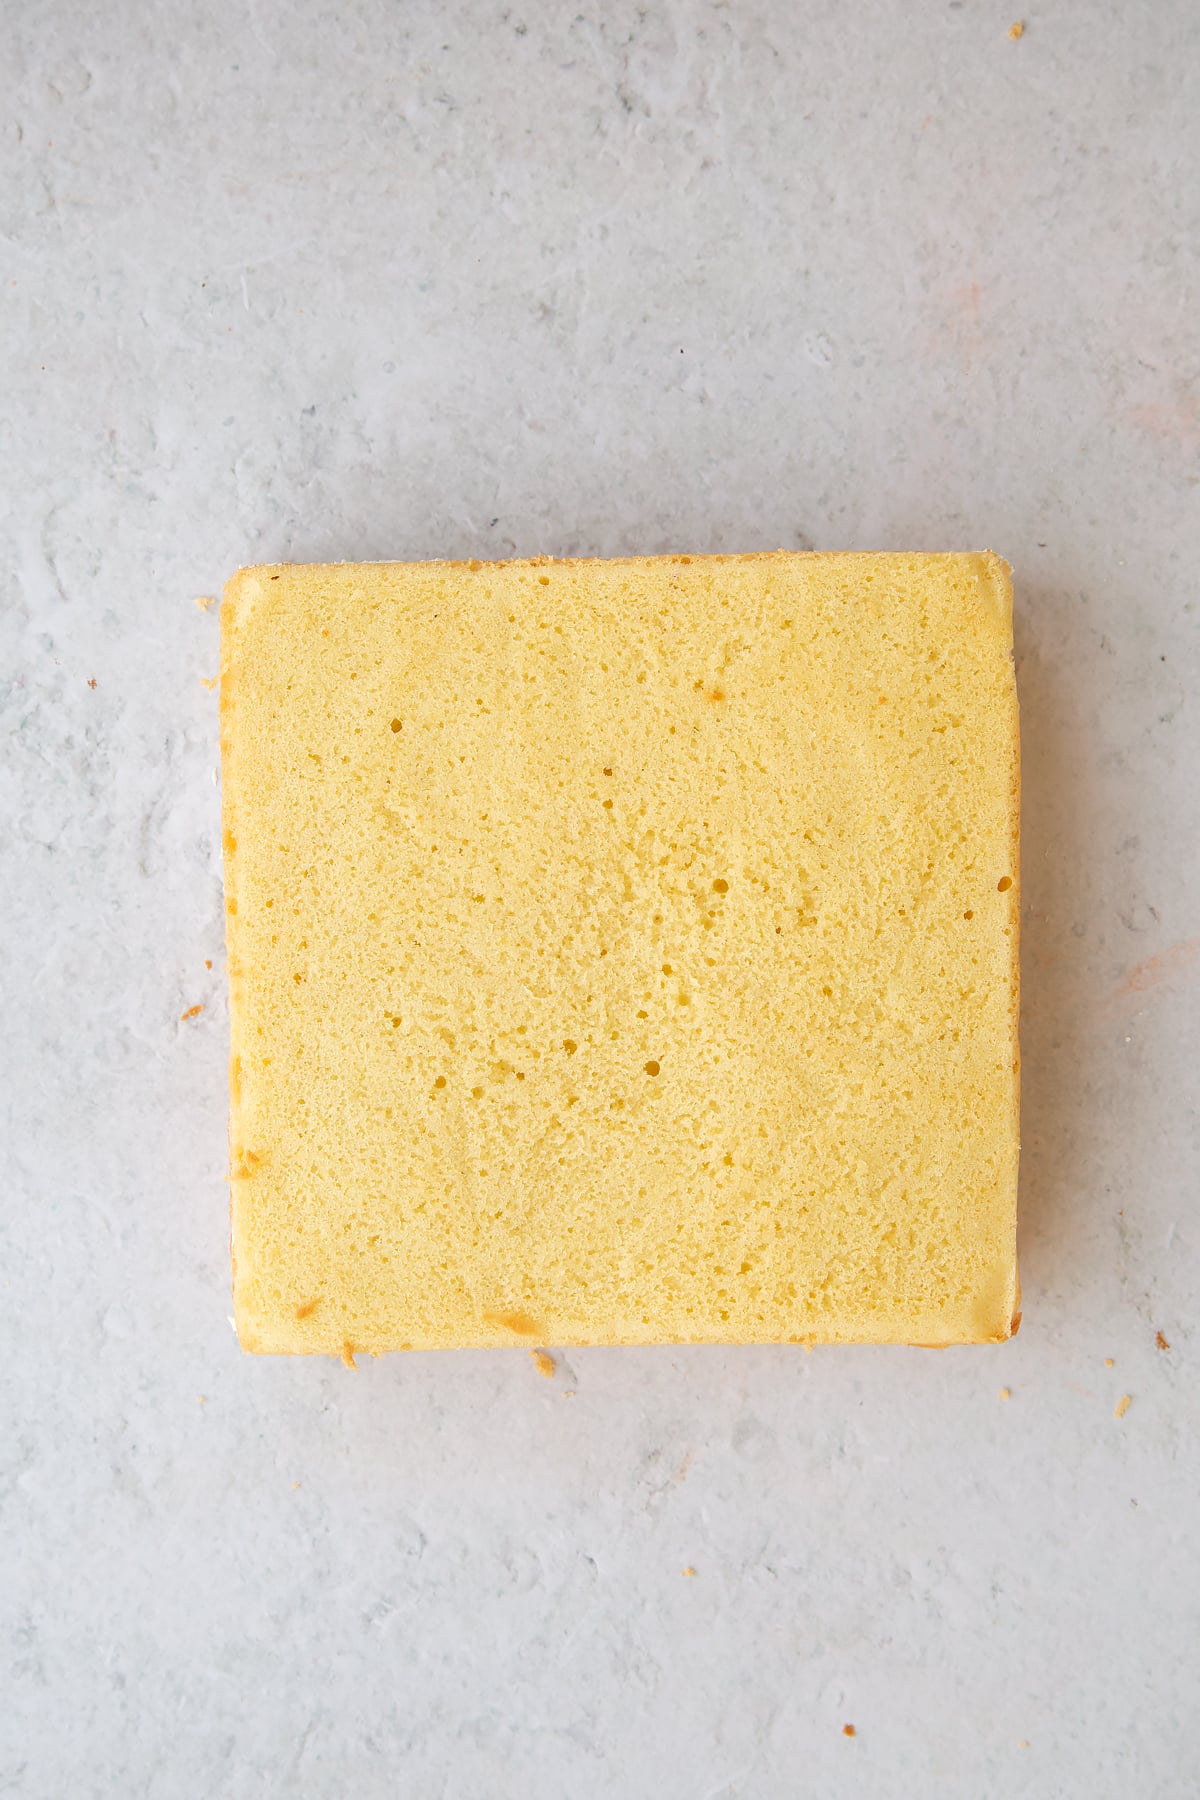
Trim the edges to give a sharp square. You can use a ruler to help you do this accurately.
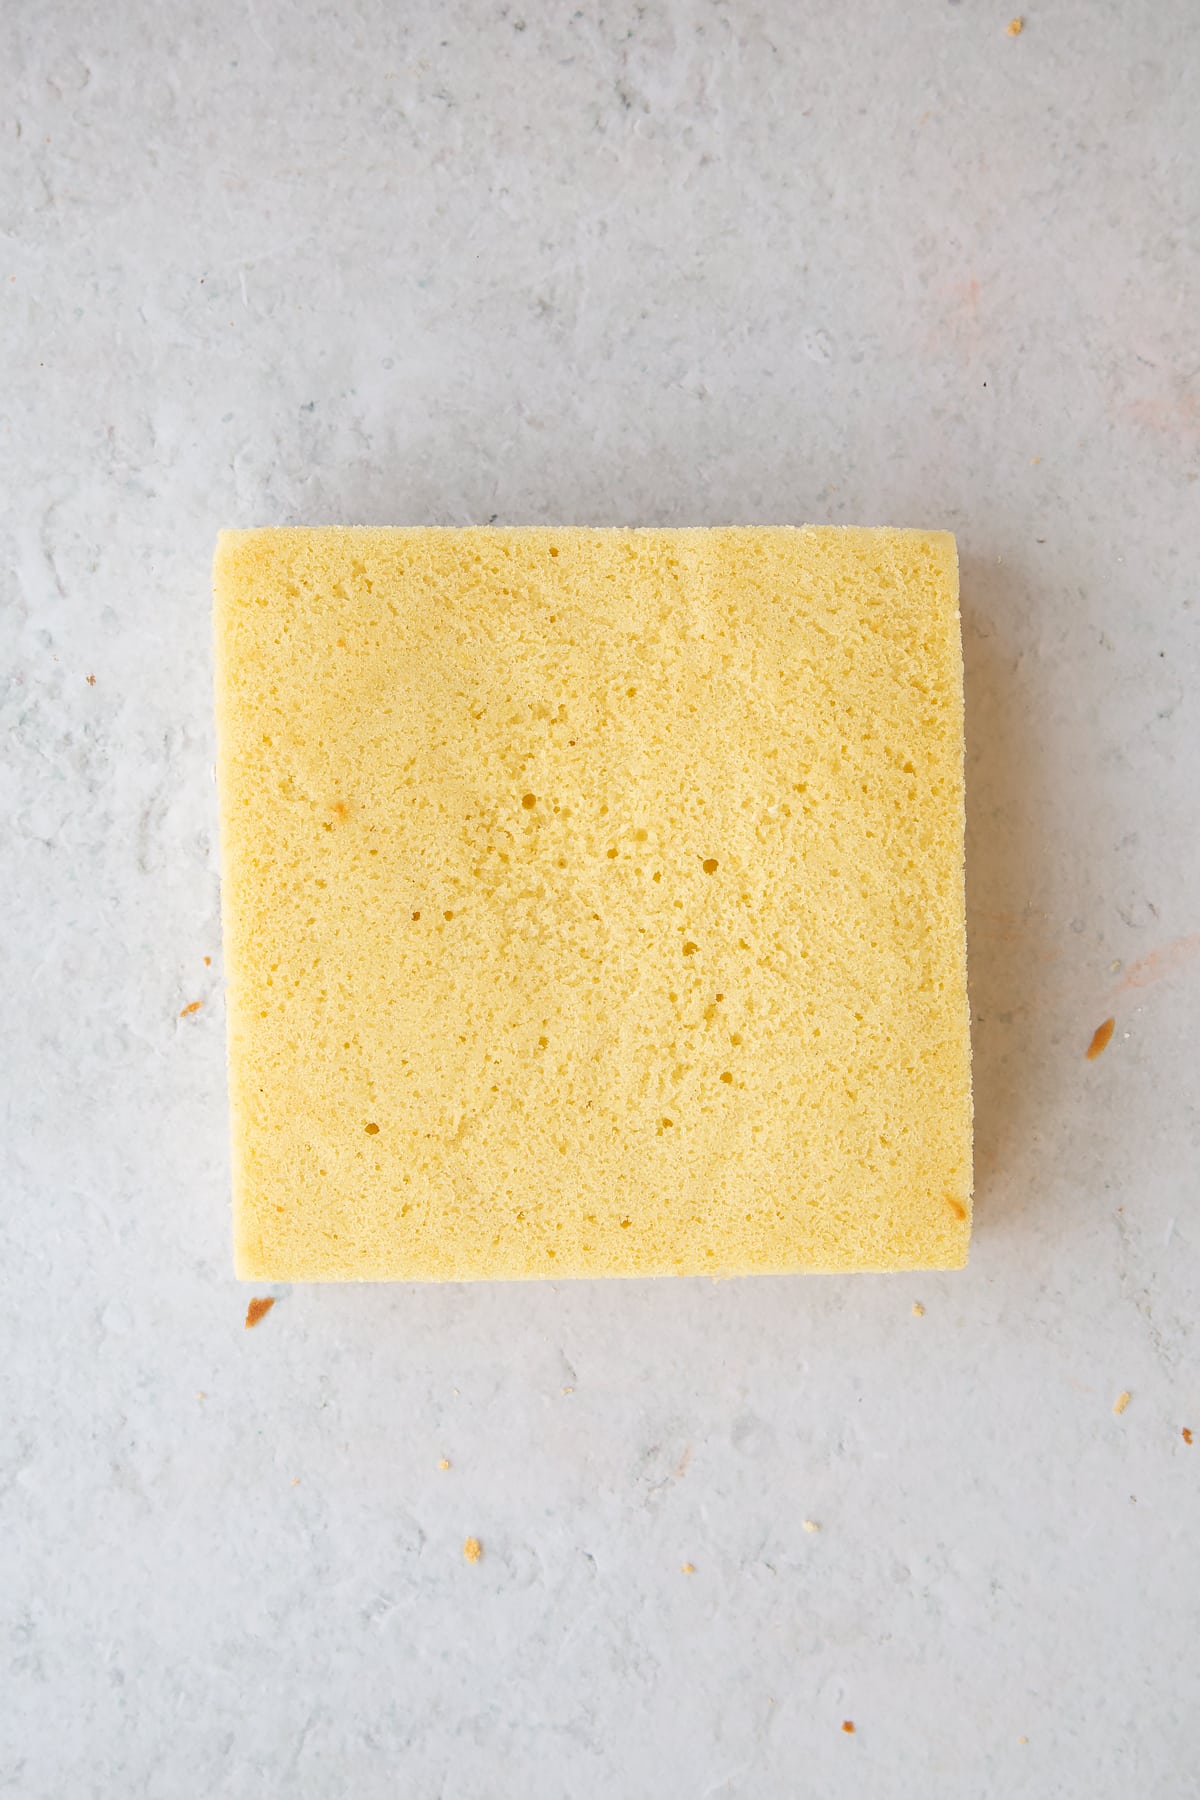
Now cut into 16 neat squares in a 4 x 4 pattern. Again, use a ruler to help you do this accurately.
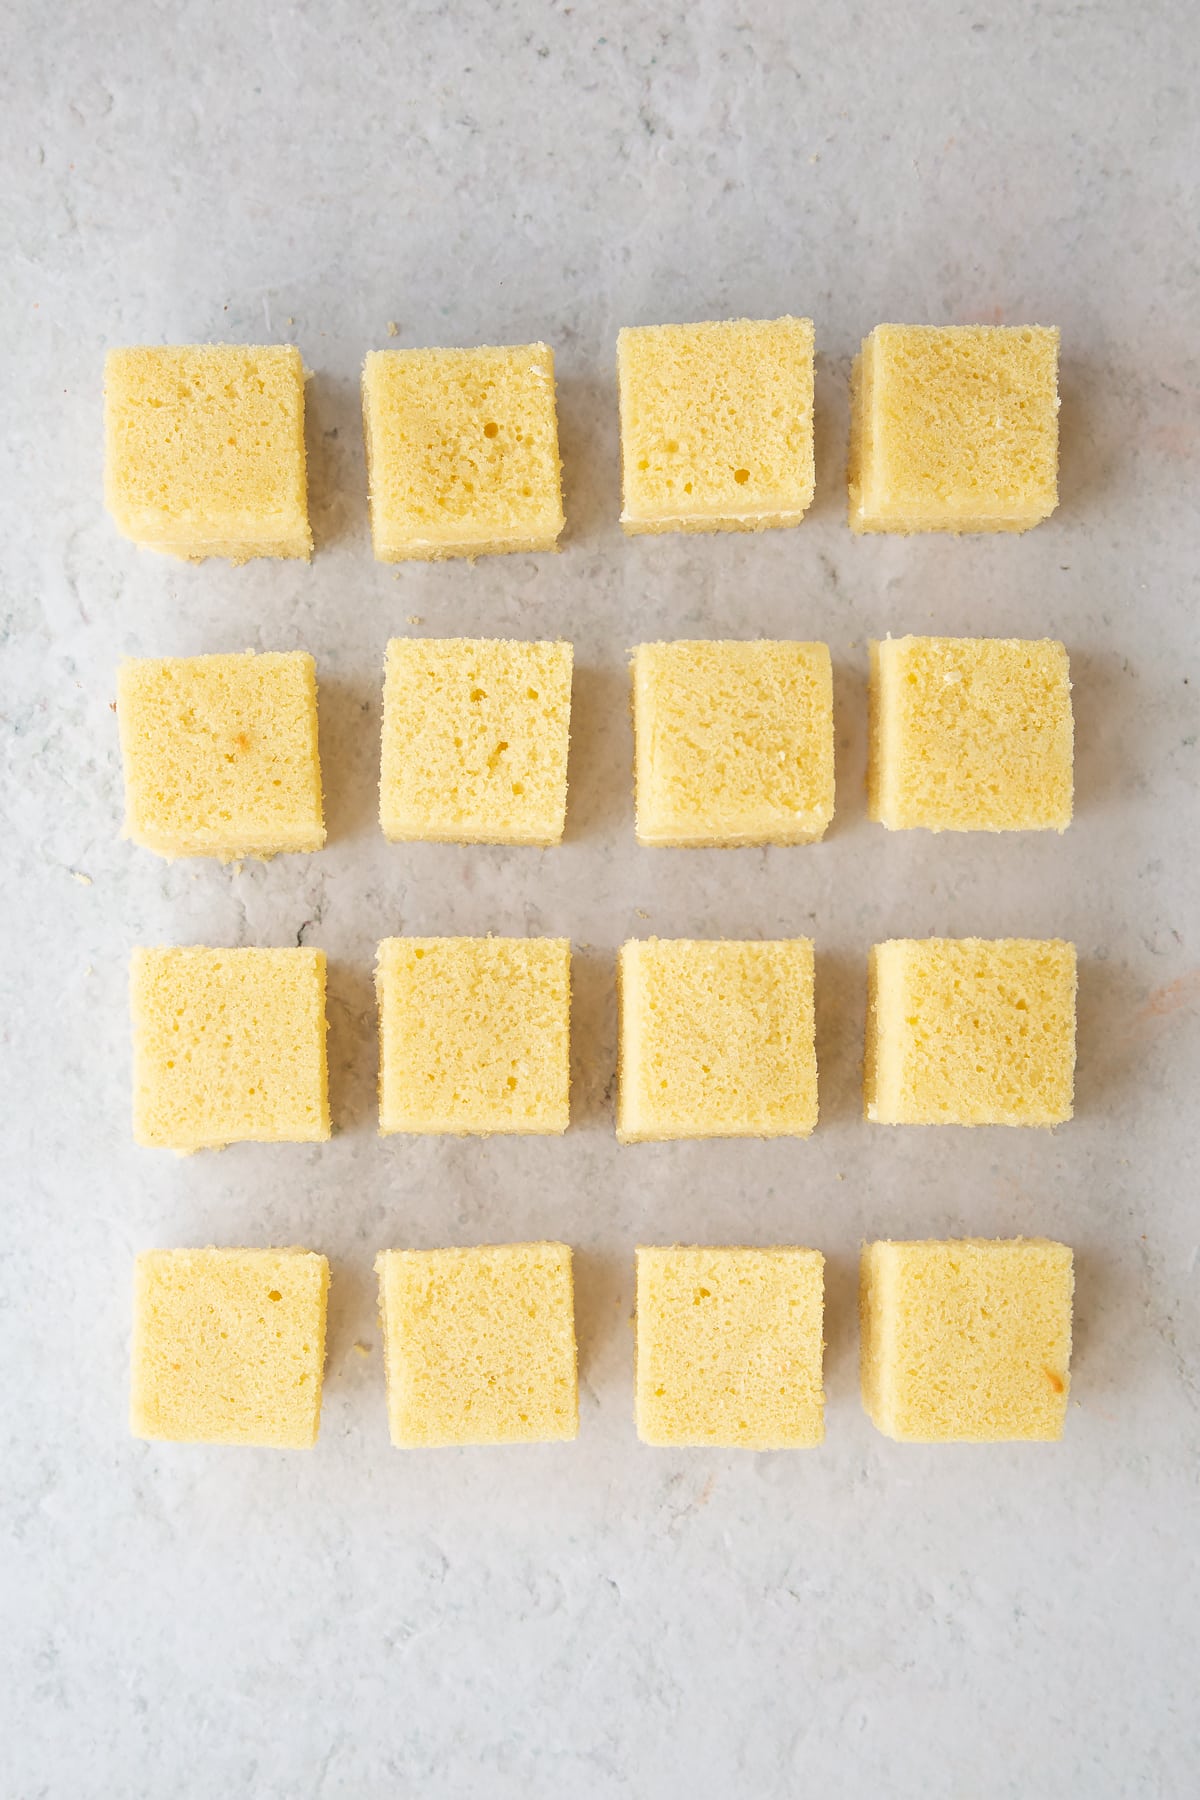
Cover your sponges with marzipan
Set aside 150g (5oz) of marzipan - you'll use this for the tops later.
First, you're going to make strips to go around your cakes.
Measure the height of your cake squares - this is how wide your strips need to be.
Now measure all the way around the outside of a square - this is how long your strips need to be plus a centimetre or two (half an inch) to allow for variation.
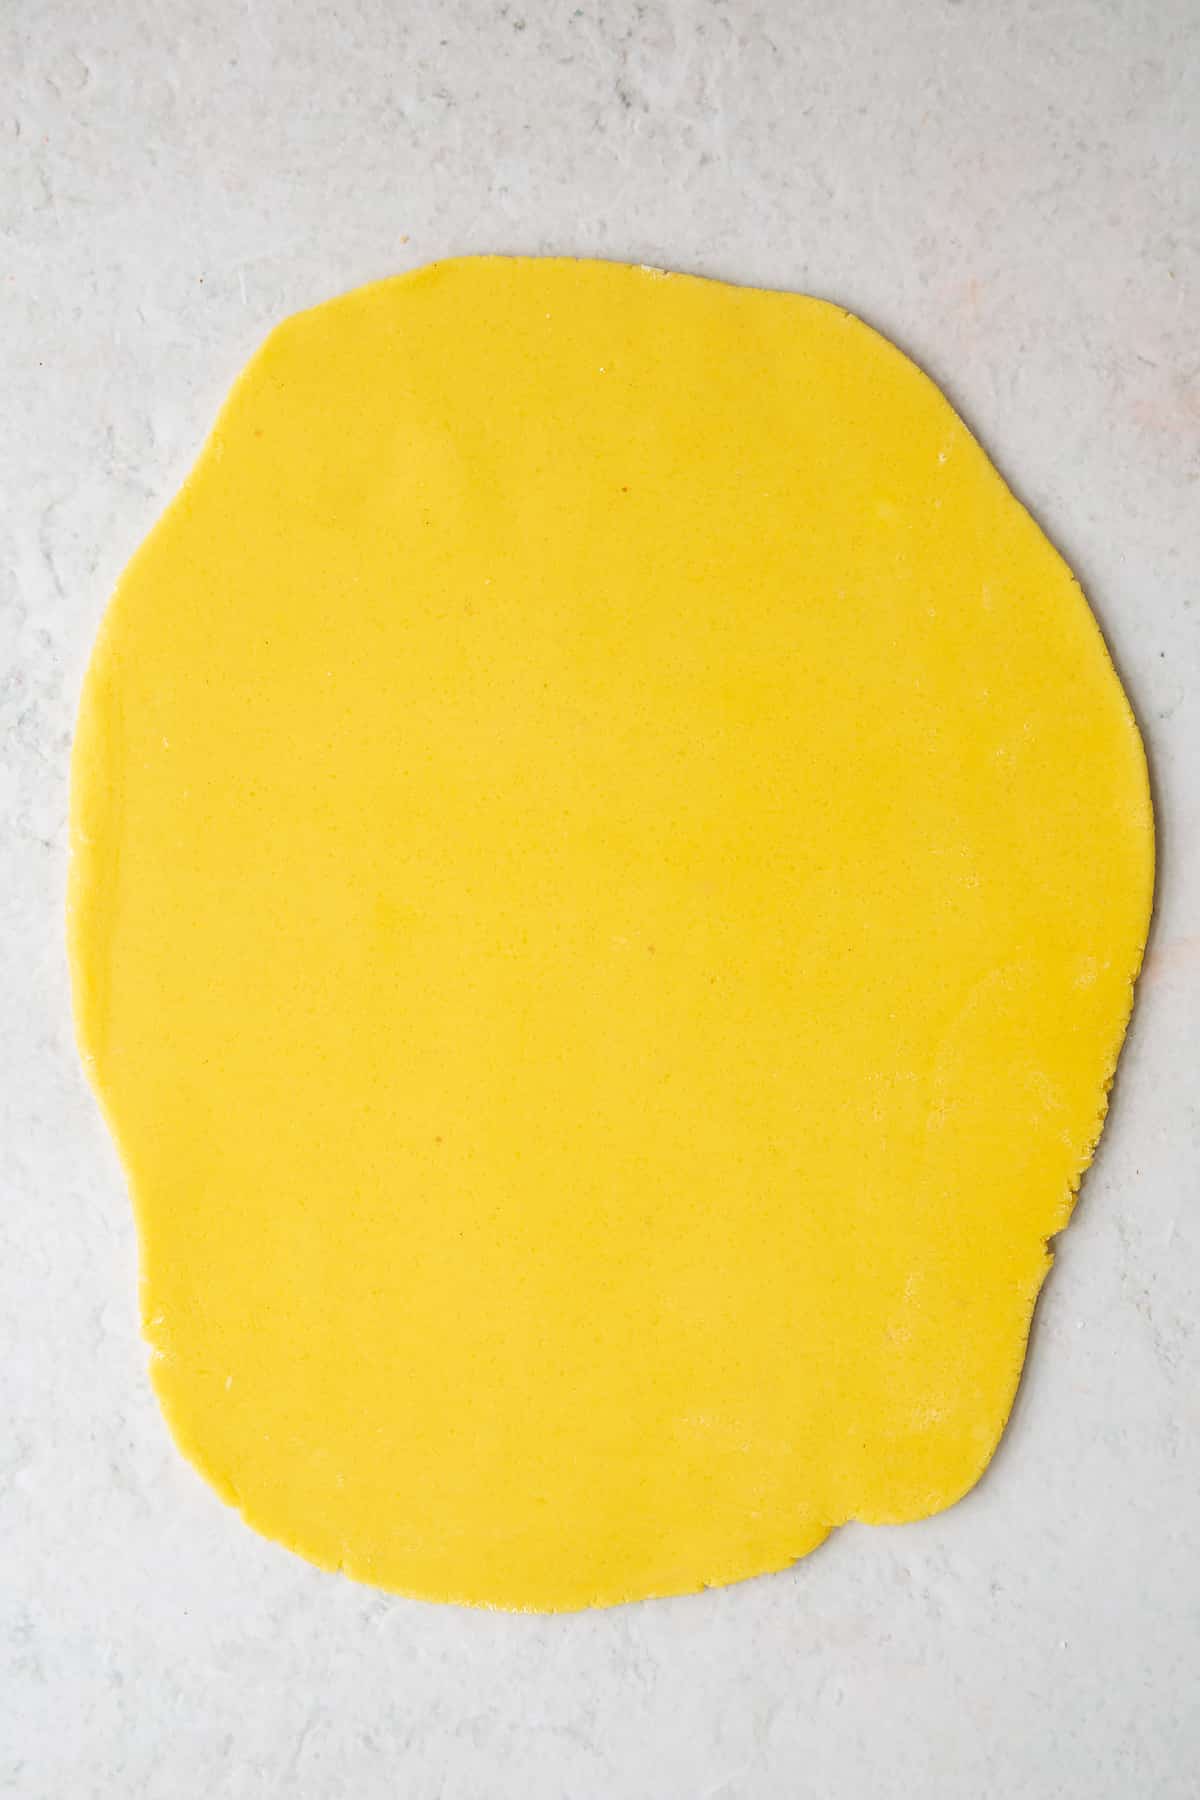
Split your marzipan in half and work with one piece at a time. You need to roll it out thinly enough to give 8 strips from each piece.
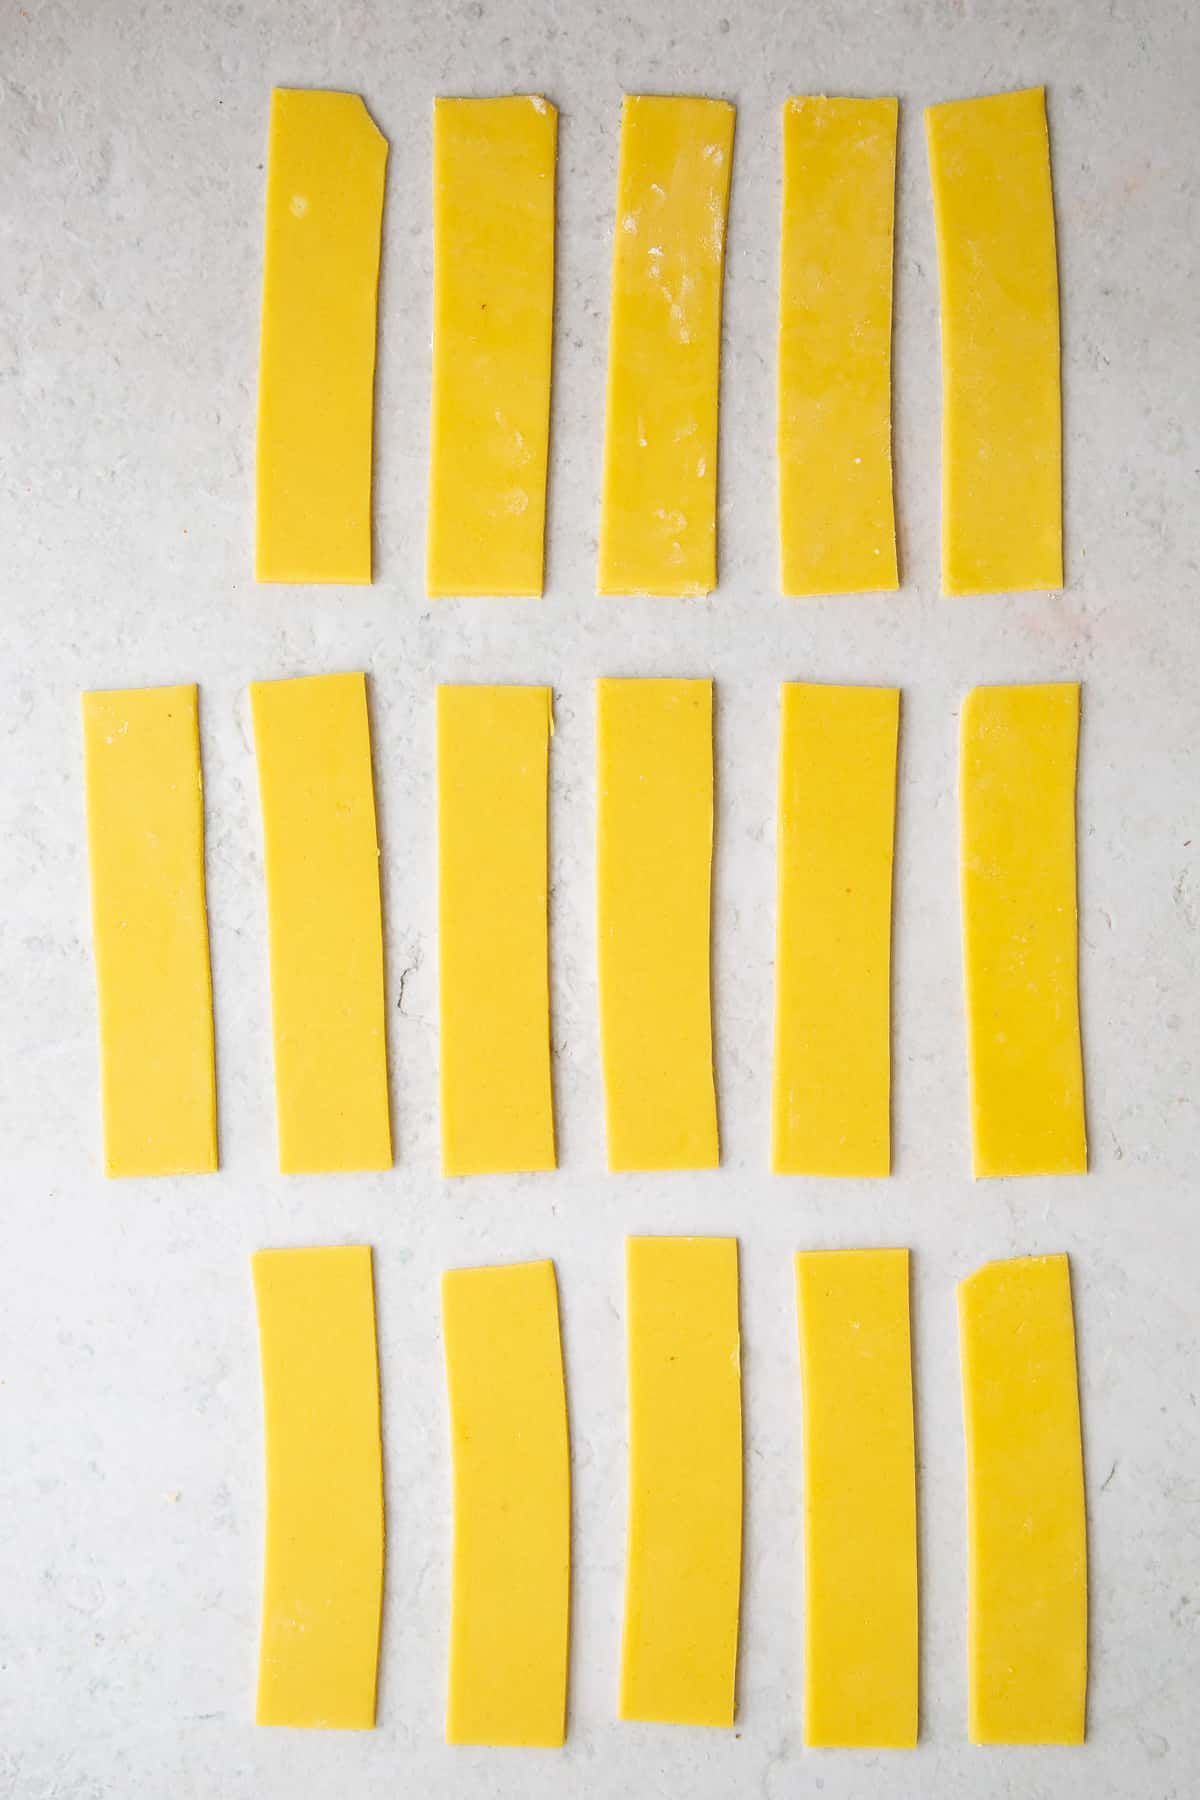
When you've rolled out and cut both halves of marzipan, you should have 16 strips in all.
Spread a marzipan strip with a thin layer of buttercream.
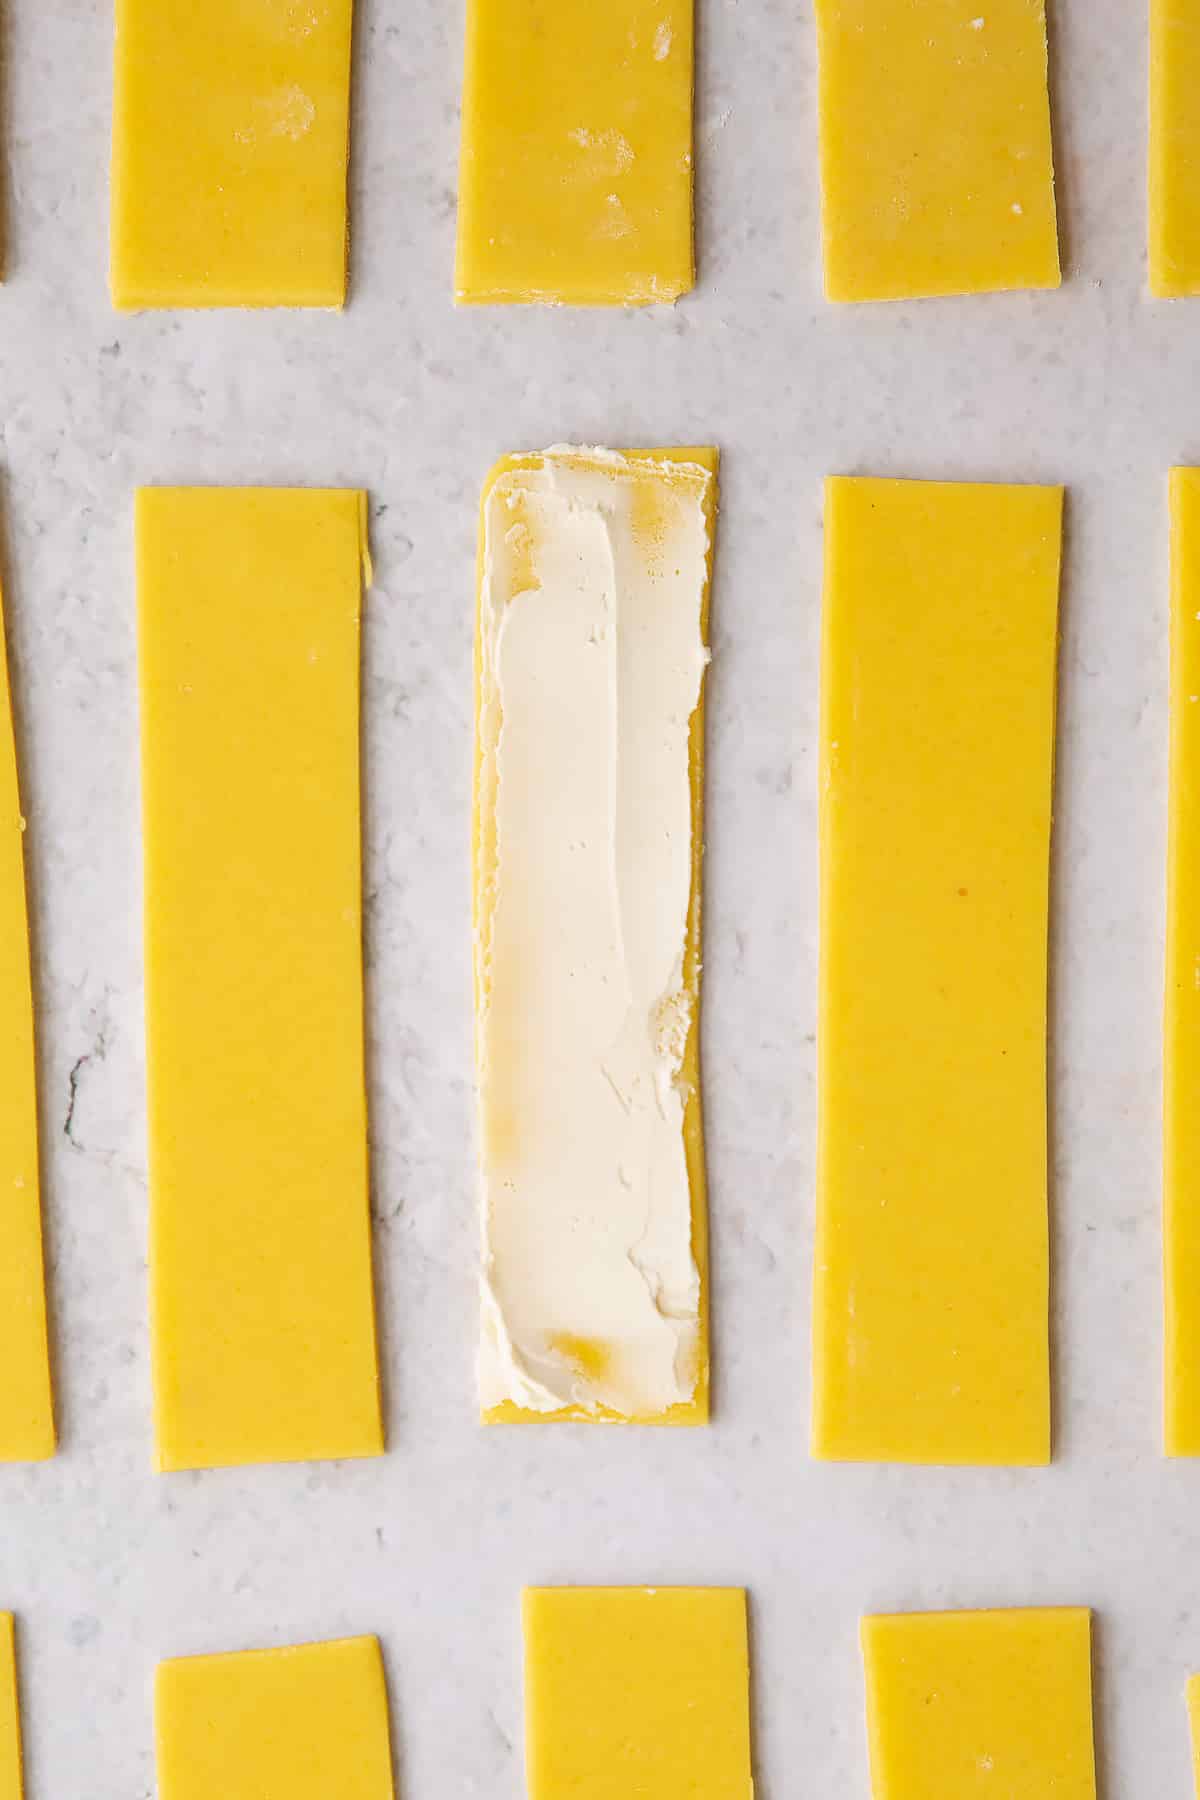
Place a square of cake on its side aligned with one end of the strip.
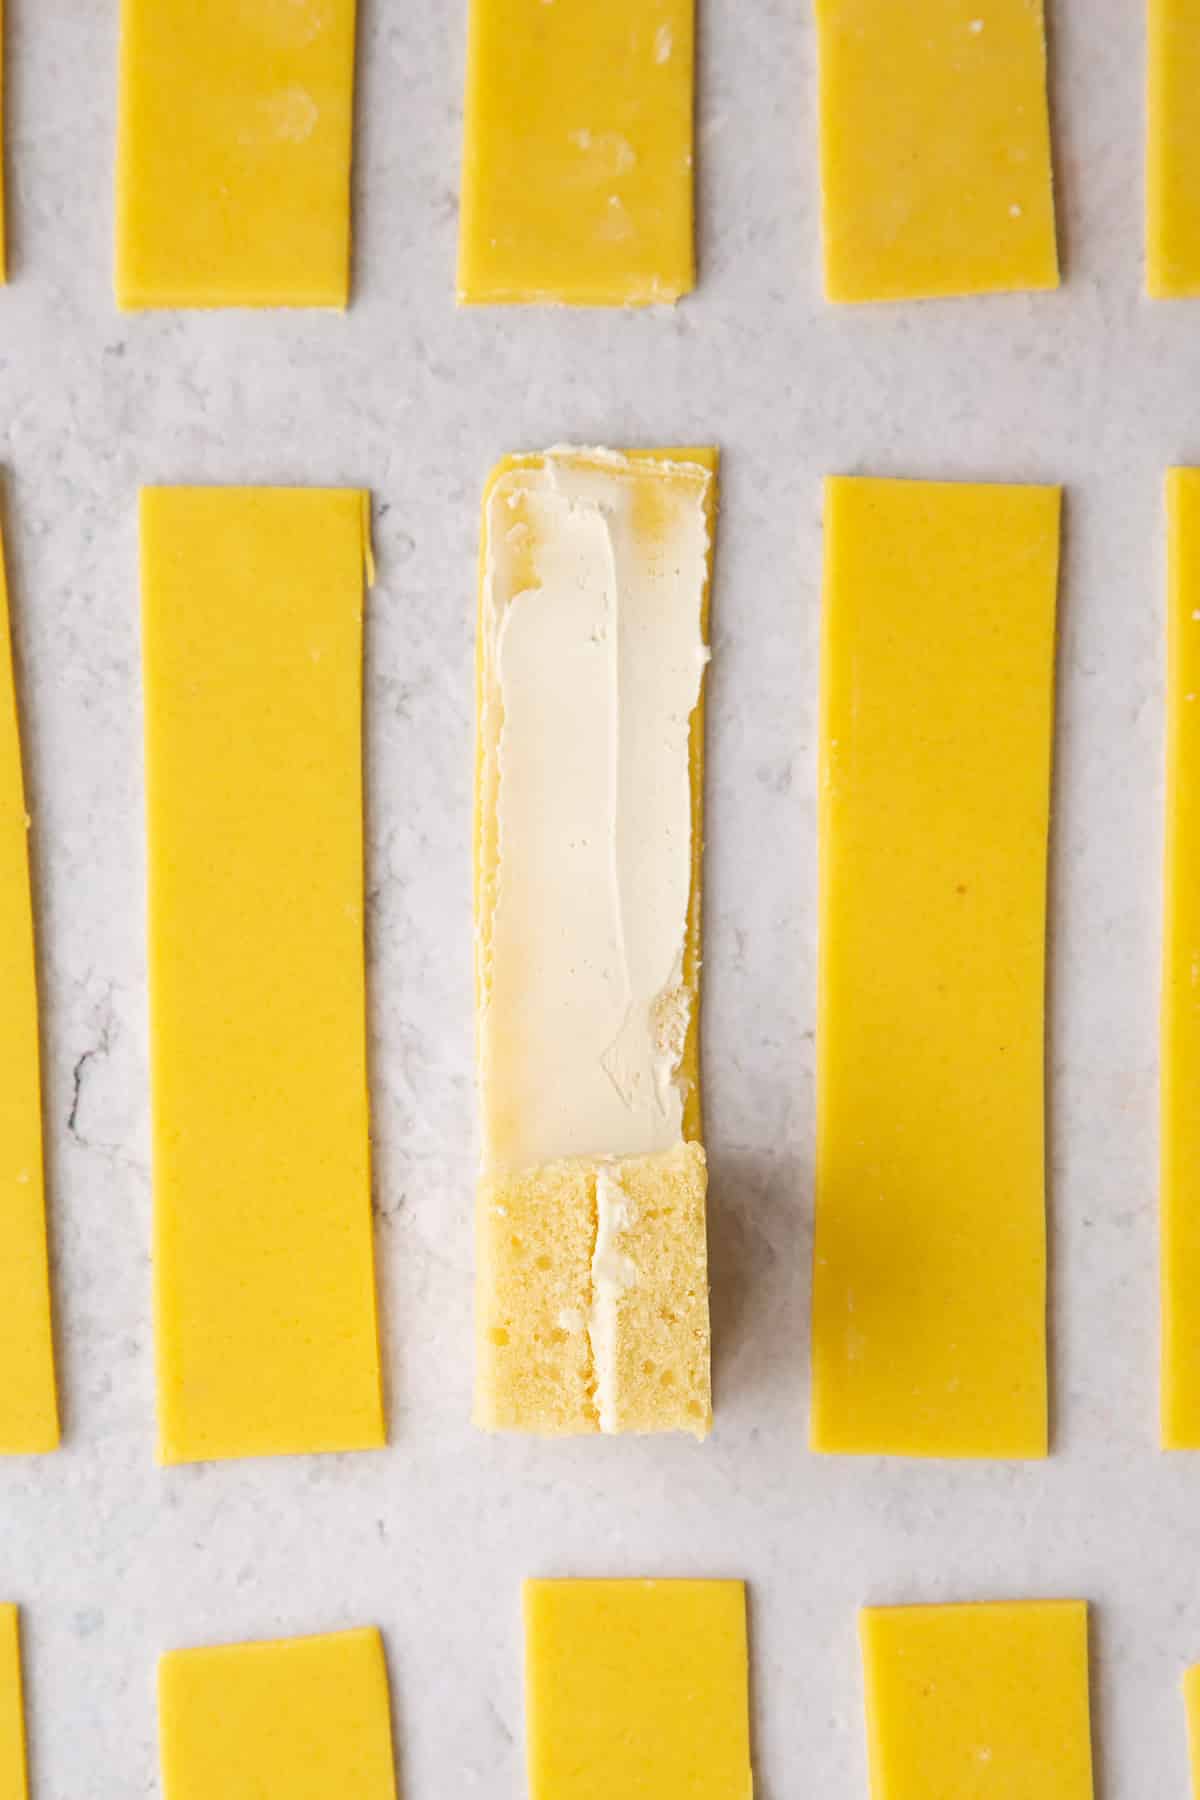
Now carefully roll up so that the strip wraps around the outside of a cake. Trim off any excess at the end with a sharp knife.
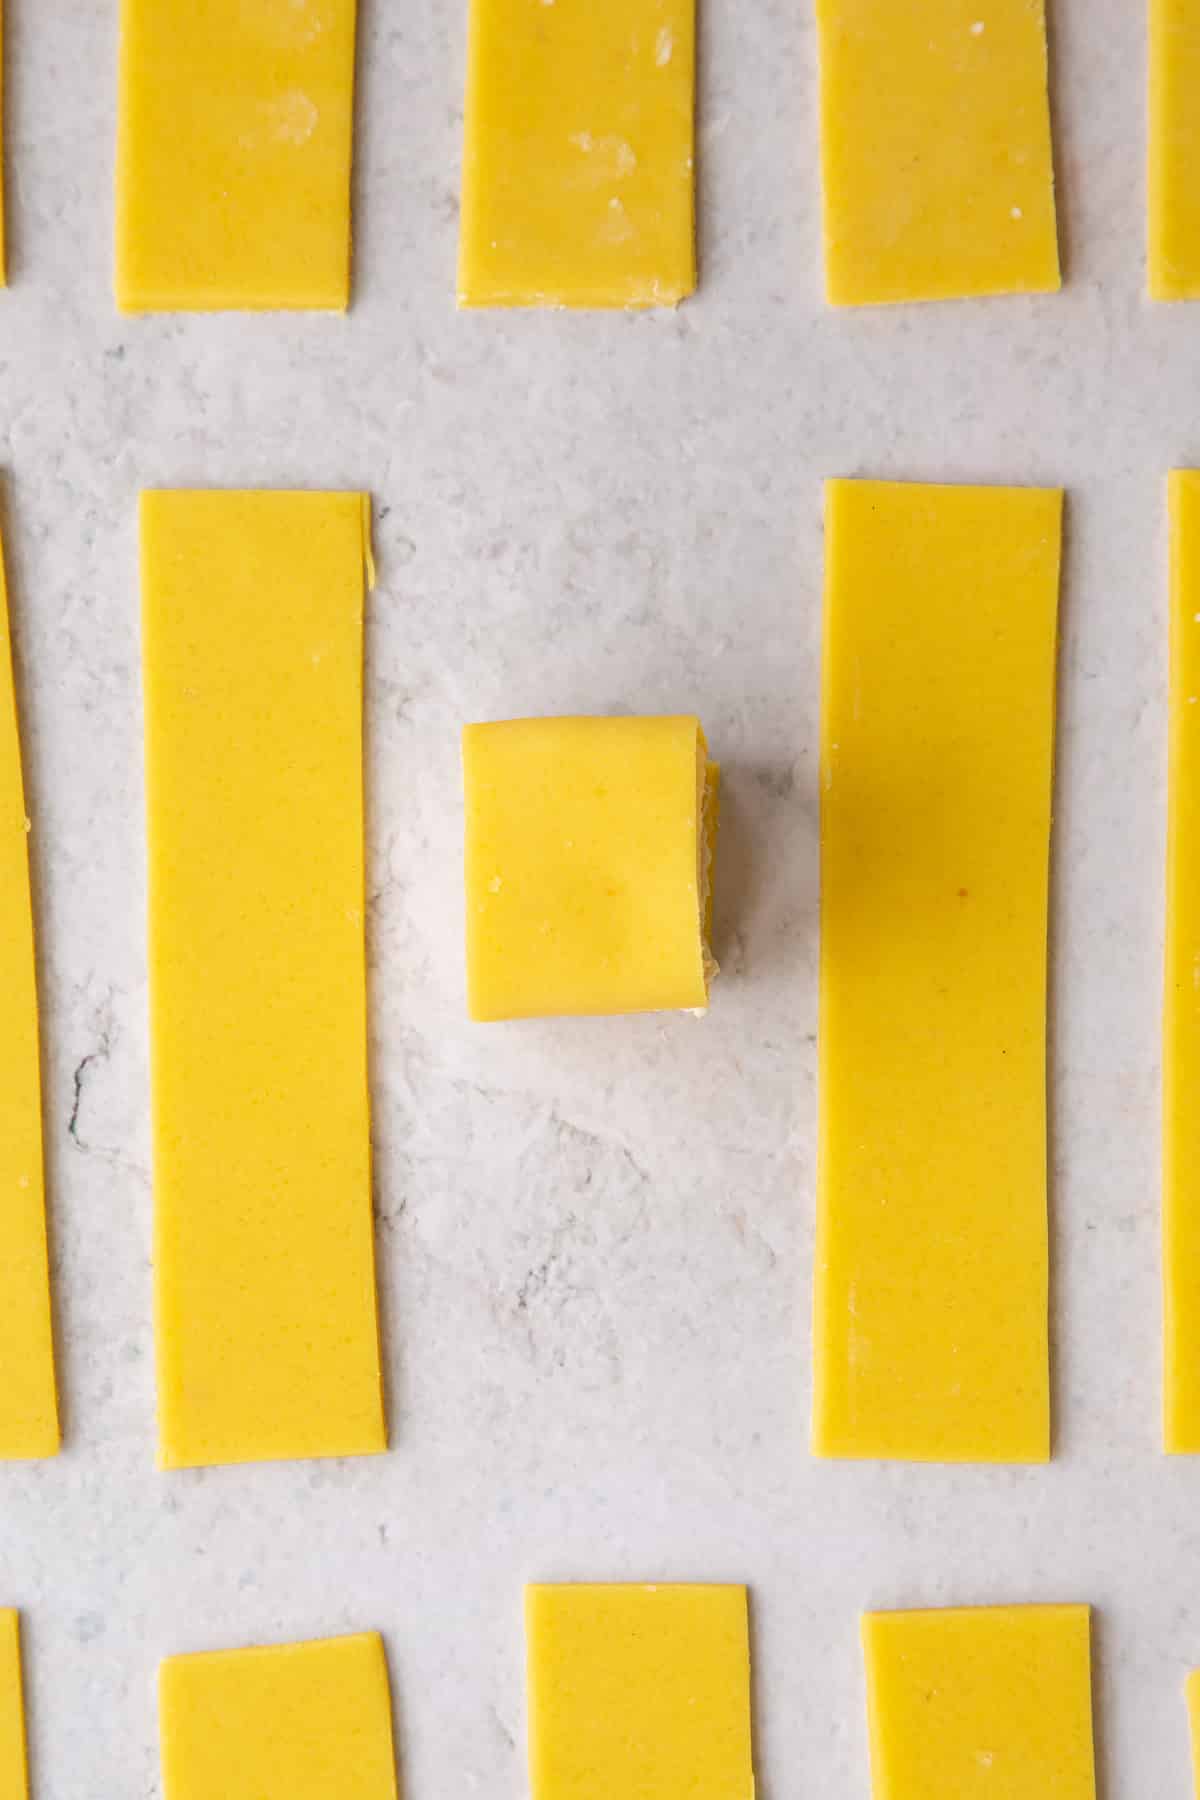
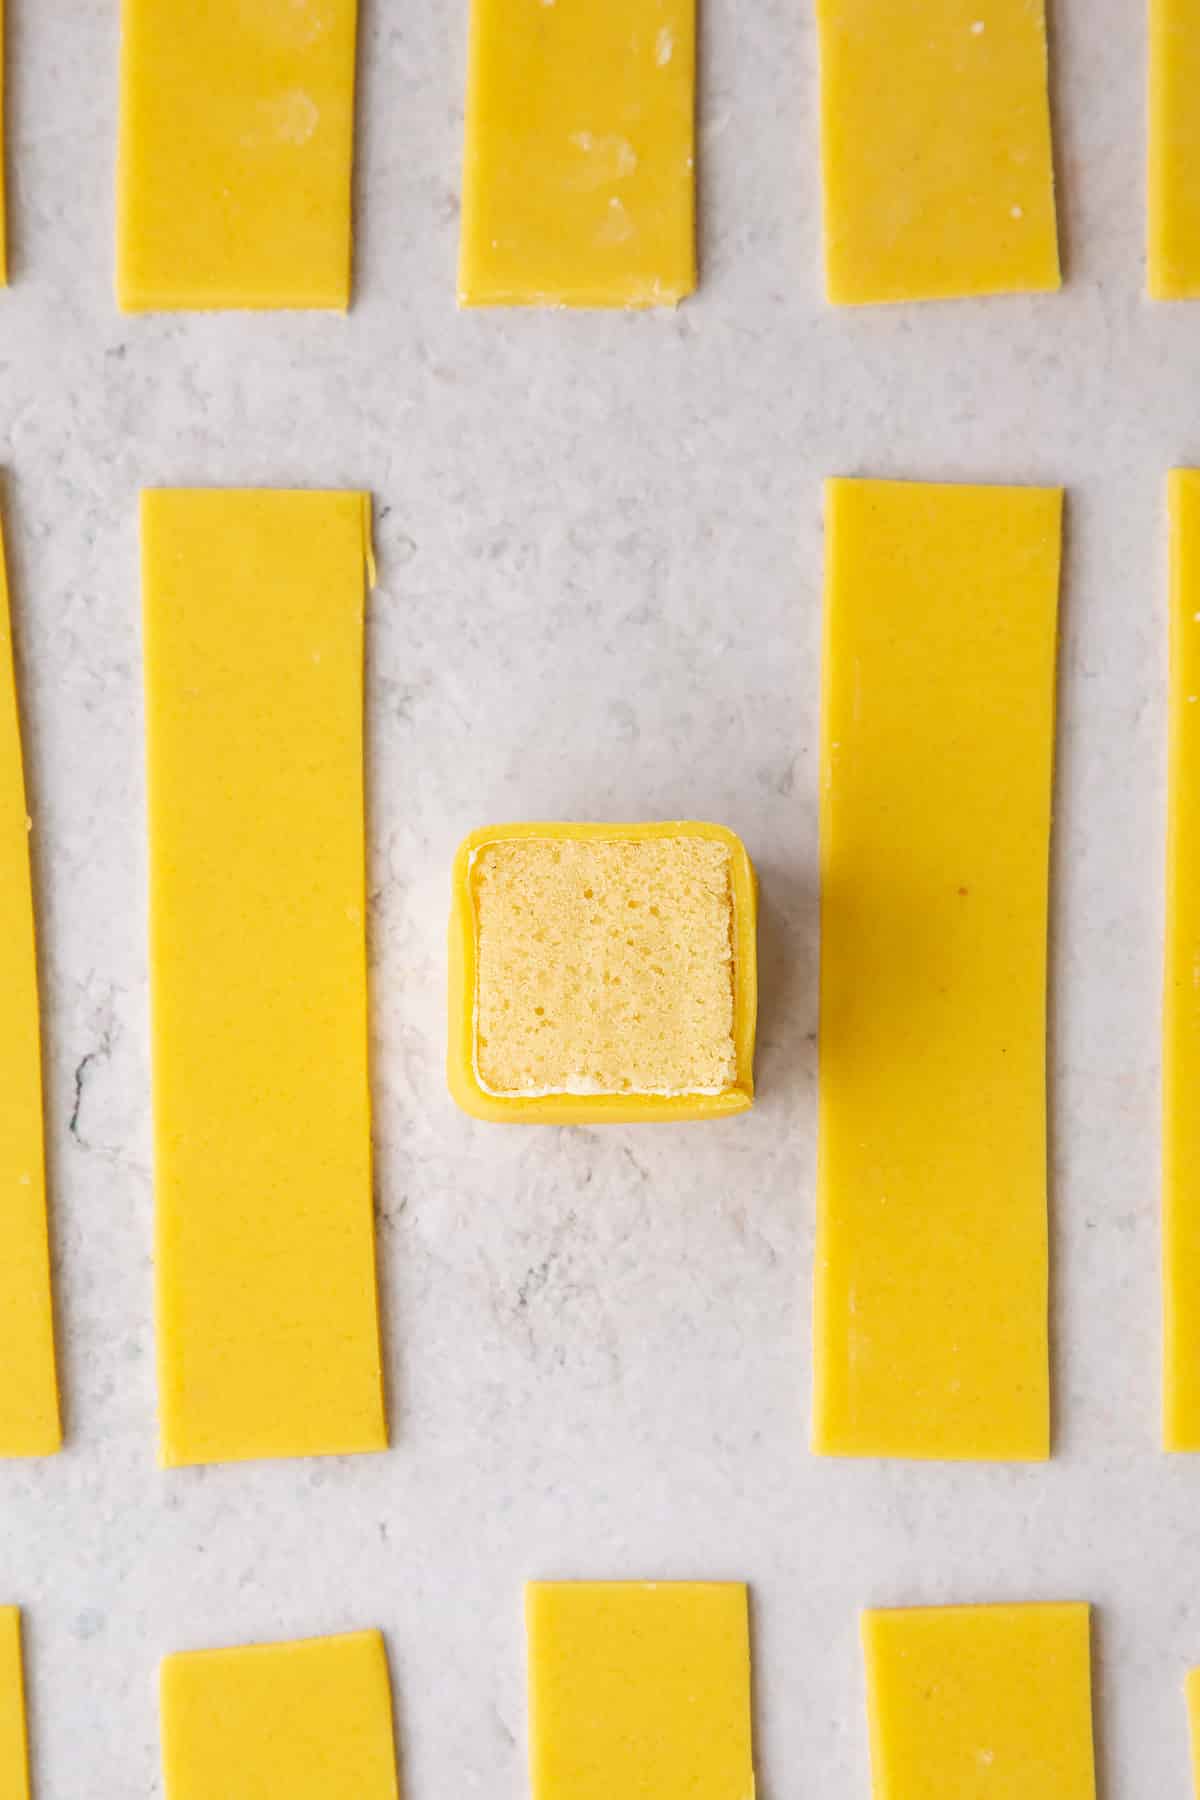
Repeat for all 16 cakes.
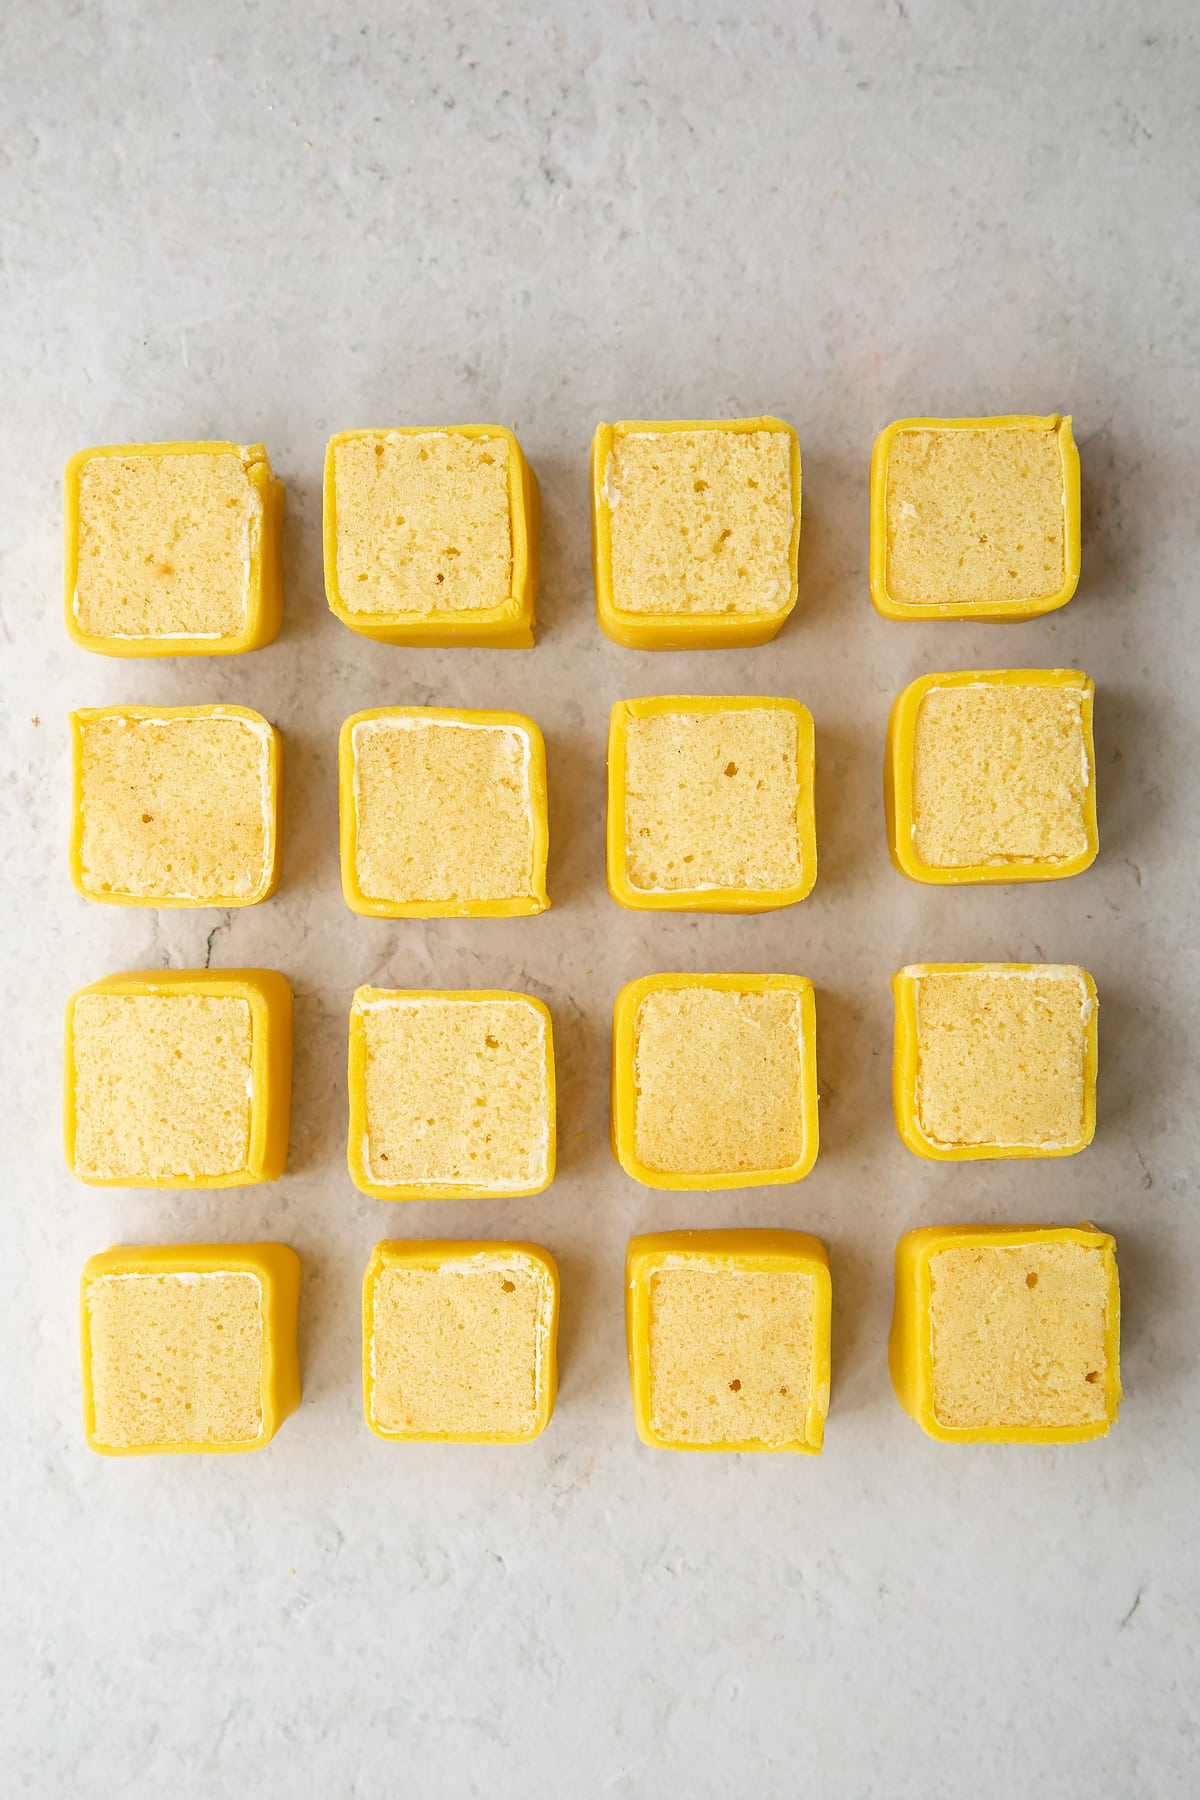
Now spread the exposed top of each cake with a thin layer of buttercream.
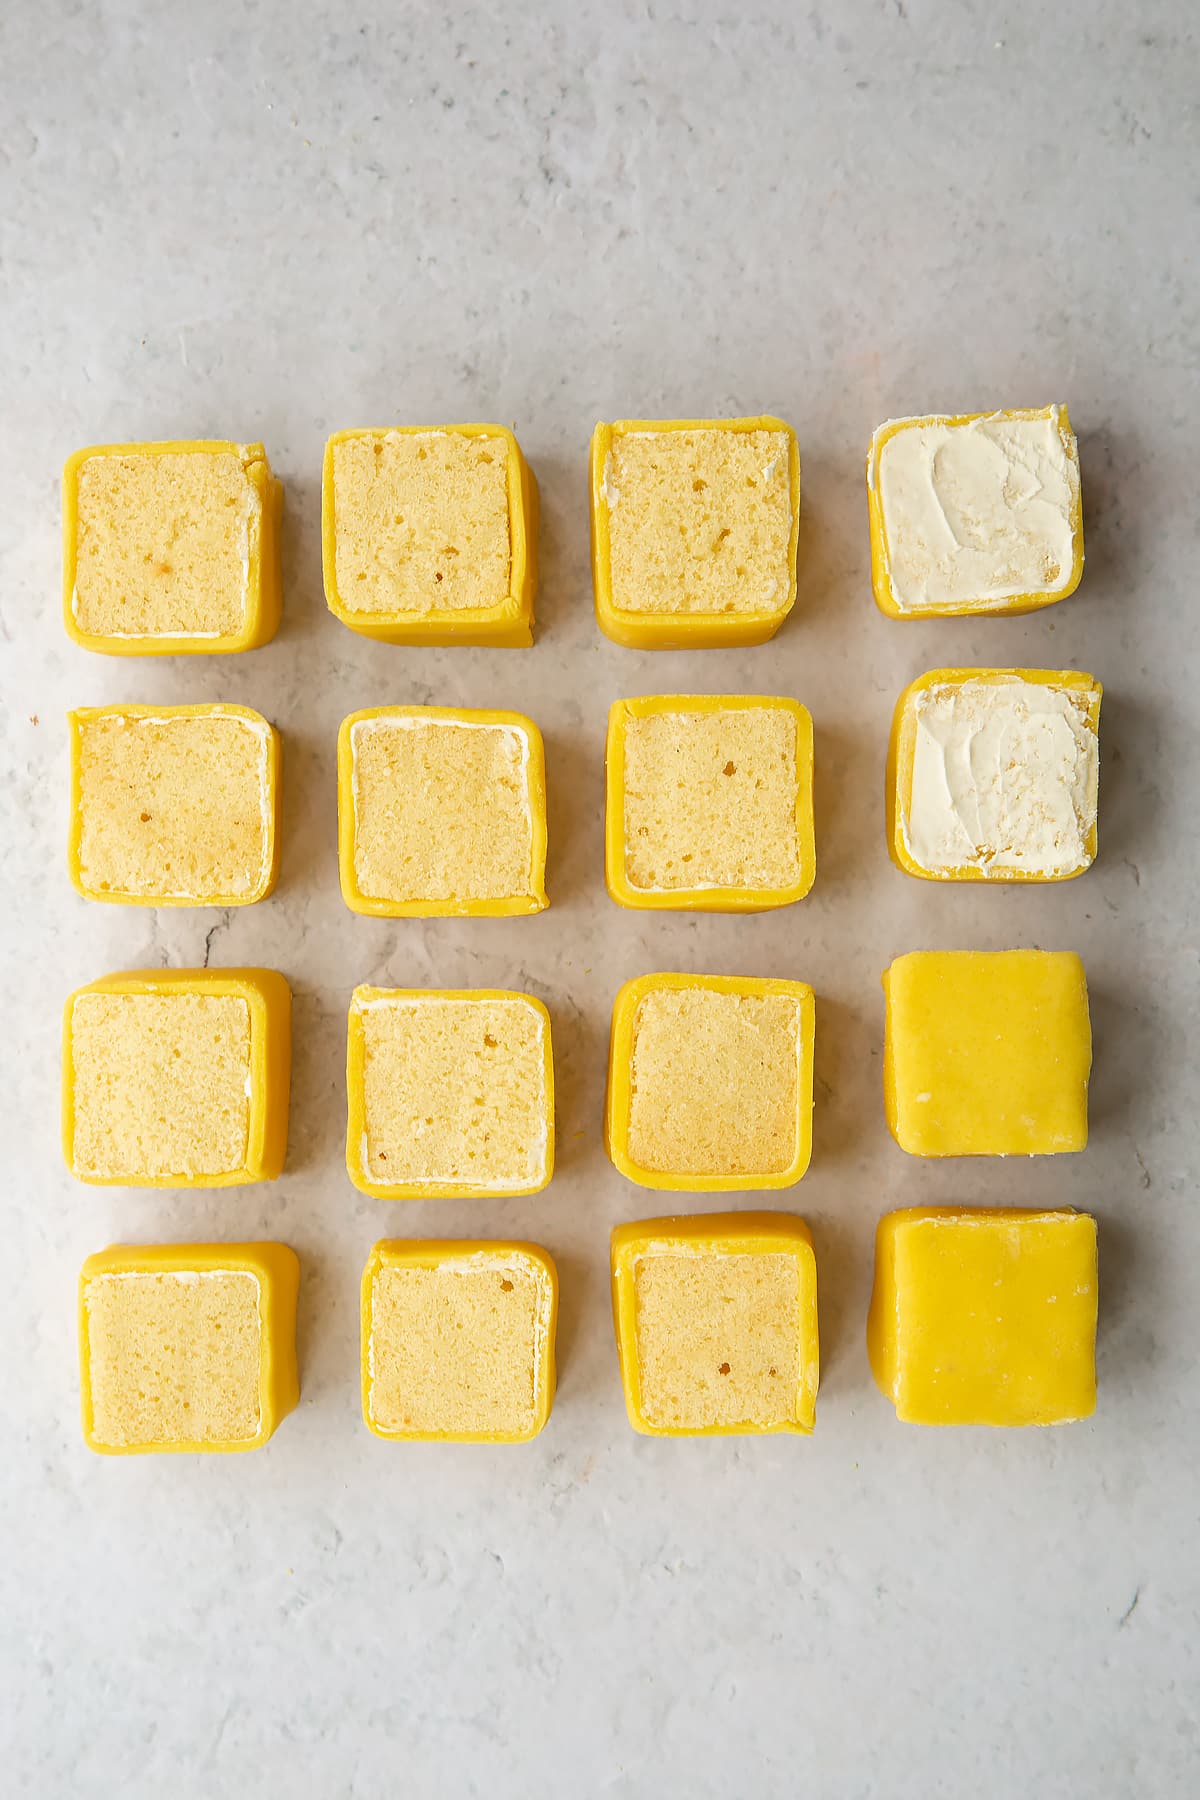
Roll out the reserved marzipan thinly and cut out 16 squares to cover the tops of the cakes.
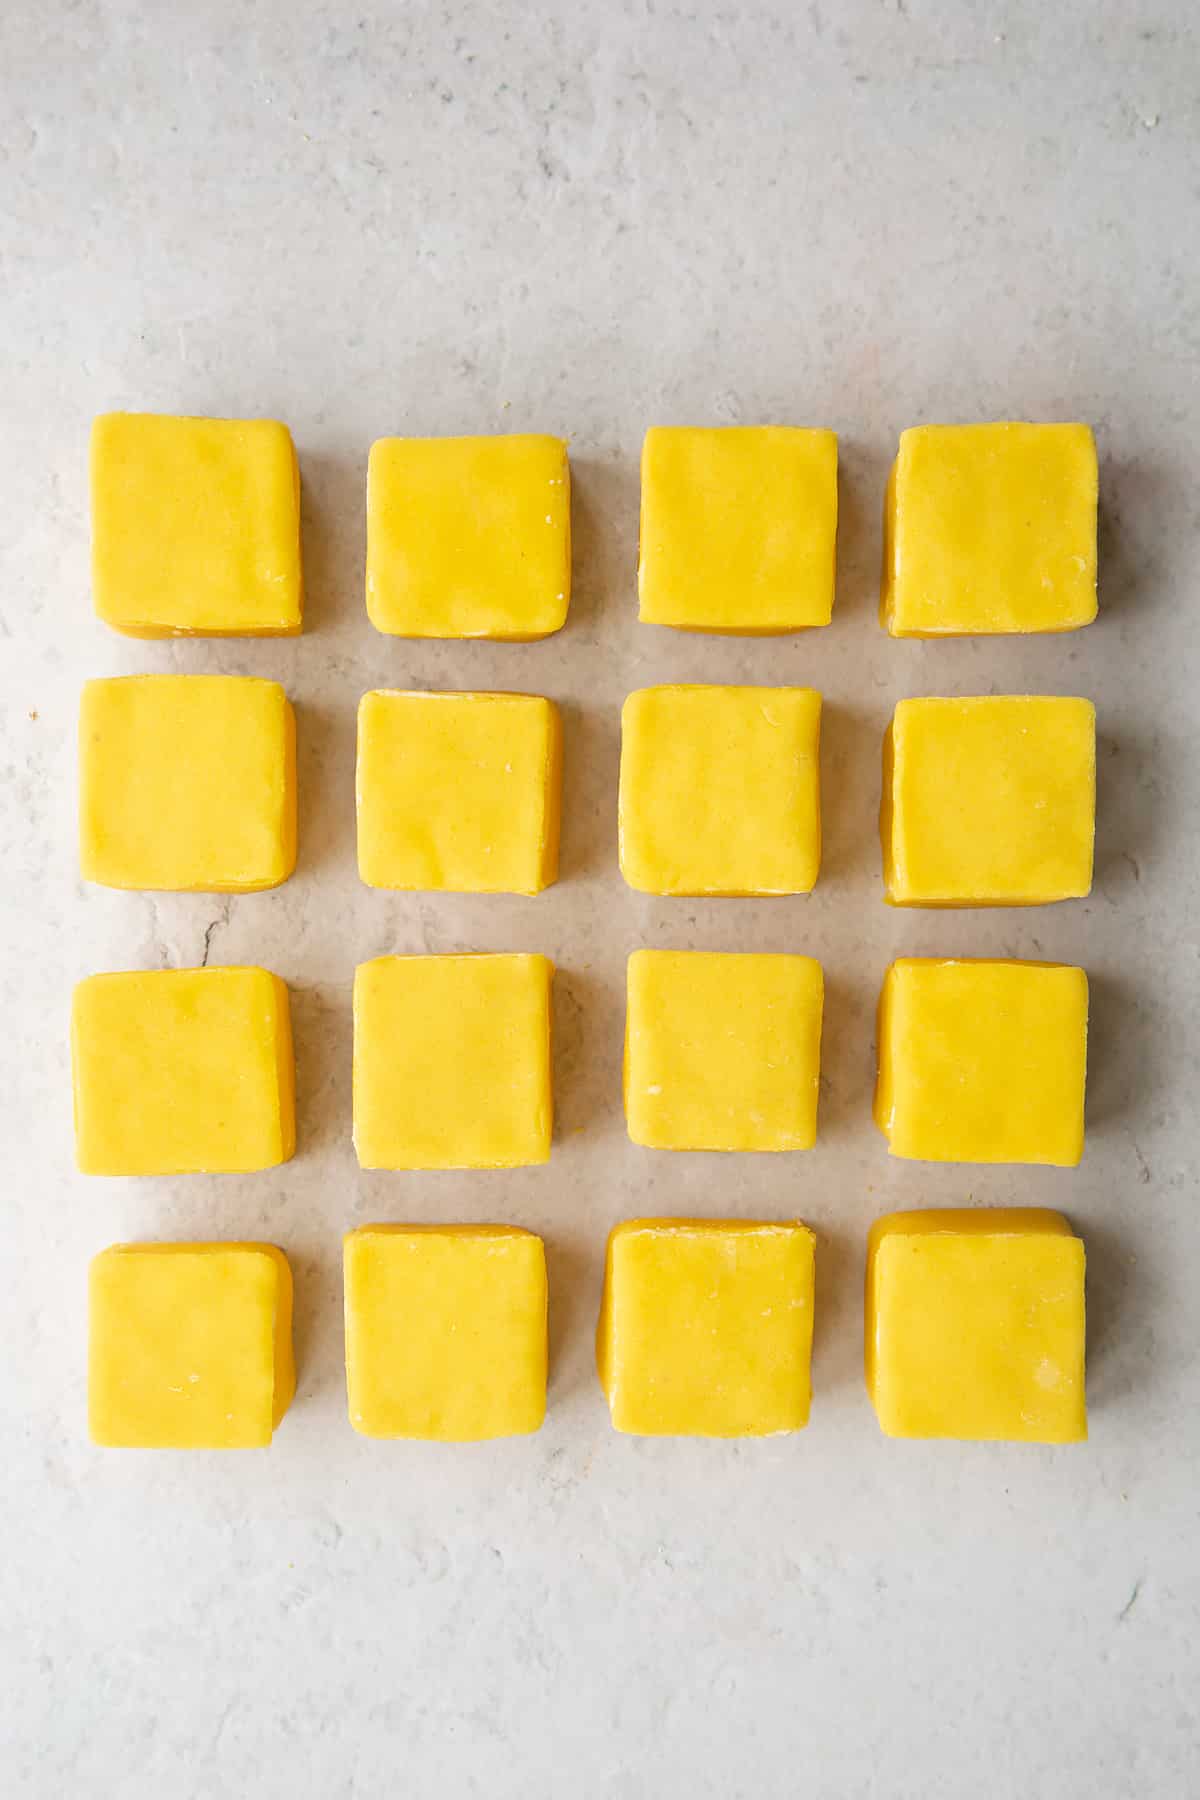
Use your fingers to gently smooth the marzipan all over to ensure a neat finish and no gaps or open seams.
Add the buttercream topping
Transfer all of the remaining buttercream into a piping bag.
Snip off about 1cm (1/2 inch) from the end of the bag and pipe a neat blob on top of each cake.
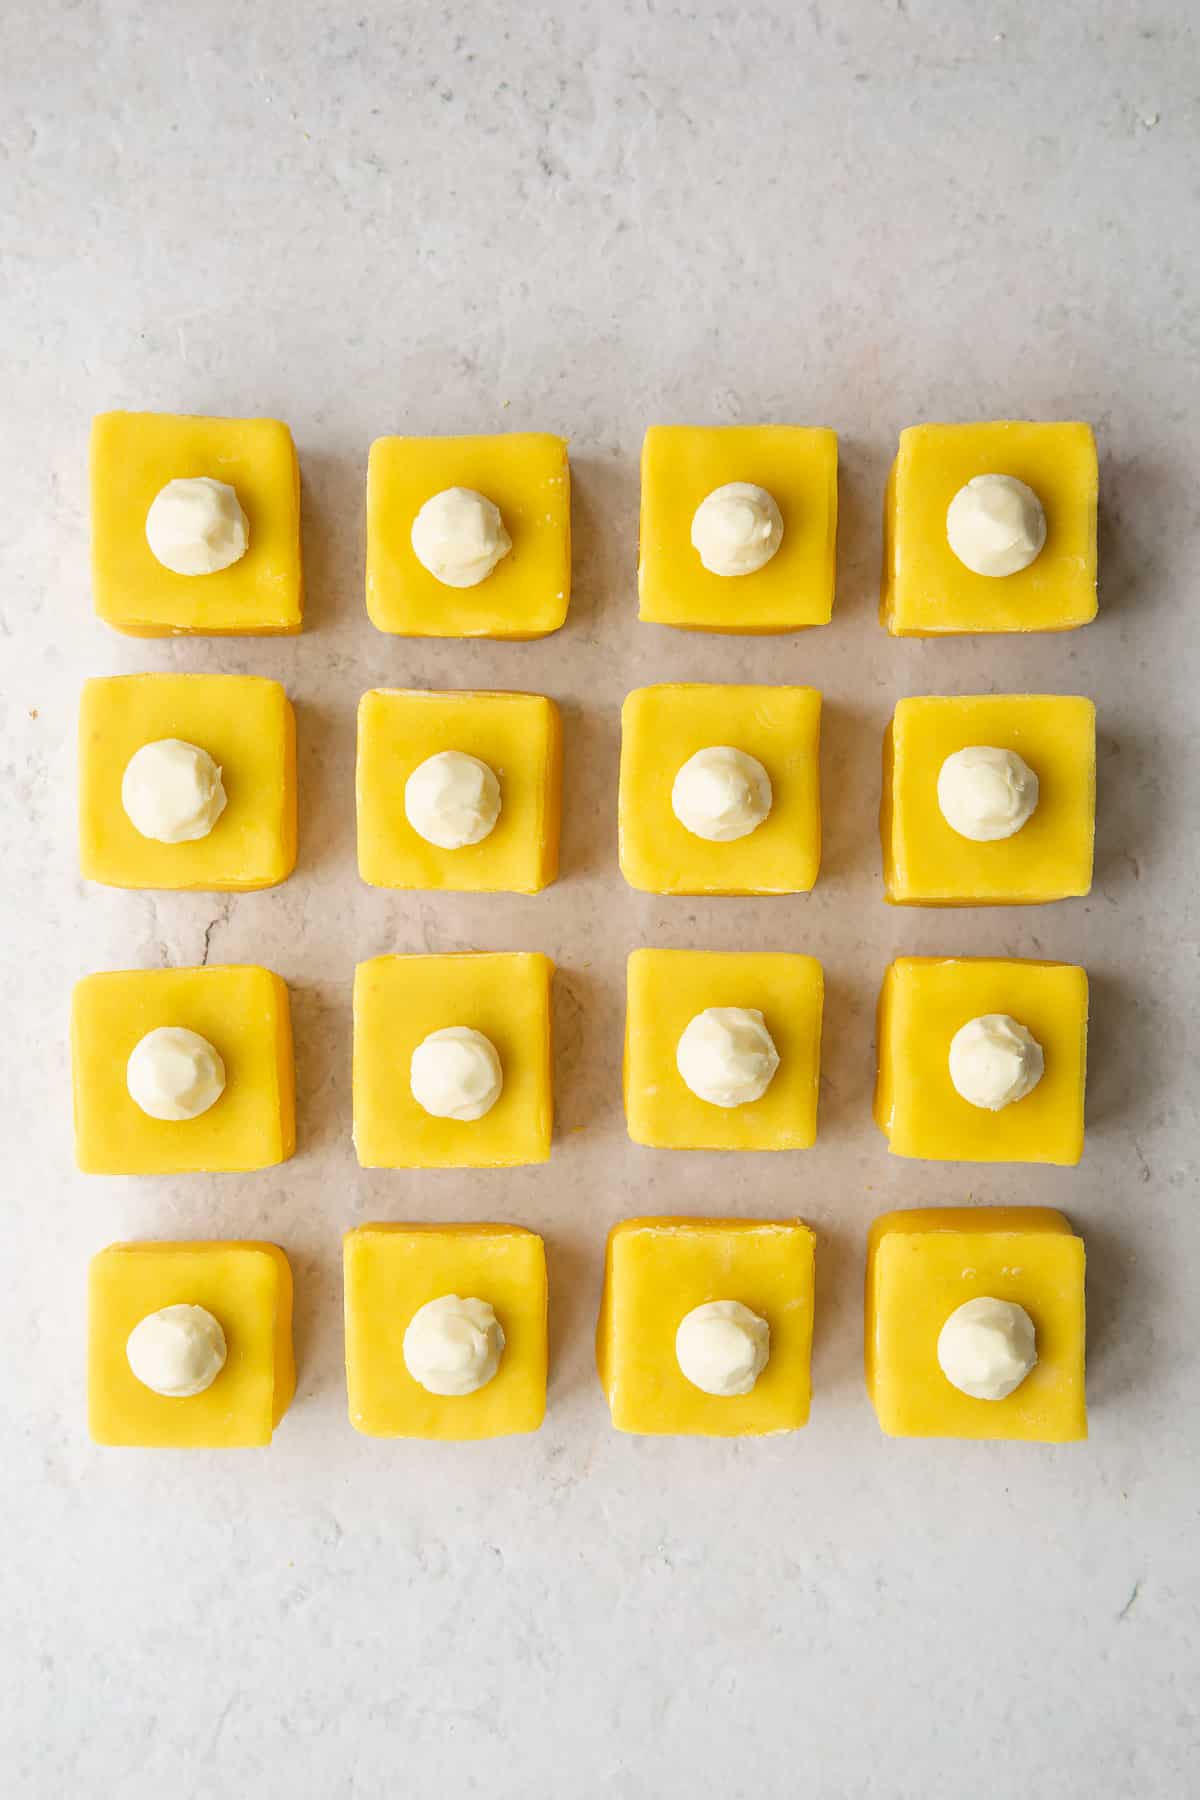
Place your cakes, well spaced, on a wire rack over a tray.
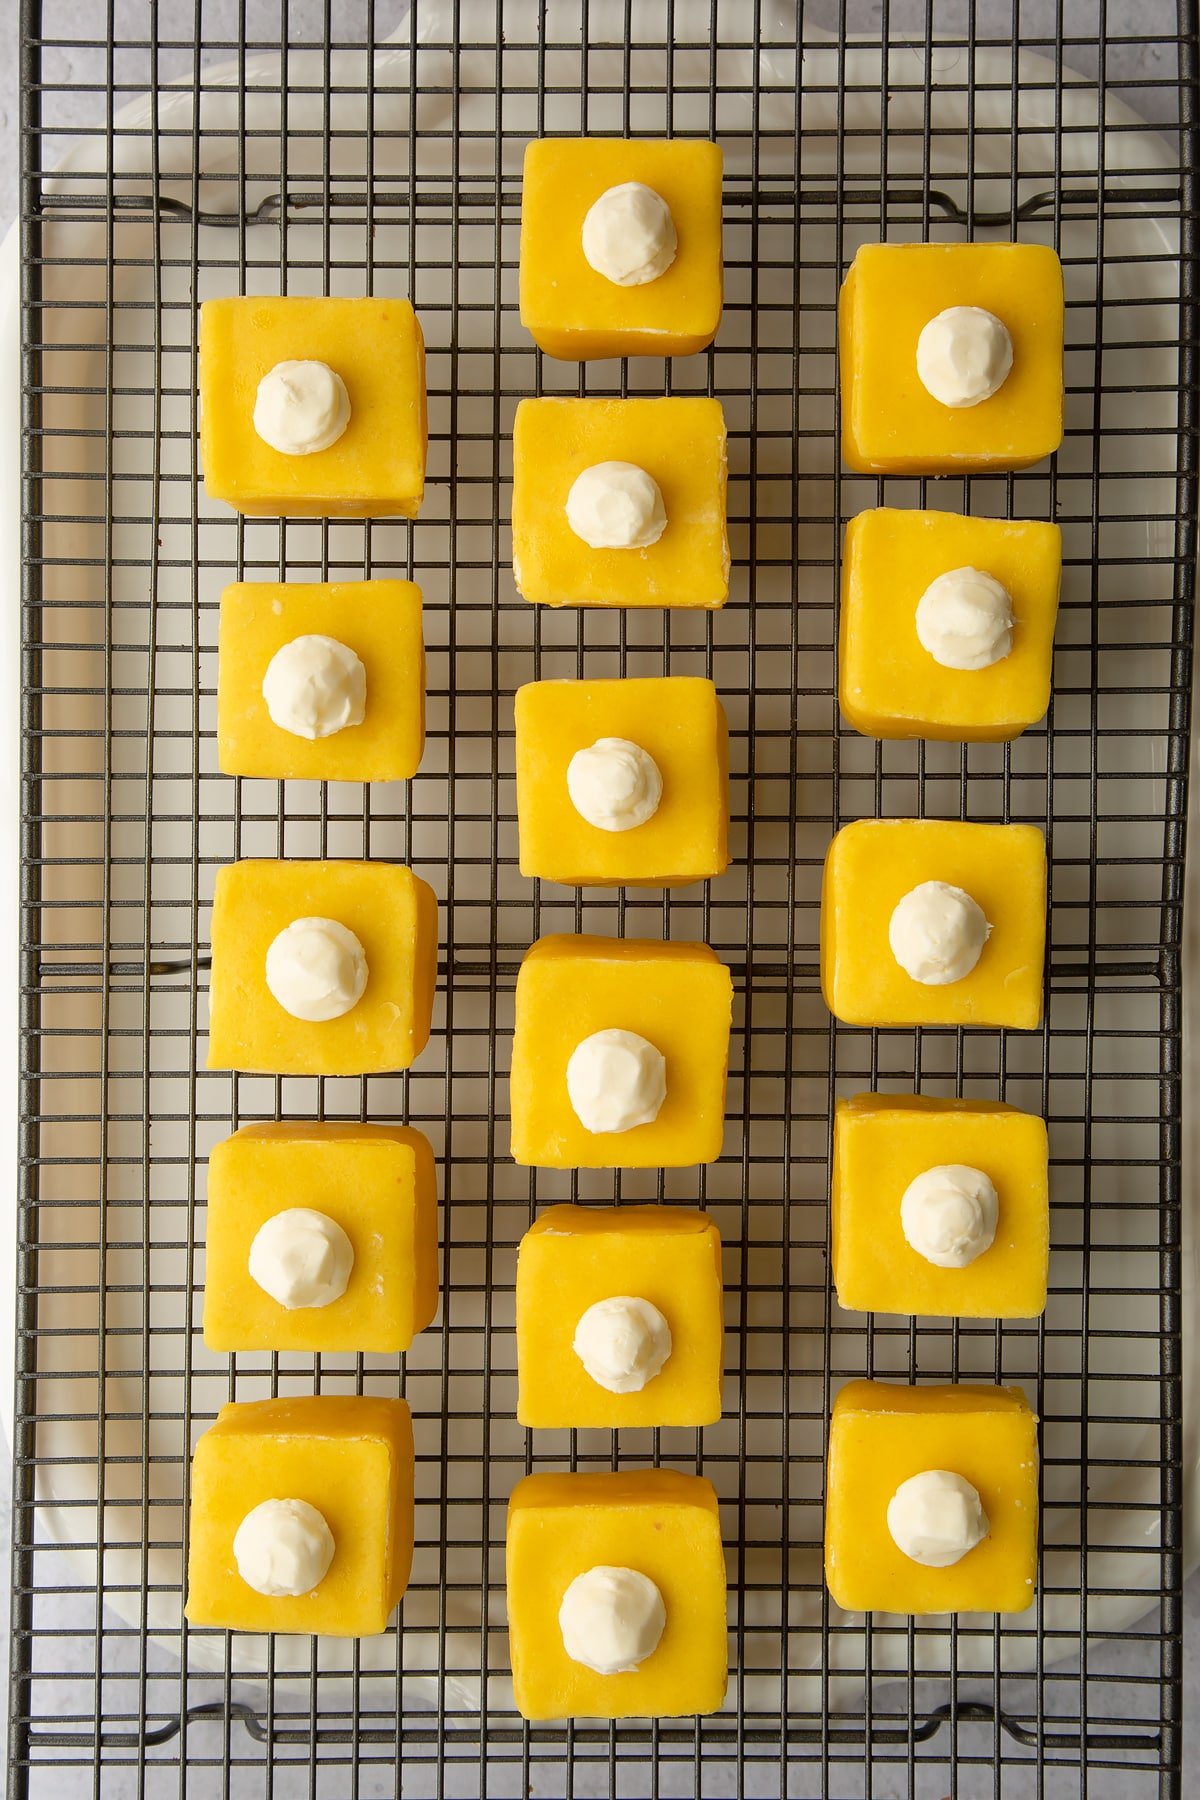
Put the tray in the fridge to chill for 30 minutes to firm up. Don’t skip this step as it’s necessary to get a good end result.
Ice your fondant fancies
Put the chopped white icing in a saucepan and add 45ml (3 tbsp) water.
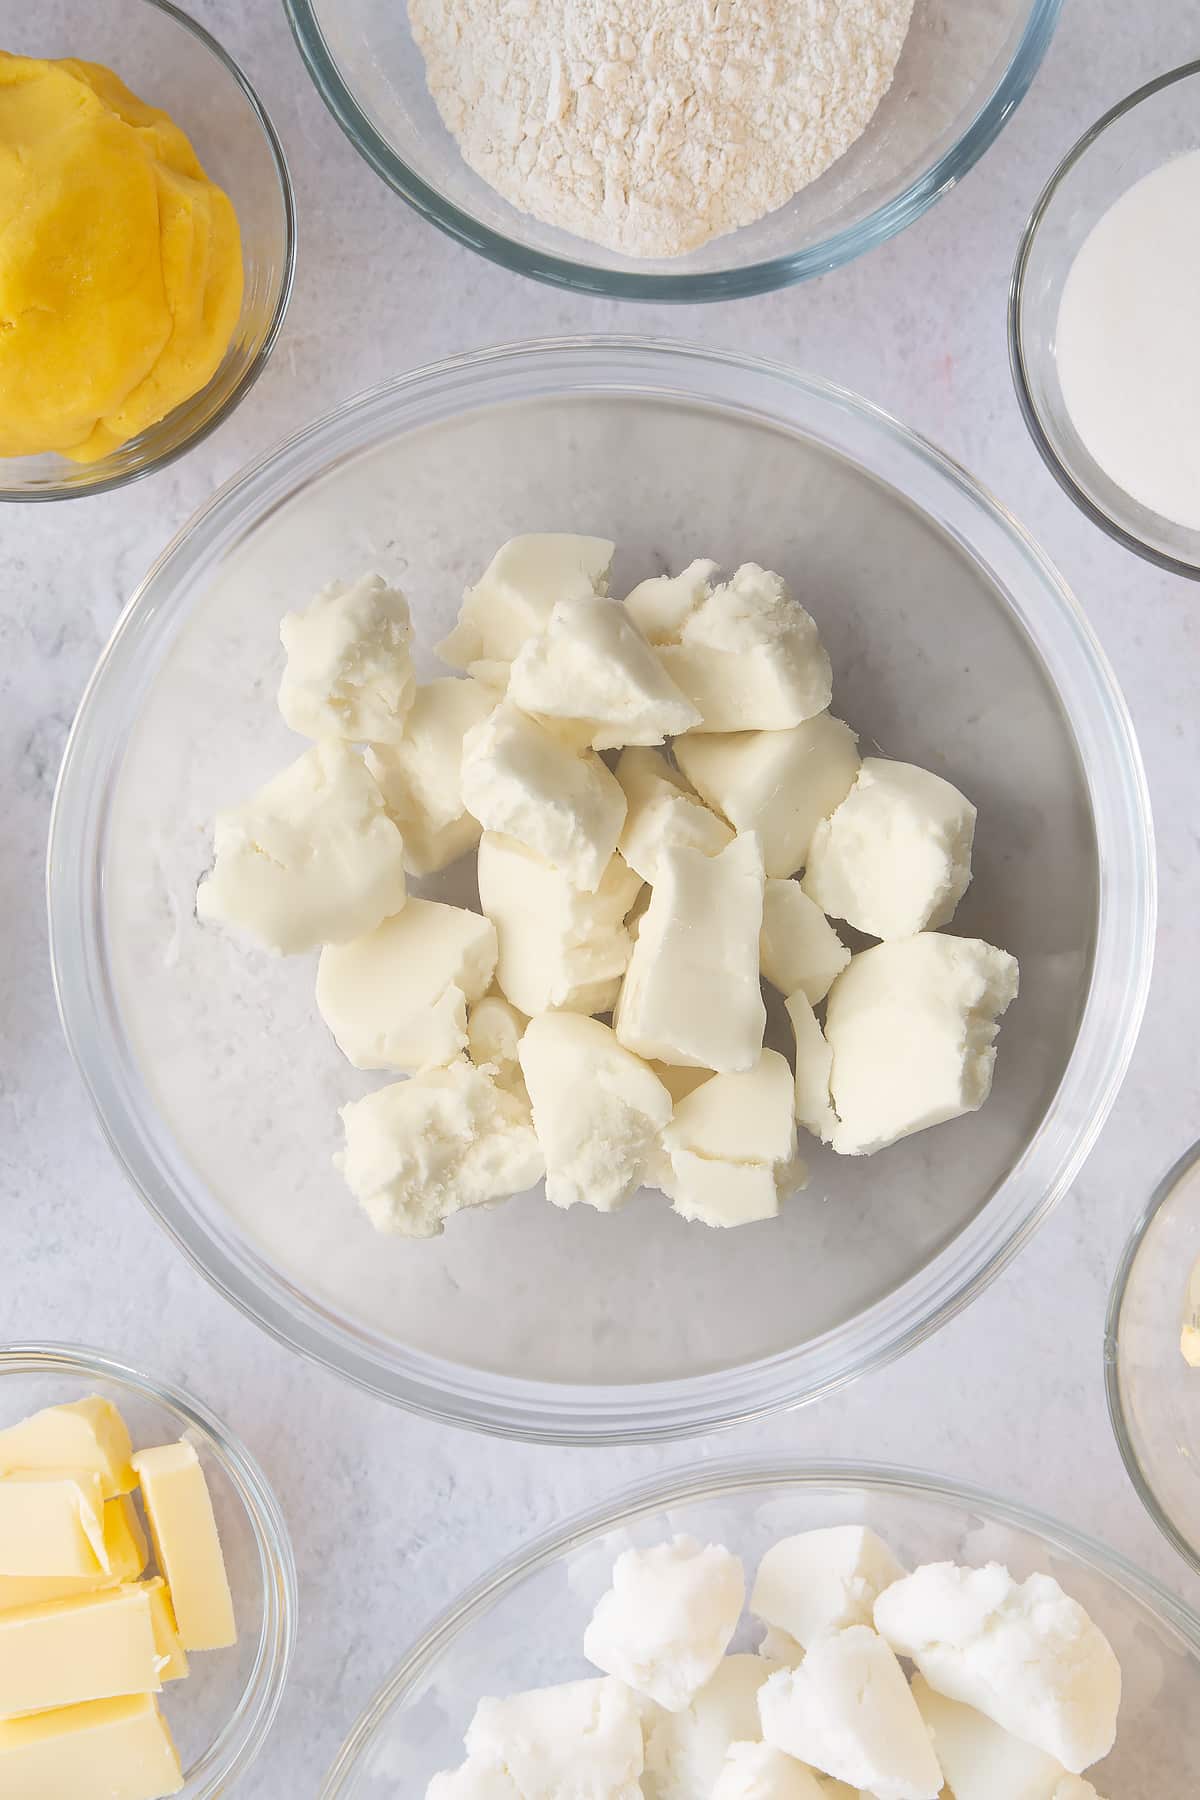
Heat very gently, stirring occasionally, until melted together. Add up to 15ml (1 tbsp) more, if needed.
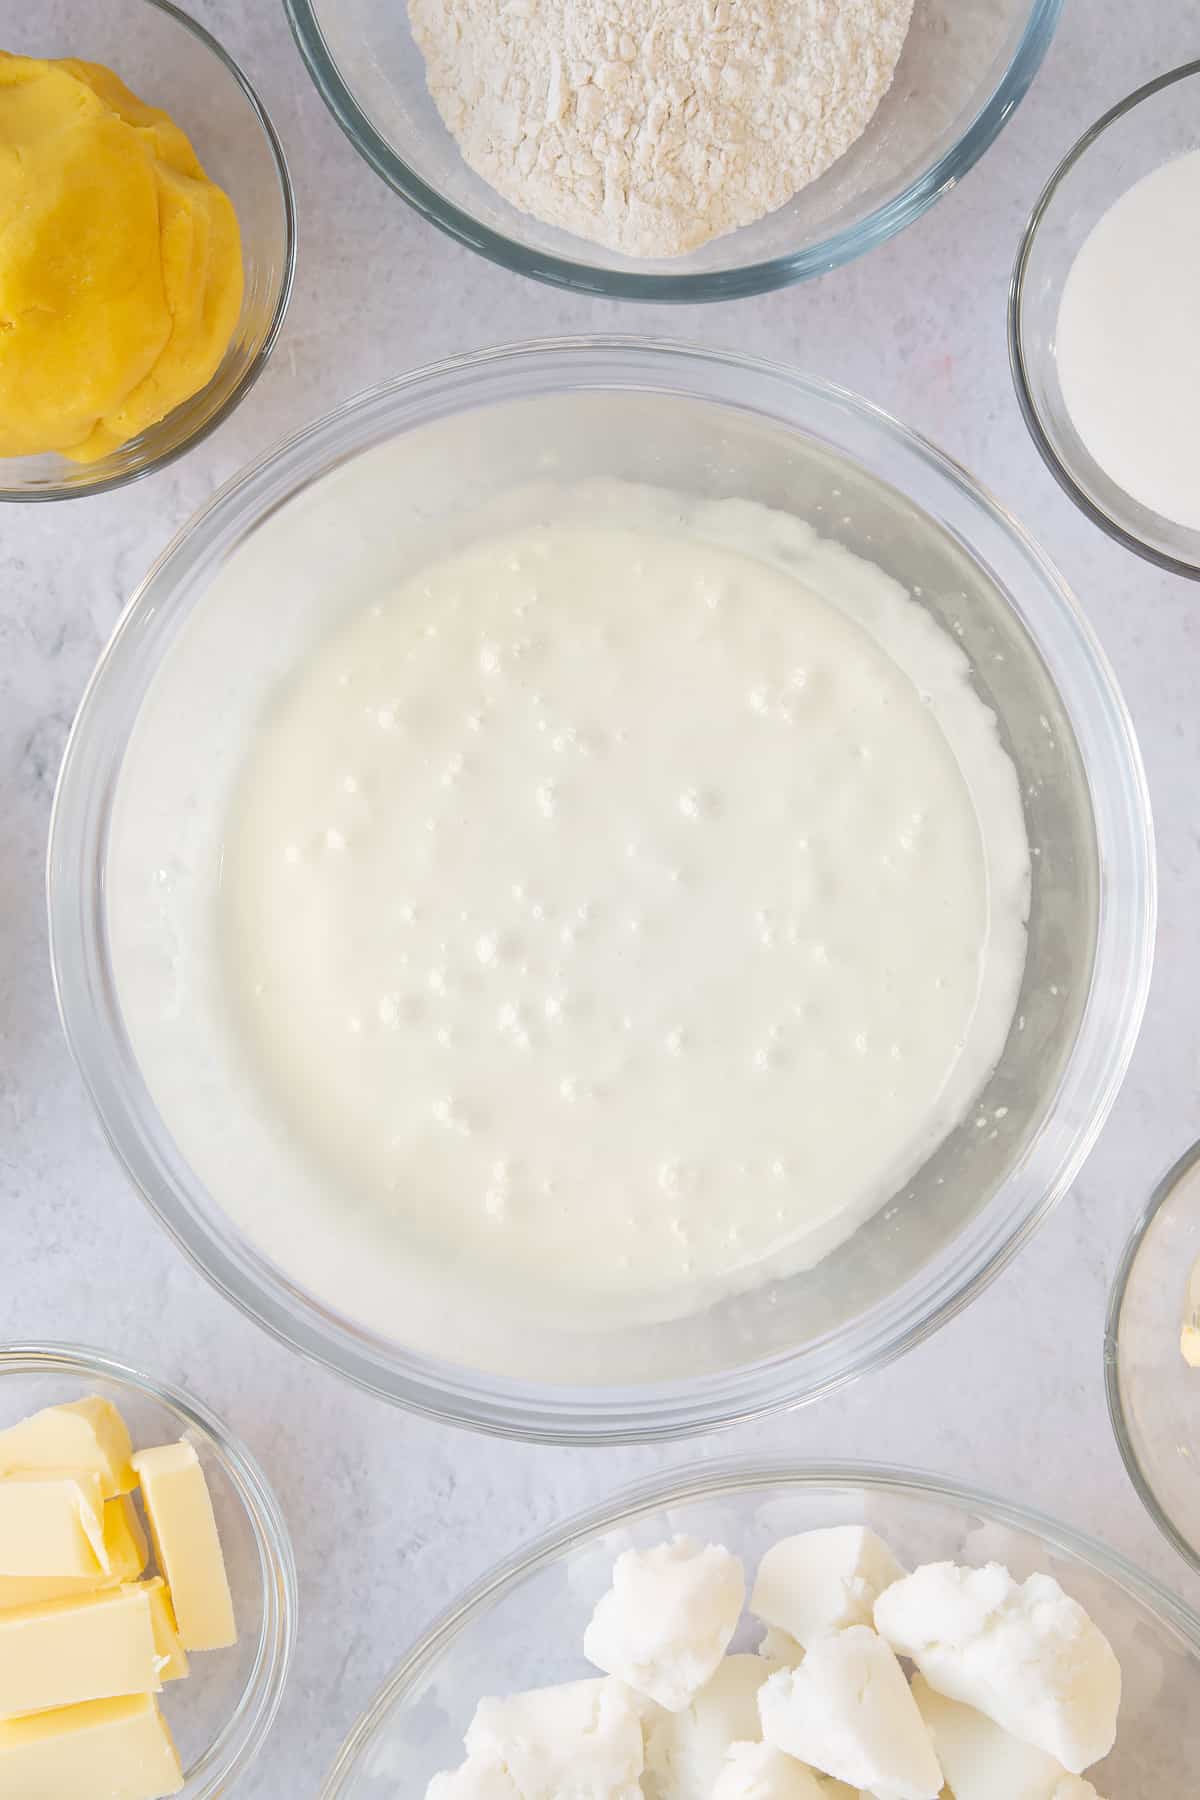
Remove from the heat and add the lemon extract and a few drops of yellow food colouring.
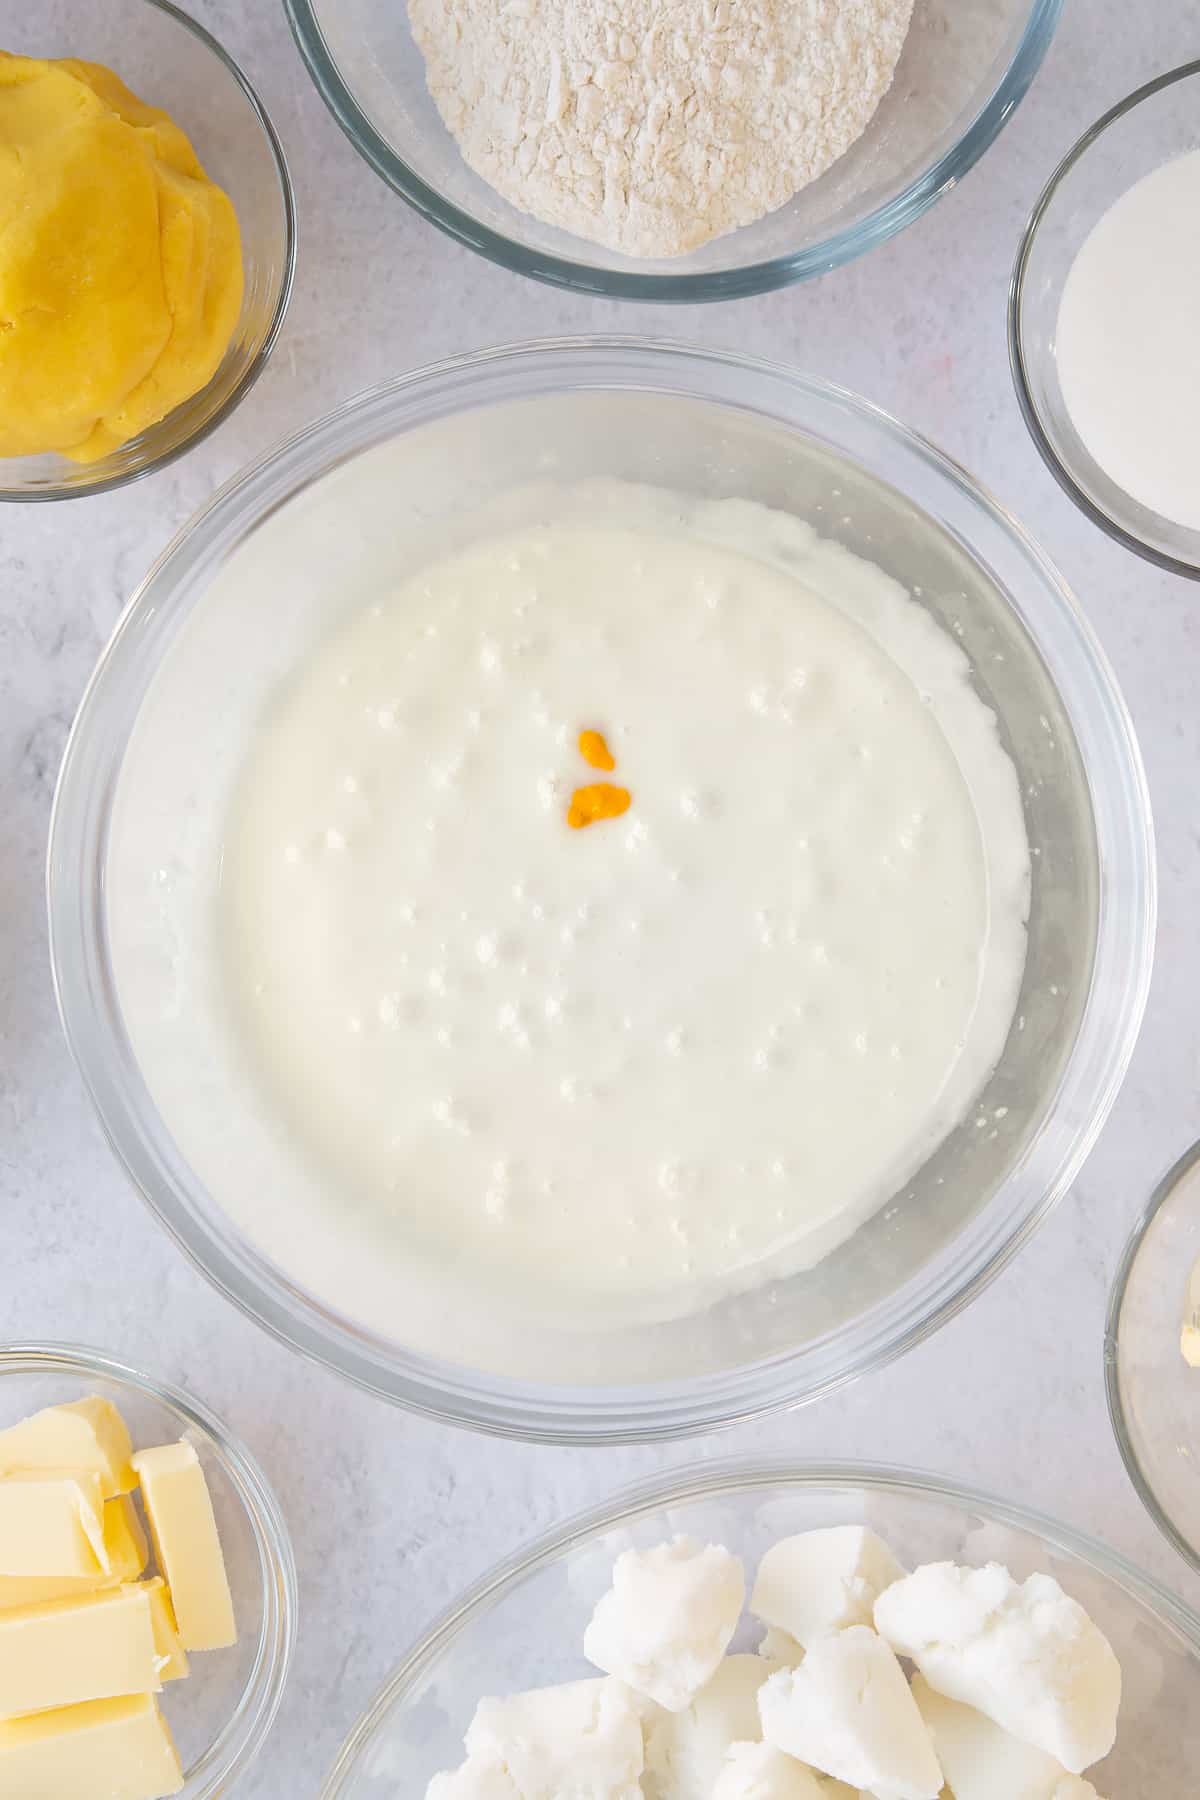
Stir until you have an even colour, adding more colouring if necessary. I like to make my icing as similar to the marzipan shade as possible so that any imperfect patches would be unlikely to show later.
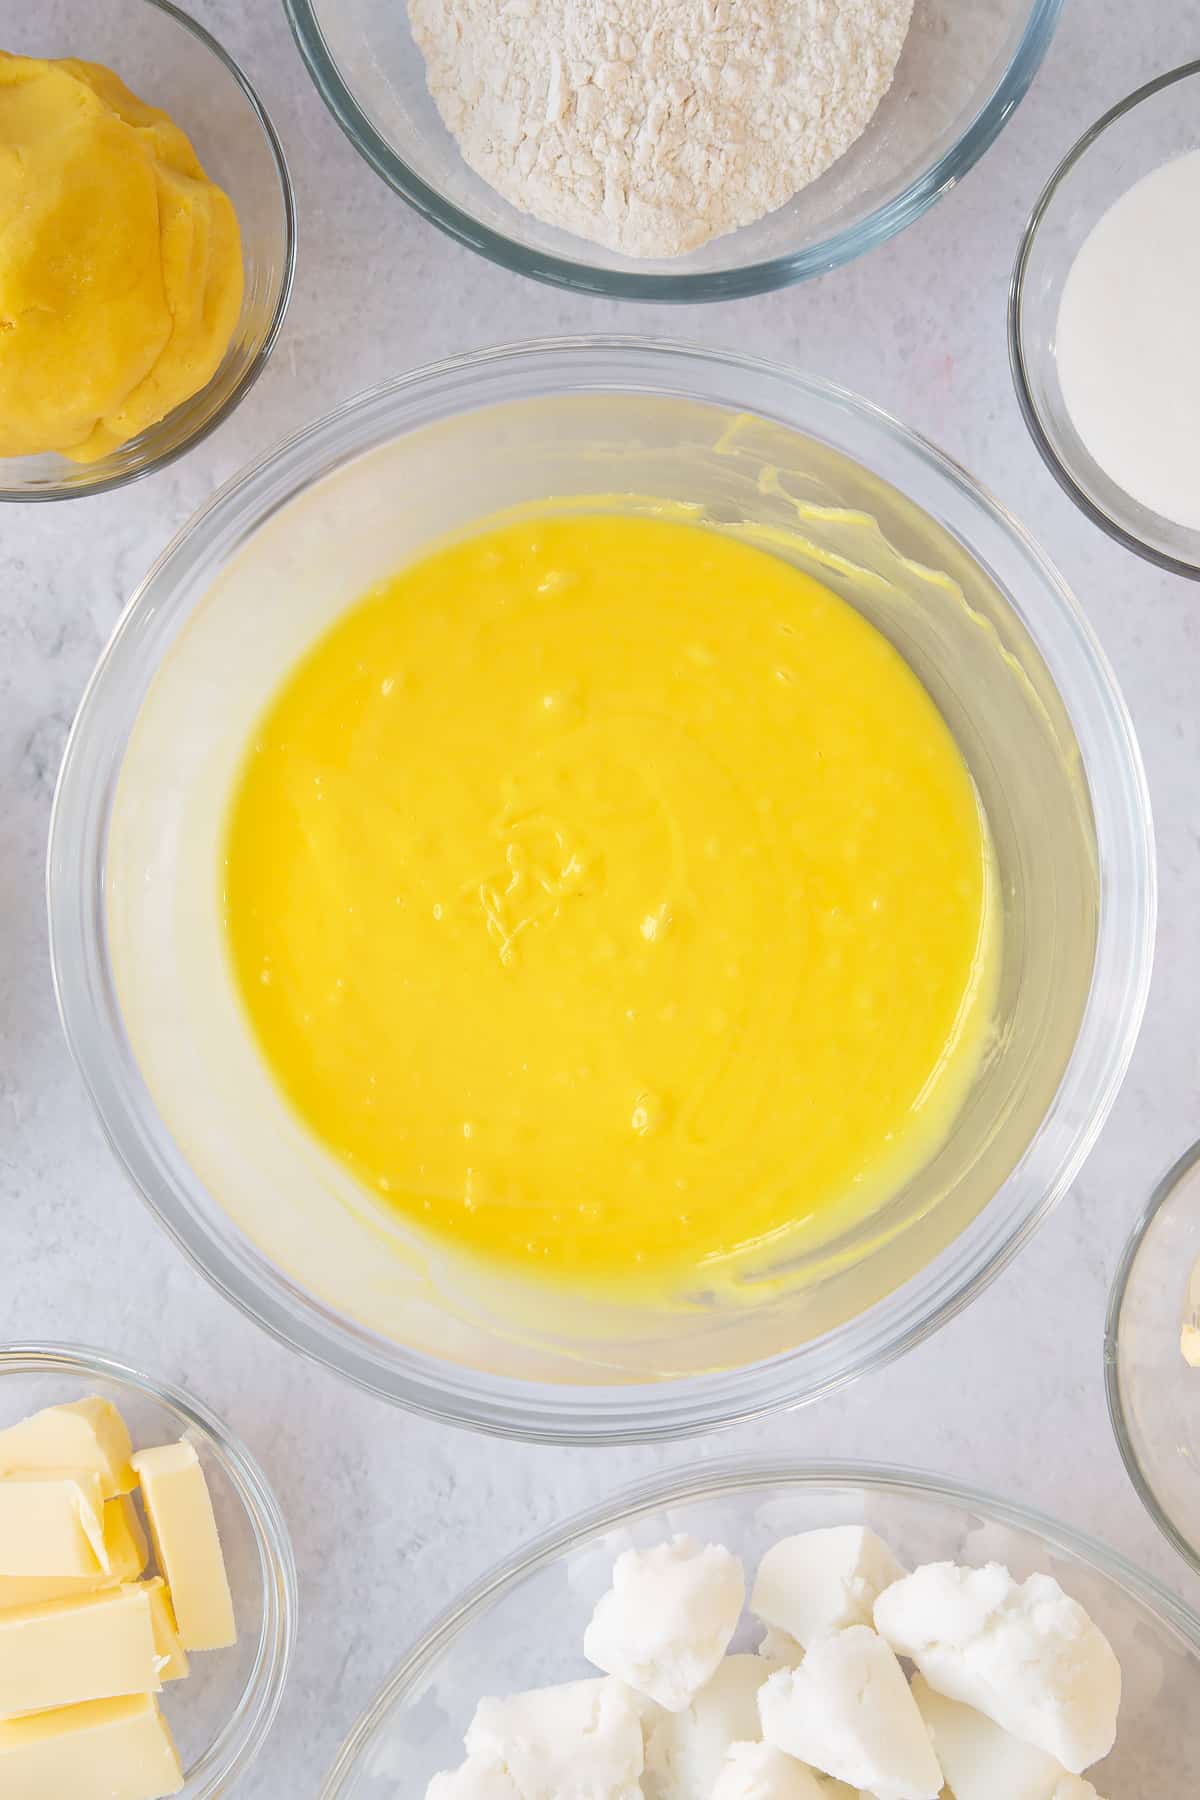
Remove your cakes from the fridge and spoon the liquid fondant over the cakes to coat the top and sides.
Note! The cold cakes will cause the icing to set quickly, making it tricky to patch, so I find it better to concentrate on getting one cake neat and then moving onto the next, rather than pouring the whole lot of icing all at once and then having to rush to neaten them.
You can use a palette knife to quickly cover any bare areas. If the icing sets in the pan, you can place it back on the hob to gently re-melt.Fix a mini icing flower to the top of each cake.
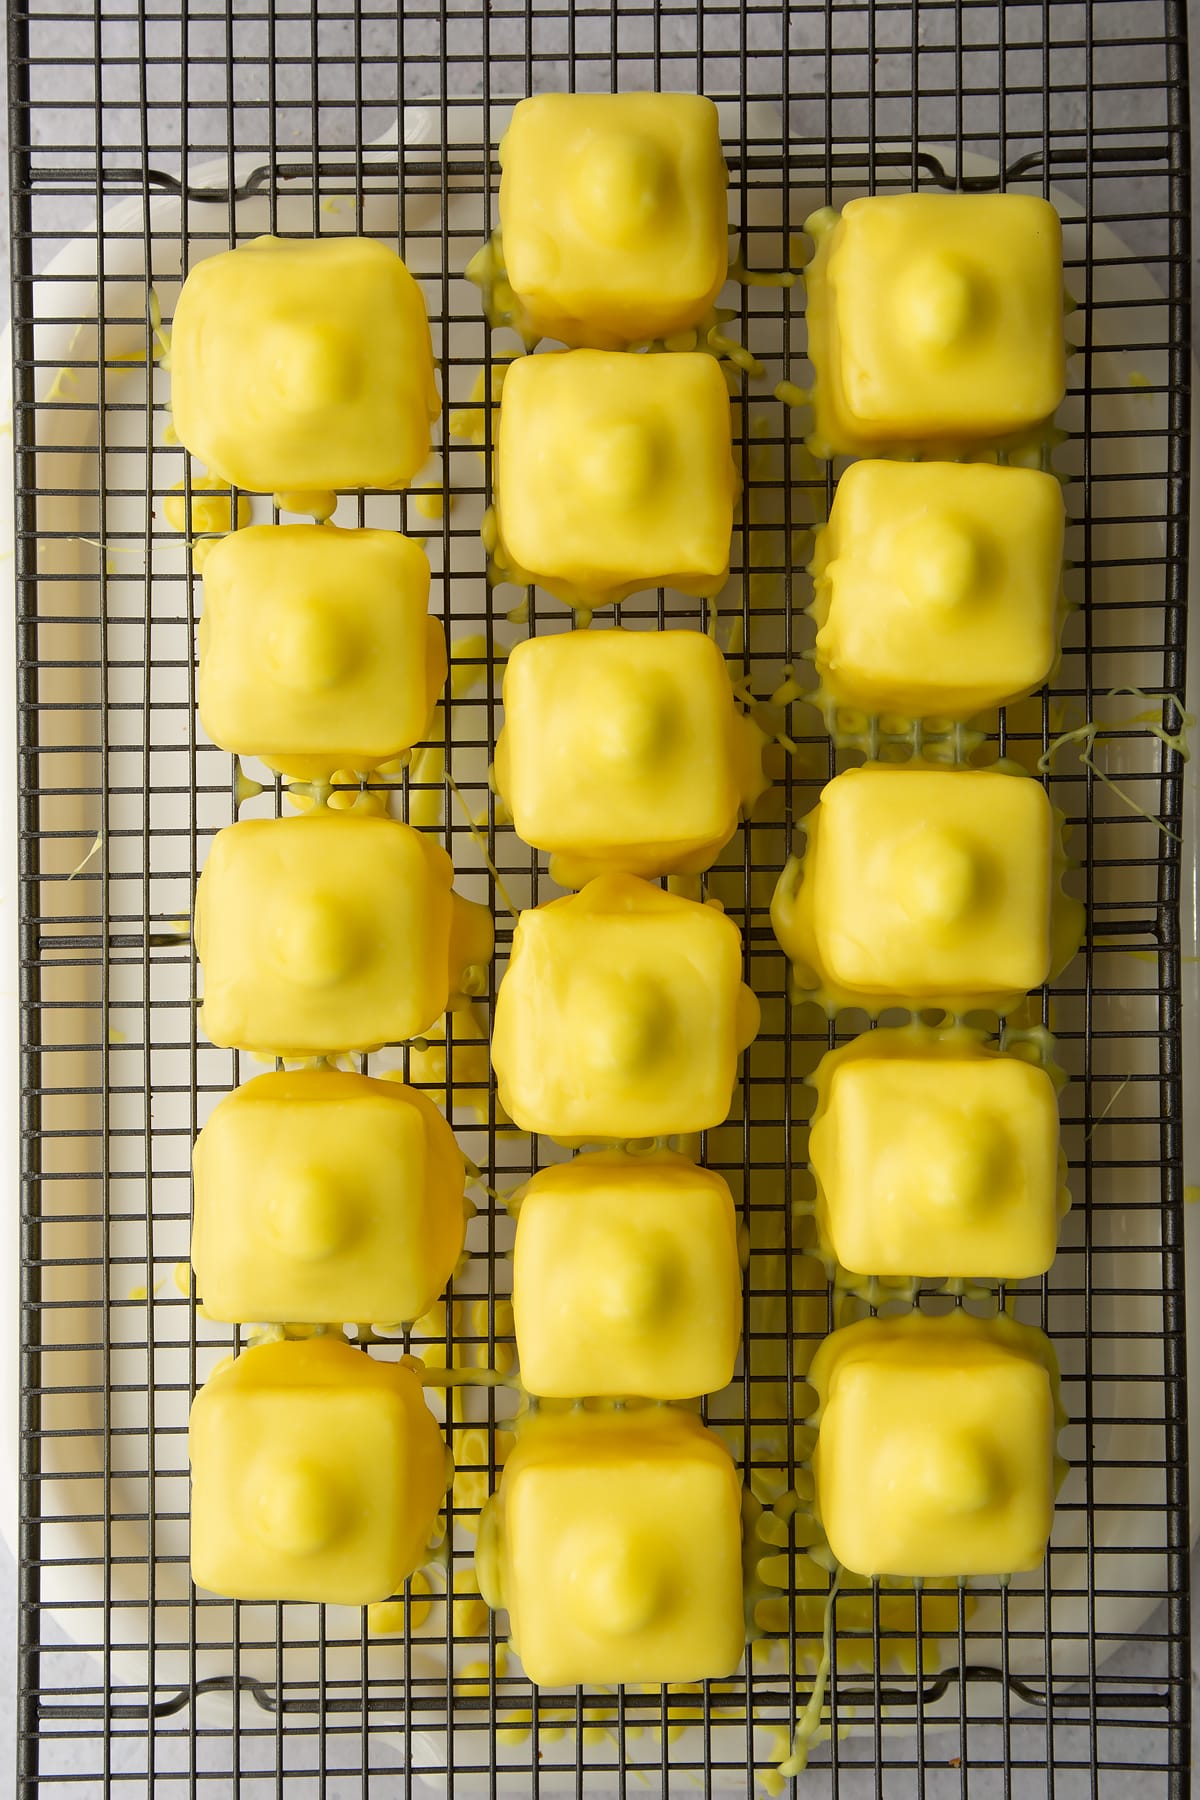
To serve, carefully trim the icing drips from the bases of the cake and place on a serving plate.

Aren't they pretty?

I hope you enjoy the fruits of your labour. I'd love to see pictures of your lemon fondant fancies!
Print this recipe for lemon fondant fancies
Lemon Fondant Fancies Recipe
Ingredients
For the sponge
- 115 g (1 stick) baking margarine
- 115 g (⅔ cups) white caster sugar (superfine sugar)
- 2 medium free range eggs beaten
- 115 g (⅔ cup + 2 tbsp) plain white flour (all purpose flour)
- ½ tsp baking powder
- ½ tsp lemon extract
For the buttercream
- 115 g (1 stick) unsalted butter softened
- 200 g (1½ cup + 1 tbsp) icing sugar (powdered sugar)
For the icing
- 454 g (1 lb) marzipan
- 600 g (22 oz) white sugar paste
- ½ tsp lemon extract (see notes)
- Yellow gel food colouring
To finish
- Mini flower icing decorations
Equipment
- 2 Square 20cm (8") nonstick cake tin
Instructions
Make the sponges
- Preheat the oven to 190C (170C fan, 375F).
- Grease and line two 18cm (7inch) square cake tins.
- Put the margarine with the sugar in a large mixing bowl and whisk until pale and light in texture.
- Gradually whisk in the eggs, one by one, then stir in the lemon extract.
- Sift in the flour and baking powder and fold together.
- Spoon the batter into the prepared tins, sharing equally between them and level off.
- Bake for 10-12 minutes until risen and firm to the touch, then turn on to a wire rack to cool completely.
Make the buttercream
- Put the softened butter in a mixing bowl and whisk until creamy and pale.
- Sieve in the icing sugar then whisk again, starting slow and speeding up until you have a smooth, spreadable icing
Assemble the sponges
- Trim the tops of your sponge as sparingly as possible to remove the crust.
- Spread a thin layer of buttercream onto one sponge and place the other on top to form a neat sandwich.
- Trim the edges to give a sharp square. You can use a ruler to help you do this accurately, then ut into 16 neat squares in a 4 x 4 pattern.
Cover your sponges with marzipan
- Set aside 150g (5oz) of marzipan - you'll use this for the tops later.
- First, you're going to make strips to go around your cakes.
- Measure the height of your cake squares - this is how wide your strips need to be.
- Now measure all the way around the outside of a square - this is how long your strips need to be plus a centimetre or two (half an inch) to allow for variation.
- Split your marzipan in half and work with one piece at a time. You need to roll it out thinly enough to give 8 strips from each piece.
- When you've rolled out and cut both halves of marzipan, you should have 16 strips in all.
- Spread a marzipan strip with a thin layer of buttercream.
- Place a square of cake on its side aligned with one end of the strip.
- Now carefully roll up so that the strip wraps around the outside of a cake. Trim off any excess at the end with a sharp knife.
- Repeat for all 16 cakes.
- Now spread the exposed top of each cake with a thin layer of buttercream.
- Roll out the reserved marzipan thinly and cut out 16 squares to cover the tops of the cakes.
- Use your fingers to gently smooth the marzipan all over to ensure a neat finish and no gaps or open seams.
Add the buttercream topping
- Transfer all of the remaining buttercream into a piping bag.
- Snip off about 1cm (½ inch) from the end of the bag and pipe a neat blob on top of each cake.
- Place your cakes, well spaced, on a wire rack over a tray and put the tray in the fridge to chill for 30 minutes to firm up. Don’t skip this step as it’s necessary to get a good end result.
Ice your fondant fancies
- Put the chopped white icing in a saucepan and add 45ml (3 tbsp) water.
- Heat very gently, stirring occasionally, until melted together. Add up to 15ml (1 tbsp) more, if needed.
- Remove from the heat and add the lemon extract and a few drops of yellow food colouring.
- Stir until you have an even colour, adding more colouring if necessary. I like to make my icing as similar to the marzipan shade as possible so that any imperfect patches would be unlikely to show later.
- Remove your cakes from the fridge and spoon the liquid fondant over the cakes to coat the top and sides.
- The cold cakes will cause the icing to set quickly, making it tricky to patch, so I find it better to concentrate on getting one cake neat and then moving onto the next, rather than pouring the whole lot of icing all at once and then having to rush to neaten them.
- You can use a palette knife to quickly cover any bare areas. If the icing sets in the pan, you can place it back on the hob to gently re-melt.Fix a mini icing flower to the top of each cake.
- To serve, carefully trim the icing drips from the bases of the cake and place on a serving plate.
Video
Notes
Nutrition
This was originally a commissioned post for Dr. Oetker. It was updated and republished here with some adaptations in March 2022.
Pin this recipe for lemon fondant fancies
More lemon recipes to try
Have you got my book?

'This is a great kids cookery book. Emily is a star' - Simon Rimmer
'The book I'd like to force into any mother's kitchen' - Prue Leith
"A fab book with a plan." - Jane Devonshire, 2016 Masterchef UK winner
'Emily has managed to combine her mummy knowledge and passion for food to make a truly helpful and brilliant cookbook' - Priya Tew, RD, BSc (Hons), Msc
Get Your Kids to Eat Anything is an achievable 'how to' for parents in the battle to overcome picky eating and 'make new the norm'. Emily Leary's unique 5-phase programme looks at the issue of 'fussy eating' in a holistic way that links imagination with food, and which situates parents alongside - not in opposition to - their children.


CakePants says
I'm having a hard time believing that these are easy to make - they're so incredibly elegant! The rose petals are a lovely touch.
Choclette says
Well done Emily, these look so pretty and a great video too. Using tweezers for the rose petals is a useful tip, I always get into a mess when I'm trying to crystallise flowers.
Becca @ Amuse Your Bouche says
These look yummy! And I love the video, you did so well :) Stacey seems lovely!
Ciara (My Fussy Eater) says
Beautiful fondant fancies. You make it look so easy, even to a terrible baker like me!
Kate | The Veg Space says
Pretty as a picture - these look fabulous, and looks like you and Stacey had lots of fun in the kitchen!
Carrie-Time to be an Adult says
I would never have even thought to melt ready roll icing. I wonder if it would work on larger cakes too?
Angela - Patisserie Makes Perfect says
These look amazing. Well done on the video as well! I don't think I could ever do anything like that on camera without swearing! x
Sammie says
These look so delicate, pretty and girly. I love little bite sized pieces of cake. Sammie. http://www.feastingisfun.com
Susan Mann says
These look amazing x
Debi @ Life Currents says
These are beautiful! I love the colors, and I can only imagine what a hit they'd be at a party, like maybe a baby shower!