
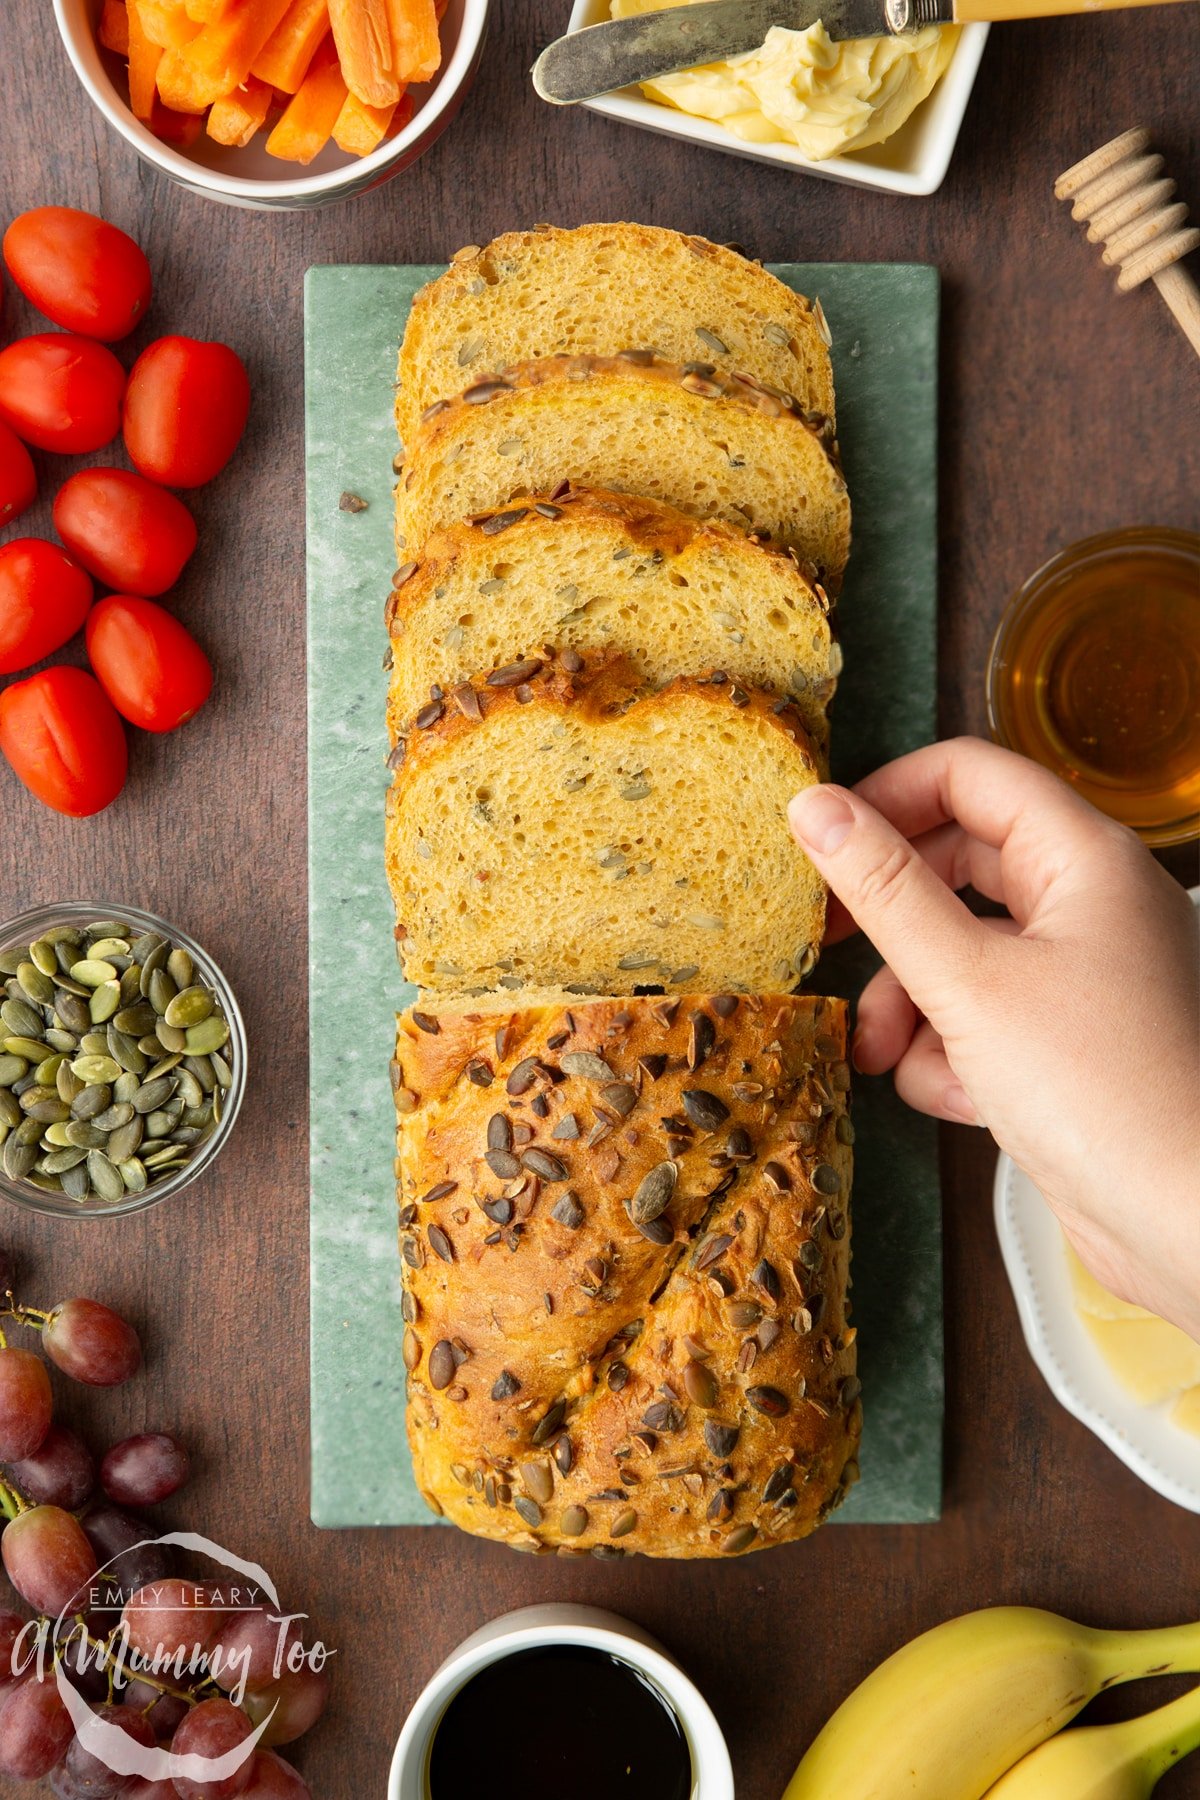
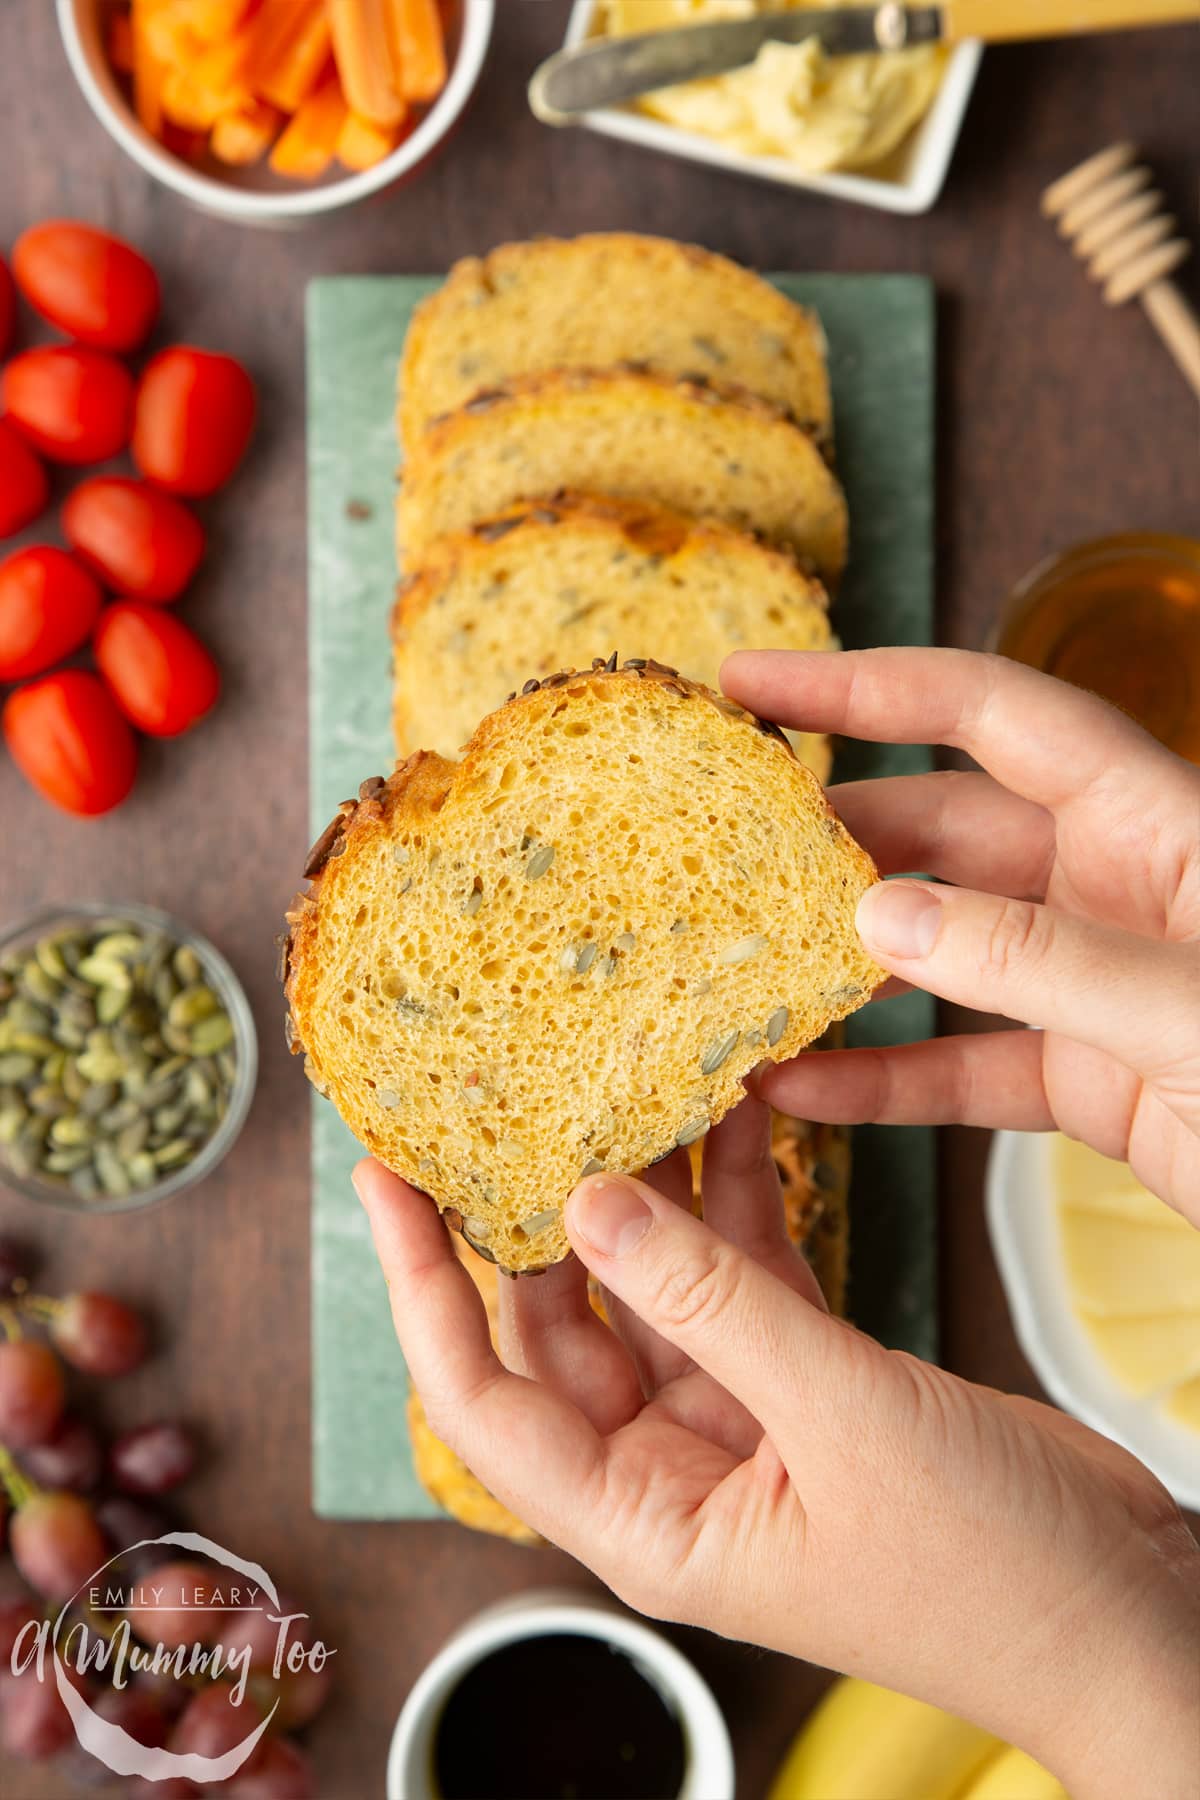
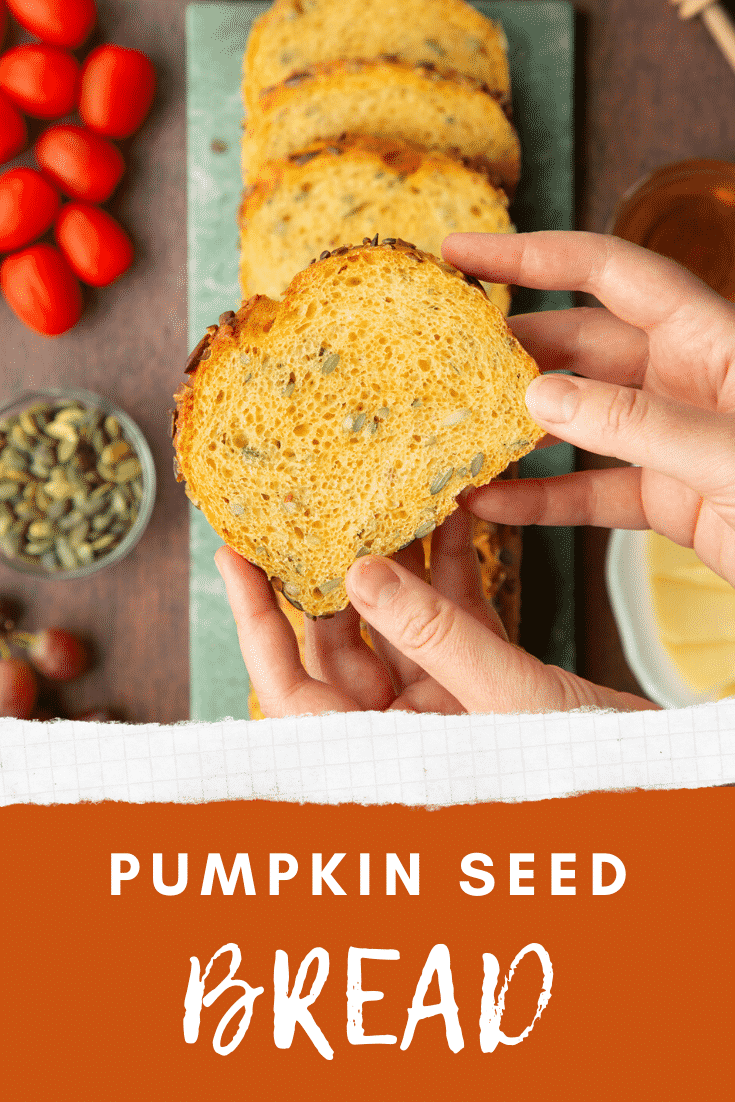
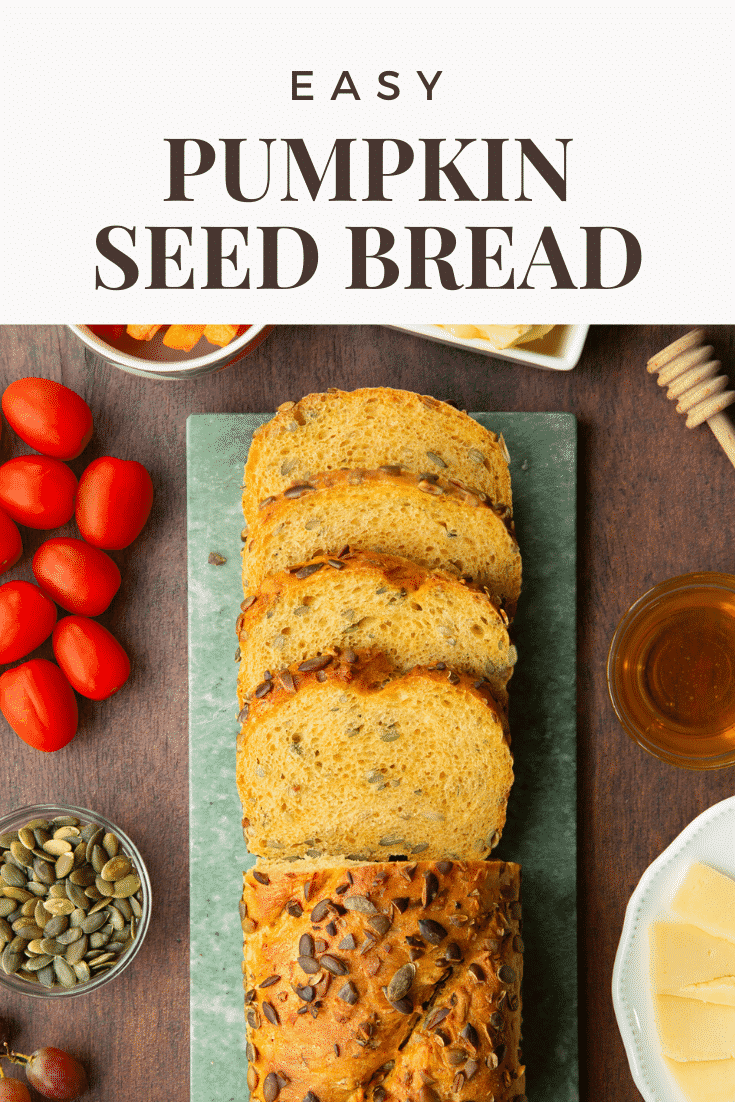
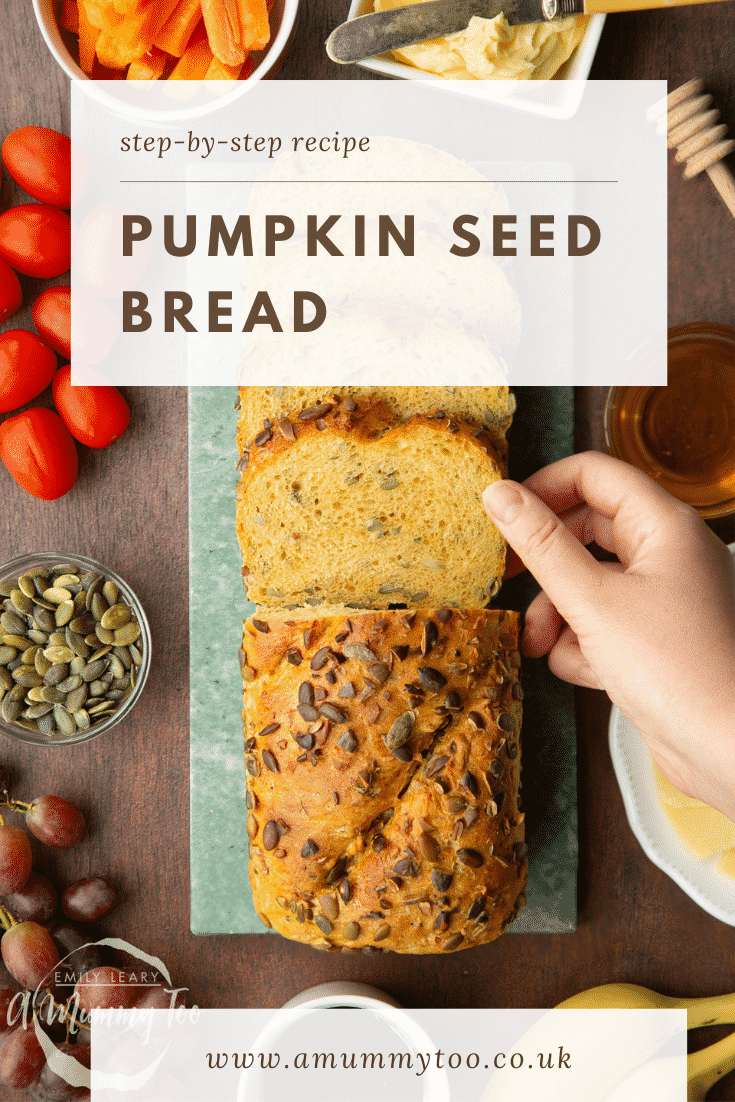
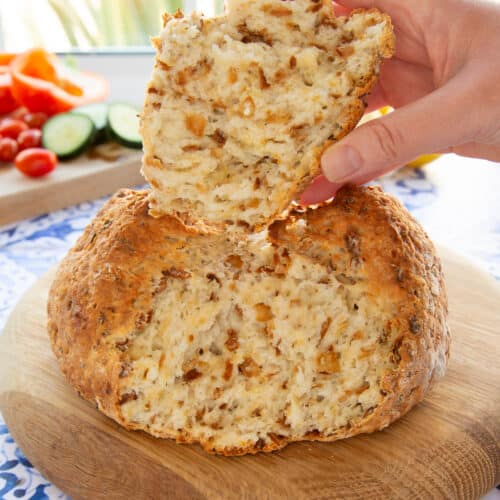
This pumpkin seed bread is light and delicious with a soft, open crumb, dotted with mild and crunchy seeds.

For this delicious homemade bread, you'll need just 5 ingredients: strong white flour, salt, fast action yeast, pumpkin seeds for crunch and nutty flavor, and pumpkin pureé, which lends not just to the taste, but also gives a lovely orange hue.
To make the dough, you'll combined flour, salt and fast action yeast with pumpkin seeds, pumpkin pureé and warm water. Next, you'll knead for about 8 minutes until springy. I've included tips and images below so that you'll know when the gluten is sufficiently developed. You'll then pop it into a bowl to rise until doubled in size.
After that, you'll shape your dough into a sausage shape. Again, there are lots of images to guide you through the process to get a lovely neat shape with a smooth, taut surface.
You'll then roll the loaf in pumpkin seeds, drop the dough into a loaf tin and prove again, slash the top and bake to perfection.
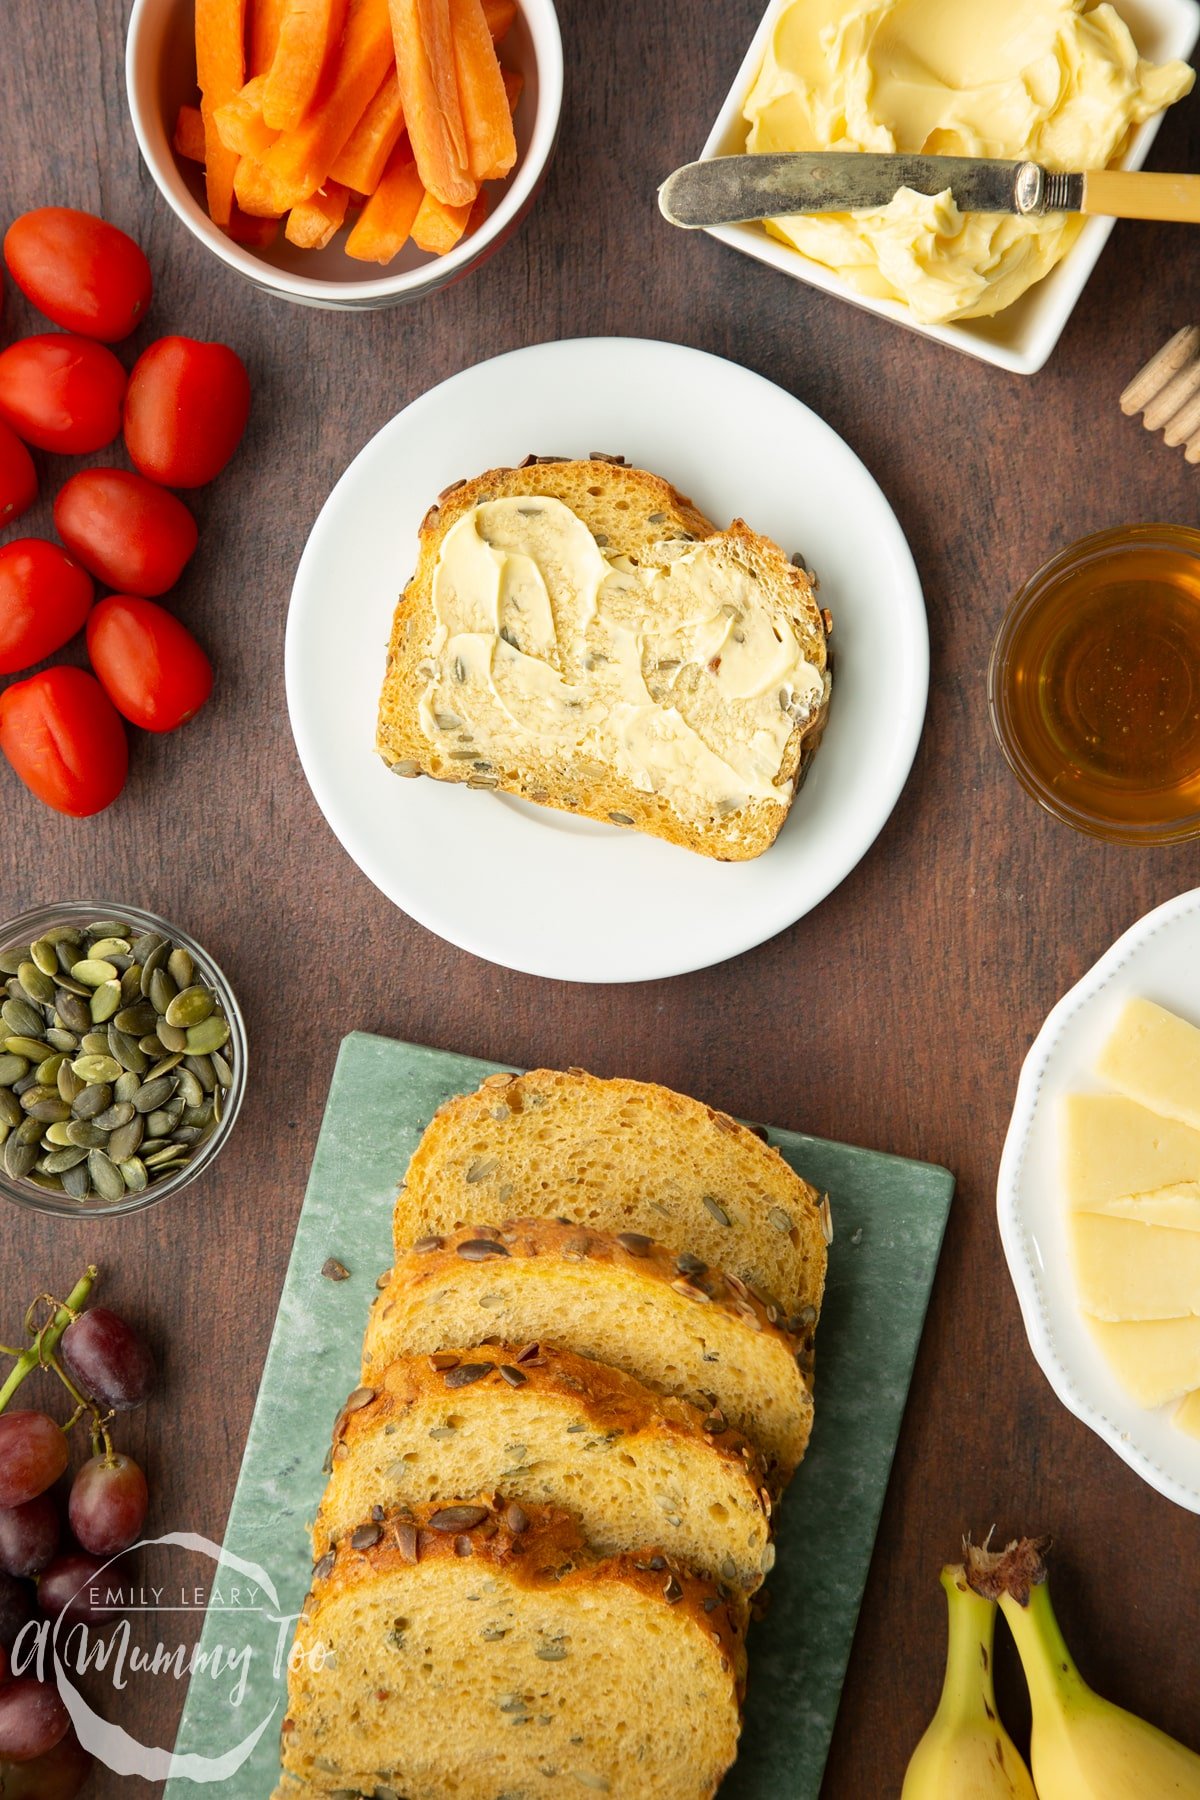
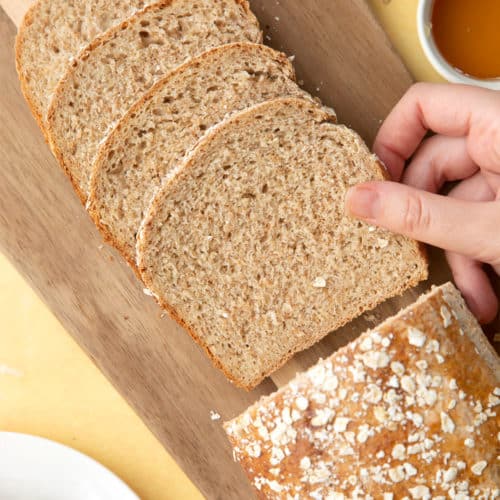
A slice of this gorgeous pumpkin seed bread is gorgeous with a simple spread of salted butter and it's also perfect for your morning toast, or for sandwiches.
Here's how to make a lovely, simple pumpkin seed bread the entire family will love.
I've included detailed instructions below with step-by-step images to illustrate each stage of this delicious recipe. Below that, you'll find an easy, printable recipe card.
Ingredients
- vegetable oil (canola oil) to grease the tin
For the dough
- 300 g (10.6 oz) strong white bread flour
- 1 tsp salt
- 1 tsp fast-action dried yeast
- 60 g (2.1 oz) pumpkin seeds roughly chopped
- 50 g (1.8 oz) pumpkin puree
- 175 ml (5.9 floz) warm water
To top
- 40 g (1.4 oz) pumpkin seeds roughly chopped
Instructions
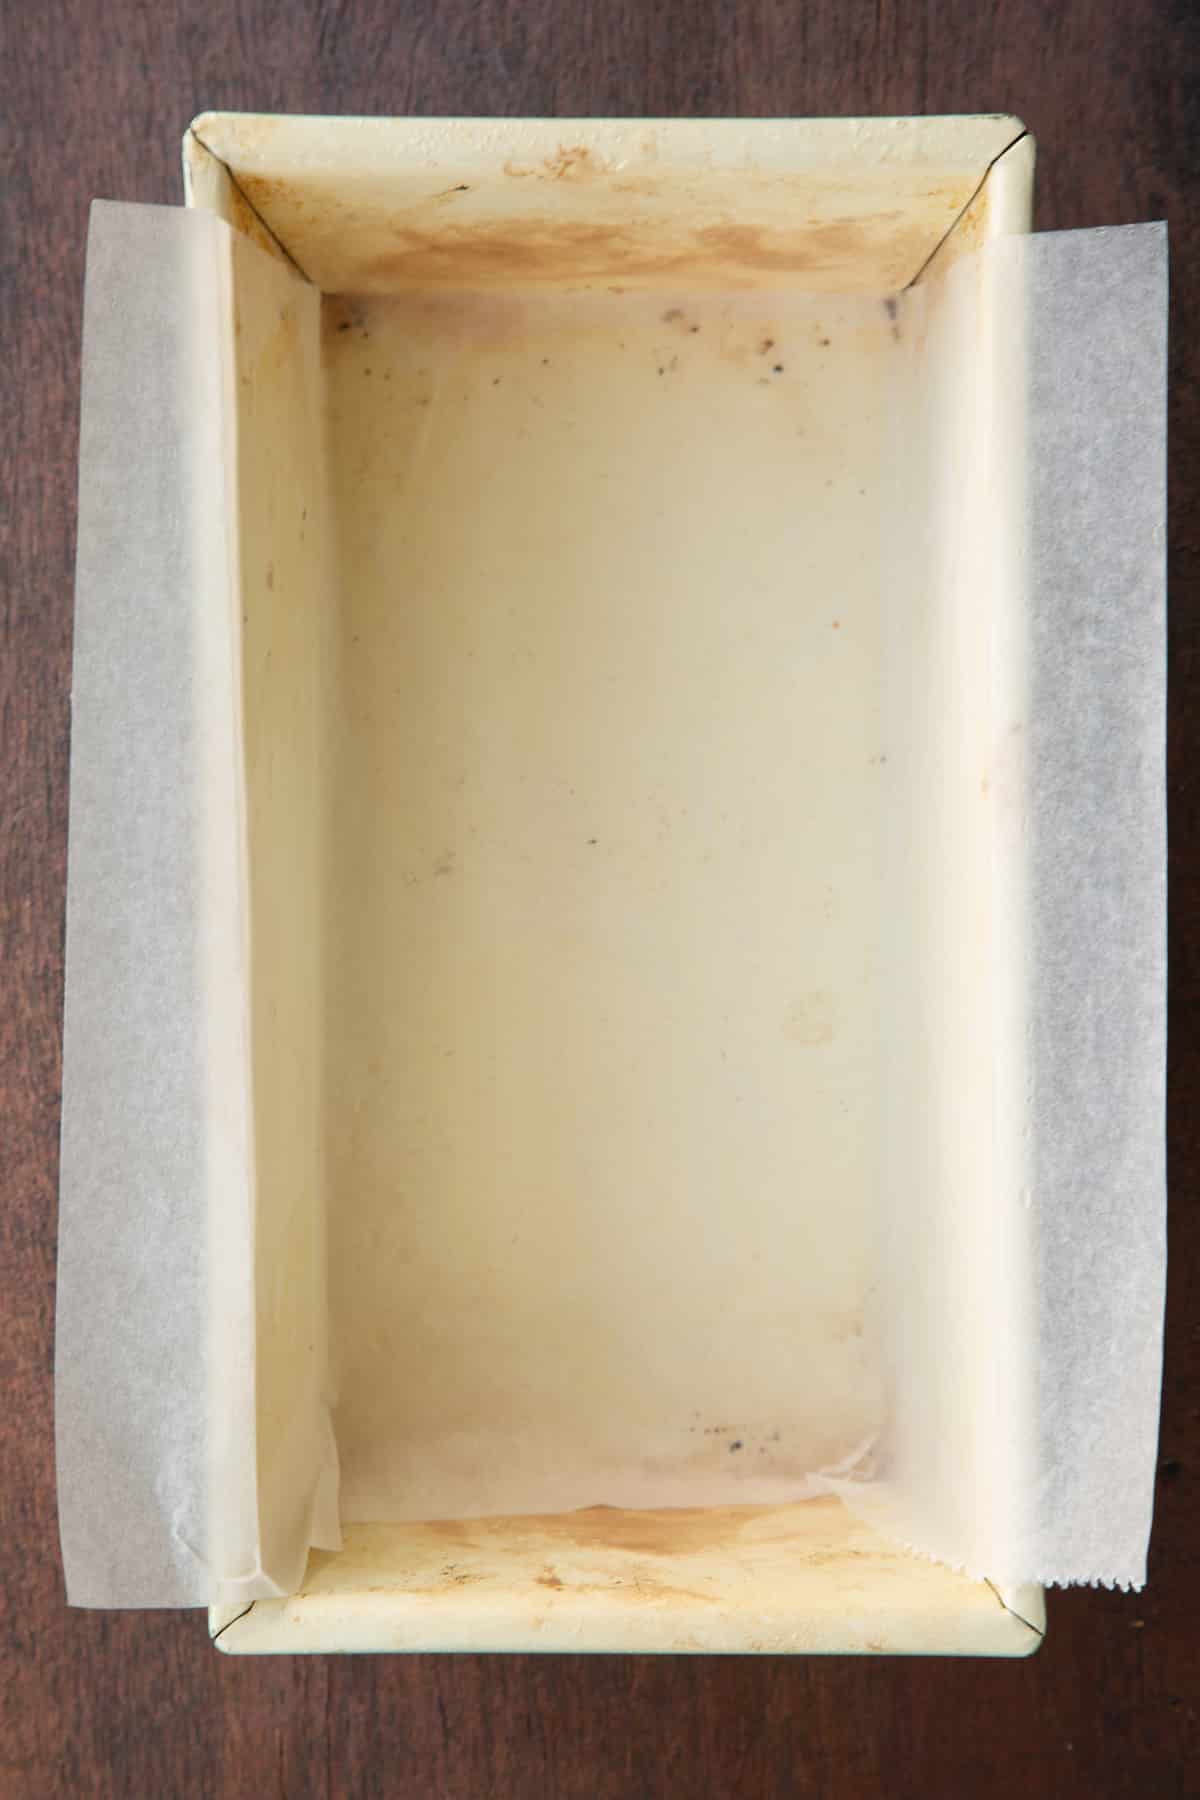
Prepare your loaf tin by greasing it with vegetable oil, sunflower oil or olive oil, then lining with a strip of parchment paper, which will make your loaf easier to lift out.
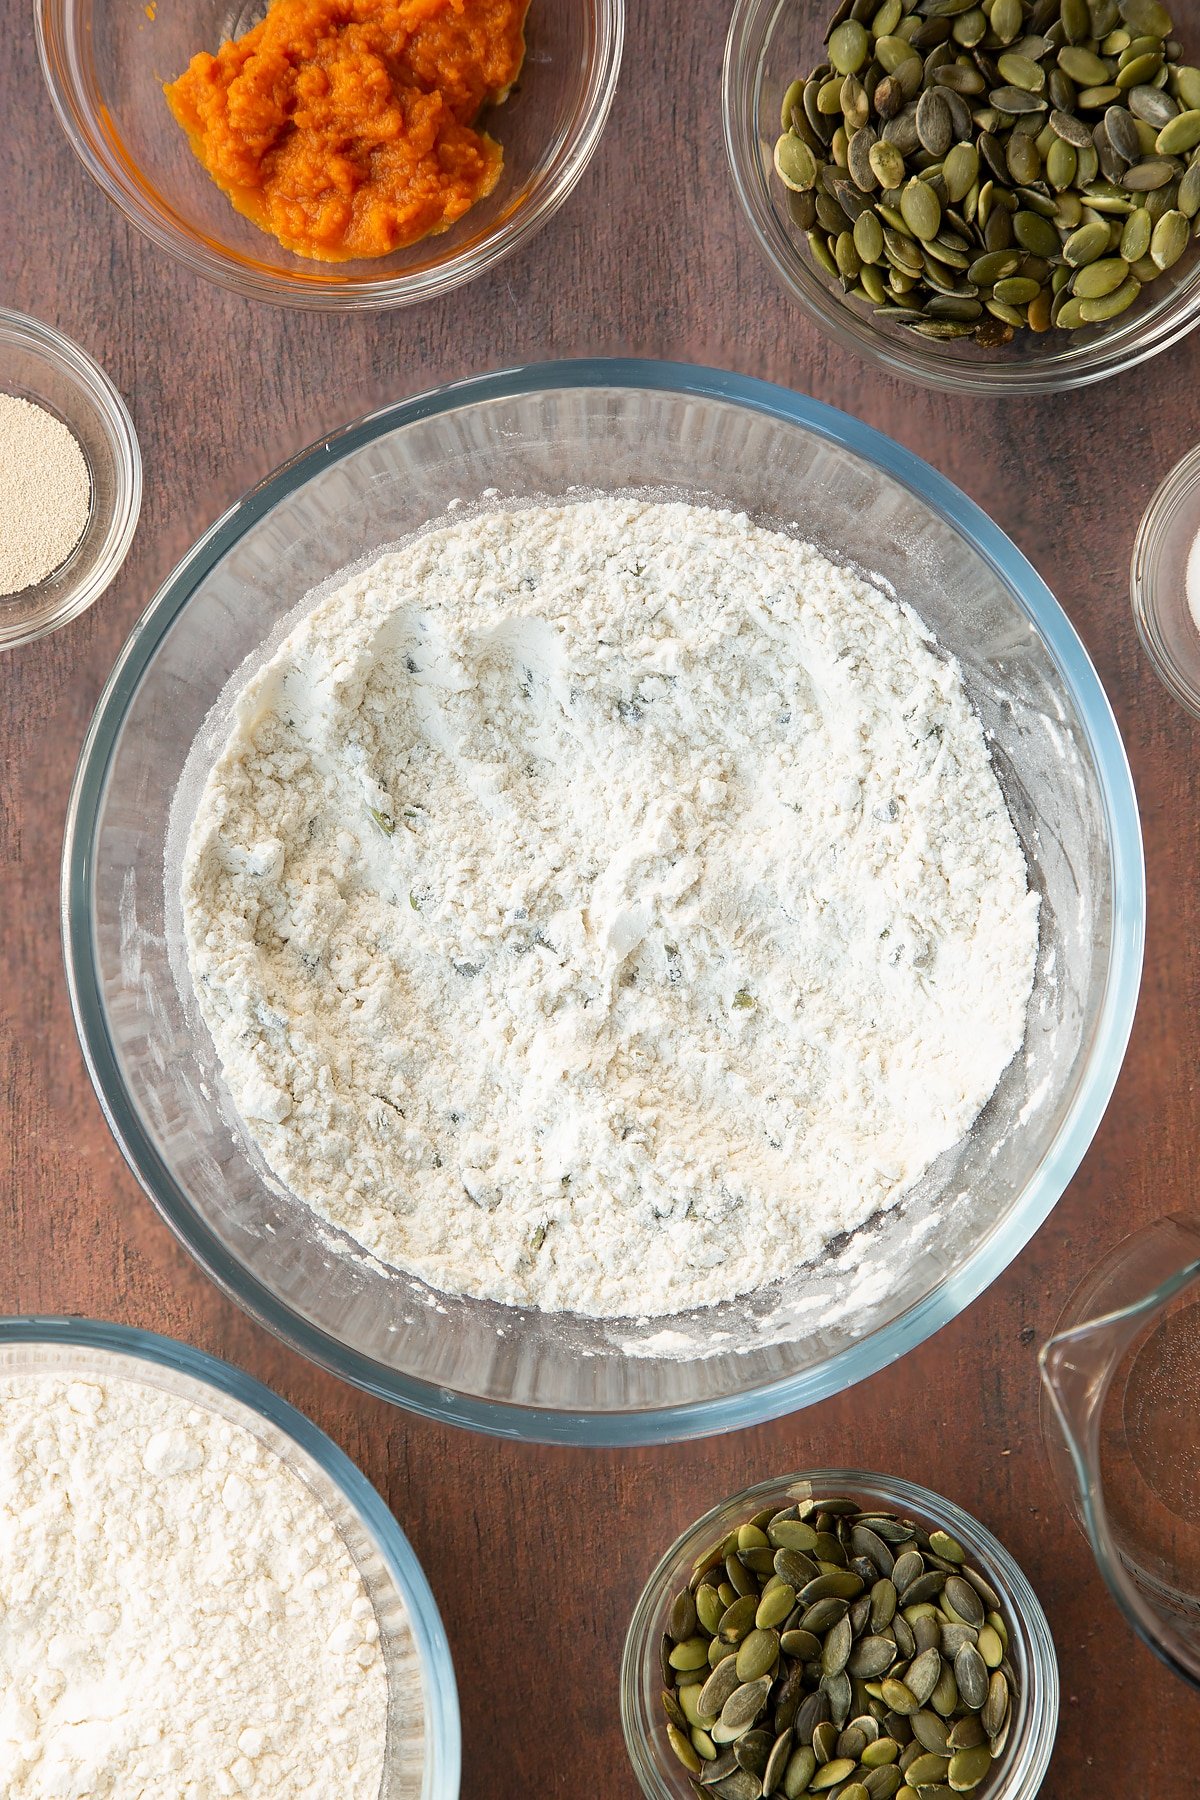
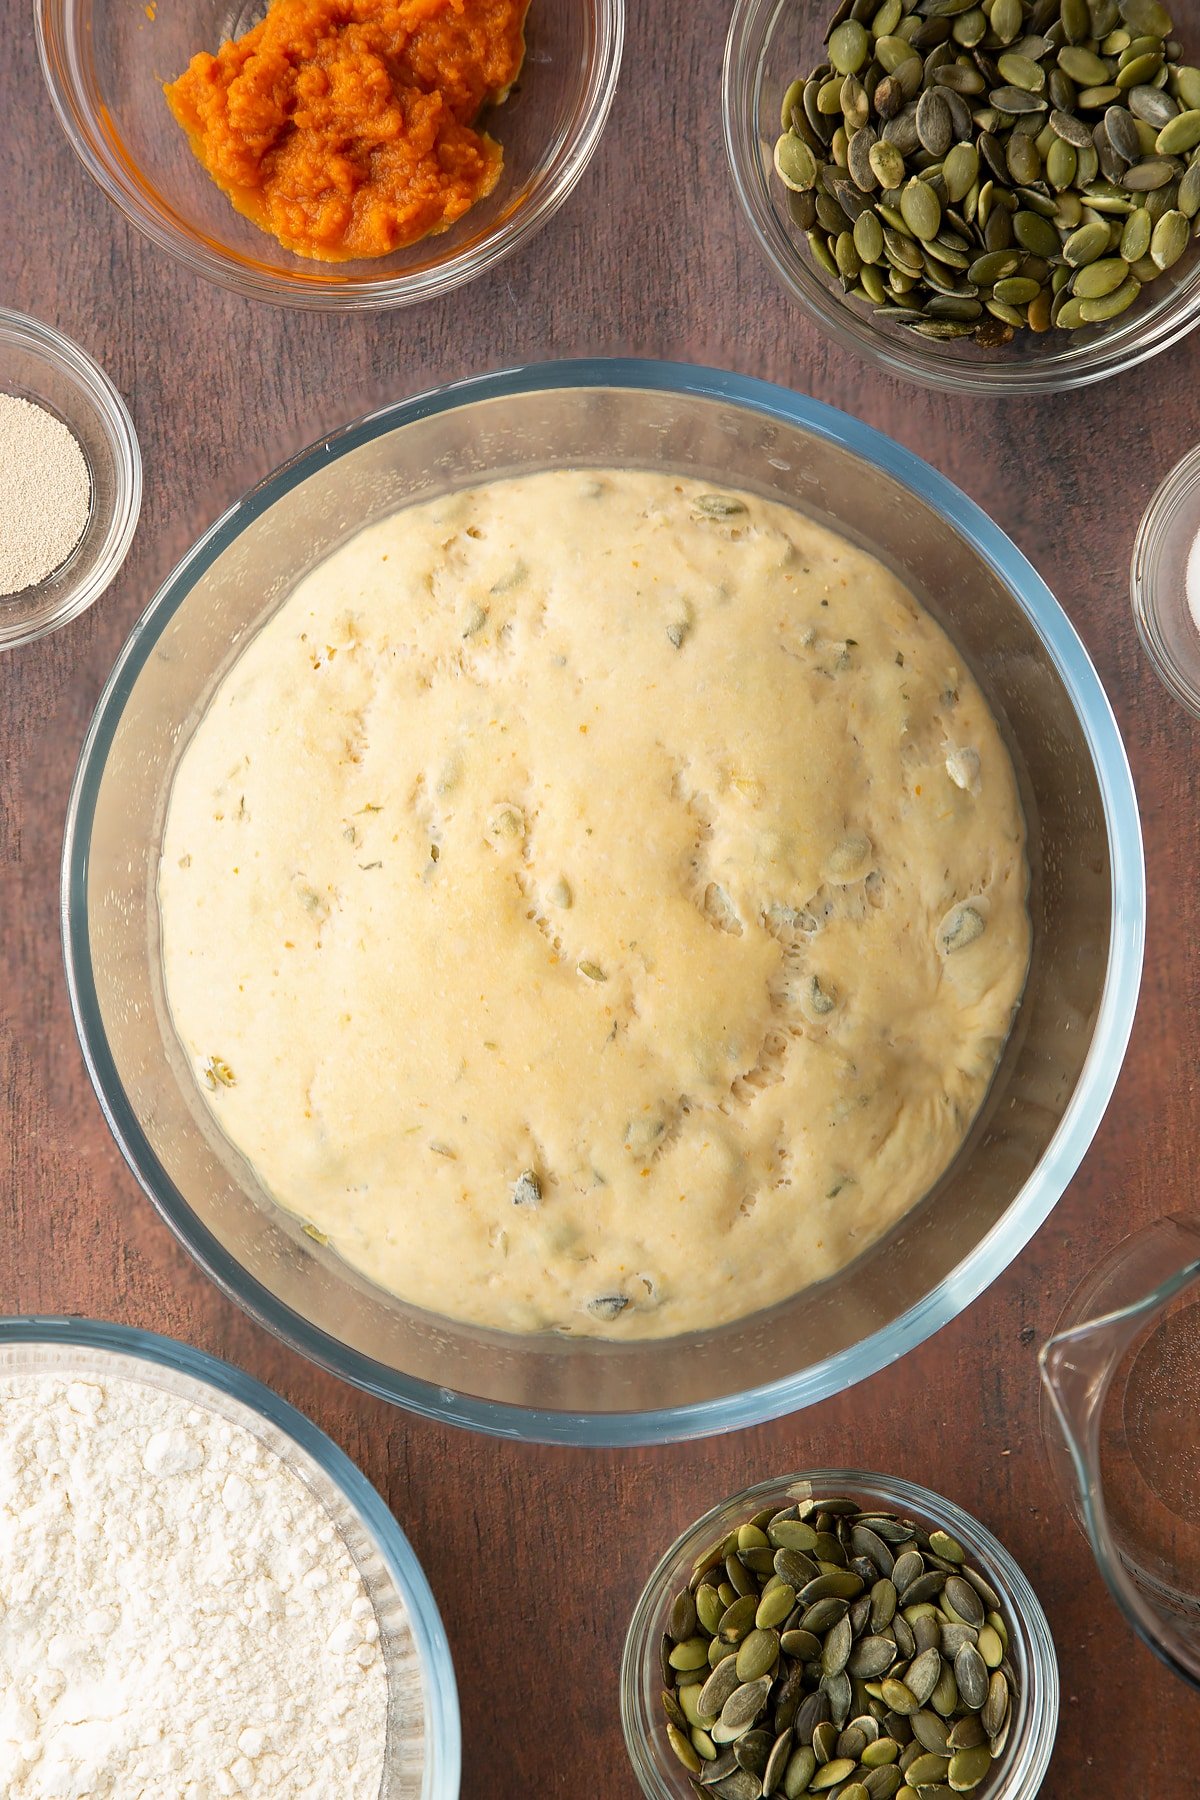
Put the dry ingredients in a large bowl: flour, salt, yeast and pumpkin seeds.
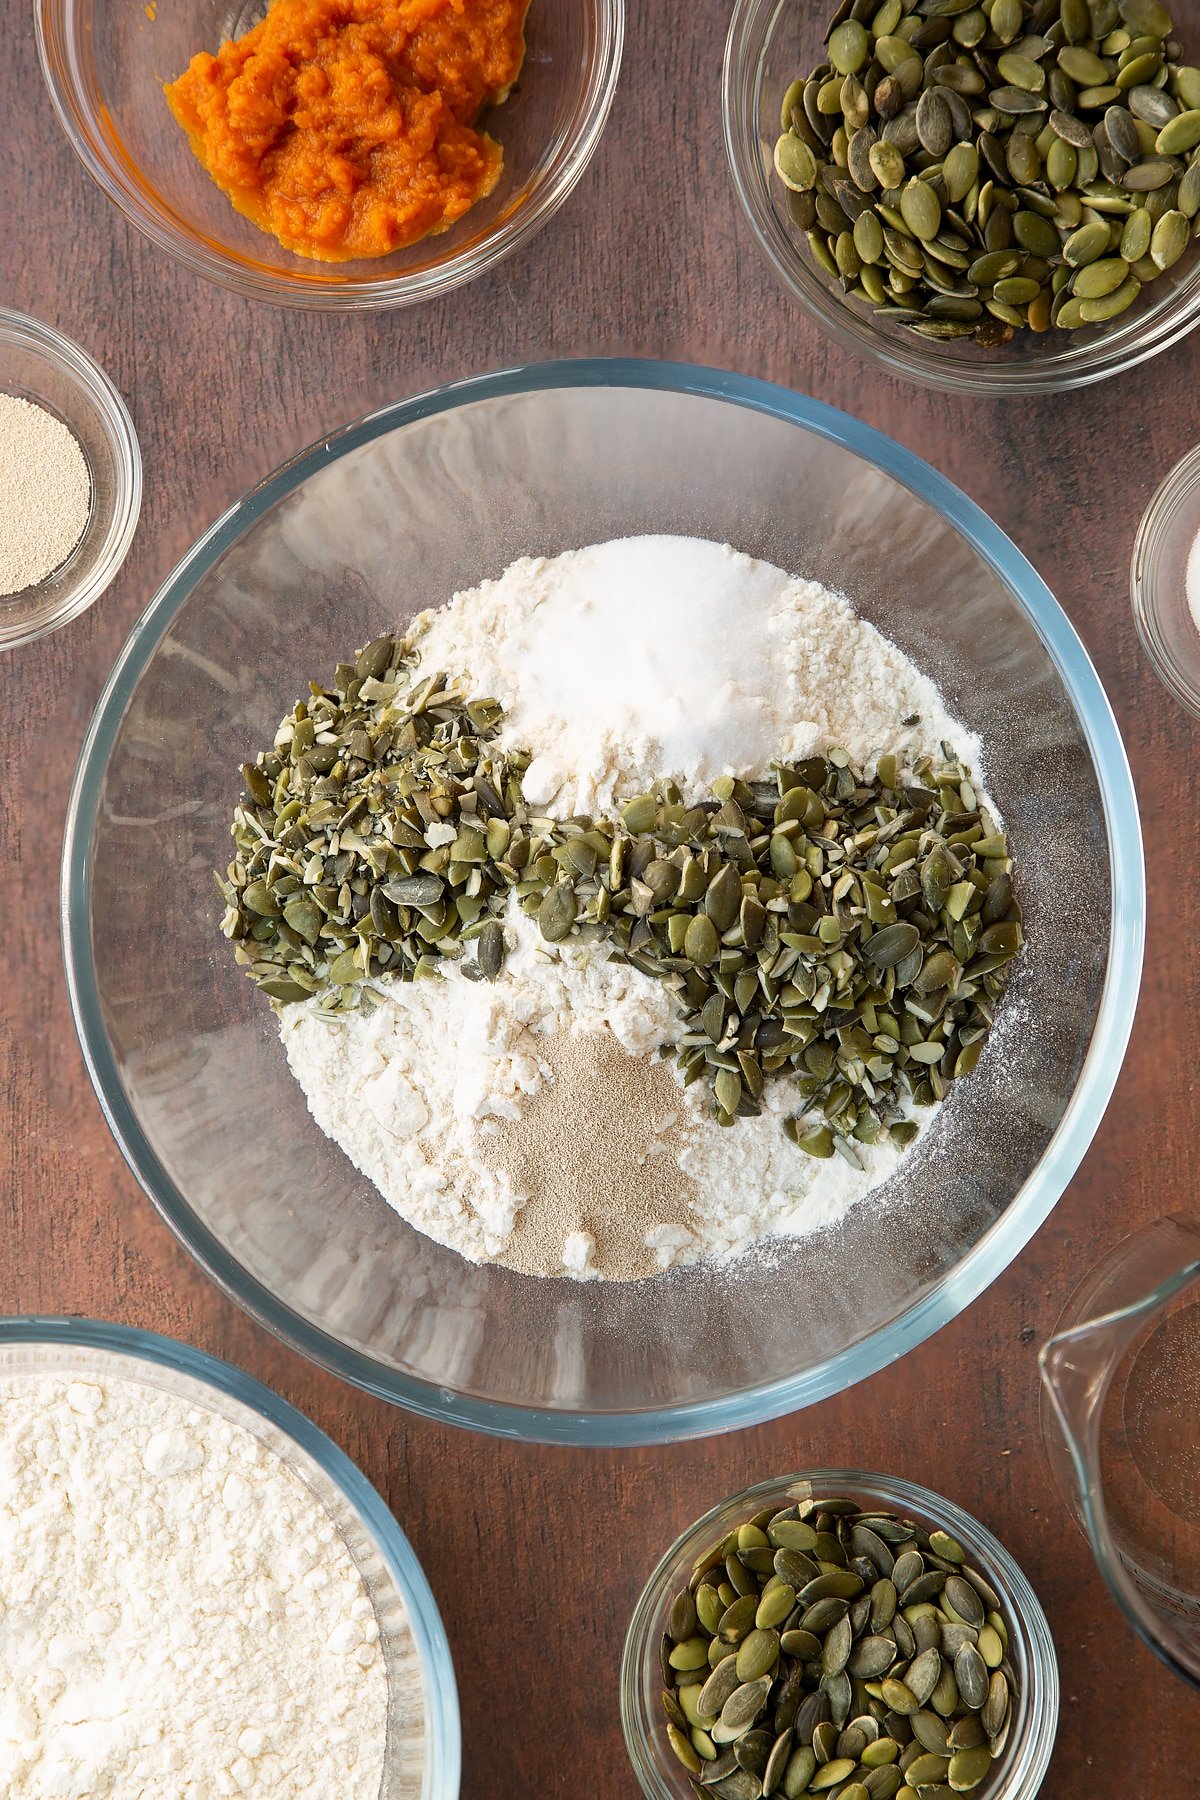
Mix together.
Add the wet ingredients: pumpkin puree and ⅔ of the warm water.
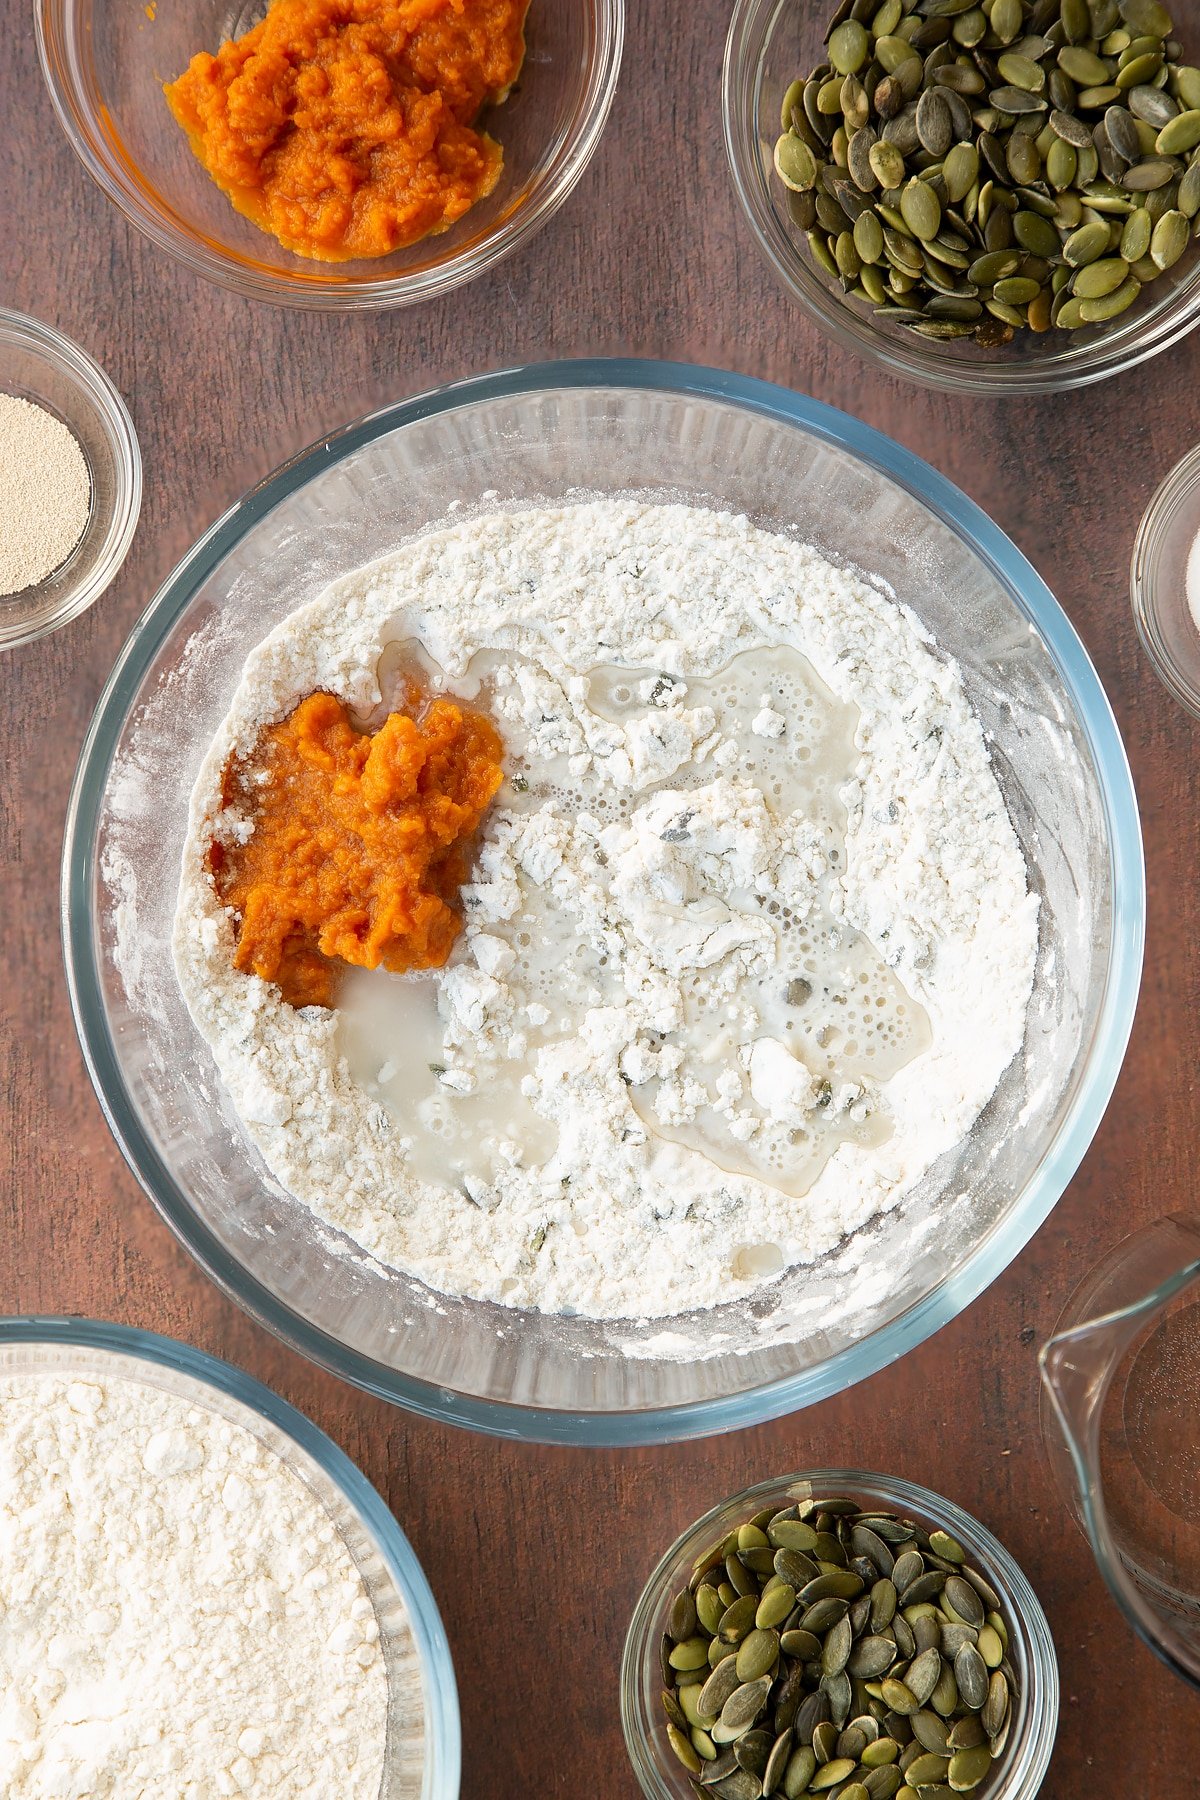
Mix together with your hands. Add the remaining water little by little only as needed to give a clean bowl with no floury bits at the bottom. You may not need all the water.
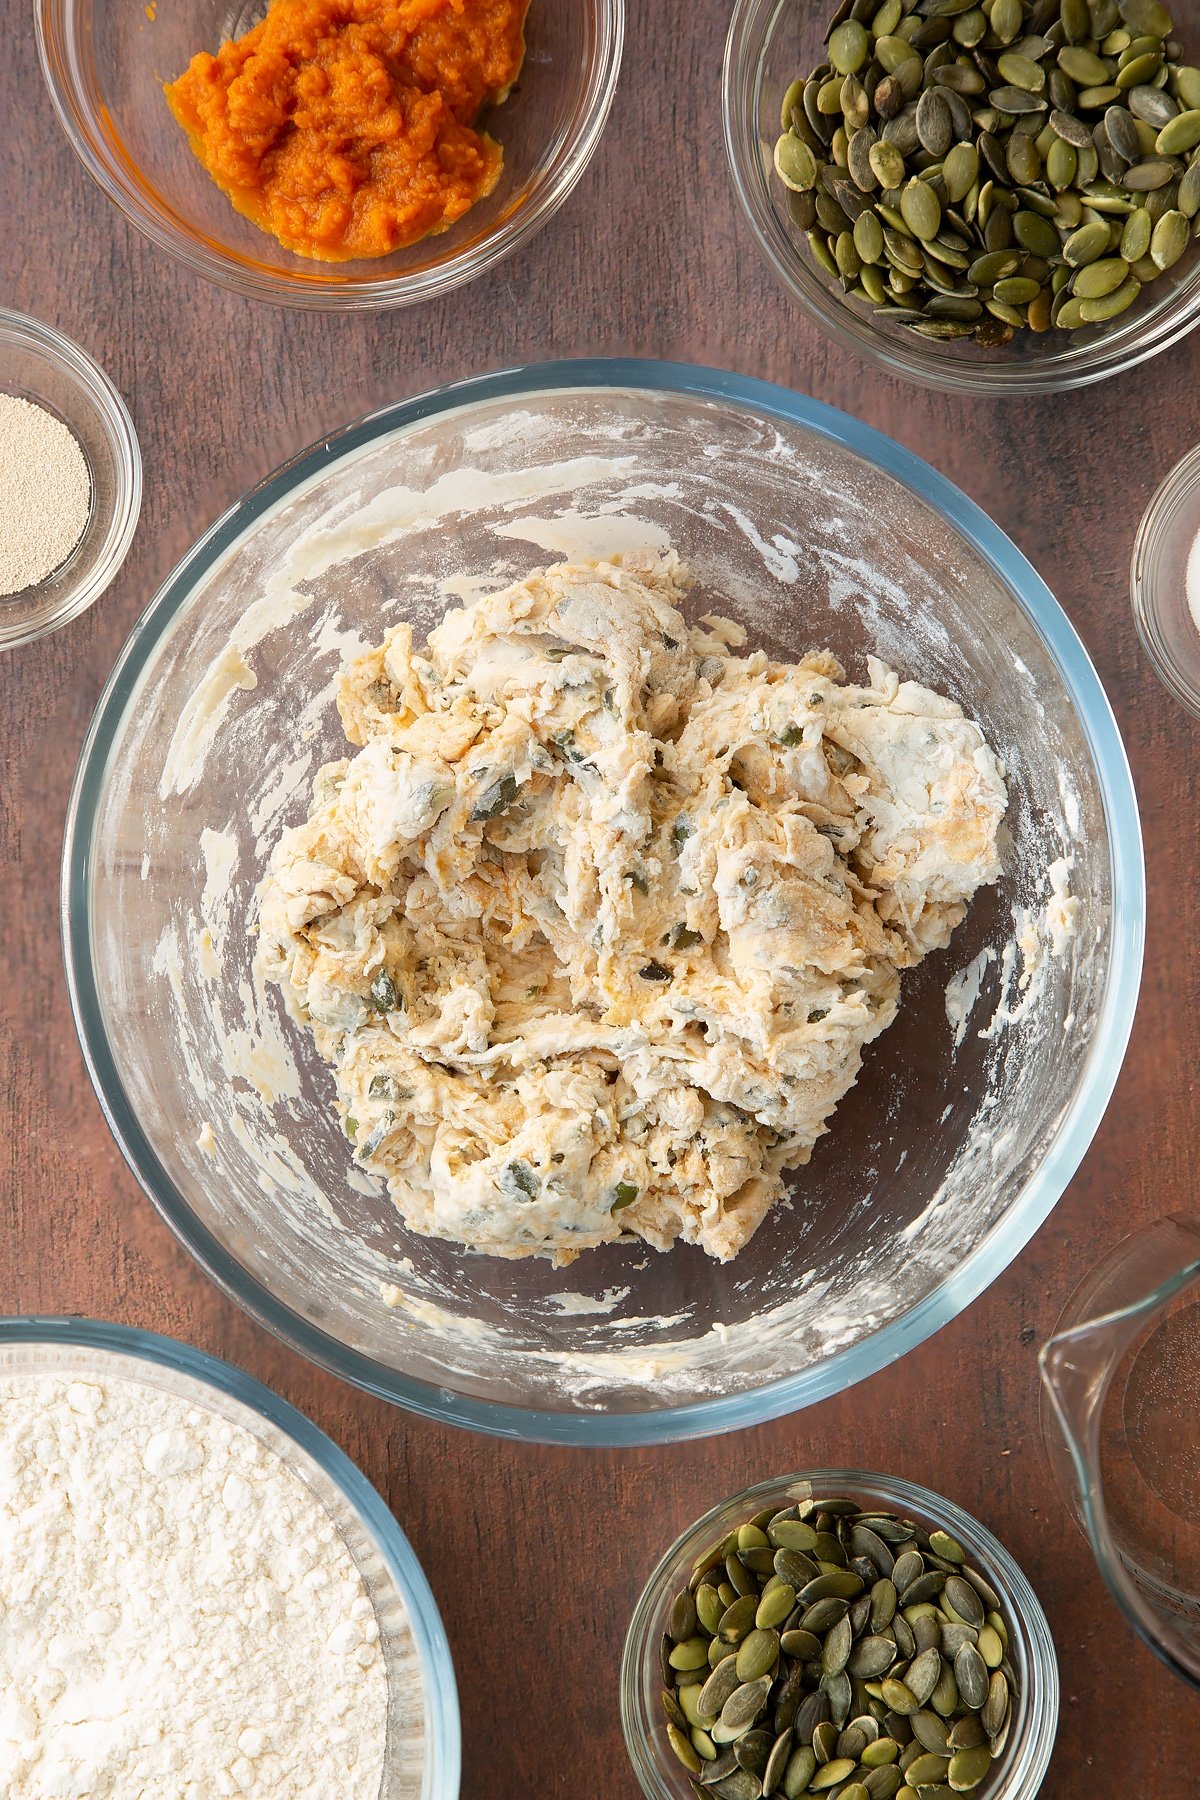
Bring the dough together into a ball - it’s ok if there are some dryer looking bits in the dough at this stage as long as the bowl is clean.
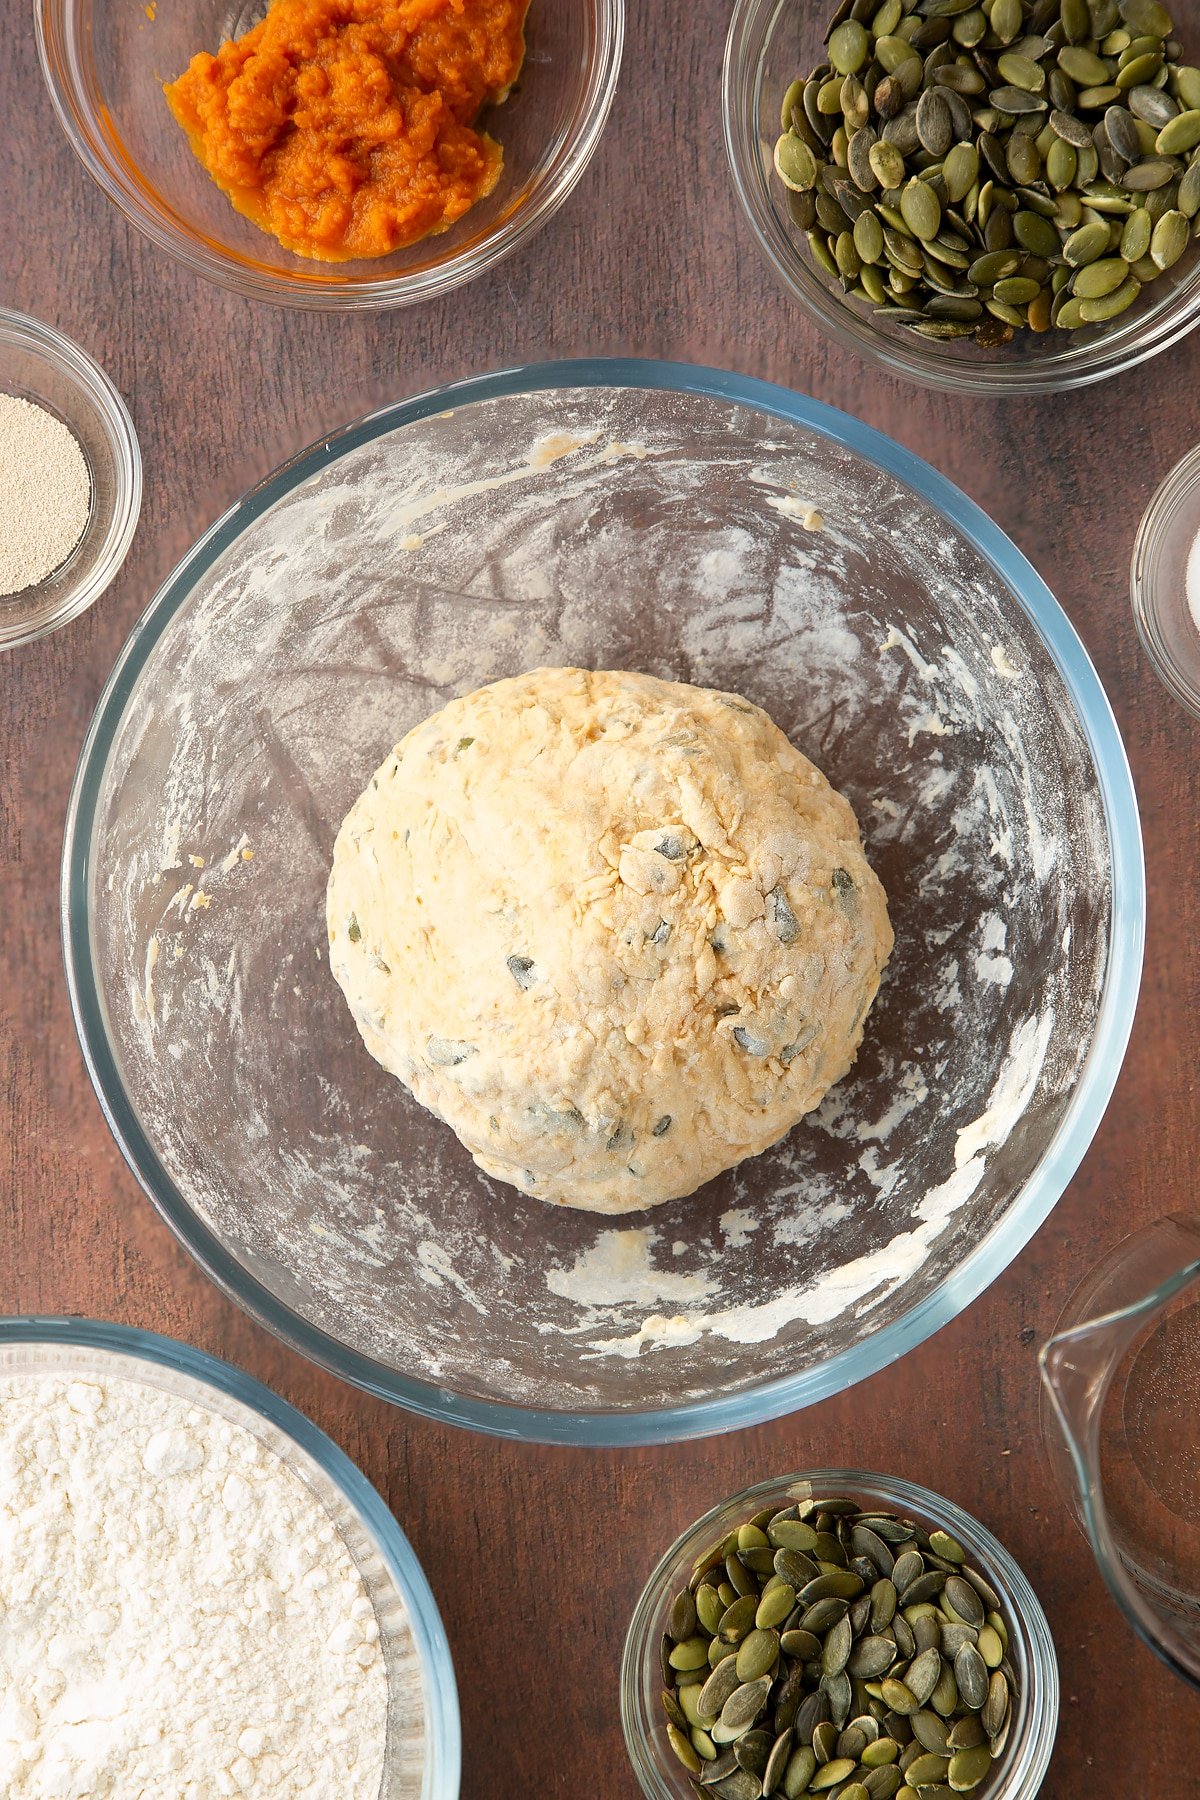
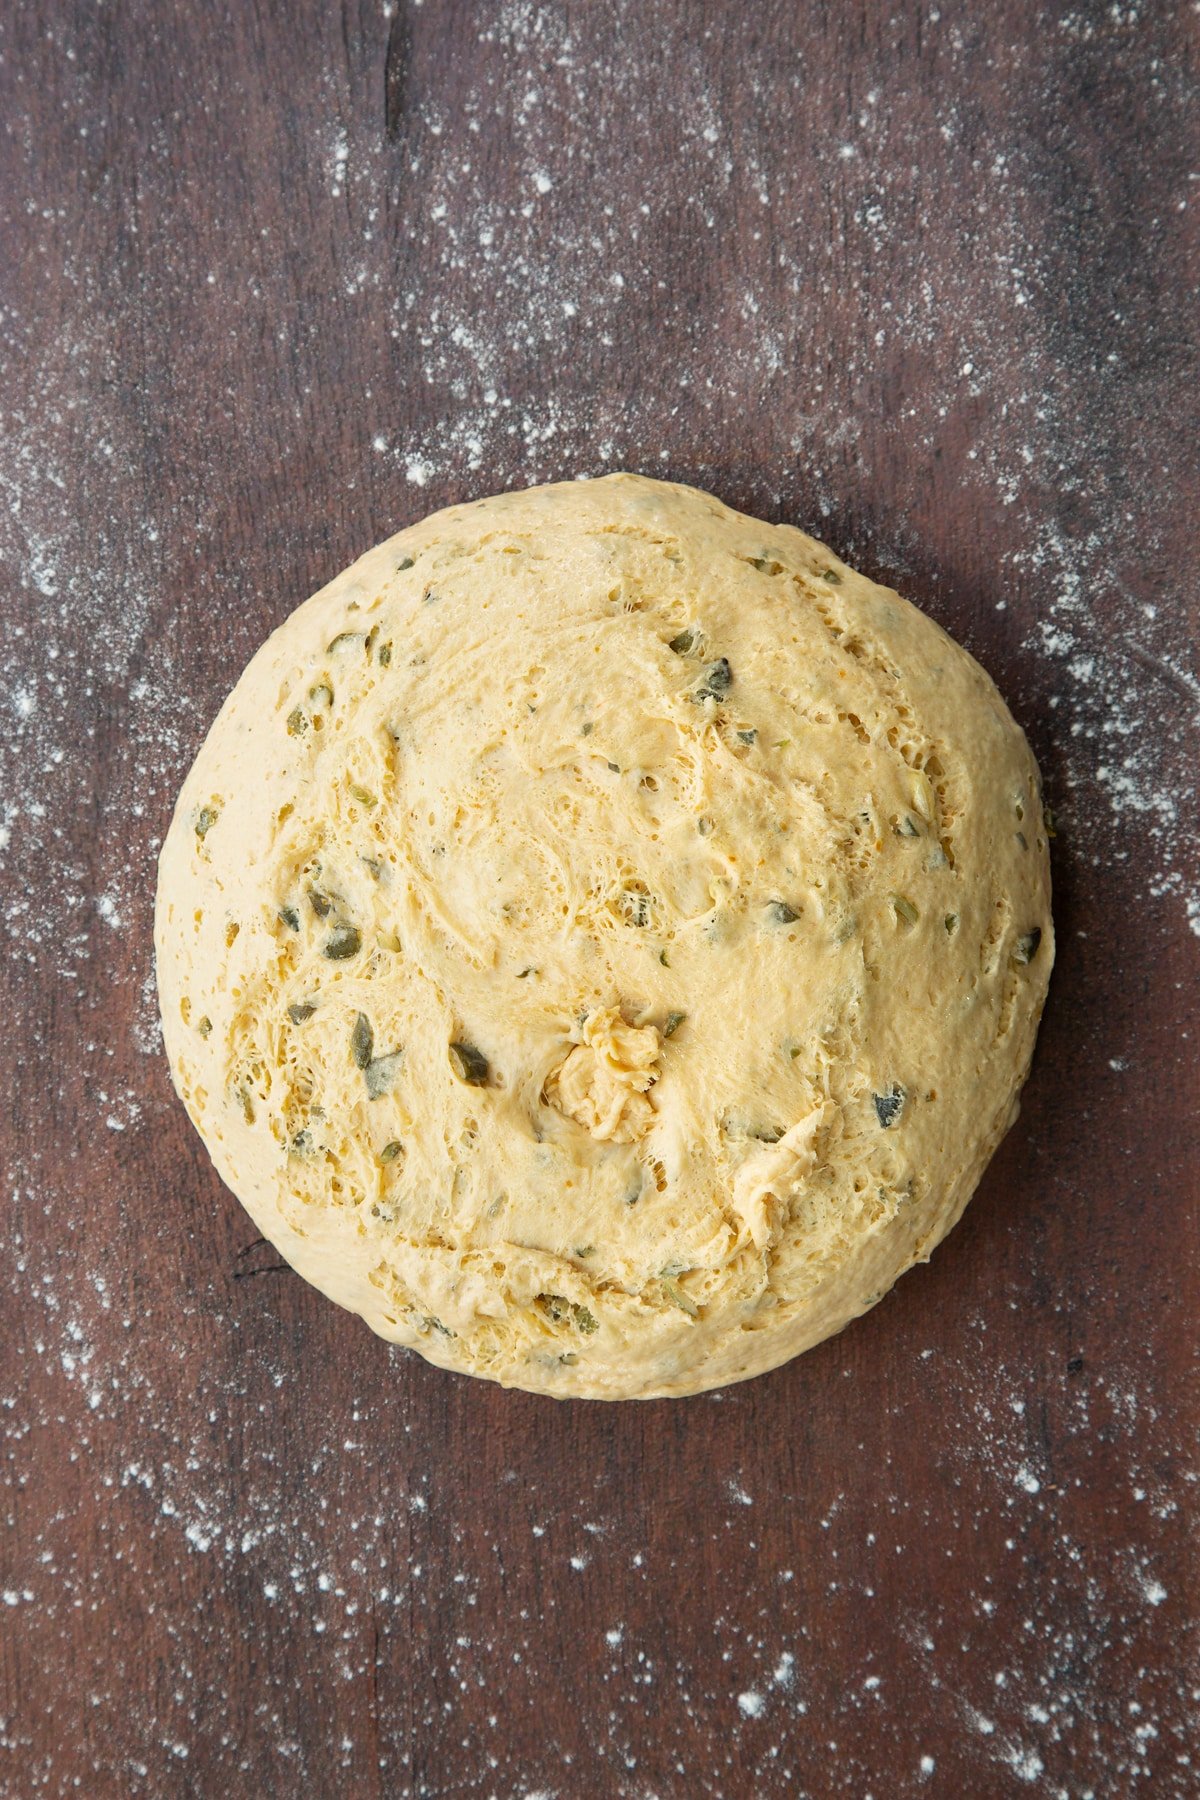
Lightly flour your surface and turn out your dough and knead for 8 minutes, pushing it away from you and then folding back towards you, until the soft dough is smooth and springy.
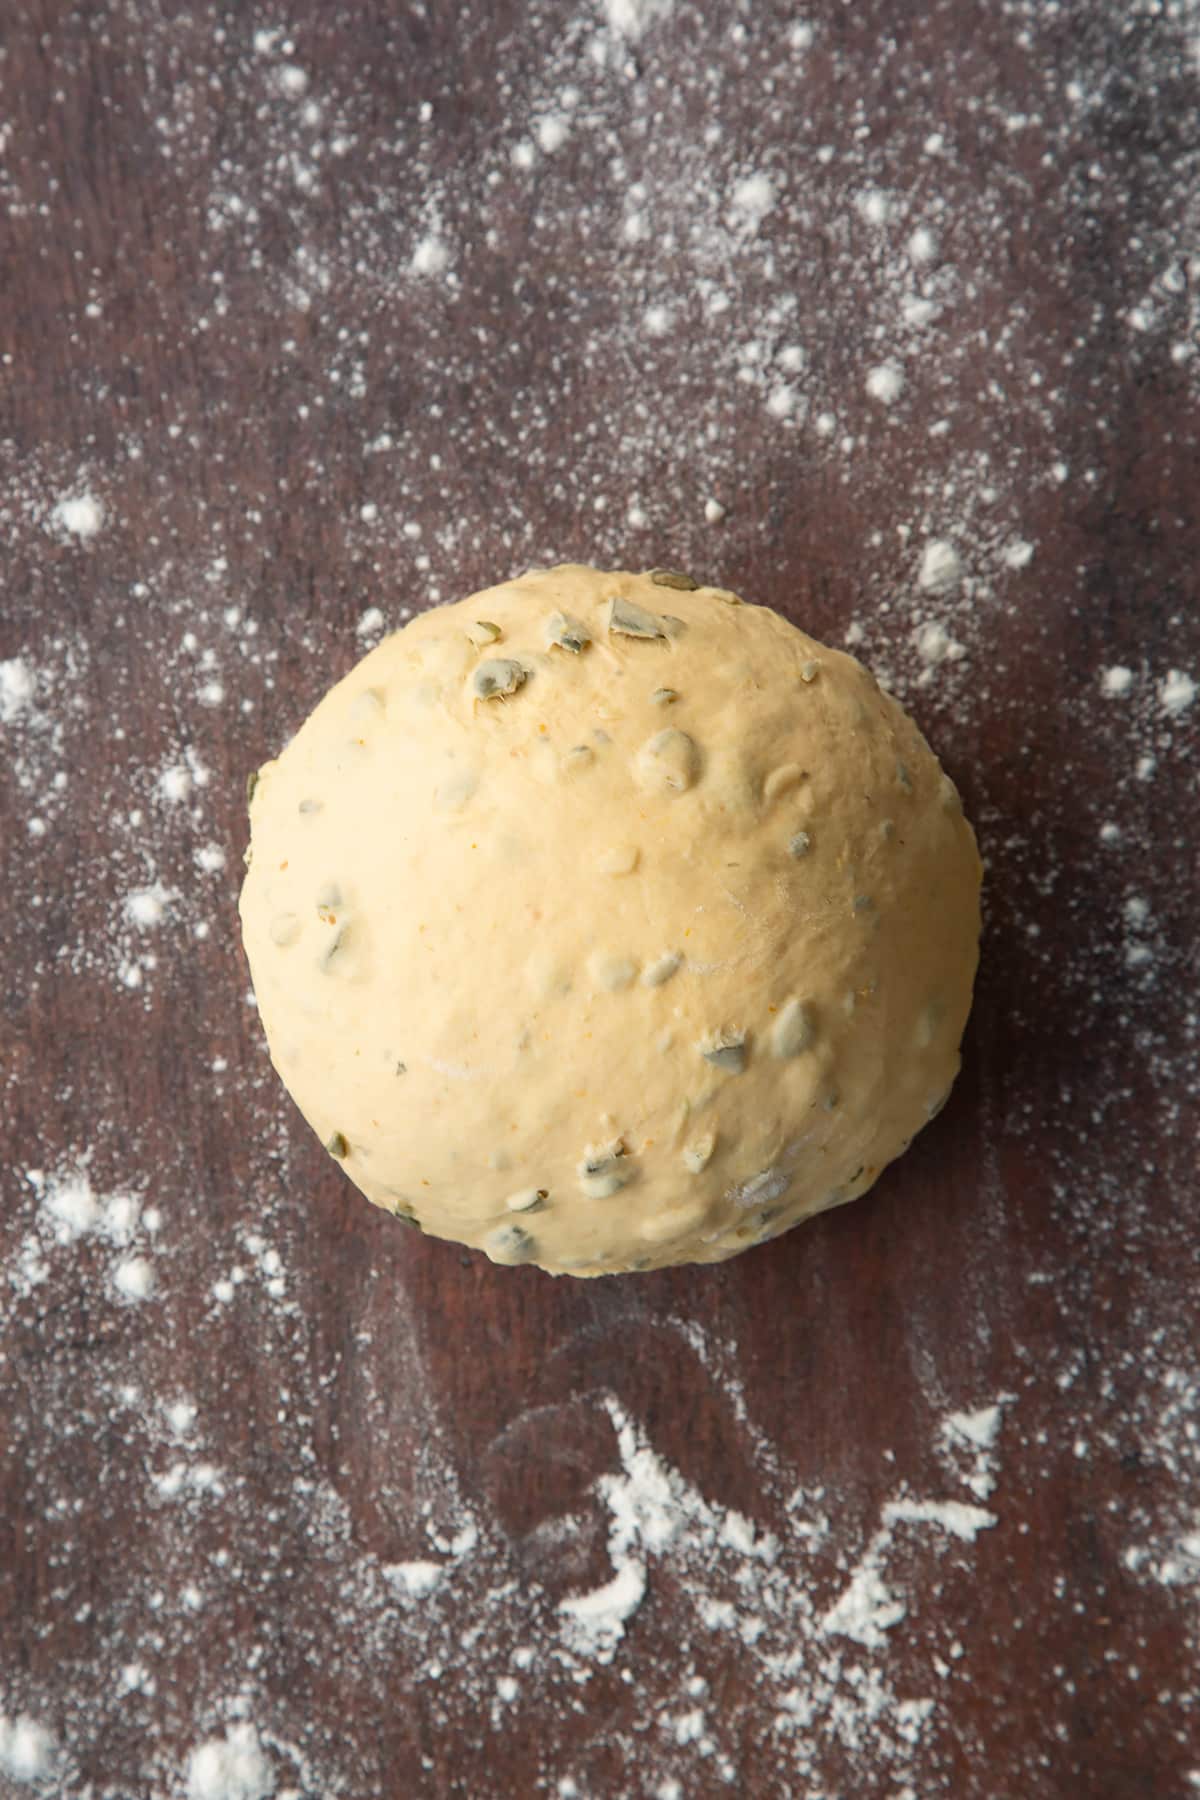
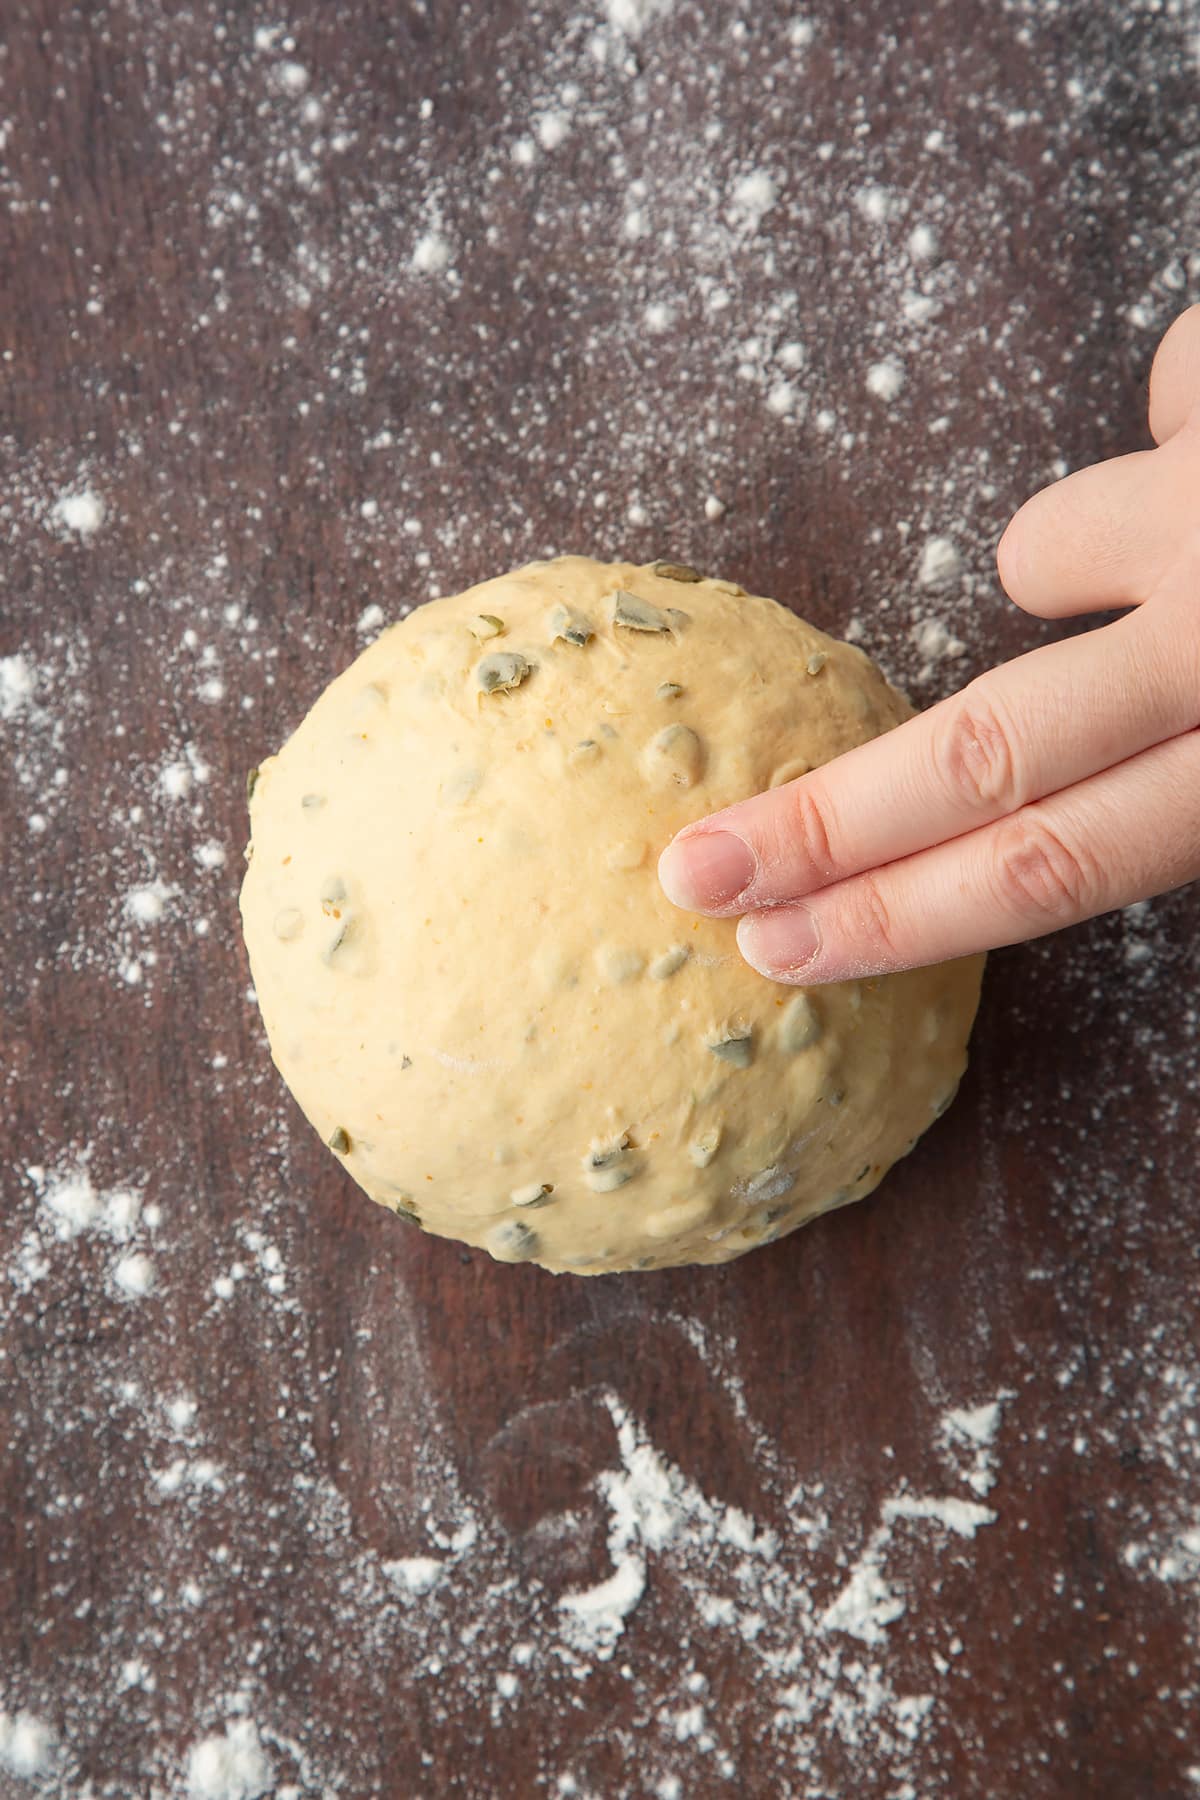
Kneading develops the gluten and gives the dough a structure that will allow it to hold the air bubbles created by the yeast. To check you've kneaded the dough enough, gather it into a ball, tucking it underneath a few times to create a taut surface, then press the dough with two fingers. If it springs straight back, it's done.
Lightly oil your bowl and return the dough to it.
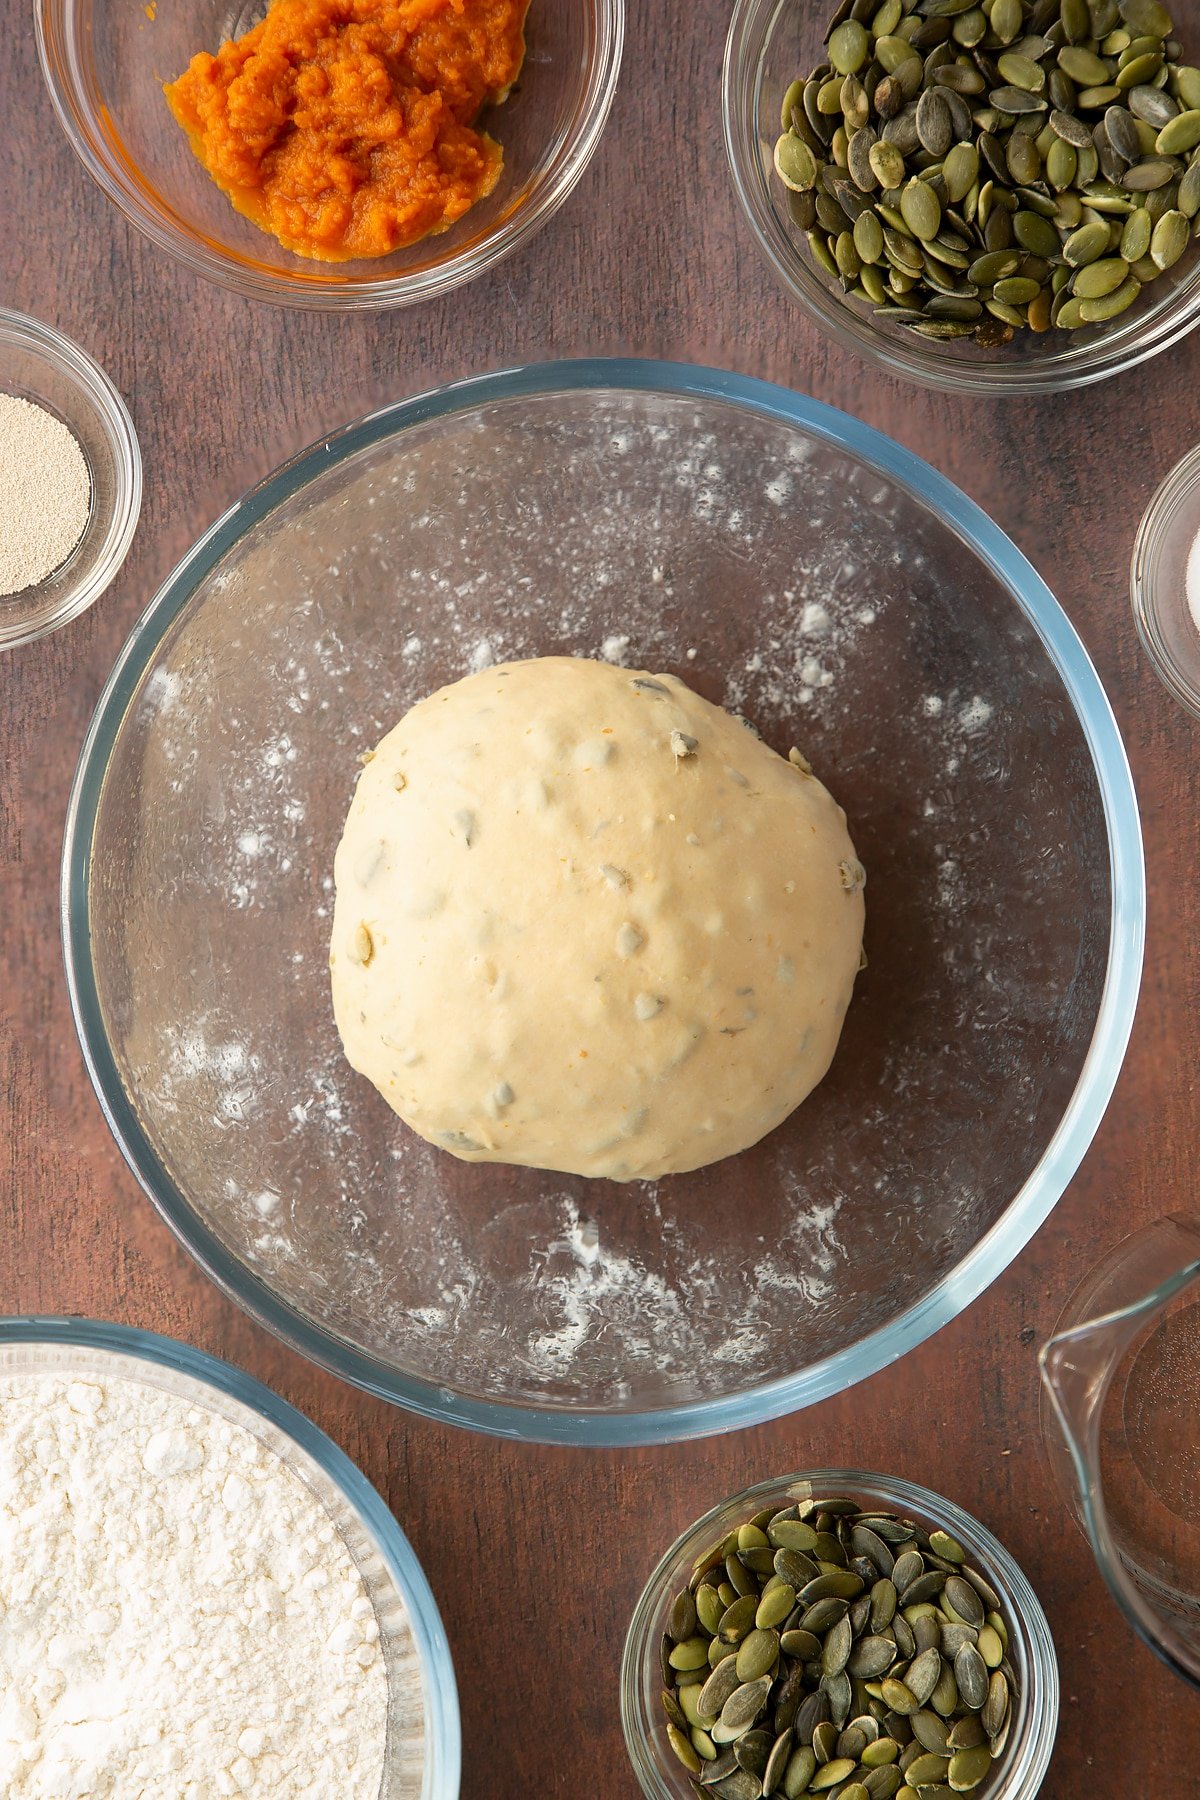
Cover with a tea towel or plastic wrap and leave to prove in a warm place for 1 hour or until doubled in size.
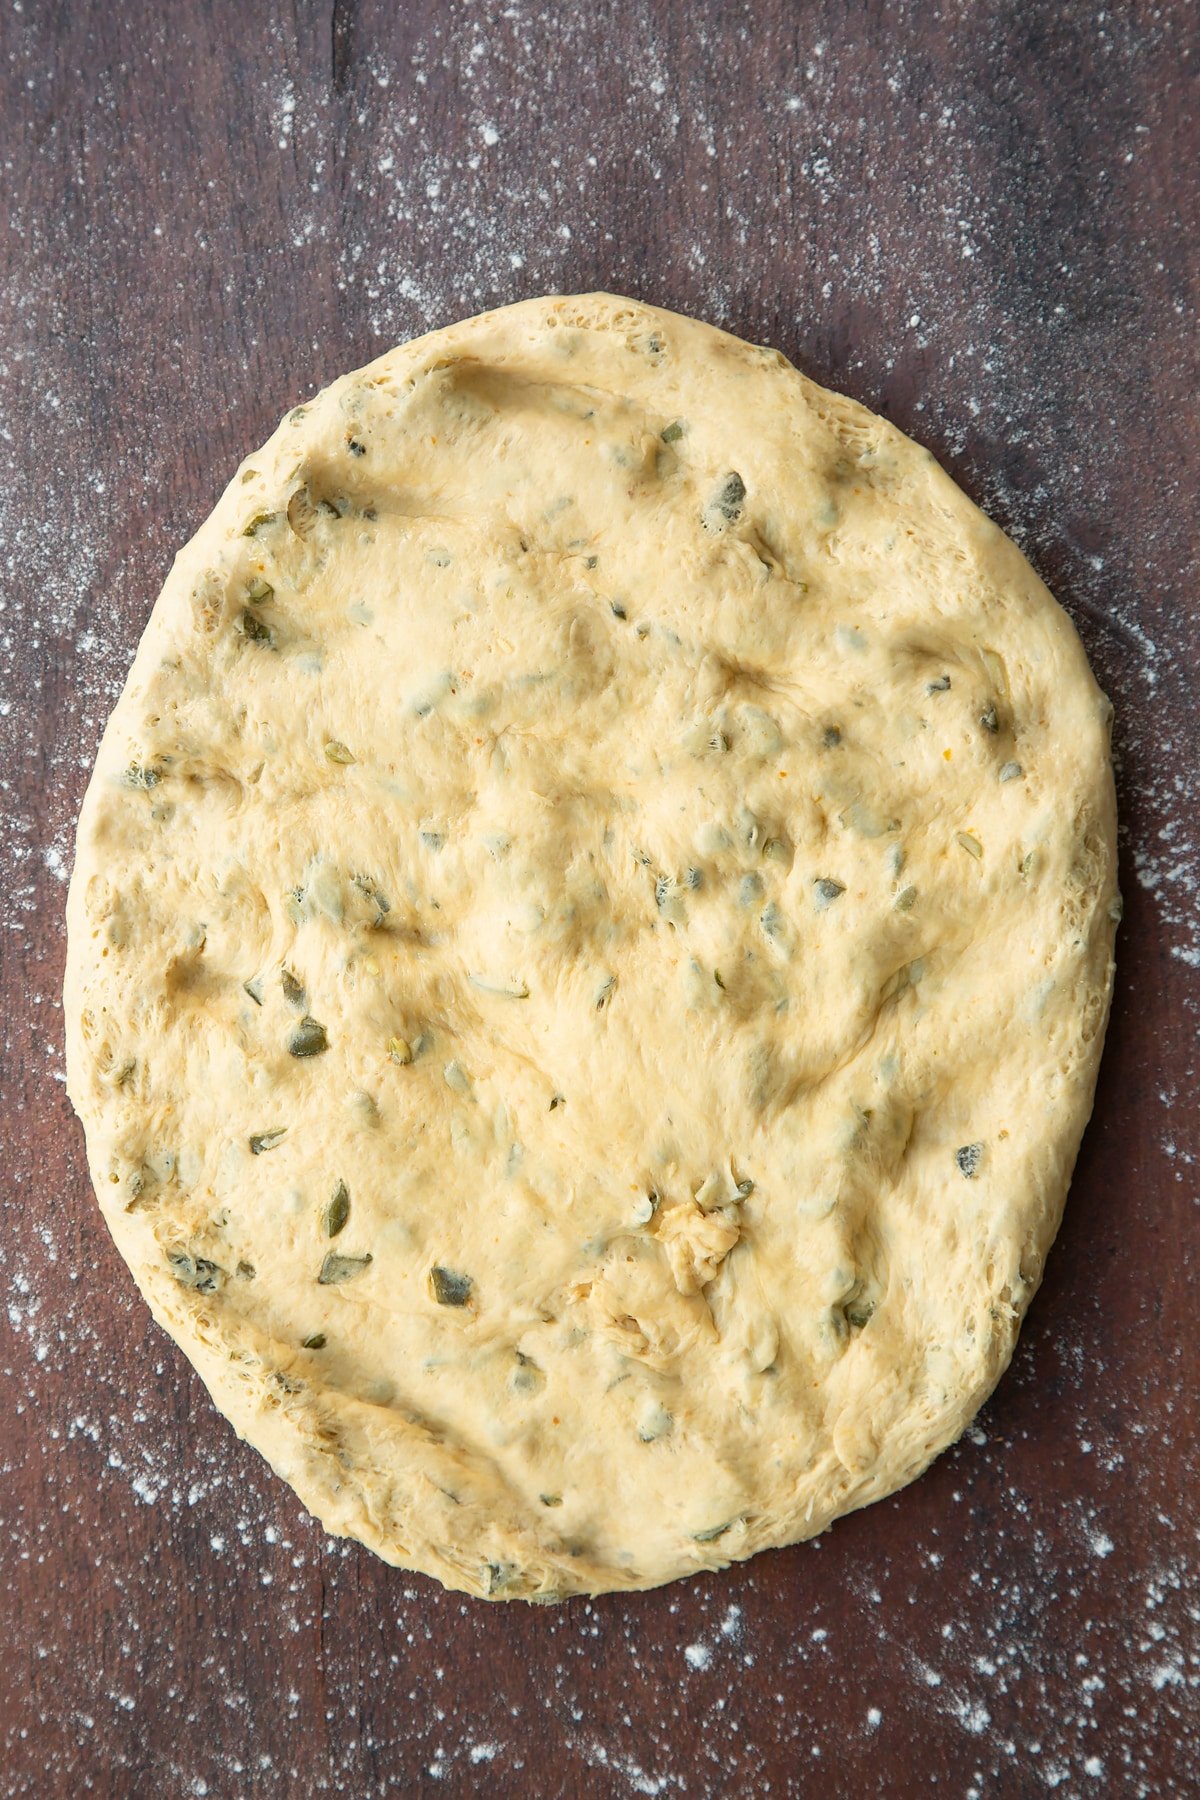
Tip the dough out onto a very lightly floured surface.
Press gently all over to flatten and release the larger air bubbles, creating a rough oval.
Lift one end of the oval, stretch and press to the middle. Do the same with the other end.
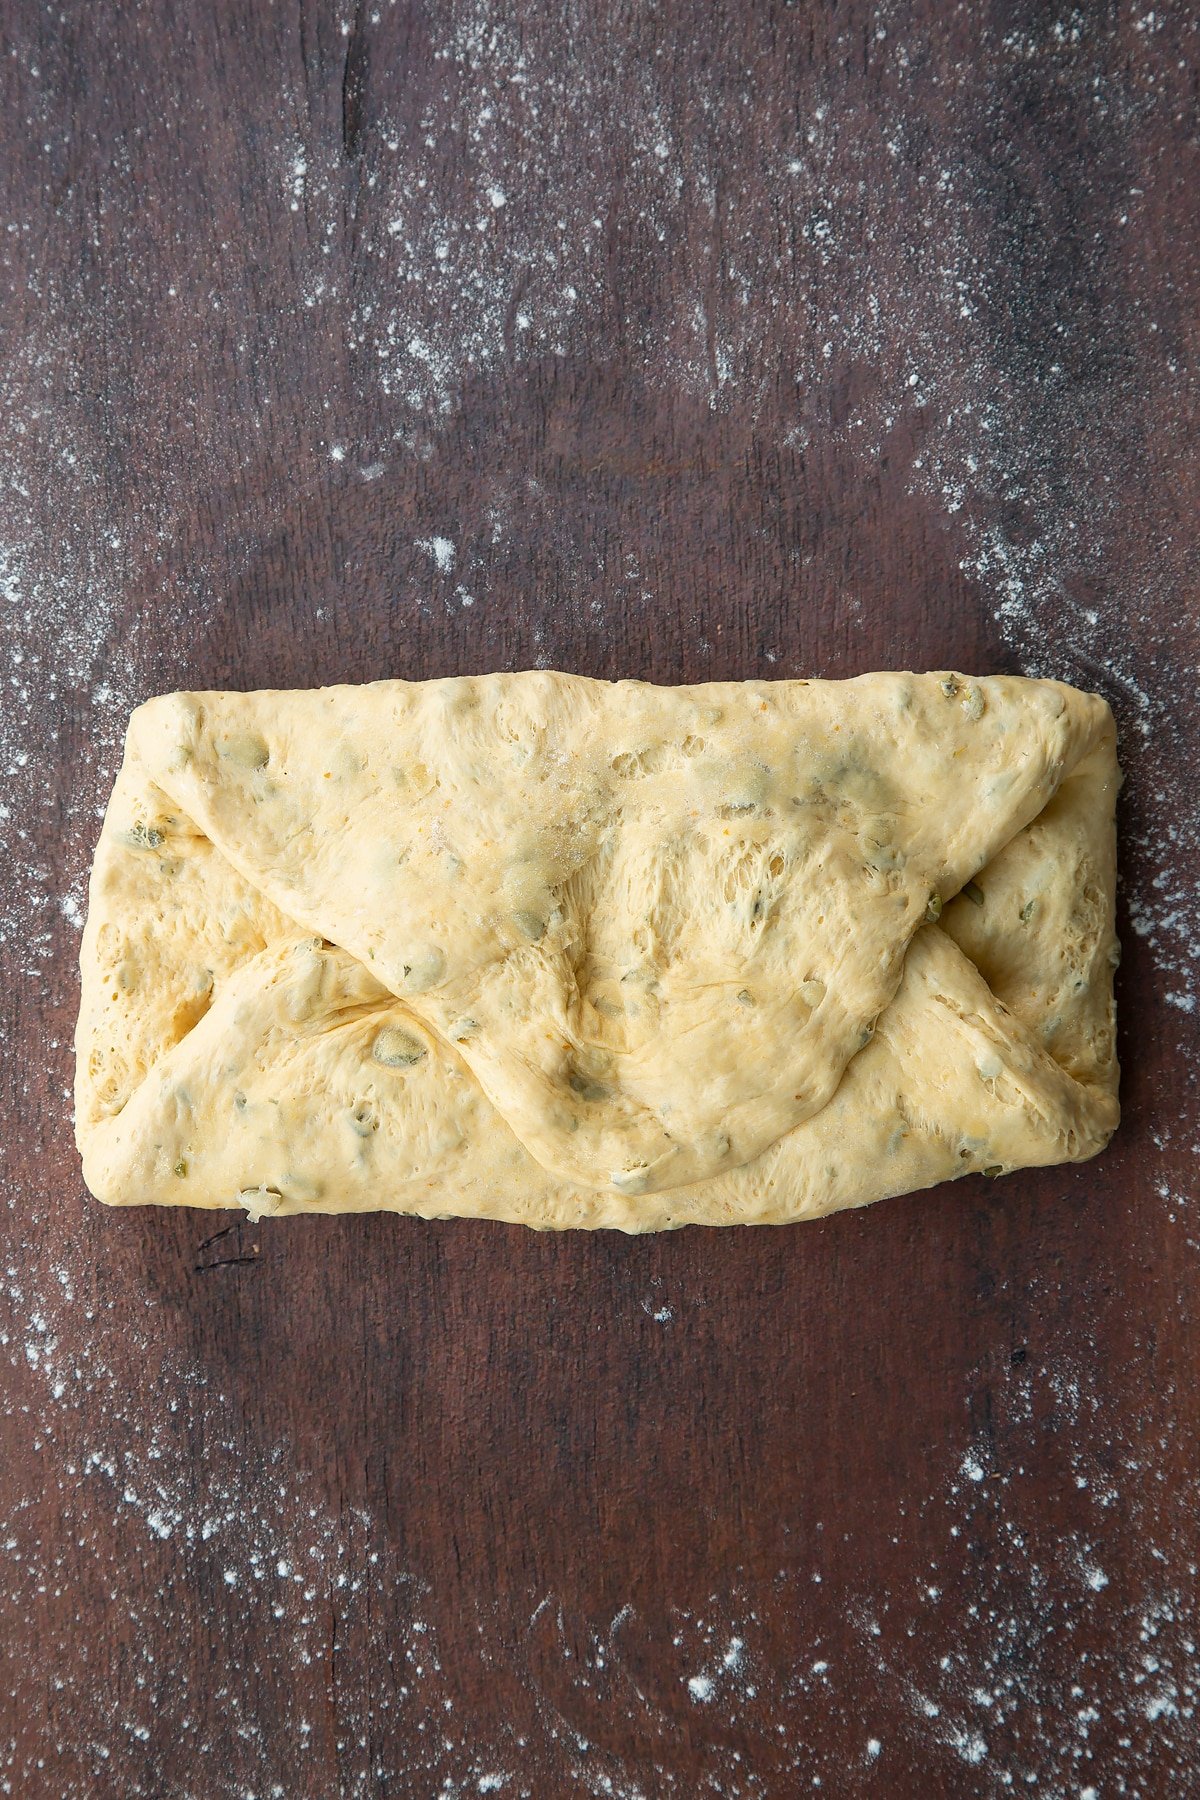
Turn the dough 90 degrees, roll the very top over towards you, then press with your finger tips to fix in place. Repeat working down the dough.
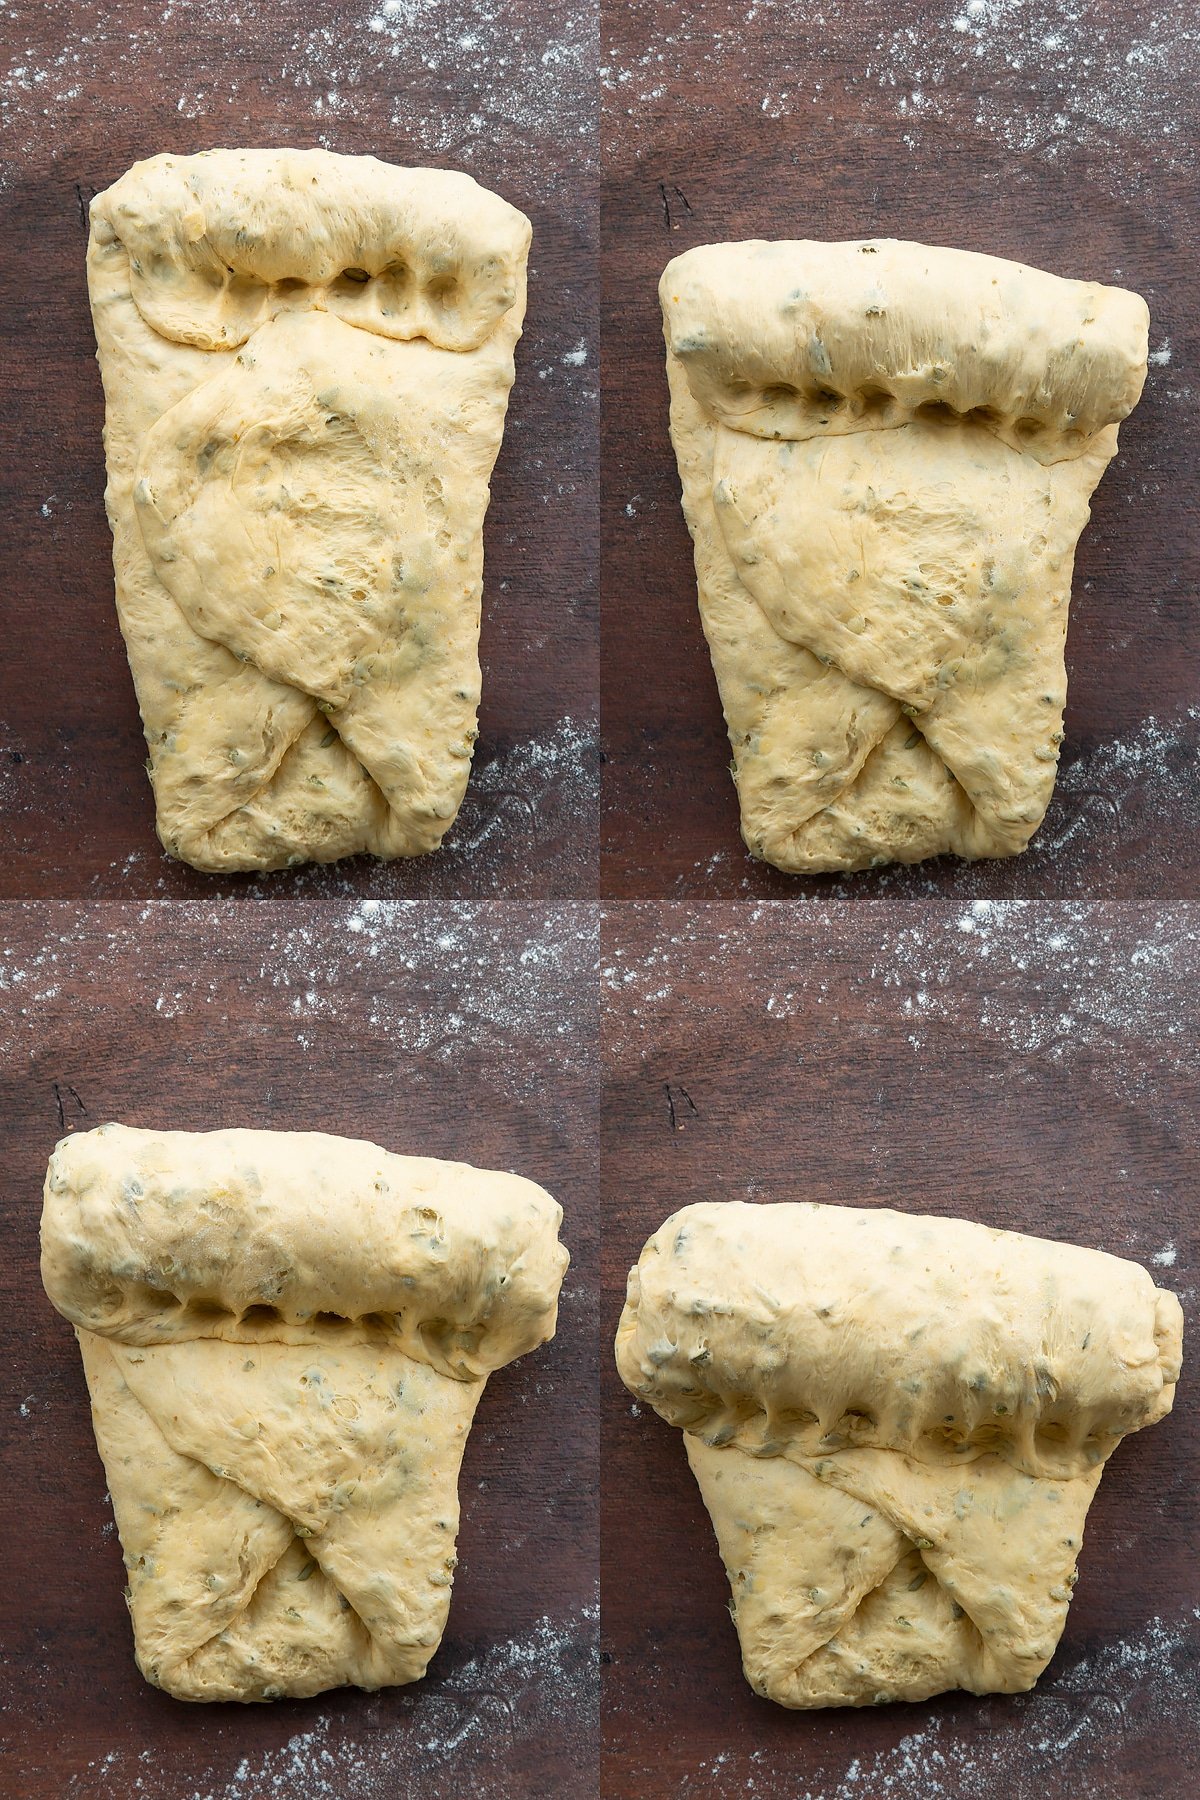
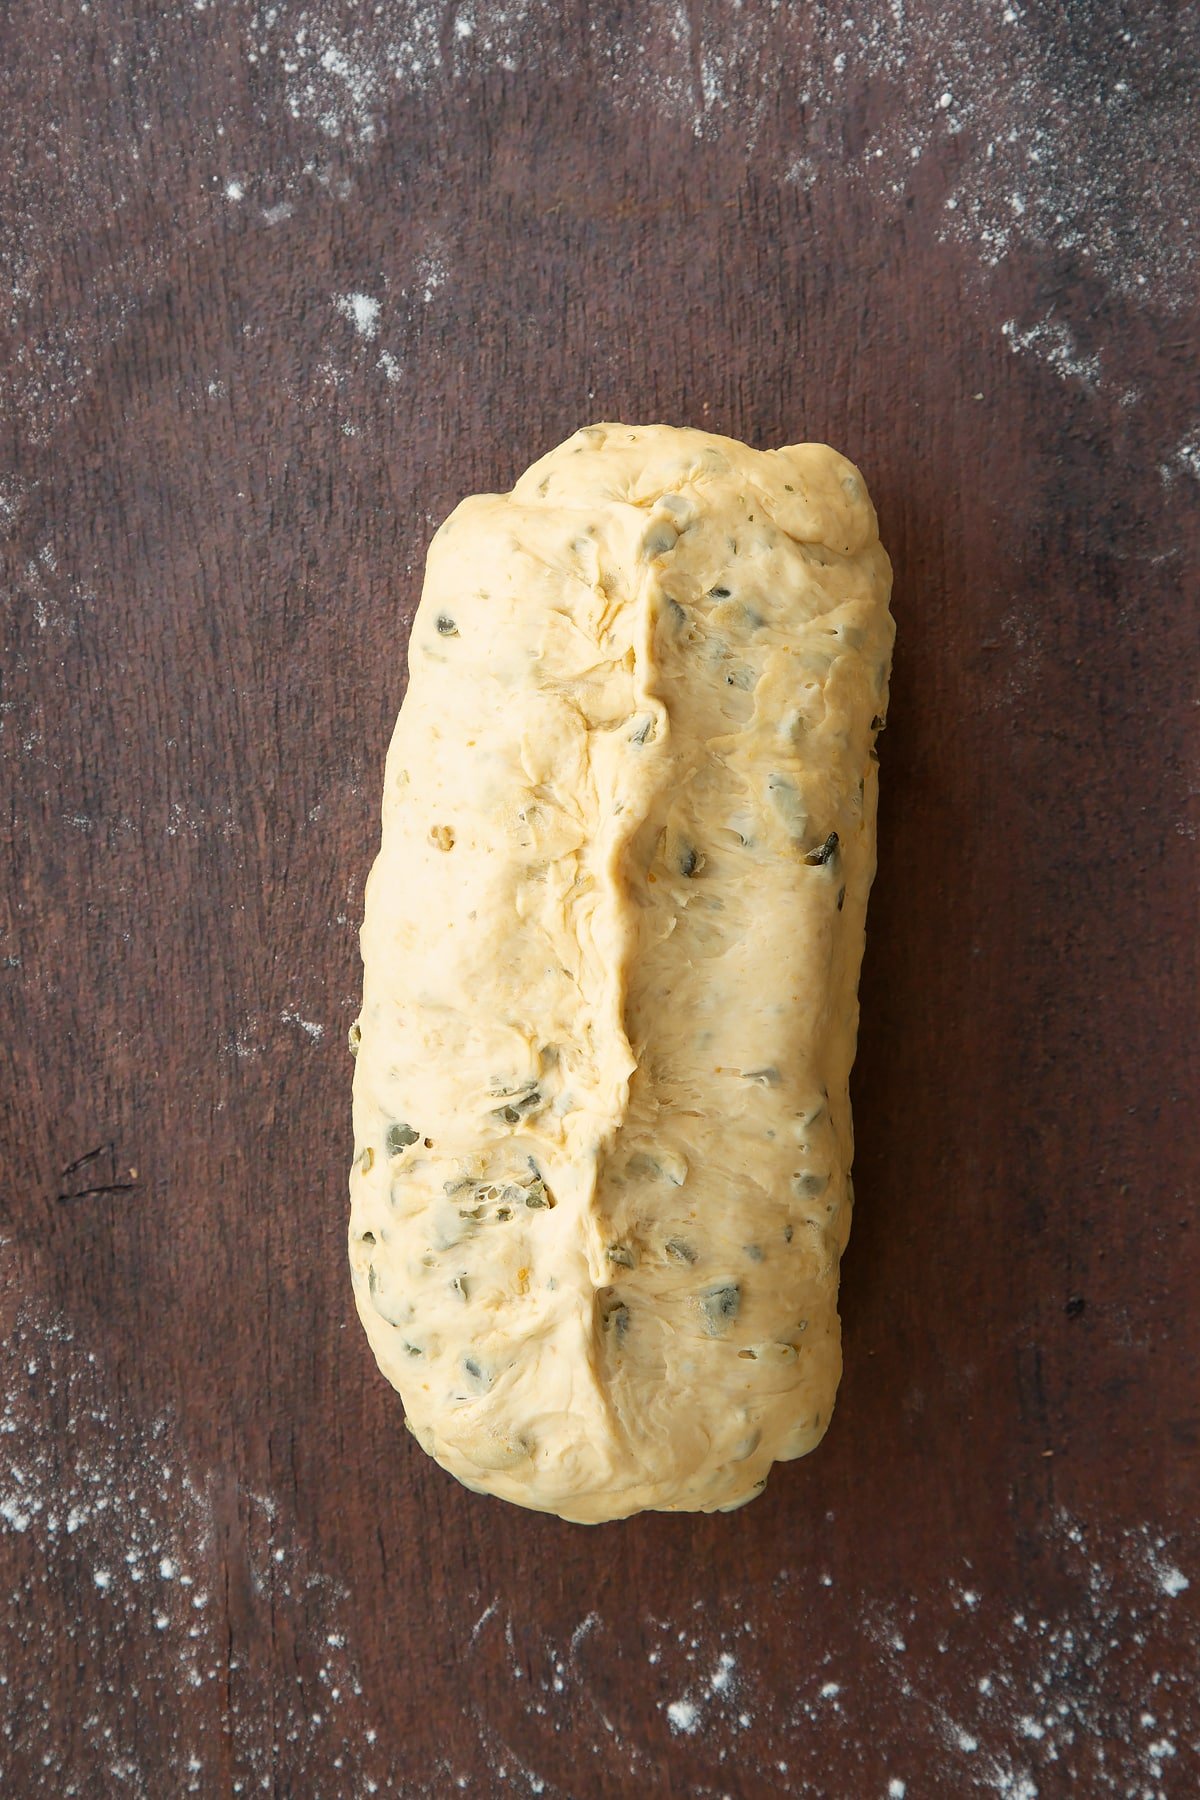
Continue until you have a sausage of dough with a taut surface.
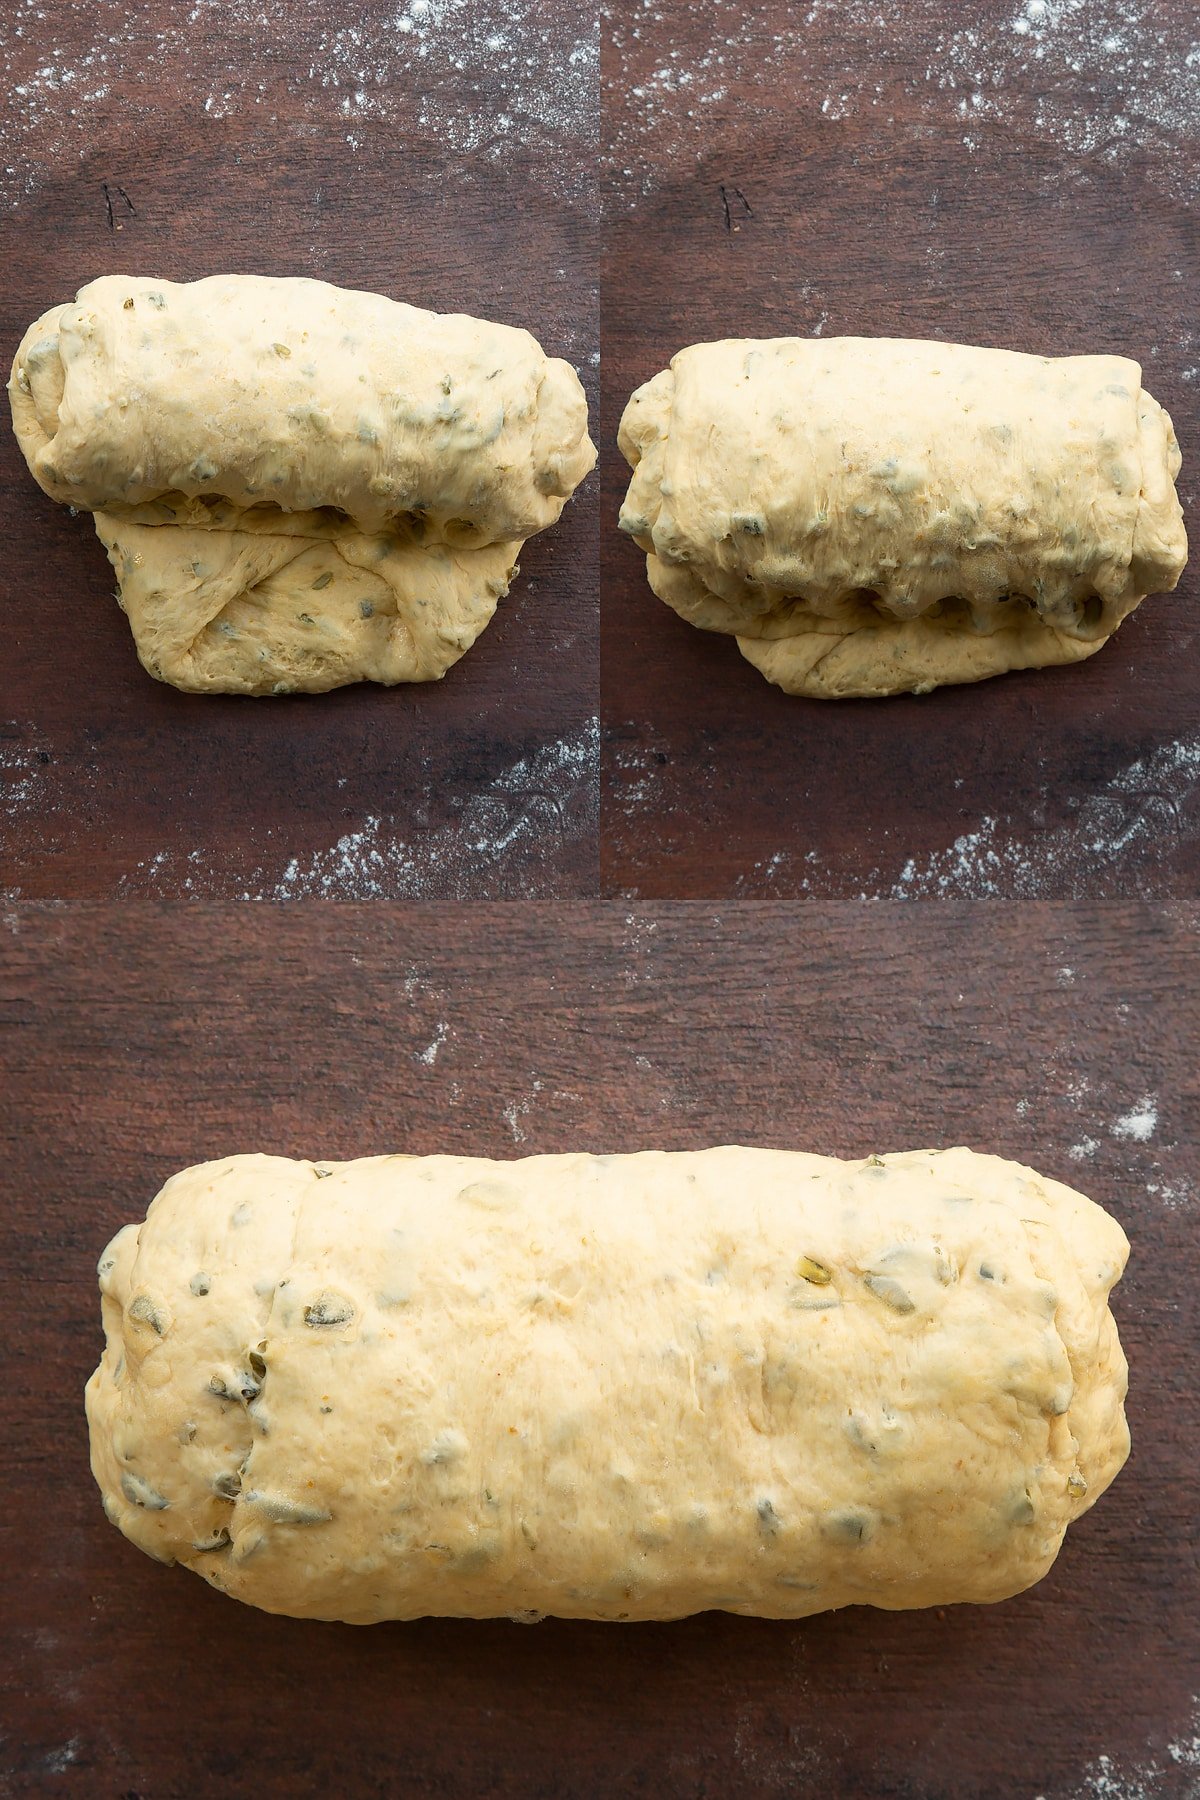
Pinch the seam to seal it well.
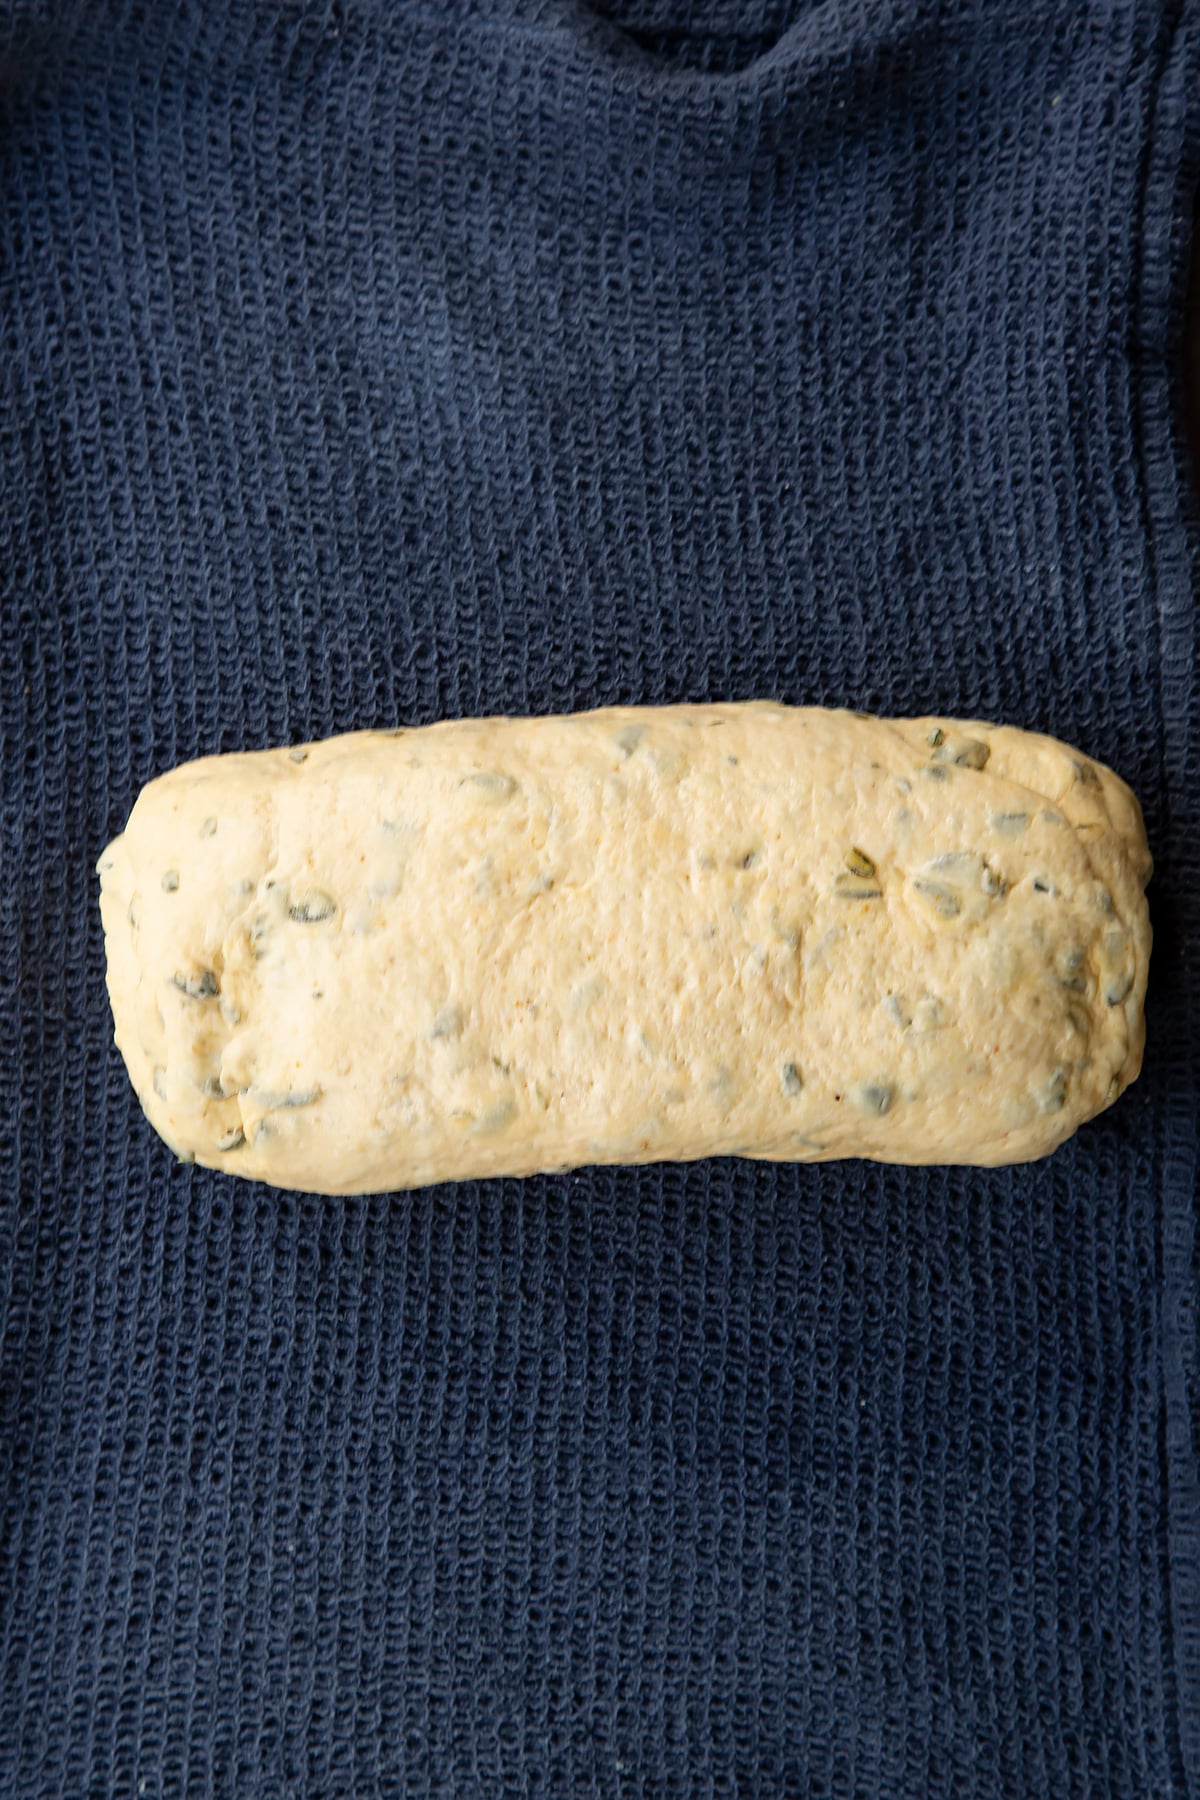
Hold the loaf seam-side up and roll it on a wet, clean tea towel to dampen the surface, including the ends.
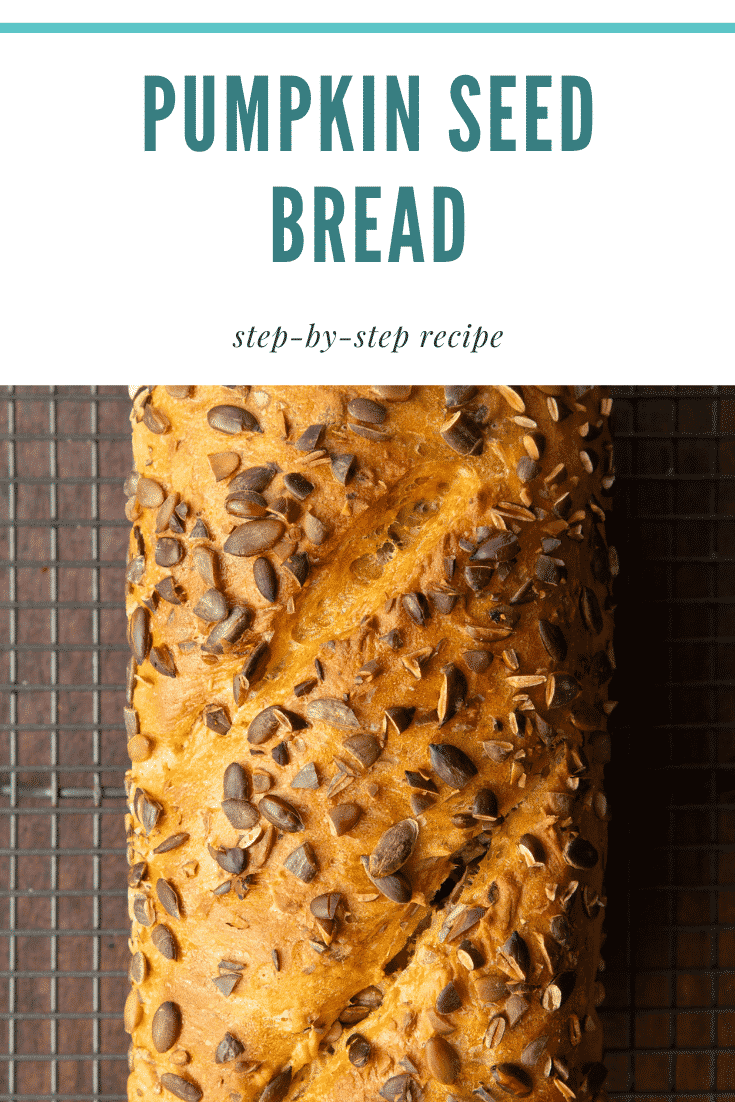
Scatter the pumpkin seeds evenly over a baking sheet and roll your loaf in the seeds to cover the top and ends - leave the seam side uncovered.
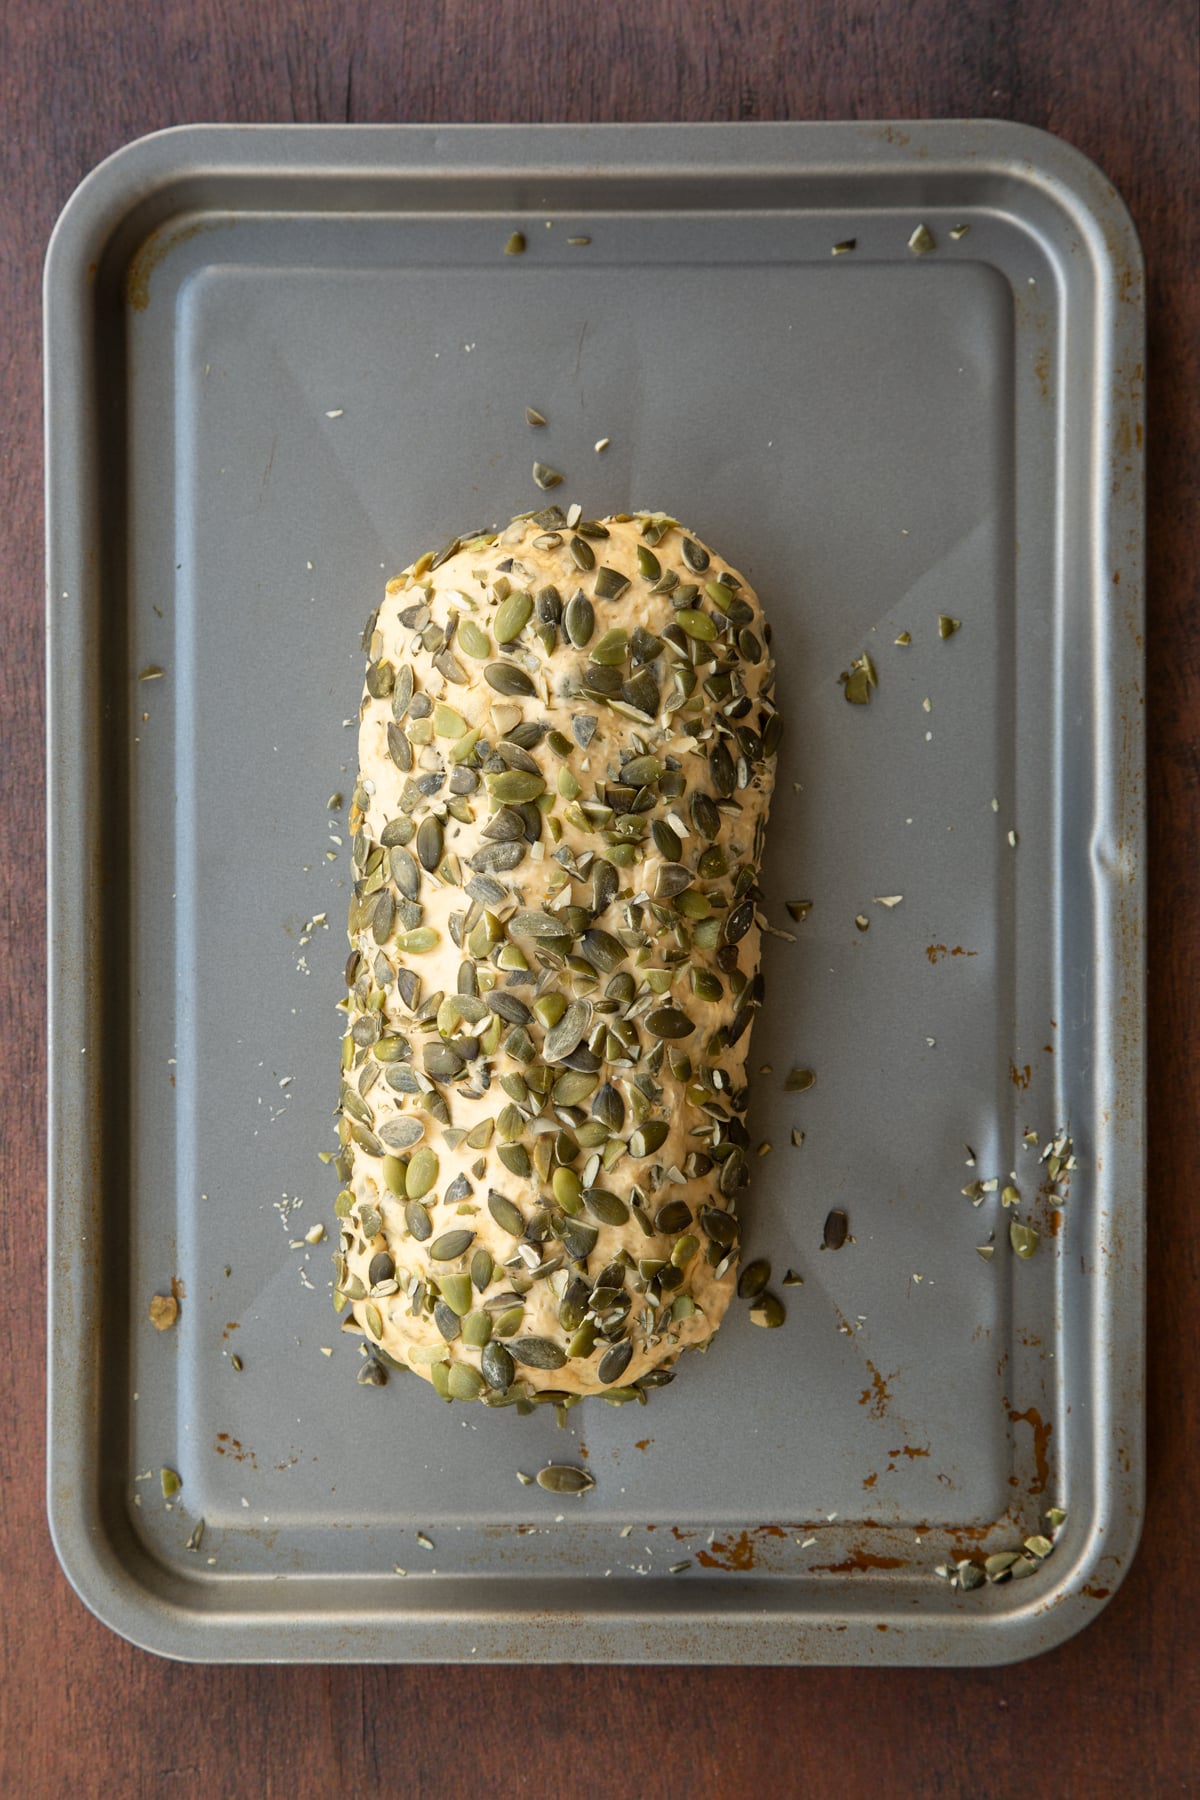
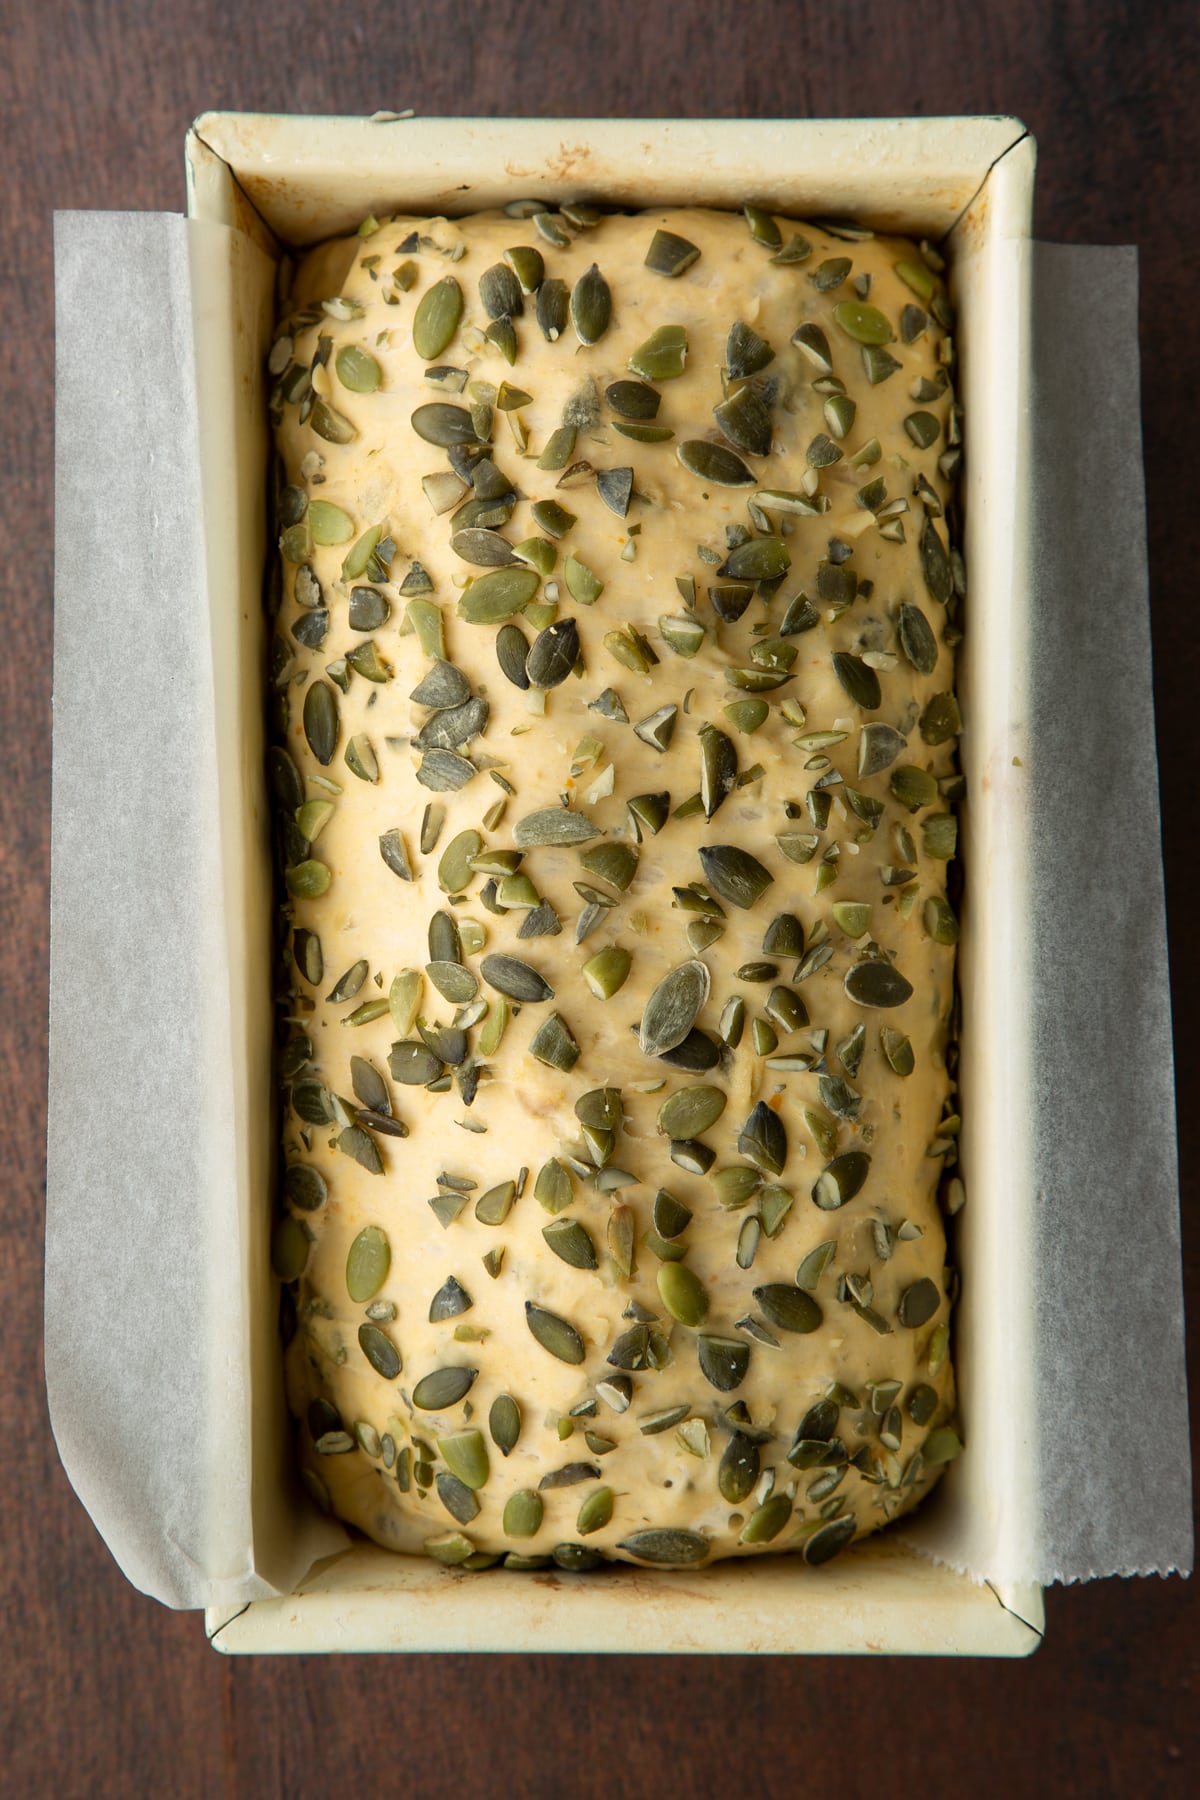
Drop the loaf carefully into the prepared loaf pan, seam-side down.

Cover well (a large upturned bowl does the job) and leave to rise until doubled in size, which can take 30-60+ minutes. At room temperature on a cold day, it could even take a couple of hours.
The loaf is sufficiently risen when a finger tip pushed into an inconspicuous corner leaves a dent that doesn't spring back.
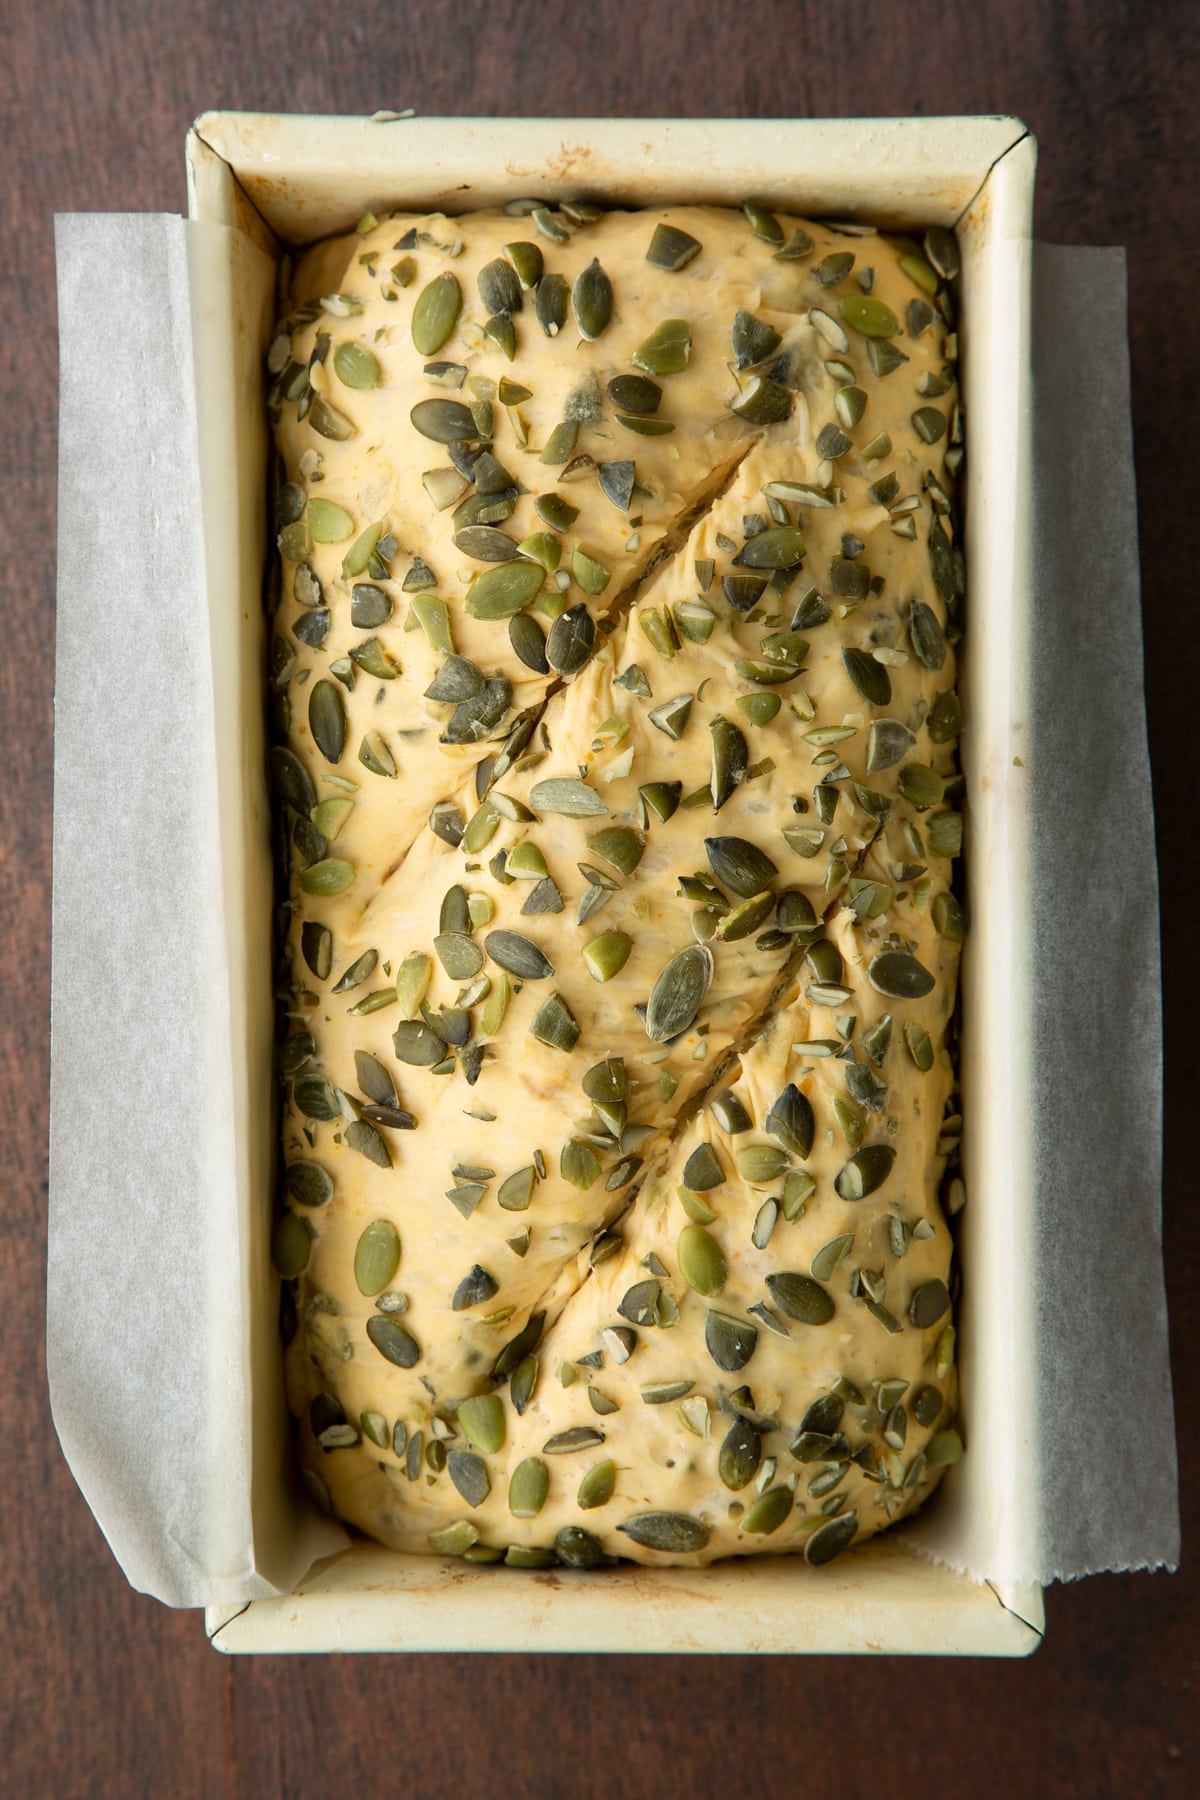
Towards the end of the proving time, place a high sided tray in the bottom of your oven and preheat it to 260C (240C fan).
Slash the top of the loaf diagonally a couple of times to allow it to spring up.
Place the loaf into the centre of the oven, pour a cup of water into the hot tray at the bottom of the oven. Close the door and lower the temperature to 220C (200C fan).
Bake for approximately 35 minutes, or until golden brown and hollow sounding when the base is tapped.
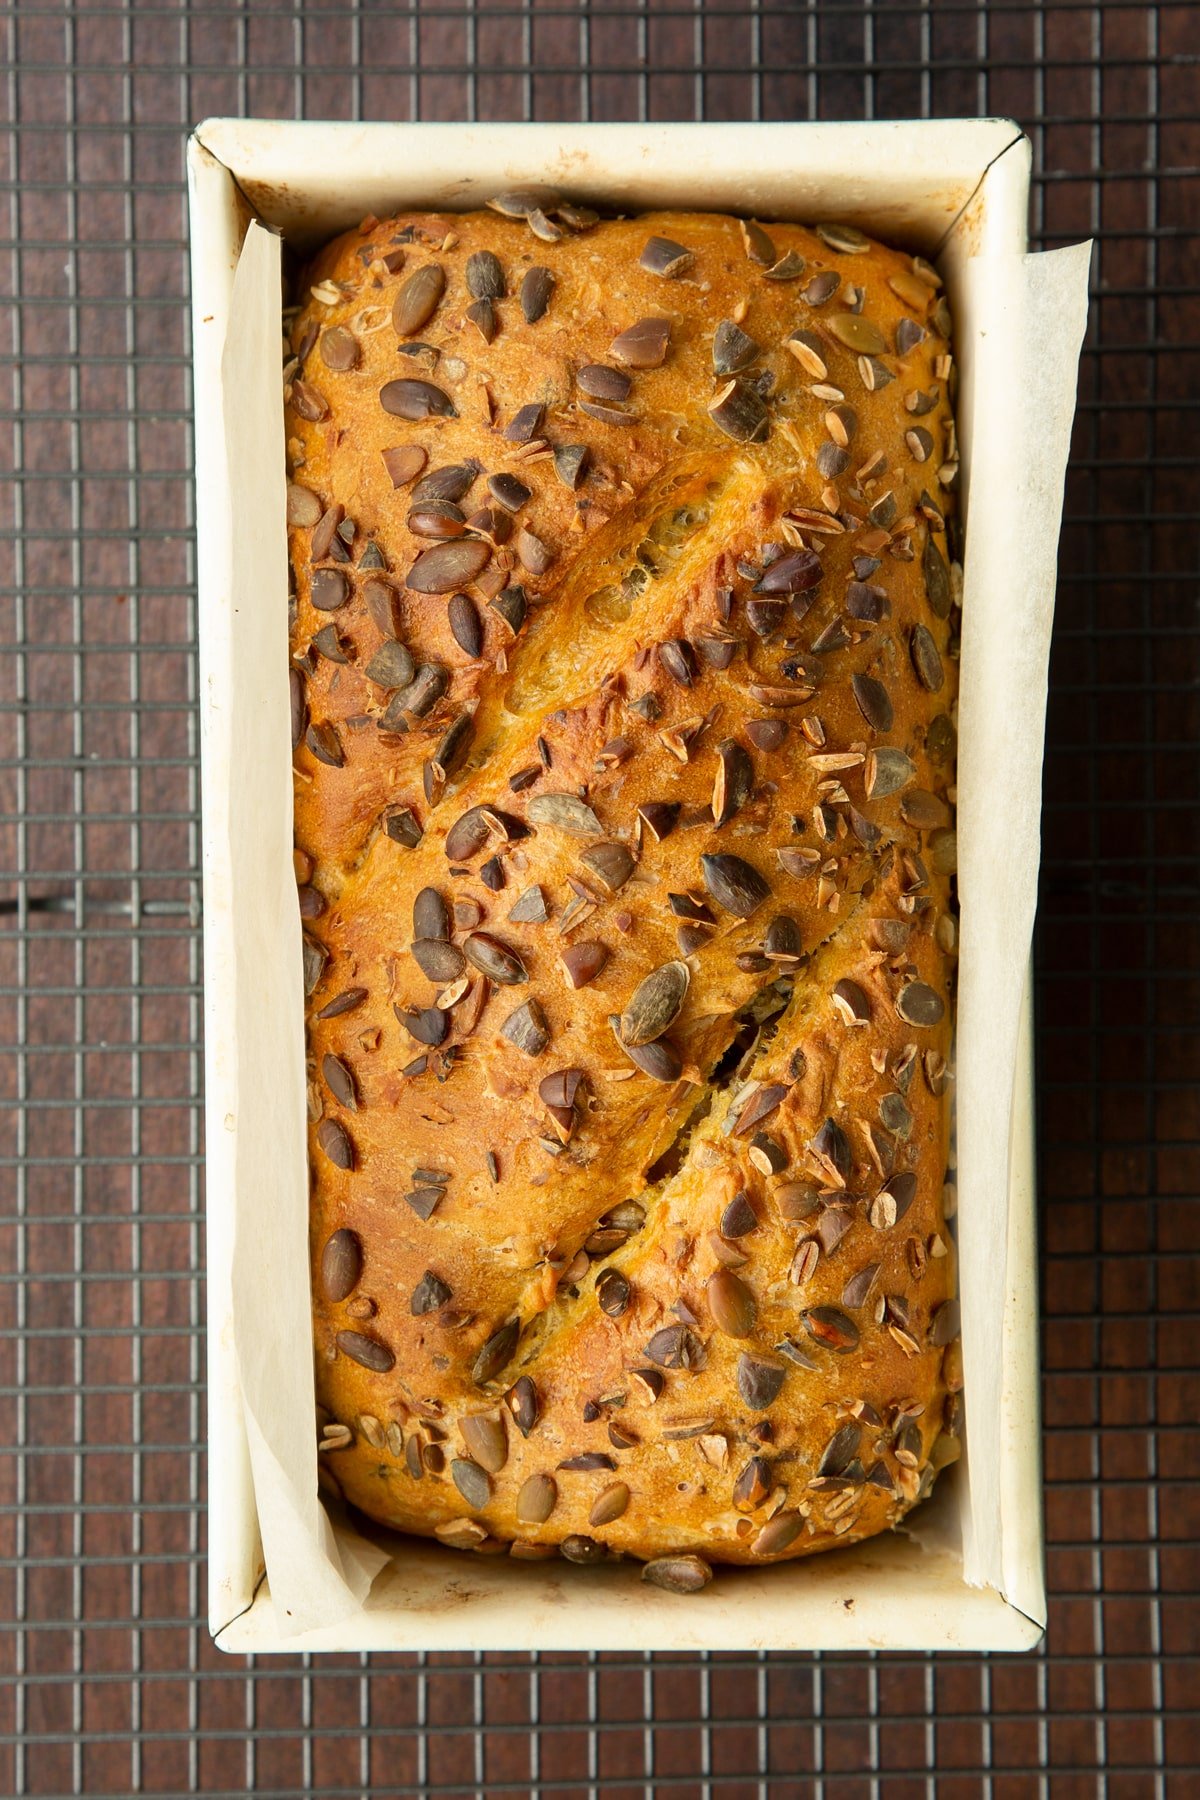
Lift your loaf onto a wire rack and allow to cool completely before slicing.
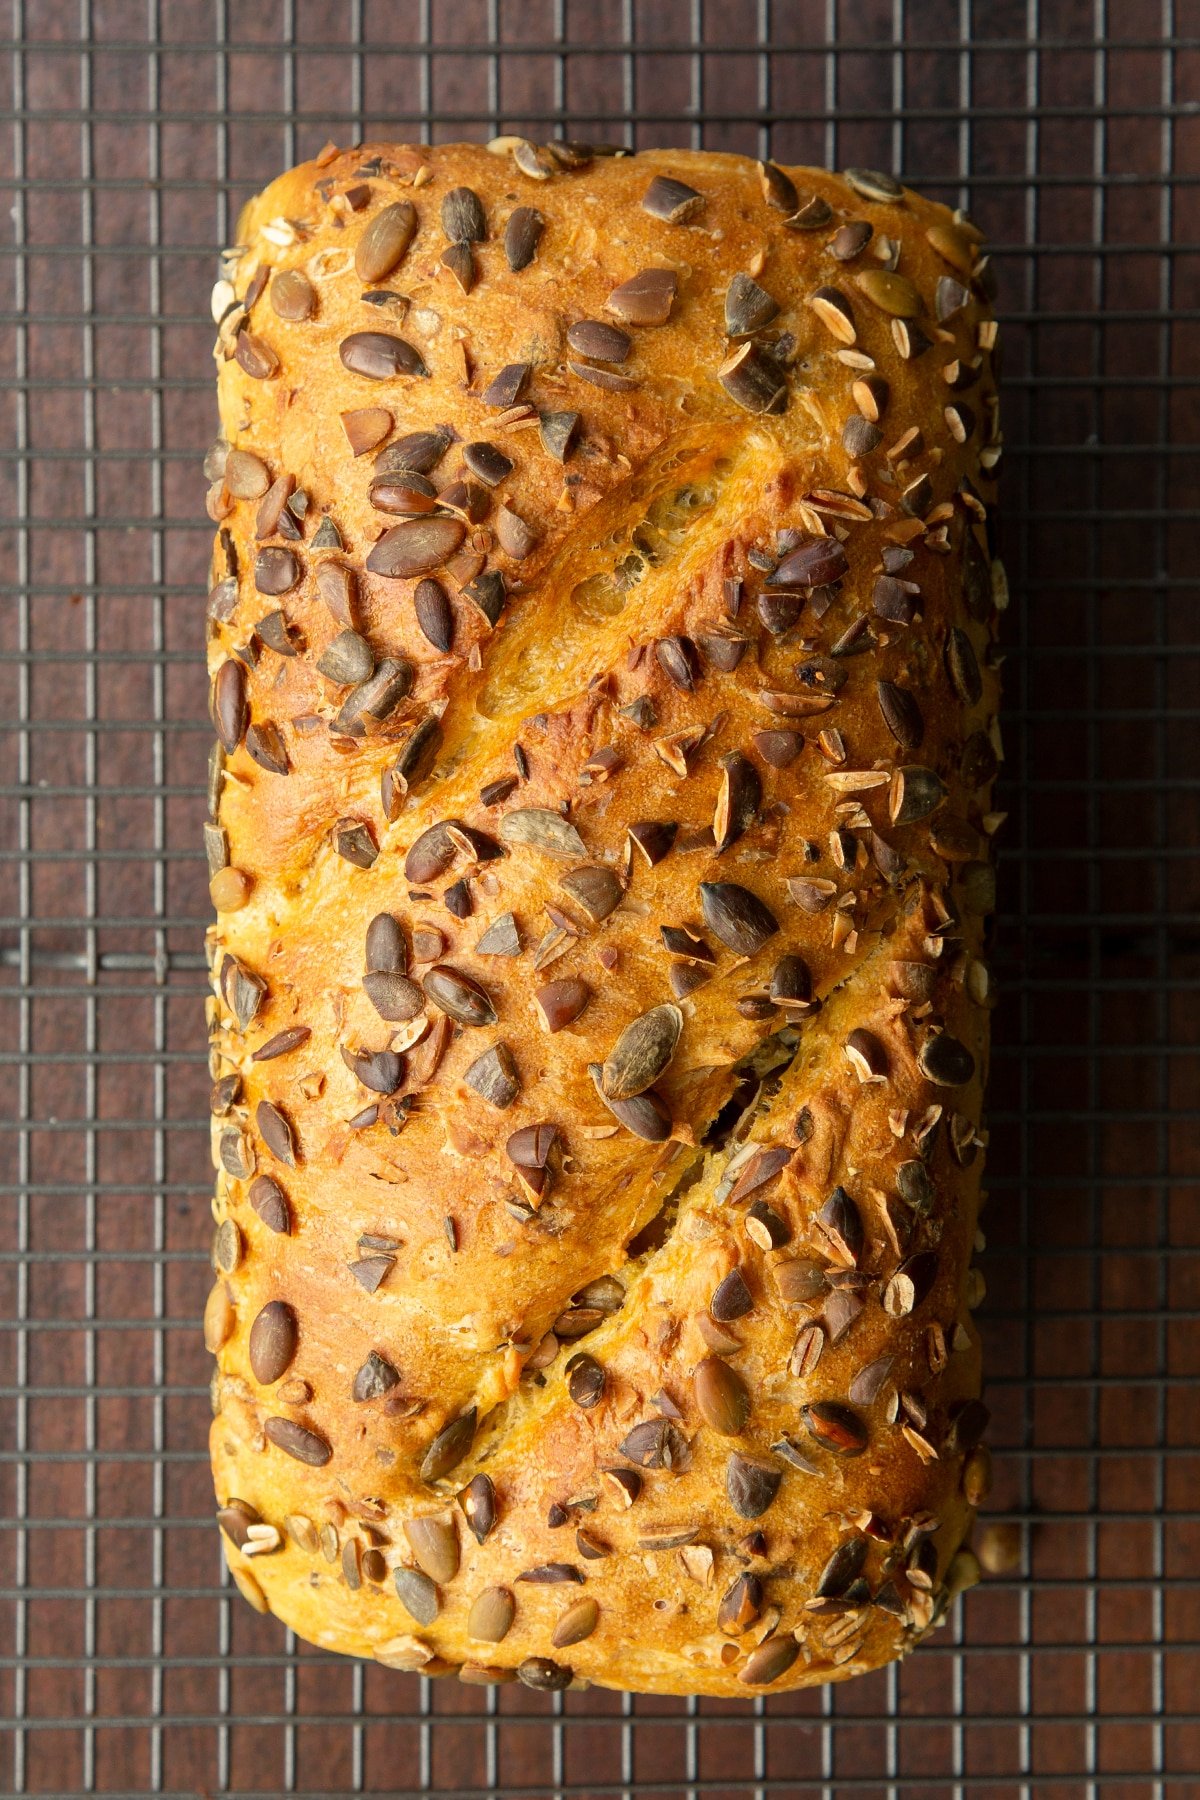
It's such a beautiful loaf. I love the subtle, naturally orange hue.
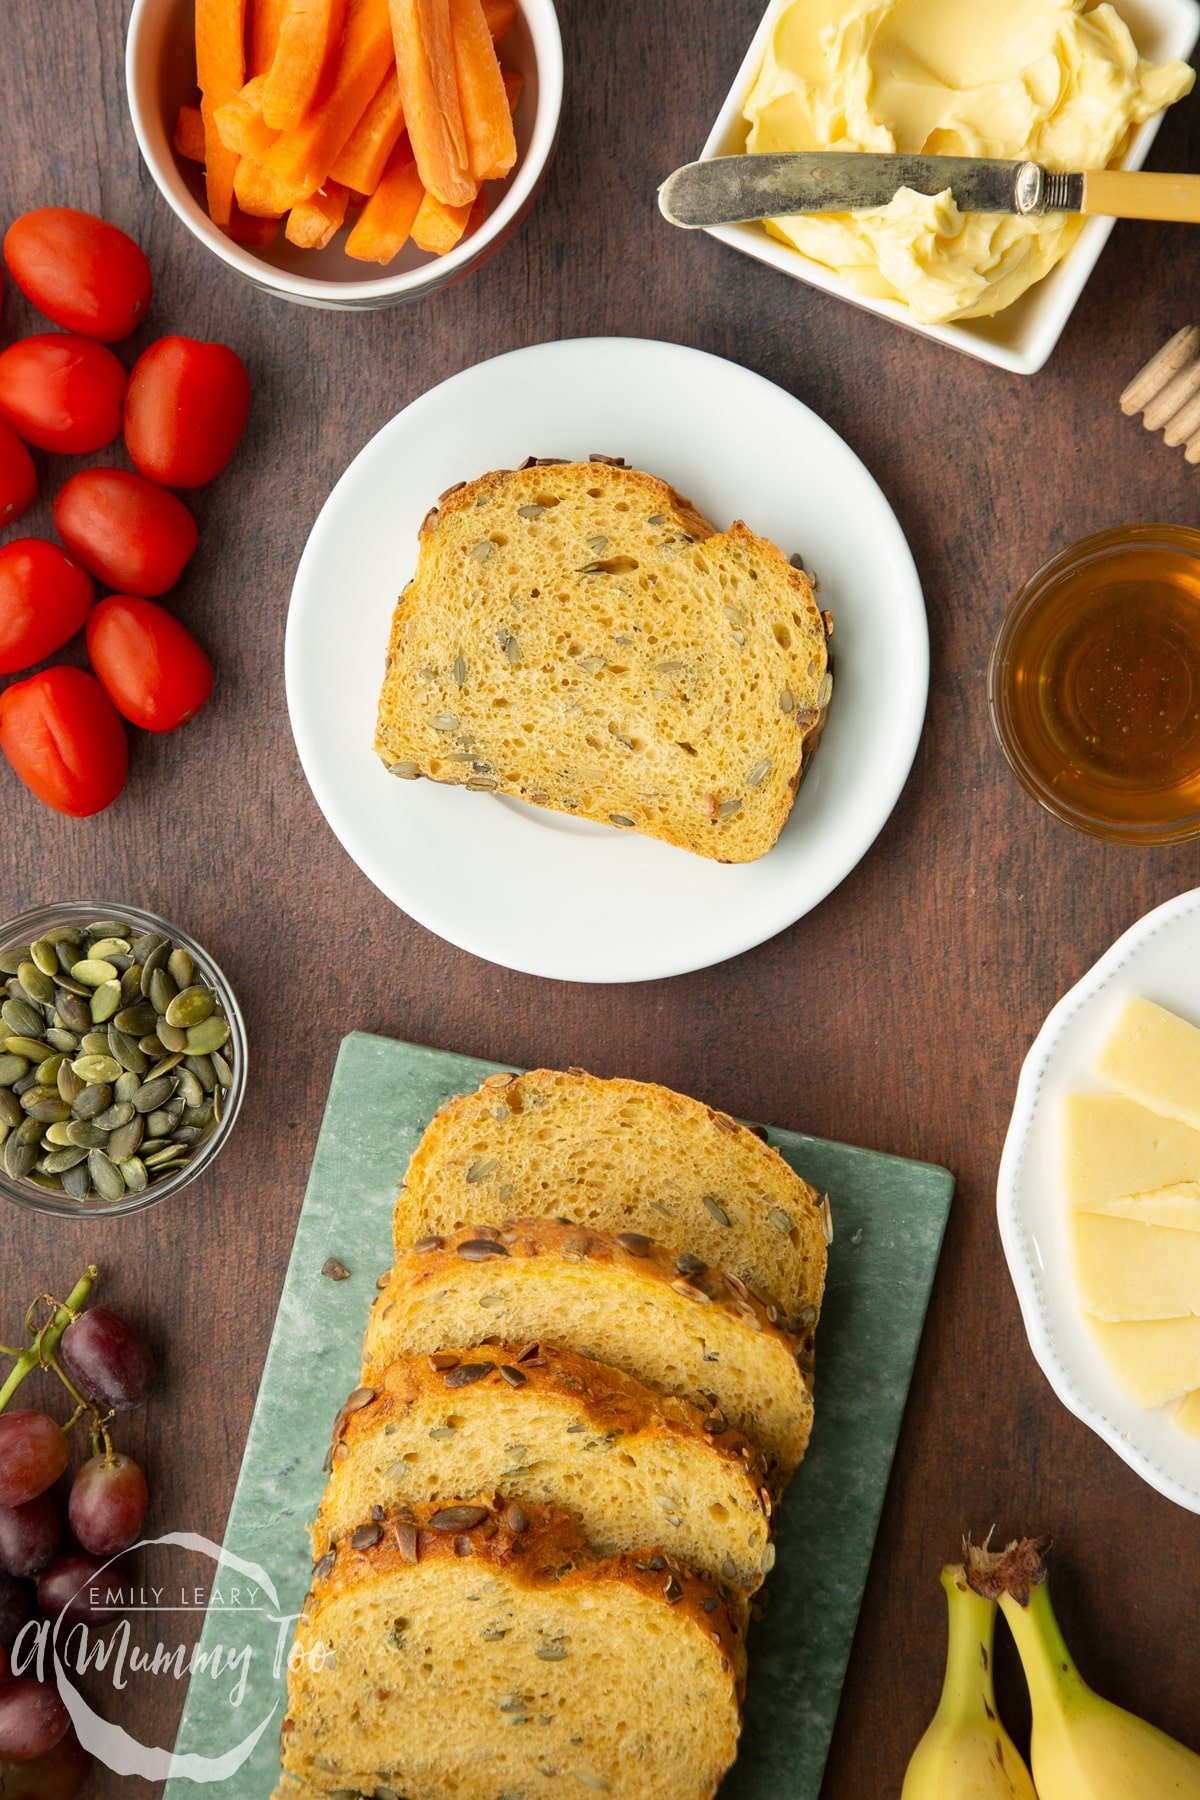
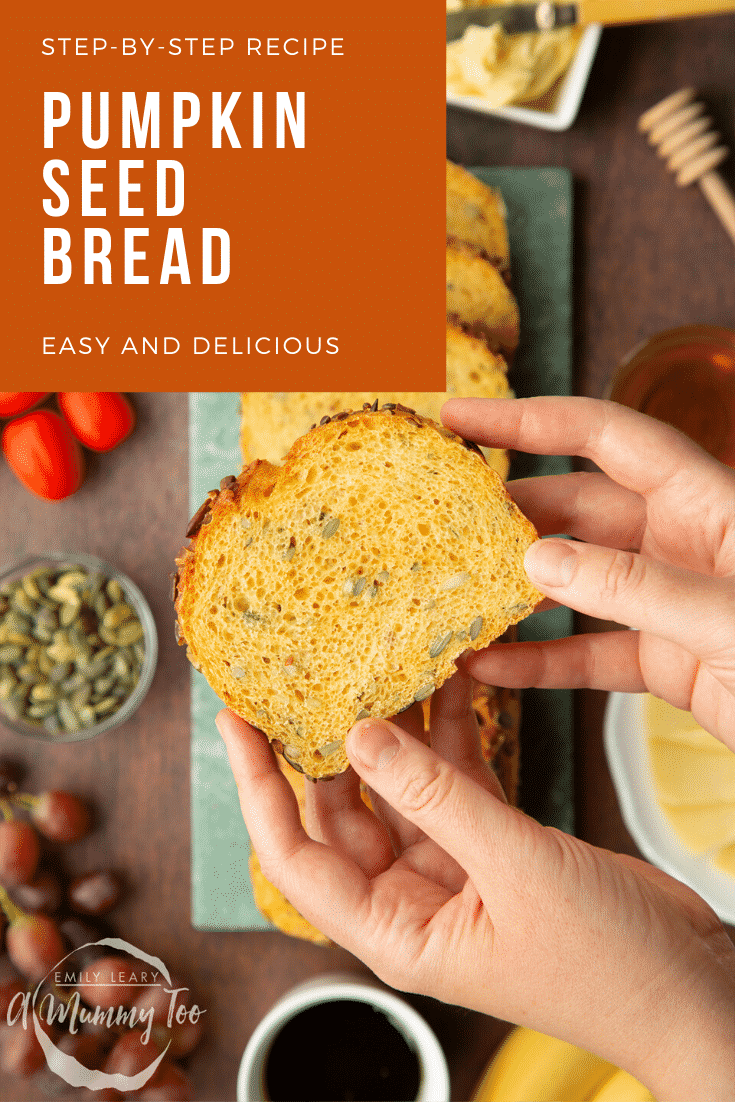
We've been enjoying this bread in all sorts of ways. Why not try it with cheese and tomato for a delicious lunchtime treat?

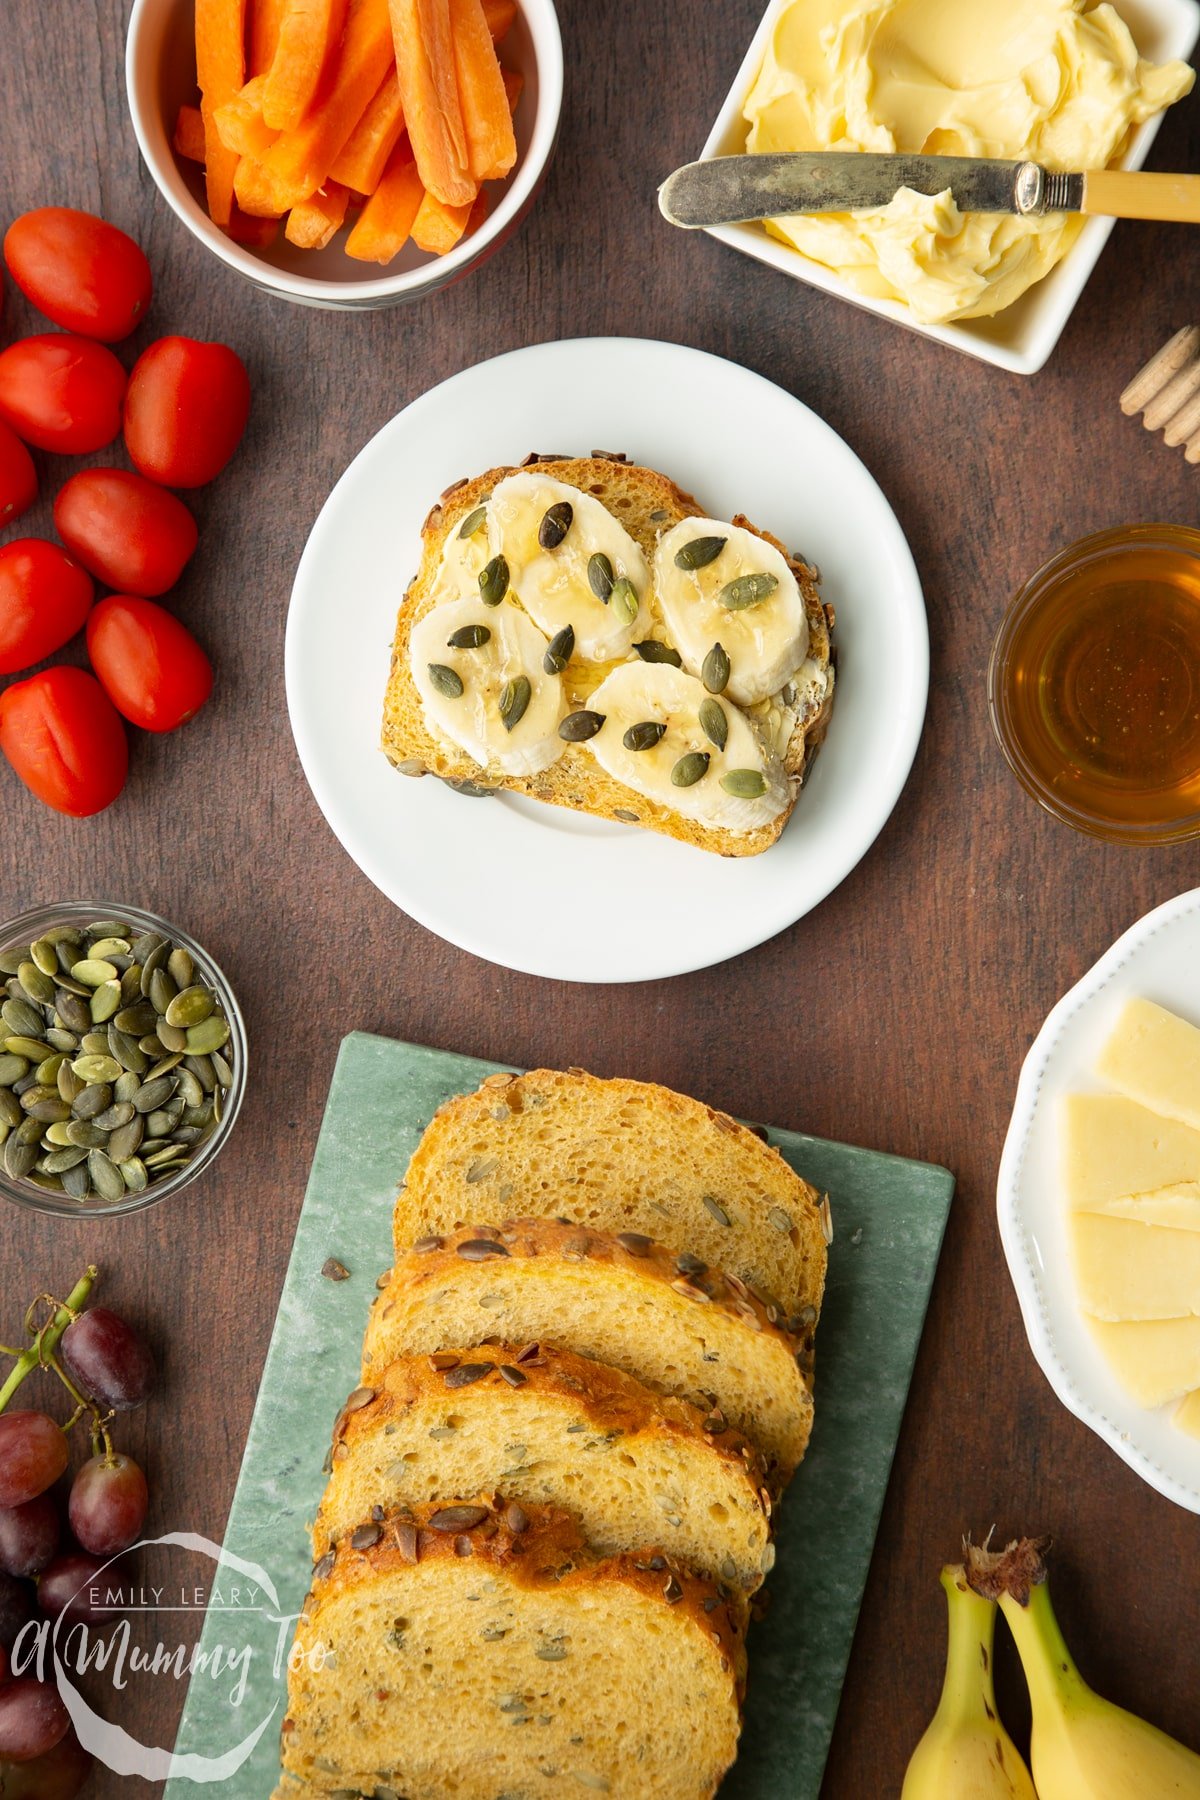
Or toasted and topped with sliced banana, a scattering of pumpkin seeds, a drizzle of honey and a pinch of pumpkin pie spice? It's just perfect for breakfast or a mid-morning snack.
I hope you love this seeded pumpkin bread recipe.
Once you've given my recipe a go, I'd love you to come back and leave a comment letting me know how yours turned out.
I'd love to see your videos and pics, too! Just tag me on social media. I'm @emilylearycooks on Twitter and TikTok or @amummytoo on Instagram.
FAQs and tips to get the best possible pumpkin seed bread
Print this pumpkin seed bread recipe

Pumpkin Seed Bread Recipe
Ingredients
- vegetable oil (canola oil) to grease the tin
For the dough
- 300 g (10.6 oz) strong white bread flour
- 1 tsp salt
- 1 tsp fast-action dried yeast
- 60 g (2.1 oz) pumpkin seeds roughly chopped
- 50 g (1.8 oz) pumpkin puree
- 175 ml (5.9 floz) warm water
To top
- 40 g (1.4 oz) pumpkin seeds roughly chopped
Instructions
- Prepare your loaf tin by greasing it with vegetable oil, then lining with a strip of baking paper, which will make your loaf easier to lift out.
- Put the flour, salt, yeast and pumpkin seeds into a large bowl and mix together. .
- Add the pumpkin puree and ⅔ of the warm water. Mix together with your hands. Add the remaining water little by little only as needed to give a clean bowl with no floury bits at the bottom. You may not need all the water.
- Bring the dough together into a ball - it’s ok if there are some dryer looking bits in the dough at this stage as long as the bowl is clean.
- Lightly flour your surface and turn out your dough and knead for 8 minutes, pushing it away from you and then folding back towards you, until the dough is smooth and springy.
- Kneading develops the gluten and gives the dough a structure that will allow it to hold the air bubbles created by the yeast. To check you've kneaded the dough enough, gather it into a ball, tucking it underneath a few times to create a taut surface, then press the dough with two fingers. If it springs straight back, it's done.
- Lightly oil your bowl and return the dough to it. Cover and leave to prove somewhere warm for 1 hour or until doubled in size.
- Tip the dough out onto a very lightly floured surface. Press gently all over to flatten and release the larger air bubbles, creating a rough oval.
- Lift one end of the oval, stretch and press to the middle. Do the same with the other end.
- Turn the dough 90 degrees, roll the very top over towards you, then press with your finger tips to fix in place. Repeat working down the dough. Continue until you have a sausage of dough with a taut surface. Pinch the seam to seal it well.
- Hold the loaf seam-side up and roll it on a wet tea towel to dampen the surface, including the ends.
- Scatter the pumpkin seeds evenly over a tray and roll your loaf in the seeds to cover the top and ends - leave the seam side uncovered.
- Drop the loaf carefully into the prepared pan, seam-side down. Cover well (a large upturned bowl does the job) and leave to rise until doubled in size, which can take 30-60+ minutes. The loaf is sufficiently risen when a finger tip pushed into an inconspicuous corner leaves a dent that doesn't spring back.
- Towards the end of the proving time, place a deep large roasting tray in the bottom of your oven and preheat it to 260C (240C fan). Slash the top of the loaf diagonally a couple of times to allow it to spring up.
- Place the loaf into the centre of the oven, pour a cup of water into the hot tray at the bottom of the oven. Close the door and lower the temperature to 220C (200C fan).
- Bake for approximately 35 minutes, or until golden brown and hollow sounding when the base is tapped.
- Lift your loaf onto a wire rack and allow to cool completely before slicing.
Video
Notes
Nutrition
Pin this pumpkin seed bread recipe

More bread recipes to try


Have you got my book?

'This is a great kids cookery book. Emily is a star' - Simon Rimmer
'The book I'd like to force into any mother's kitchen' - Prue Leith
"A fab book with a plan." - Jane Devonshire, 2016 Masterchef UK winner
'Emily has managed to combine her mummy knowledge and passion for food to make a truly helpful and brilliant cookbook' - Priya Tew, RD, BSc (Hons), Msc
Get Your Kids to Eat Anything is an achievable 'how to' for parents in the battle to overcome picky eating and 'make new the norm'. Emily Leary's unique 5-phase programme looks at the issue of 'fussy eating' in a holistic way that links imagination with food, and which situates parents alongside - not in opposition to - their children.
Leave a Reply