
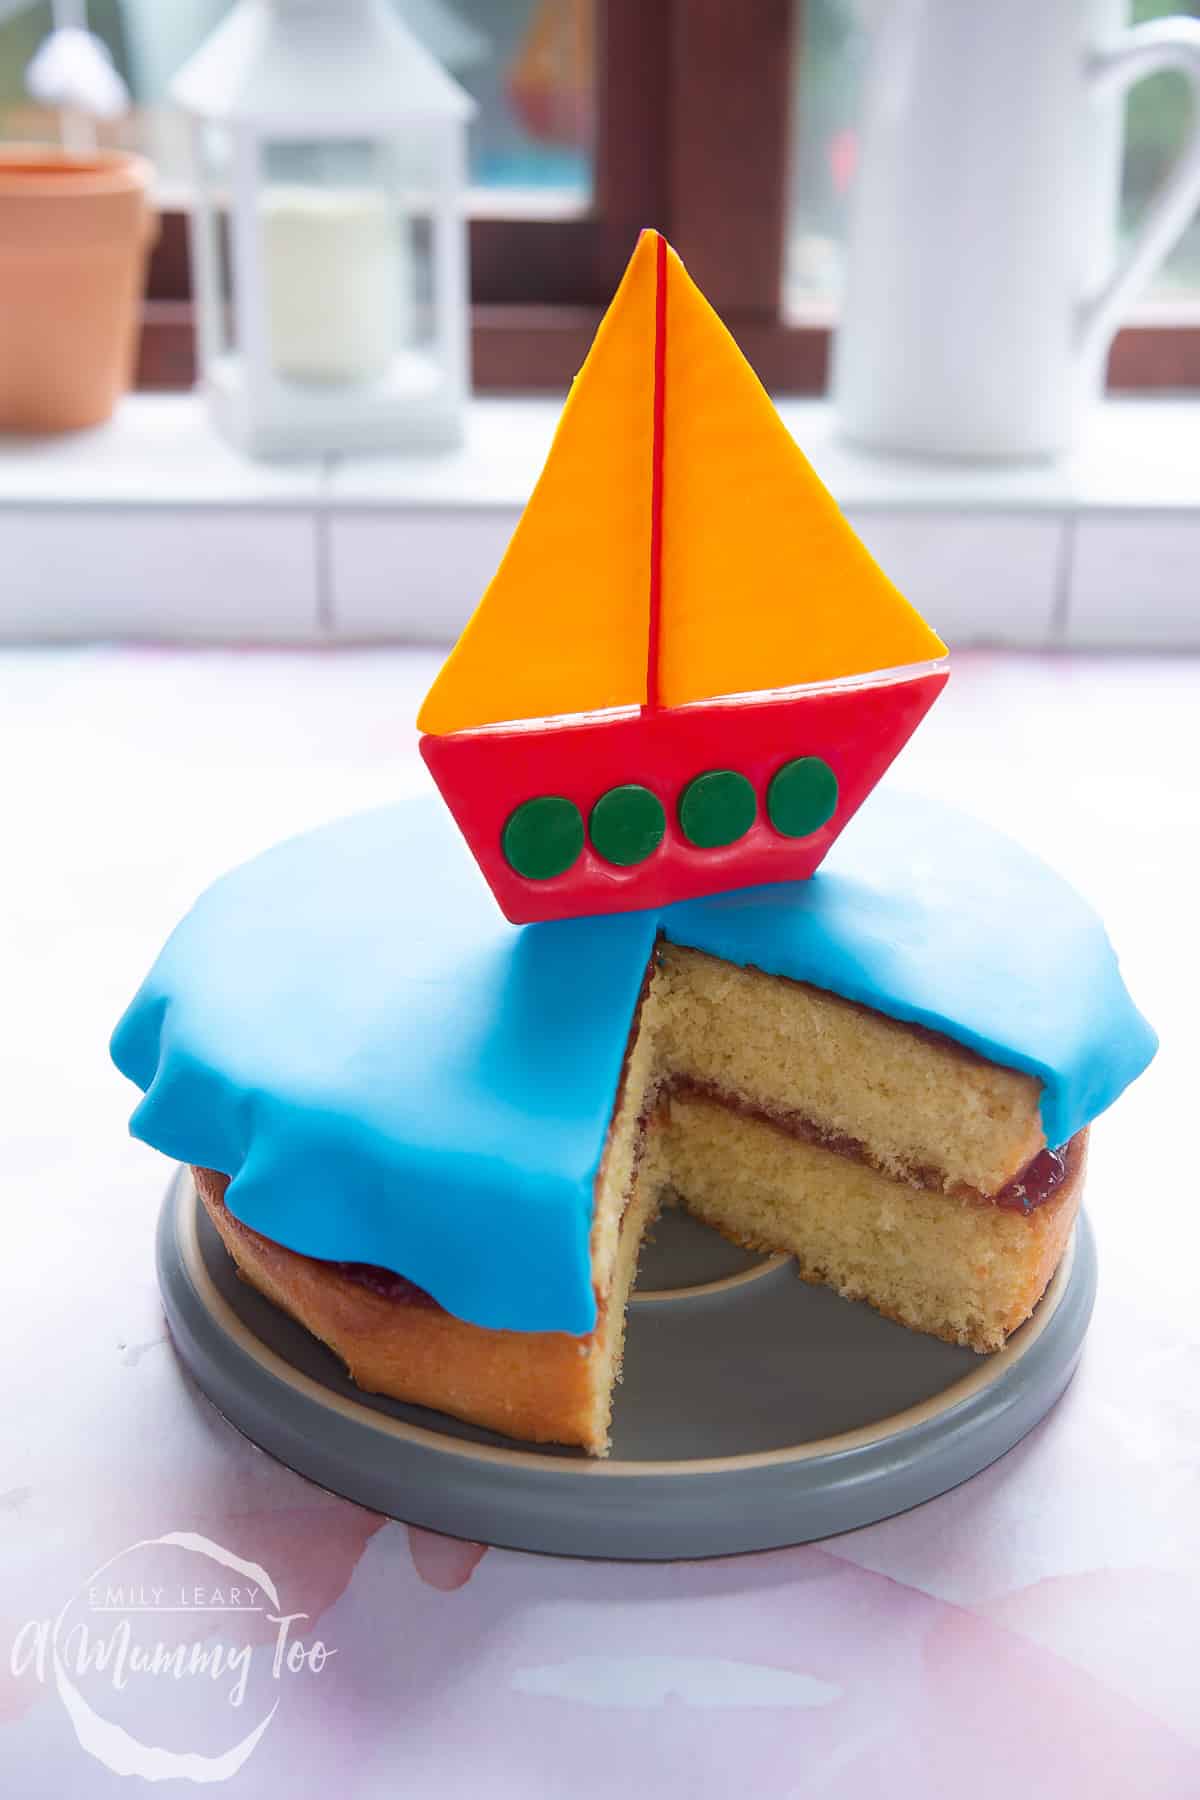
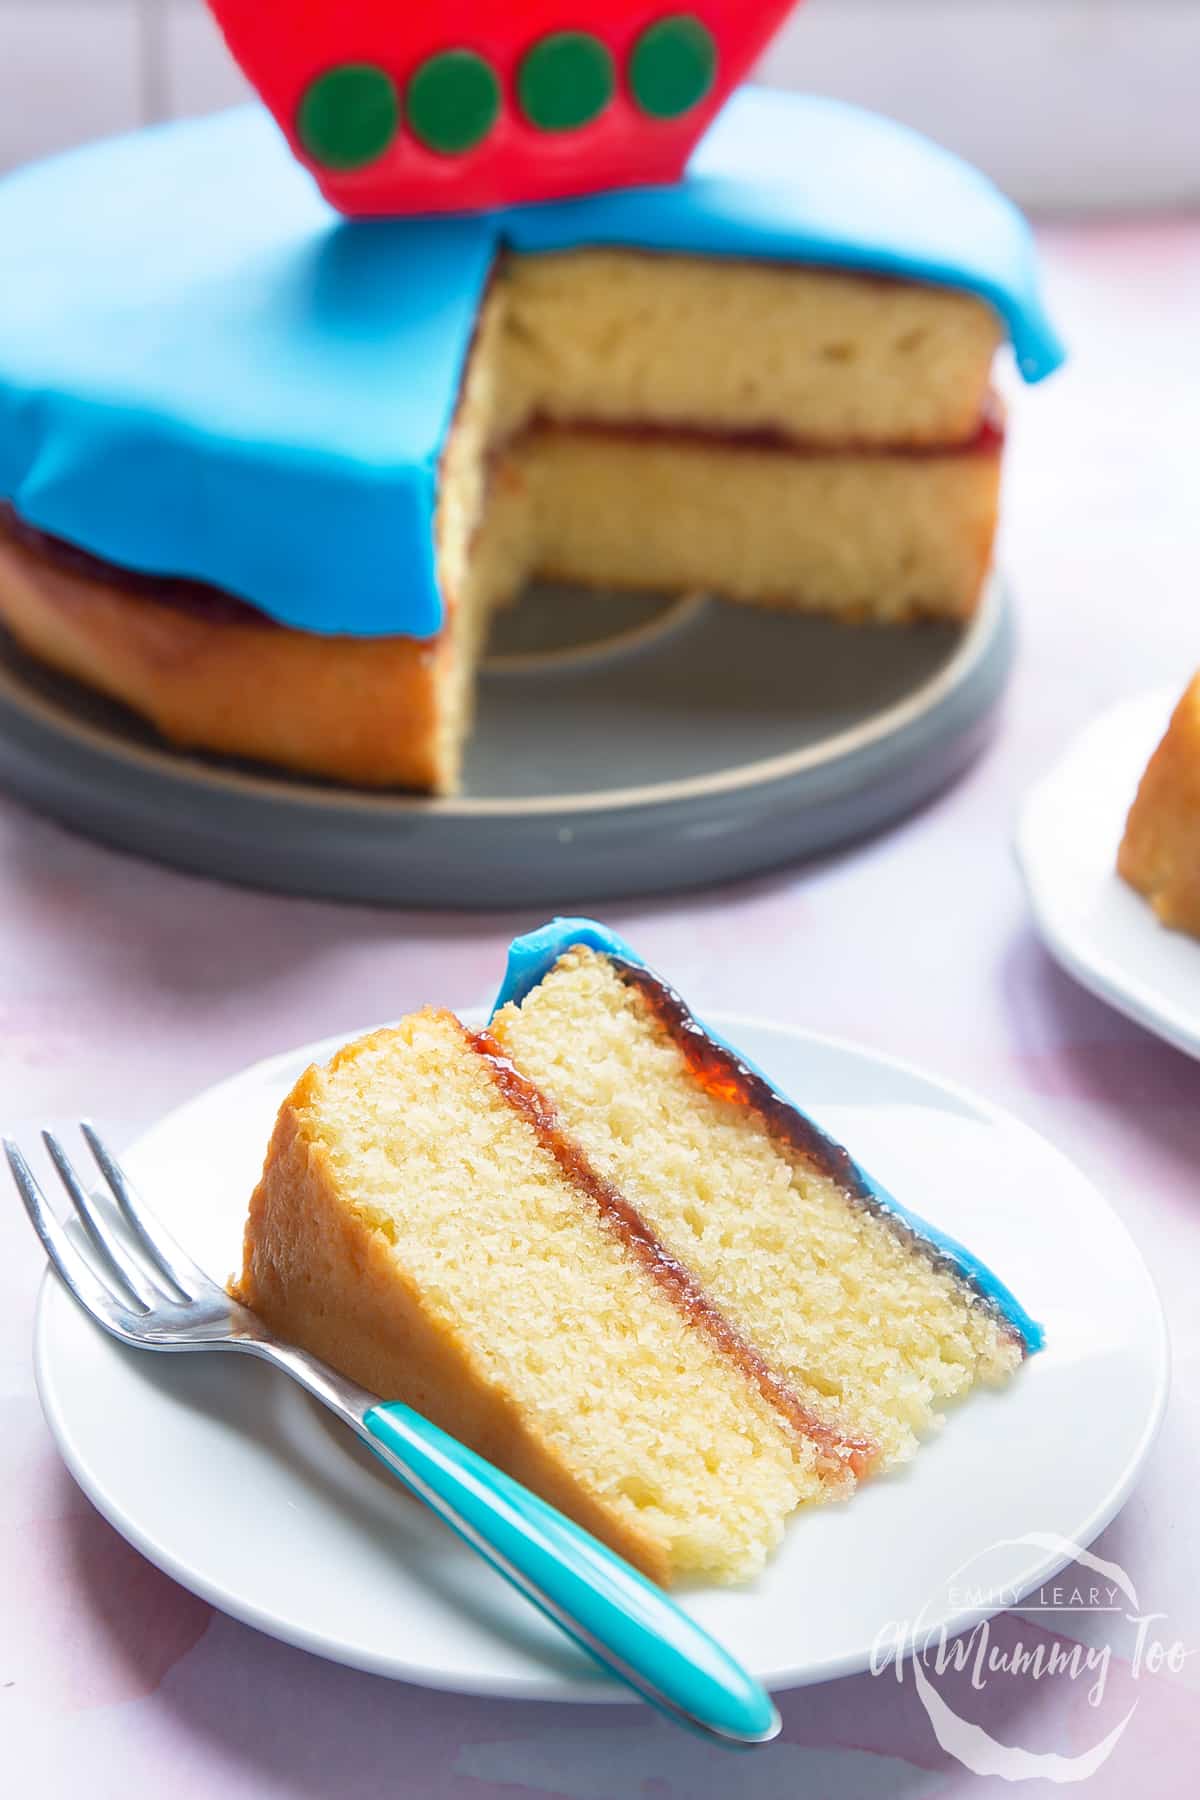
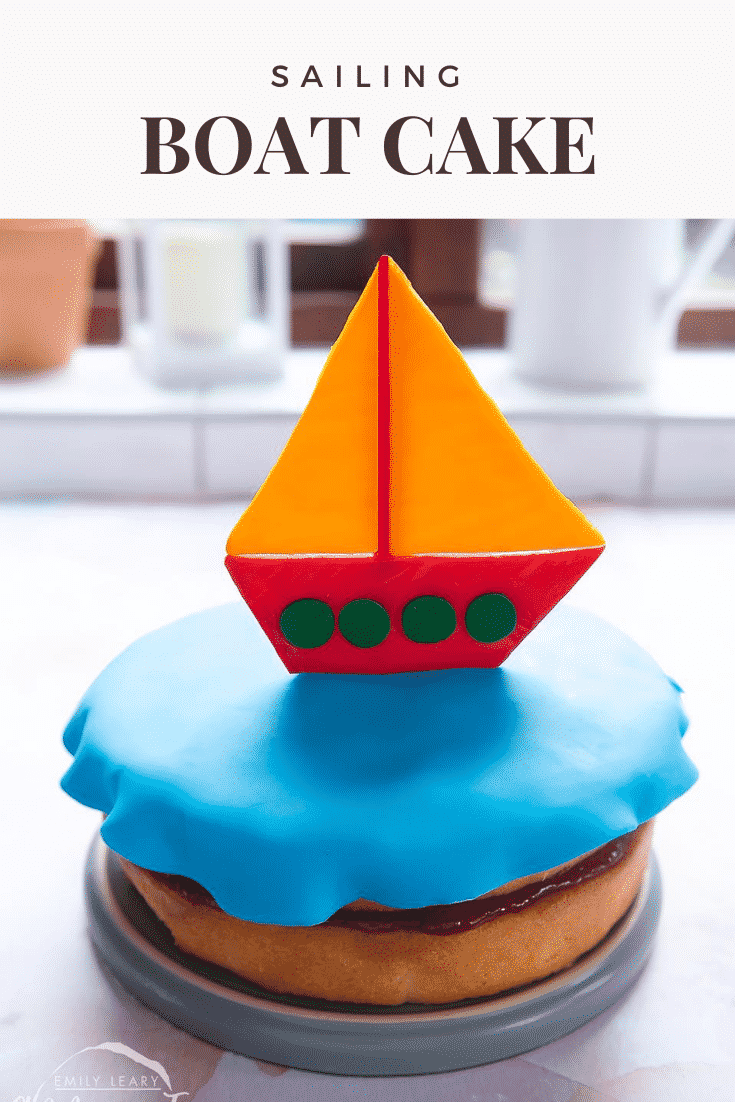
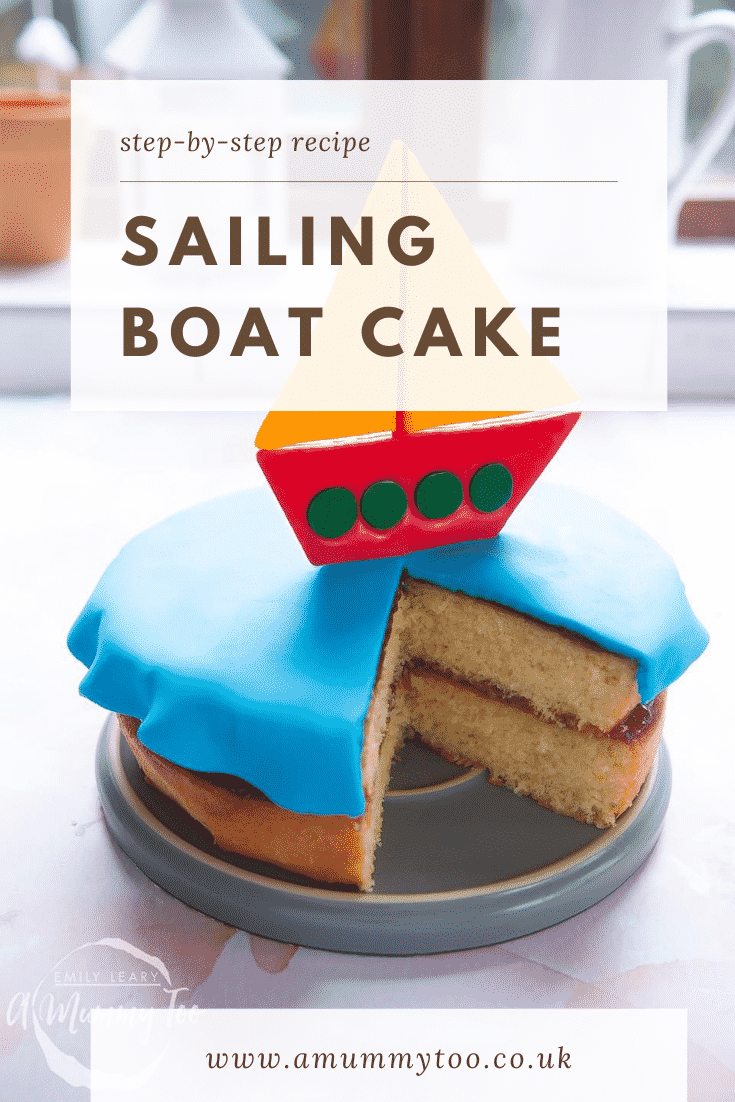
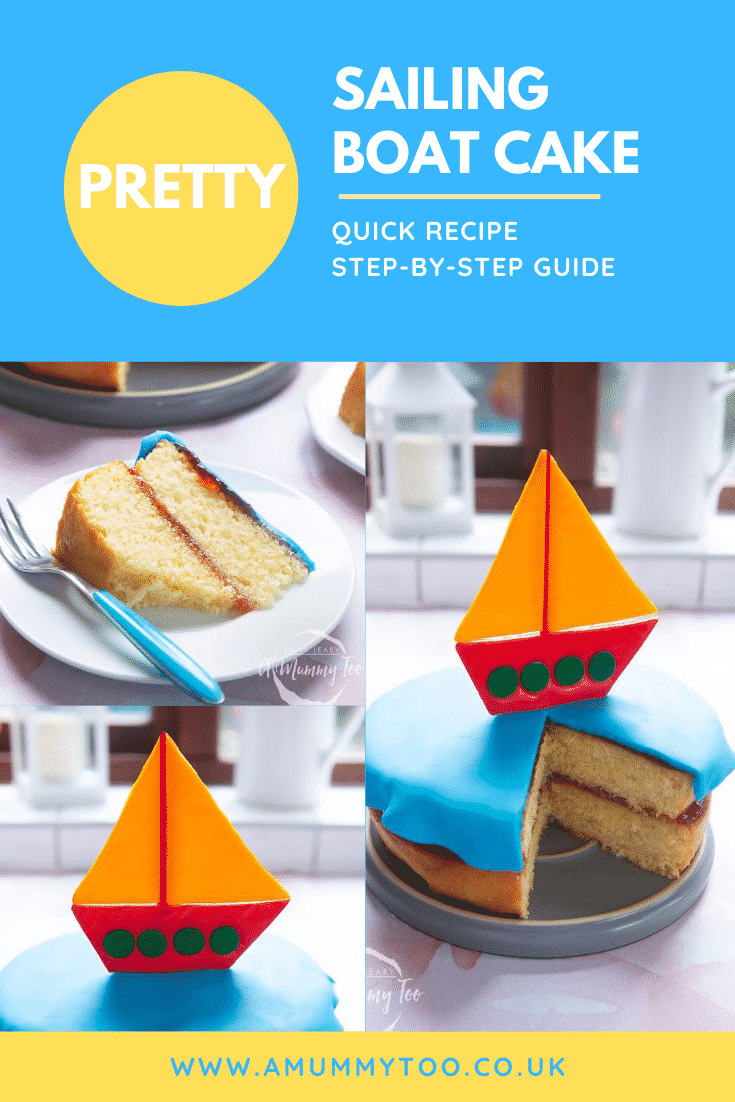
This super cute sailing boat cake is delicious and just perfect for a birthday celebration. It has a rich, buttery sponge, a jam filling, and a sugar paste boat sailing on a sugar paste ocean.
The sponge uses the all-in-one method, which means you can make make the batter in a single bowl, adding all of the ingredients in a single step: just whisk and it's ready to pour into tins and bake!
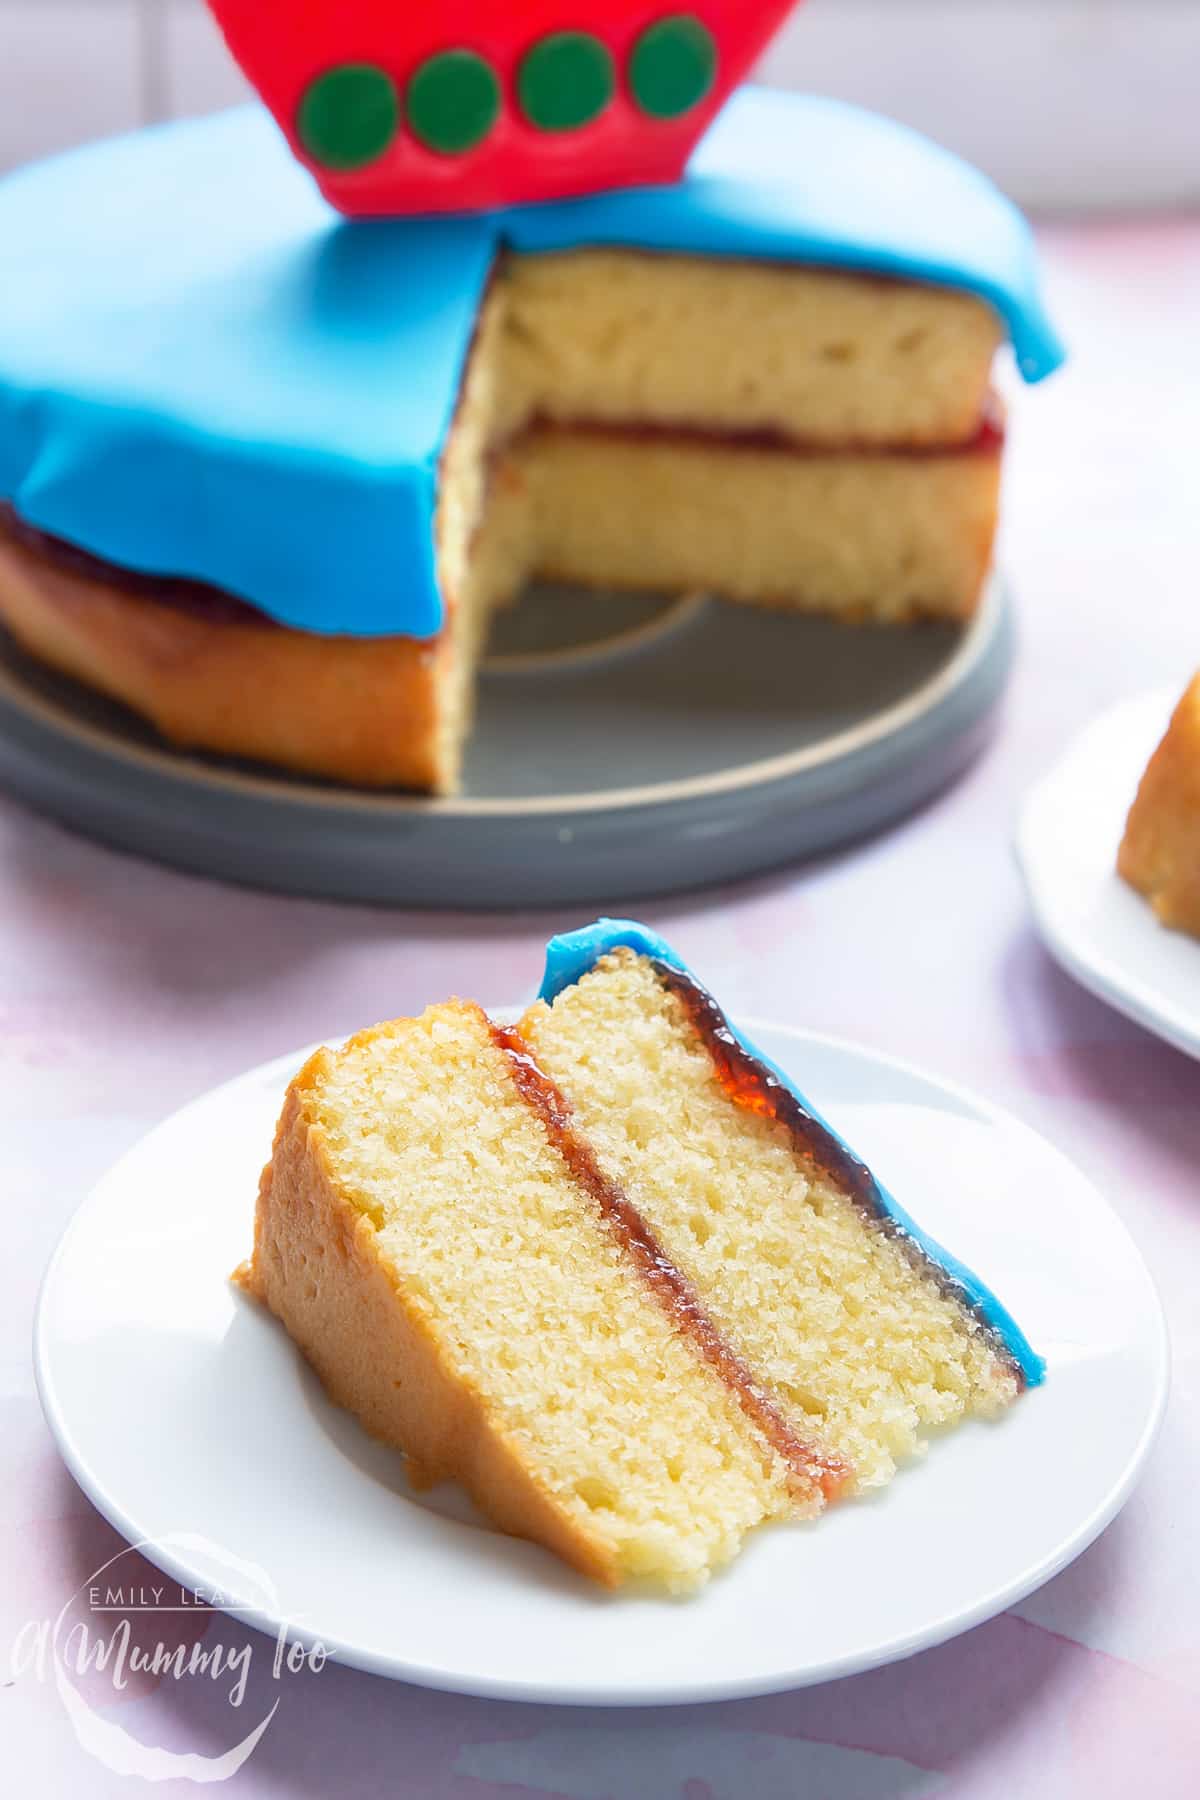
It might sound so simple that you'd think the quality would suffer but no! The texture of the vanilla sponge is light and fluffy with great structure, and the taste is top notch!

The sugar paste boat decoration is a little more tricky to make, but well worth the effort and I've included lots of step-by-step photos to help you get a great result.
The first time I made this cake, I used cardboard to make the boat, but this time, my young baking assistant, Miss J (8) insisted that it had to be edible, so that's what we did!
Here's how to make this sailing boat birthday cake at home.
Ingredients
For the cake
- 250 g (8.82 oz) baking margarine
- 250 g (8.82 oz) white caster sugar (superfine sugar)
- 4 large free range eggs large, free range
- 1 tsp vanilla extract
- 250 g (8.82 oz) self-raising white flour (self rising flour)
- 1 tsp baking powder
For the decoration
- 6 tbsps strawberry jam
- 200 g (7.05 oz) light blue sugar paste
- 100 g red sugar paste
- 2 pieces coloured card
- 100 g yellow sugar paste
- 50 g dark green sugar paste
Equipment
- Wooden skewers
- 2 Round 20cm (8") nonstick cake tin
Instructions
Make the boat shapes
Your sugar paste will need time to dry and harden.
In the instructions below, I'll show you how to use your oven to dry it out. Alternatively, you can cut out your shapes the night before.
You'll need three sugar paste colours - I chose red, yellow and green but any will work.
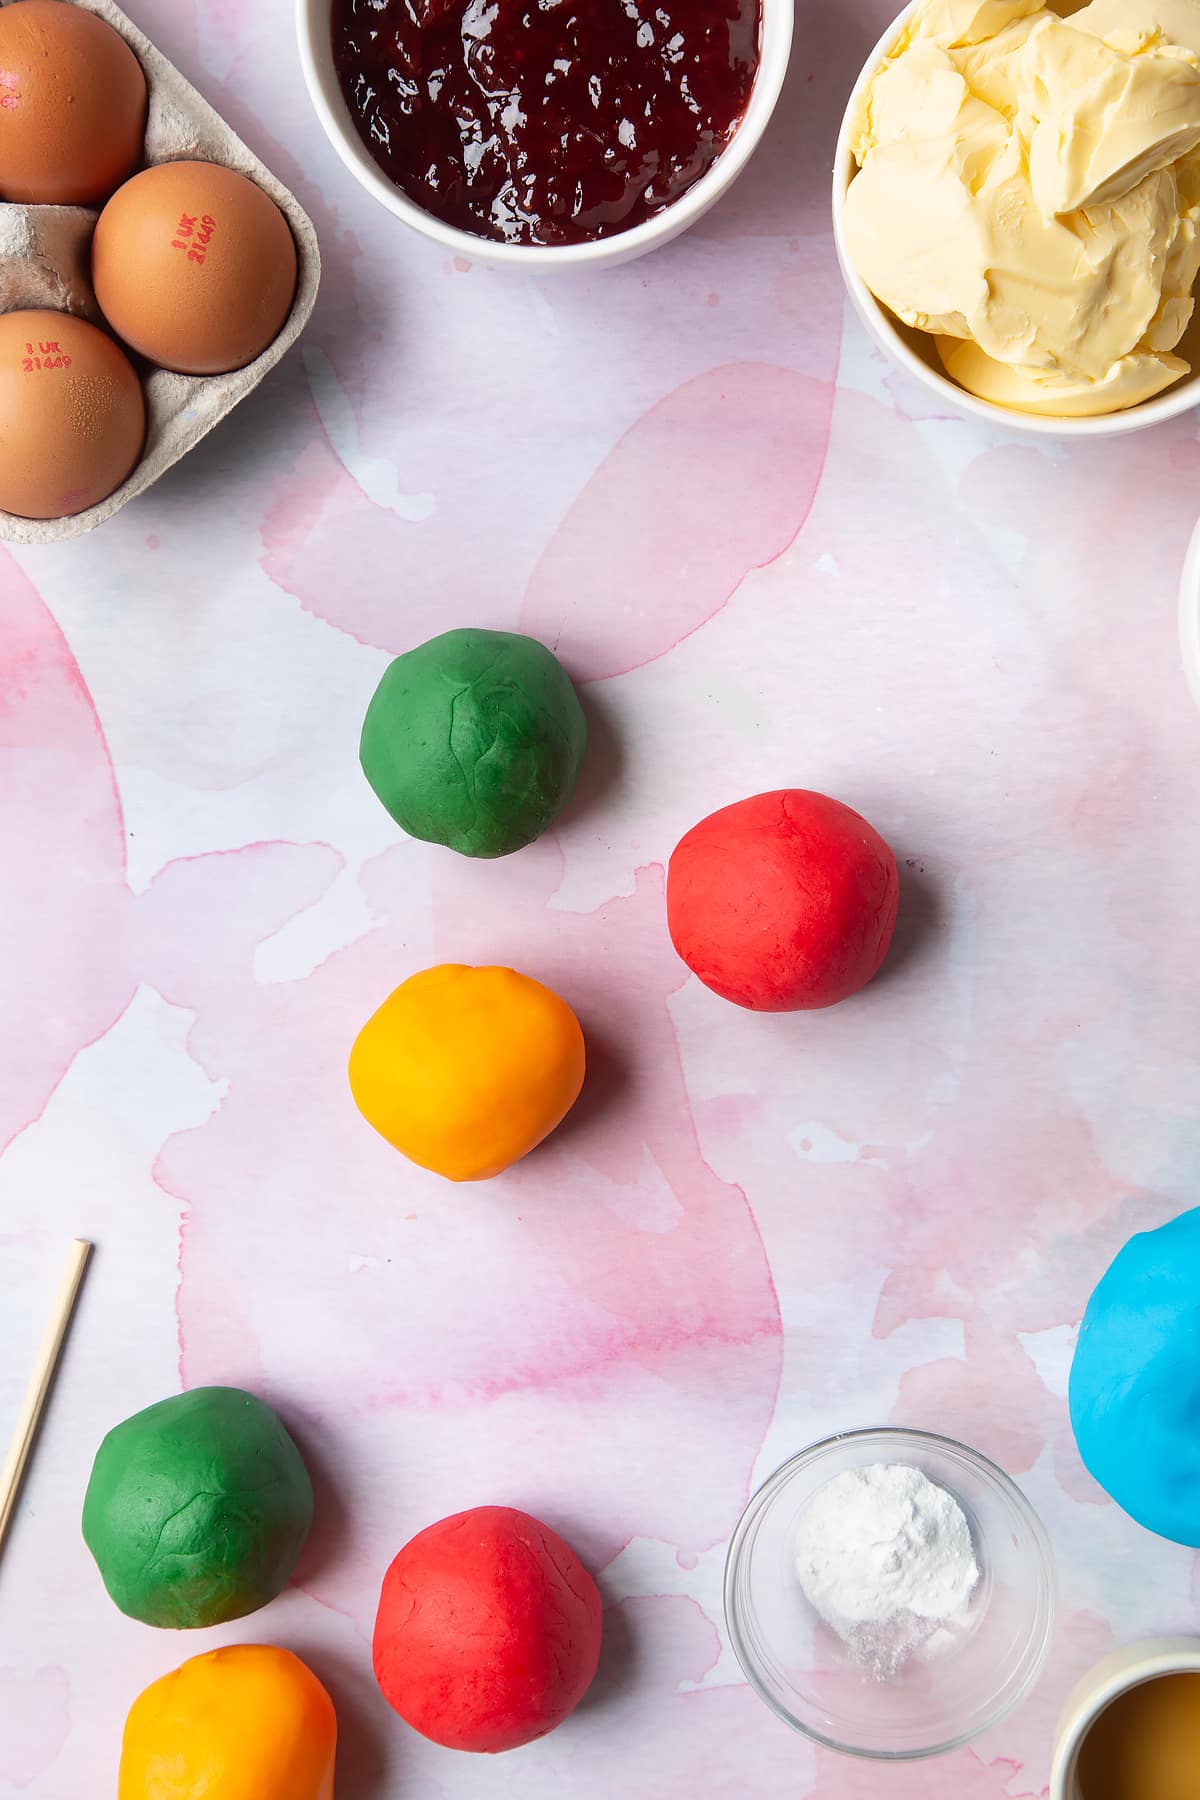
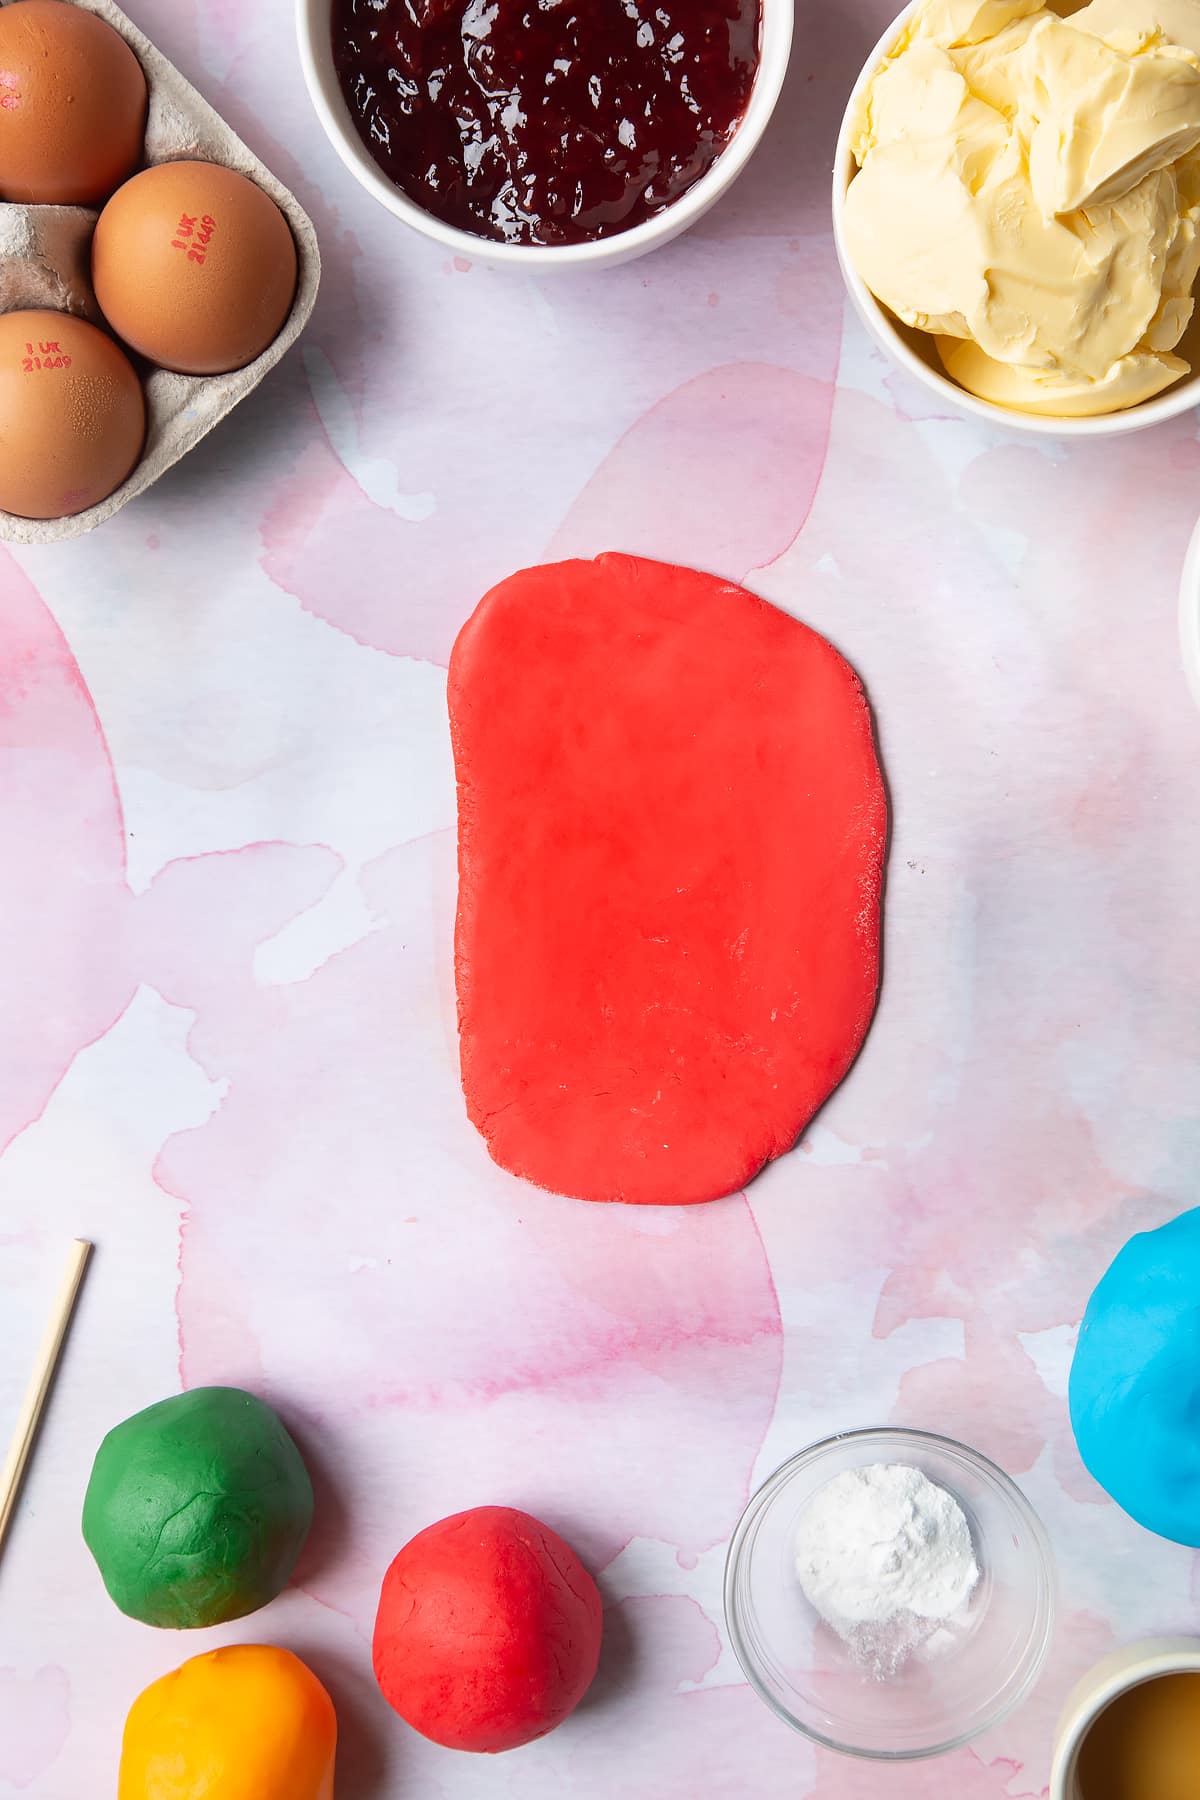
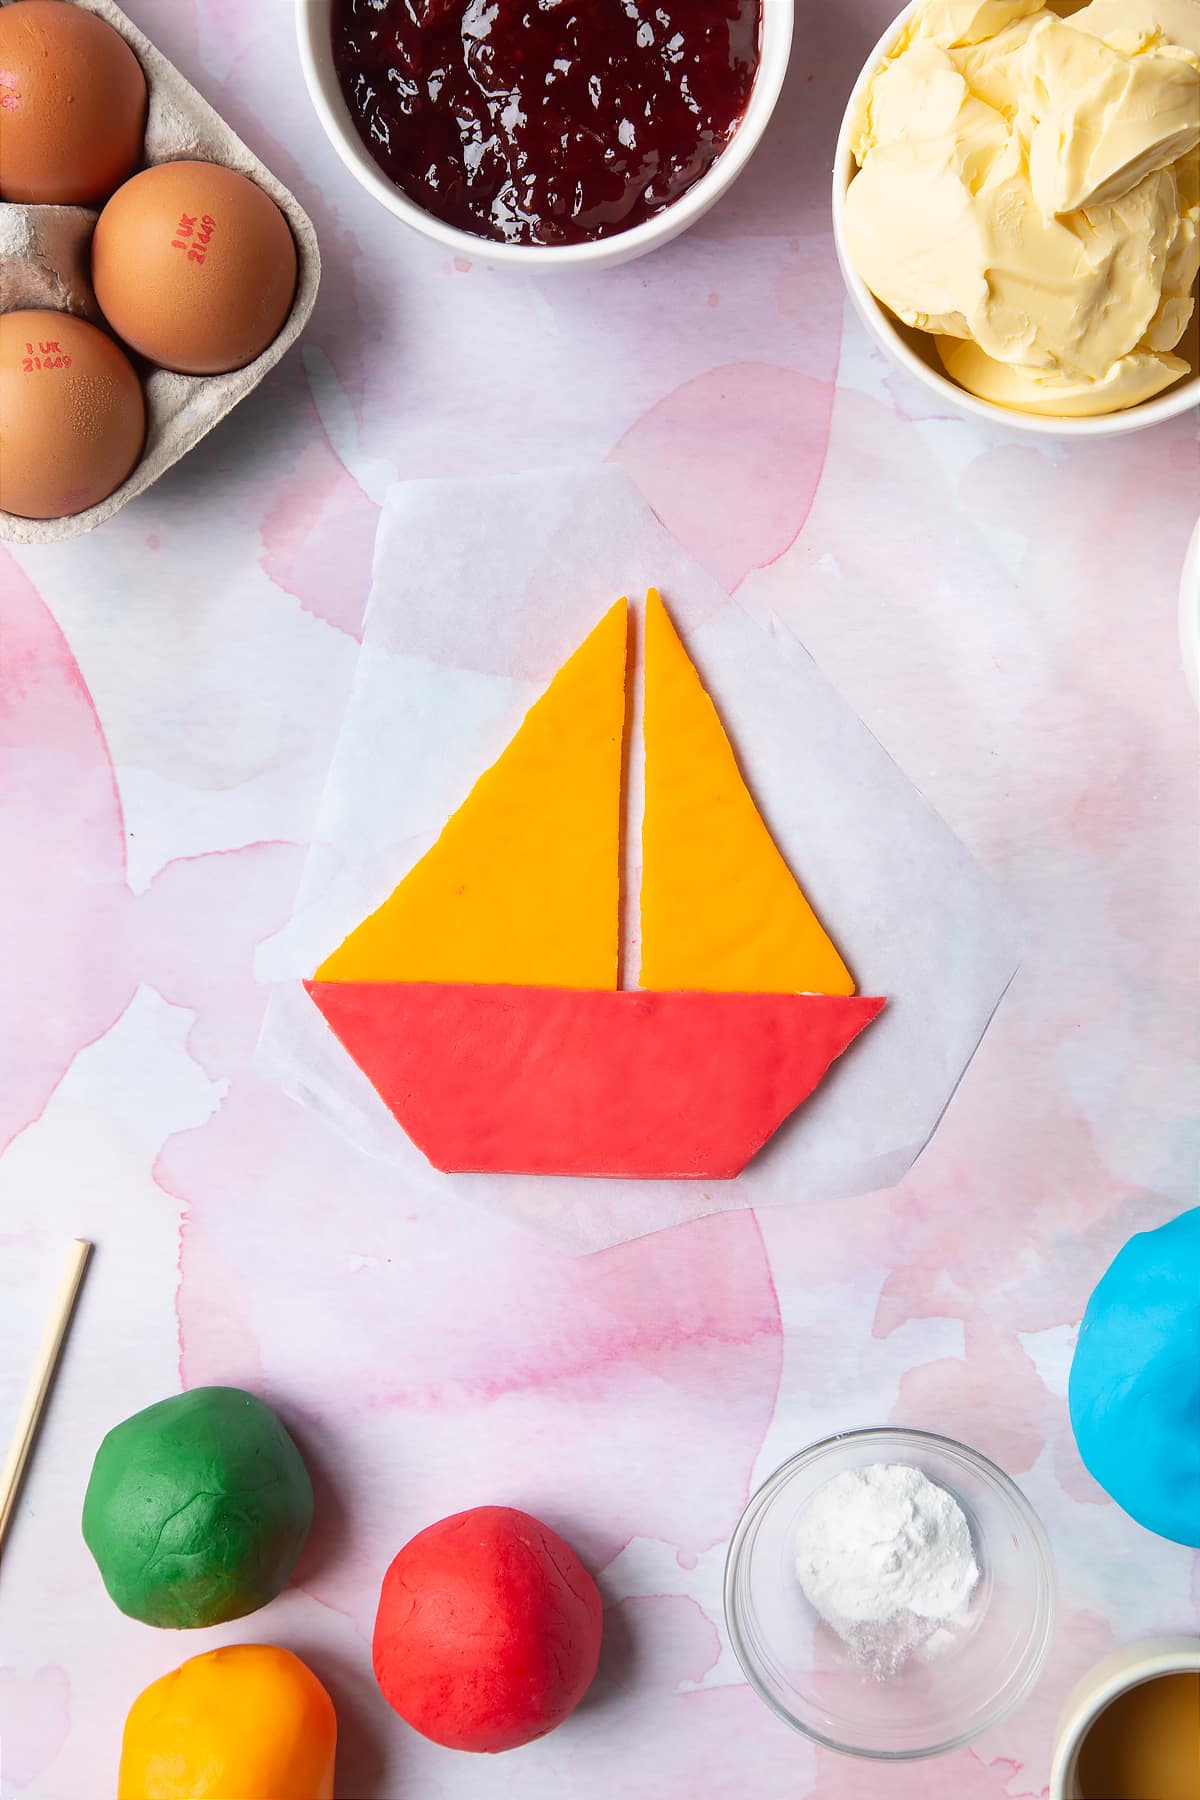
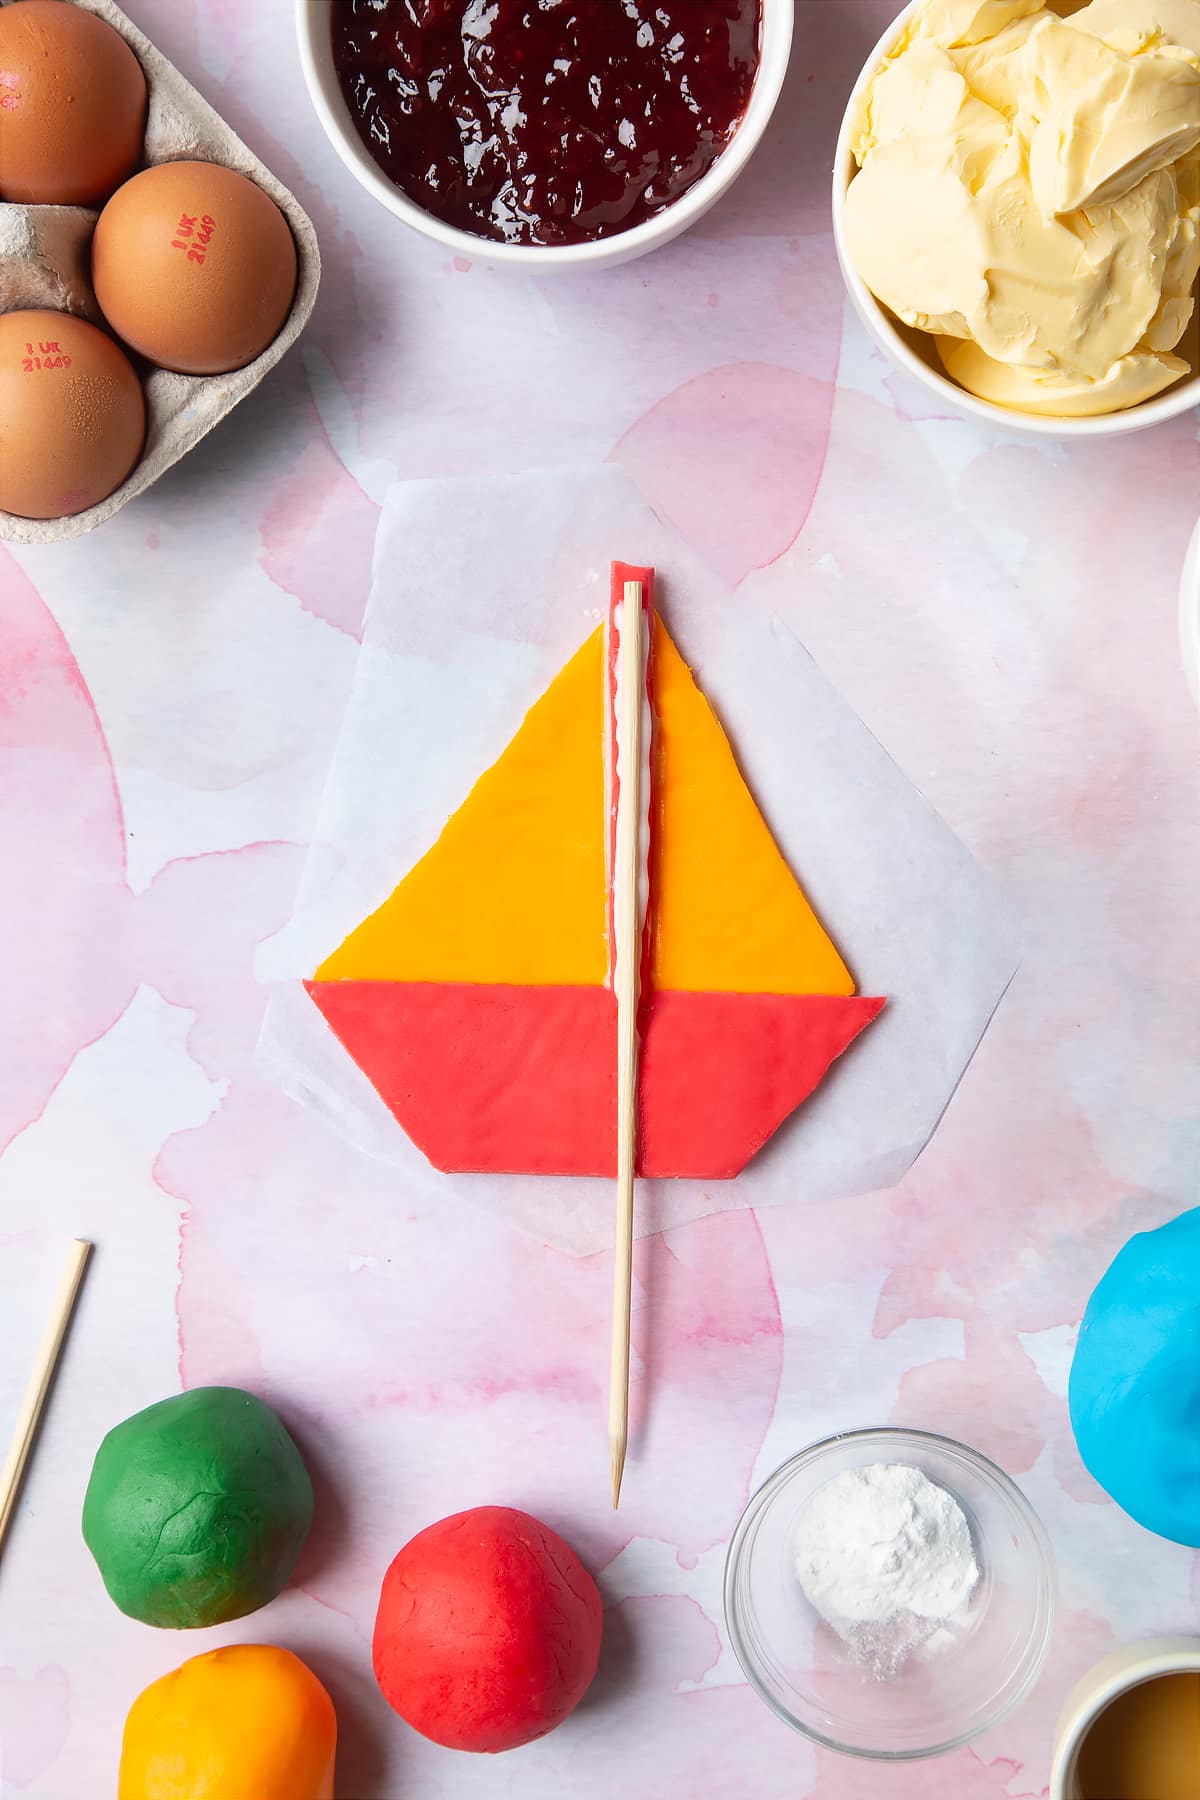
Roll out the red sugar paste to about 7mm (1/4 inch) thick.
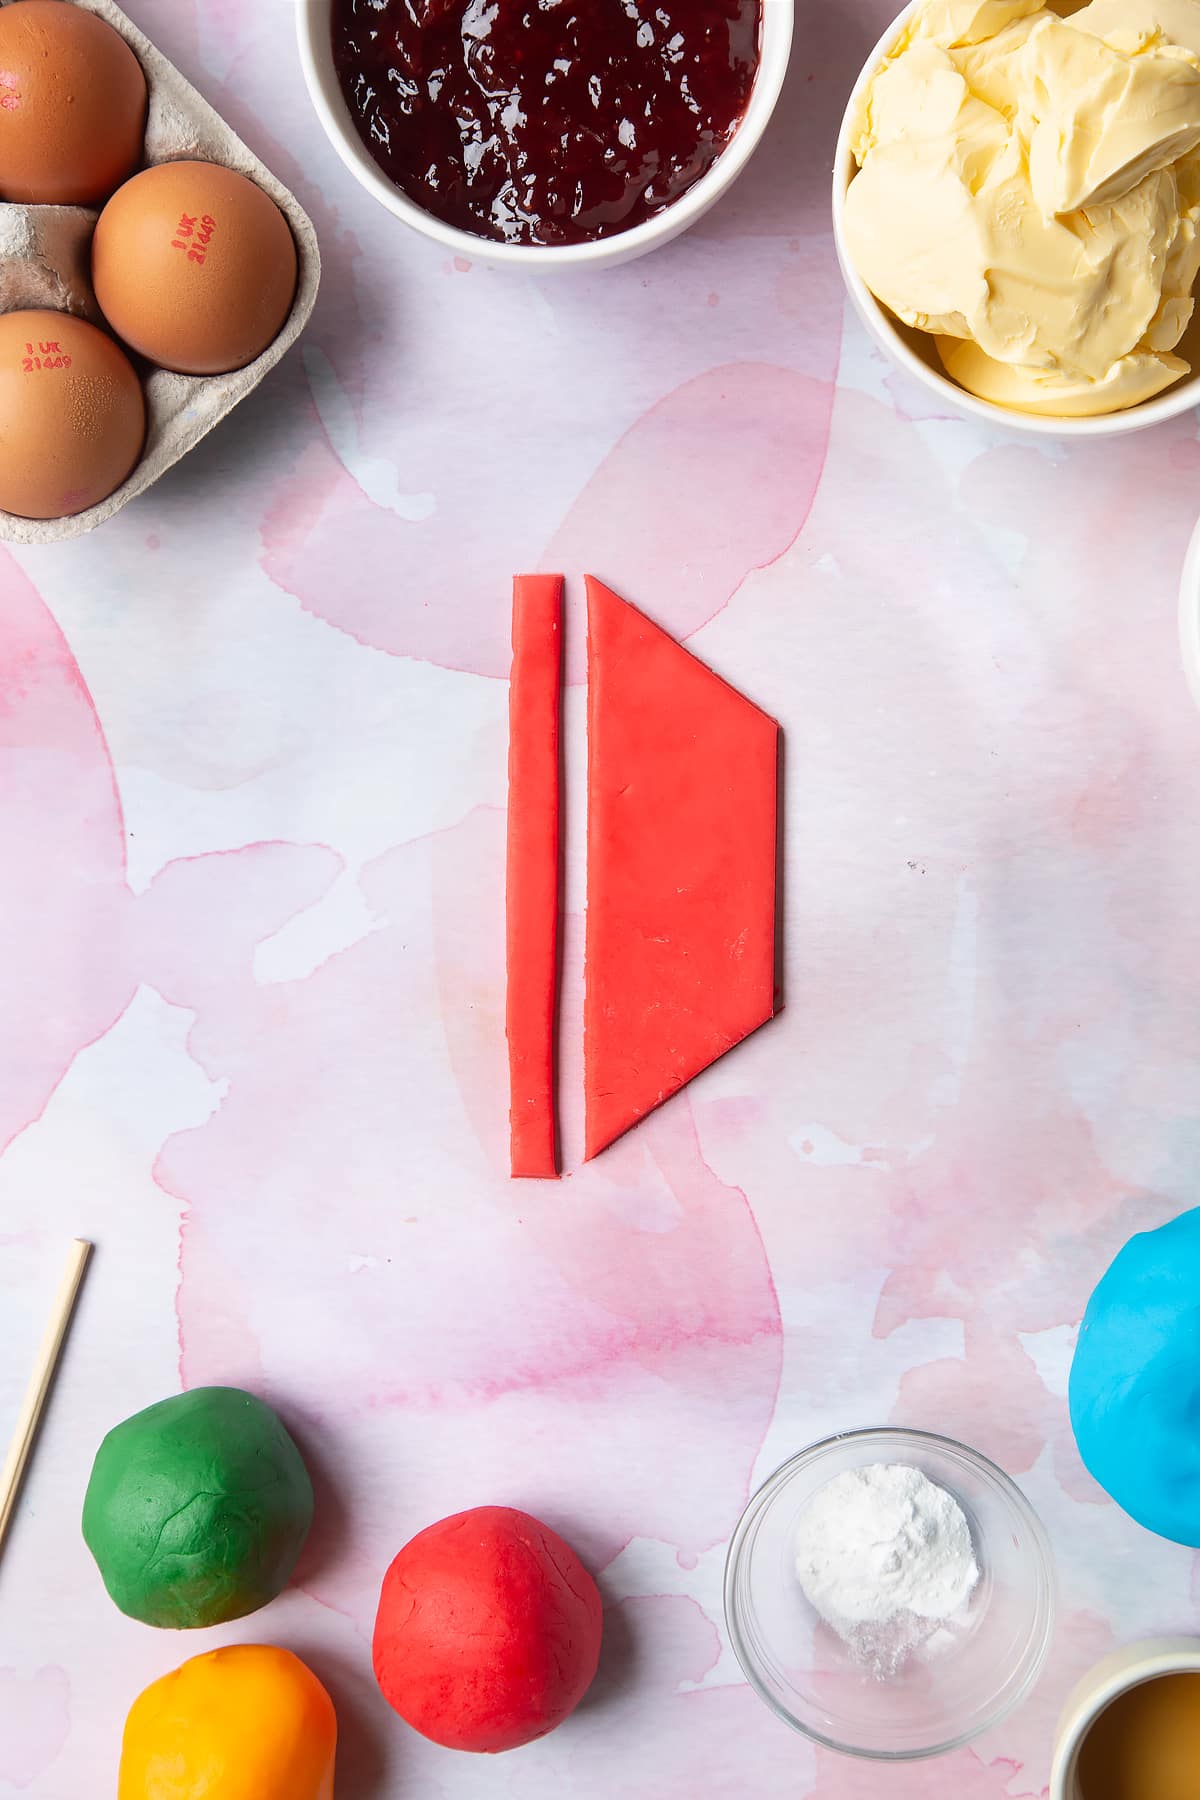
Cut out a shape for the base of the boat.
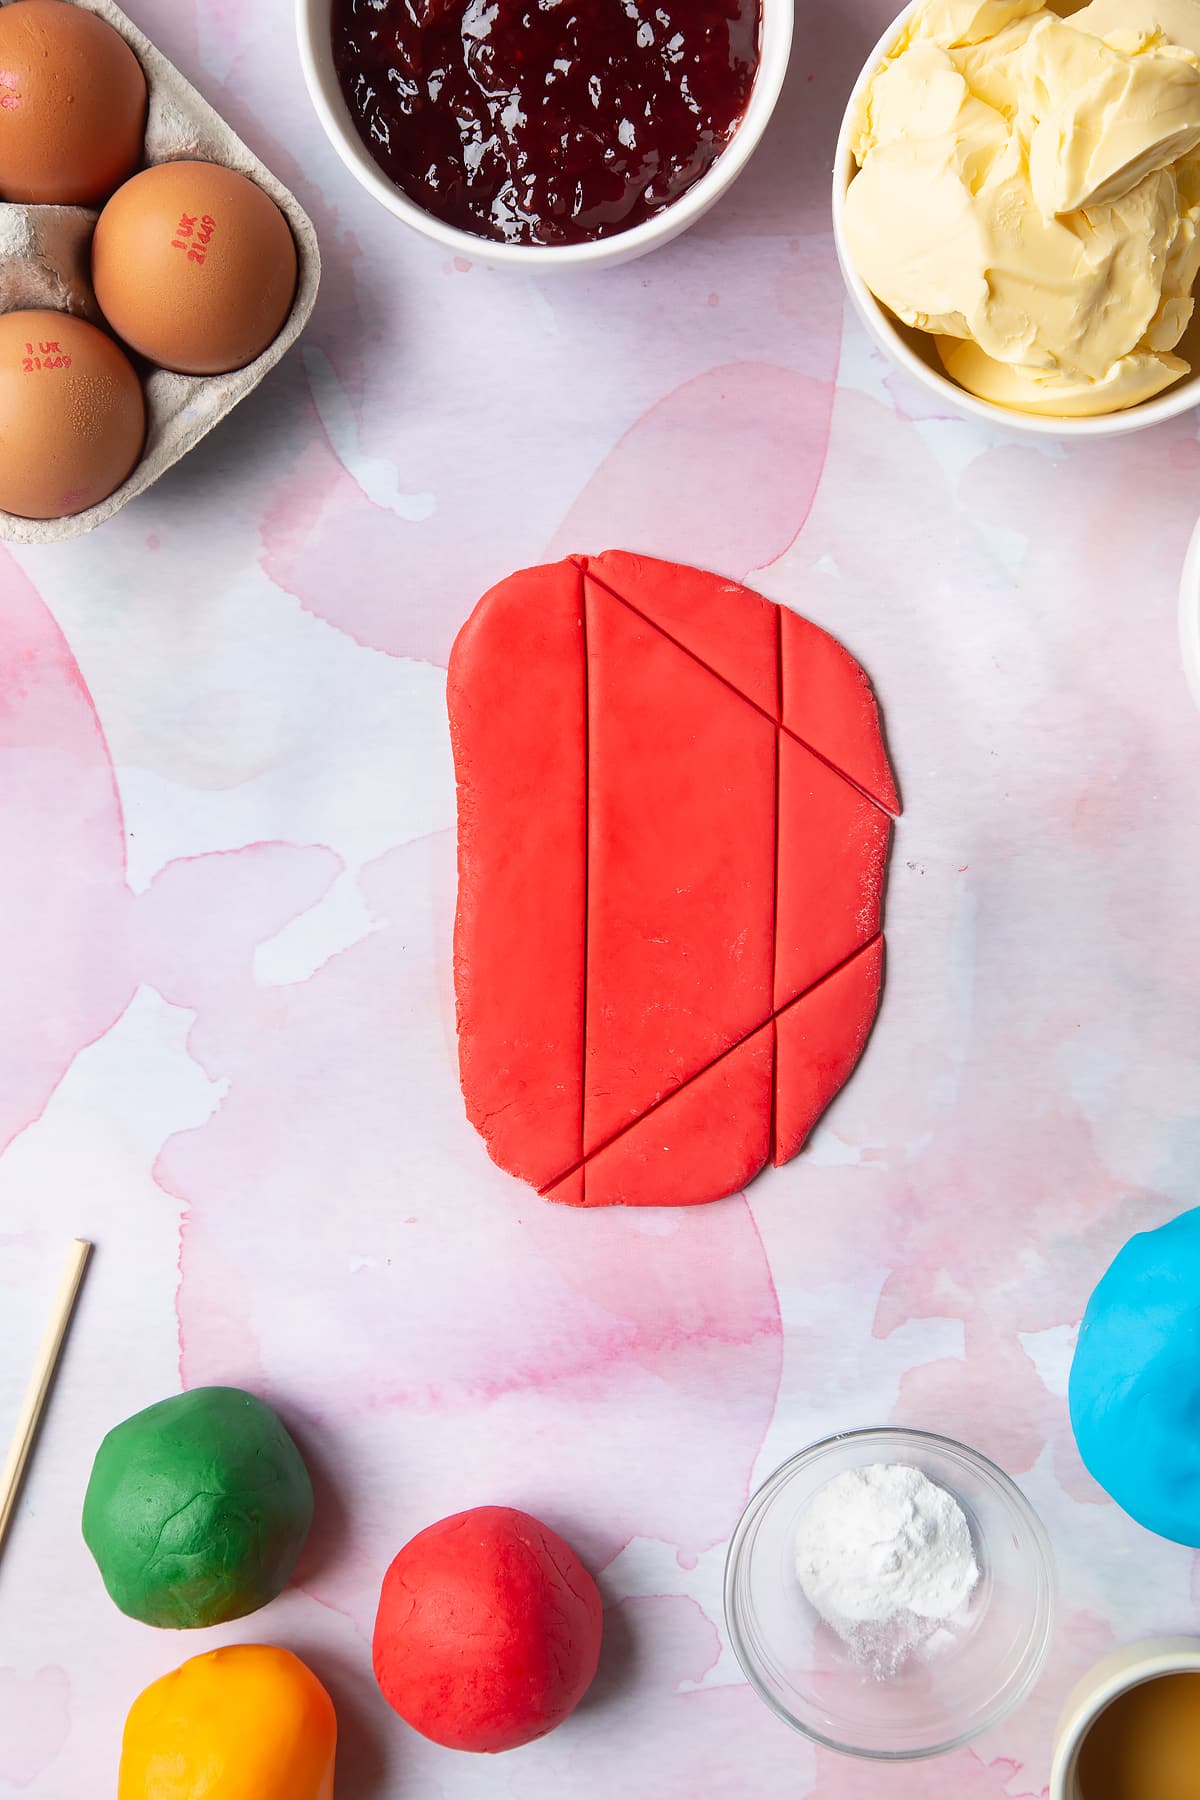
From the offcuts, cut a thin strip that will act at the mast.
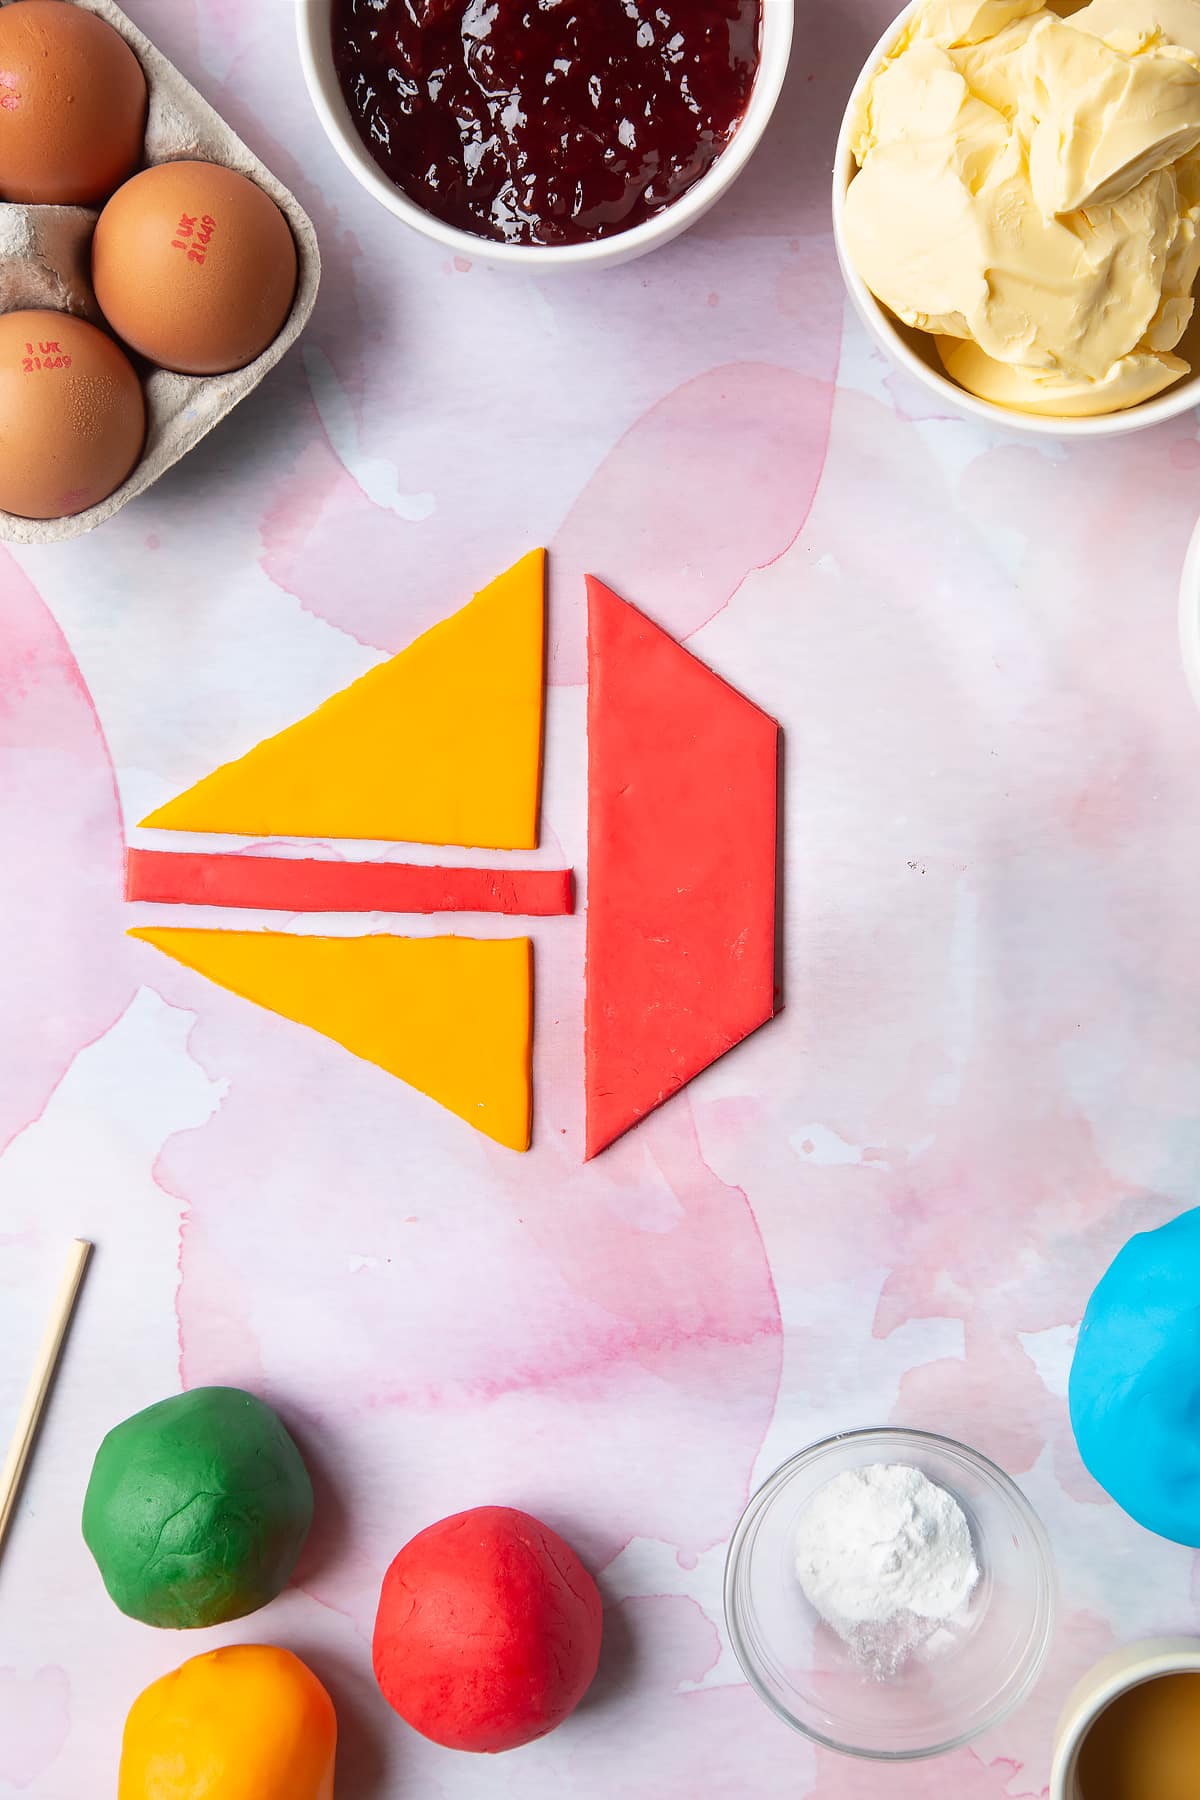
Roll out the yellow sugar paste to the same thickness and cut out two sails.
Finally, use the green sugar paste to make some portholes. I used a small piping nozzle to cut mine. Brush a little water on the back of the circles to help them stick.

Place all the pieces on a tray lined with baking paper.

Now, you can either leave your sugar paste overnight to dry, or you can set your oven to its very lowest setting and place the tray on the middle shelf.
After about 10 minutes, the sugar paste will be soft due to the heat, but it will have lost a lot of moisture. Don't touch it, just allow it to cool and you should find that it has become hard enough to hold its shape.
Make the sponges
Preheat the oven to 180C (160C fan, 350F).
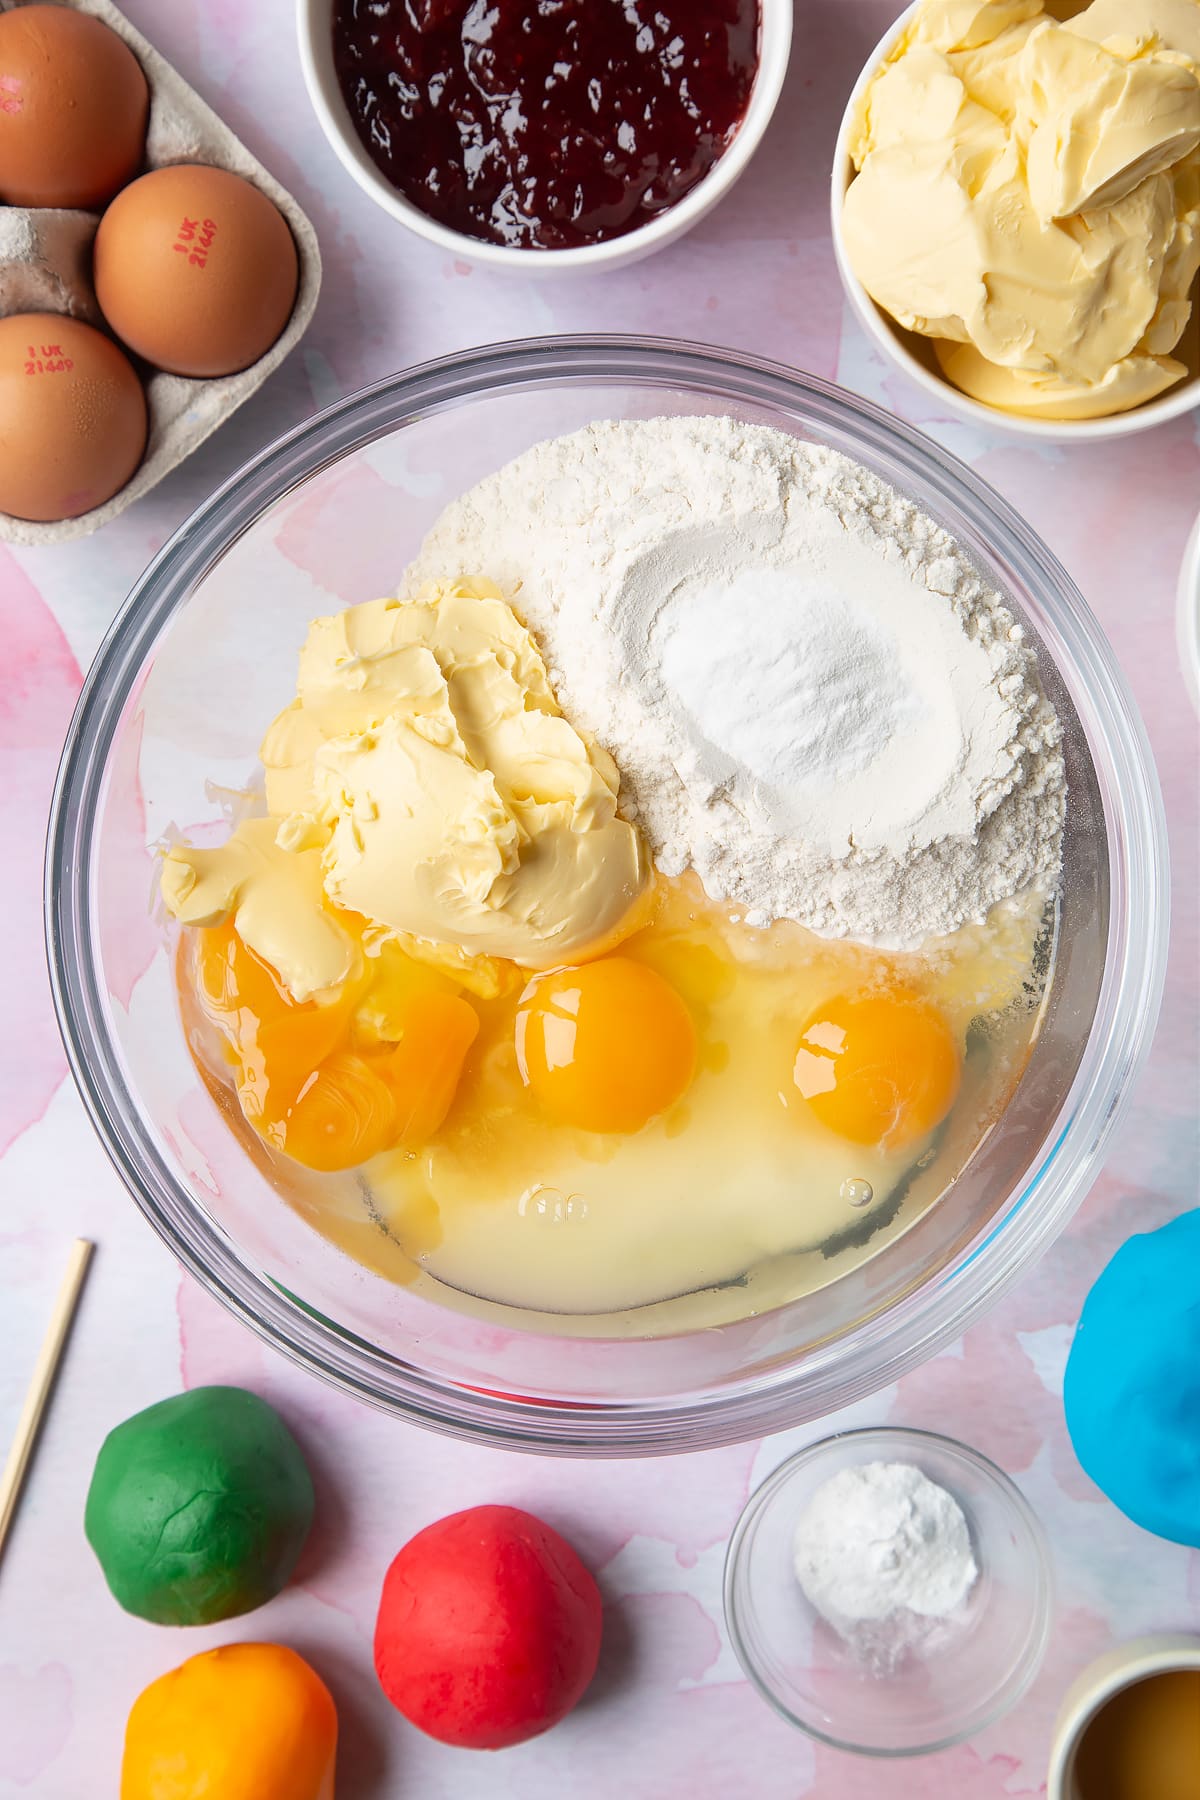
Put the margarine, sugar, eggs, vanilla, self-raising flour and baking powder in a large bowl.
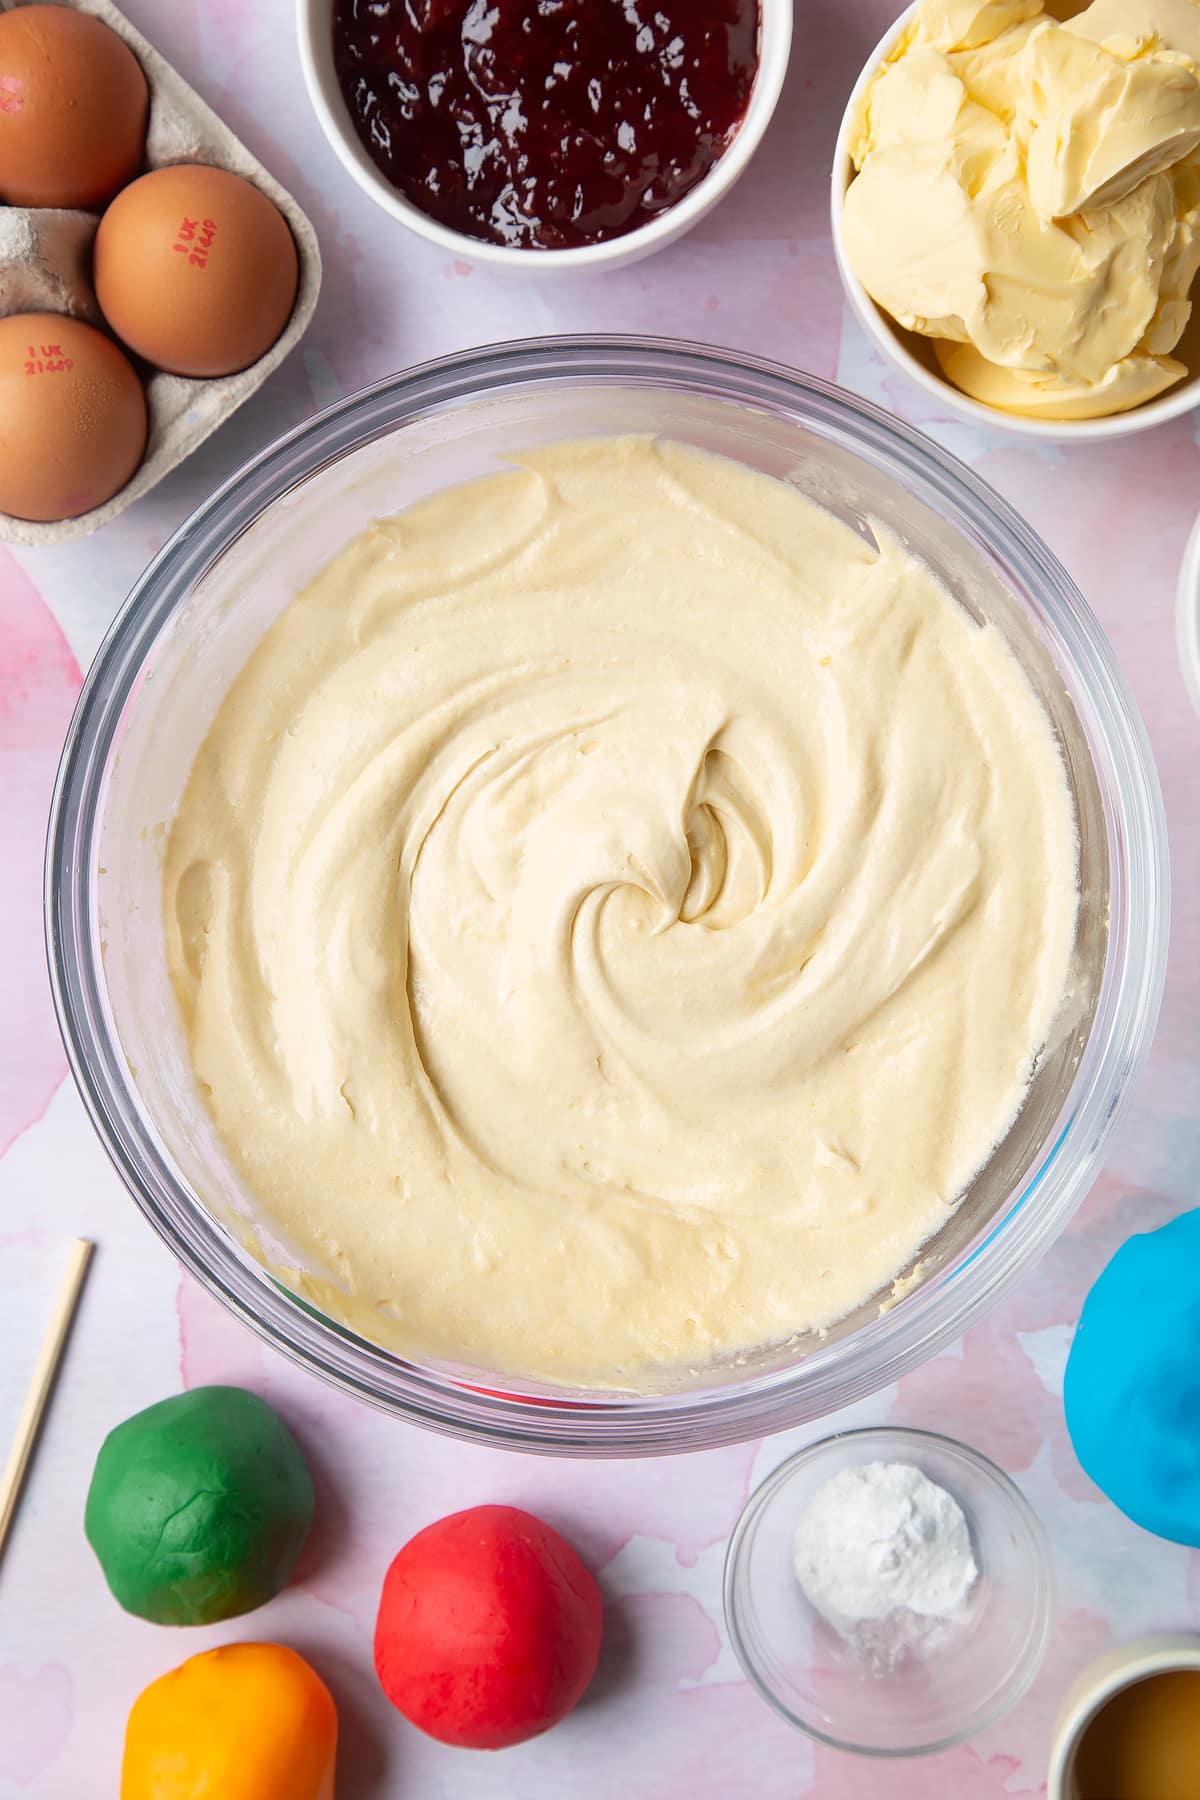
Beat with an electric whisk until the cake mixture is even and well combined.
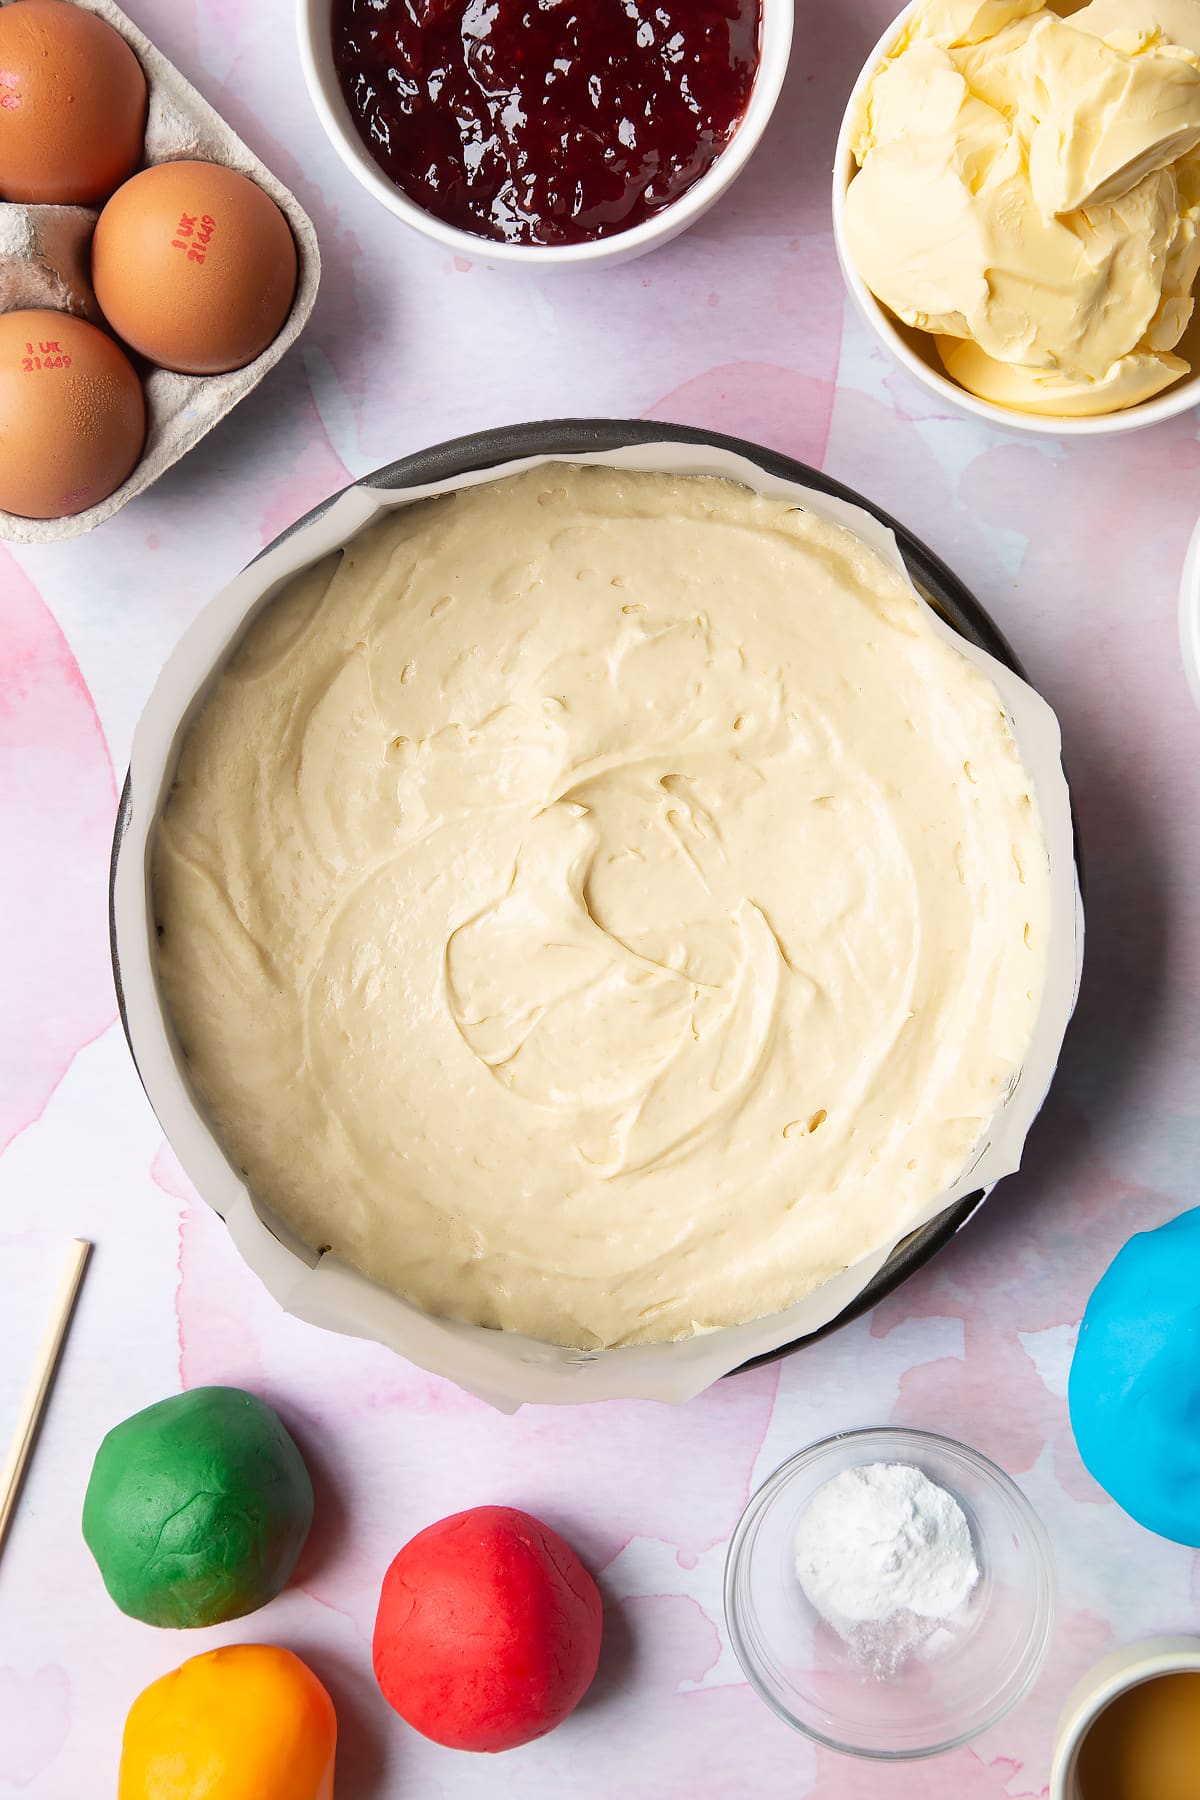
Divide the mixture between two greased and lined 20cm (8 inch) sandwich cake tins.
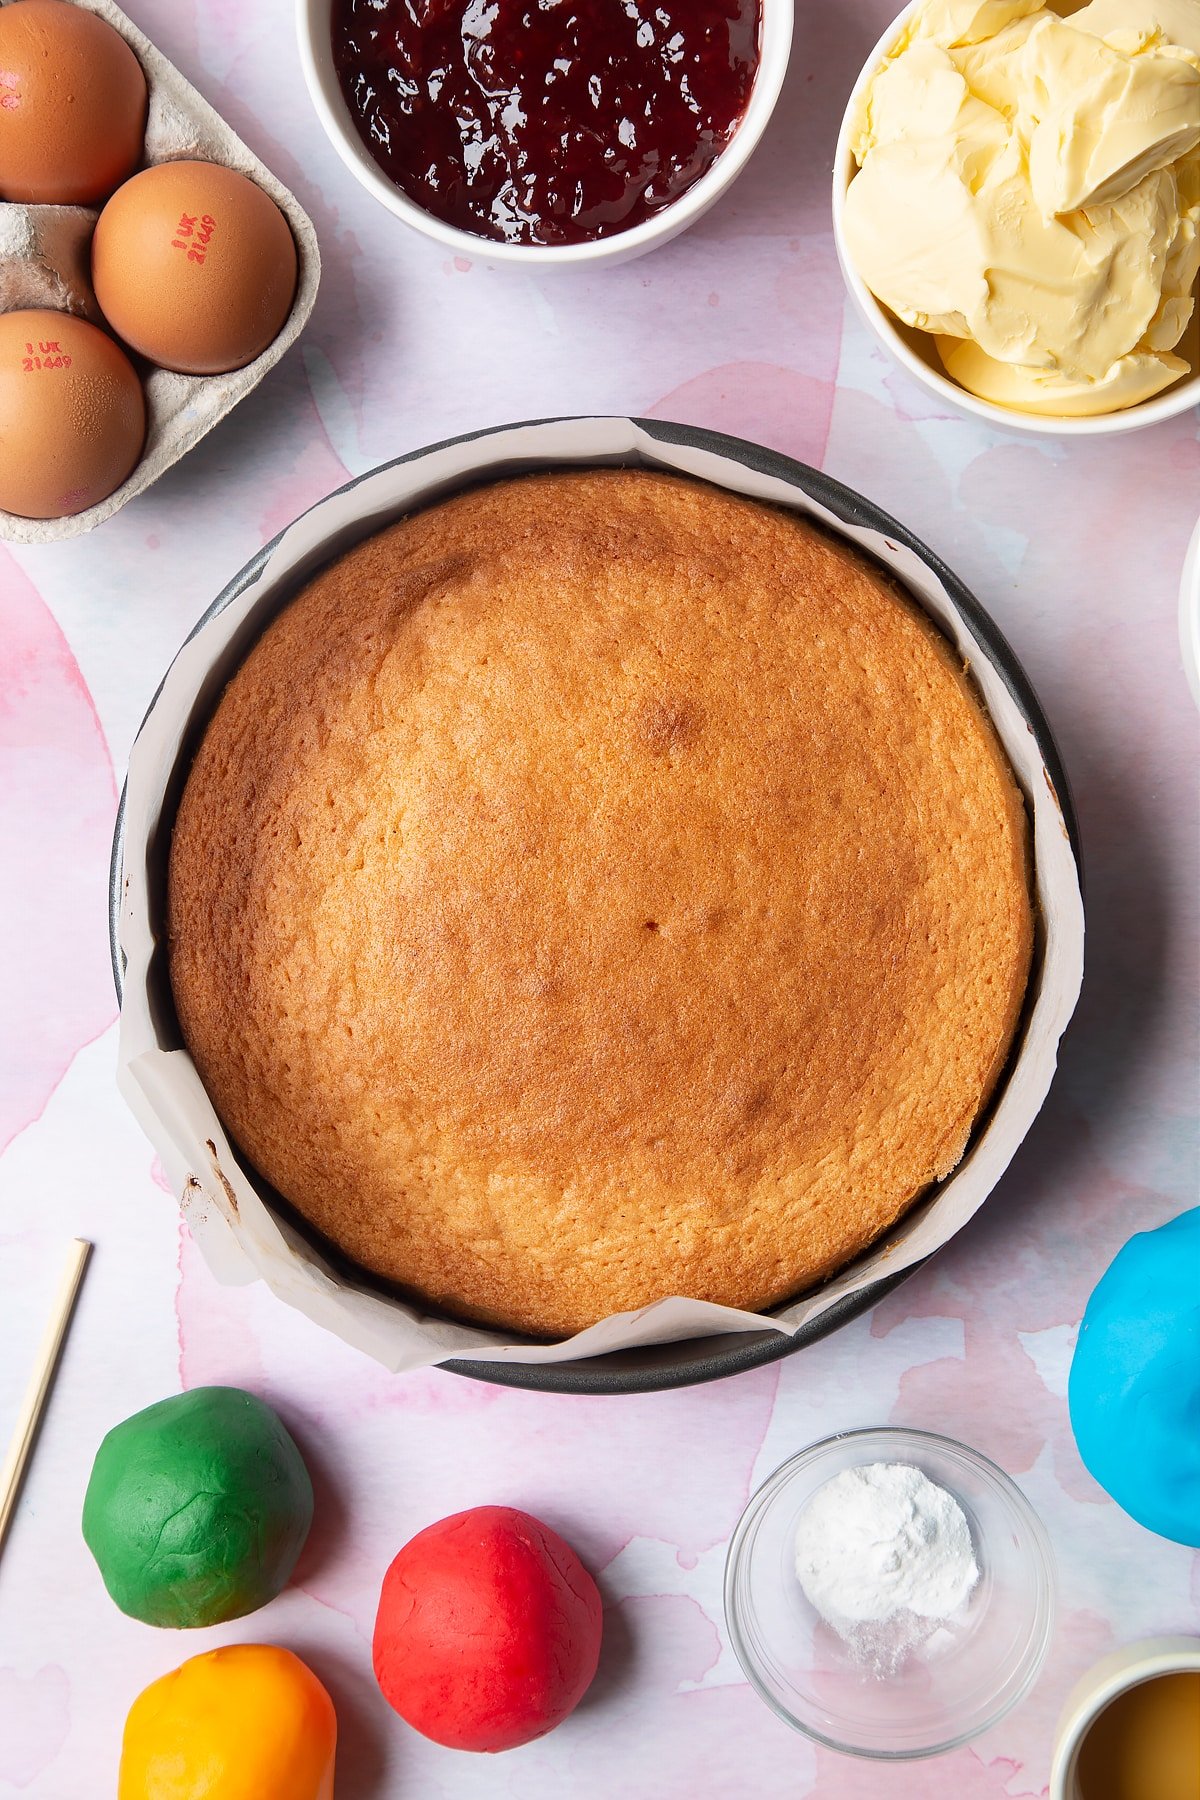
Bake in the oven for 25-30 minutes until golden and springy to the touch. Place the cakes onto a wire rack and allow to cool fully.
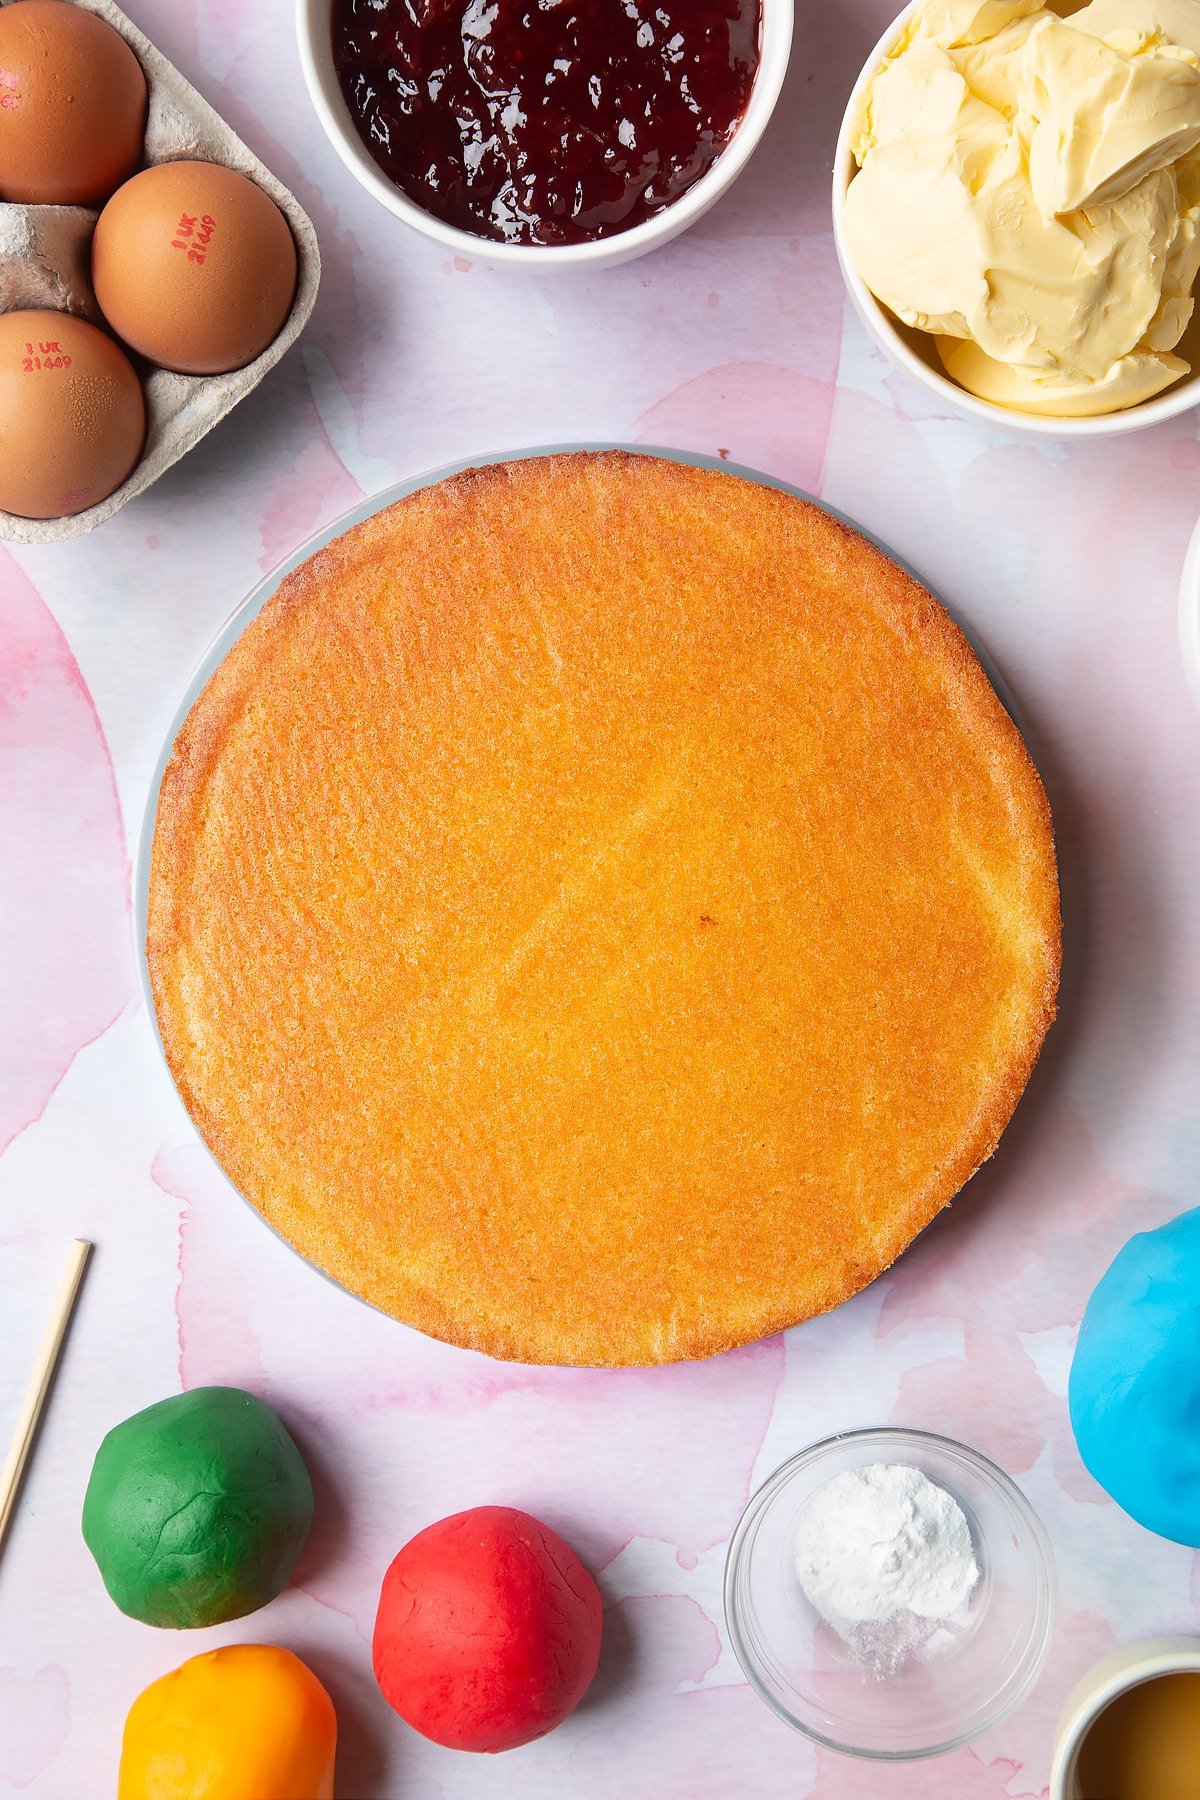
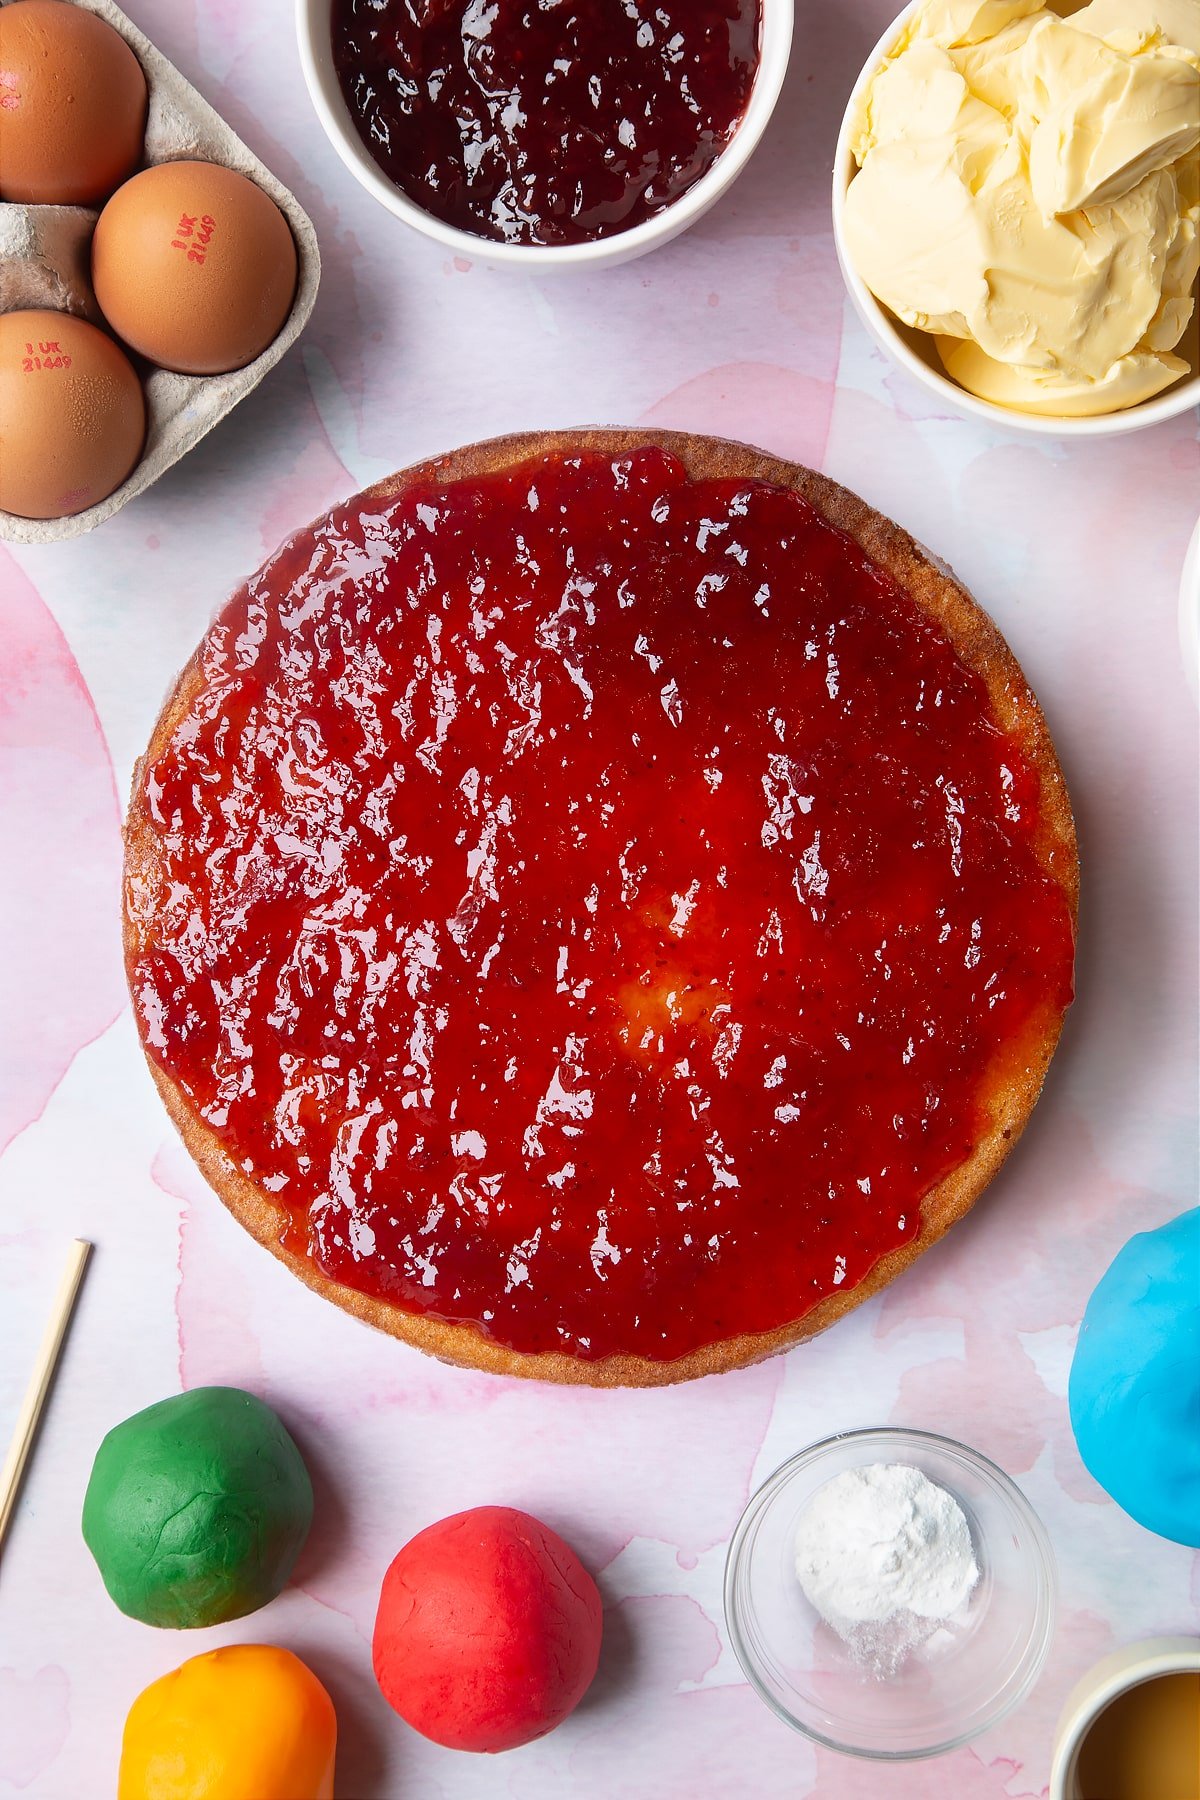
Fill the cake
Place on of your cakes upside down on a plate or cake stand.
Pile half the jam on top.
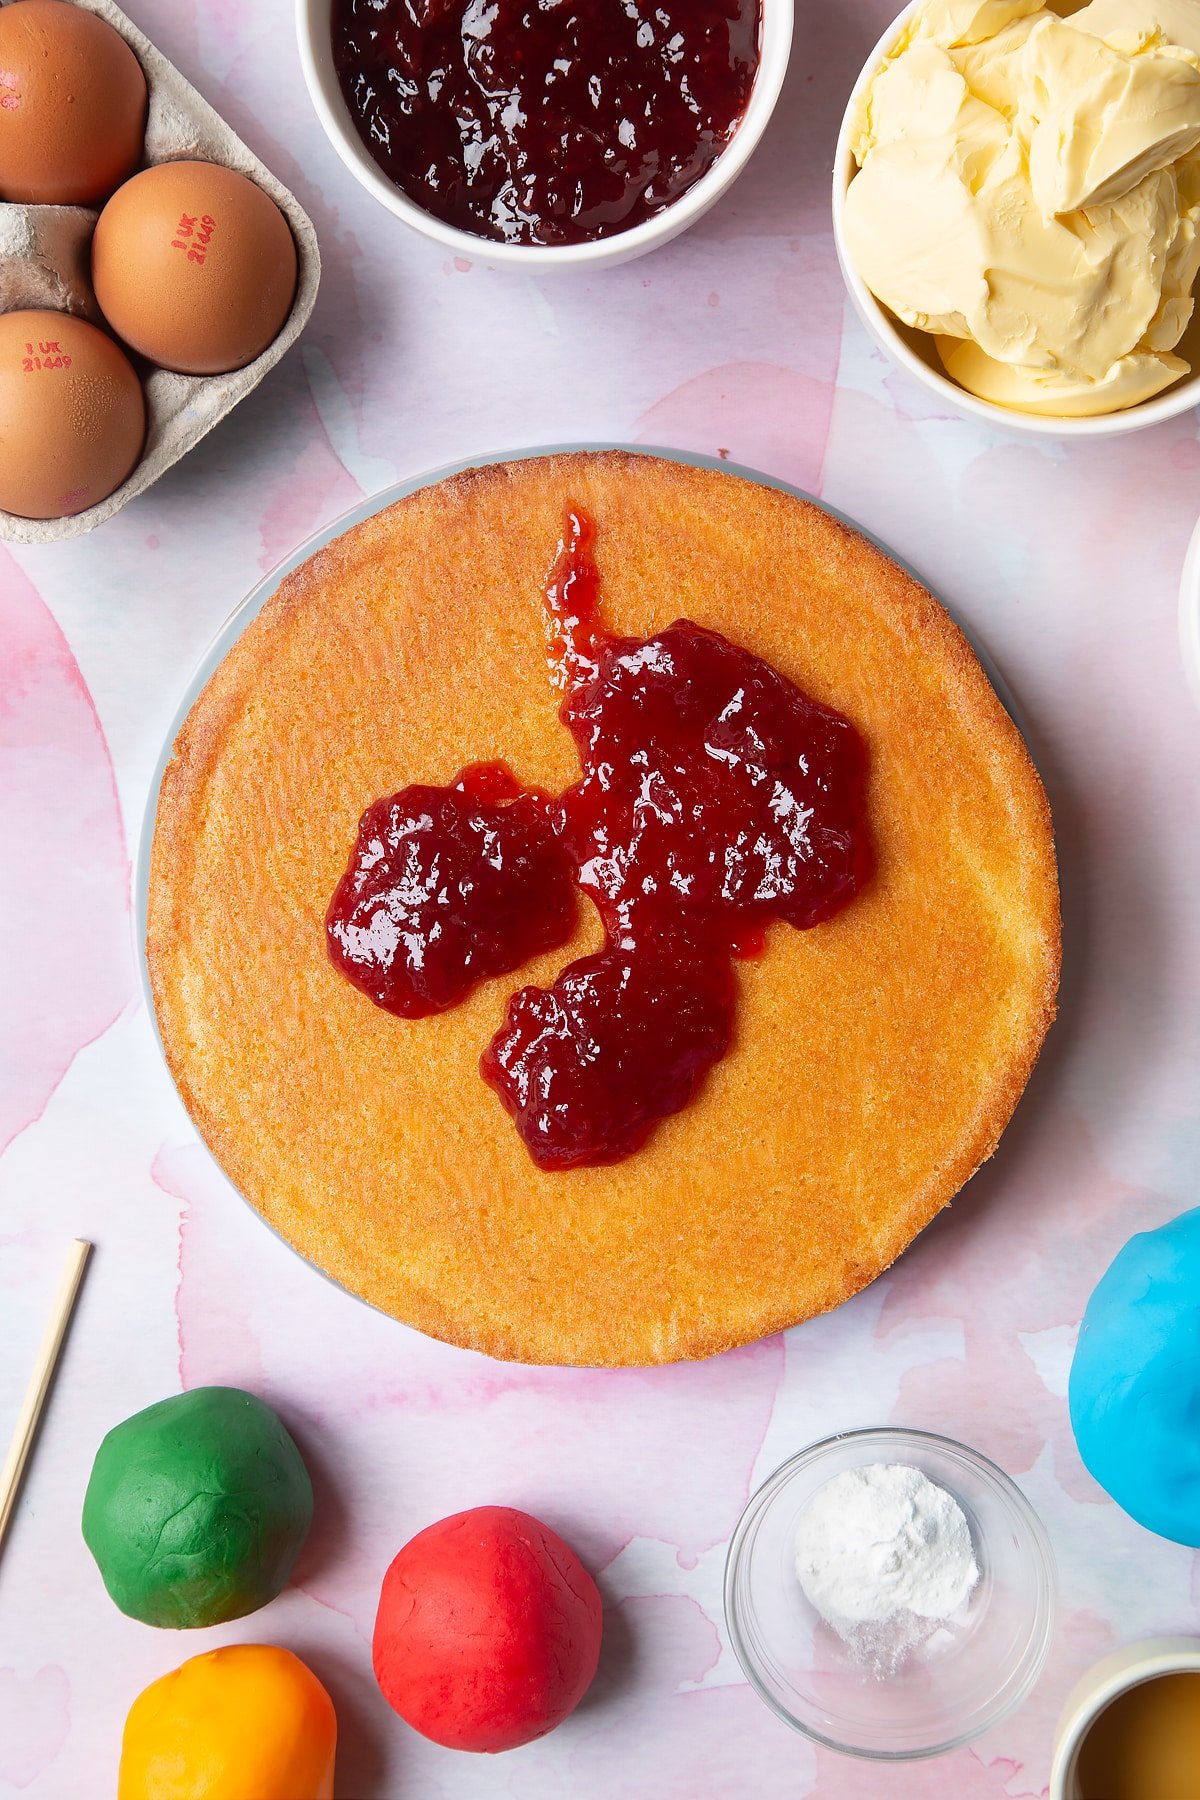
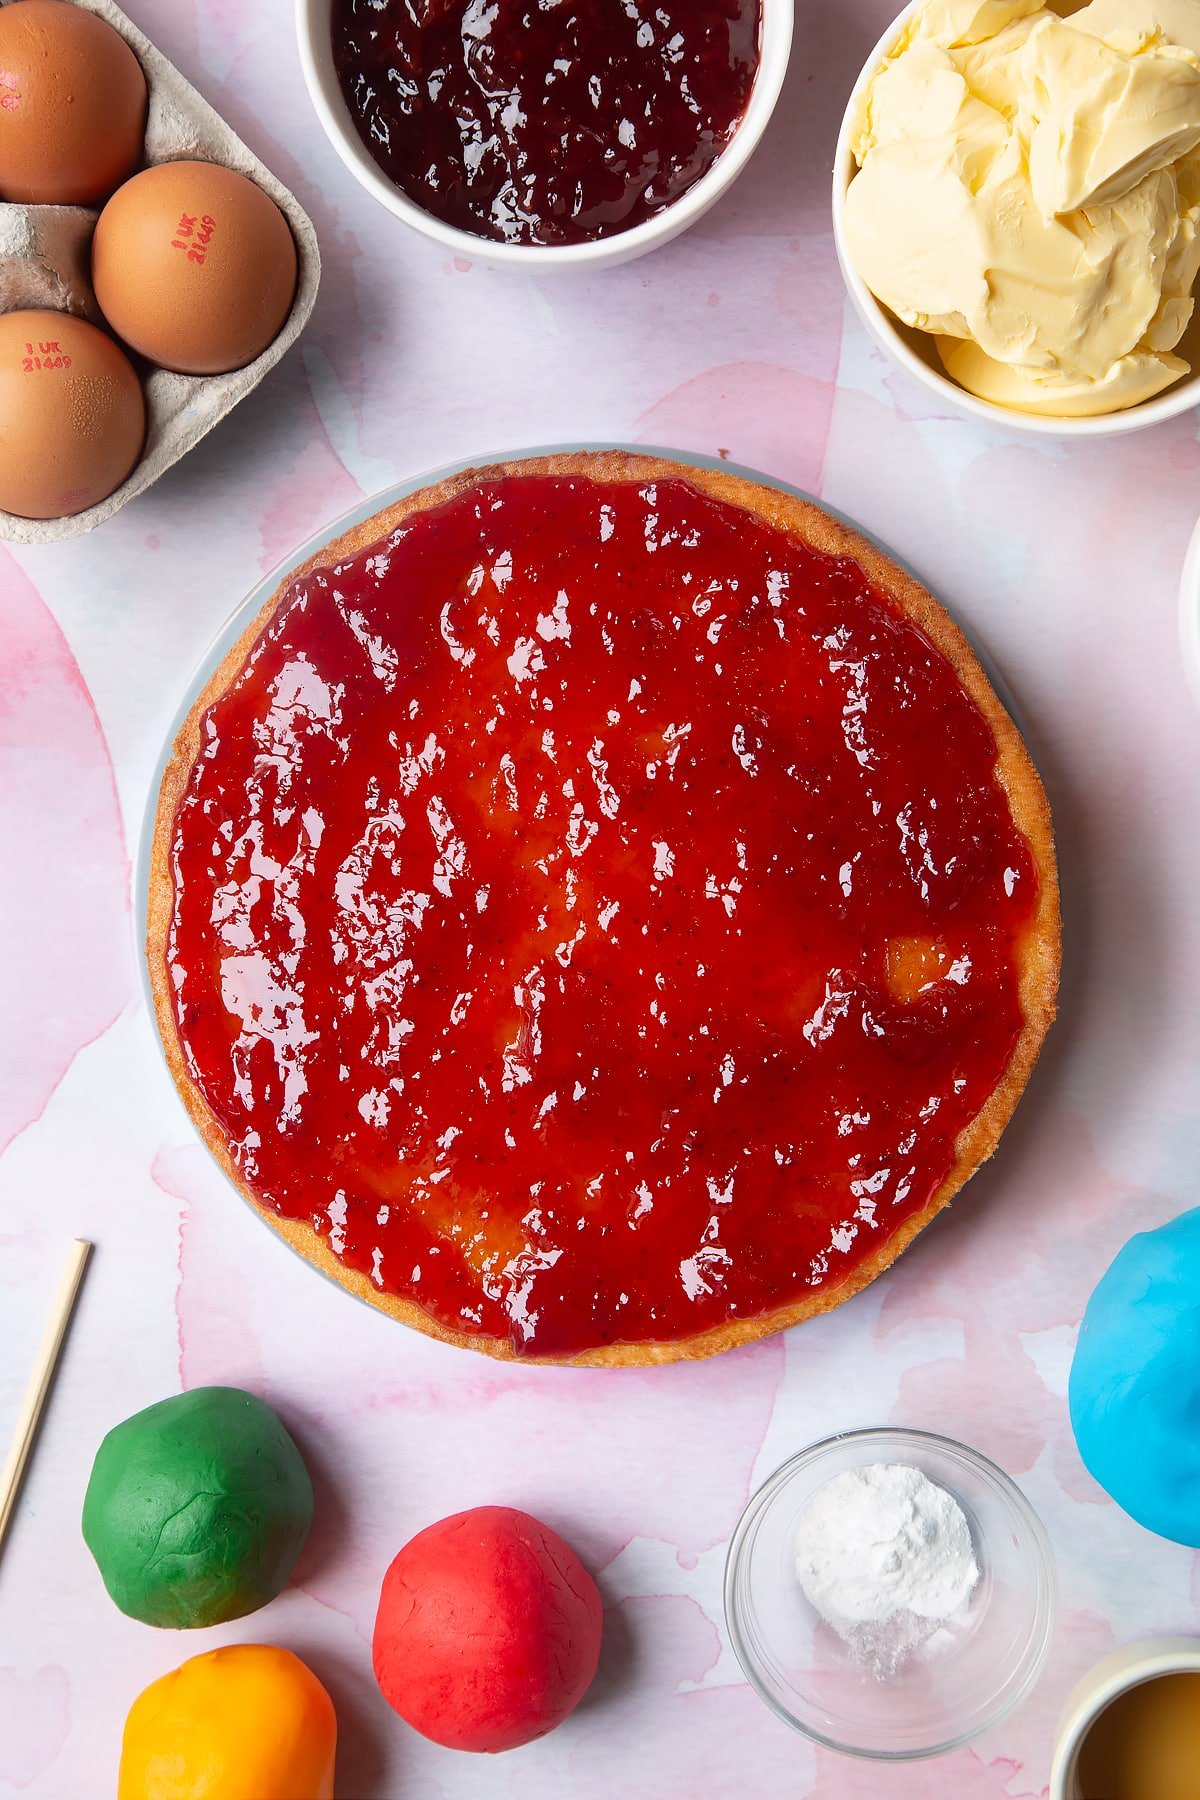
Spread the jam to the edges of the cake. Spread the remaining jam onto the top of the cake.
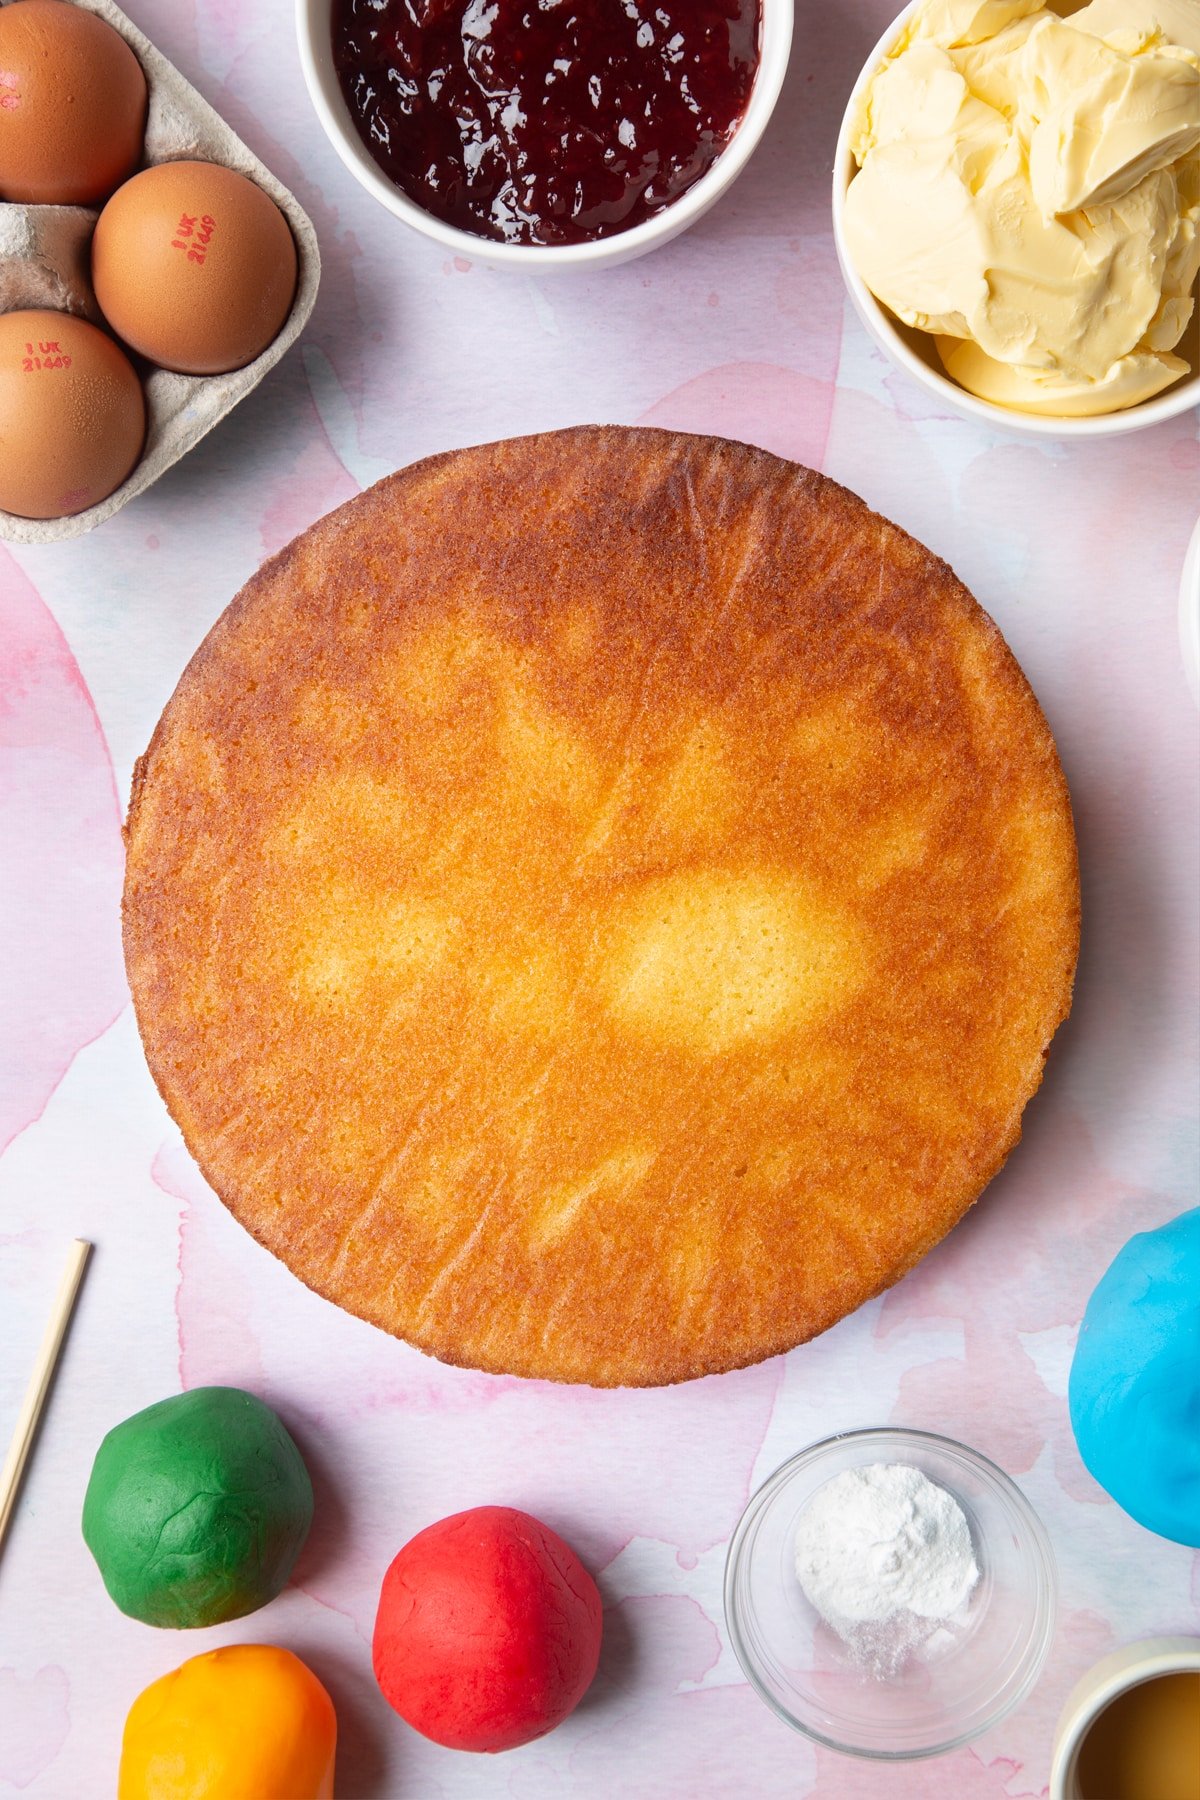
Place the second cake on top (also upside down).
Spread with the remaining jam.
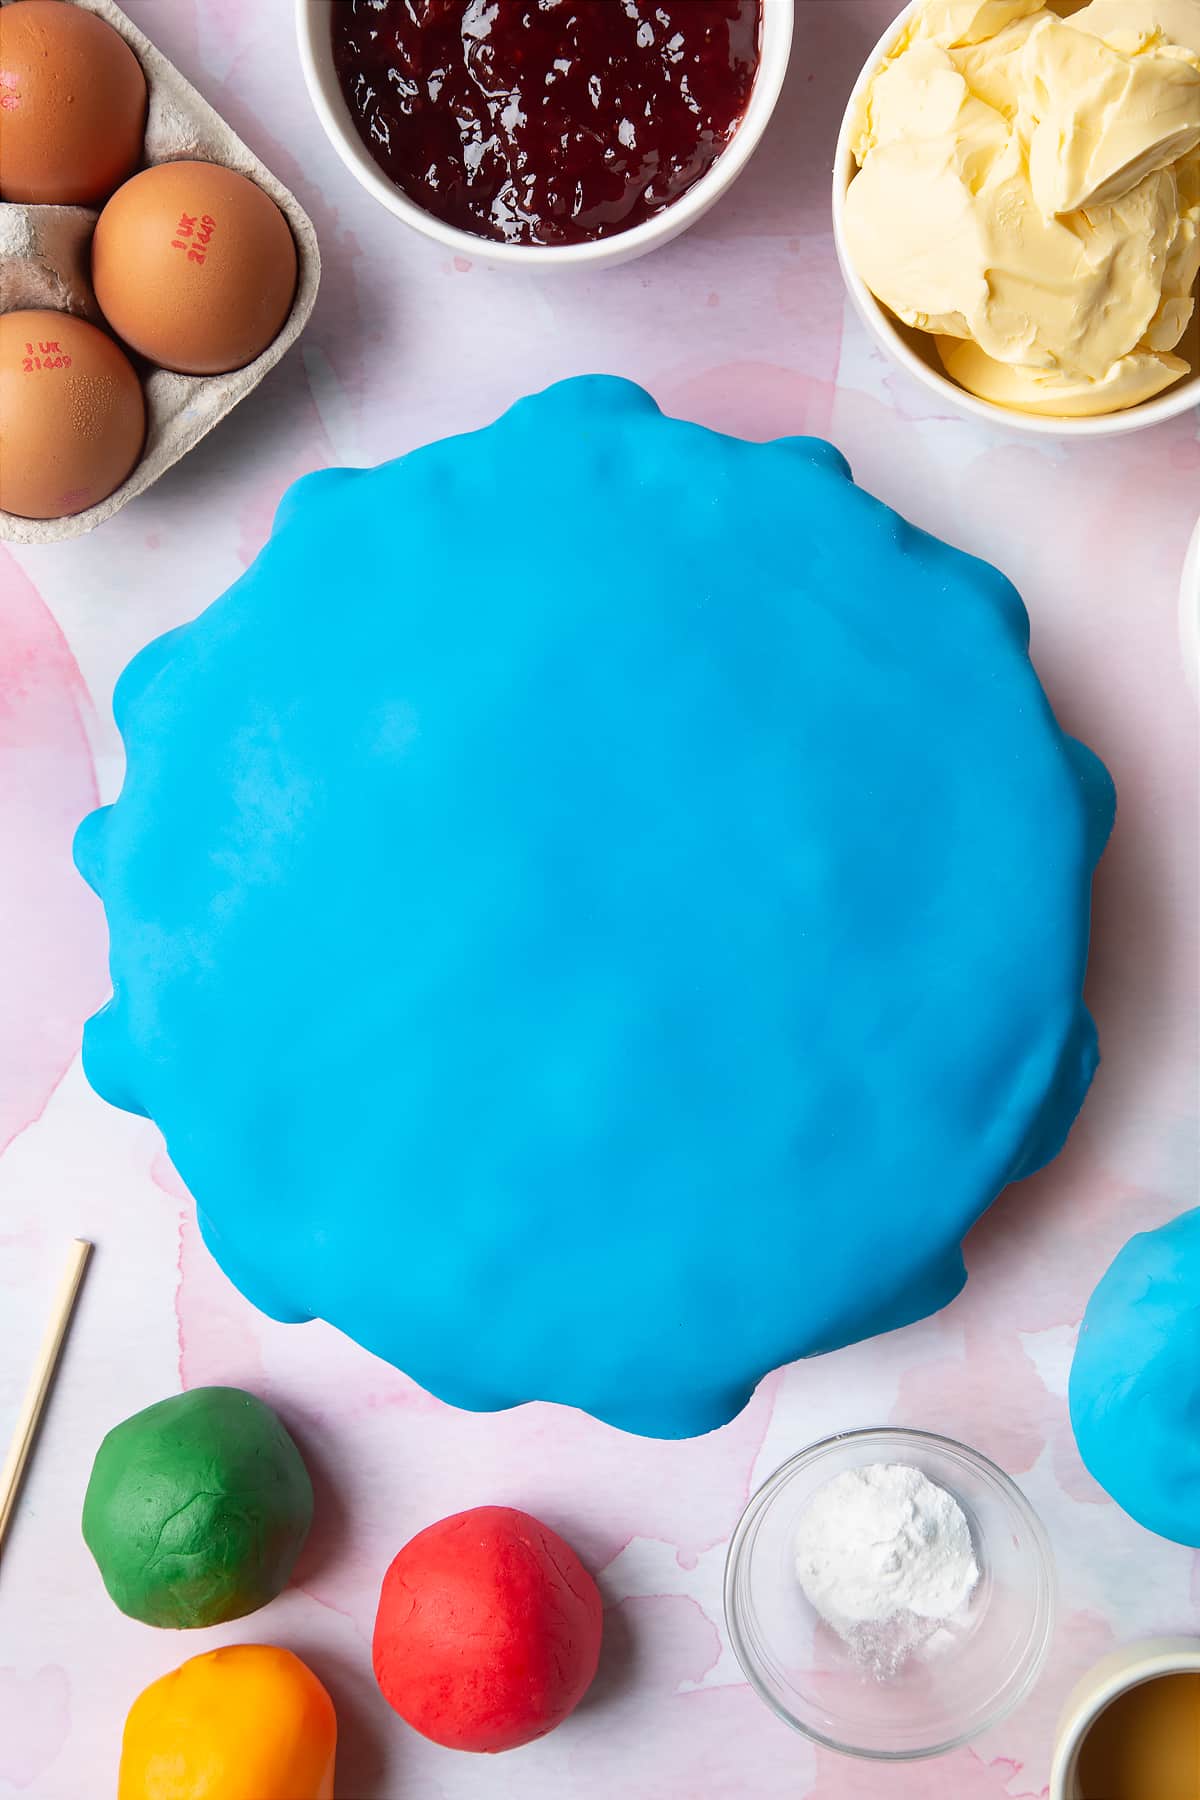
Cover the cake
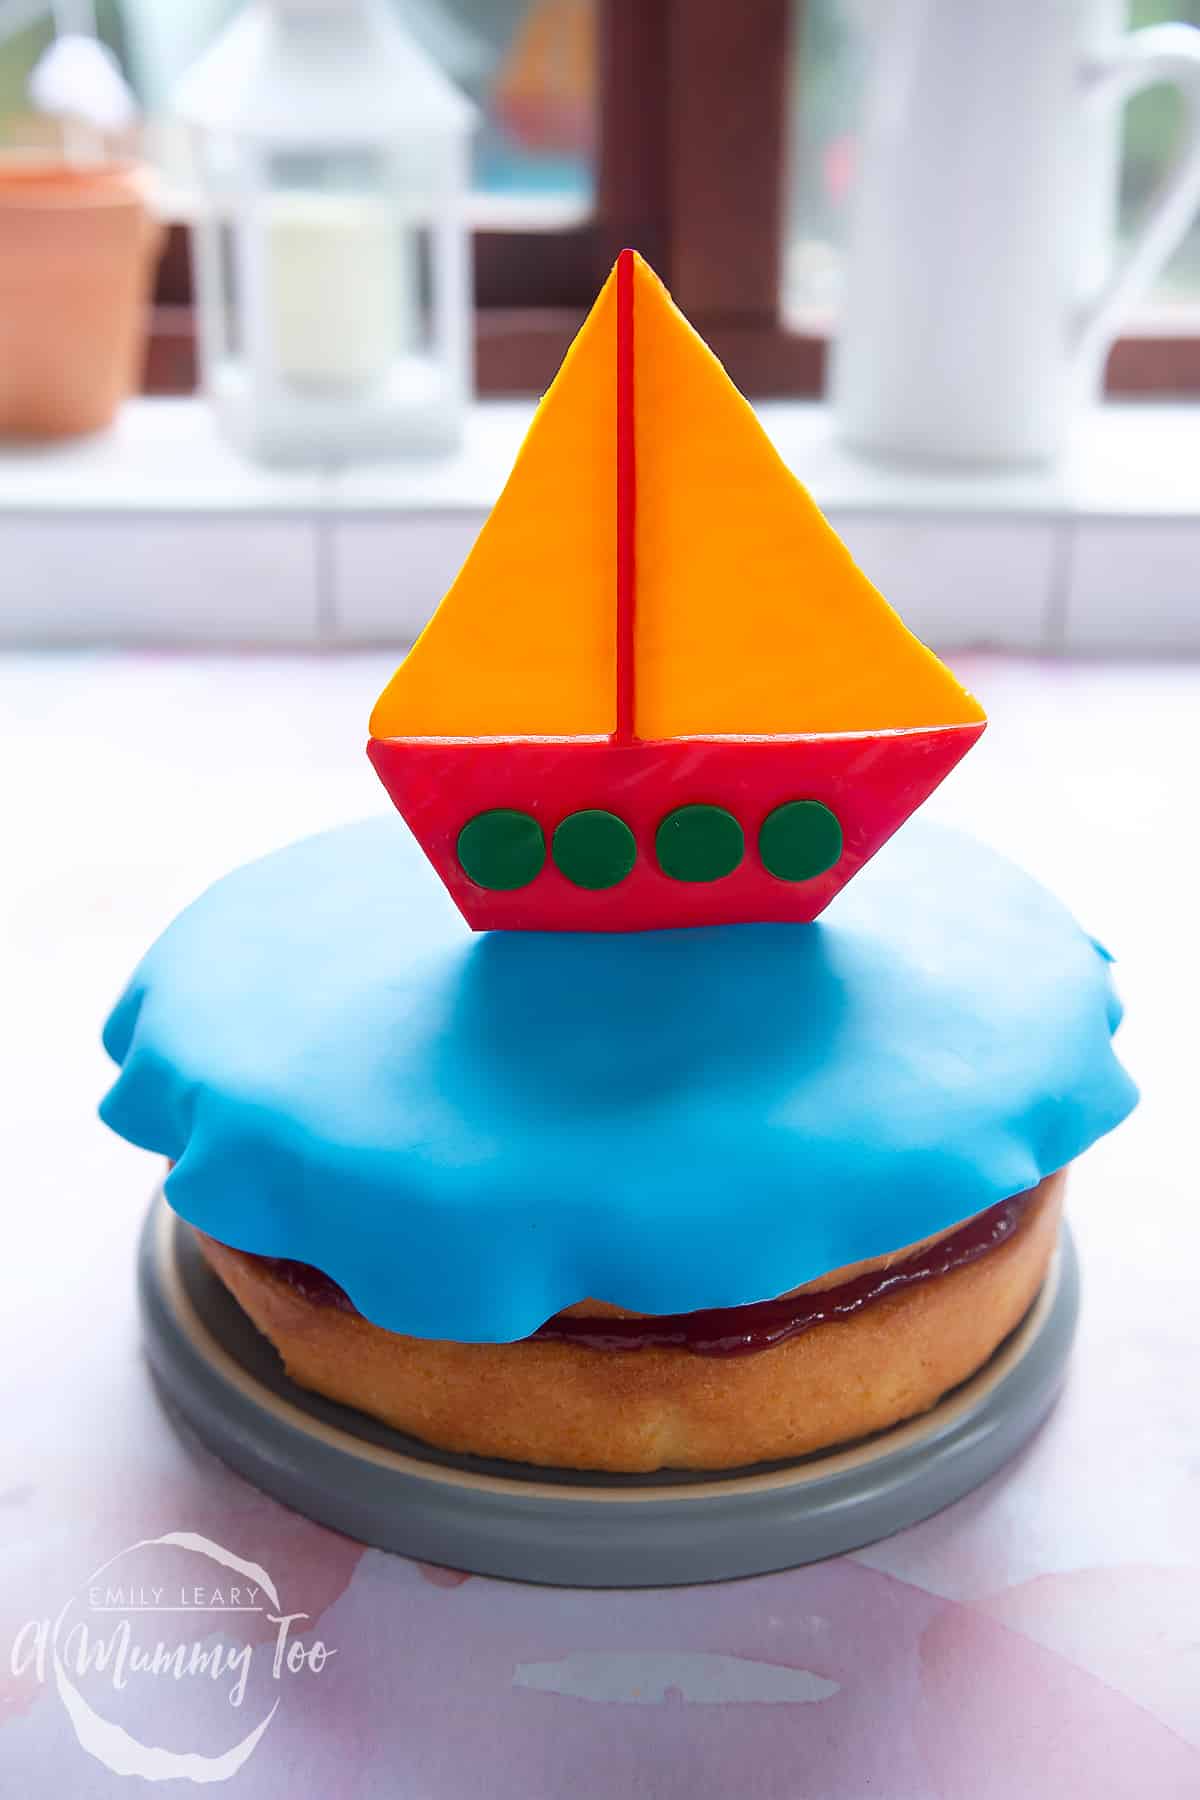
Roll out the blue sugar paste on a work surface very lightly dusted with cornflour. Aim to make it just slightly larger than the top of the cake.

Drape the sugar paste on the top of the cake. Allow the extra to hang over the side of the cake and shape it into ripples gently with your fingertips.
Complete your boat
For this, you'll need an edible glue. Place a small chunk of sugar paste (you can use your offcuts from the boat) in a bowl and add a few drops of boiling water, stirring until you get a thick, stiff glue.
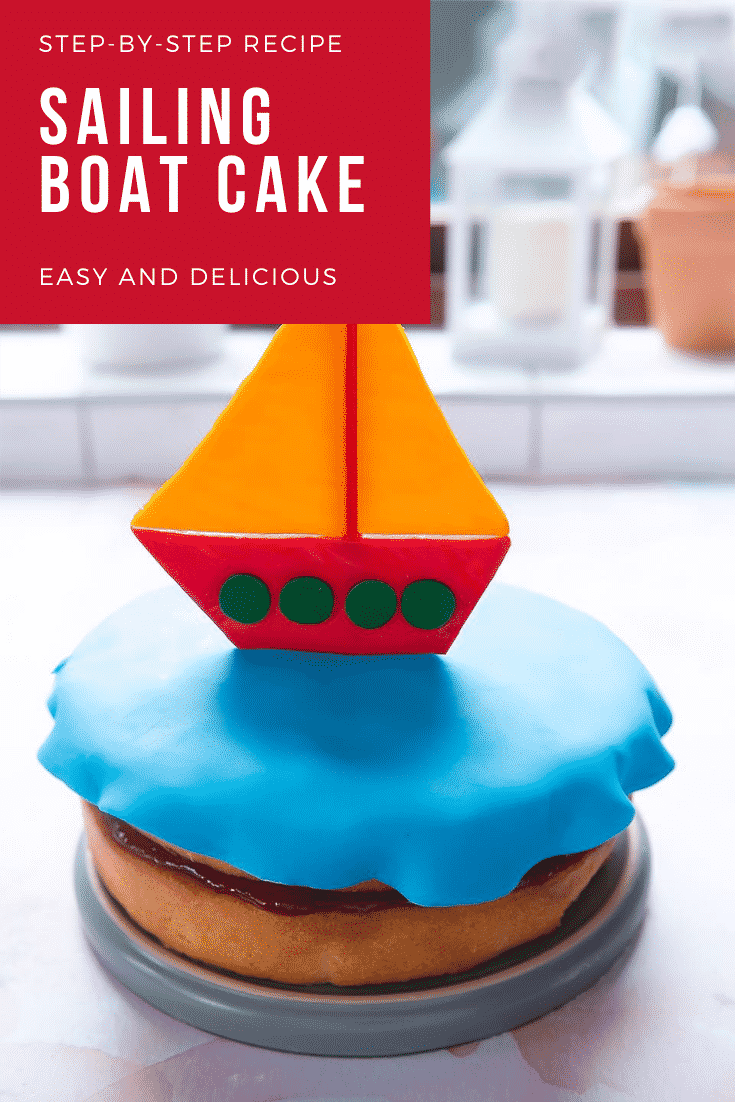
Your boat shapes should now be set. Gently turn them over and use a little glue to bond the sails to the base of the boat.
Dab a little more glue along the edges of the sails and position the mast in place.
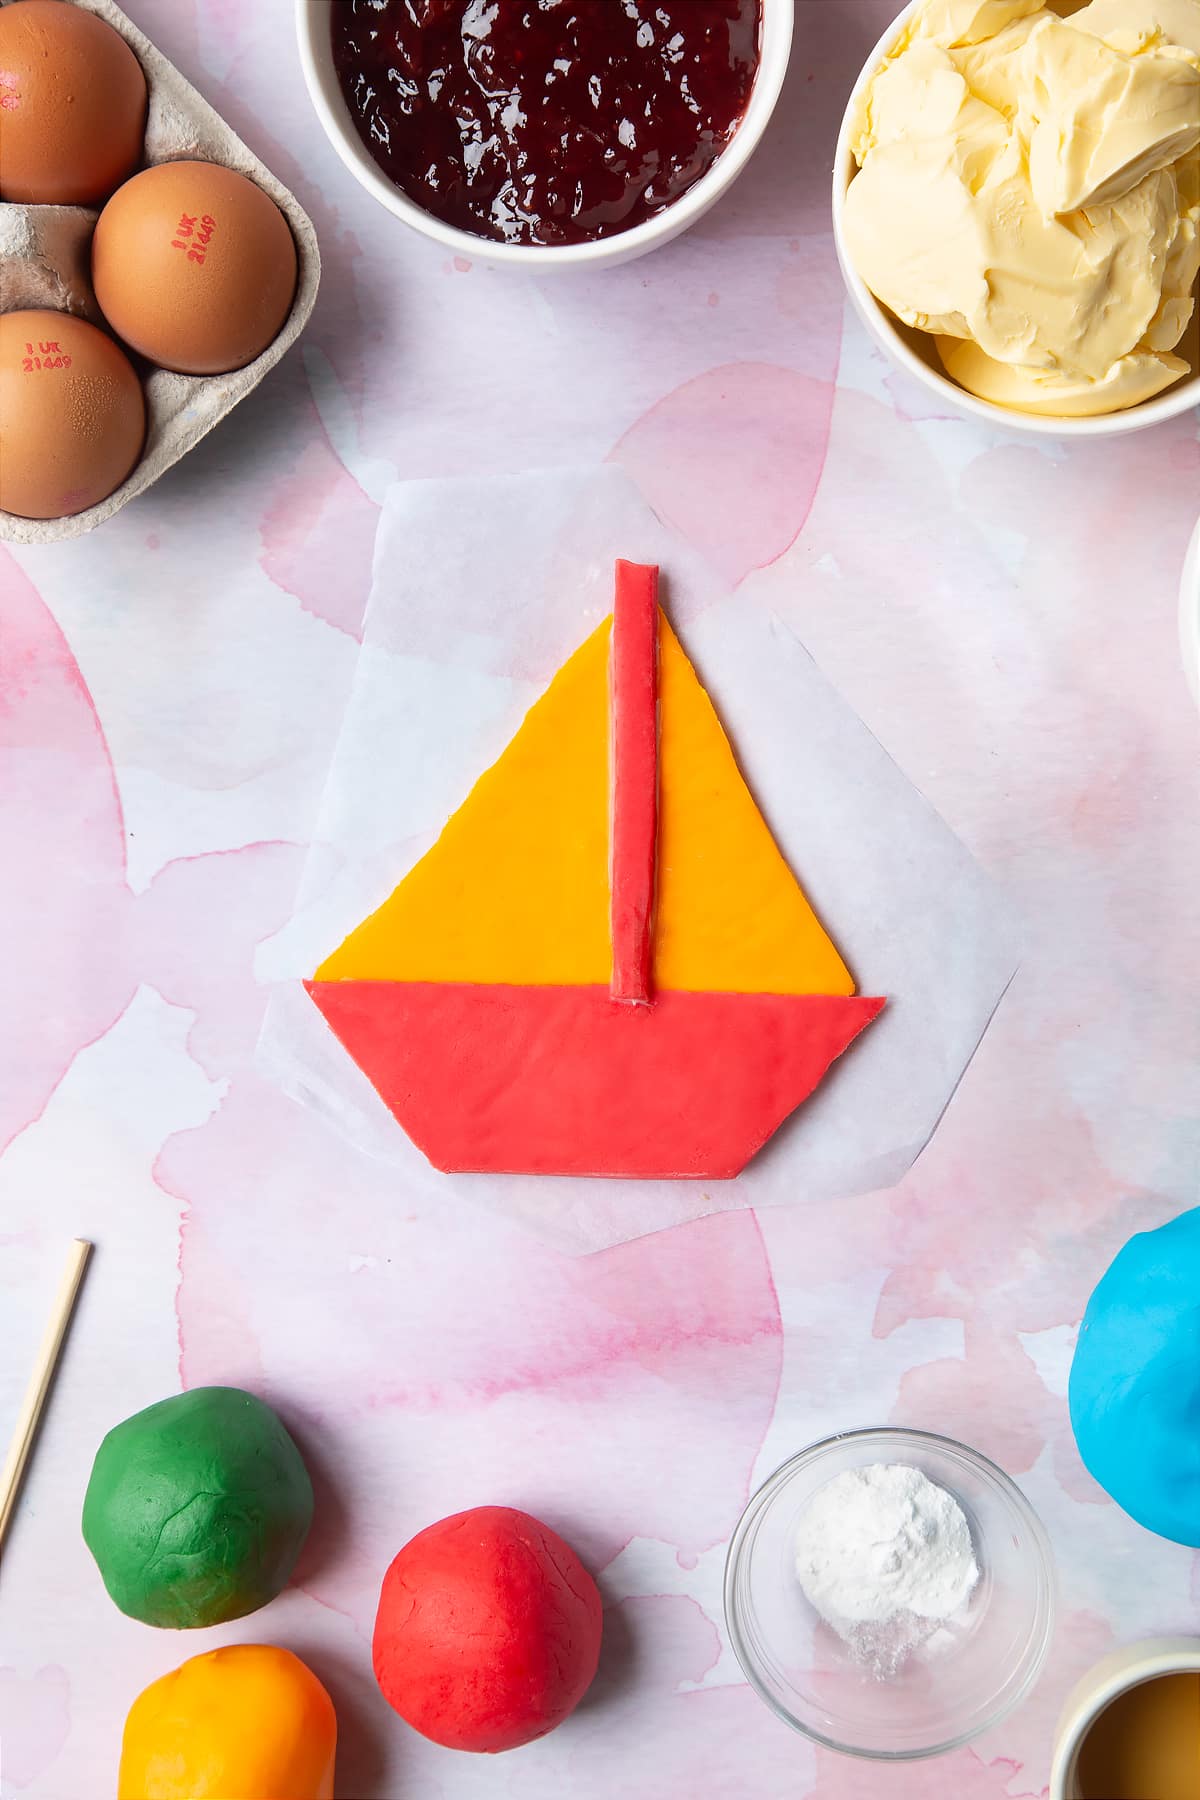
Place more edible glue along the length of the mast, then place a wooden skewer on top.
Leave to set. It might take up to 30 minutes. If you can't wait, you can use the same oven trick you used before.
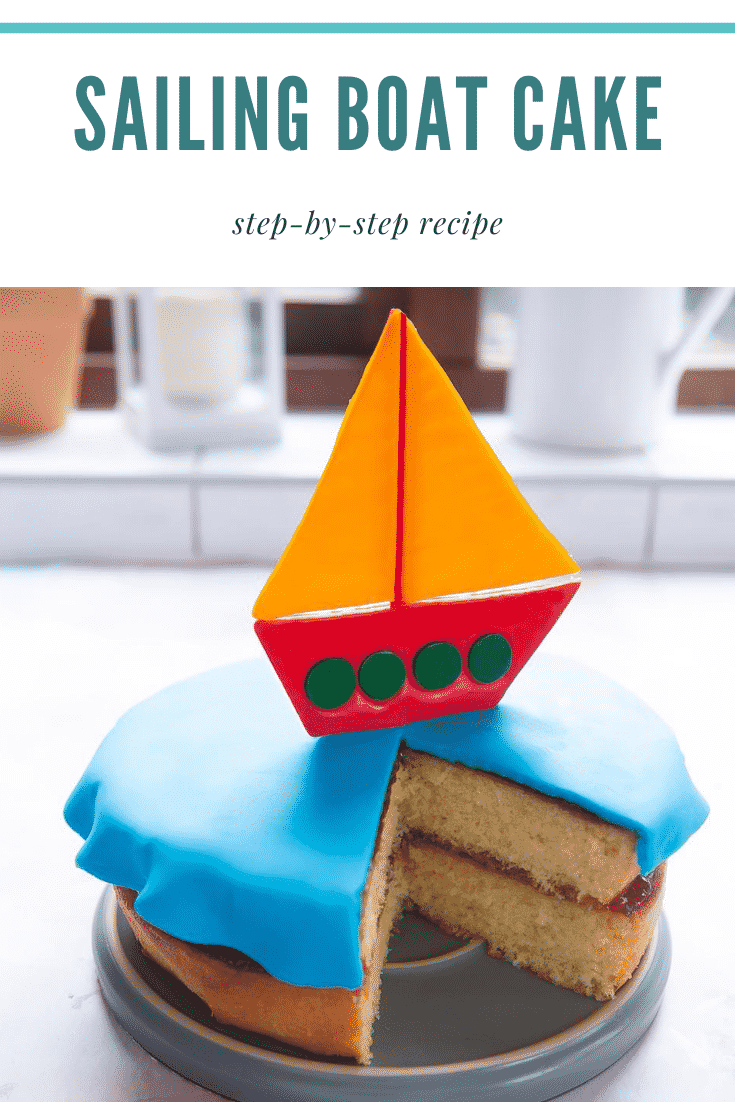
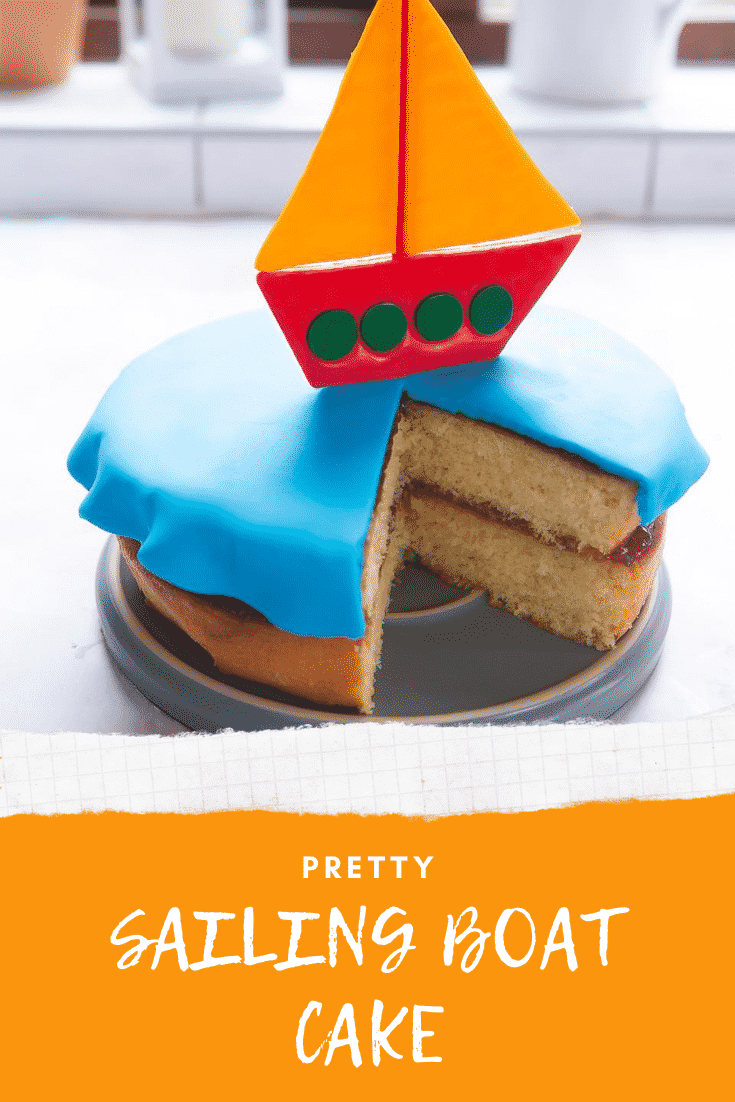
Push the skewer into the centre of the cake to position your boat in place.
And you're done! Time to serve yourself a well-earned slice.
Do you love creating themed birthday parties? Which has been your favourite so far?
Print this sailing boat cake recipe
Here's the recipe for this fun sailing boat birthday cake again in a printable format.
Sailing Boat Cake Recipe
Ingredients
For the cake
- 250 g (8.82 oz) baking margarine
- 250 g (8.82 oz) white caster sugar (superfine sugar)
- 4 large free range eggs large, free range
- 1 tsp vanilla extract
- 250 g (8.82 oz) self-raising white flour (self rising flour)
- 1 tsp baking powder
For the decoration
- 6 tbsps strawberry jam
- 200 g (7.05 oz) light blue sugar paste
- 100 g red sugar paste
- 2 pieces coloured card
- 100 g yellow sugar paste
- 50 g dark green sugar paste
Equipment
- Wooden skewers
- 2 Round 20cm (8") nonstick cake tin
Instructions
Make the boat shapes
- Roll out the red sugar paste to about 7mm (1/4 inch) thick.
- Cut out a shape for the base of the boat.
- From the offcuts, cut a thin strip that will act at the mast.
- Roll out the yellow sugar paste to the same thickness and cut out two sails.
- Finally, use the green sugar paste to make some portholes. I used a small piping nozzle to cut mine. Brush a little water on the back of the circles to help them stick.
- Place all the pieces on a tray lined with baking paper.
- Now, you can either leave your sugar paste overnight to dry, or you can set your oven to its very lowest setting and place the tray on the middle shelf.
- After about 10 minutes, the sugar paste will be soft due to the heat, but it will have lost a lot of moisture. Don't touch it, just allow it to cool and you should find that it has become hard enough to hold its shape.
Make the sponges
- Preheat the oven to 180C (160C fan, 350F).
- Put the margarine, sugar, eggs, vanilla, self-raising flour and baking powder in a large bowl.
- Beat with an electric whisk until the cake mixture is even and well combined.
- Divide the mixture between two greased and lined 20cm (8 inch) sandwich cake tins.
- Bake in the oven for 25-30 minutes until golden and springy to the touch. Place the cakes onto a wire rack and allow to cool fully.
Fill the cake
- Place on of your cakes upside down on a plate or cake stand.
- Pile half the jam on top and spread the jam to the edges of the cake. Spread the remaining jam onto the top of the cake.
- Place the second cake on top (also upside down) and spread with the remaining jam.
Cover the cake
- Roll out the blue sugar paste on a work surface very lightly dusted with cornflour. Aim to make it just slightly larger than the top of the cake.
- Drape the sugar paste on the top of the cake. Allow the extra to hang over the side of the cake and shape it into ripples gently with your fingertips.
Complete your boat
- For this, you'll need an edible glue. Place a small chunk of sugar paste (you can use your offcuts from the boat) in a bowl and add a few drops of boiling water, stirring until you get a thick, stiff glue.
- Your boat shapes should now be set. Gently turn them over and use a little glue to bond the sails to the base of the boat.
- Dab a little more glue along the edges of the sails and position the mast in place.
- Place more edible glue along the length of the mast, then place a wooden skewer on top.
- Leave to set. It might take up to 30 minutes. If you can't wait, you can use the same oven trick you used before.
- Push the skewer into the centre of the cake to position your boat in place. And you're done! Time to serve yourself a well-earned slice.
Video
Notes
Nutrition
This recipe adapted from one provided by Stork and Ruth Clemens of The Pink Whisk.
Pin this sailing boat cake
More sweet treats to serve at a birthday party
Have you got my book?

'This is a great kids cookery book. Emily is a star' - Simon Rimmer
'The book I'd like to force into any mother's kitchen' - Prue Leith
"A fab book with a plan." - Jane Devonshire, 2016 Masterchef UK winner
'Emily has managed to combine her mummy knowledge and passion for food to make a truly helpful and brilliant cookbook' - Priya Tew, RD, BSc (Hons), Msc
Get Your Kids to Eat Anything is an achievable 'how to' for parents in the battle to overcome picky eating and 'make new the norm'. Emily Leary's unique 5-phase programme looks at the issue of 'fussy eating' in a holistic way that links imagination with food, and which situates parents alongside - not in opposition to - their children.
Lindsay @ Newcastle Family Life says
I love this it looks so simple yet so lovely. My little boy will be turning one next month and something like this will be perfect for him x
clara says
Looks so delicious...
Best Cake Mixers says
It's really good.Need not a long time to make and different than other birthday cakes.People must love this.
Deborah Chalk says
I think this is a lovely cake design and could be adapted easily with different cut outs on top. I got my daughter involved in making her cake and we make Nigella's no fuss fruit tart (the recipe is online). The top is covered in all sorts of different berries and it looked wonderful with candles on it. All the berries made it a slightly healthy option and it was great to involve my daughter in making it herself.