If you've never made chocolate cake pops before thinking it looked just too fiddly, think again! We made them this weekend and it was a breeze.

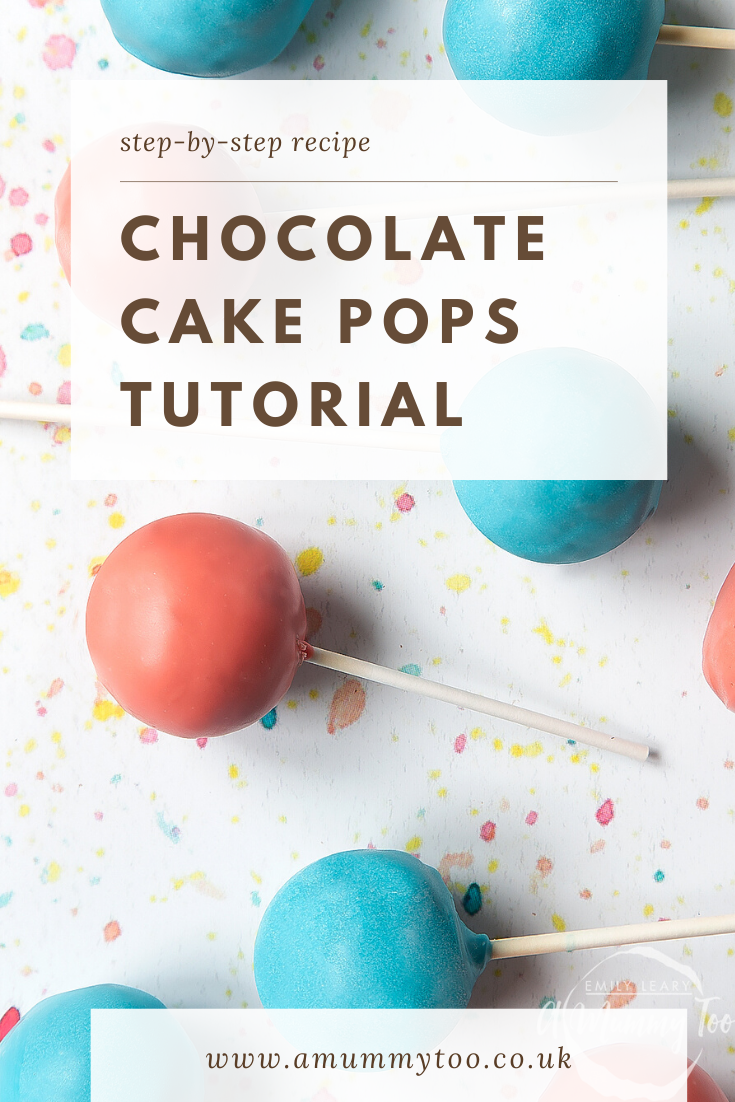
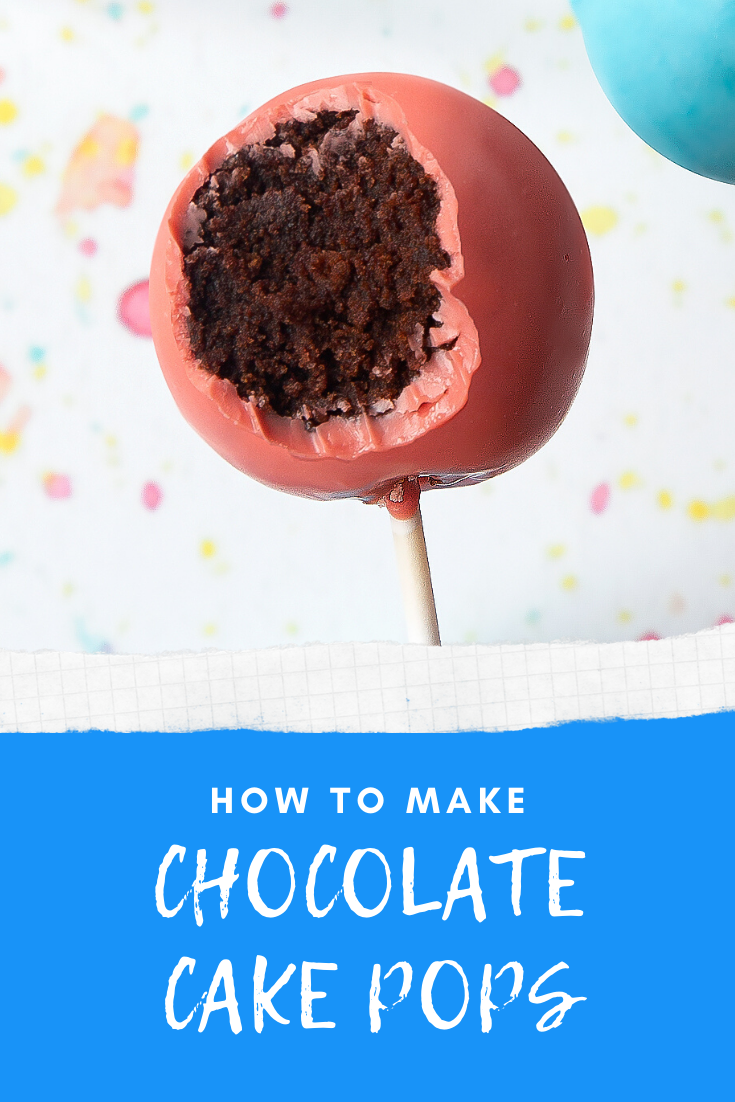
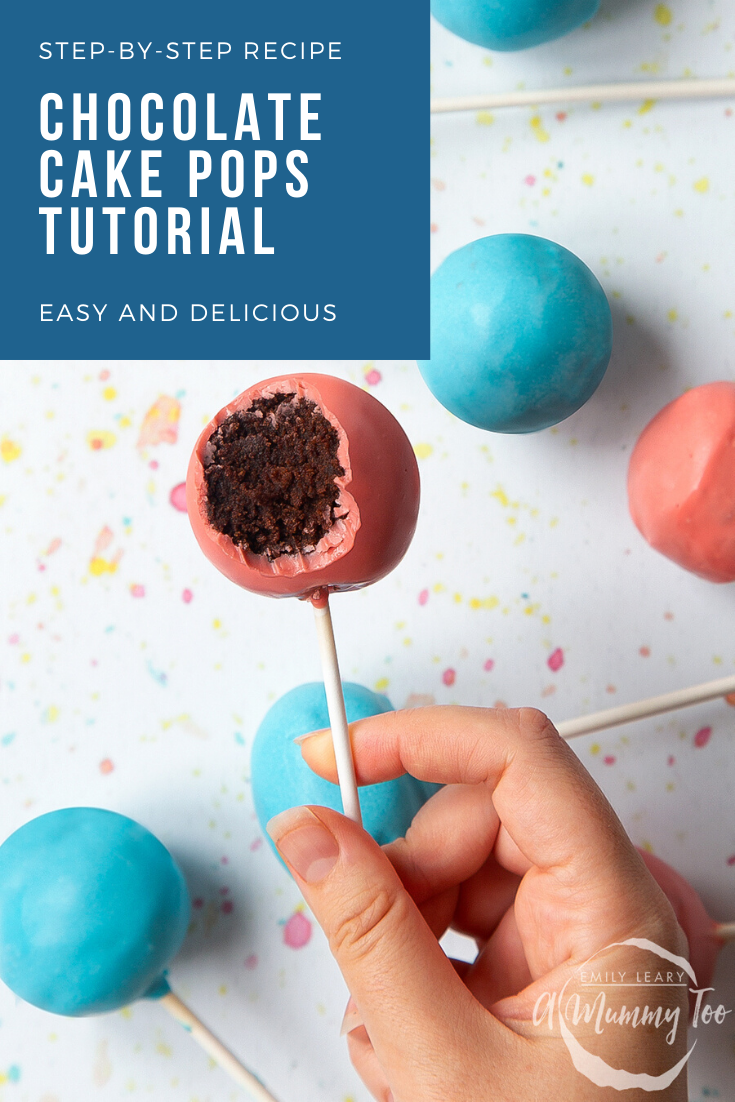
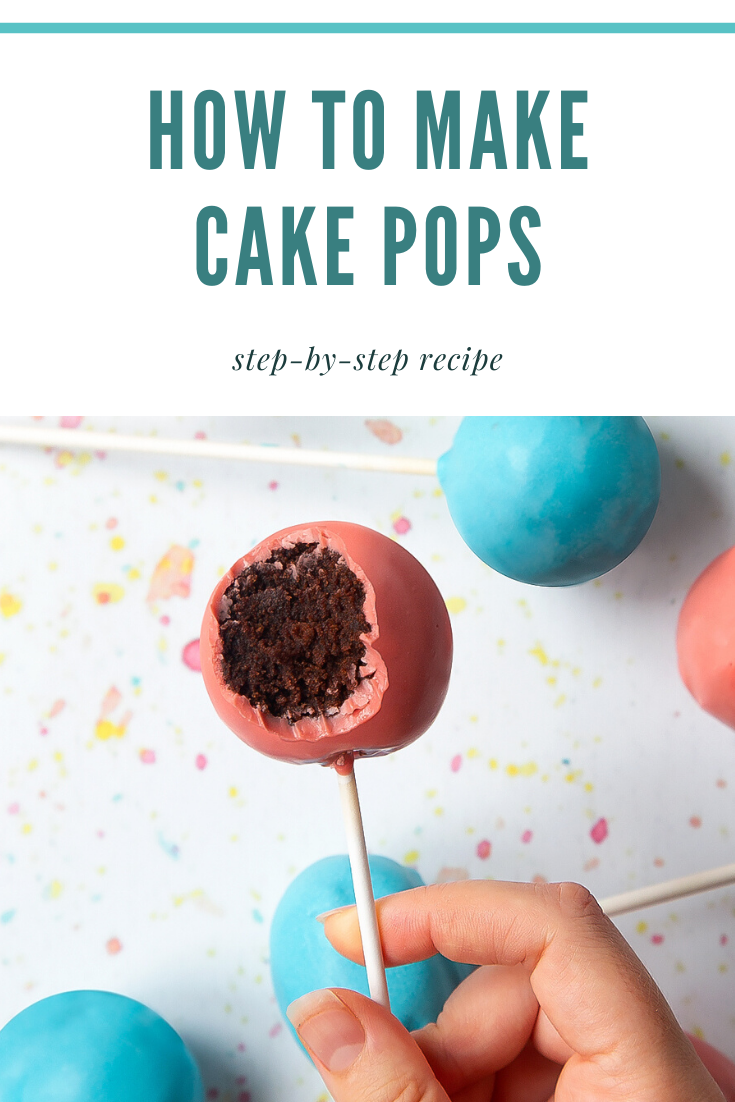
These cake pops are made from chocolate sponge, mixed with chocolate frosting, rolled into balls and coated in candy melts with a halo of sprinkles.
They are DELICIOUS!
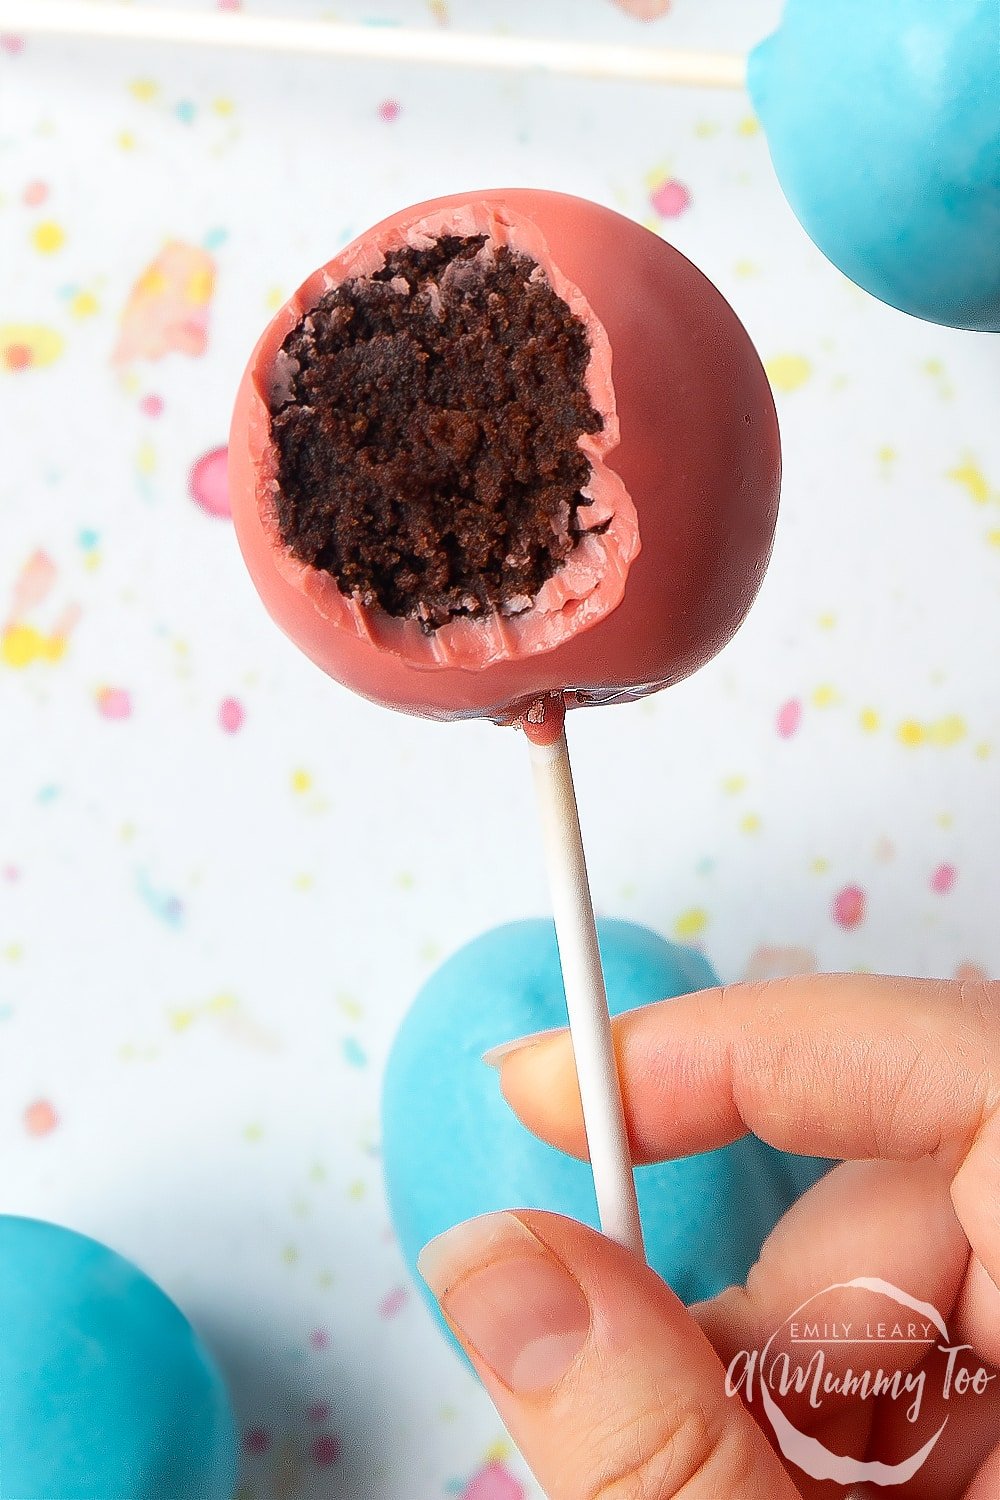
Here's what to do to make these chocolate cake pops...
Ingredients
For the sponge
- 150 g (1 stick + 3 tbsp) baking margarine
- 200 g (1⅛ cup) white caster sugar (superfine sugar)
- 3 medium free range eggs
- 1 tsp vanilla extract
- 200 g (1½ cups) self-raising white flour (self rising flour)
- 1 tsp baking powder
- 2 tbsp cocoa powder (dutch processed)
For the cake pops
- 400 g (14 oz) chocolate frosting
- 25 g (1 oz) chocolate for securing the sticks
To decorate
- 200 g (1 cup) candy melts
- 50 g (¼ cup) cake sprinkles
Equipment
- Round loose-bottomed 20cm (8") nonstick cake tin
Instructions
Make the sponge
Preheat the oven to 200C (180C fan, 325F).
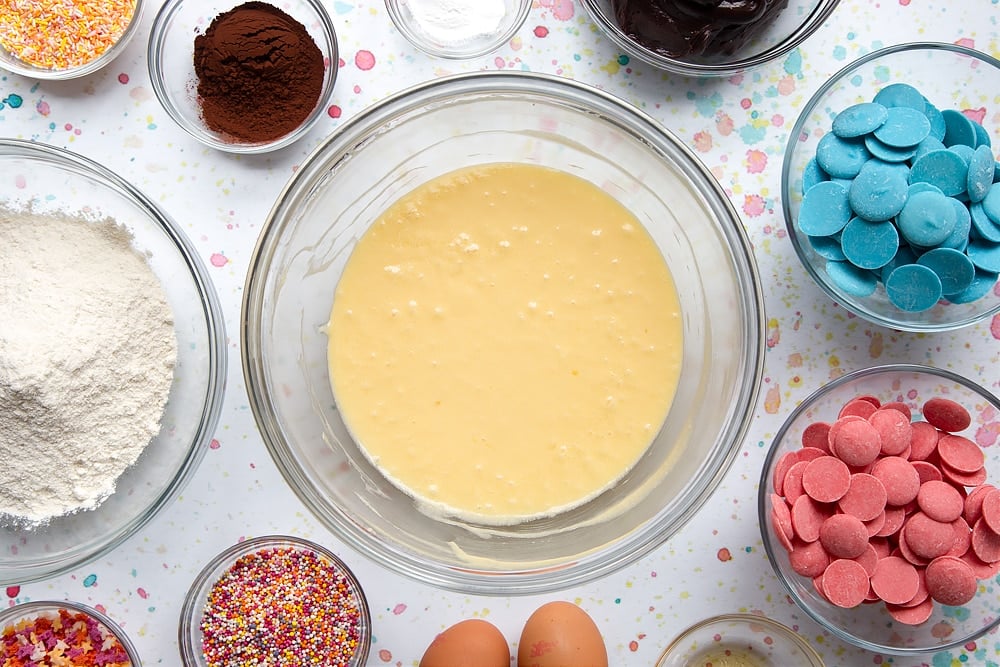
Put the margarine and sugar in a bowl and beat together.
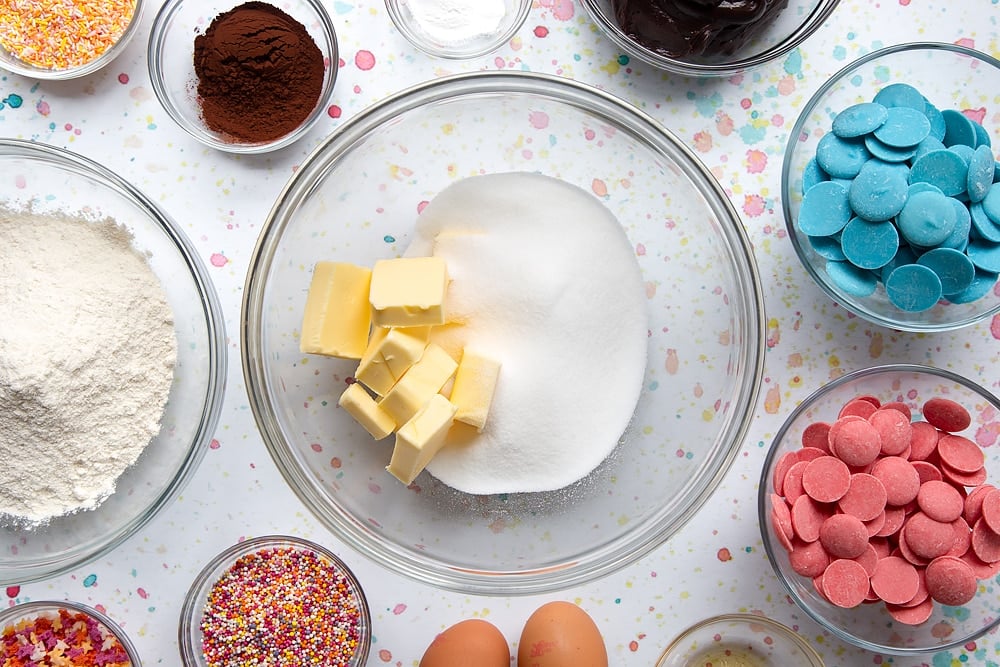
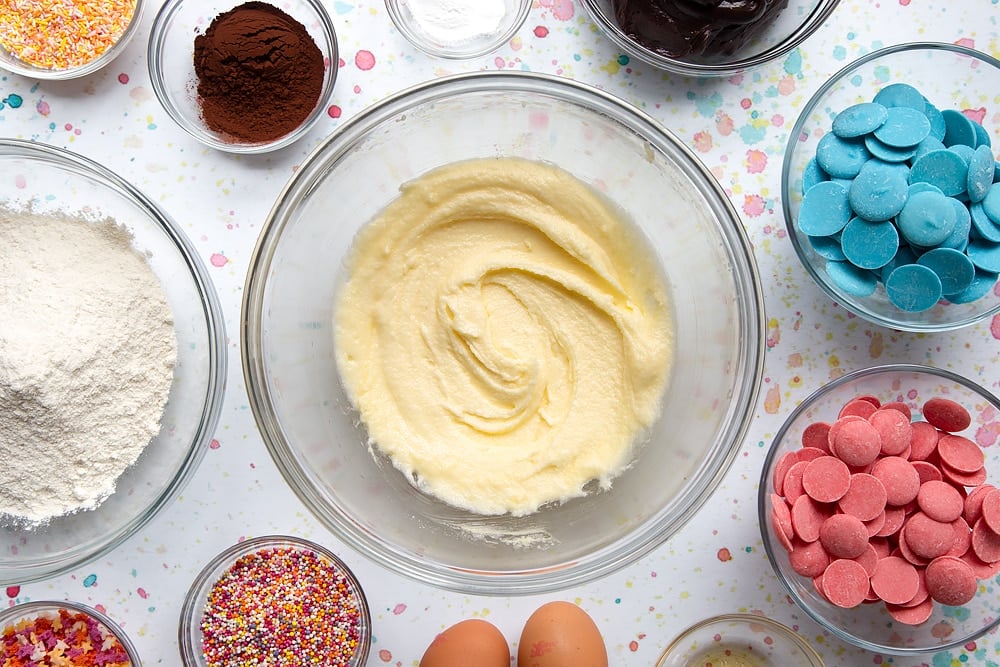
Add the eggs and vanilla and beat again.
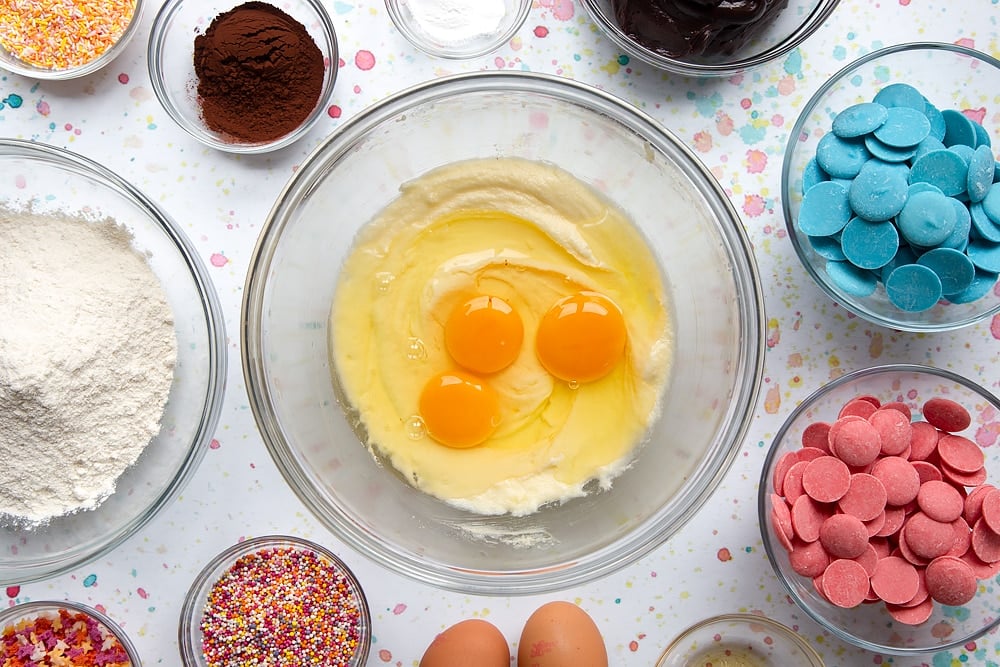
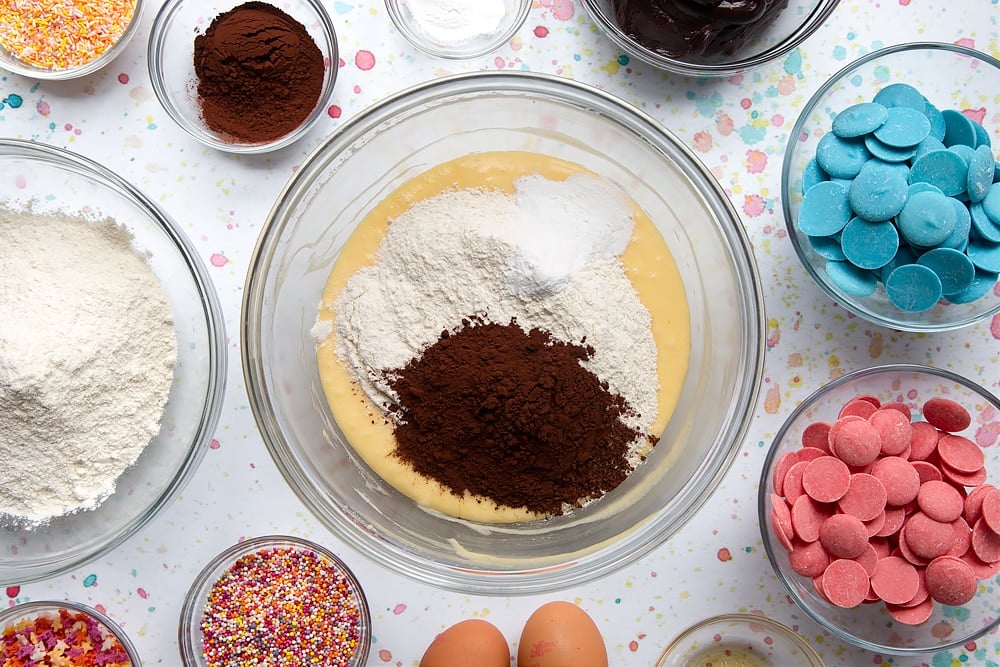
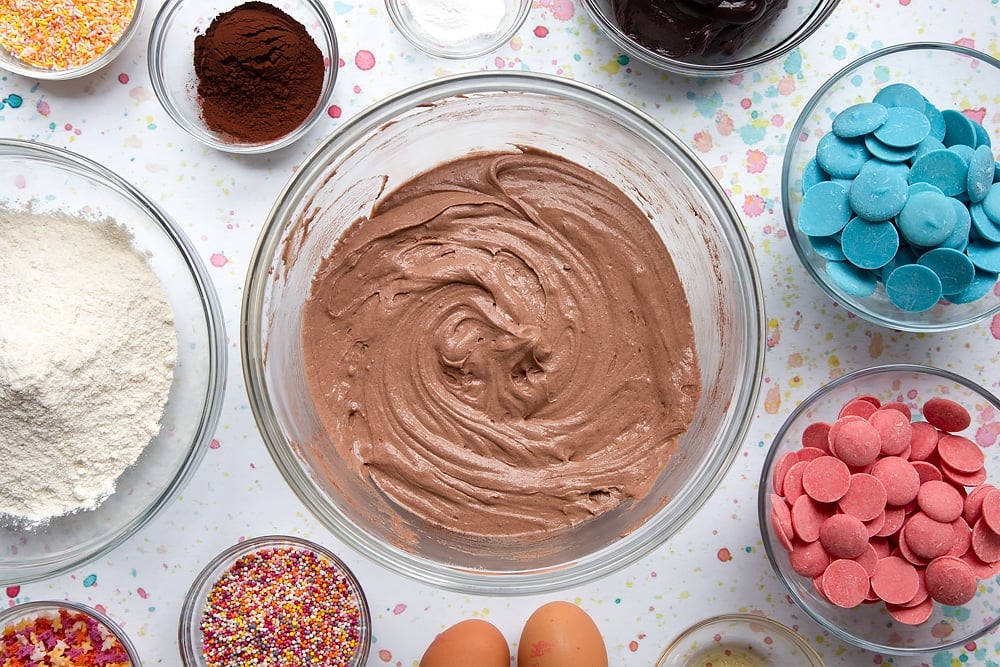
Add the flour, baking powder and cocoa and fold through.
Grease and line a cake tin and tin the batter into it, levelling off.
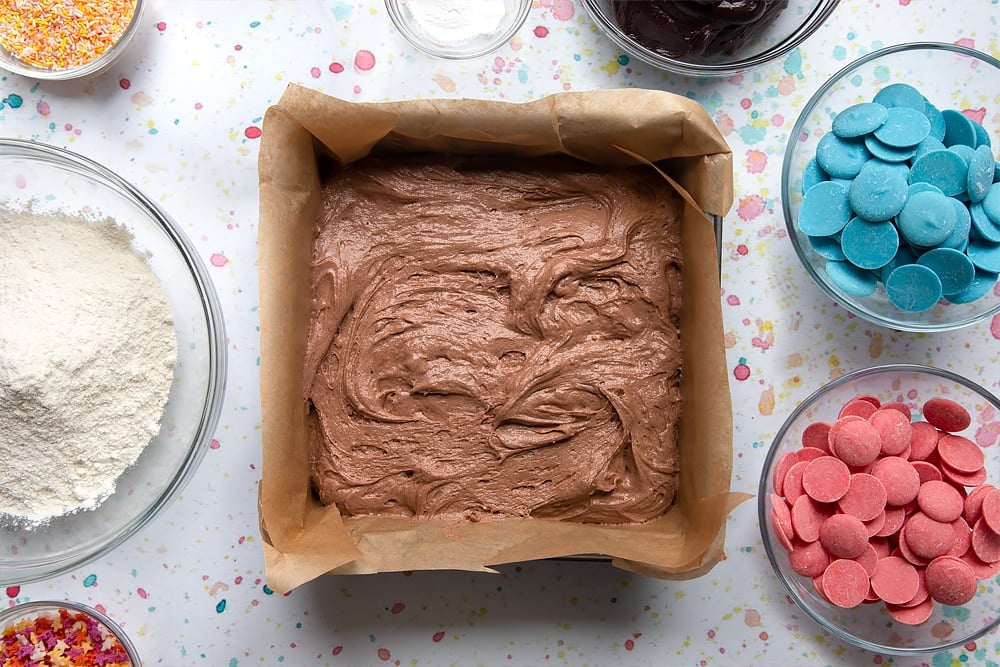
Bake for about 25 minutes until a skewer pushed into the centre of the cake comes out clean. Tip the cake onto a wire rack to cool completely.
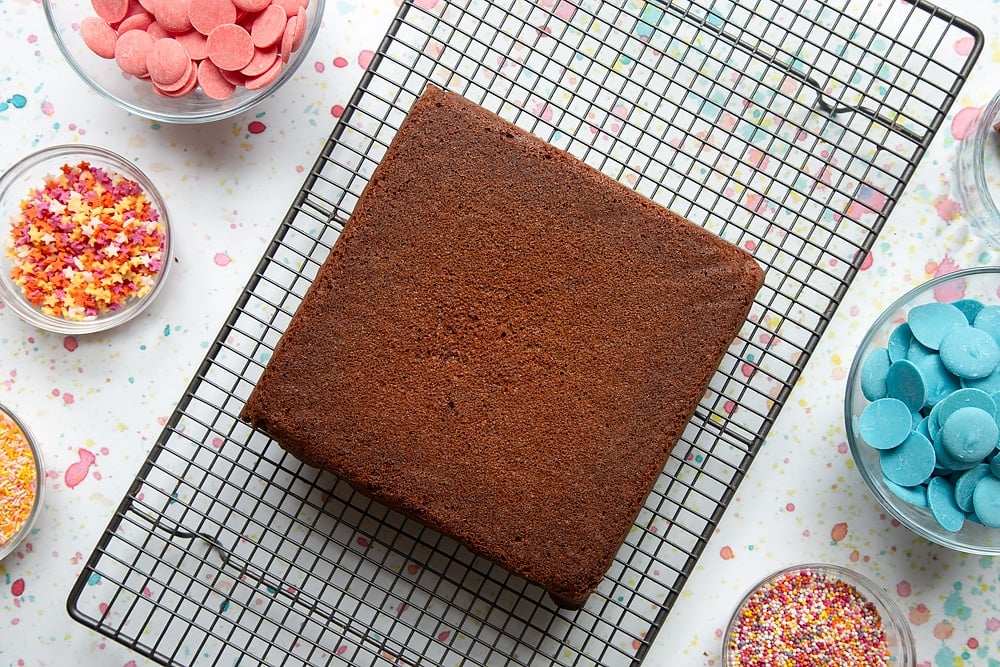
Make the cake pops
Crumble the cake into a large bowl. Keep crumbling until it resembles crumbs.
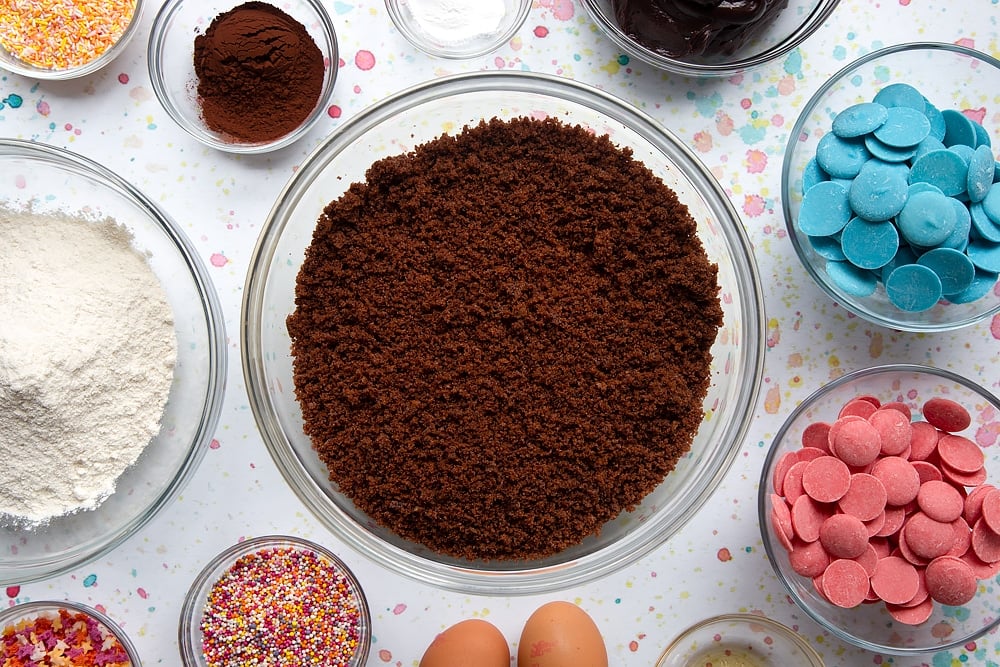
Add about 3/4 of the frosting to the bowl and mix through.
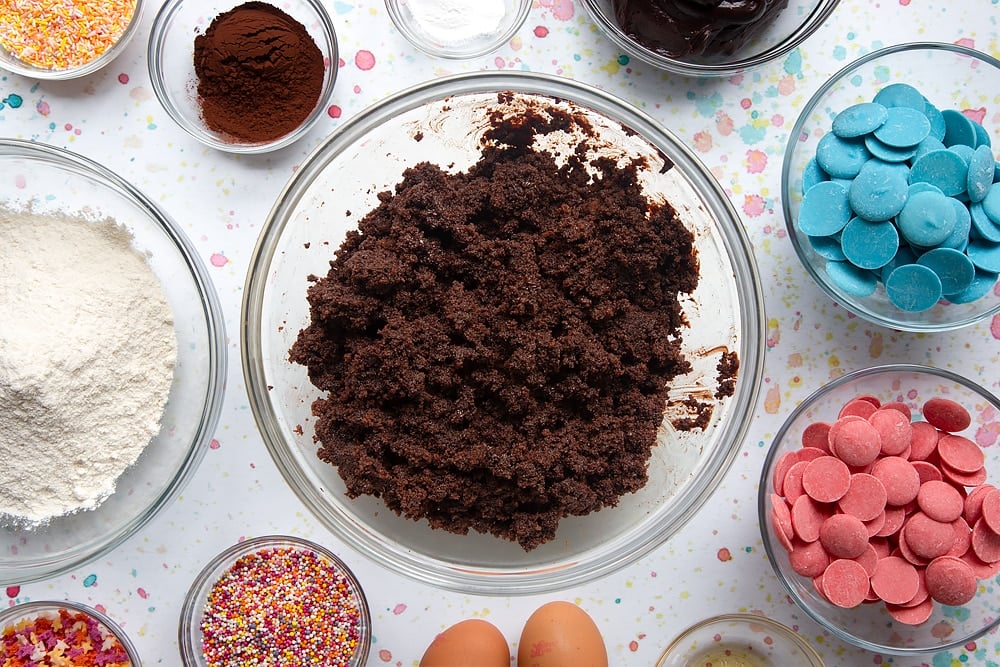
Mix until you can form the mixture into a ball in your hand, adding more frosting as necessary. You might not need it all.
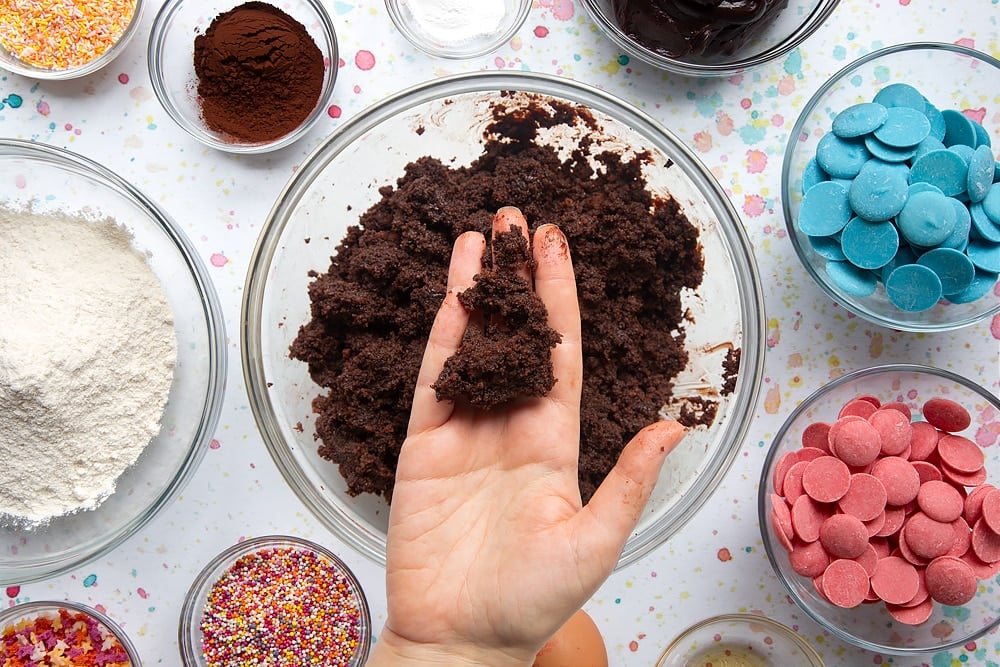
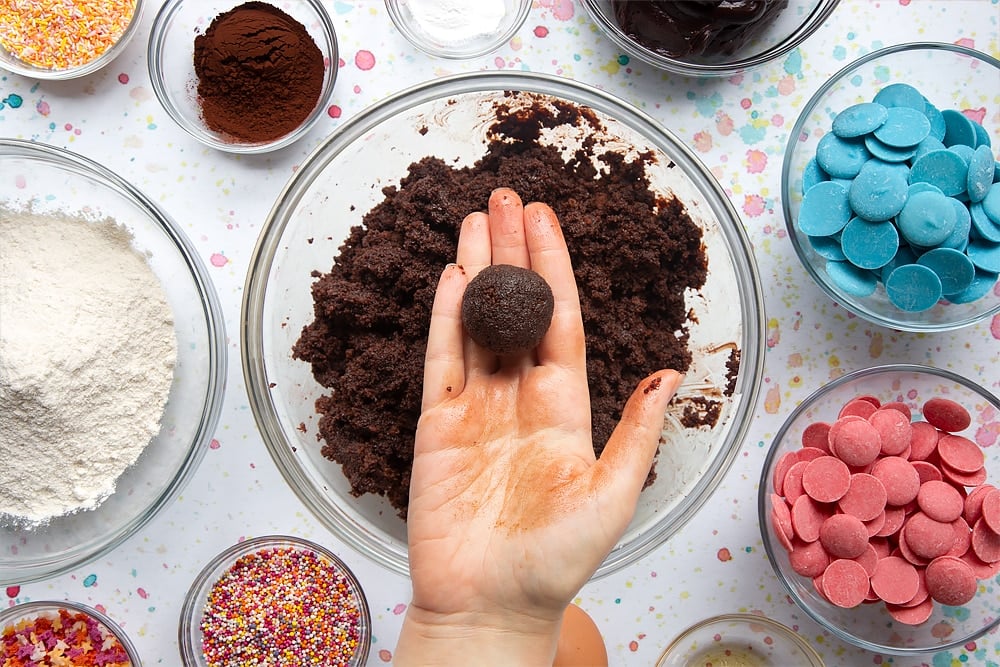
Roll your cake mixture into 20 equally sized balls. Try to get them as round as you possibly can by cupping your palms and rolling the mixture between them. Place them on a tray as you go.
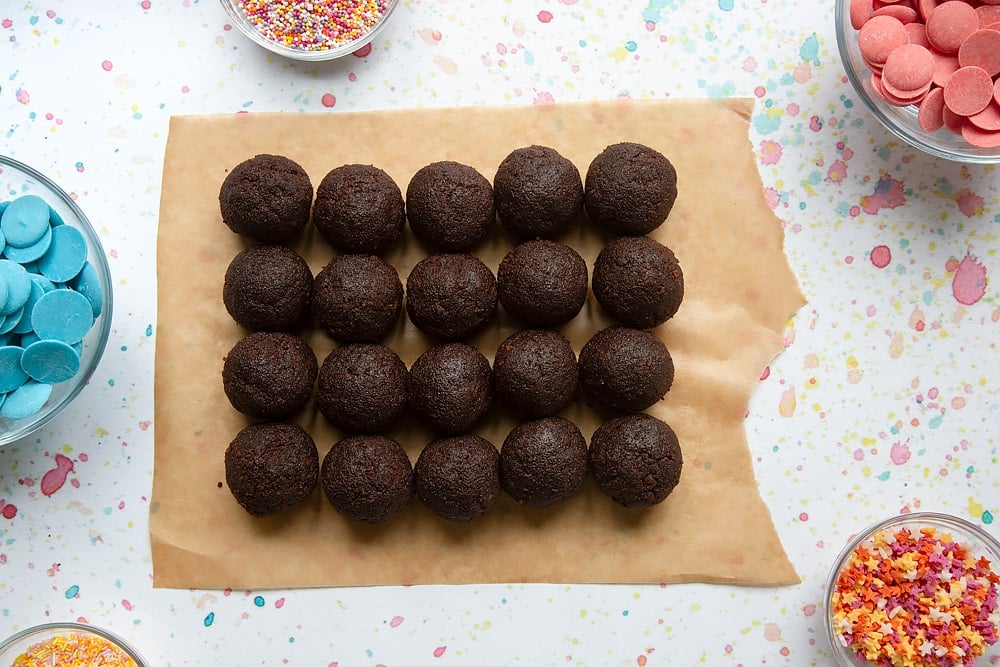
Dip the very end of each cake pop stick into the melted chocolate.
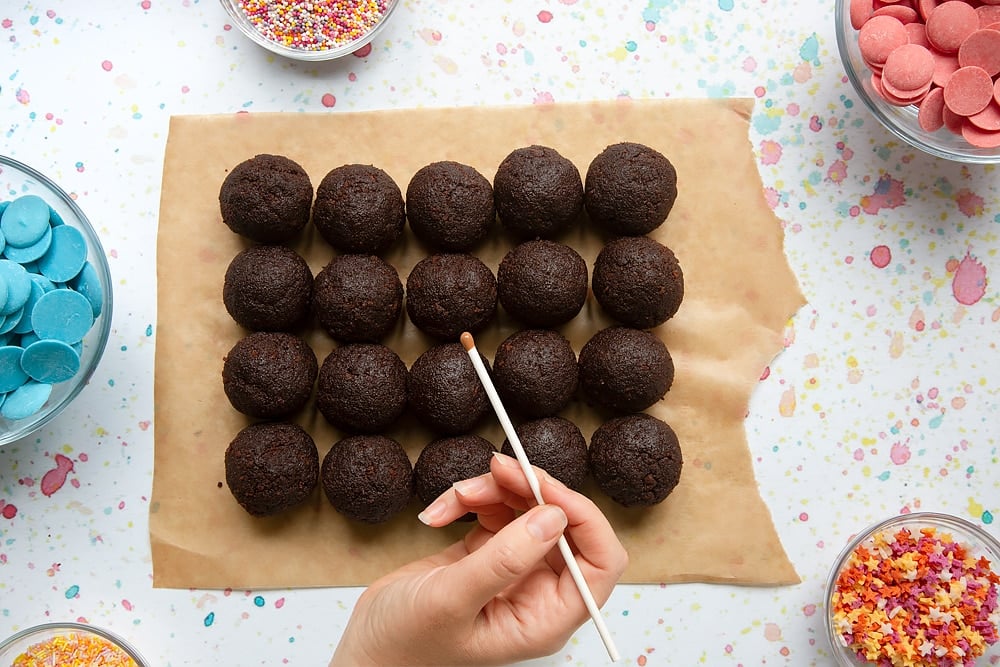
Push each stick into one of the cake balls. The chocolate helps to hold the stick in the cake.
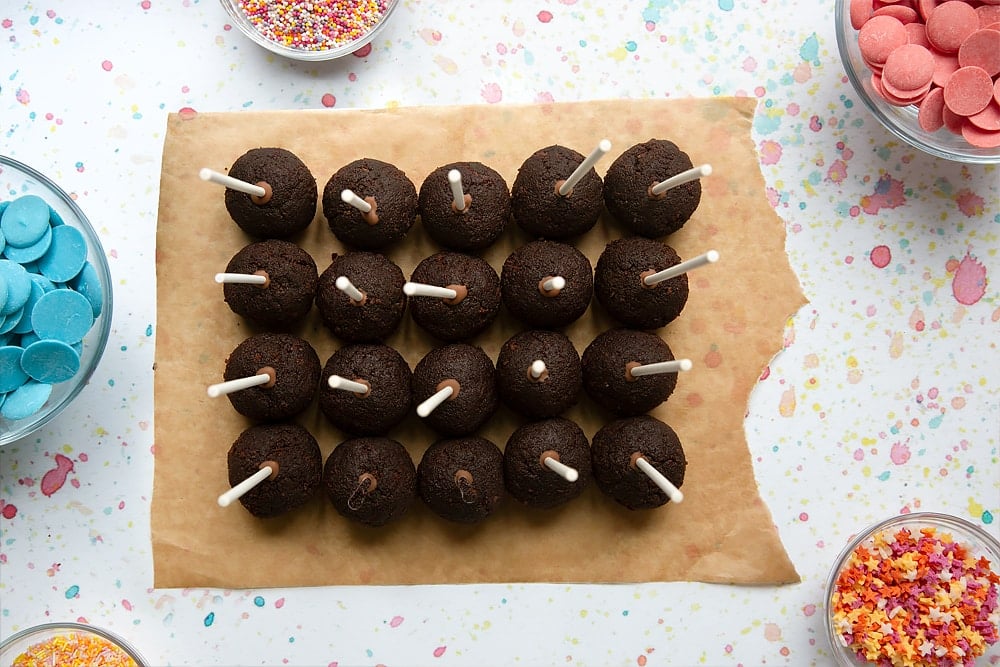
Put all of the cake pops into the refrigerator for 1-2 hours to get cold and firm up. If you like, you can leave them overnight and finish making your cake pops in the morning.
Decorate the cake pops
Melt your candy melts according to the packet directions as directed and put the sprinkles in a small bowl.
Take each cake pop in turn and dip them into the candy melts, gently coating on all sides. This can take a bit of practice to get right. Allow the pops to drip over the bowl – this will help avoid excess melts from dripping down the stick.
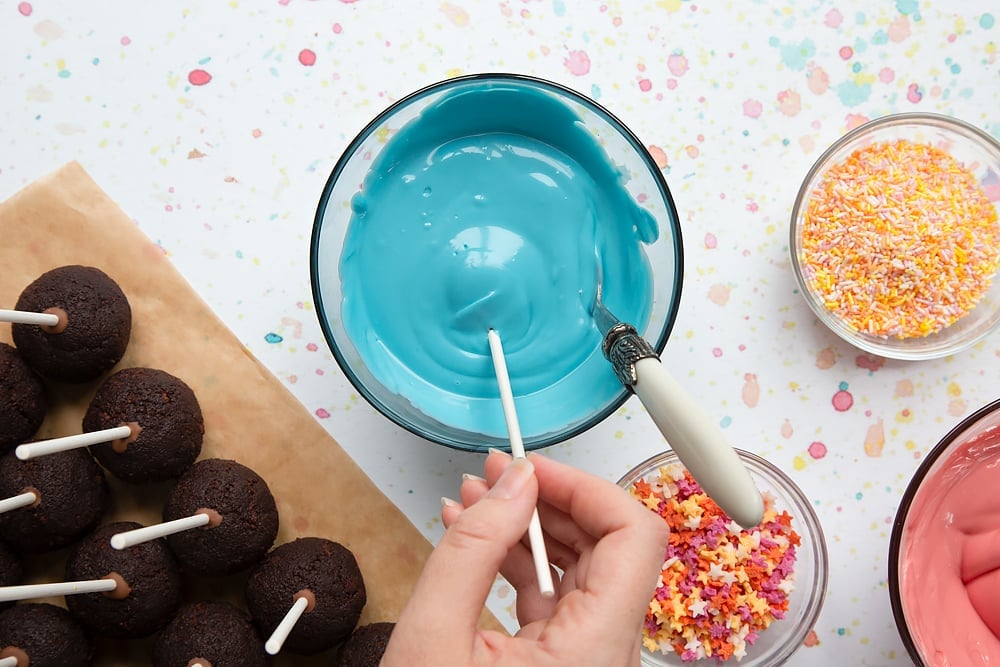
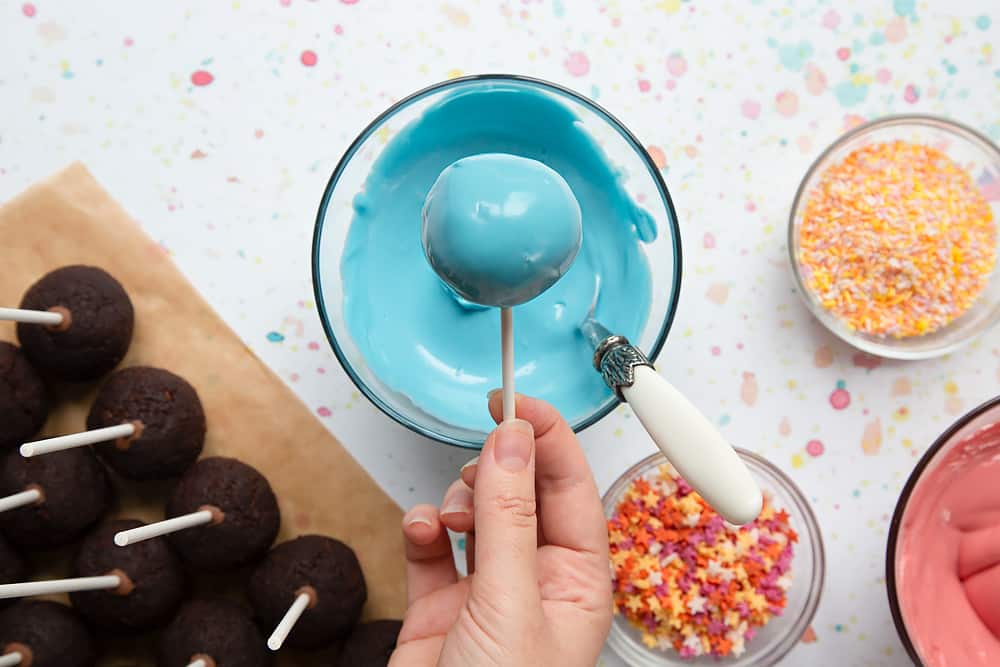
If you want to add sprinkles, hold the pop until the candy melts have just begun to set, then swish the pop in the sprinkles so that they stick to the candy.

Push each cake pop stick carefully into an upturned colander or box lid so that the pops stand up while they set.
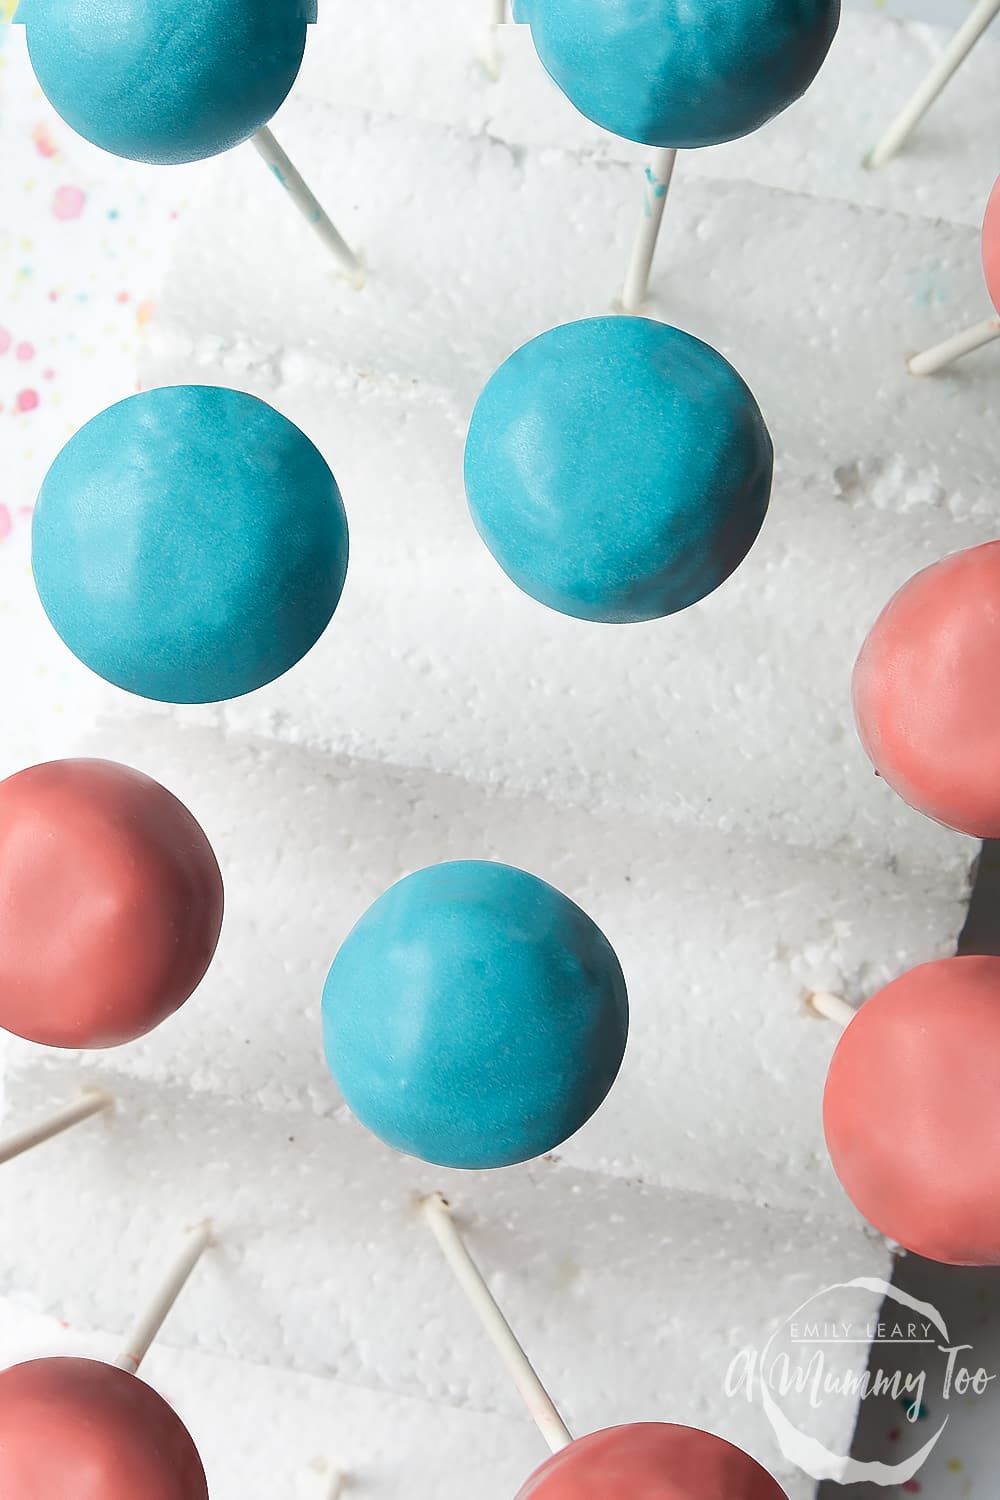
Once chilled, share and enjoy!

Pretty aren't they? And super-duper delicious. Are you tempted to make these chocolate cake pops?
Pointers, tricks and troubleshooting tips for the perfect chocolate cake pops
Is this chocolate cake pop recipe easy to make?
Yes, this chocolate cake recipe is super easy to make! You’ll make a simple sponge cake recipe, using margarine instead of butter, making it easier to mix.
Once the cake is cooked and cooled, you’ll crumble it up, mix it with frosting and roll it into balls. Then let them set hard in the fridge while you melt the candy melts for the coating.
To coat your cake pops you simply need to roll them one at a time in the bowl of melted candy coating. Then leave them to cool by placing the sticks upright in an upturned colander or a special cake pop drying rack.
To make things easier, this recipe also has clear photos to go with each recipe step. So if you’re having trouble check the photos to see if you’re on the right track. Good luck!
Will I need any special equipment to make this chocolate cake pop recipe?
To make this recipe you’ll only need some very basic kitchen equipment. You won’t even need to use a cake pop mould tin, though feel free to bake your cake mix in a cake pop mould if you have one.
So all you'll need are some bowls, utensils, measuring equipment and cake tins to bake the cake and melt the cake pop coatings.
You’ll need to buy some lollipop sticks to turn your cake balls into cake pops. These are easy to find in most supermarkets. Sometimes they’re kept on the baking aisle, but you might also find them in the arts and crafts section with children's pens/pencils etc…
There's always a complete list of suggested equipment on the recipe card below my recipes if you're in doubt. In addition, I always include links to example products, to show exactly what I used to make each recipe.
How can I tell if eggs have gone off?
It's always best to use fresh ingredients when baking, especially eggs. It's essential to use fresh eggs, as they can behave differently in recipes as they get older and their quality declines.
You should never eat an egg that is spoiled. So if your egg has any discolouration, odd appearance, or a strange or foul odour, it is most likely rotten.
If your egg has spoiled, you should immediately throw it away and thoroughly wash any pots and utensils that have come into contact with it.
Float test
If you aren't sure if your egg is fresh, you can drop it into a cup or bowl of cold water. If it floats it is spoiled, if it sinks it should be safe to eat. This is called a float test.
Some spoiled eggs can still sink. So to ensure you don't contaminate a recipe with a bad egg, it's always best to crack your eggs into a separate bowl or cup before adding them to a recipe. This also lets you check the egg for any broken shell fragments.
Egg safety is crucial if you're cooking for someone in a vulnerable or at-risk group, such as older people, people living with health conditions, or a pregnant person.
A Mummy Too does not give medical advice. Please consult with your medical professional.
How can I tell if butter has gone off?
Firstly check the Best Before date. This should give you a good indication as to whether the butter is still ok to use. Unlike Use By dates, which should never be exceeded, Best Before dates are more to indicate quality, and food a little past that date may still be safe to eat.
When butter spoils, it turns to a dark yellow, sometimes with translucent patches. Spoiled butter can also develop a layer of condensation on it as water escapes.
These changes occur when bacteria cause the fat, protein and liquid molecules to separate from each other. The lactic acid released during this process can also produce a sour smell and give butter a fizzy quality.
Sometimes spoiled butter can look completely fine, so you should taste it before including it in a recipe. If it tastes/feels fizzy, it isn't safe to use.
You should also check that there are no crumbs in the butter as they can contain allergens and harbour bacteria.
Is this chocolate cake pop recipe suitable for vegetarians?
There’s nothing in this recipe that should contain meat or fish, but check your ingredients labels.
Manufacturers use animal-derived products to thicken, colour or flavour many sweet foods, so it sneaks into the most unexpected ingredients!
So always make sure that you double-check all of your ingredients labels to ensure that they are vegetarian. Also, don't forget to check anything extra that you intend to serve with your recipe.
Is this chocolate cake pop recipe suitable for vegans?
No, this chocolate cake pop recipe contains eggs and dairy so this isn’t suitable for a vegan diet. But don’t worry, it should be easy to convert this to a vegan recipe!
While I haven’t tried making a vegan version of this yet, the ingredients listed below should behave similarly to their non-vegan counterparts. So I hope it works for you! Let me know how it goes in the comments if you make a vegan version!
Dairy:
First, you’ll need to substitute margarine with a non-dairy alternative. This is easy, as many kinds of margarine are accidentally vegan, and most supermarkets worldwide offer vegan margarine which has been designed to behave in the same way as milk during cooking. You can use non-dairy margarine in the same quantities as dairy margarine.
Vitalite is a common brand of vegan margarine but established brands like Flora and Bertolli also make dairy-free/vegan versions of margarine too.
You can usually find vegan margarine with other dairy alternatives in the refrigerated aisles of supermarkets. Sometimes vegan margarine is kept with the regular margarine, so just check your labels.
If you can’t find any dairy alternative products store, don’t panic! You can often order vegan margarine and other non-dairy products from online health food retailers like Amazon, Whole Foods or Planet Organic.
Eggs:
There are a few store-bought or homemade alternatives to egg that are super quick and easy to prepare.
If you want to use a store-bought method, then you will need to look for an ‘egg replacer’. Egg replacers usually come in a powdered form but sometimes come premixed with water. You’ll find them on the baking aisle, or the ‘Free From’ section in a supermarket. If you can’t find them in-store you can always buy one from an online vegan store like The Vegan Kind or from Amazon.
Or you can use one of the below methods for a homemade egg replacement. Each method below is equal to 1 egg, so you should multiply as appropriate to match the recipe:
- 1 tablespoon of crushed chia or flax seeds mixed with 2 tablespoons of water and left for 10 minutes in the fridge.
- 3 tablespoons of aquafaba.
- 3 tablespoons of applesauce.
- Half of a medium-sized banana, very well mashed. It’s best to use fairly ripe bananas for this as they will mash more easily and bind your ingredients together more effectively.
Chocolate:
This recipe uses a small amount of melted milk chocolate so you’ll need to use a vegan alternative. Feel free to buy a small vegan chocolate bar from the ‘Free From’ section of your local supermarket. It should melt/ set and work to fix your cake pop sticks in place just as effectively as milk chocolate.
Frosting:
Some chocolate frostings can contain milk powder or milk chocolate. So look for a brand that makes vegan chocolate frosting. Luckily, the popular global brand Dr Oetker sells vegan chocolate frosting in most supermarkets.
Candy melts:
Most candy melts are vegan, but some can contain ingredients like shellac or gelatine. So keep an eye on the labels when shopping, just in case.
Animal-derived products can be used to thicken, colour or flavour sweet and savoury food, so it sneaks into the most surprising ingredients! So always make sure that you double-check all of your ingredients labels to ensure that they’re vegan.
Is this chocolate cake pop recipe gluten-free?
This recipe isn’t gluten-free, as it contains wheat flour and baking powder in the cake mix. However, you could make the recipe gluten-free by using a gluten-free baking powder and gluten-free flour blend instead of wheat flour.
This recipe calls for self-raising flour. So you should find a self-raising gluten-free flour mix or add an extra teaspoon of baking powder to compensate for the lack of raising agent in plain flour.
This Doves Farm gluten-free flour blend would work well for this recipe and it’s available from Amazon and on the Free From aisle of most supermarkets. Don’t worry if you can’t find that specific brand - there are plenty of good quality gluten-free flours available worldwide. Just make sure you choose a good quality flour with ingredients for binding, stabilising and replicating starch like xanthan gum, sorghum and teff.
Most baking powders are gluten-free, but check your labels just in case.
The rest of the ingredients should be gluten-free, however they may contain cross-contamination or trace element warnings. So if you or the person you’re making cake pops for have a severe gluten allergy, make sure you’re extra vigilant about labels.
Always double check all of your ingredients labels to make sure that they are gluten-free. Don't forget to check anything extra that you intend to use to decorate or serve with this cake pop recipe.
Is this chocolate cake pop recipe keto-friendly?
You’ll need to use a chocolate cake mix, candy melts, chocolate and sprinkles to make your cake pops. Chocolate fudge cakes include carbohydrates, and the other ingredients all include sugar.
A ketogenic diet limits the amount of sugar and carbohydrates you consume to regulate your blood sugar level. So this cake pop recipe isn't suitable for a ketogenic diet and can't be easily adapted. Sorry!
Is this chocolate cake pop recipe healthy?
This recipe contains a lot of sugar and fat, so it’s not very healthy. However there’s nothing wrong with enjoying a treat every now and then!
Is this chocolate cake pop recipe safe to eat while pregnant?
These chocolate cake pops should be safe to eat while pregnant, though in moderation. Chocolate contains a little caffeine, so you may not want to eat too much of it.
Equally important is the amount of sugar in the recipe. Pregnant people are more sensitive to changes in their blood sugar. Some pregnant people can even develop gestational diabetes related to sugar intake. So these chocolate hearts are best enjoyed in moderation.
When preparing food for a pregnant person, you should take extra care to ensure that your ingredients are in good condition and you prepare them safely and hygienically.
A Mummy Too does not offer medical advice. Please seek help from a medical professional if you need further information or have any concerns.
Is it suitable for babies and toddlers?
This recipe isn’t suitable for babies or toddlers, as it contains a lot of sugar. The NHS has some fantastic resources on their website on what to feed babies and young children.
A Mummy Too does not give medical advice. If you have any questions or concerns please speak to a health professional.
Why did my batter curdle?
Cake batter is an emulsion, so if you add too much liquid to the creamed margarine and sugar too fast, it can split. So to correct this, you can add a little bit of liquid at a time, mixing between additions to ensure the emulsion holds.
Why do my cake pops keep falling apart?
Lumps in the chocolate cake pop mix will stop it from holding together properly. Make sure you have crumbled the cake crumb down really finely and evenly.
Before you add the frosting, shake the bowl vigorously - any remaining lumps should work their way to the surface so that you can break them up.
When you add your chocolate frosting, mix it through the crumb until it’s very evenly distributed. Pick up a small handful of the chocolate cake pop mix and press it into a ball shape in your hand. If it feels dry or crumbly, you will need to add more frosting.
Why do my cake pops slide down the sticks?
It’s really important that you dip your cake pop sticks into chocolate or candy melts before pushing them into the cake pop balls. This helps hold the sticks in place.
Also be sure to chill your cake pops for at least an hour until the chocolate cake pops feel really solid if pressed. They will then hold well, even when dipped into the warm chocolate or candy melts.
Why do my cake pops crack?
If you’ve followed all of the above instructions to the letter, the likely culprit is that the melted chocolate or candy melts is too hot and the cake pop too cold, so the sudden heat difference causes cracking.
Aim for your chocolate or candy melts to be melted but not piping hot. It will then be safer to work with too.
The chocolate or candy melts doesn’t coat the chocolate cake pop balls evenly.
Make sure the candy melts or chocolate is fully and evenly melted. Microwaves can create ‘hot spots’, meaning some parts of the bowl are hotter than others, so stir well before you begin.
Generally speaking, candy melts are easier to work with than chocolate, so if you find chocolate too hard to work with, it’s worth buying some candy melts.
If you are making a large number of cake pops in one go, you make find that you need to give the remaining candy a 10-second blast in the microwave every now and then to melt it again.
If your chocolate or candy melts go gritty and can’t be remelted, it is likely that you have overheated them and you will need to start again with some fresh chocolate / candy.
Some brands of candy melt are thicker than others. If yours seems too thick to coat the cake pops, you can thin it with a little flavourless oil. Add 1 tsp at a time so that you don’t end up ruining the mix.
Try to coat the whole cake pop in a single dip and twist movement. If you re-dip too make times, it can create uneven layers. Aim to dip, twist gently, lift, allow the excess to drip off, wait until your chocolate is almost set (it won’t take long as your cake pops will be cold), then dip then in your sprinkles, and finally stand your cake pop up in its stand to set.
Can I use chocolate instead of candy melts?
If you can’t get any candy melts, you could coat your candy pops in chocolate. Milk and white chocolate have similar melting points, so you could use either. Whichever you choose, you'll need to take care when melting the chocolate to ensure it doesn't burn or overcook and that it has a good texture for coating.
So I think tempering the chocolate will give you the best results for coating your cake pops. You'll need to work quickly to dip your cake pops into the chocolate once it reaches the correct temperature so that the chocolate sets with a smooth sheen and doesn't crumble when dry.
To temper chocolate, you’ll need to use a thermometer and it’s best to melt it over simmering water. You can temper chocolate in different ways, but this is one of the easiest methods:
- Chop up your chocolate into small pieces.
- Then, place 1/4 of your chopped chocolate into a bain-marie or heatproof bowl over a pot of simmering water.
- Make sure the bowl isn’t touching the water or it could burn the chocolate.
- Melt the chocolate until it is 50 degrees centigrade while gently stirring to ensure it evenly melts.
- Make sure to use a dry silicone or plastic spatula or spoon, as moisture can cause chocolate to crystallise and become gritty.
- Wooden spoons often retain moisture meaning they aren’t appropriate. Metal utensils conduct heat, which could cause your chocolate to burn or heat too much. So silicone is best.
- Remove the chocolate from the heat and set aside around 1/3 of the melted chocolate - keep it in a warm place, so it doesn't set.
- Then gradually add the remaining chopped chocolate to the melted chocolate, stirring, so it melts in.
- Add the set aside 1/3 melted chocolate to the bowl to raise the temperature. You should keep checking the temperature to ensure the melted chocolate stays at around 28-30 degrees centigrade.
- Once the chocolate is melted, it should look glossy and smooth with no unmelted chunks.
- At this point, you can dip your cake pops and work quickly to decorate them before the chocolate dries.
As you can see, it's incredibly complex to use tempered chocolate to coat your chocolate cake pops. So it’s best to save this recipe for when you can find candy melts if you don’t fancy tempering chocolate.
Where did you get candy melts?
Larger supermarkets will have candy melts in their baking aisle.
However, you're more likely to find them in a cake decorating store or craft store. And as with most things, you can find a good selection of candy melts on Amazon.
Candy melts come in different shapes and colours but they're usually disc or button shaped. So they might look like a bag of chocolate buttons on the shelf.
Does it matter if I use baking margarine or butter in the sponges?
The margarine makes it easier to mix the batter and produces a lovely texture for sponges. Though this only applies if you use a margarine with a good fat/water content. The fat content should be around 75%.
You can use butter instead, but the higher fat content and harder texture will change the way the batter mixes and the cake bakes.
How should I store this chocolate cake pop recipe?
You can make the uncoated cake pop balls and store them in the fridge for a couple of days.
You can keep your fully made cake pops in the fridge in an airtight container for a couple of weeks. While your candy melt coated cake pops will look perfect for longer, if you use chocolate to cover your cake pops, they might develop a cloudy coating (called 'blooming'), though it won't affect the taste.
Alternatively, you could freeze your fully made cake pops in an airtight container, where they'll keep for at least six weeks.
How long will this chocolate cake pop recipe keep?
You can store your uncoated cake pops in the fridge for a couple of days, so this could be a good make-ahead option, if you want to spread the work.
Once fully made, they’ll keep in the fridge in an airtight container for a couple of weeks. Candy melt coated cake balls should stay looking perfect, while chocolate coated cake pops may develop a slightly greyish sheen, which is known as bloom as doesn’t affect the taste.
Can I leave this chocolate cake pop recipe out on the counter?
No, if you leave your cake pops out on the counter the coating will most likely become sticky and attract insects - yuck!
Can I keep this chocolate cake pop recipe in the refrigerator?
The best place to keep your cake pops is in a sealed container in a cool dark place. When storing food in the fridge, it tends to develop condensation or become soggy due to the way moisture behaves in fridges.
Can I freeze this chocolate cake pop recipe?
You can place your fully made chocolate cake pops in an airtight container in the freezer and they will keep in the freezer for at least 6 weeks.
What is the best way to defrost this chocolate cake pop recipe?
The best way to defrost your cake pops is to pop them into an airtight container in the fridge and leave them for 5-8 hours. Then let them come to room temperature before serving.
The candy coating will most likely look scruffy and cracked once defrosted, so it’s not a good idea to store candy pops you plan to serve. Just keep your leftovers in the freezer to enjoy later.
How can I convert this chocolate cake pop recipe cake recipe to cups?
The best way to convert this chocolate cake pop recipe to cups is to use an online recipe converter. There are many free recipe calculators available online, so just google ‘free recipe calculator/converter’.
You may want to test that one of the measurements from the calculator is correct before you commit to the results. Just incase the calculator is incorrect due to issues with the website.
Can I make this chocolate cake pop recipe in a different quantity?
If you want to make more or less of this recipe then go right ahead. The best way to change the quantity of cake pops the recipe produces is to use a free online recipe calculator. I outlined the best way to find one in the question above.
Can I make this chocolate cake pop recipe as one big cake?
You could…but it wouldn’t be a cake pop!
If you want to make a giant coated cake ball, you could use a large spherical cake mould (available from Amazon or other online baking supply shops). I doubt the candy coating would work as well as it does for small cake pops, but by all means give it a try!
A large cake will obviously need to cook for longer, so you could try reducing the temperature by 10-20 degrees and adding an extra 10-15 mins.
Let me know how it goes!
Can I make this recipe in a different tin/tray?
Sure! Feel free to use different shaped cake pop tins, like this diamond ball shaped cake pop tin. Bear in mind that if the cake pops are much larger or smaller then it will affect the cooking time. The original recipe for cake pops was mini cupcake shaped cake pops, so you can make any shape you like if you can find a suitable mould.
Can I make this chocolate cake pop recipe in a stand mixer such as a KitchenAid or Kenwood Mixer?
A stand mixer would be helpful for creaming your margarine and sugar and mixing the rest of the batter. Just make sure you scrape down the bowl between each ingredient so you don’t lose any.
When you add the flour it’s best to take the bowl out of the mixer and stir it in by hand with a spoon. This will reduce the chance of the flour getting overworked, which can activate the gluten causing tough, dense cake pops.
Can I make this chocolate cake pop recipe with a food processor?
You could use a food processor to briefly blitz the cake up to break up your cooled cake into smaller pieces. You can also do the same if you’re using shop bought cake to use as a cake pop filling instead of baking your own. Make sure not to blitz for more than a couple of seconds, otherwise the cake could end up a sort of cake paste.
However, a food processor would be much too powerful to mix a cake batter. It would activate the gluten and knock the air out of the batter, resulting in a dense, flat cake.
Ideas for occasions to make cake pops
Cake pops are fantastic for parties and celebrations.
Try different coloured candy melts to celebrate different occasions. For example, how about:
- red or pink chocolate cake pops for Valentine's Day
- red, white and blue cake pops for Fourth of July
- black cake pops for Halloween.
Cake pops are also great to set up as a kid's party activity. Prepare making stations for each child to roll a few chocolate cake balls each.
Print this chocolate cake pops recipe
Chocolate Cake Pops Recipe
Ingredients
For the sponge
- 150 g (1 stick + 3 tbsp) baking margarine
- 200 g (1⅛ cup) white caster sugar (superfine sugar)
- 3 medium free range eggs
- 1 tsp vanilla extract
- 200 g (1½ cups) self-raising white flour (self rising flour)
- 1 tsp baking powder
- 2 tbsp cocoa powder (dutch processed)
For the cake pops
- 400 g (14 oz) chocolate frosting
- 25 g (1 oz) chocolate for securing the sticks
To decorate
- 200 g (1 cup) candy melts
- 50 g (¼ cup) cake sprinkles
Equipment
- Round loose-bottomed 20cm (8") nonstick cake tin
Instructions
Make the sponge
- Preheat the oven to 200C (180C fan, 325F).
- Put the butter and sugar in a bowl and beat together.
- Add the eggs and vanilla and beat again.
- Add the flour, baking powder and cocoa and fold through.
- Grease and line a cake tin and tin the batter into it, levelling off.
- Bake for about 25 minutes until a skewer pushed into the centre of the cake comes out clean.
- Tip the cake onto a wire rack to cool completely.
Make the cake pops
- Crumble the cake into a large bowl. Keep crumbling until it resembles crumbs.
- Add about 3/4 of the frosting to the bowl and mix through. Mix until you can form the mixture into a ball in your hand, adding more frosting as necessary. You might not need it all.
- Roll your cake mixture into 20 equally sized balls. Try to get them as round as you possibly can by cupping your palms and rolling the mixture between them. Place them on a tray as you go.
- Dip the very end of each cake pop stick into the melted chocolate, then push each stick into one of the cake balls. The chocolate helps to hold the stick in the cake.
- Put all of the cake pops into the refrigerator for 1-2 hours to get cold and firm up. If you like, you can leave them overnight and finish making your cake pops in the morning.
Decorate the cake pops
- Melt your candy melts according to the packet directions as directed and put the sprinkles in a small bowl.
- Take each cake pop in turn and dip them into the candy melts, gently coating on all sides. This can take a bit of practice to get right. Allow the pops to drip over the bowl - this will help avoid excess melts from dripping down the stick.
- If you want to add sprinkles, hold the pop until the candy melts have just begun to set, then swish the pop in the sprinkles so that they stick to the candy.
- Push each cake pop stick carefully into an upturned colander or box lid so that the pops stand up while they set.
- Once chilled, share and enjoy!
Video
Nutrition
Pin this chocolate cake pop recipe

More ideas with cake
Have you got my book?

'This is a great kids cookery book. Emily is a star' - Simon Rimmer
'The book I'd like to force into any mother's kitchen' - Prue Leith
"A fab book with a plan." - Jane Devonshire, 2016 Masterchef UK winner
'Emily has managed to combine her mummy knowledge and passion for food to make a truly helpful and brilliant cookbook' - Priya Tew, RD, BSc (Hons), Msc
Get Your Kids to Eat Anything is an achievable 'how to' for parents in the battle to overcome picky eating and 'make new the norm'. Emily Leary's unique 5-phase programme looks at the issue of 'fussy eating' in a holistic way that links imagination with food, and which situates parents alongside - not in opposition to - their children.
.



Steph @MisplacedBrit says
These look FANTASTIC!! I bought a cake mould and tried doing them in that - absolutely rubbish! They didn't stay together at all... mashed up all the cake leftovers and did as you above, but I didn't have any melts so ours were dipped in melted chocolate - a little tricky but a LOT of fun :-) Yours look very evenly sized... I'm impressed! Ours turned out the size of clementines!! :-)
agatapokutycka says
They look awesome!
I have a storage question - how do you store them? due to its shape... or do they just don't live long enough to require storage?
Lori says
Erm YUM! These look delicious. I always shied away from making these as I didn't have a clue but you've made it look super easy to do. thanks for sharing :) x
Californian Mum says
My daughter would go crazy (with happiness, obviously) if I made these for her!
Karen Usher says
Just added this to my "favourites folder" when I get time to make them I def will....making my mouth water just looking at them!
hannah clementson says
These look so fantastic! JD is a superstar x
Kara Guppy says
Always wondered how to make cake pops - so gonna make these at easter now!
Kizzy says
Will have a go with the kids this weekend, love the colours!
Julie's Family Kitchen says
Some great tips here for making cake pops. These cake pops look perfect.
Fritha says
I totally thought they would be a real faff to make but these looks great and looks like a really fun process too! am pinning! x