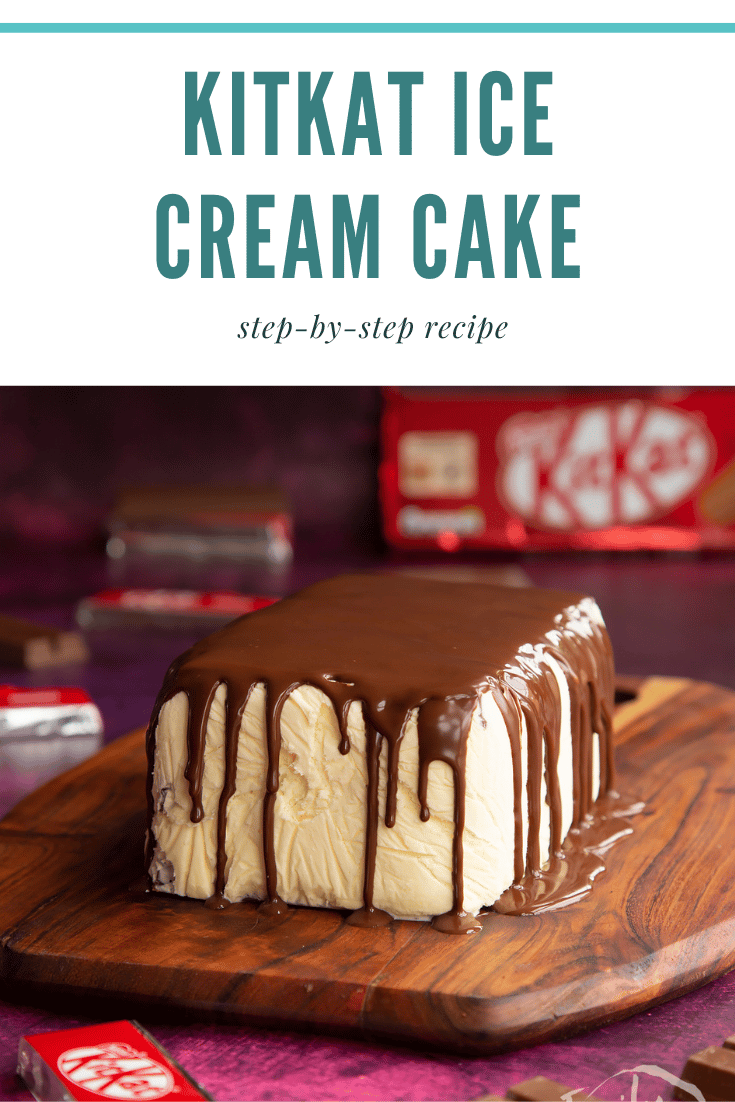
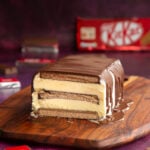
Crispy, creamy, chocolatey and decadent - words can't describe this perfectly dreamy KitKat Ice Cream Cake.
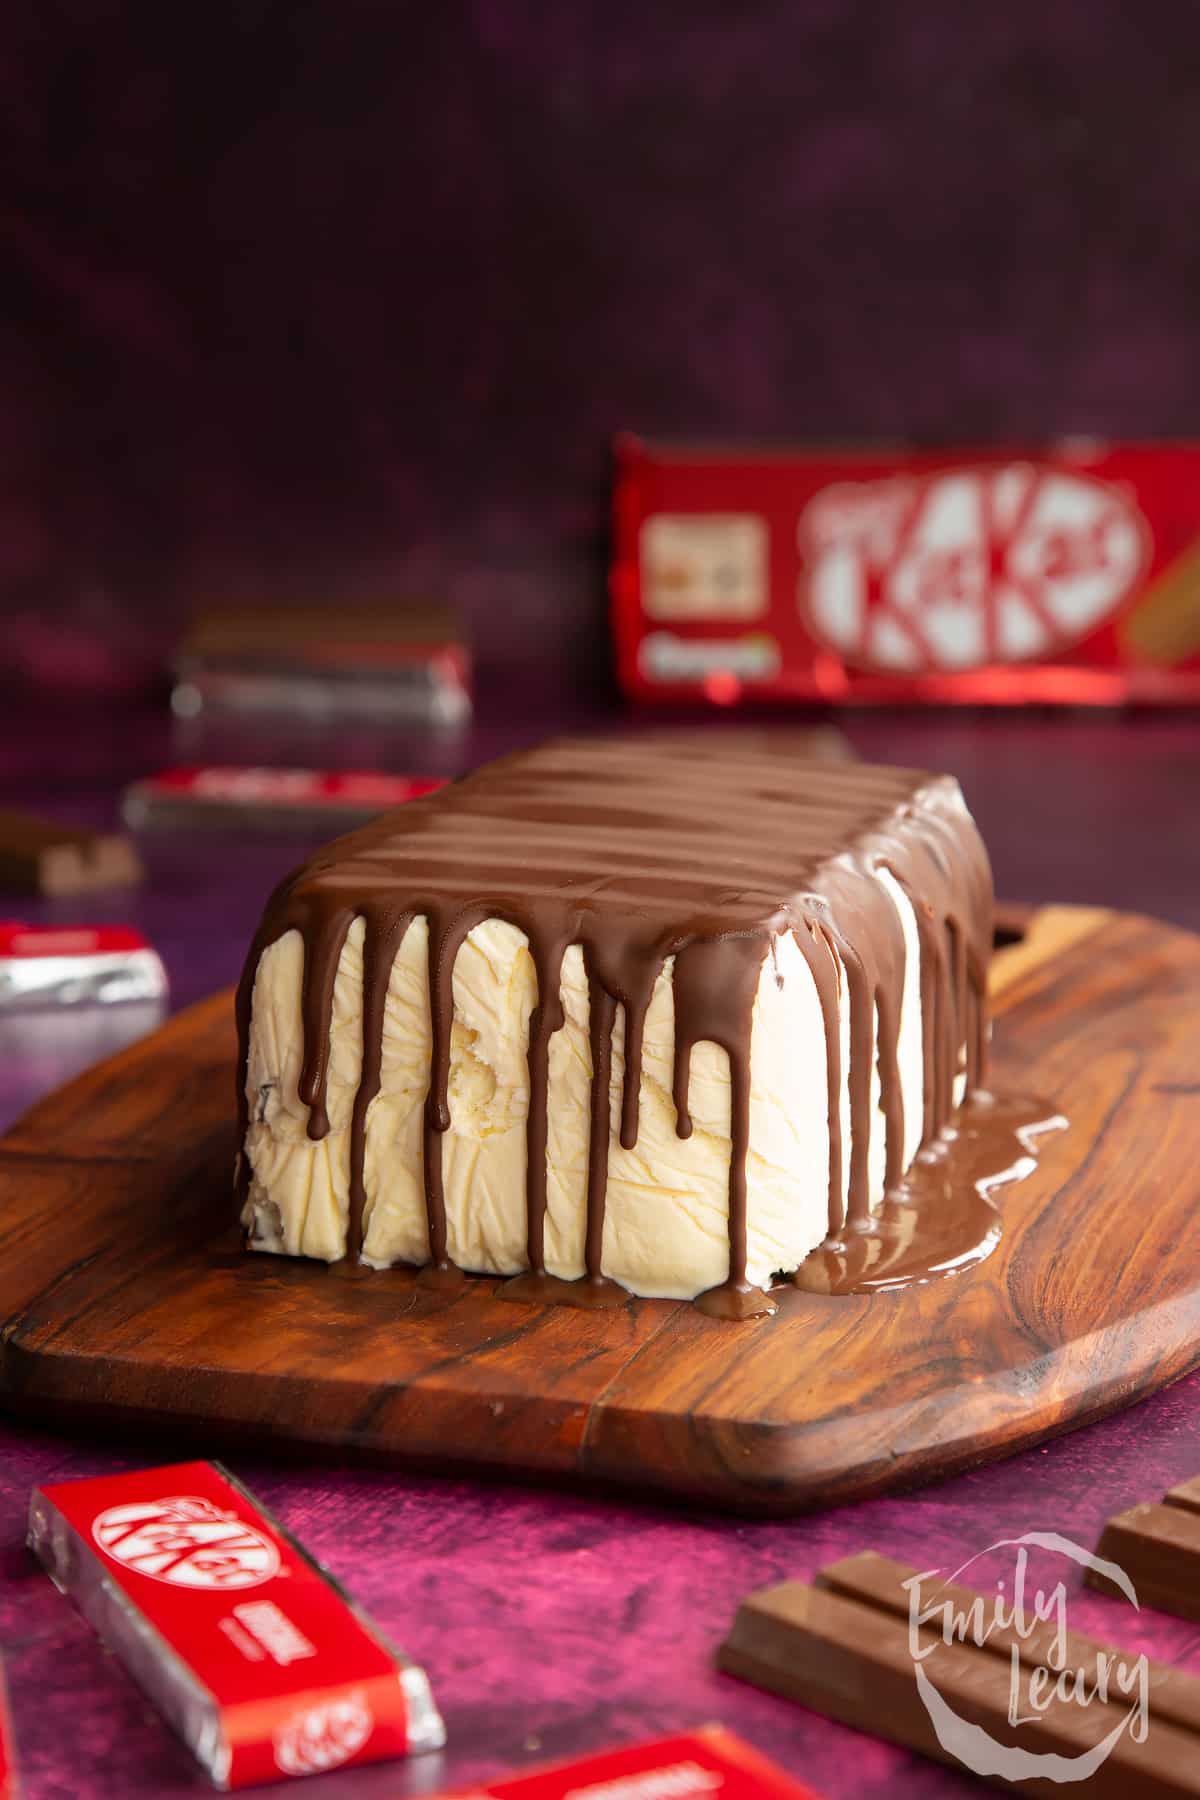
Good food is often about contrast: sweet and salty, crunchy and soft, spicy and cooling. Think of your favourite chocolate bar and you'll often realise it has the perfect marriage of contrasting tastes and textures.
In this KitKat ice cream cake, we have crispy and creamy come together in a beautifully, show stopping frozen dessert.
KitKats are the perfect wafer bar for this recipe because of their chocolate coating. The chocolate shell keeps the wafer interior super crispy, so every mouthful has that delightful contrast of creaminess and crunch.
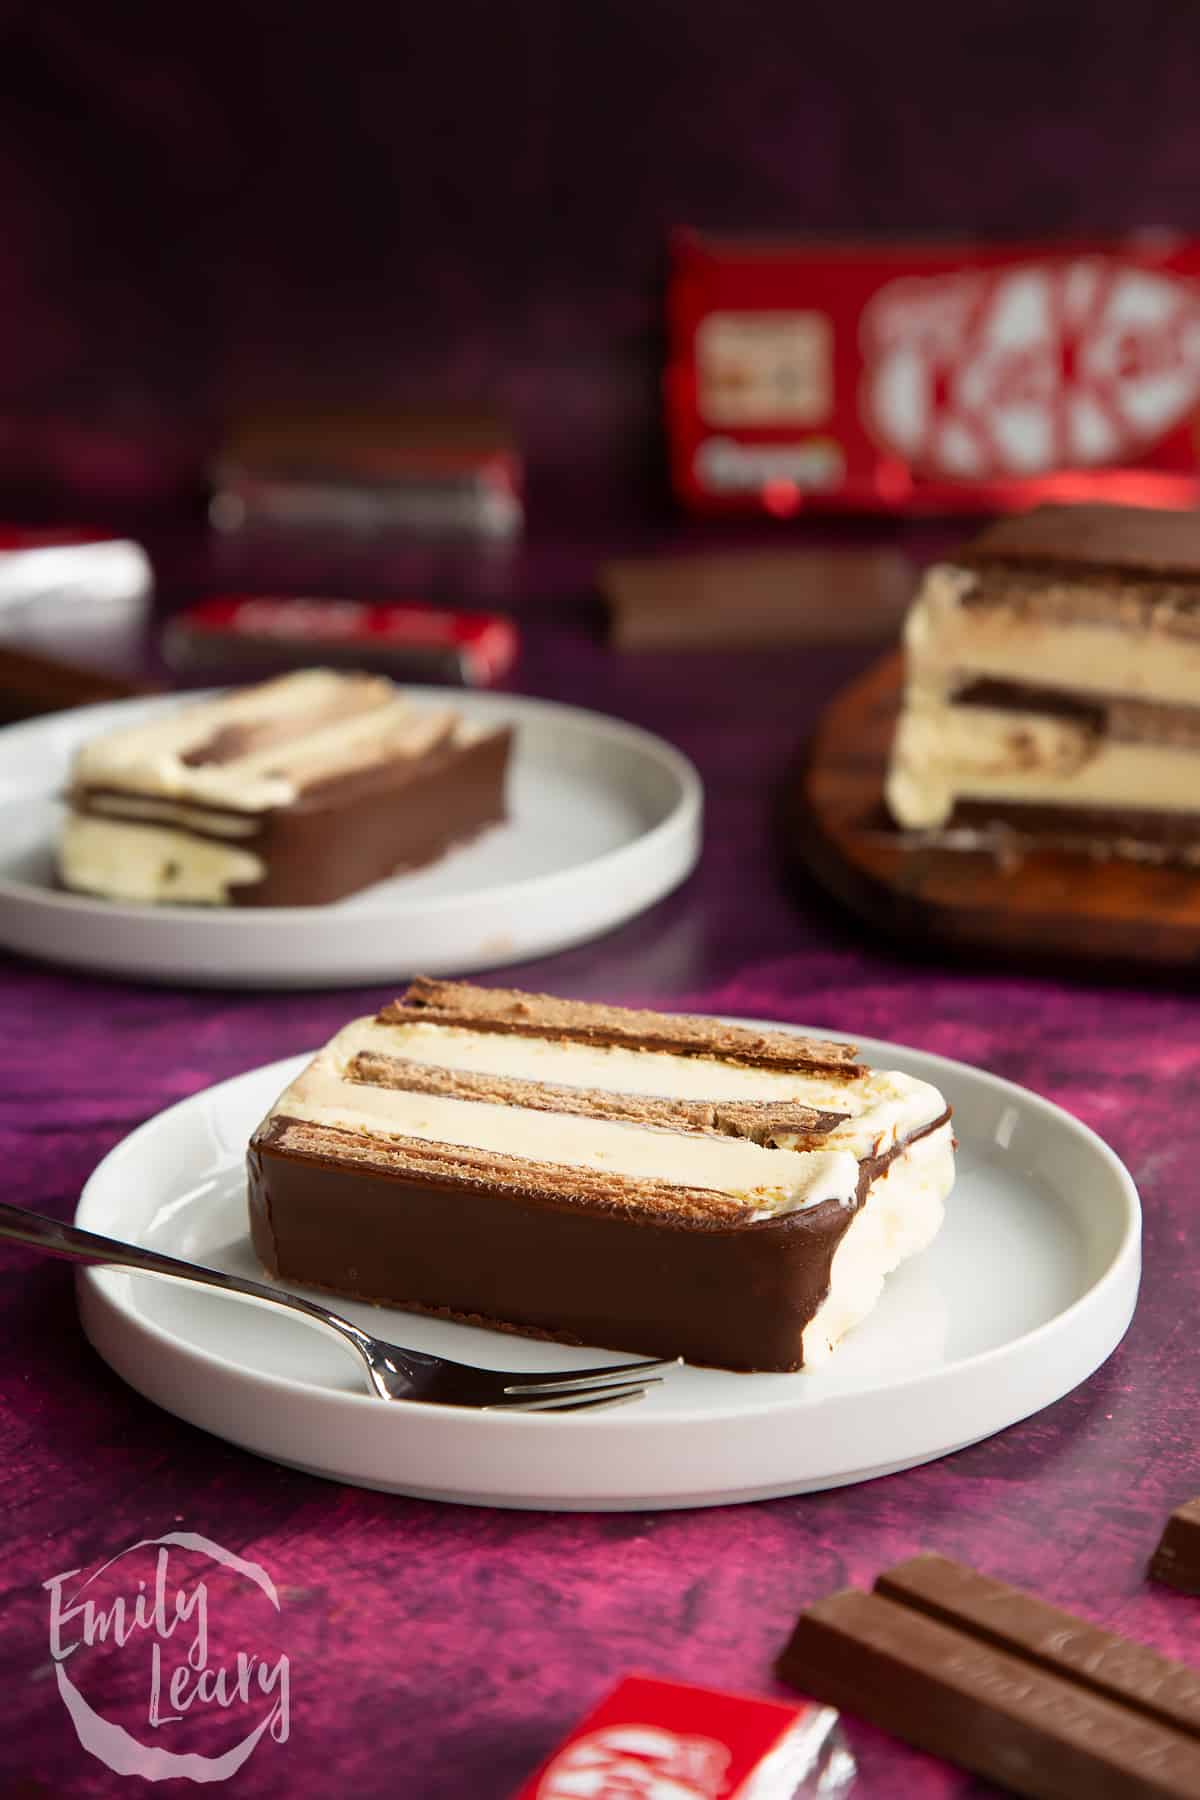
This recipe is so simple, it can whipped up in minutes and popped back in the freezer, ready to bring out as the dessert that gets everyone talking.
To make this KitKat Ice Cream Cake, you'll only need a loaf tin or freezer-safe container and a spoon!
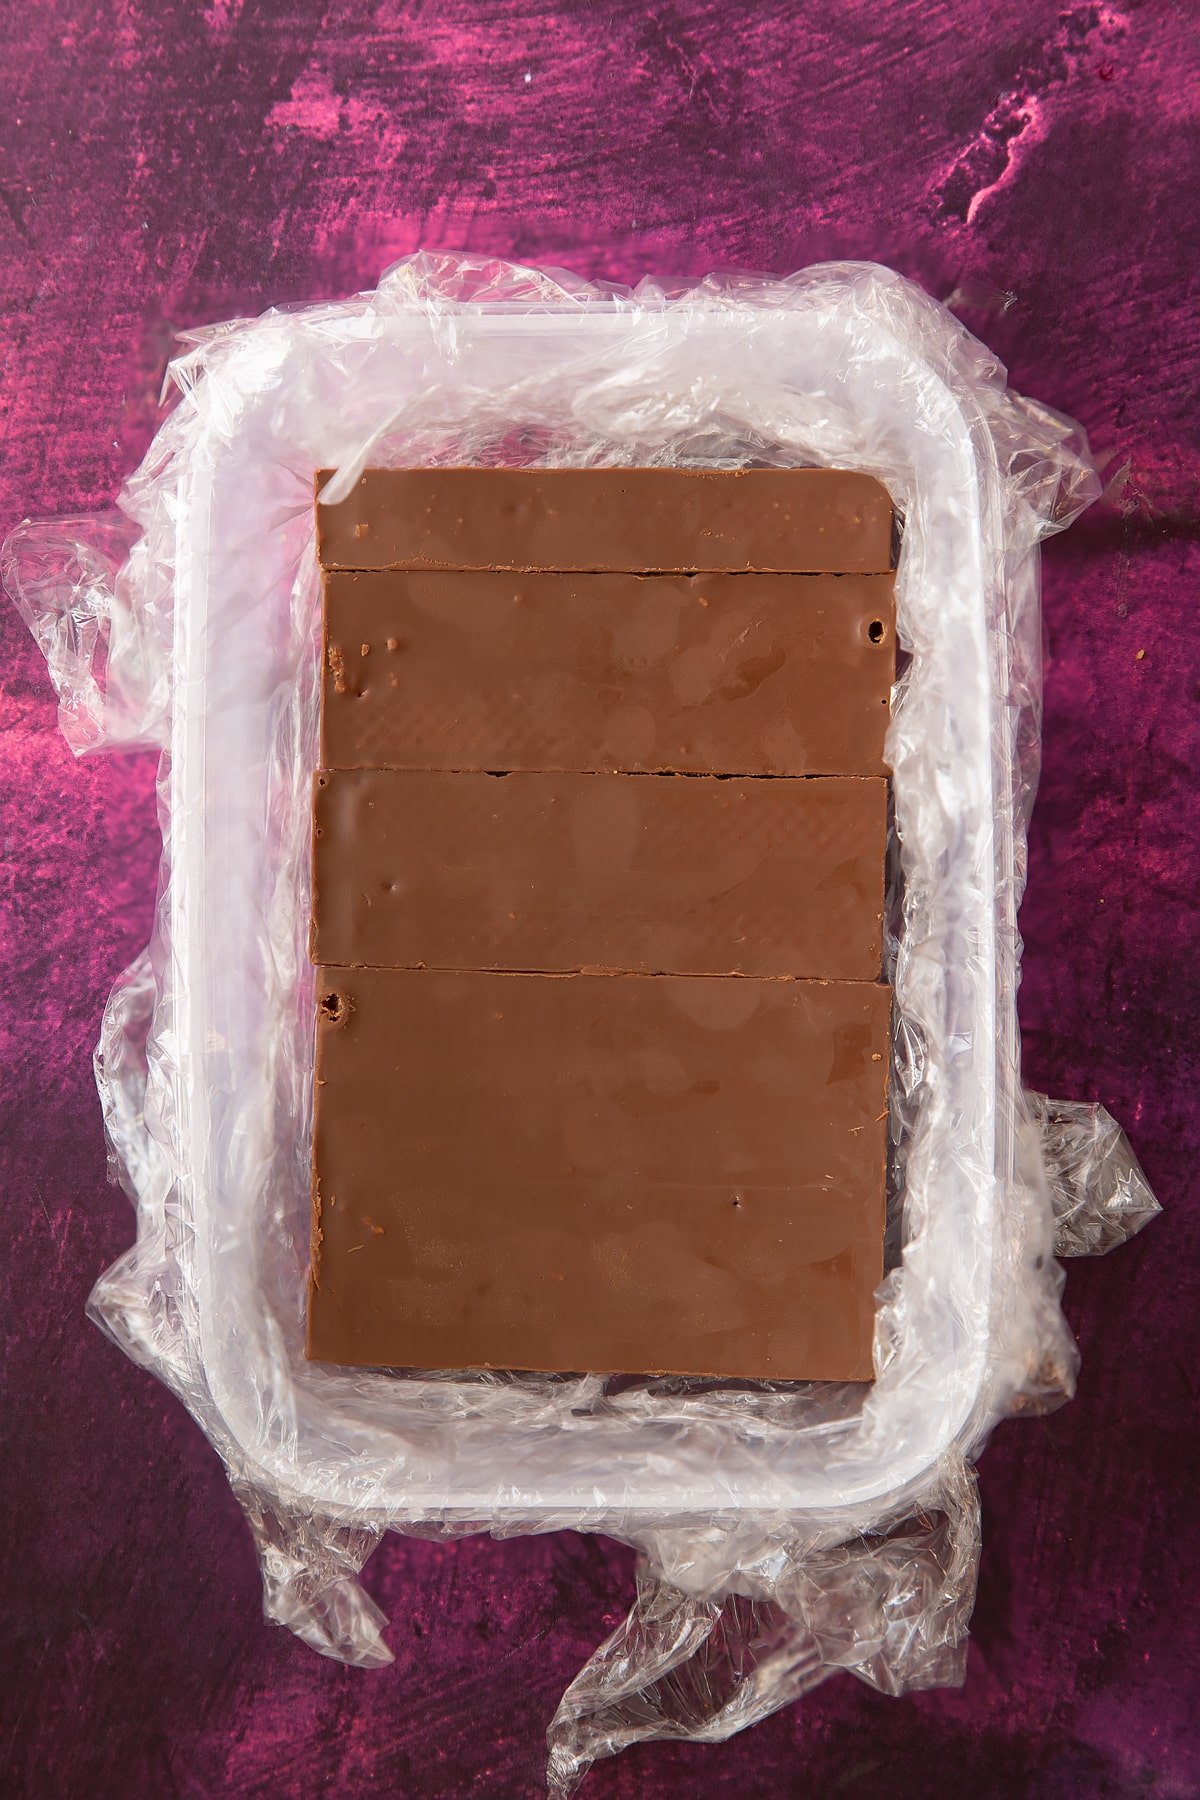
First, you'll line your loaf tin with cling film (saran wrap) and set a layer of KitKat bars along the bottom. Remember, the bottom will be the top of the cake, so you'll need to make sure your KitKats are neat and facing down to create the top of the cake. Don't worry - there are lots of pics of every step in the full recipe below.
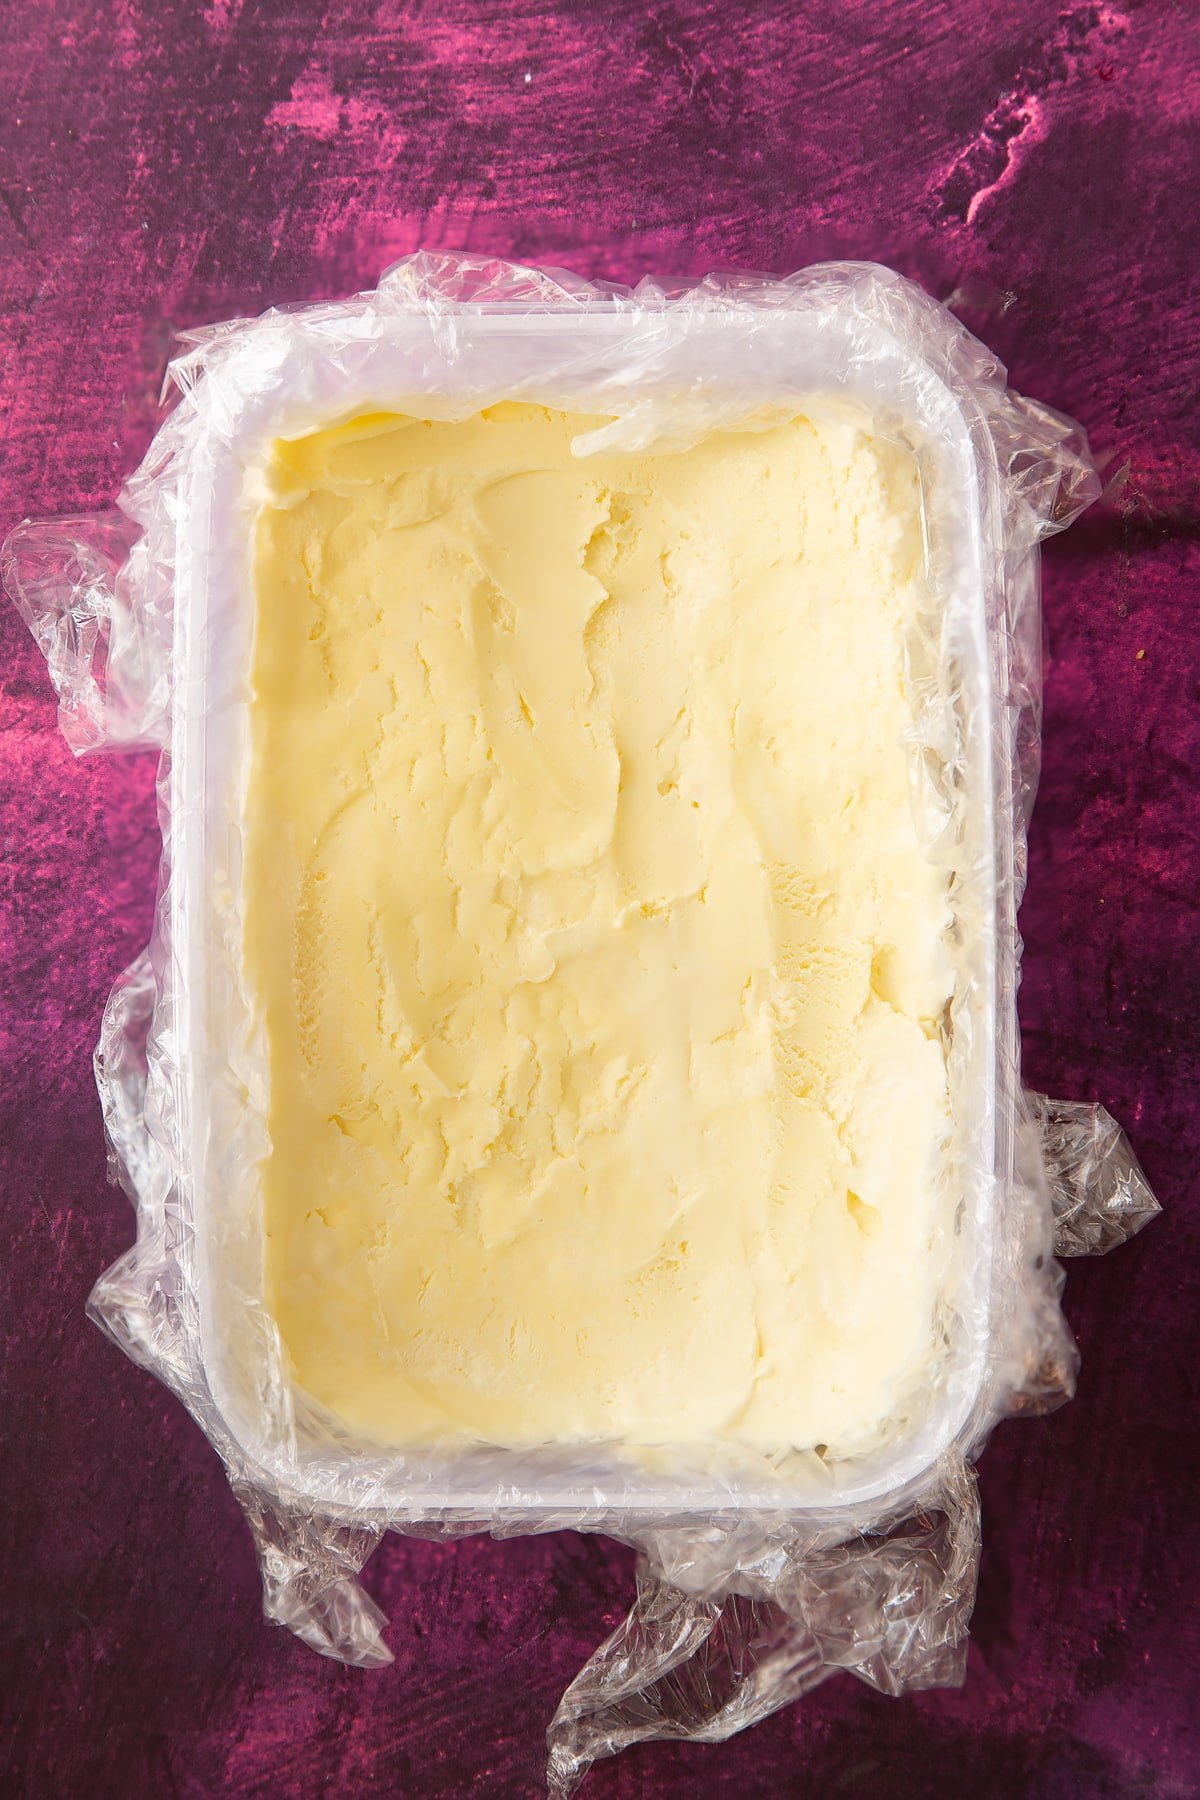
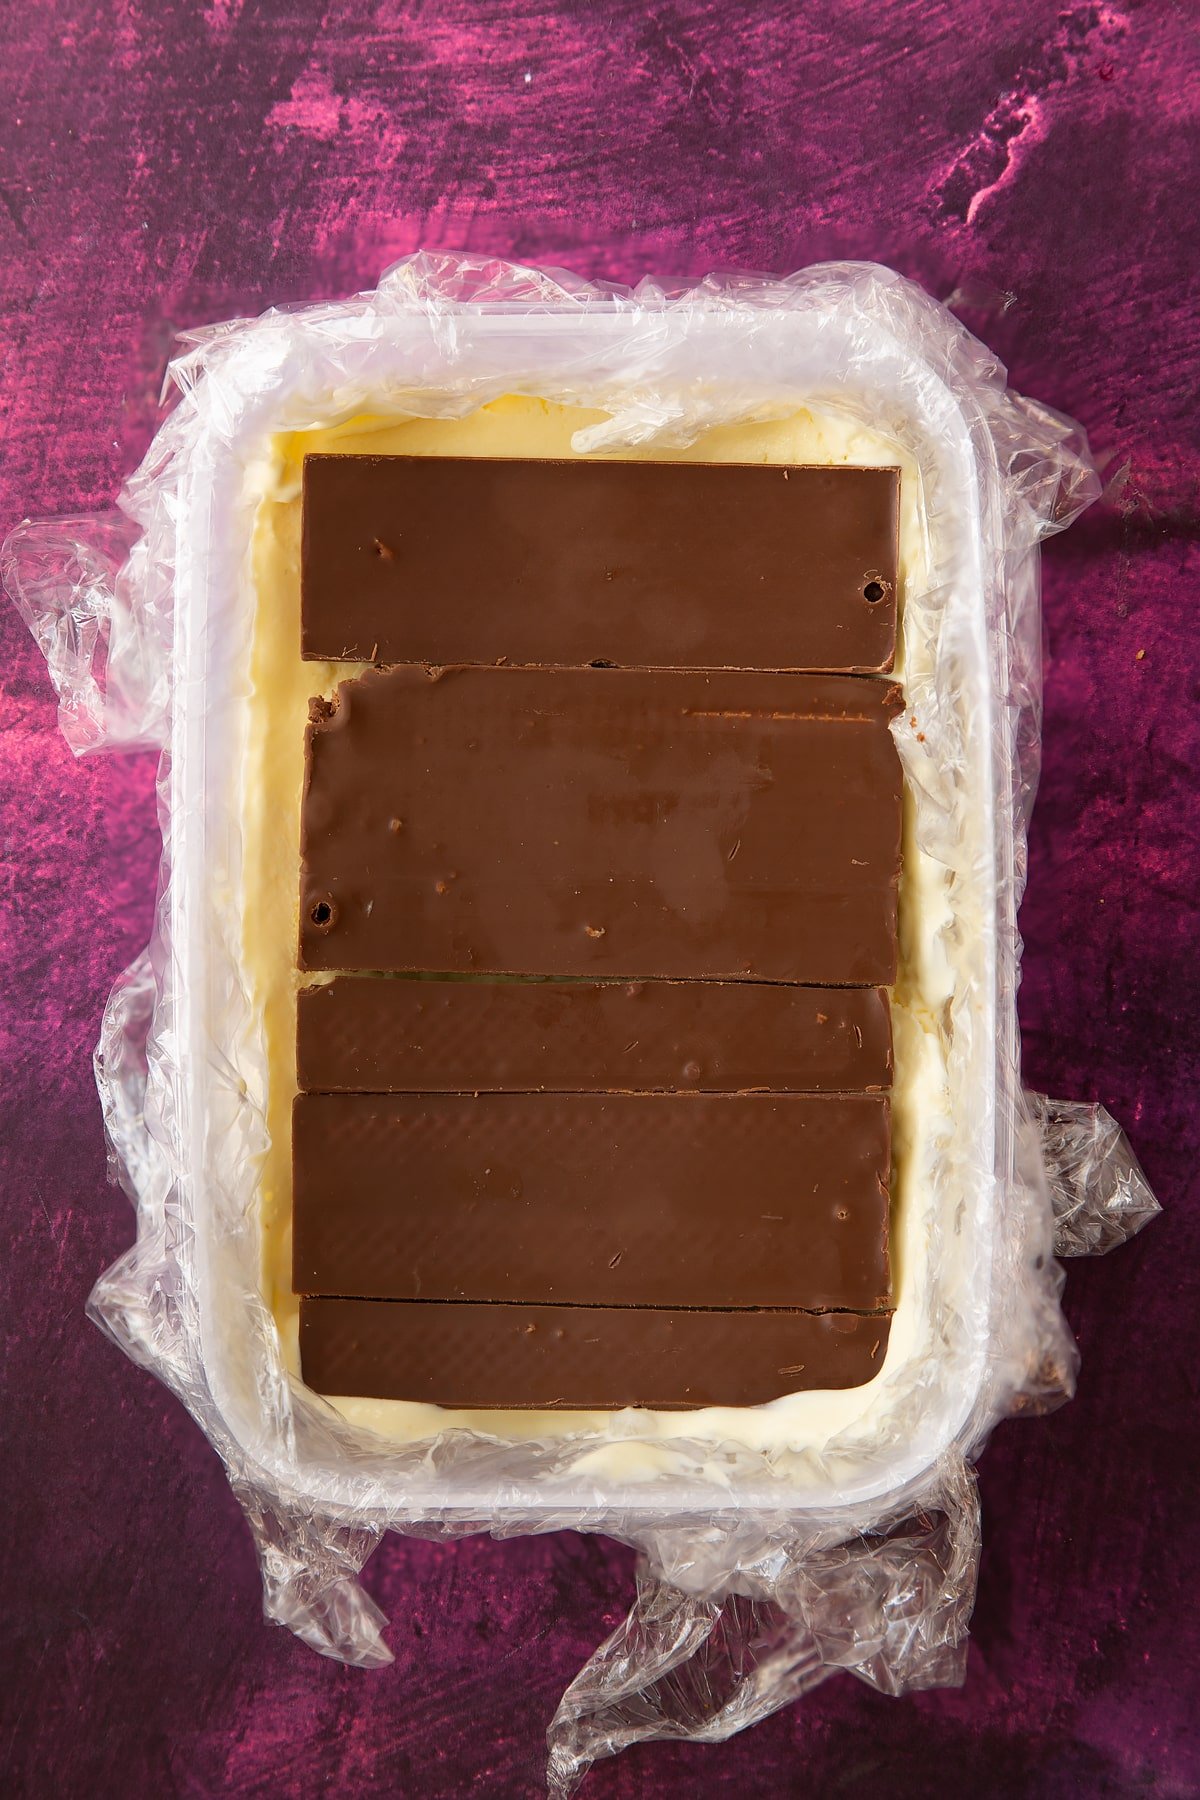
Next, you'll soften vanilla ice cream just enough to make it pliable and then spread a layer over the KitKats. Then you'll simply repeat the process until you've filled the tin. The number of layers you get will depend on your tin's depth.
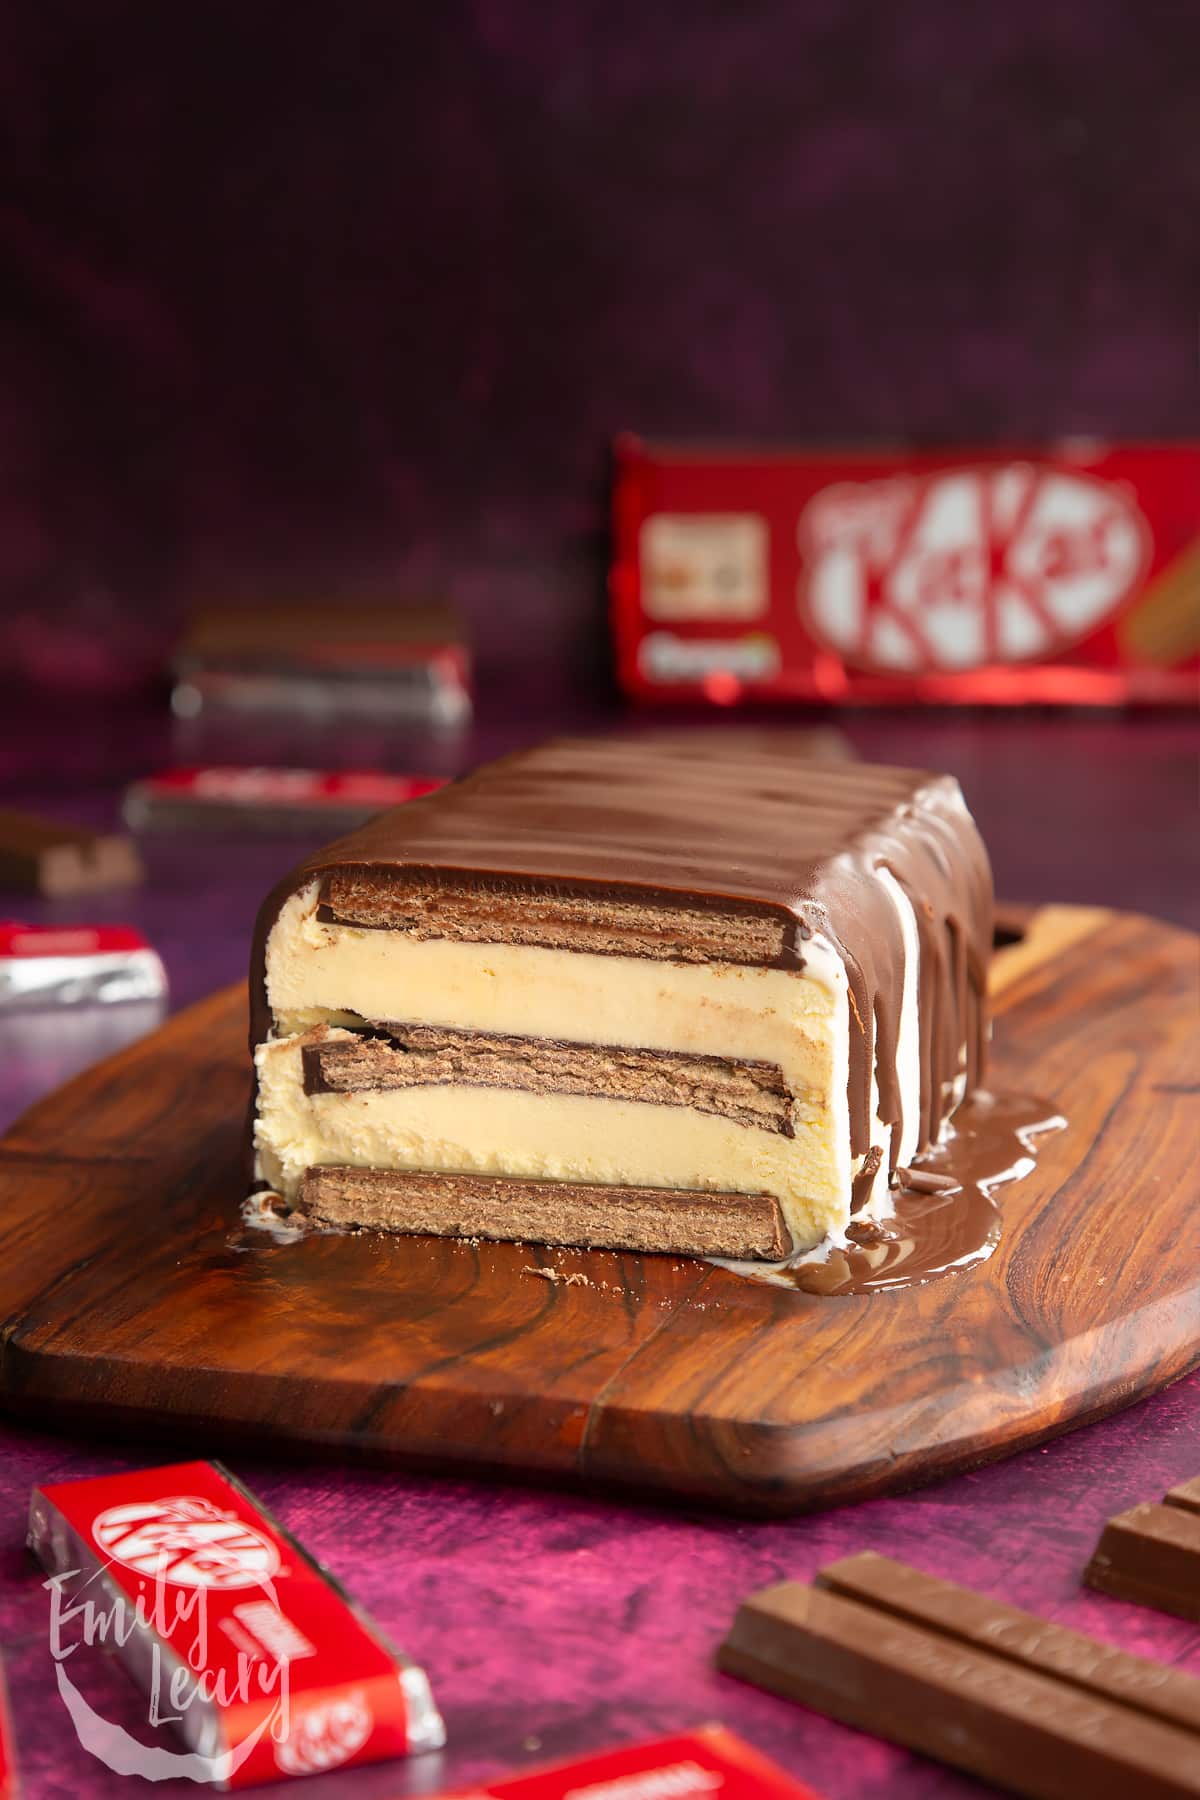
To complete your dessert, you'll put your KitKat ice cream cake back in the freezer overnight to firm back up.
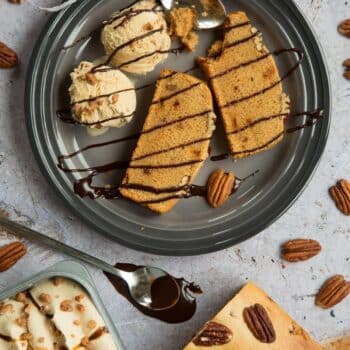
The next day, you'll simply tip the KitKat ice cream cake out and top it with magic chocolate sauce (the kind that sets when it touches ice cream).
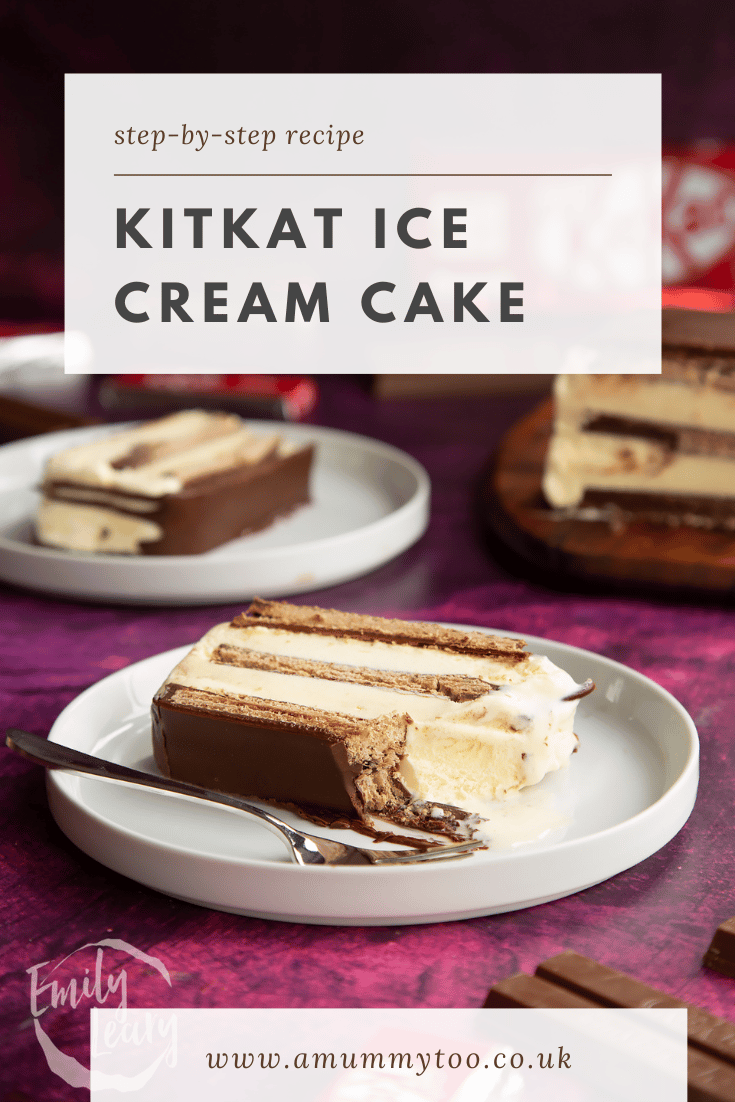
Once the chocolate sets, your cake is ready to slice into pieces to serve.
And it's as simple as that! This recipe is so fun, and it's such an easy way to make a Friday night at home more special, or serve as a laidback showstopper for a BBQ.
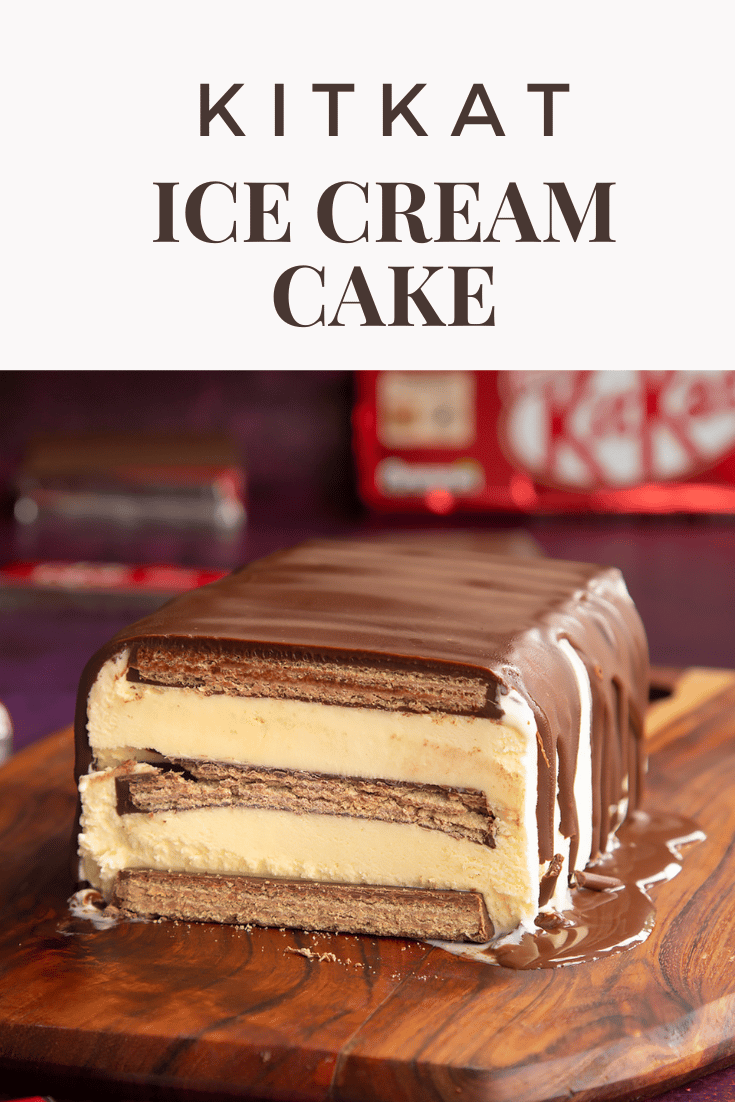
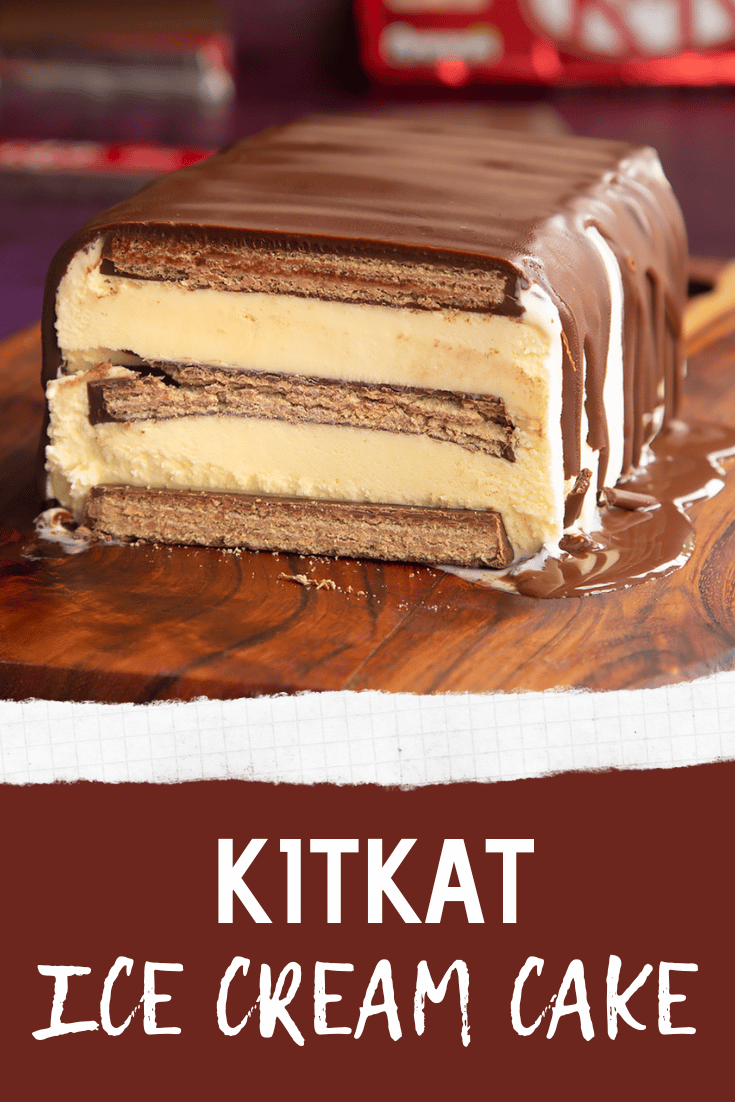
Instead of slicing before serving, you could bring the cake to the table to slice so that your guests can enjoy the drama of that magic chocolate cracking and revealing the layered interior of the cake!
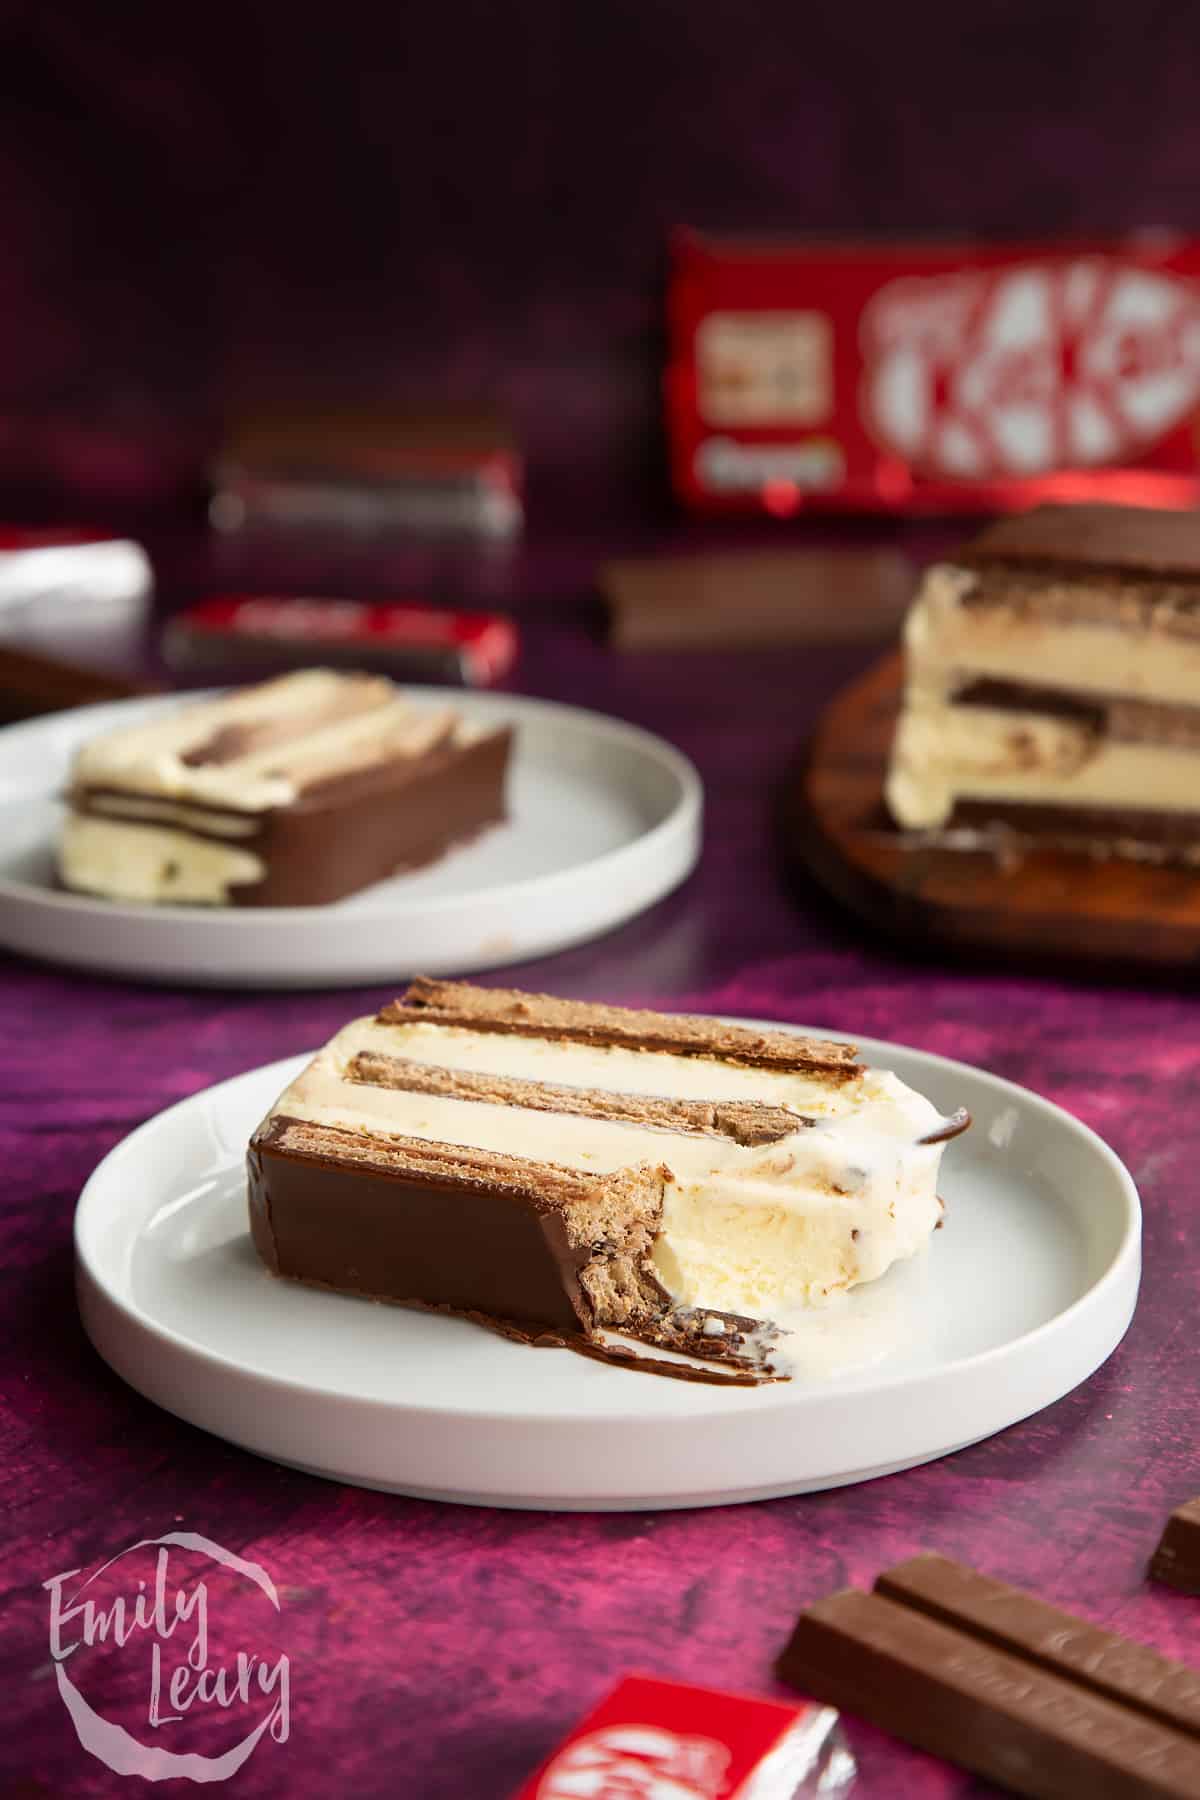
If you like the sound of all this, here's my full recipe for the KitKat Ice Cream Cake. Be sure to follow the instructions closely and you'll end up with a delicious dessert that will impress your friends and family. Enjoy!
Ingredients
- 290 g (10.2 oz) KitKat bars (may vary by container dimensions)
- 1 litre Vanilla ice cream
- 100 g (3.5 oz) Magic shell chocolate sauce the kind that sets on ice cream
Equipment
- 2 lb (900ml) nonstick loaf tin (wide enough to fit the Kitkats)
- Clingfilm (plastic wrap)
Instructions
Scoop the vanilla ice cream into a bowl and leave at room temperature for about 10 minutes. You want it to be pliable but not melted.
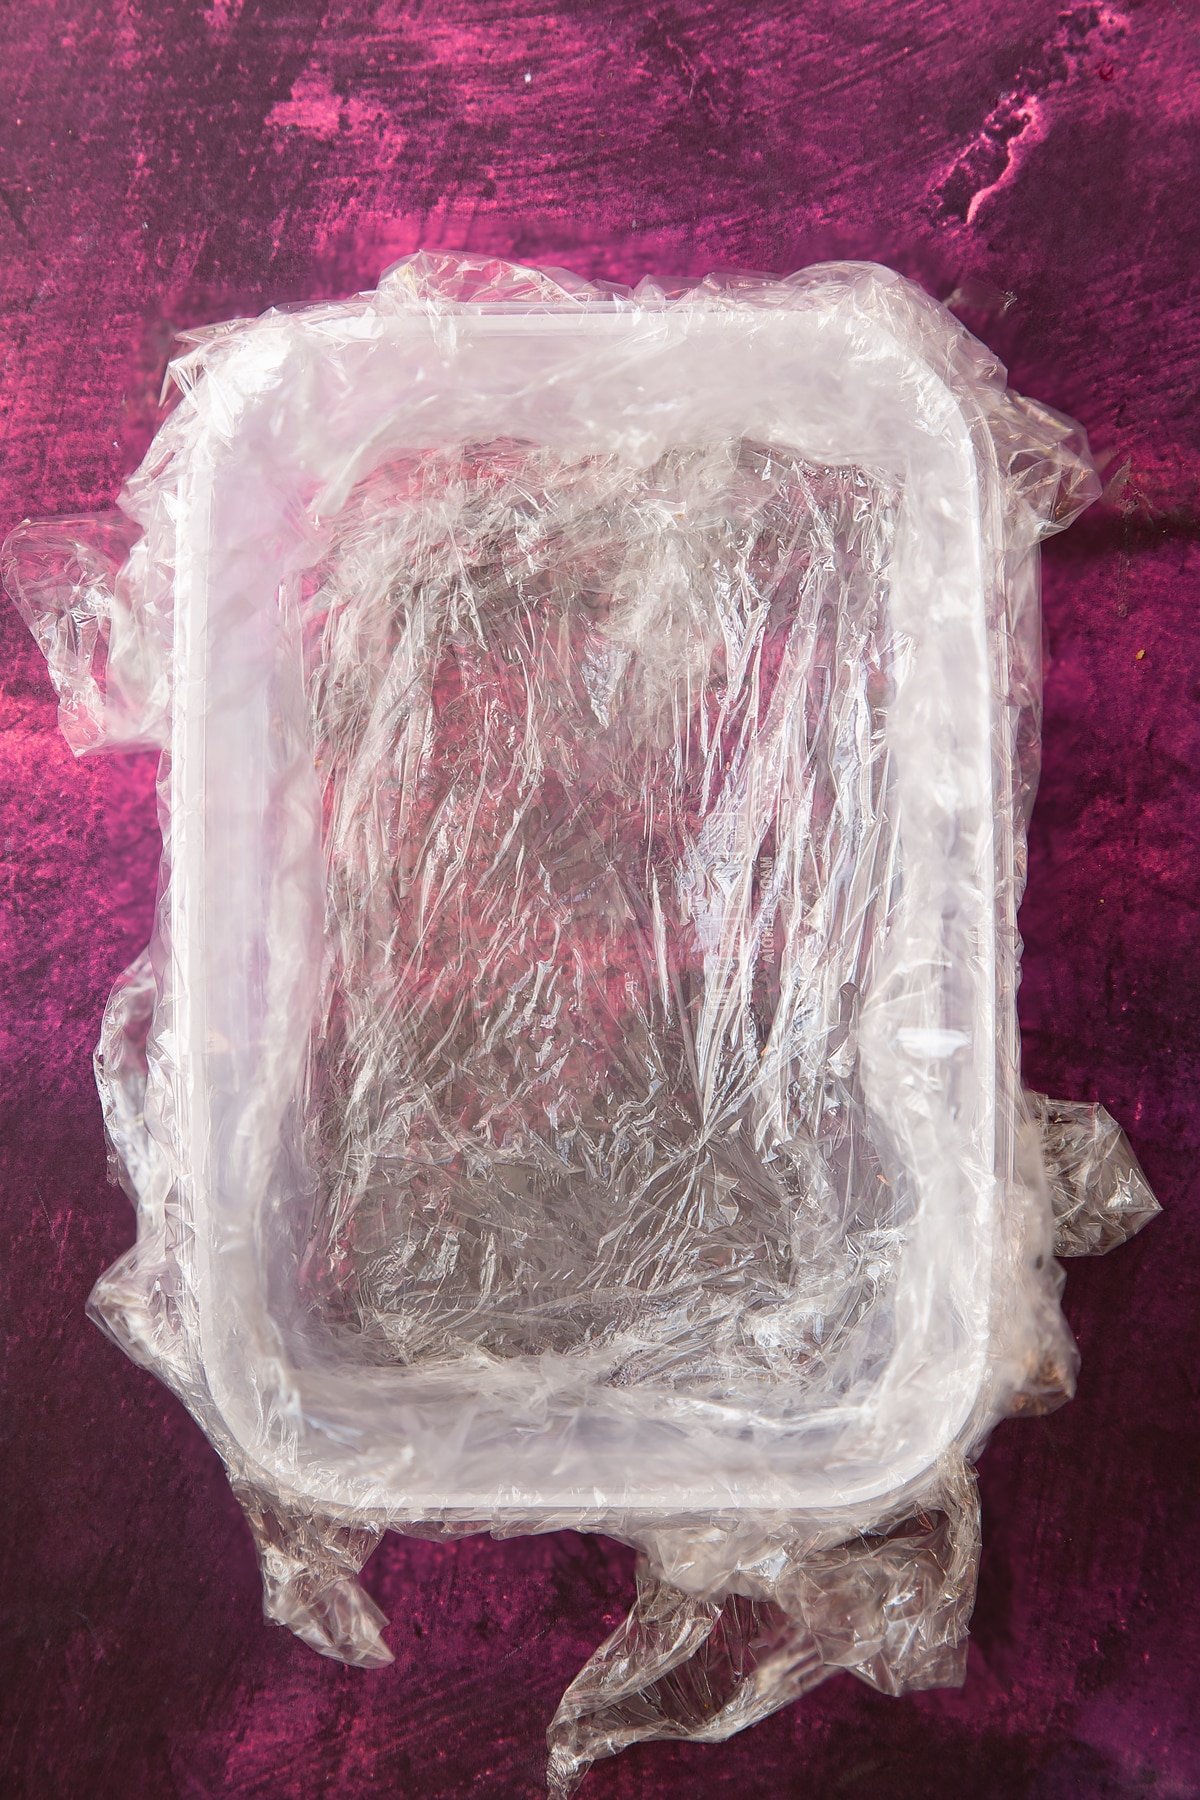
Double line the container with cling film, leave overhang that you can use to cover the top of the cake.
Arrange a layer of Kitkats along the bottom of the container, face down (this will be the top when you turn the cake out)
Top with half the ice cream.
Arrange another layer of KitKates.
Add the rest of the ice cream.
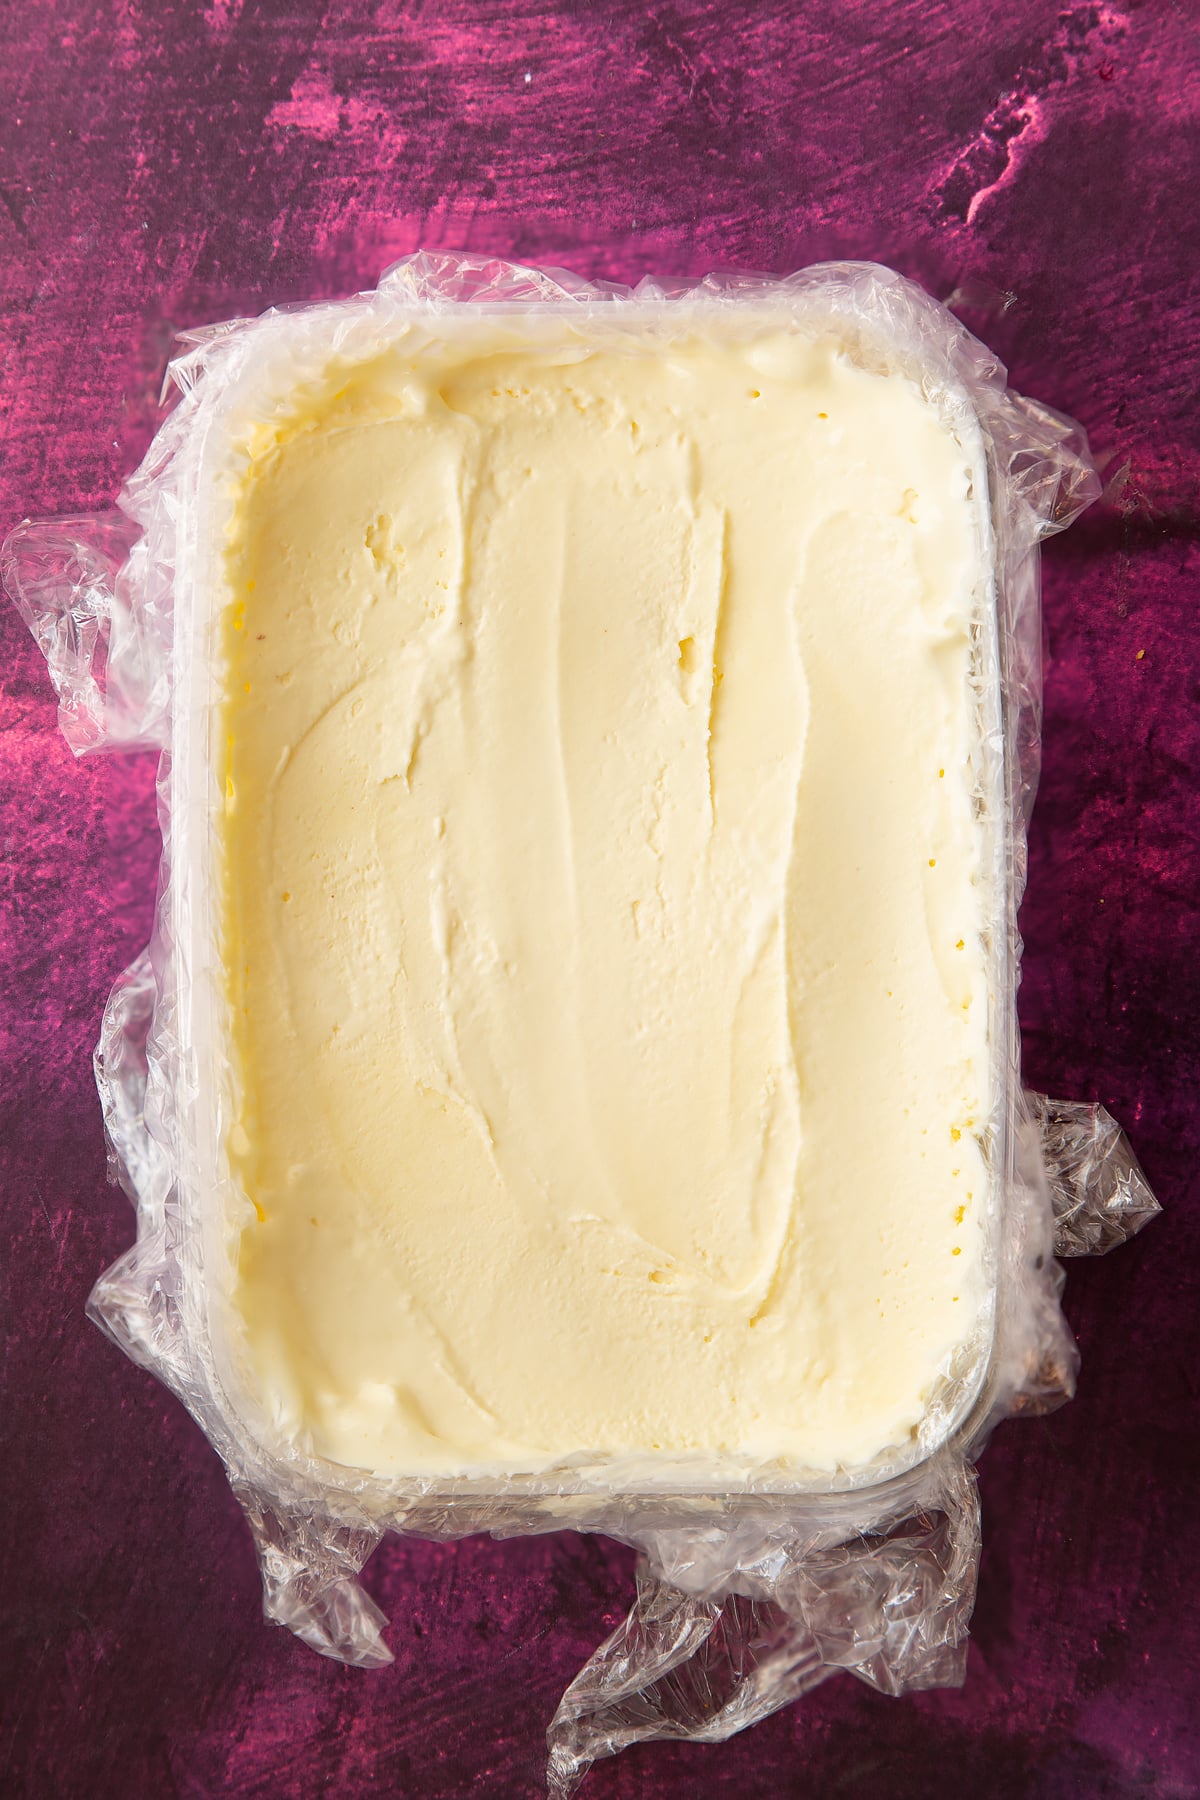
Add a final layer of Kitkats.
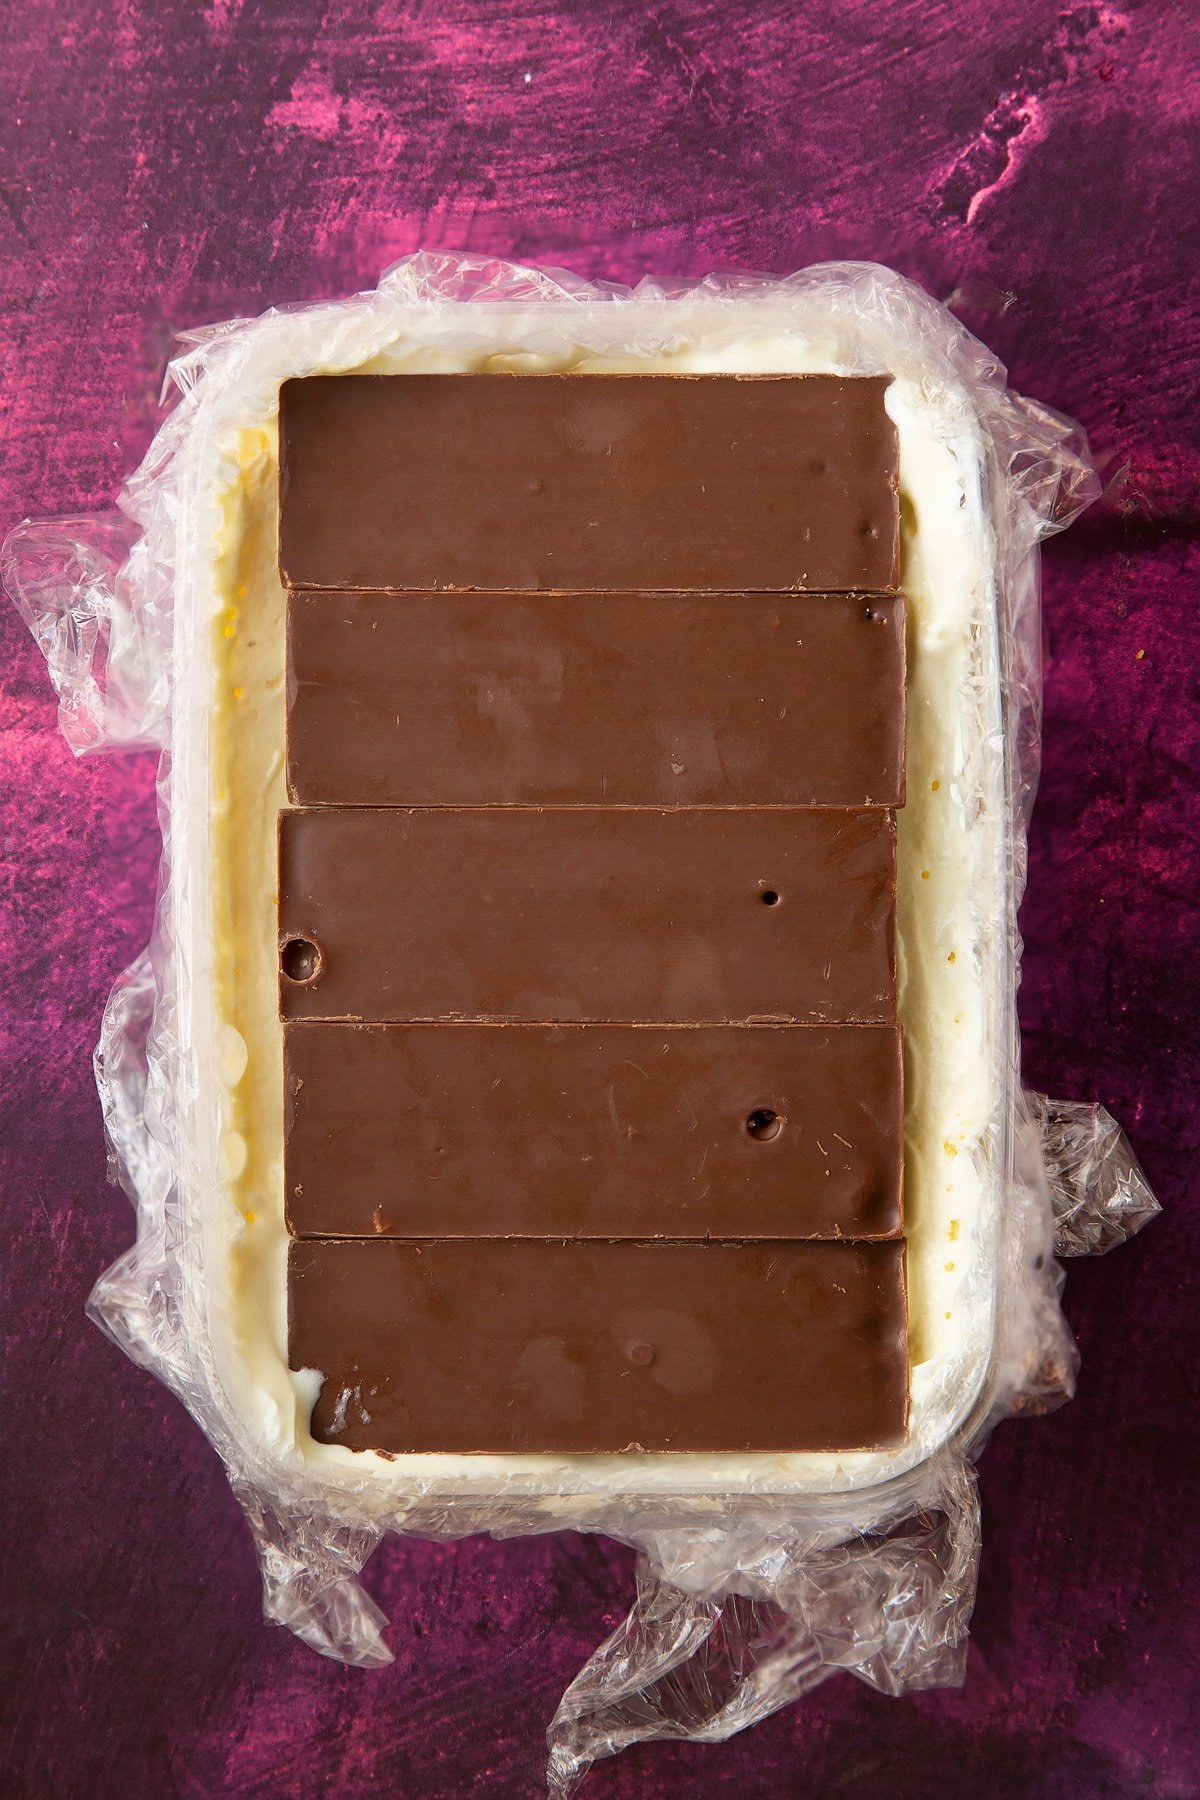
Cover and place in the freezer overnight until solid.
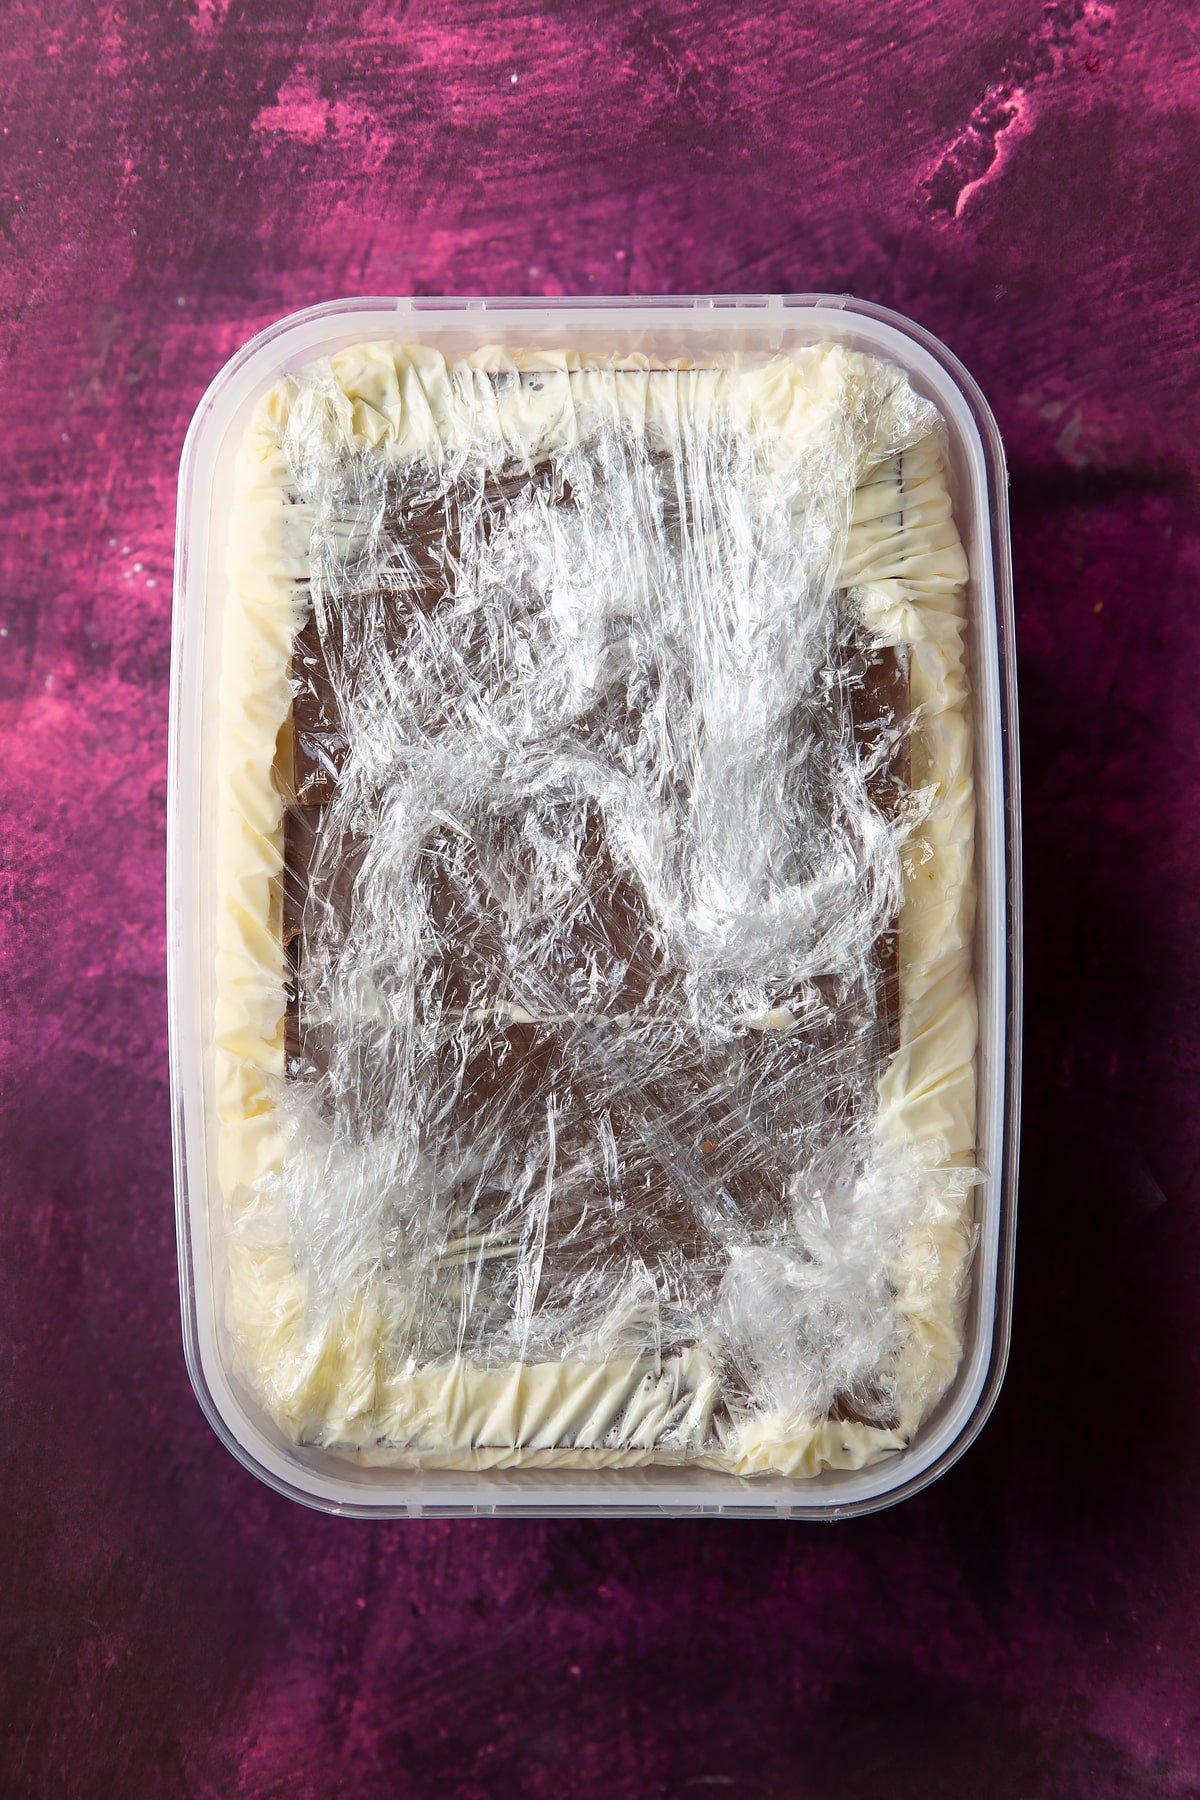
Remove from the container, unwrap and place on a board.
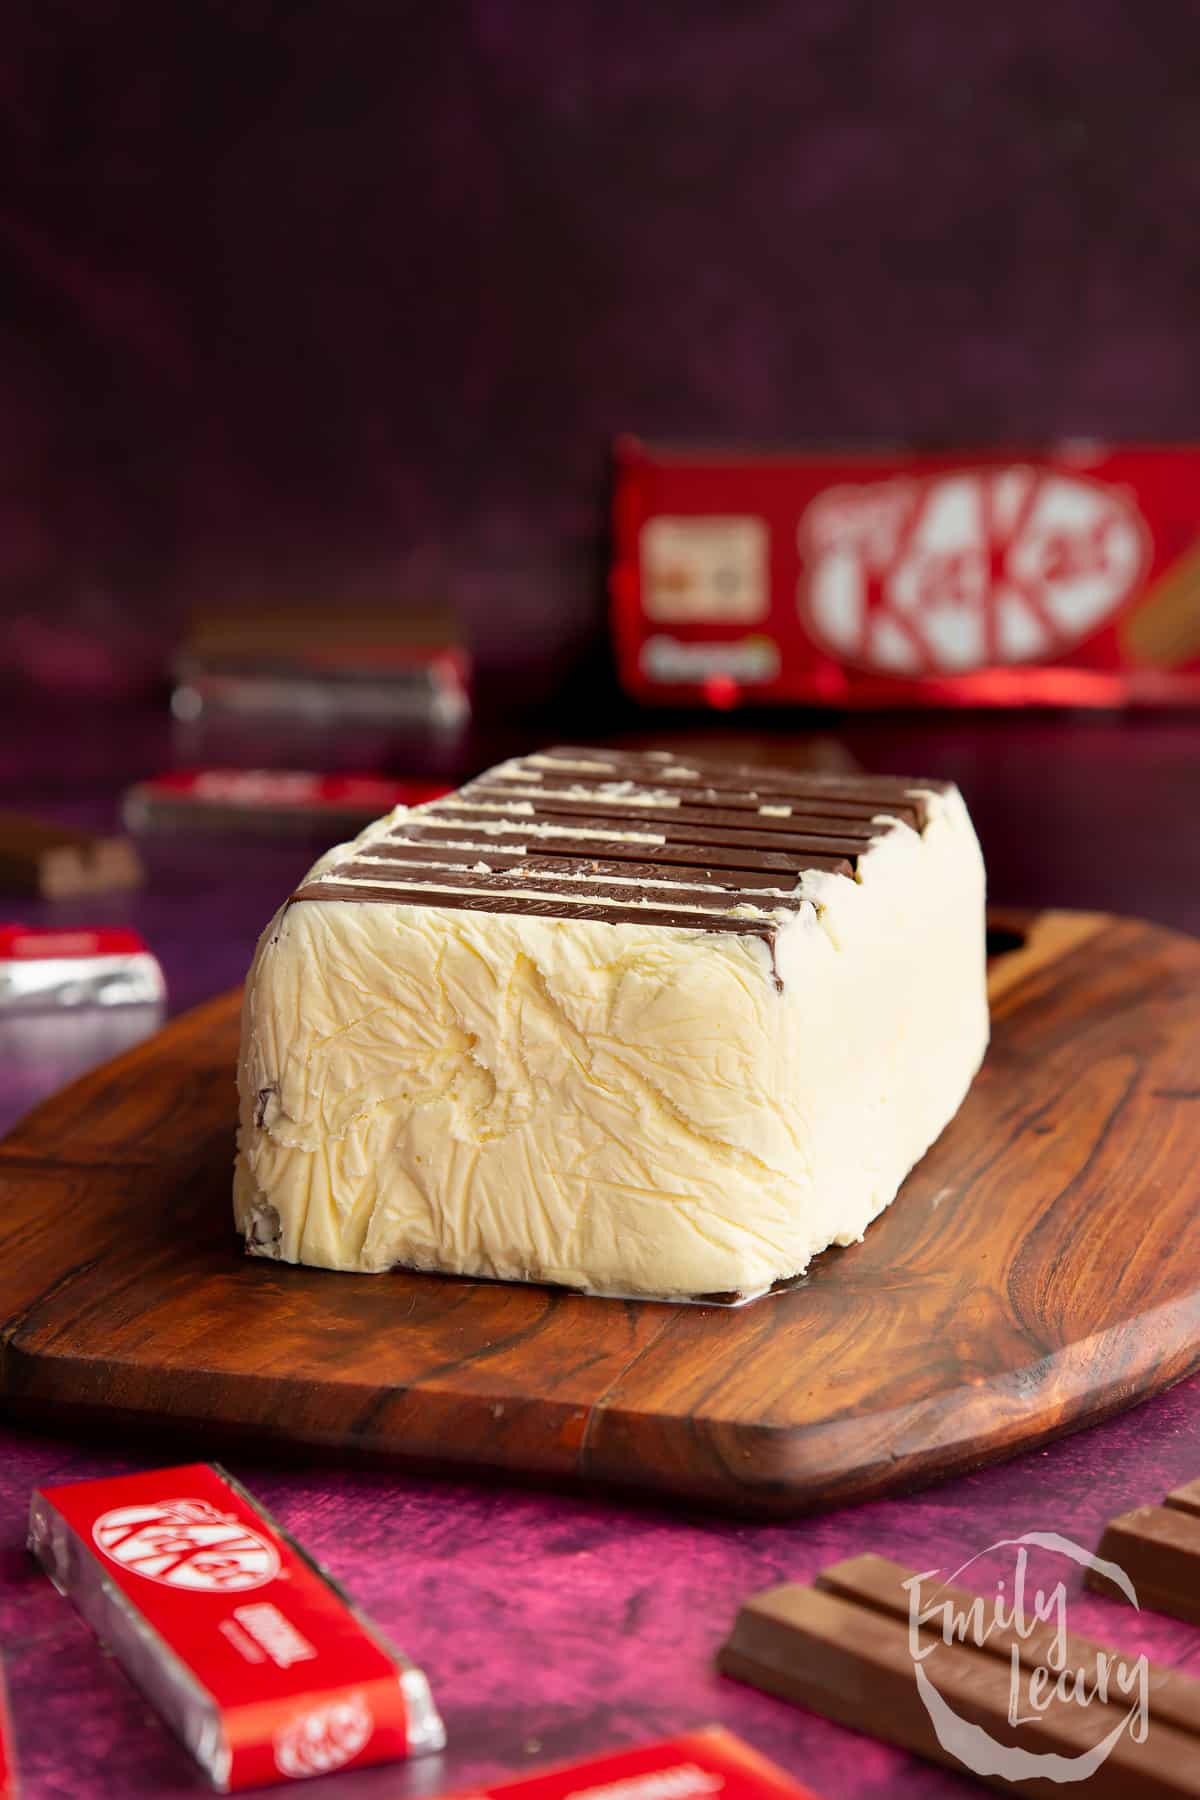
Drizzle with the magic chocolate sauce.

Allow to set - this should only take a couple of minutes.

Cut into slices with a sharp knife to serve.

Make sure to serve straight away to ensure it's still frozen when it reaches the table!
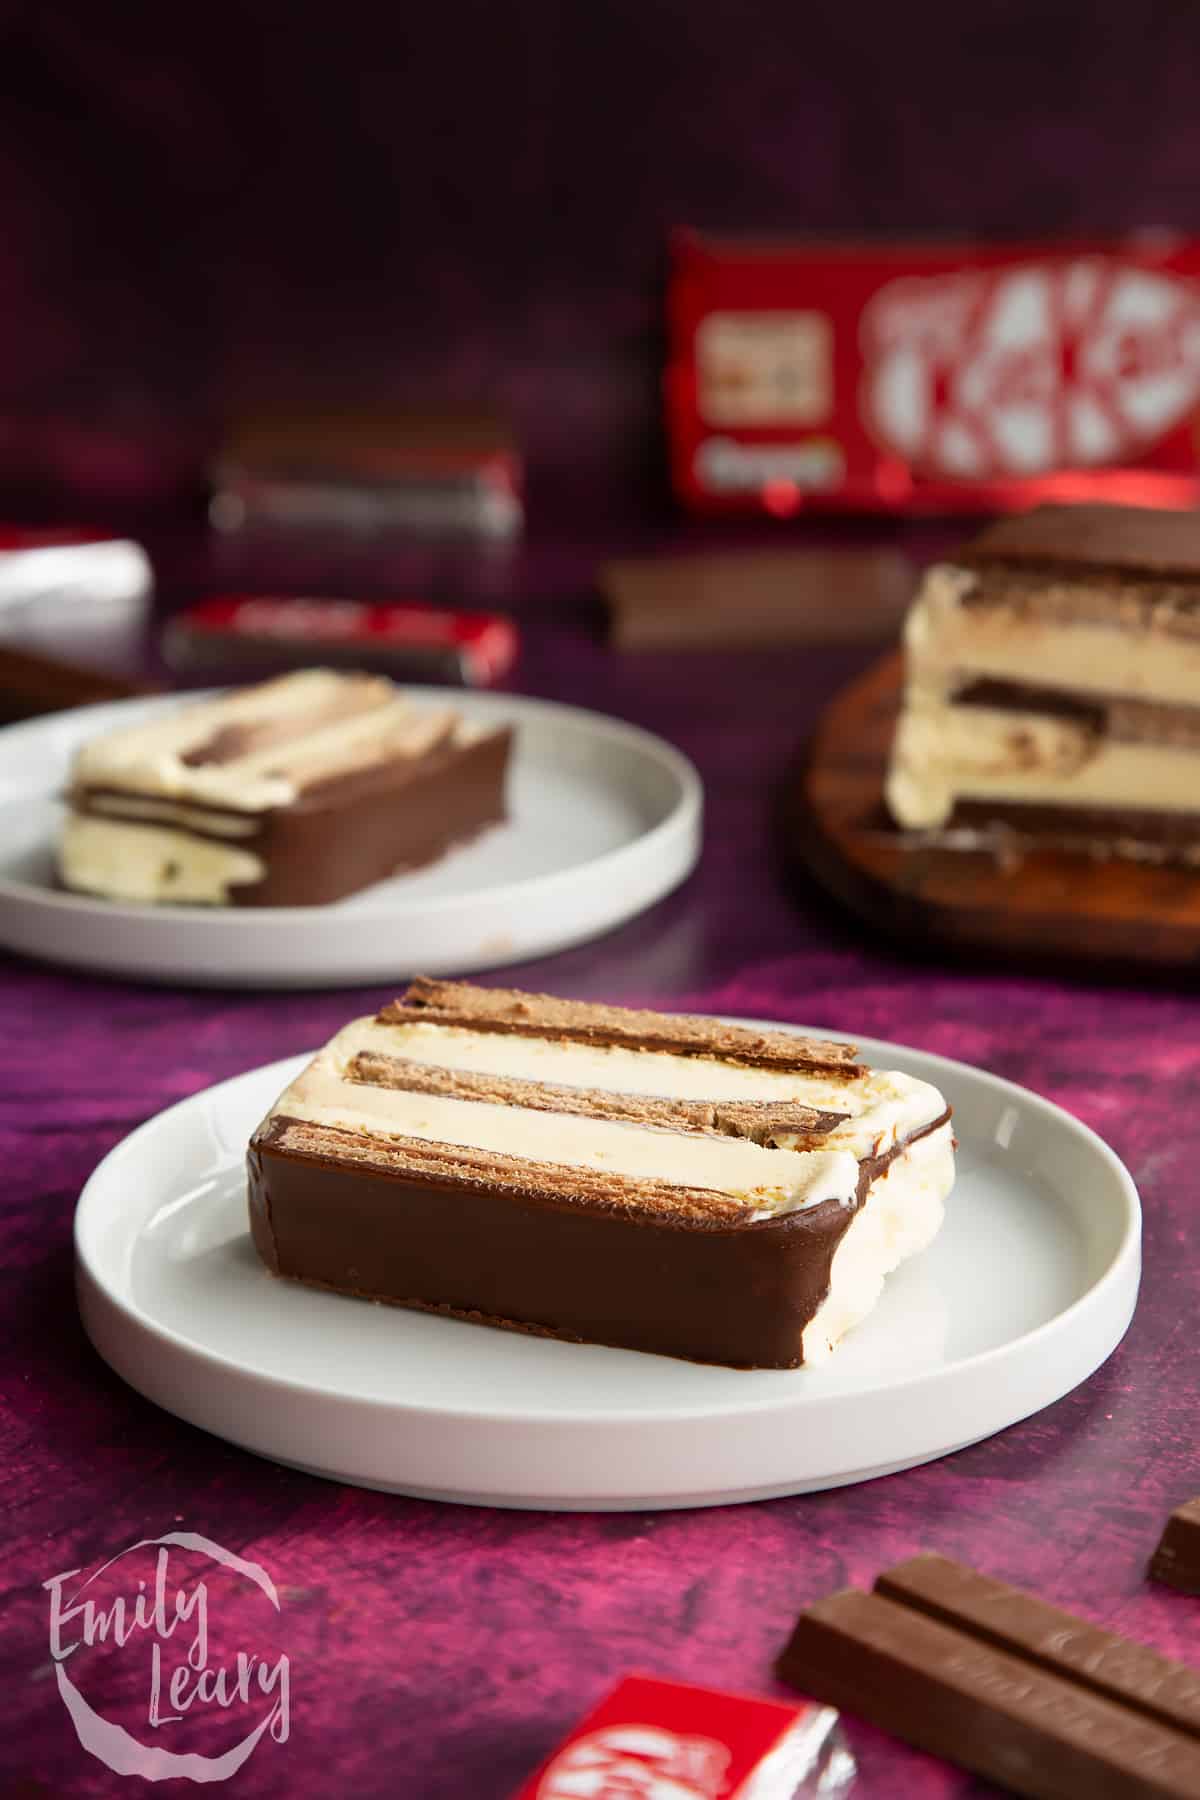
Enjoy and drop me a comment to let me know how you get on.
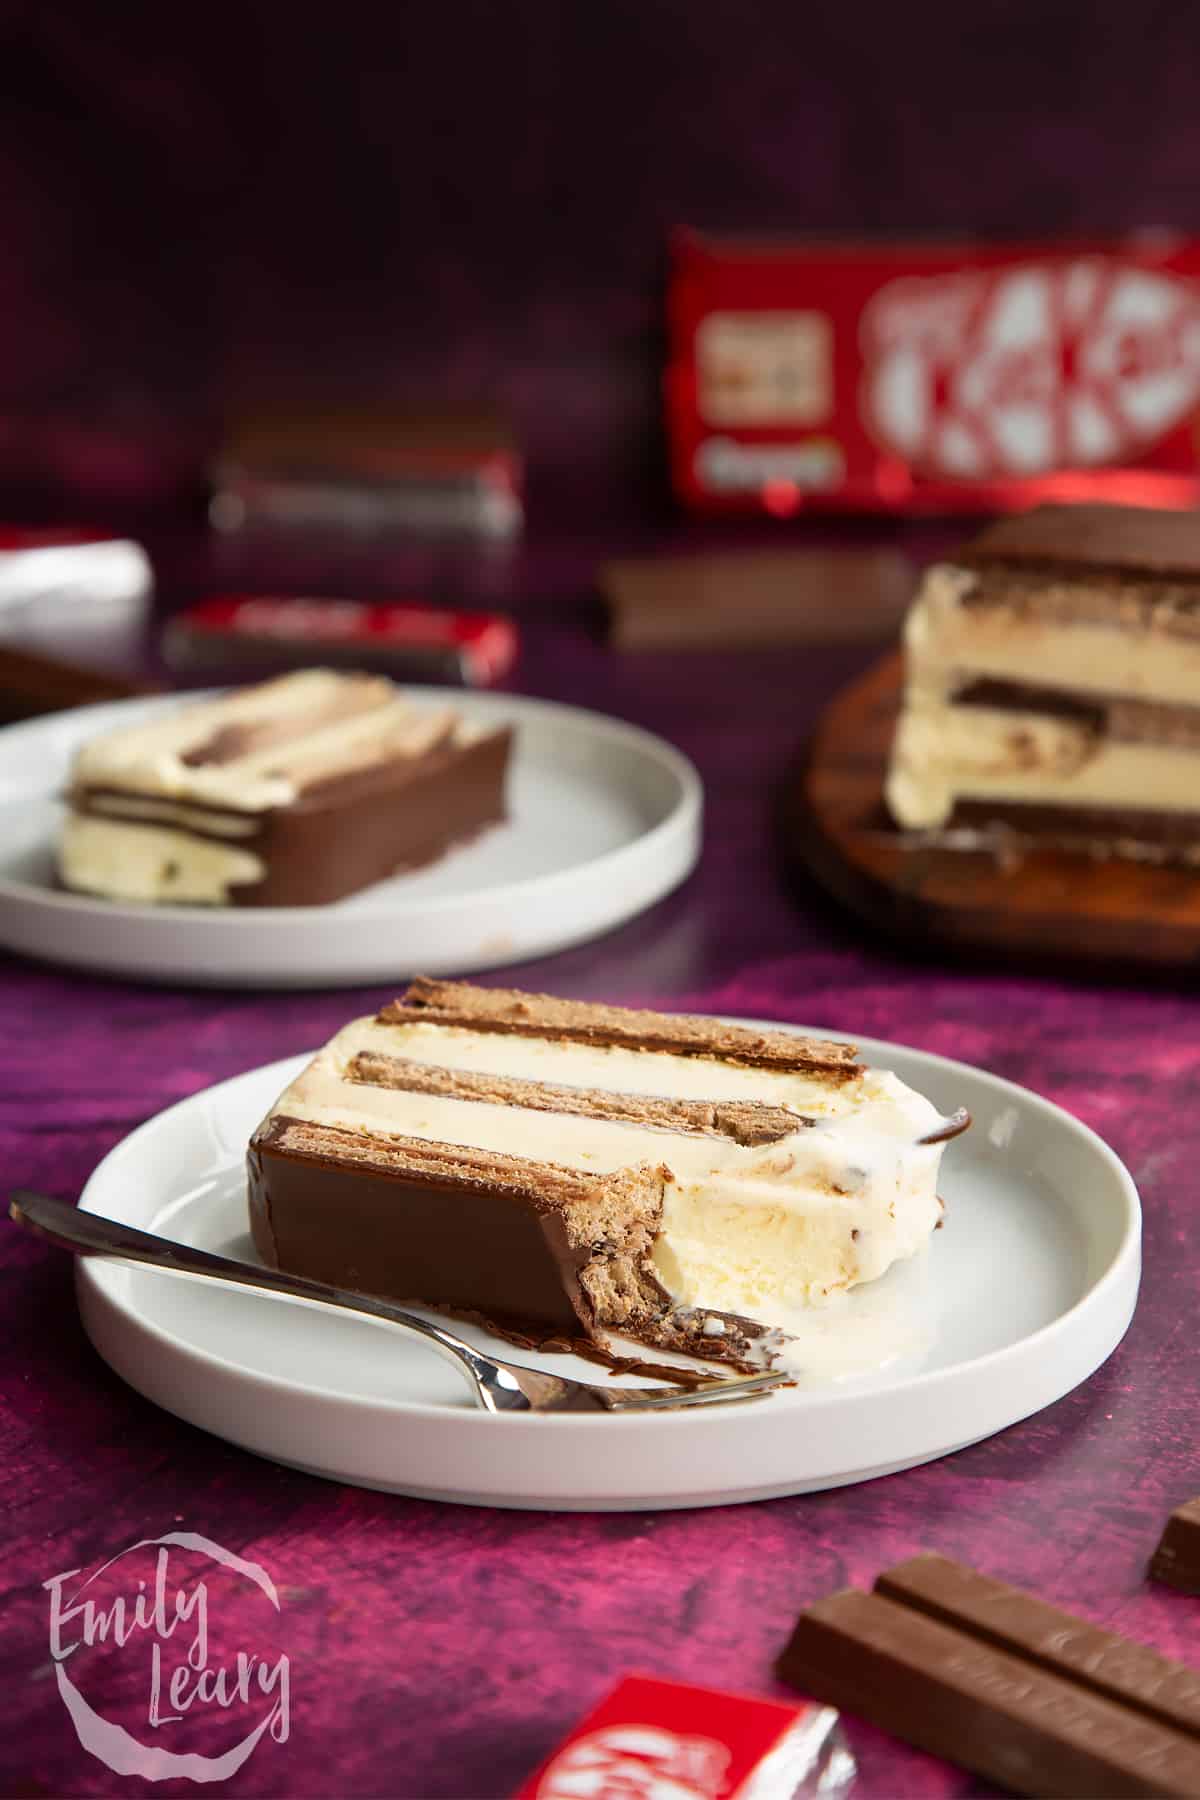
Print this KitKat Ice Cream Cake recipe
KitKat Ice Cream Cake Recipe
Ingredients
- 290 g (10.2 oz) KitKat bars (may vary by container dimensions)
- 1 litre Vanilla ice cream
- 100 g (3.5 oz) Magic shell chocolate sauce the kind that sets on ice cream
Equipment
- 2 lb (900ml) nonstick loaf tin (wide enough to fit the Kitkats)
- Clingfilm (plastic wrap)
Instructions
- Double line the container with cling film, leave overhang that you can use to cover the top of the cake.
- Scoop the vanilla ice cream into a bowl and leave at room temperature for about 10 minutes. You want it to be pliable but not melted.
- Arrange a layer of Kitkats along the bottom of the container, face down (this will be the top when you turn the cake out)
- Top with half the ice cream.
- Arrange another layer of KitKates.
- Add the rest of the ice cream.
- Add a final layer of Kitkats.
- Cover and place in the freezer overnight until solid.
- Remove from the container, unwrap and place on a board.
- Drizzle with the magic chocolate sauce and allow to set - this should only take a couple of minutes.
- Cut into slices with a sharp knife to serve.
Nutrition
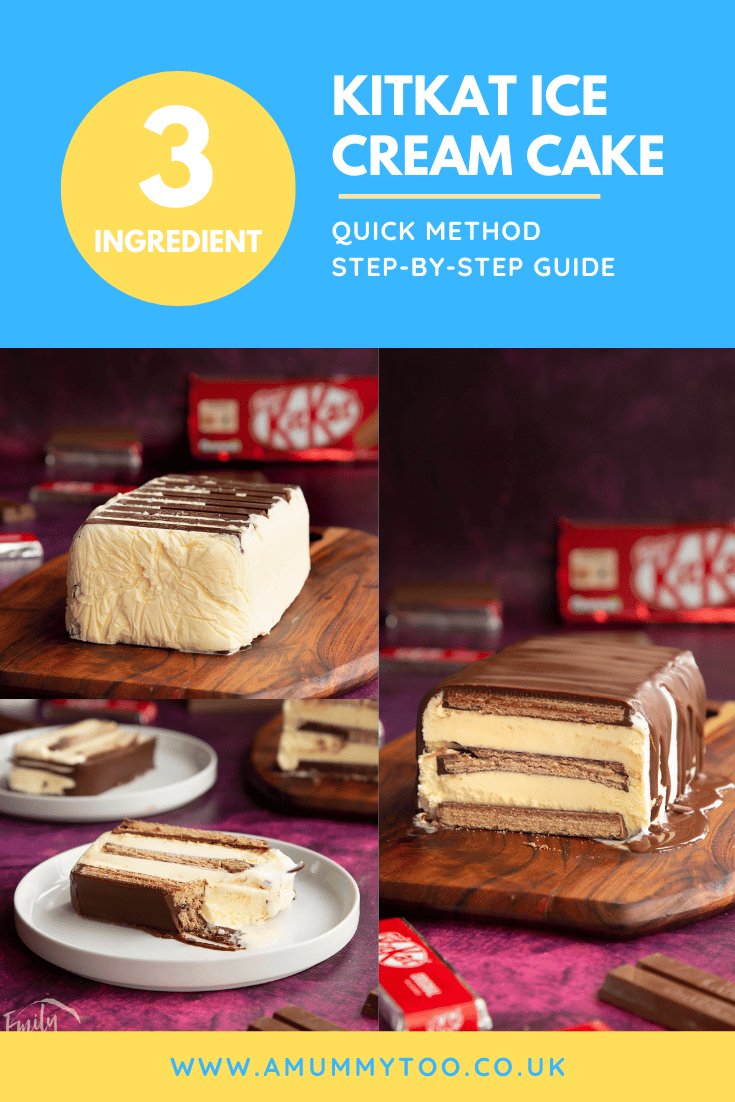
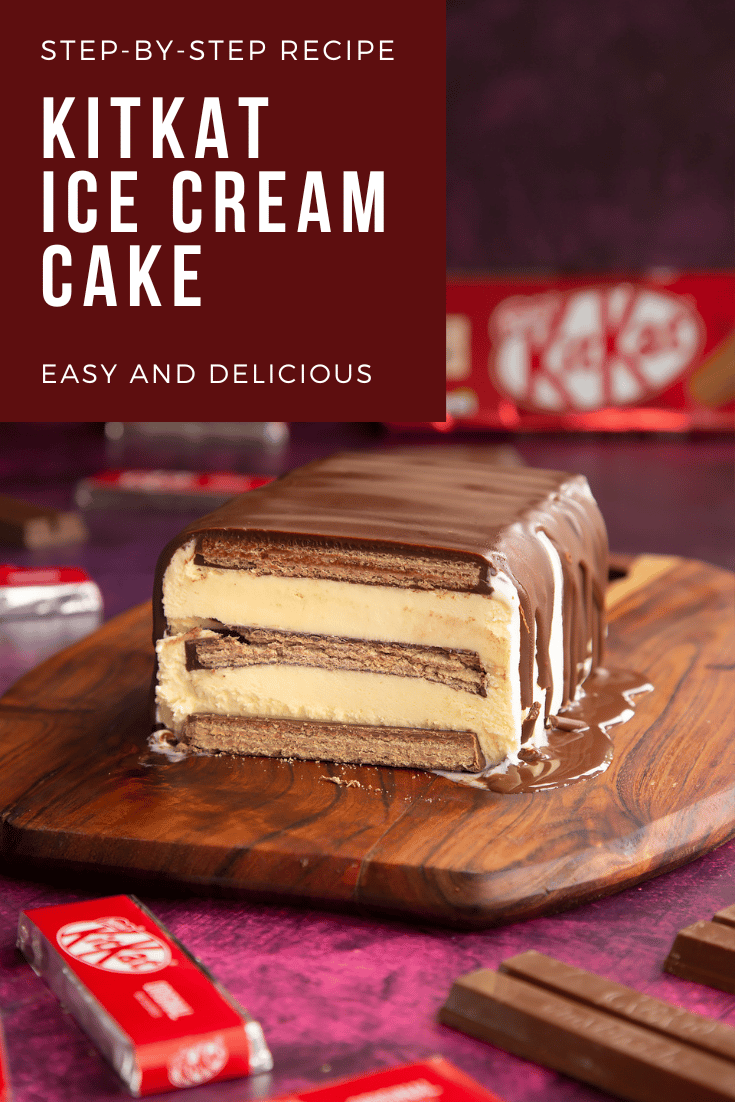
Pin this KitKat Ice Cream Cake recipe
More ice cream recipes to try
Have you got my book?

'This is a great kids cookery book. Emily is a star' - Simon Rimmer
'The book I'd like to force into any mother's kitchen' - Prue Leith
"A fab book with a plan." - Jane Devonshire, 2016 Masterchef UK winner
'Emily has managed to combine her mummy knowledge and passion for food to make a truly helpful and brilliant cookbook' - Priya Tew, RD, BSc (Hons), Msc
Get Your Kids to Eat Anything is an achievable 'how to' for parents in the battle to overcome picky eating and 'make new the norm'. Emily Leary's unique 5-phase programme looks at the issue of 'fussy eating' in a holistic way that links imagination with food, and which situates parents alongside - not in opposition to - their children.


Leave a Reply